Real-Time Fantasy Lion Warrior Drawing Process
Summary
Fantasy Character Design Process
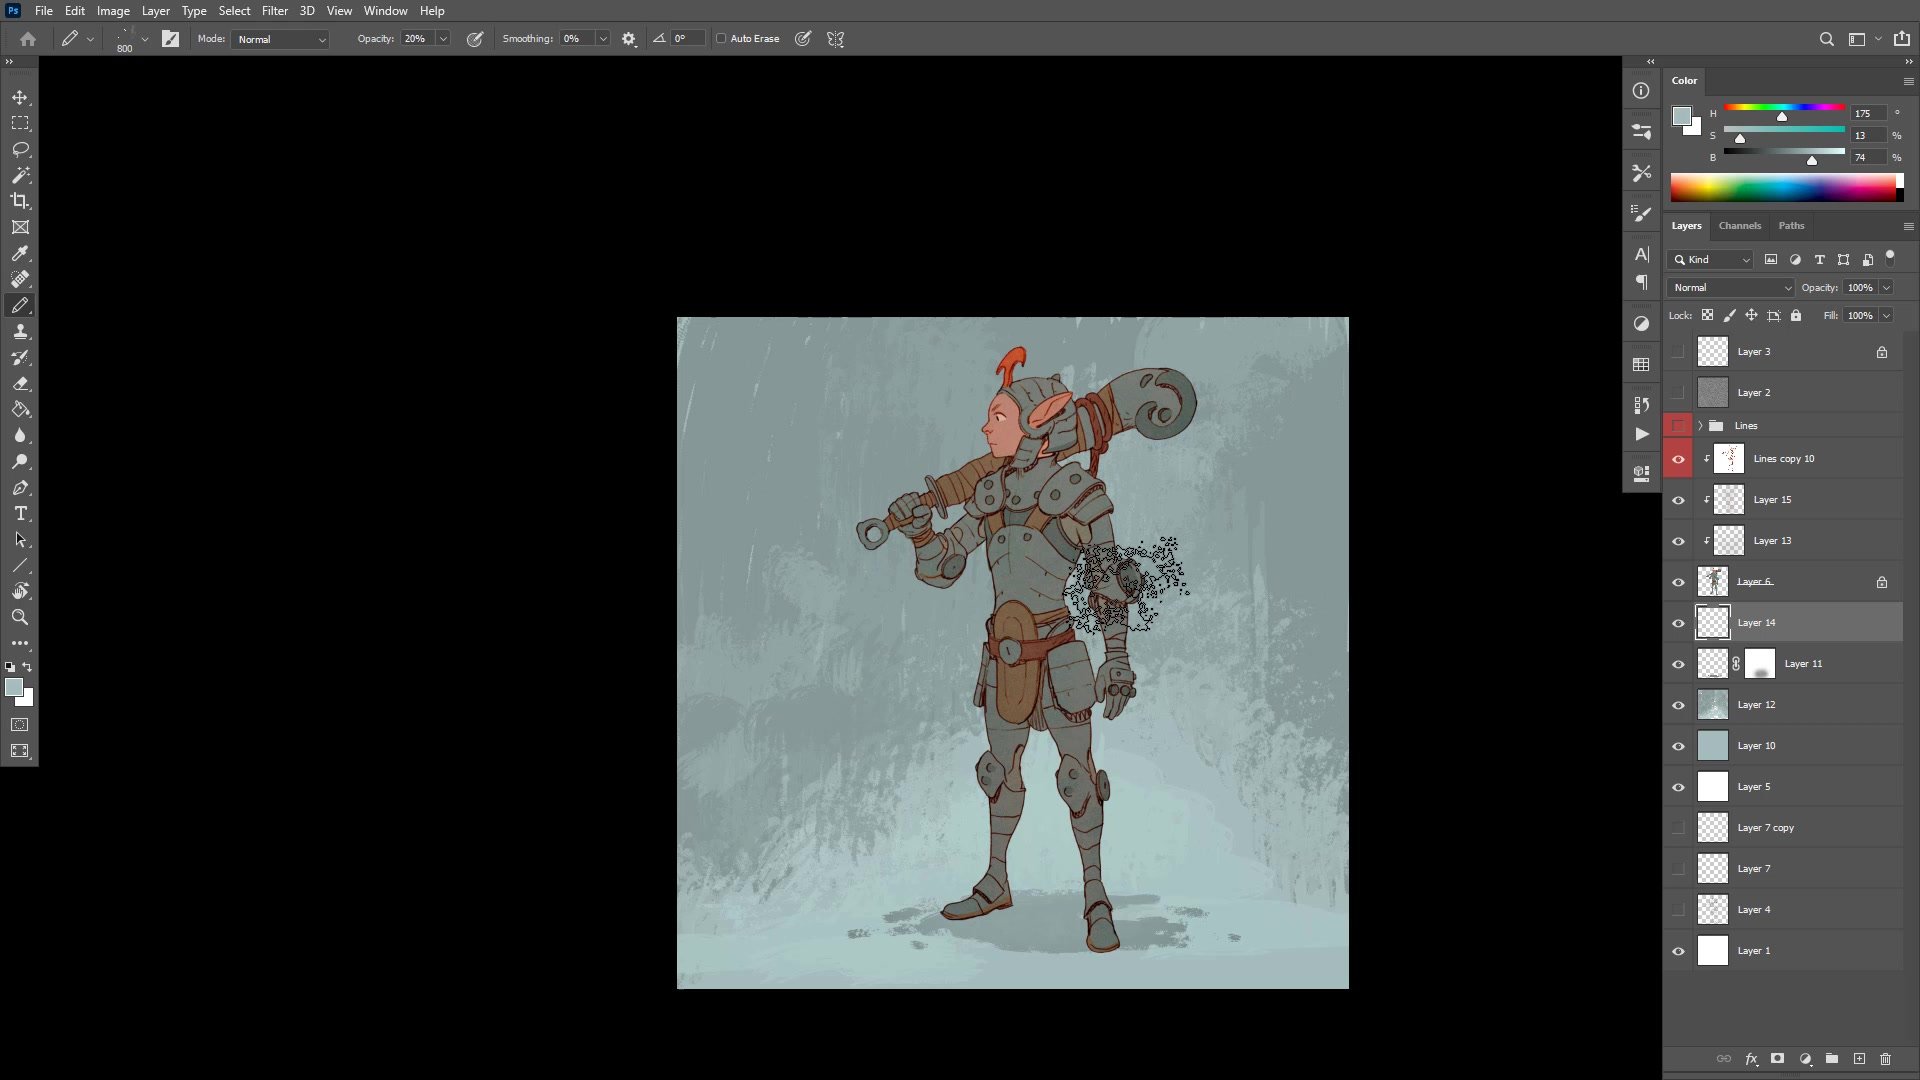
This 90-minute real-time demonstration walks through the complete process of designing and coloring a fantasy lion warrior character in Photoshop. Starting from a blank canvas with only a rough idea of the character, the session covers structural sketching, refined line work, character design decision-making, flat color application, and final rendering with texture and color adjustments.
The narration follows every decision as it happens, from establishing the initial stick figure and rib cage placement through to the final vignette and surface texture passes. This is the full reality of character illustration work, including design problems that need solving on the fly, Photoshop shortcuts and workflow tricks, and the constant process of flipping and evaluating the drawing.
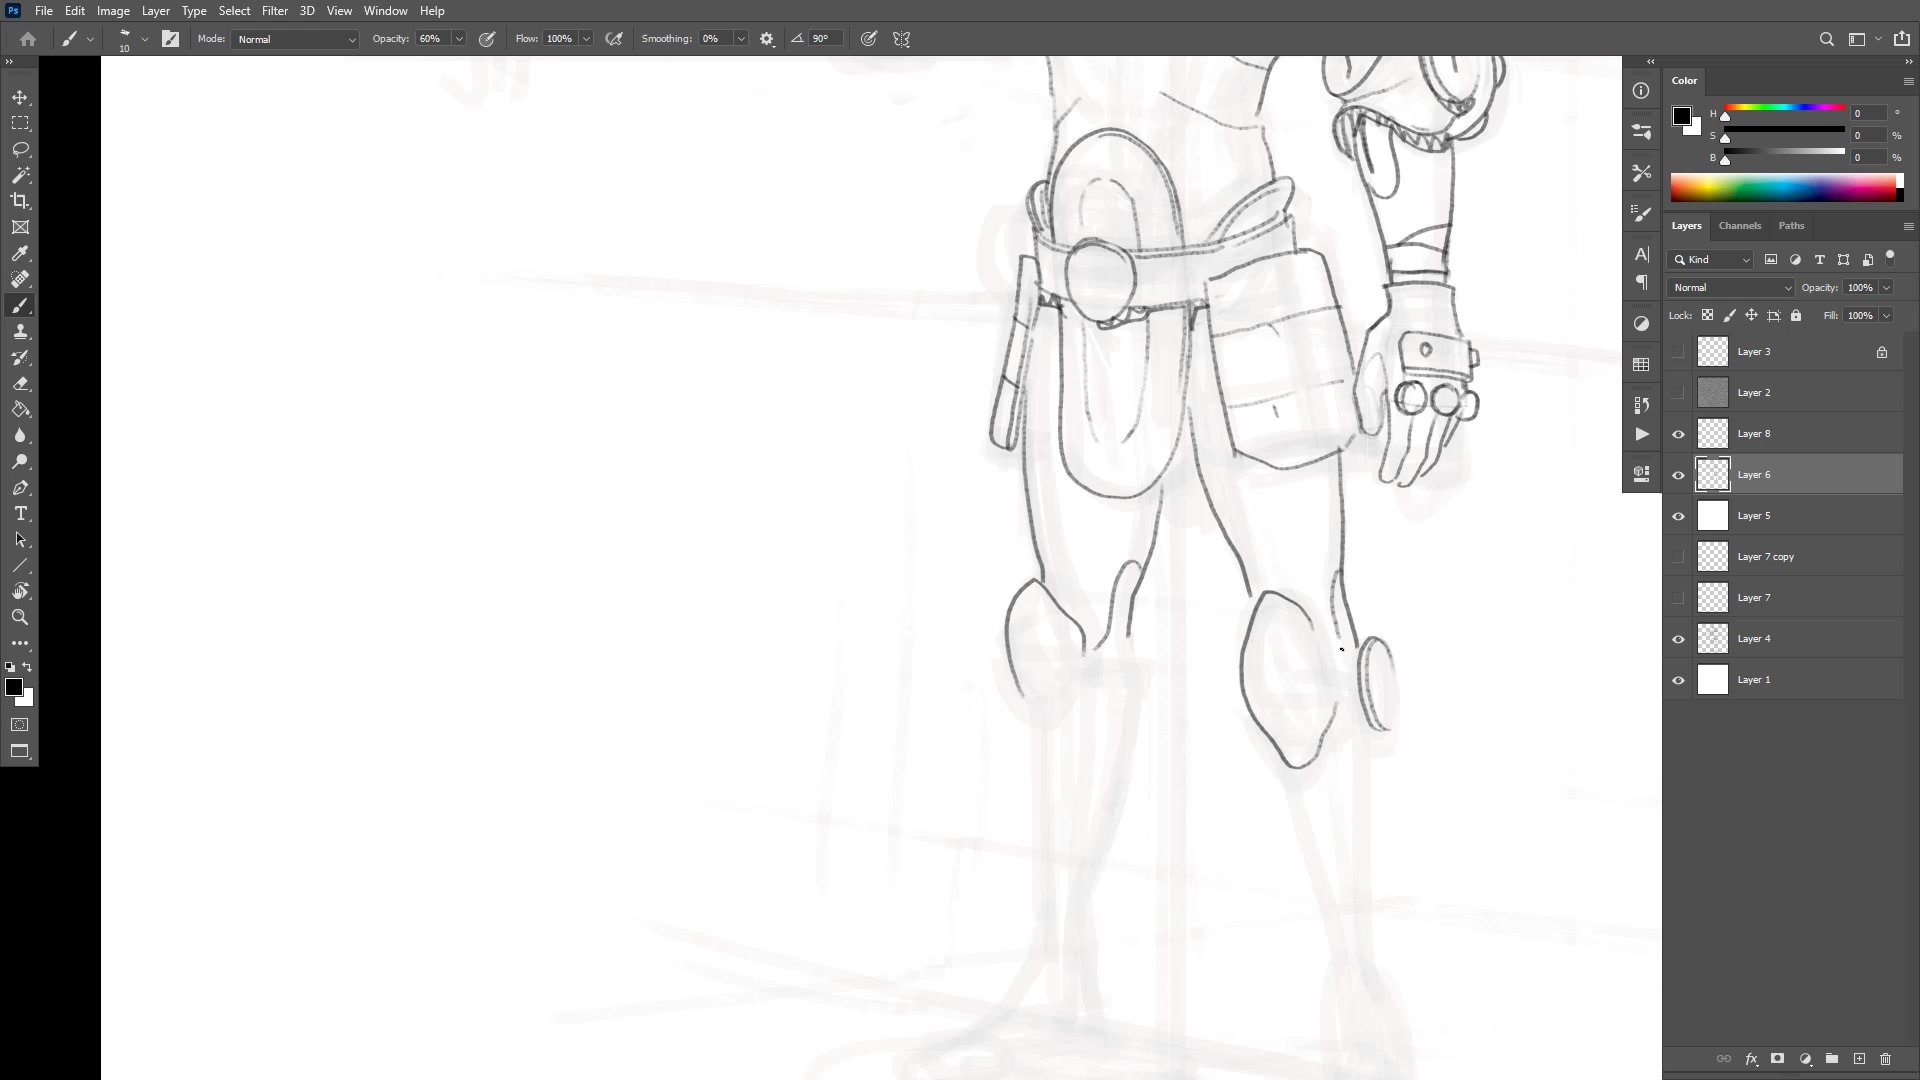
Structural Sketching
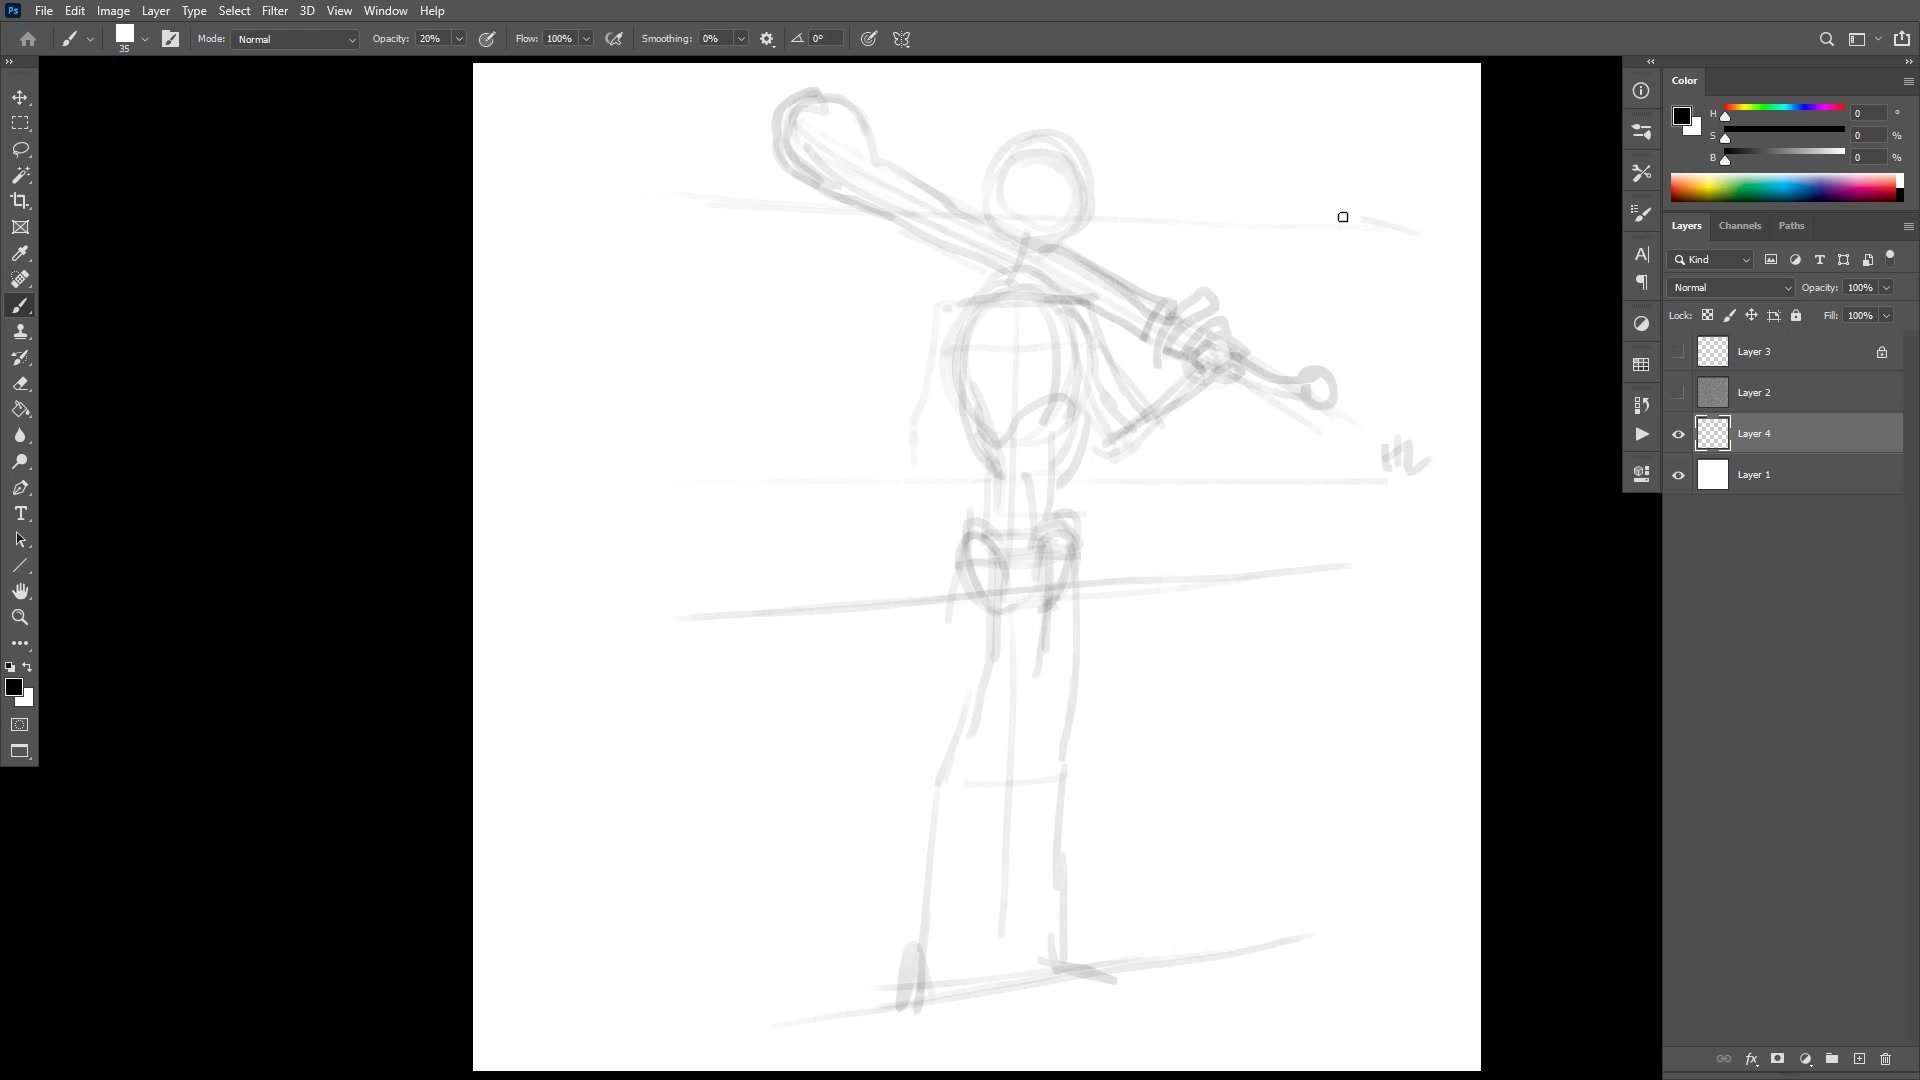
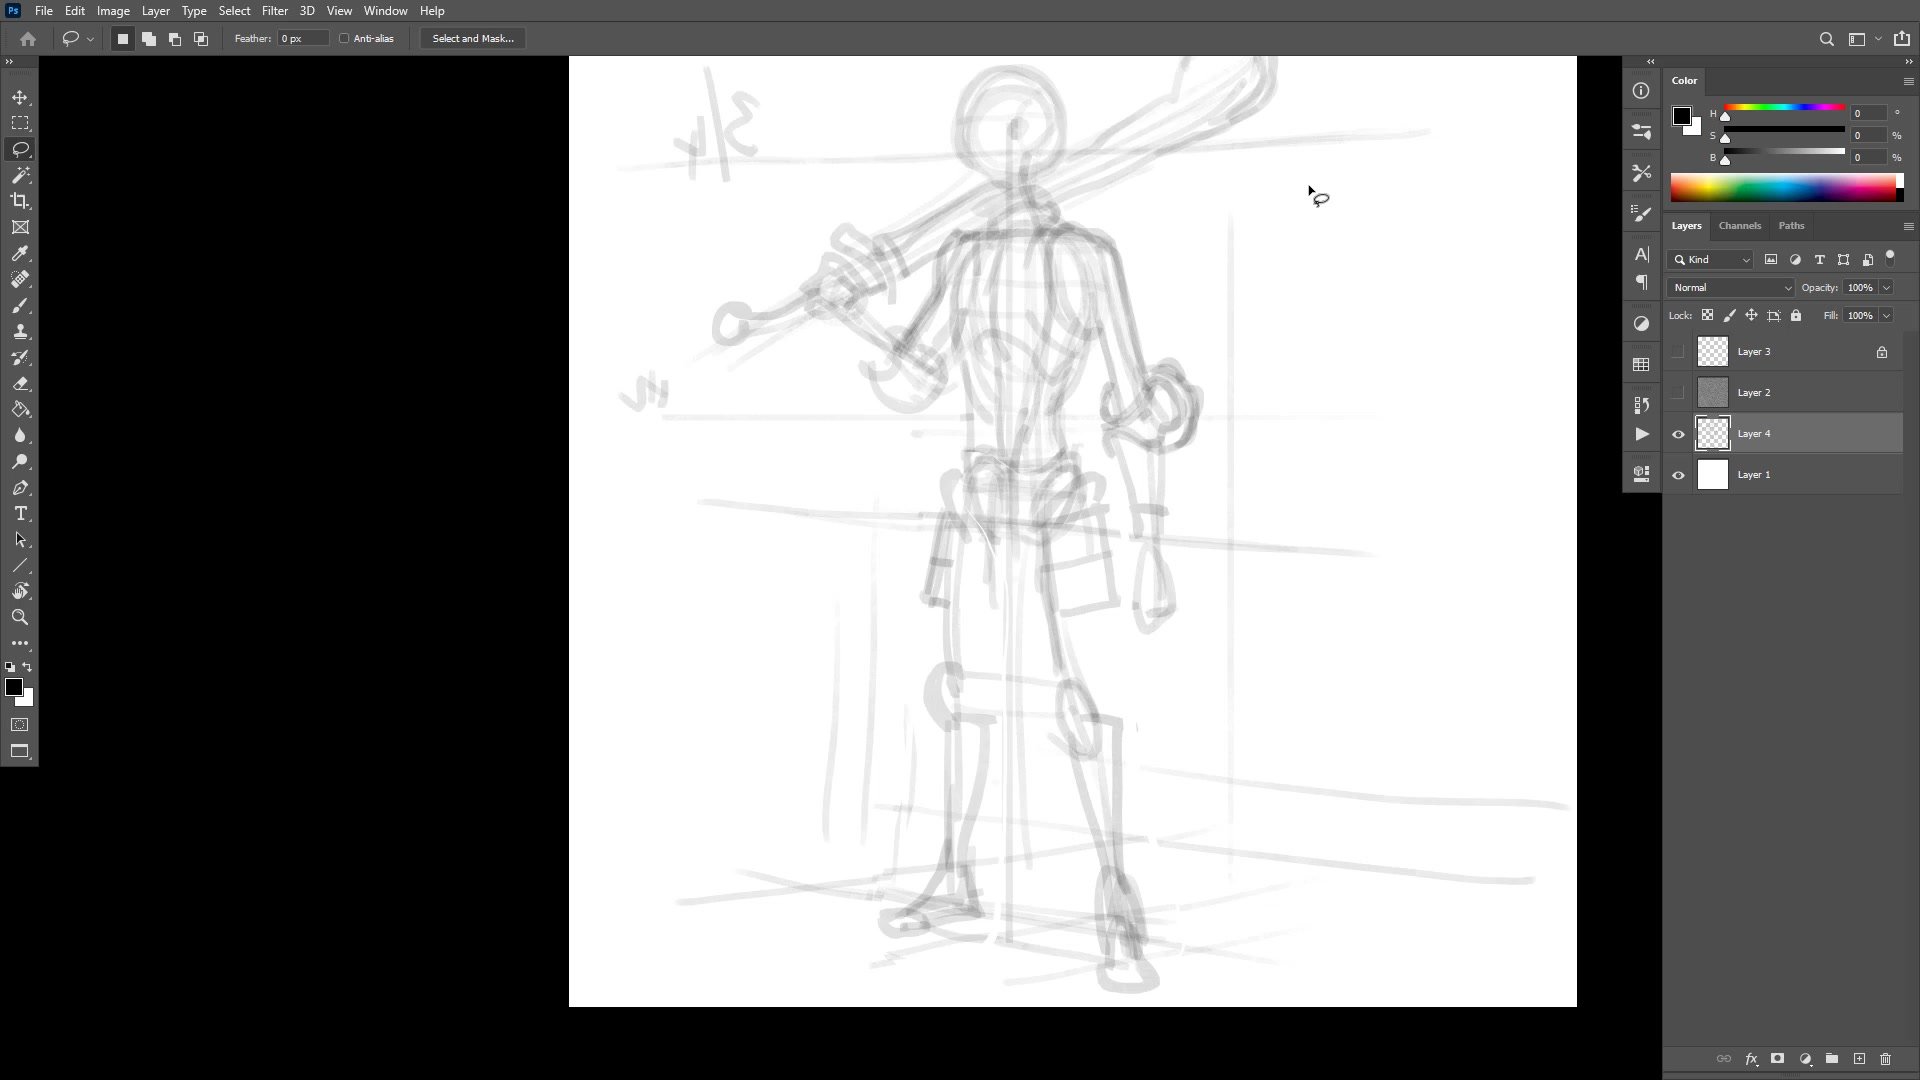
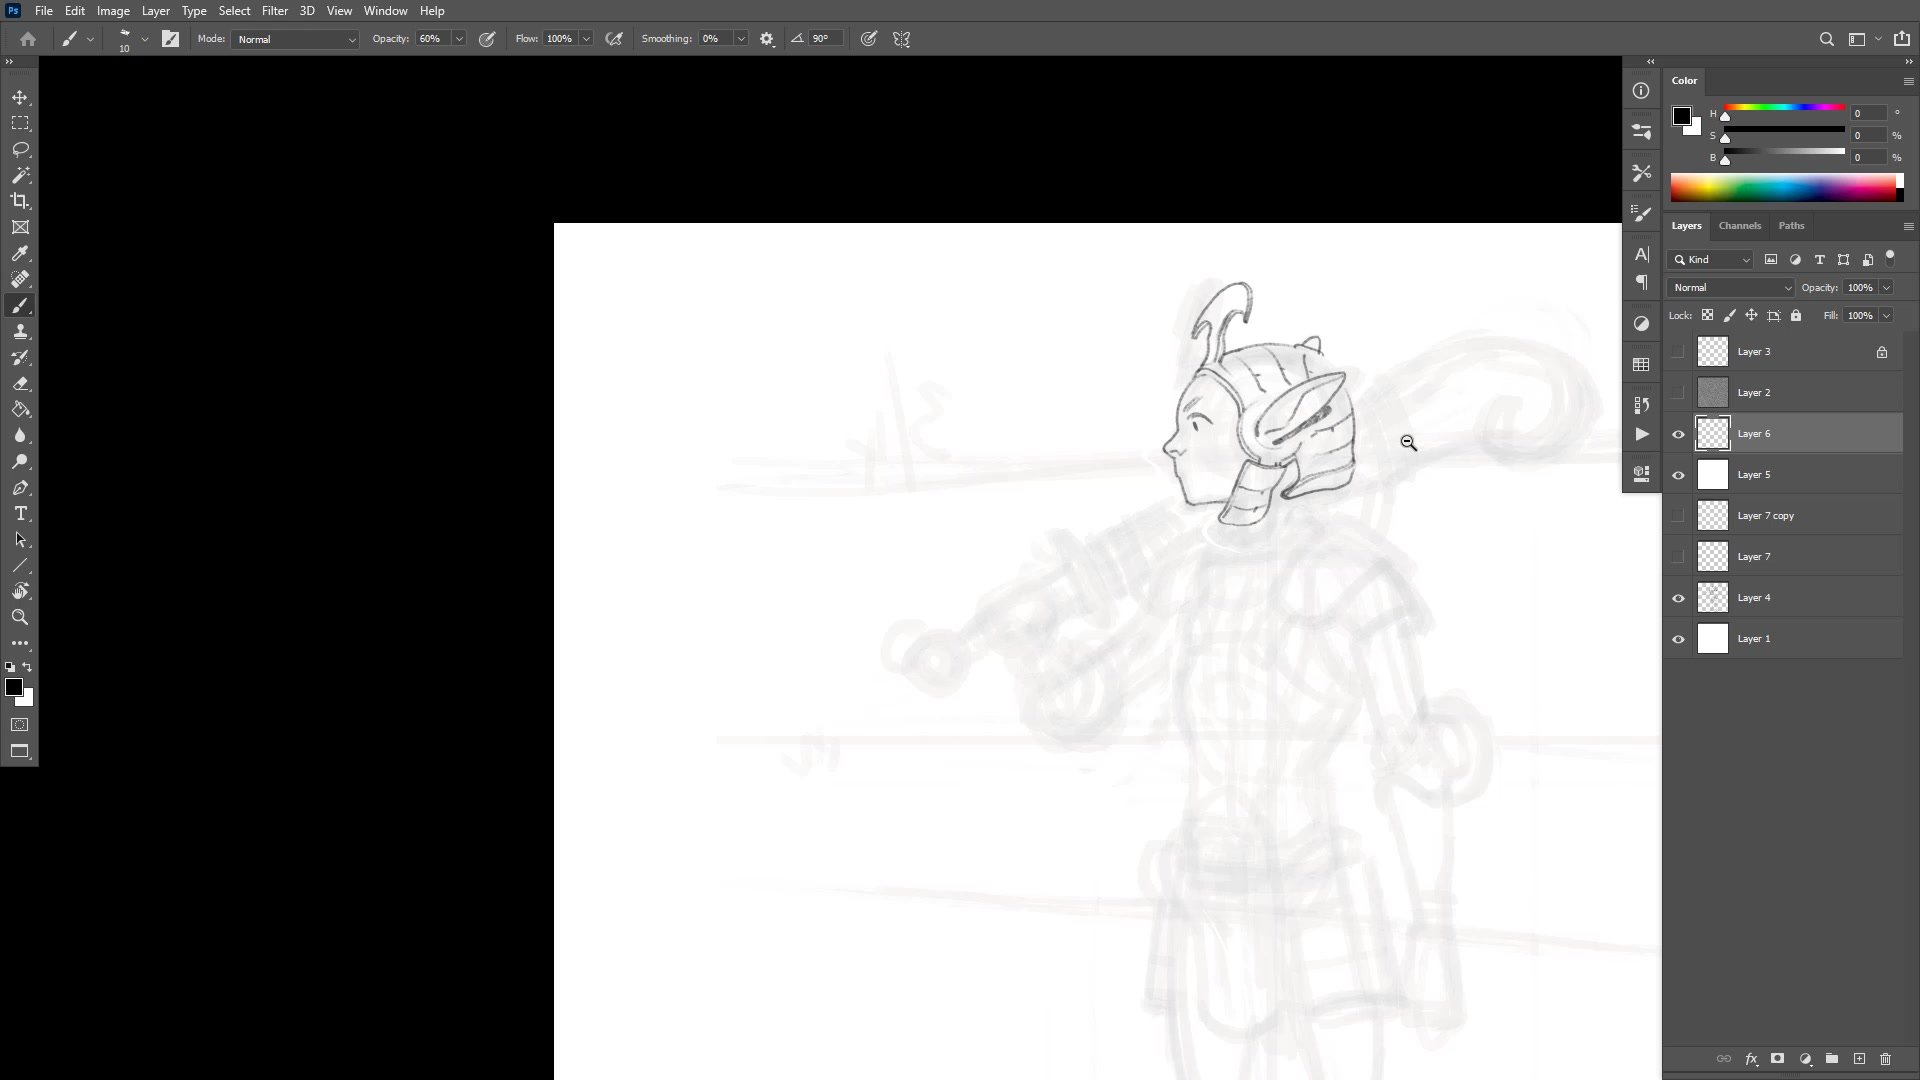
Building Structure First
The process begins with a low-opacity brush blocking in a stick figure, focusing entirely on structure before any detail. The rib cage position, center line, hip placement, and perspective lines all get established in the first pass. Straight lines are placed relative to each other to create a sense of the perspective grid the character occupies, and the three-quarter angle is chosen specifically to optimize for showing form.
A significant portion of the early session involves using Photoshop transforms and the warp tool to adjust proportions. The balance between using digital tools to nudge things into place and knowing when to erase and redraw is explored honestly. Too much warping and transforming creates a mess. A quick transform that instantly improves the drawing is worth it, but repeated tweaking without improvement means stepping back and redrawing.
Refined Line Work

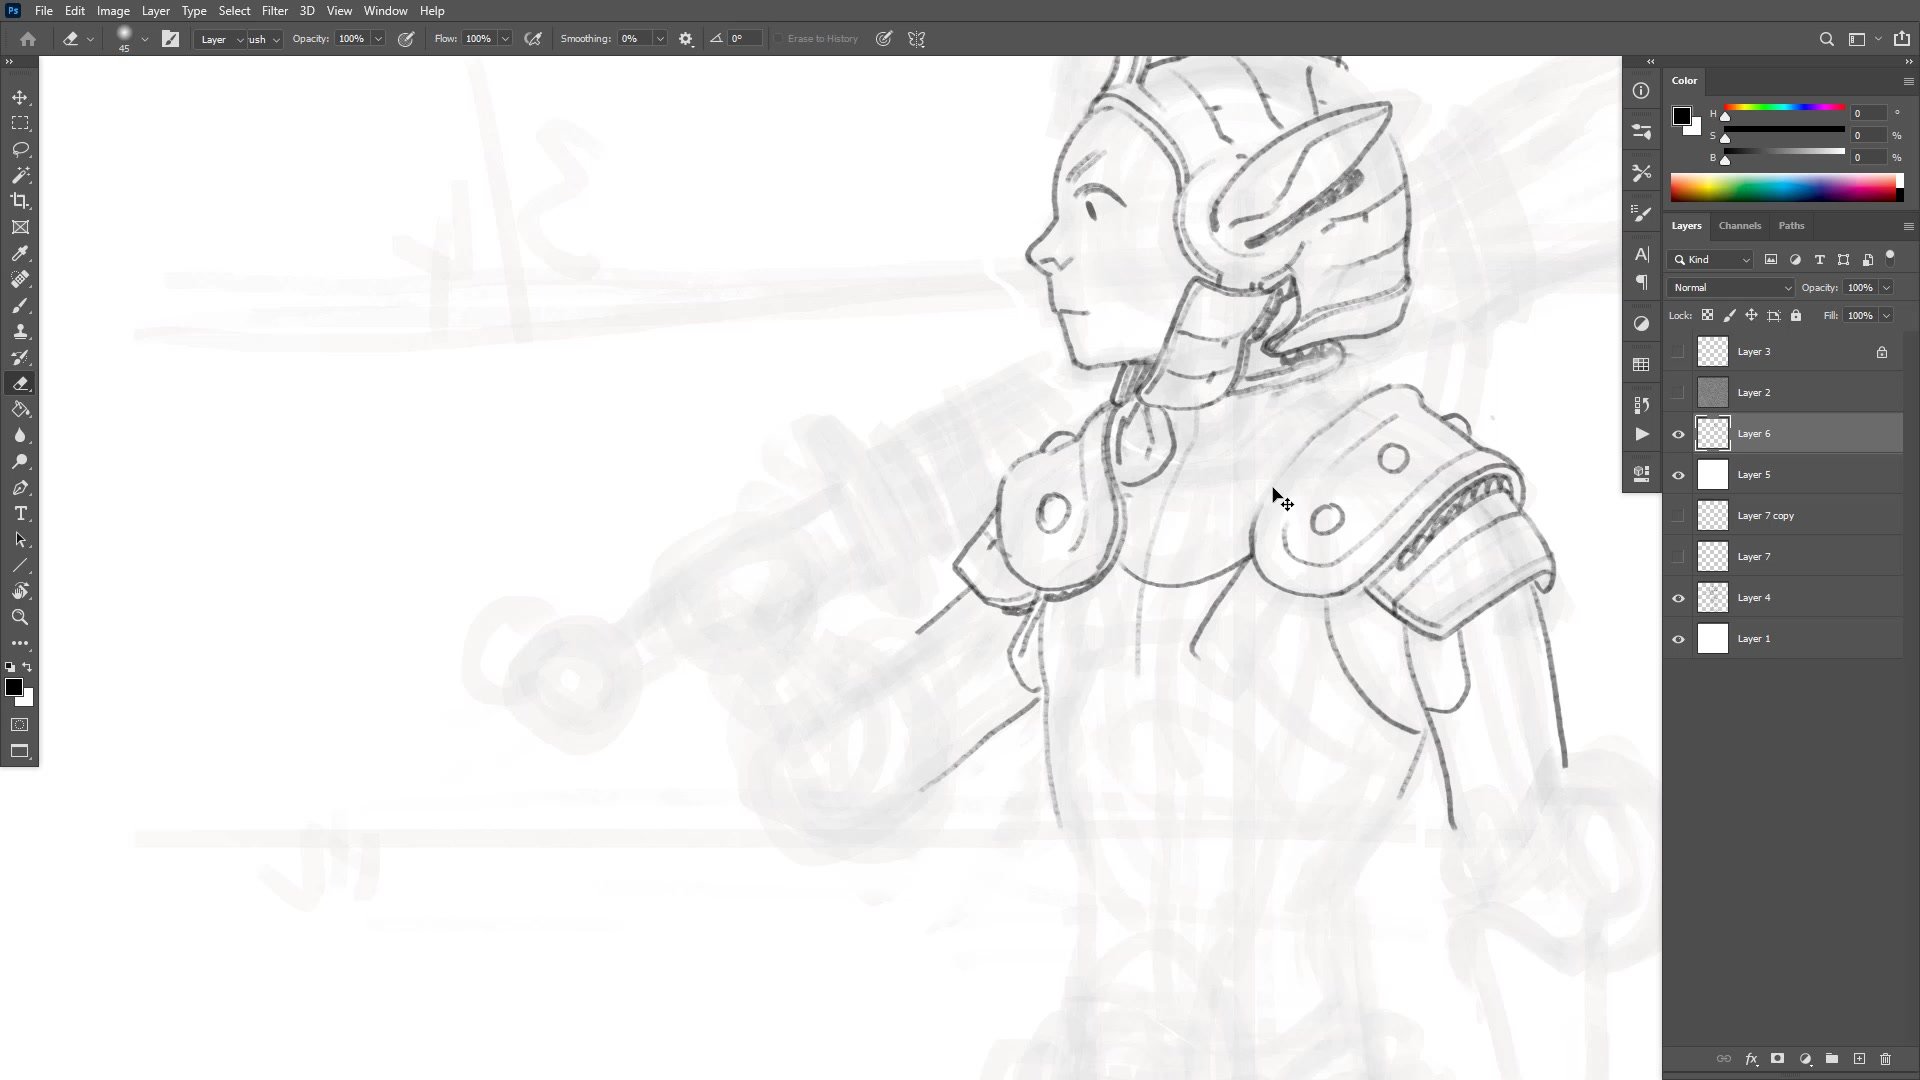
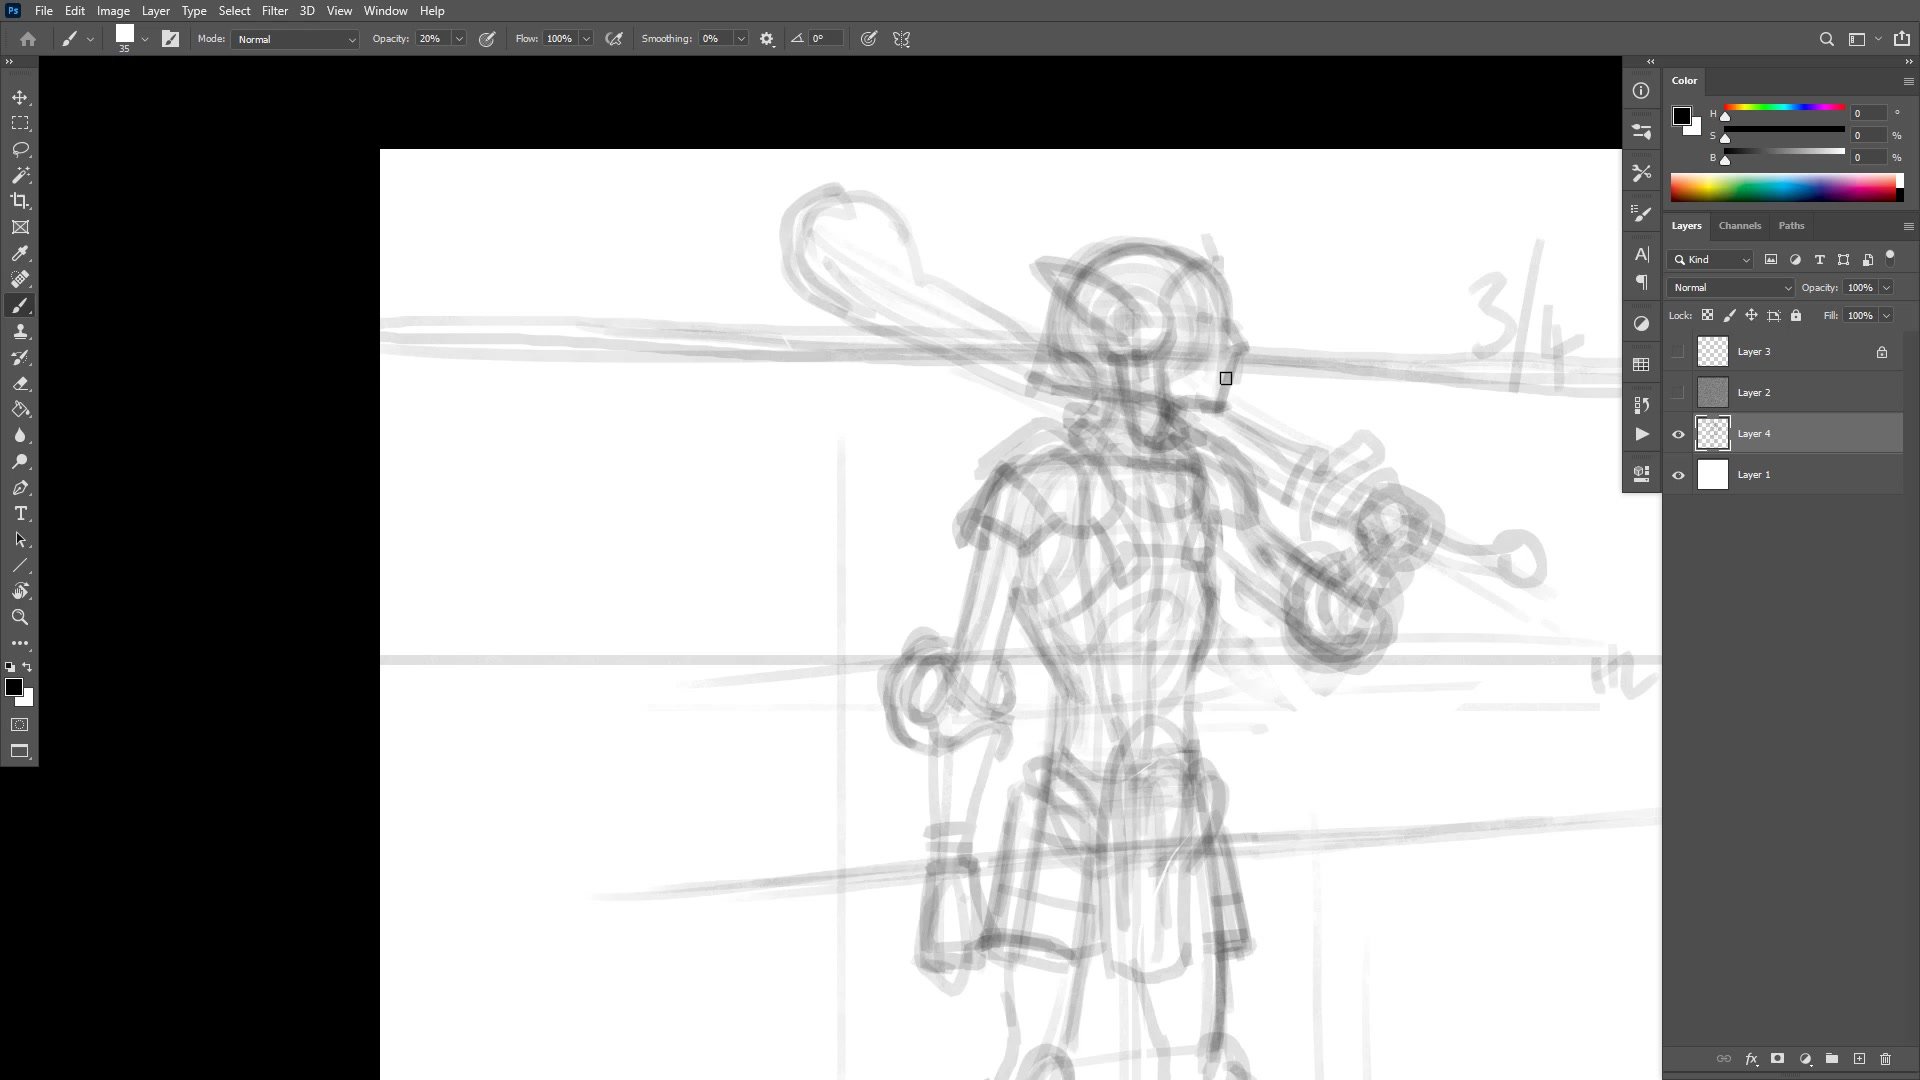
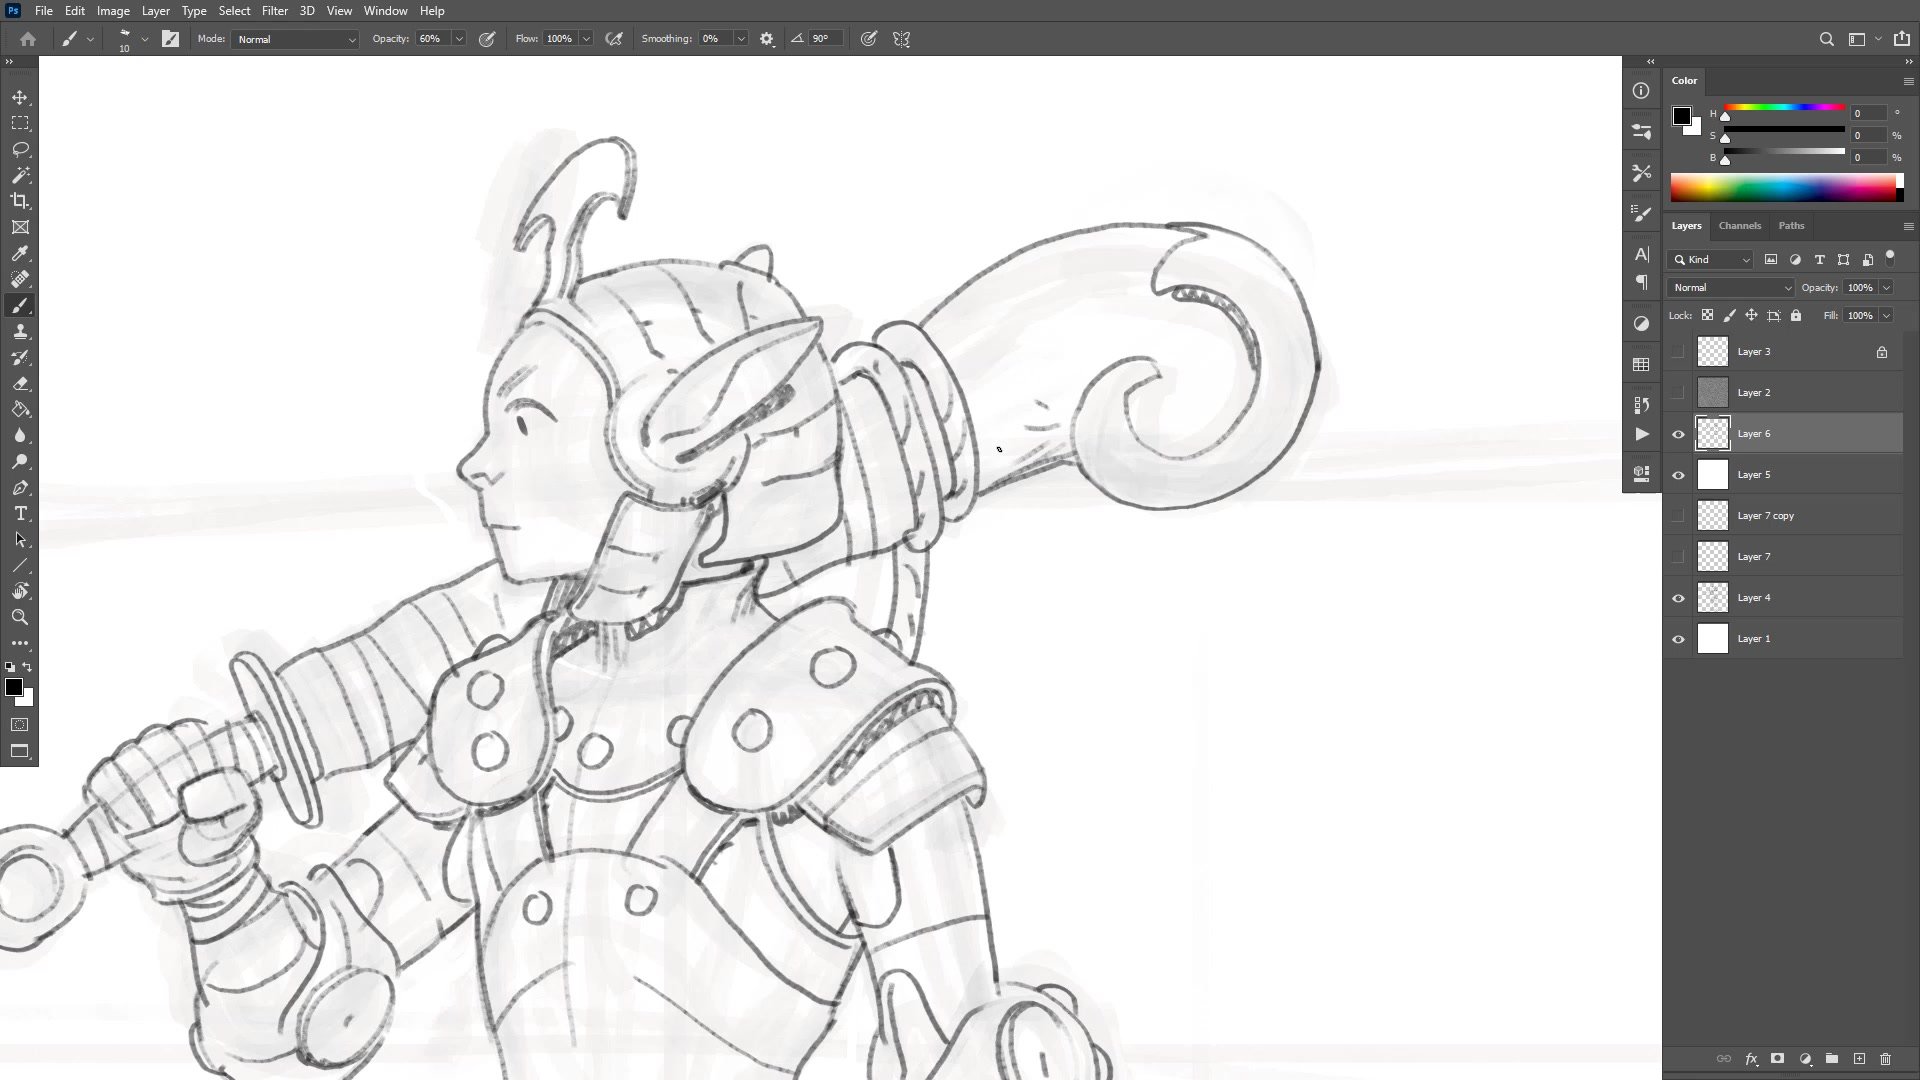
Design Through Drawing
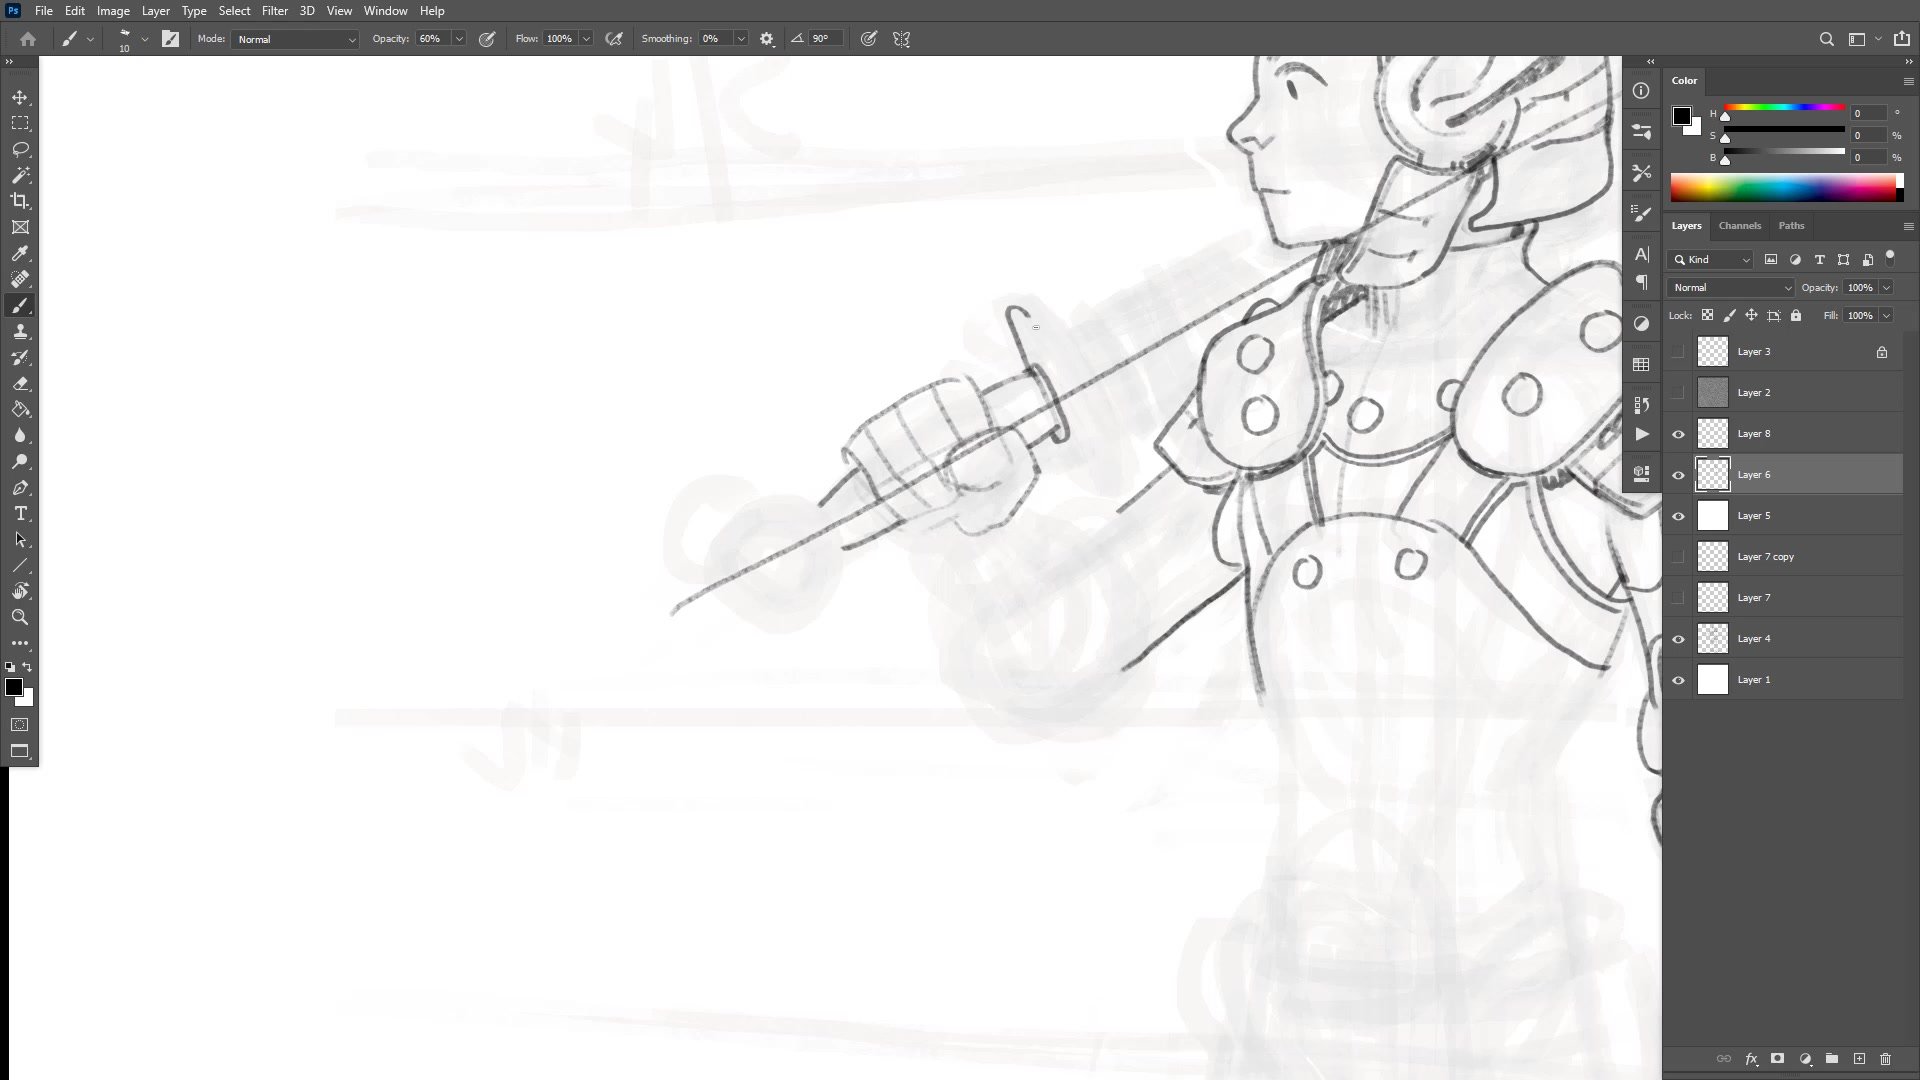
The second phase moves to a new layer with reduced opacity on the structural sketch below. The character design emerges through the process of redrawing rather than being planned in advance. The helmet design, the ear structure, the shoulder pads, and the armor segmentation all get worked out through drawing, erasing, and trying different approaches.
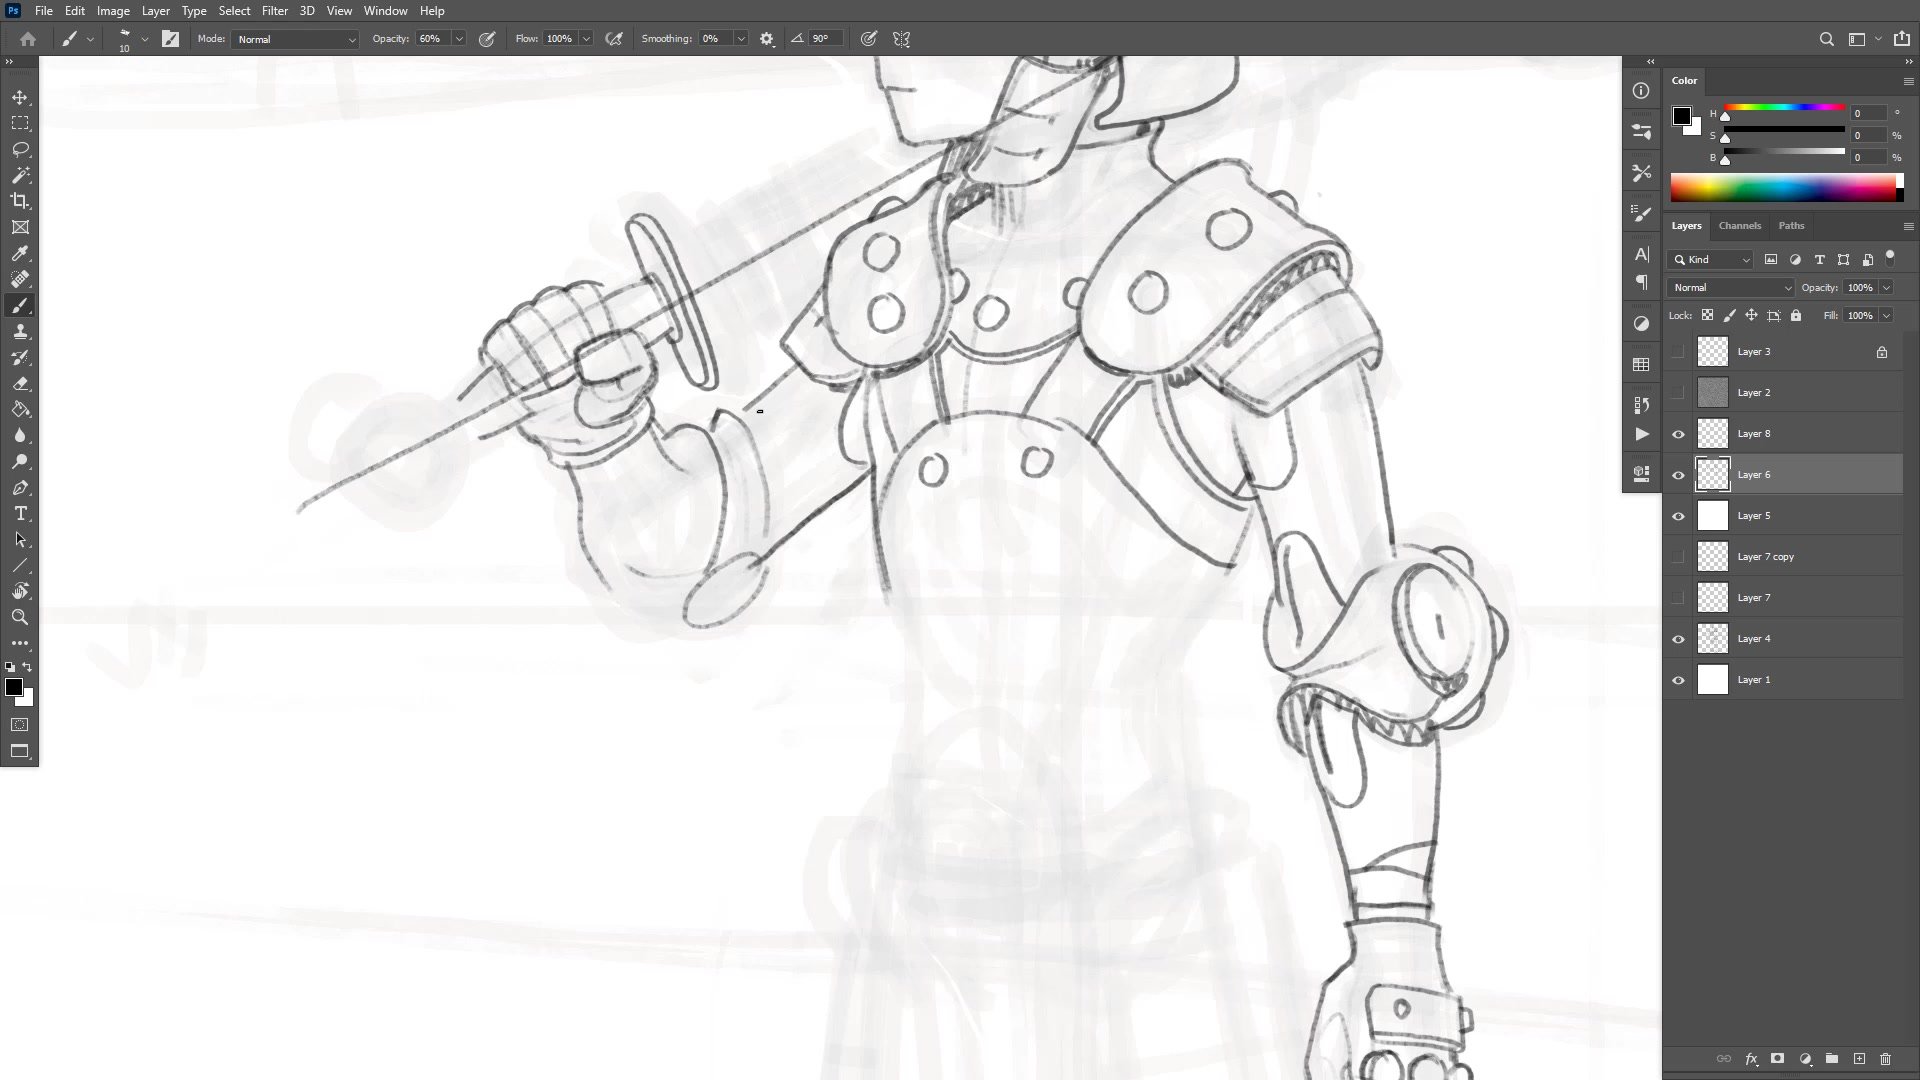
A key design challenge surfaces around complexity versus simplicity. For characters that might need to be redrawn repeatedly in comics, every design element needs to be interesting enough to work but simple enough to reproduce reliably. Several moments involve deliberately cutting back ornamentation and streamlining shapes that had become too complicated. Broken line technique is used freely to suggest detail without committing to fully resolved forms.
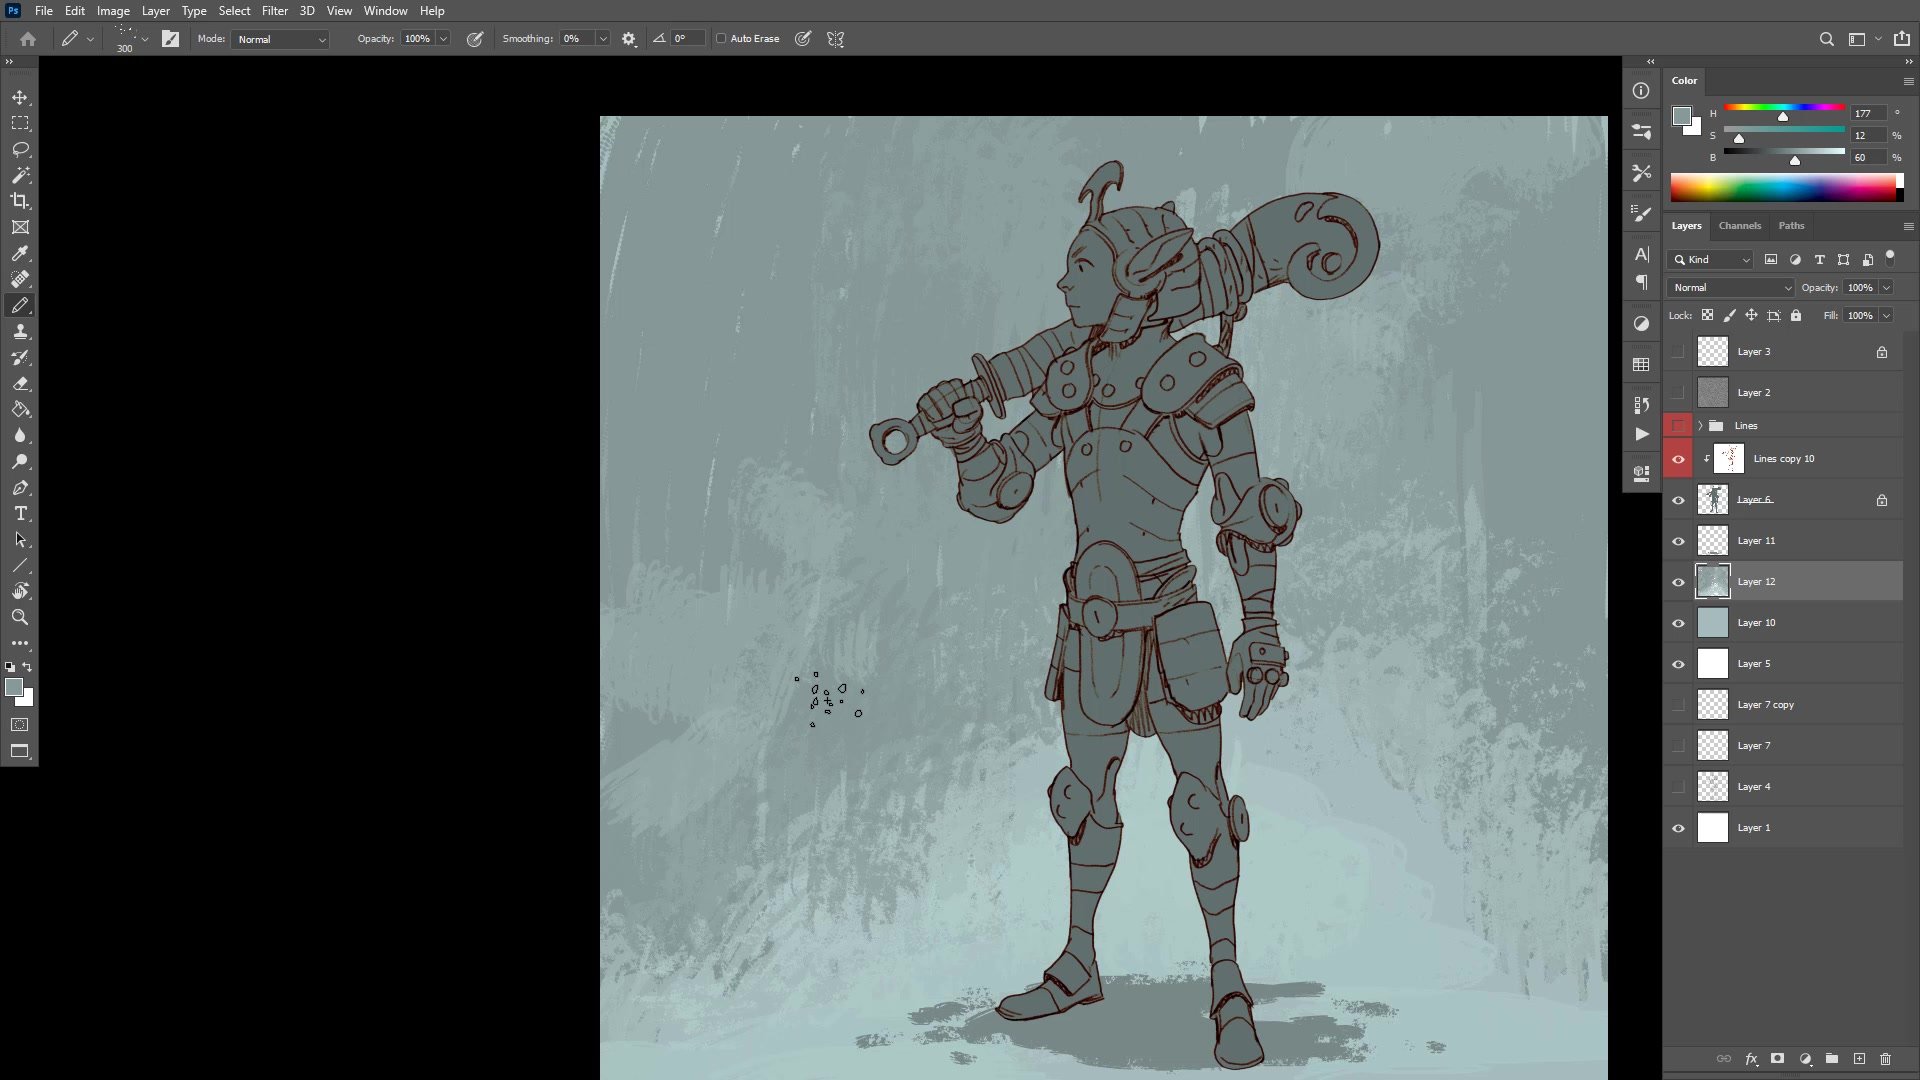
Flat Color and Shadows

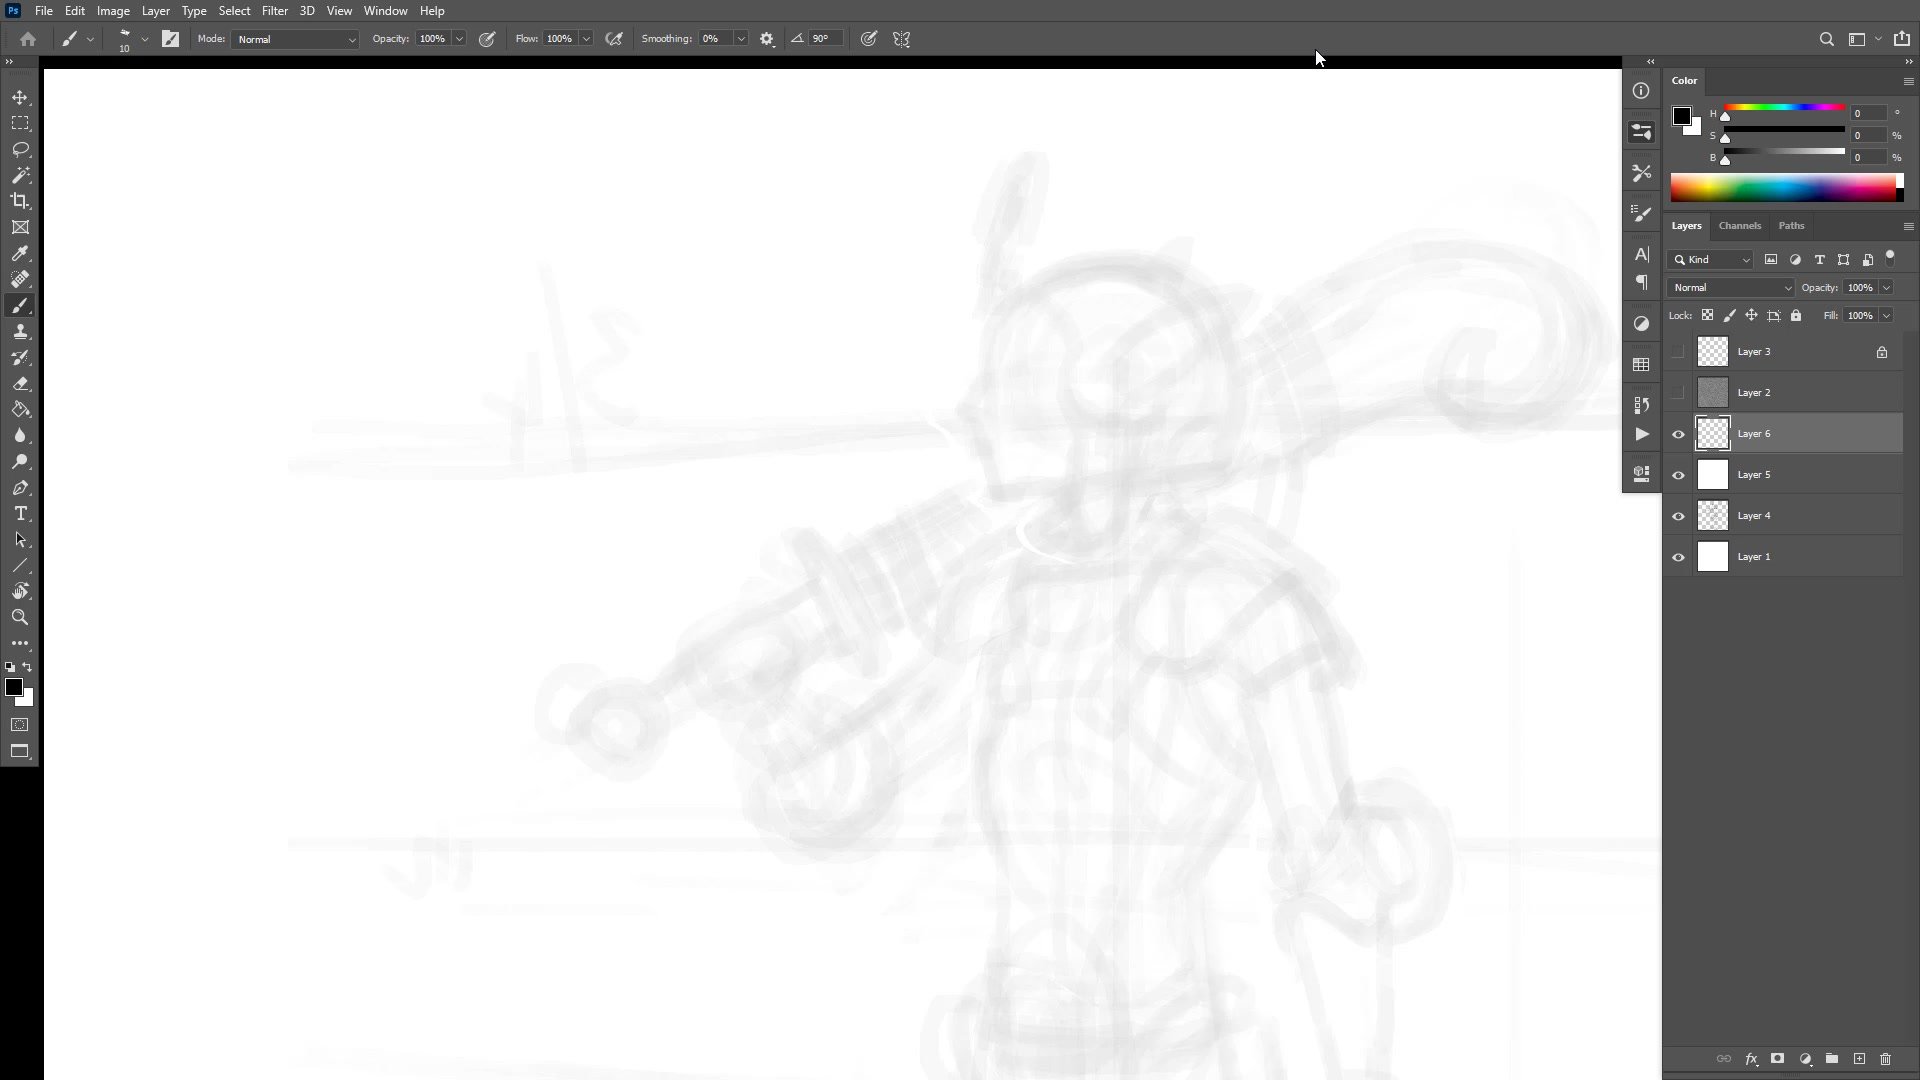
Color Workflow and Values
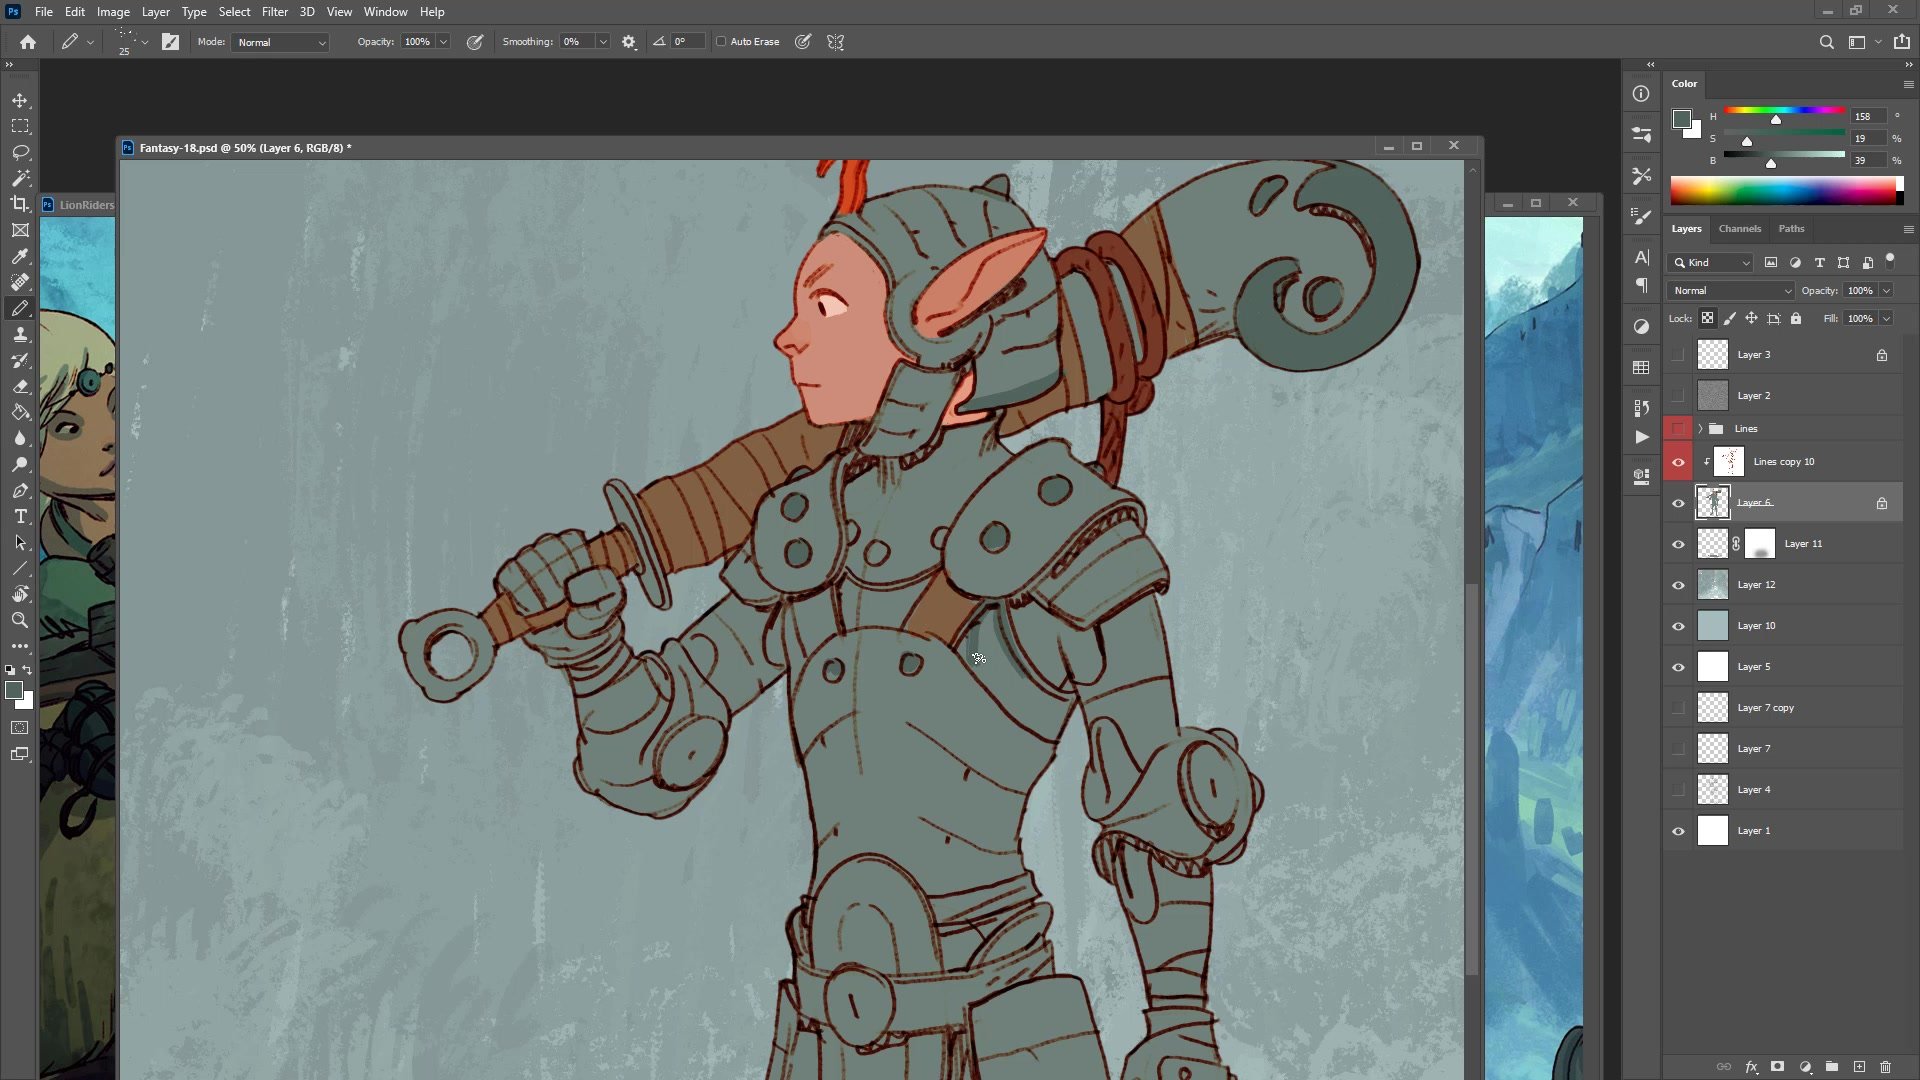
The color phase starts with a quick mask selection to separate the character, followed by establishing a base gray for the armor tone and a cooler background. A practical rule for color is introduced: keeping every color above 50 percent on the value scale prevents muddy, dark results and ensures the actual hue reads clearly. The HSB sliders serve as the guide, staying right of center on the brightness scale.
Warm and cool color contrast drives the entire color scheme. Brown leather accents, skin tones, and red design repetitions are layered against the cooler gray armor and blue-tinted background. Repetition of color elements across the design creates visual pattern and unity. The finishing passes include a simple gradient up the character for atmospheric depth, texture overlays at low opacity for surface interest, vignetting to pull focus to the face, and selective color adjustments to push foreground-background separation.
Final Character

Key Techniques
Structure Before Detail: Blocking in the rib cage, center line, and perspective grid first makes every subsequent phase faster and more accurate. Getting the structural foundation right means everything else becomes slightly downhill.
Transform Sparingly: Digital warp and transform tools are useful for quick fixes that immediately improve a drawing, but repeated tweaking without clear improvement signals the need to erase and redraw instead.
Simplify for Repeatability: Character designs intended for comics need to balance visual interest with the practical reality of redrawing them many times. Cutting back complexity and streamlining shapes is a deliberate design skill.
Color Above 50 Percent Value: Keeping all flat colors above the midpoint on the brightness scale prevents muddy results and ensures the actual hue reads clearly, especially in a line and color illustration style.
Warm-Cool Contrast: Using warm and cool temperature shifts across the color scheme creates visual interest even with a limited palette. Repetition of color accents like the red and brown elements unifies the design.
Try This Process
Start Structural: Pick a character idea and spend 15 to 20 minutes placing only structural marks. Rib cage, center line, perspective lines, and major proportions. Resist adding any detail until the full figure is blocked in with correct relative placement.
Design Through Iteration: On a new layer with the structure faded underneath, draw the character with focus on keeping design elements simple enough to redraw. If any part gets too complicated, erase it and find a simpler version that still reads well.
Apply the Color Rule: When laying flat colors, keep every value above 50 percent brightness on the HSB slider. Use warm and cool temperature shifts rather than dark and light to create variety across the character.


