Real-Time Color Process for Comic Book Covers
Summary
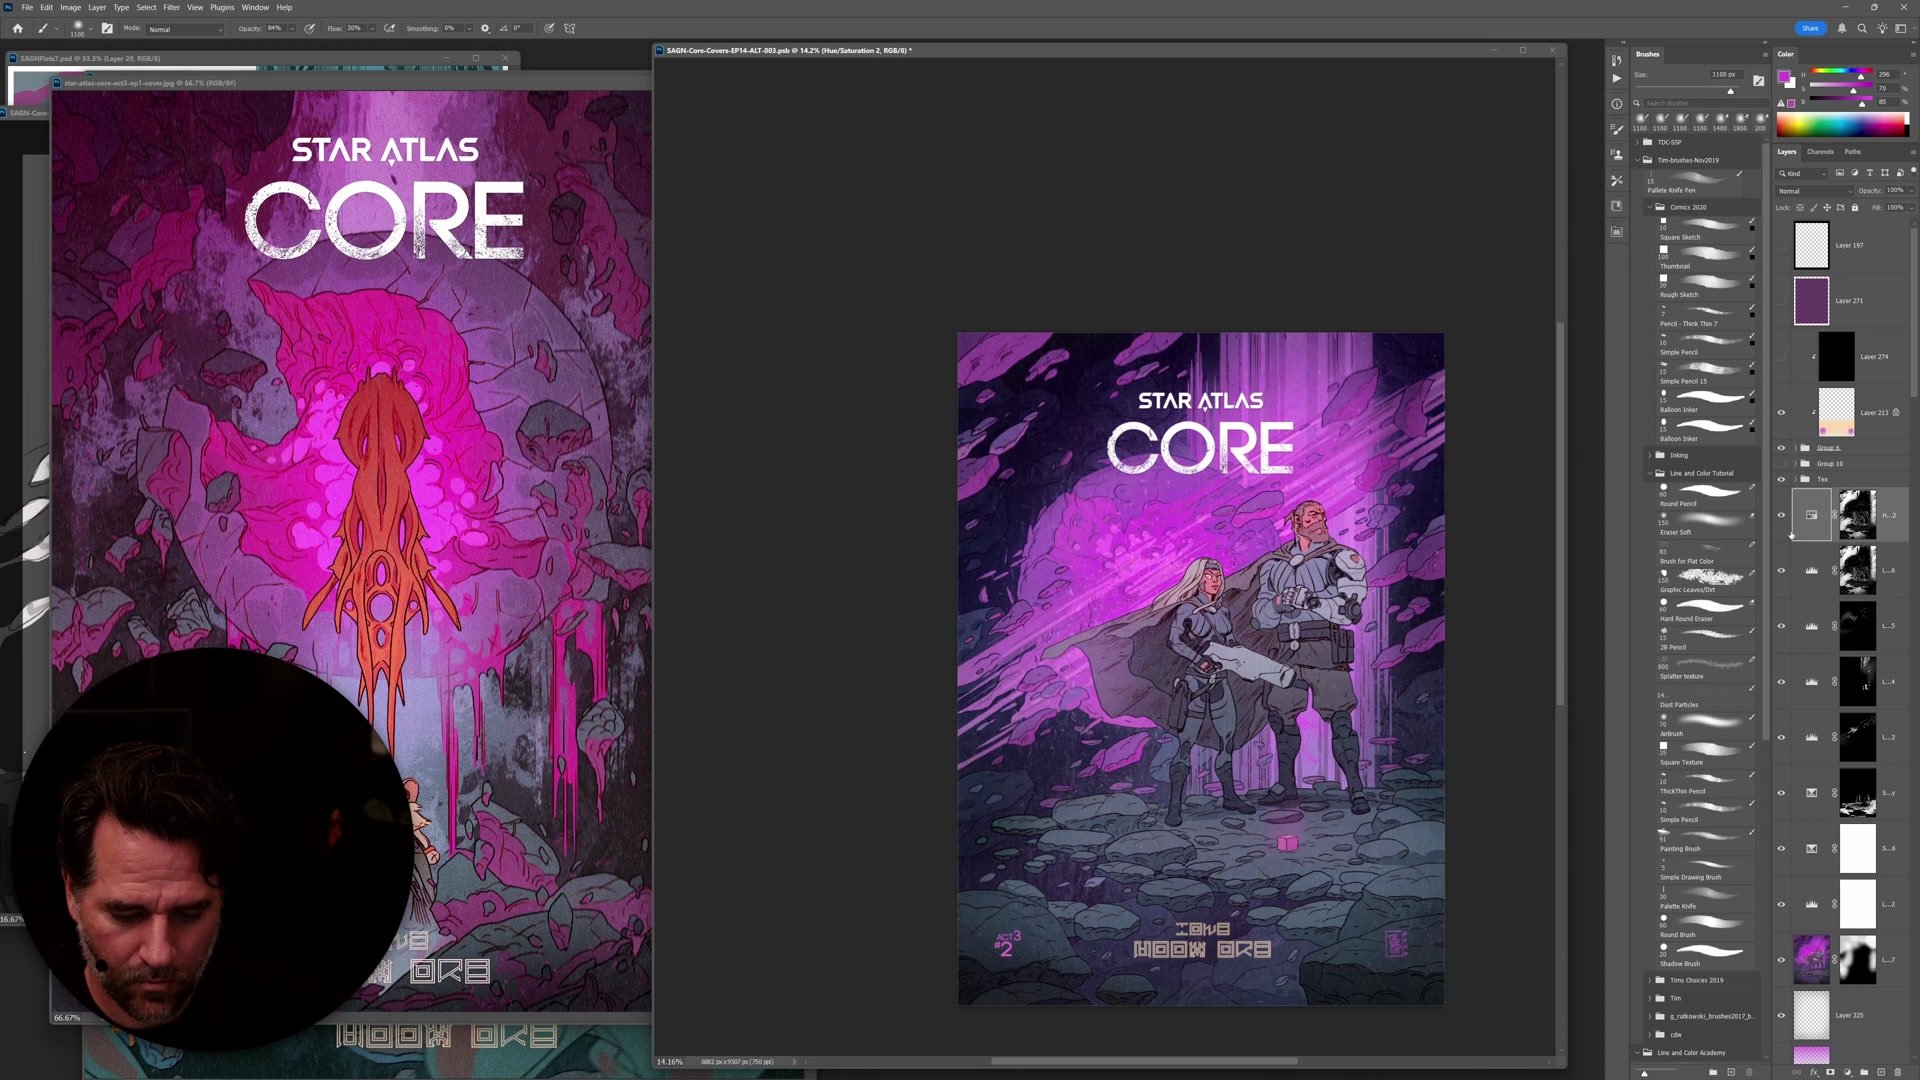
Comic Cover Color Process
This nearly two-hour studio session covers the complete color phase for a retro sci-fi comic book cover. Part three of a three-part series, this session takes a finished set of inked lines and works them up to a fully colored illustration with texture, atmosphere, and production polish.
The session demonstrates how the line and color process creates massive leverage at the color stage. Because all lines are closed and organized from earlier phases, flatting becomes almost automatic. Photoshop's selection tools do in seconds what would take hours by hand, turning the color phase into something closer to meditative flow than stressful problem-solving.
Setting Up the Flats

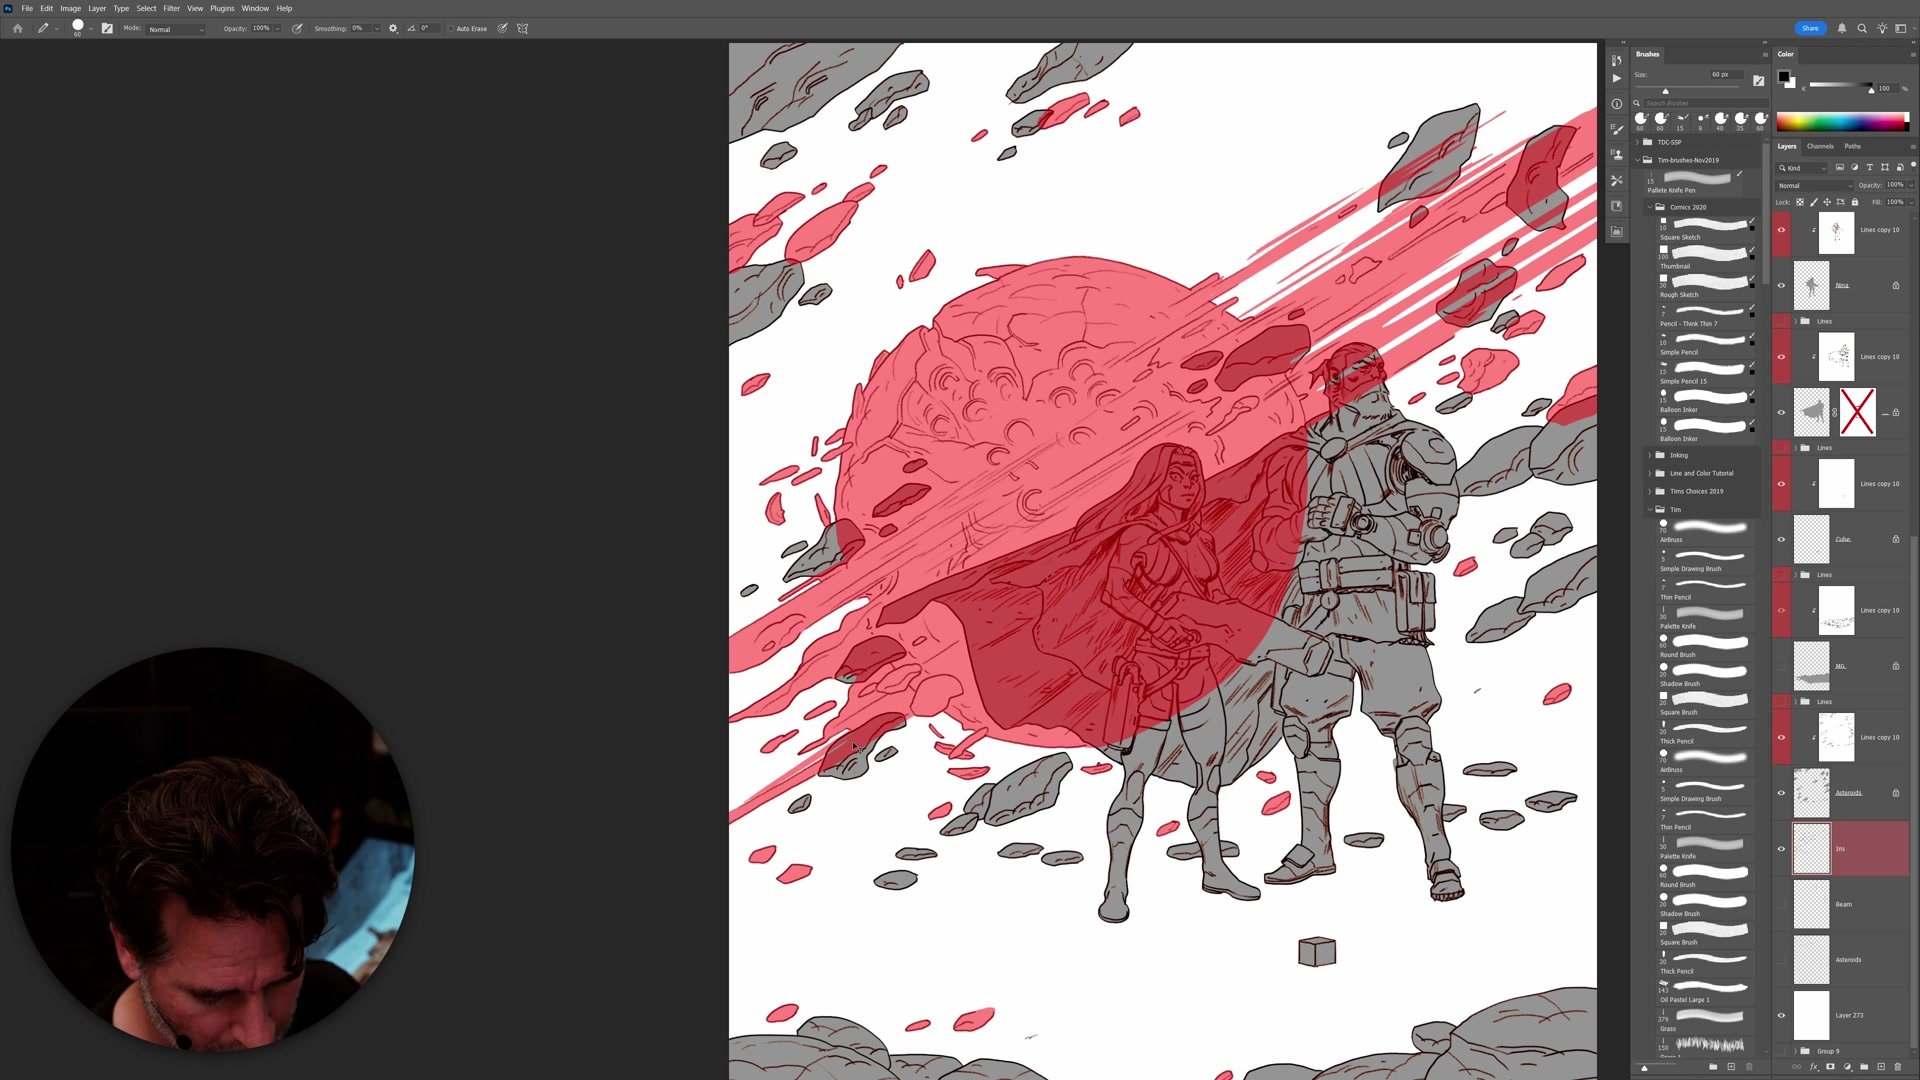

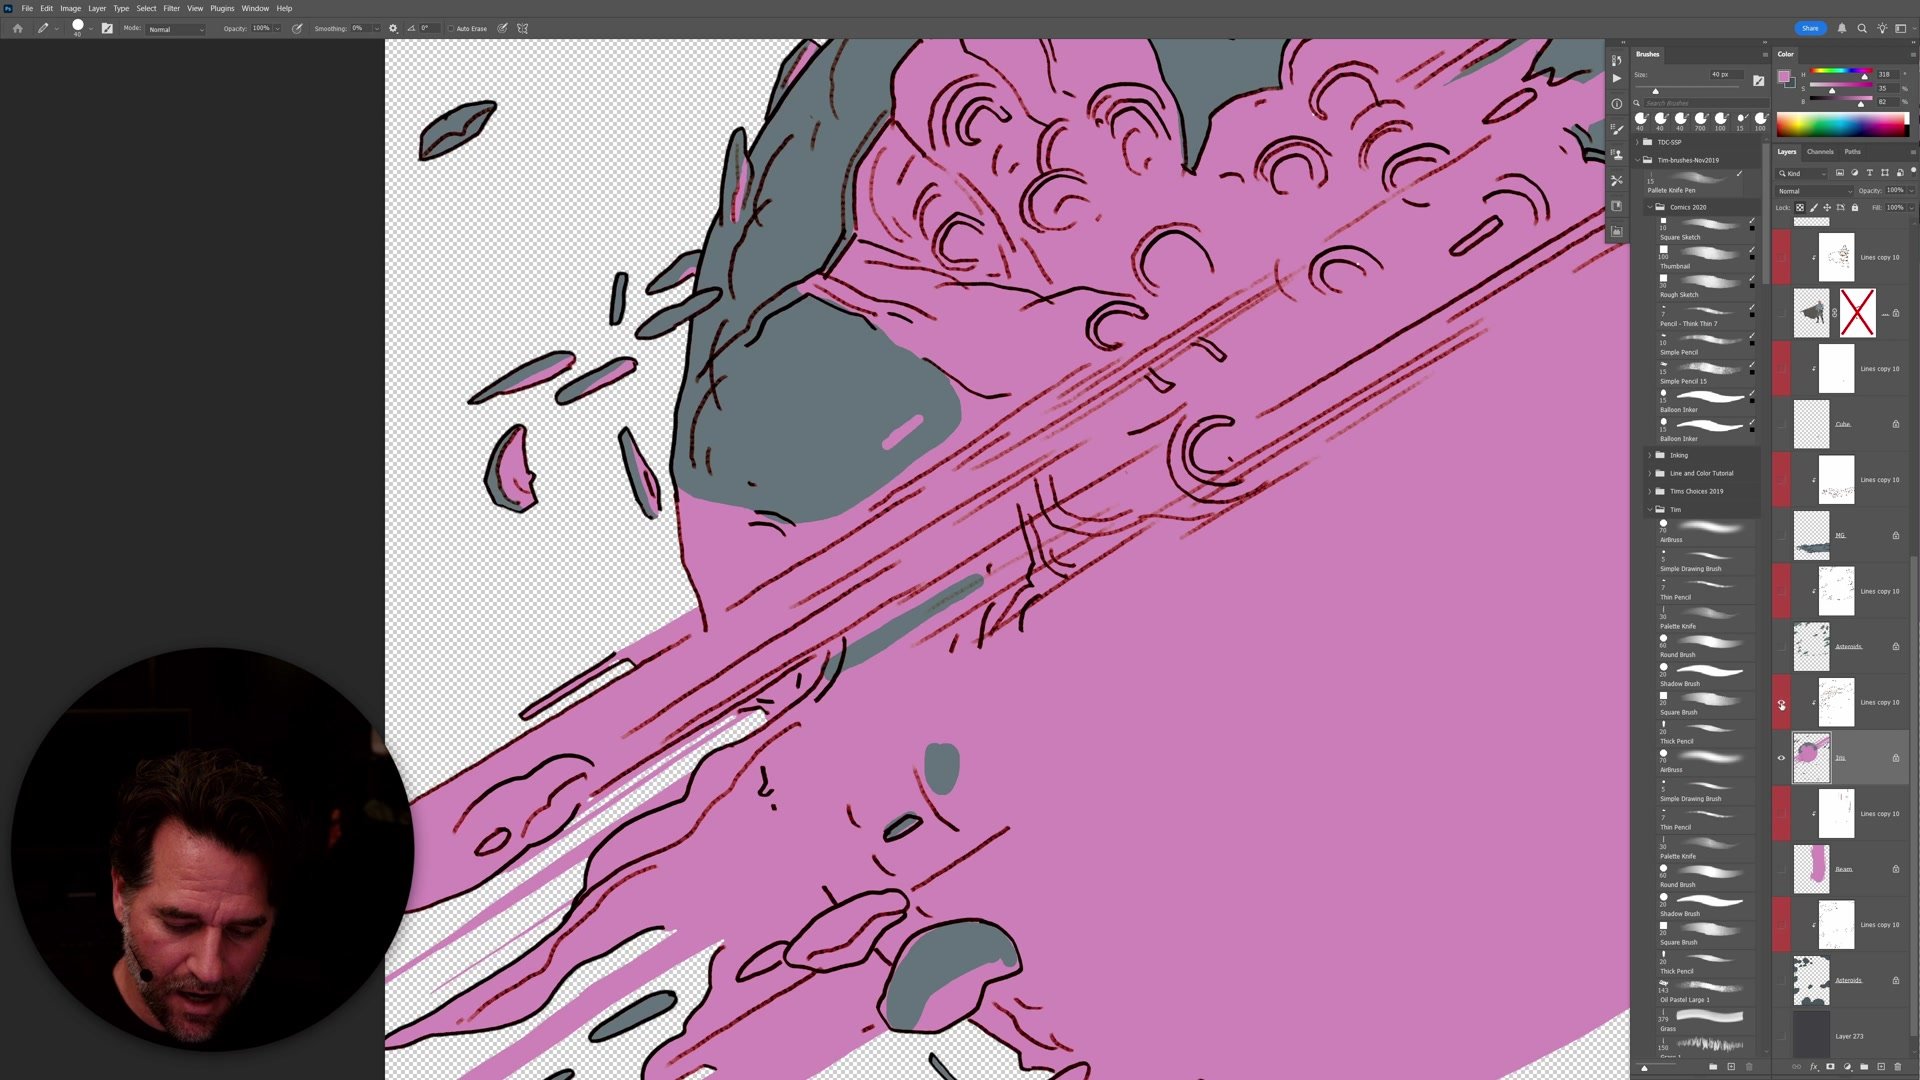
Flatting as Selection Building
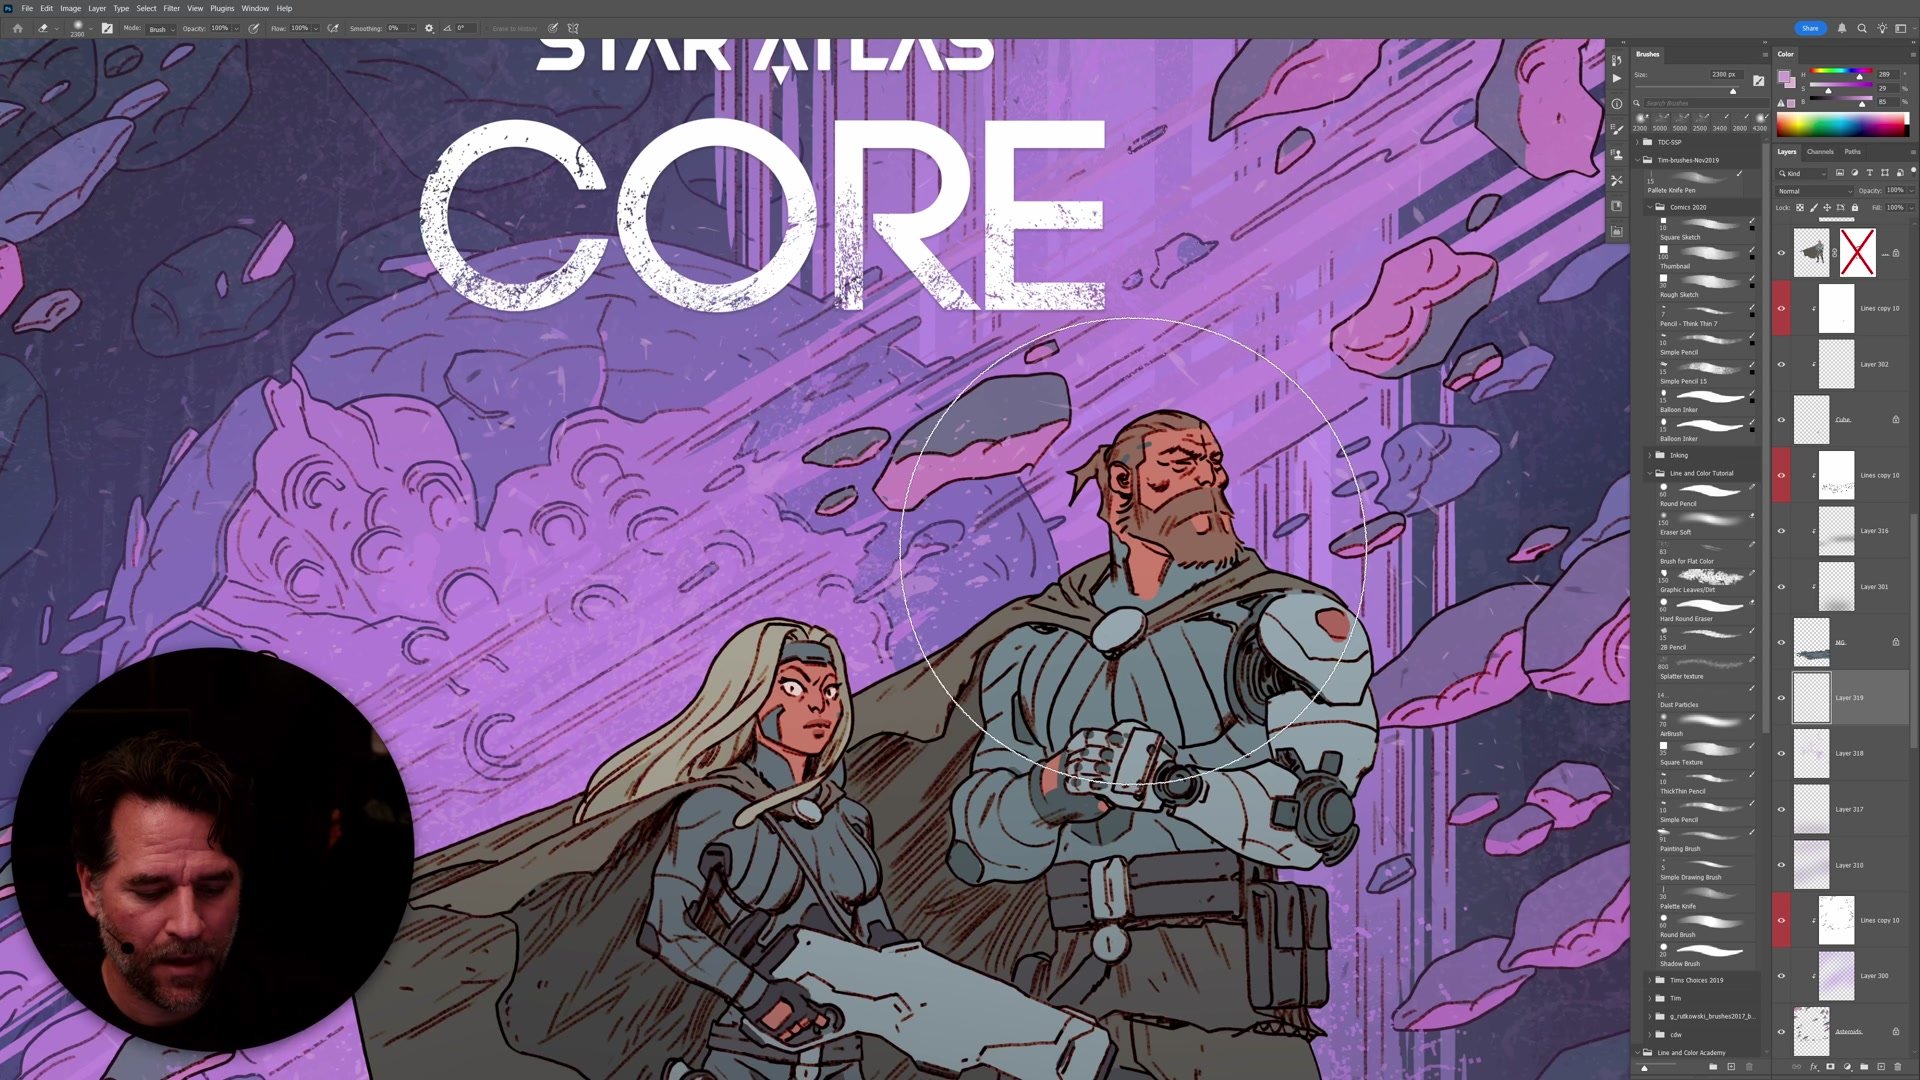
Flatting is not about choosing final colors. It is about creating selections. Every element in the illustration gets its own flat color on its own layer, working systematically from foreground to background. Characters flat first, then rocks and background elements, maintaining the same logic established during inking.
The process relies on Photoshop's magic wand set to zero tolerance with contiguous on, selecting white space, then using quick mask to isolate the lines. A custom Photoshop action bound to a keyboard shortcut automates the layer creation, making the flatting of complex shapes take minutes rather than hours. High resolution matters here because more pixels mean more precision when contracting or expanding selections by single pixels to fine-tune edges. The work can be resized down afterward, but the selection fidelity gained at high resolution is worth preserving through this phase.
Character Color Development
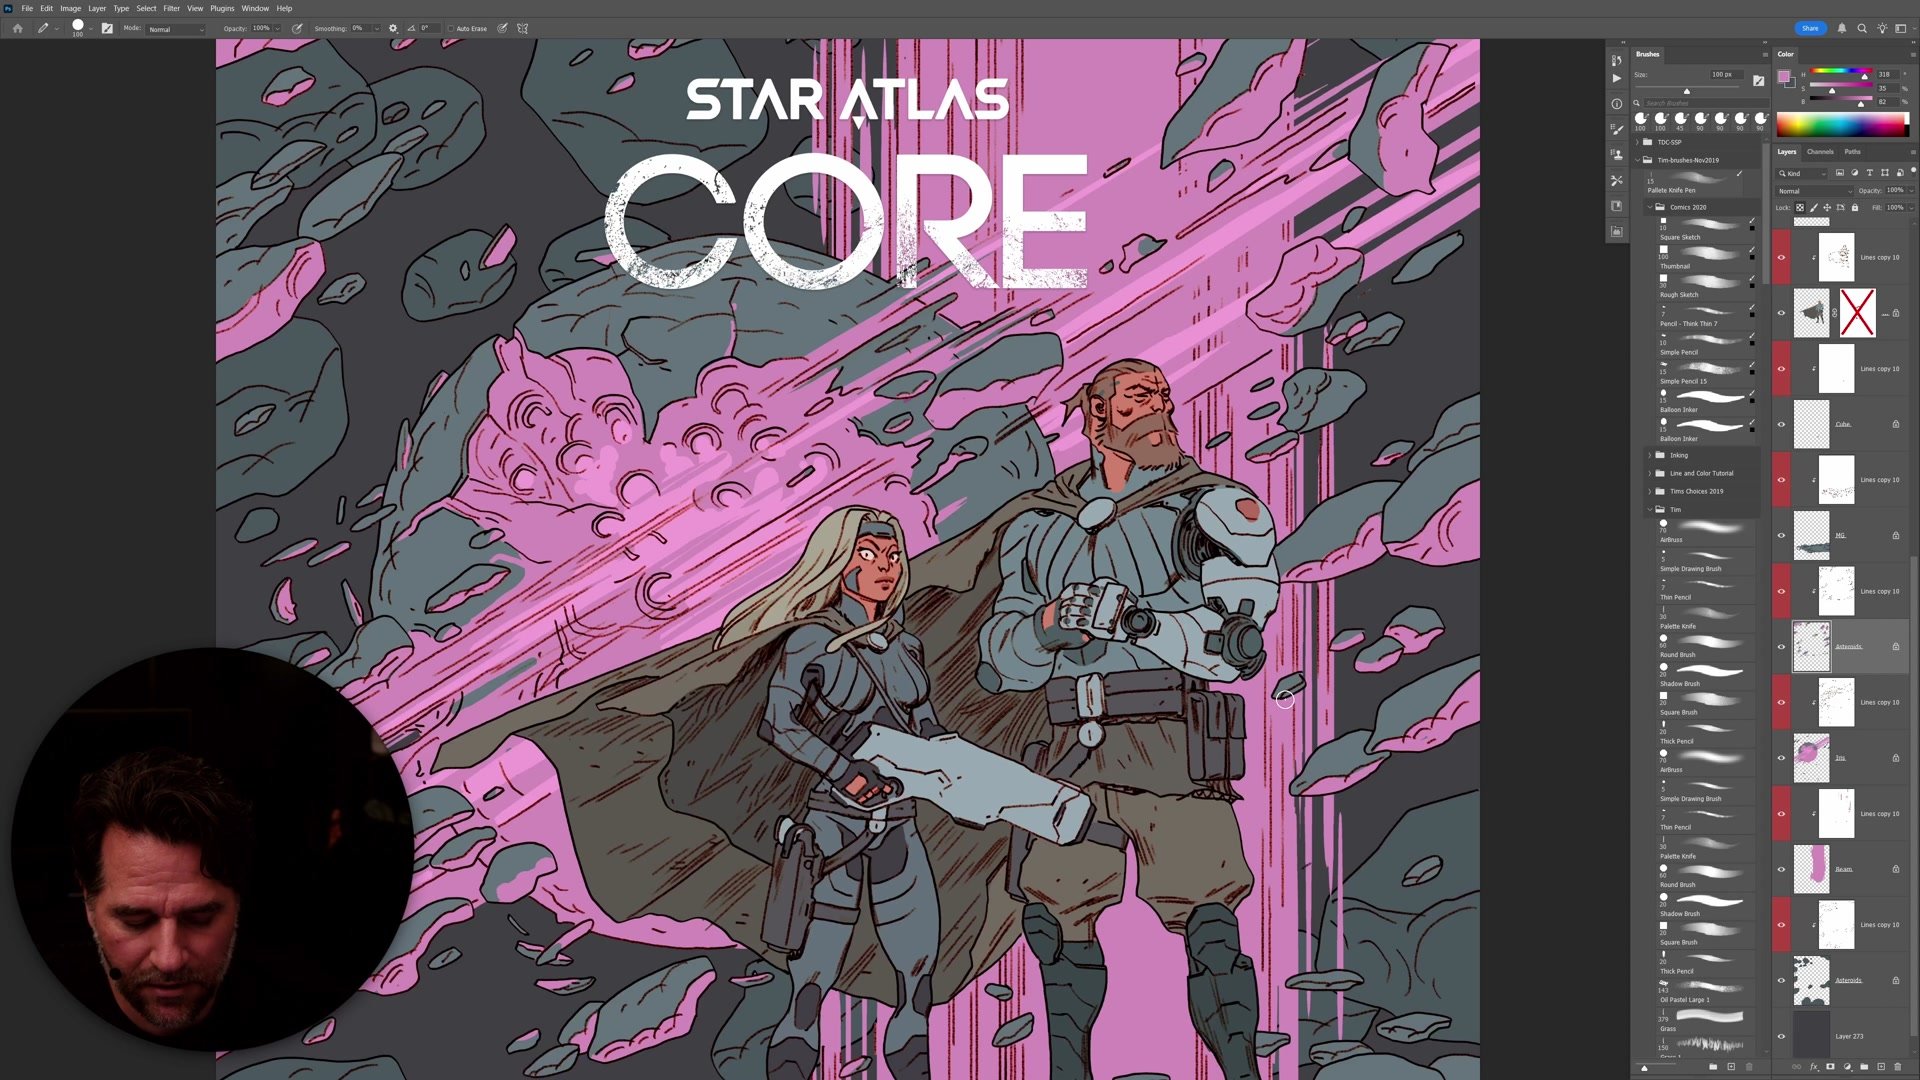
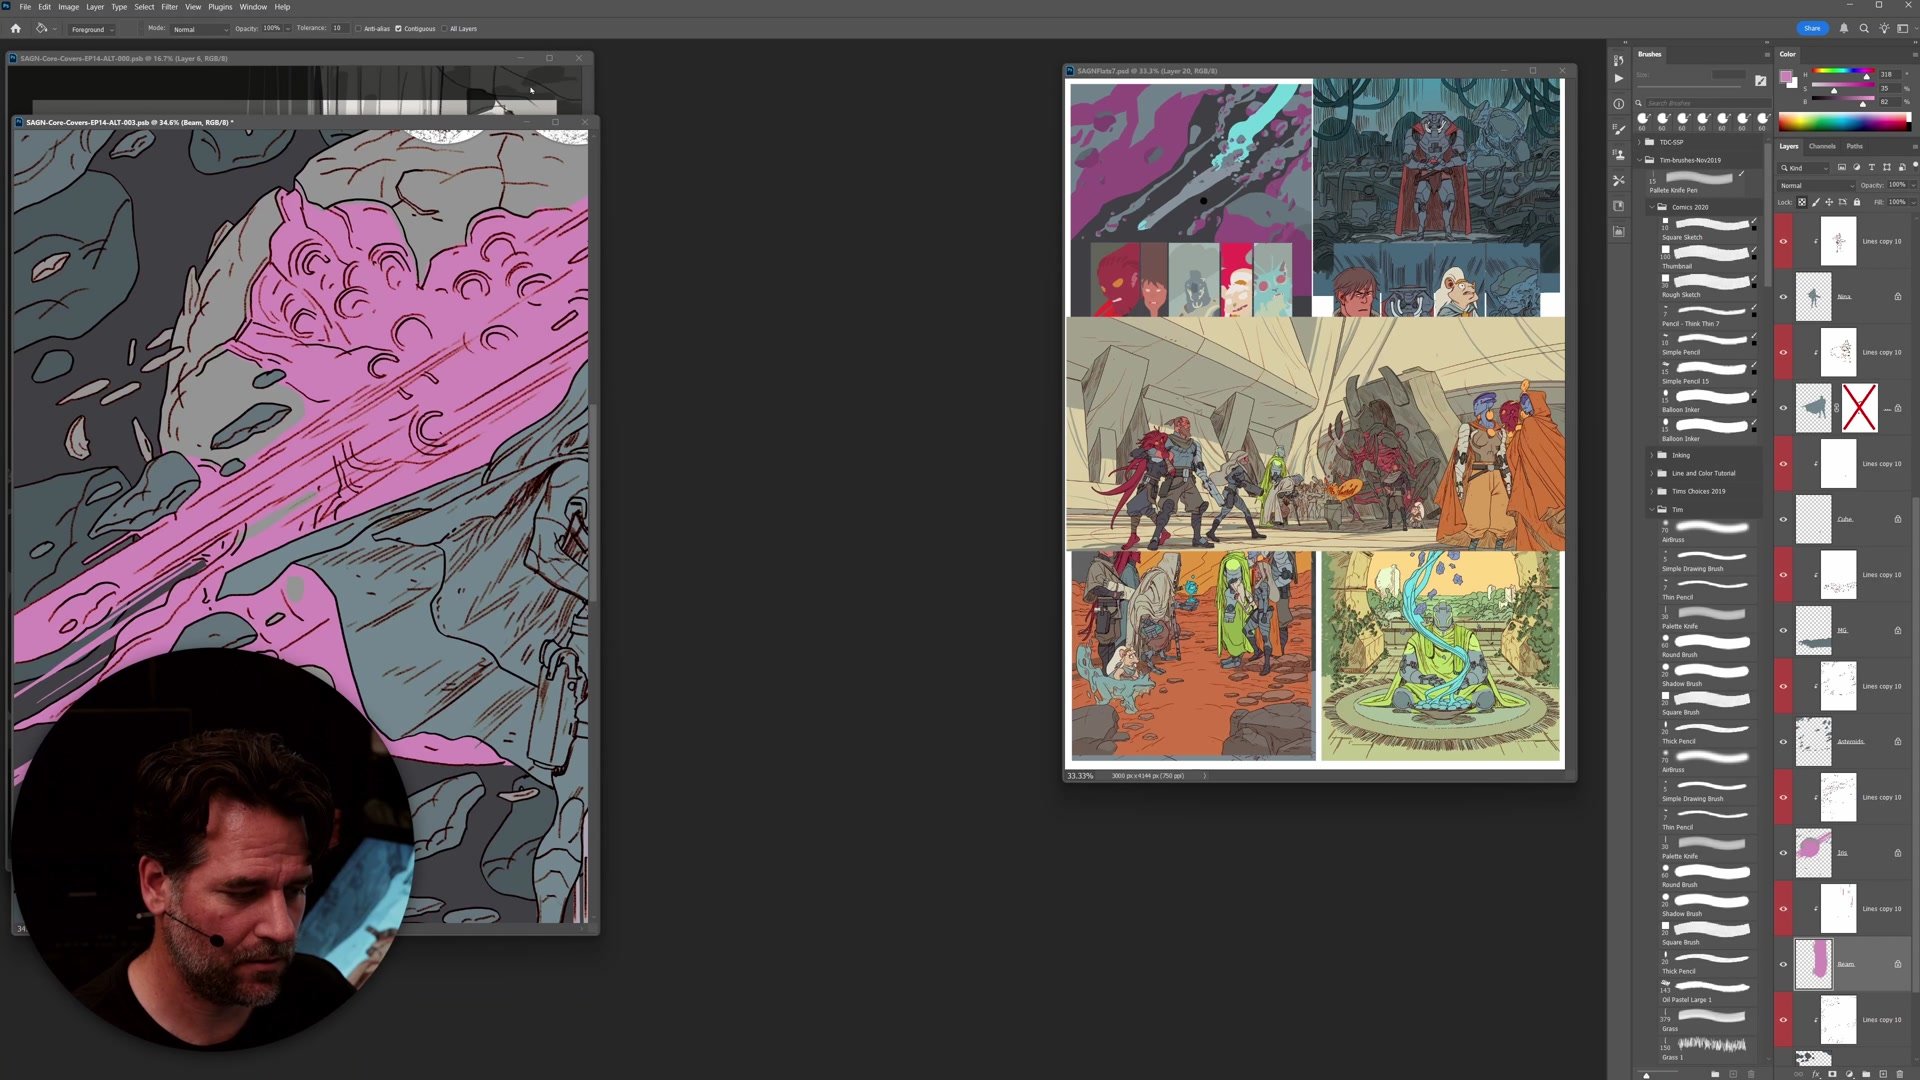
Sci-Fi Color and Gamut
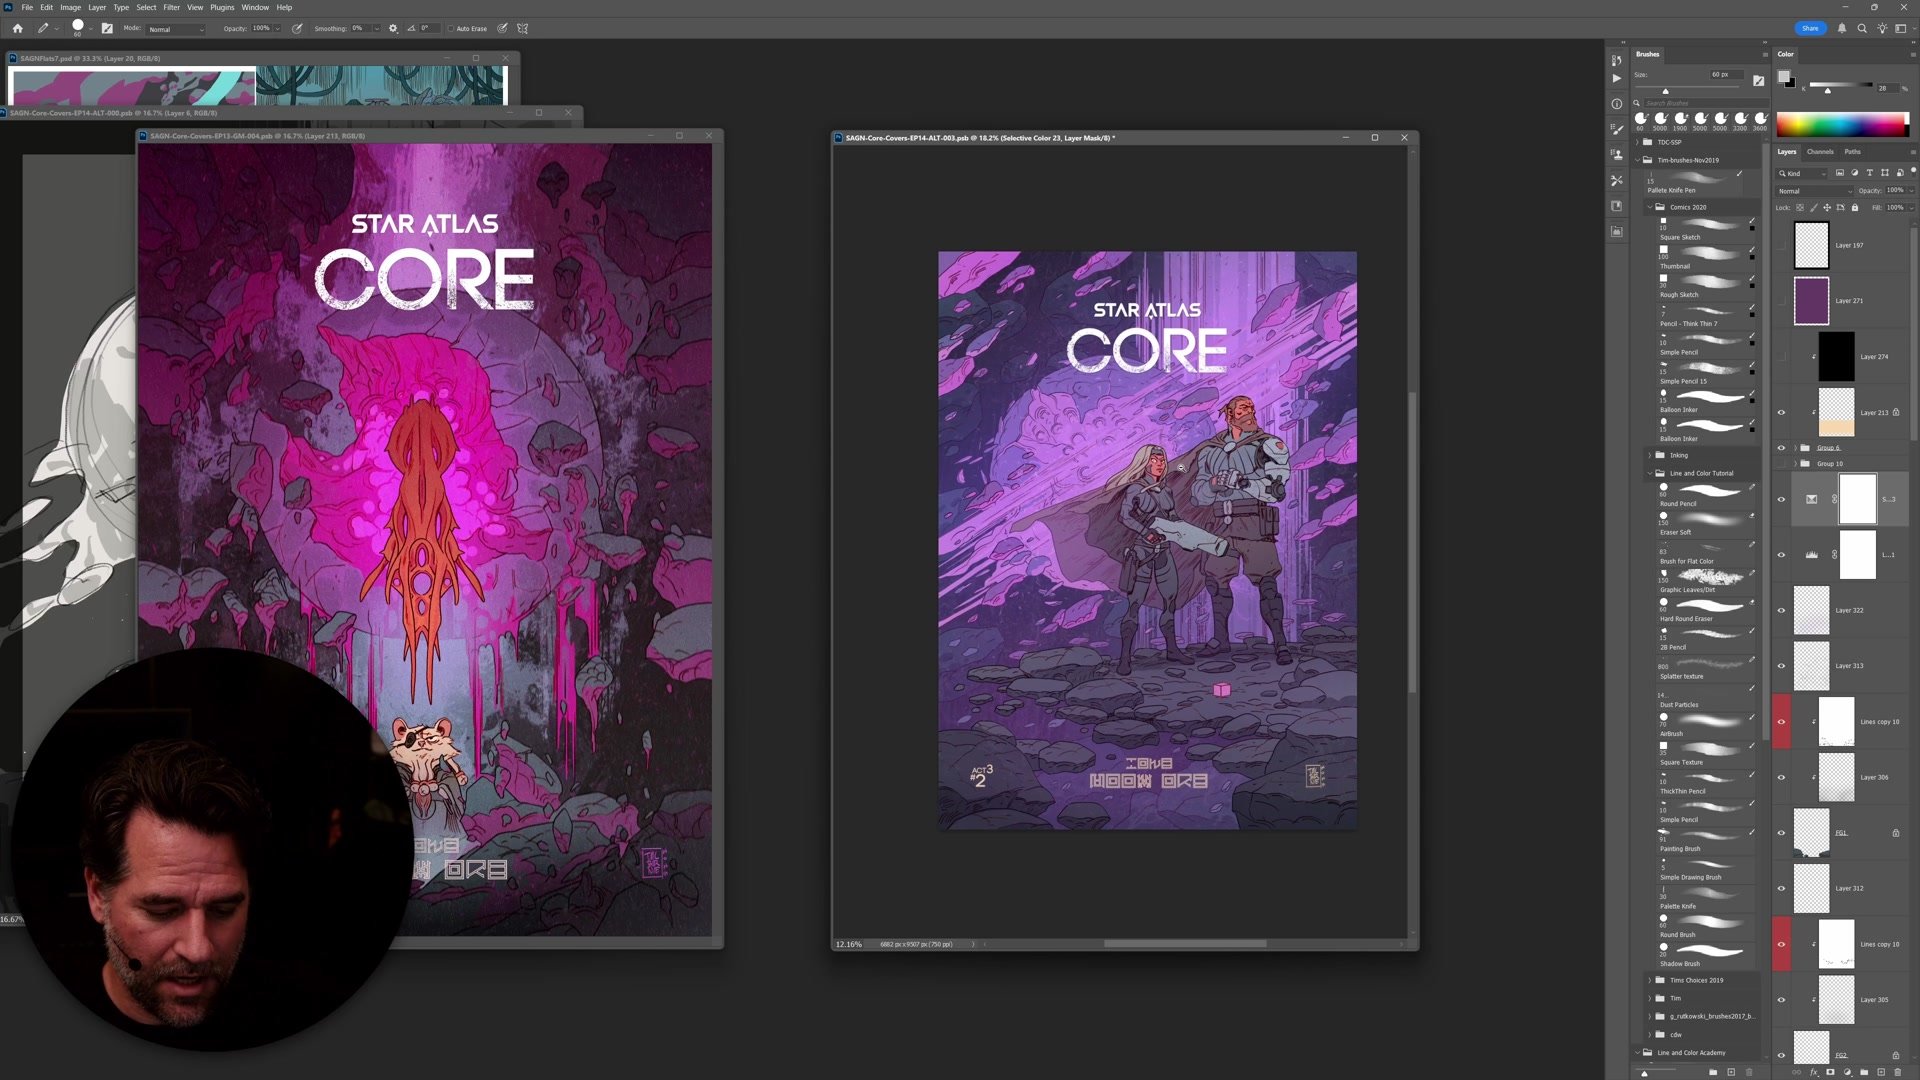
Science fiction covers benefit from bold, iconic color choices rather than realistic ones. The dominant purple creates a cosmic atmosphere while warmer skin tones on the characters provide contrast. The planet core's bright pink functions as a focal point that draws the eye through the composition.
Color gamut becomes a real consideration for digital work. Highly saturated colors display brilliantly on screens but fall outside printable gamut. For digital-first comics, pushing saturation beyond print limits creates visual impact impossible in traditional media. The practical approach is to create the most vibrant version for digital display and produce a print-adjusted version separately if needed. On an OLED display, the colors are so vibrant that no other medium can match them, making a strong case for the future of digital comics.
Gradients and Atmosphere
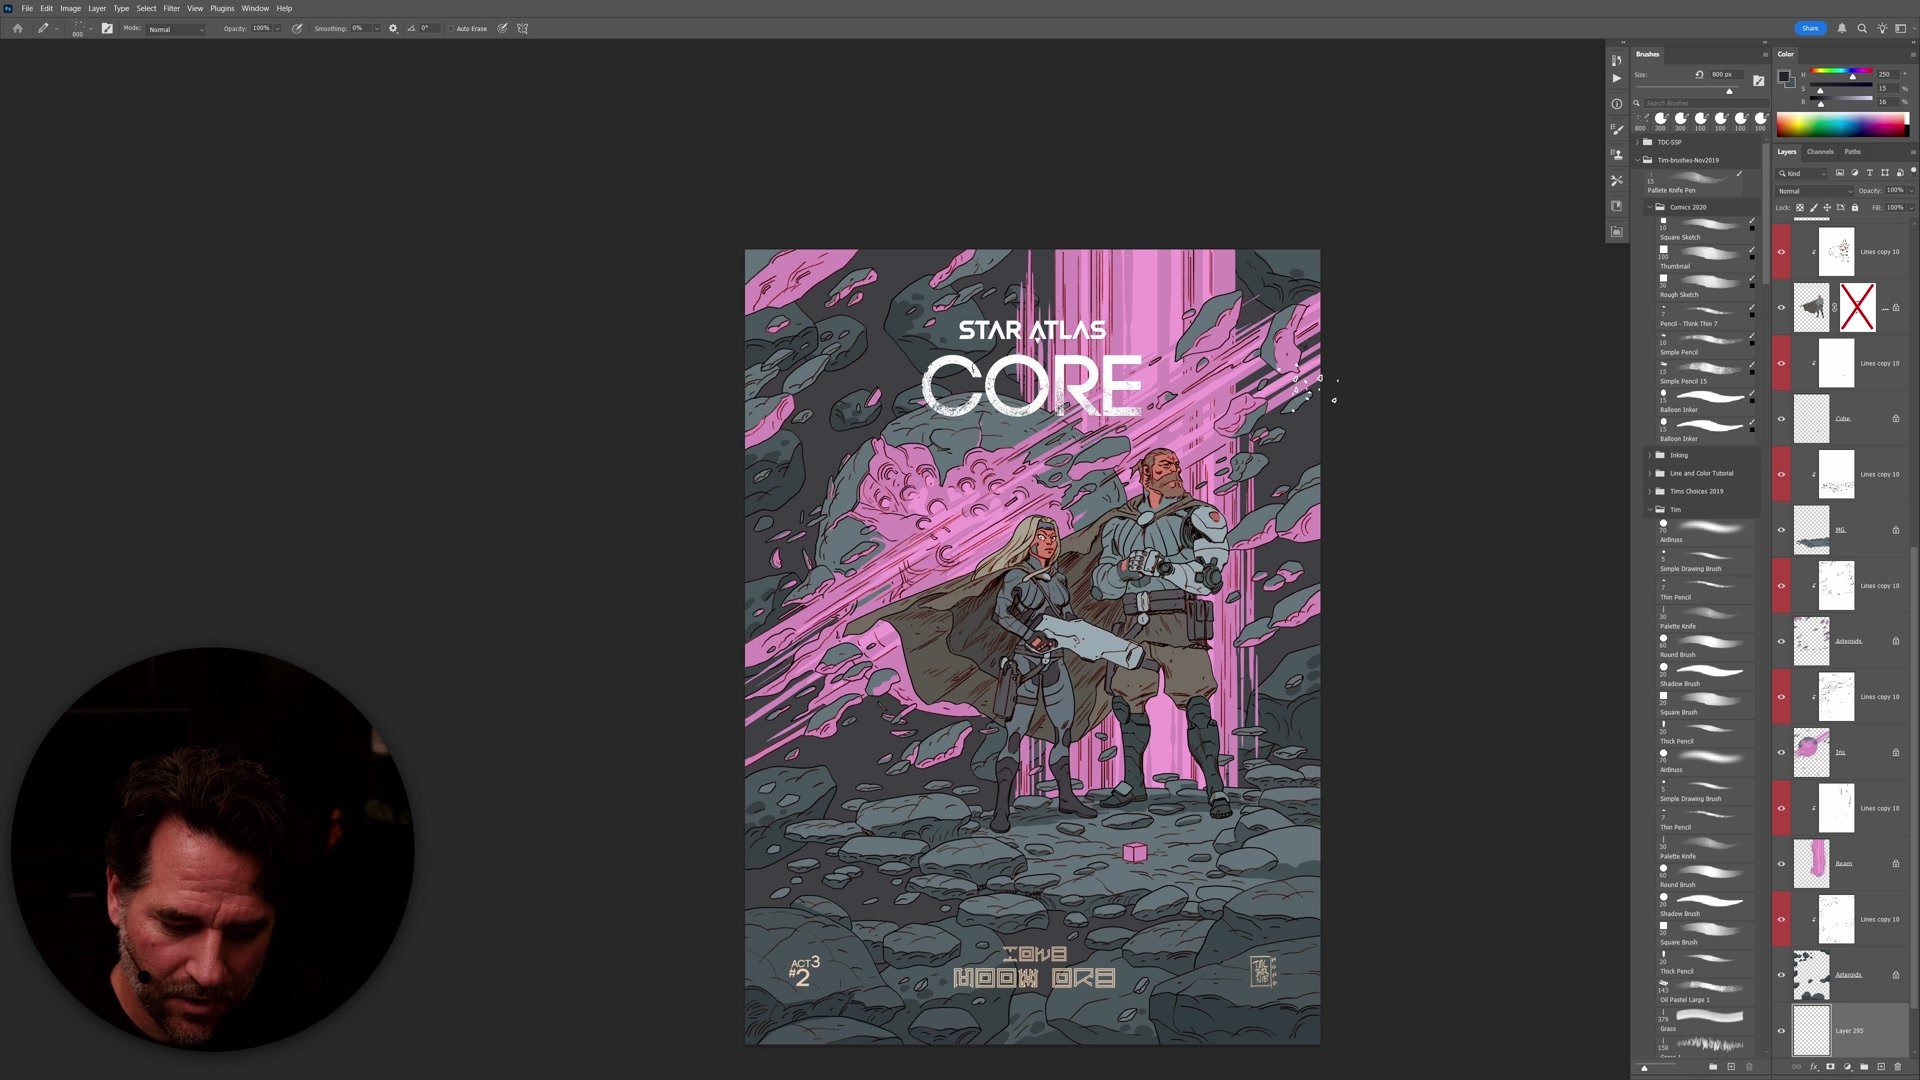
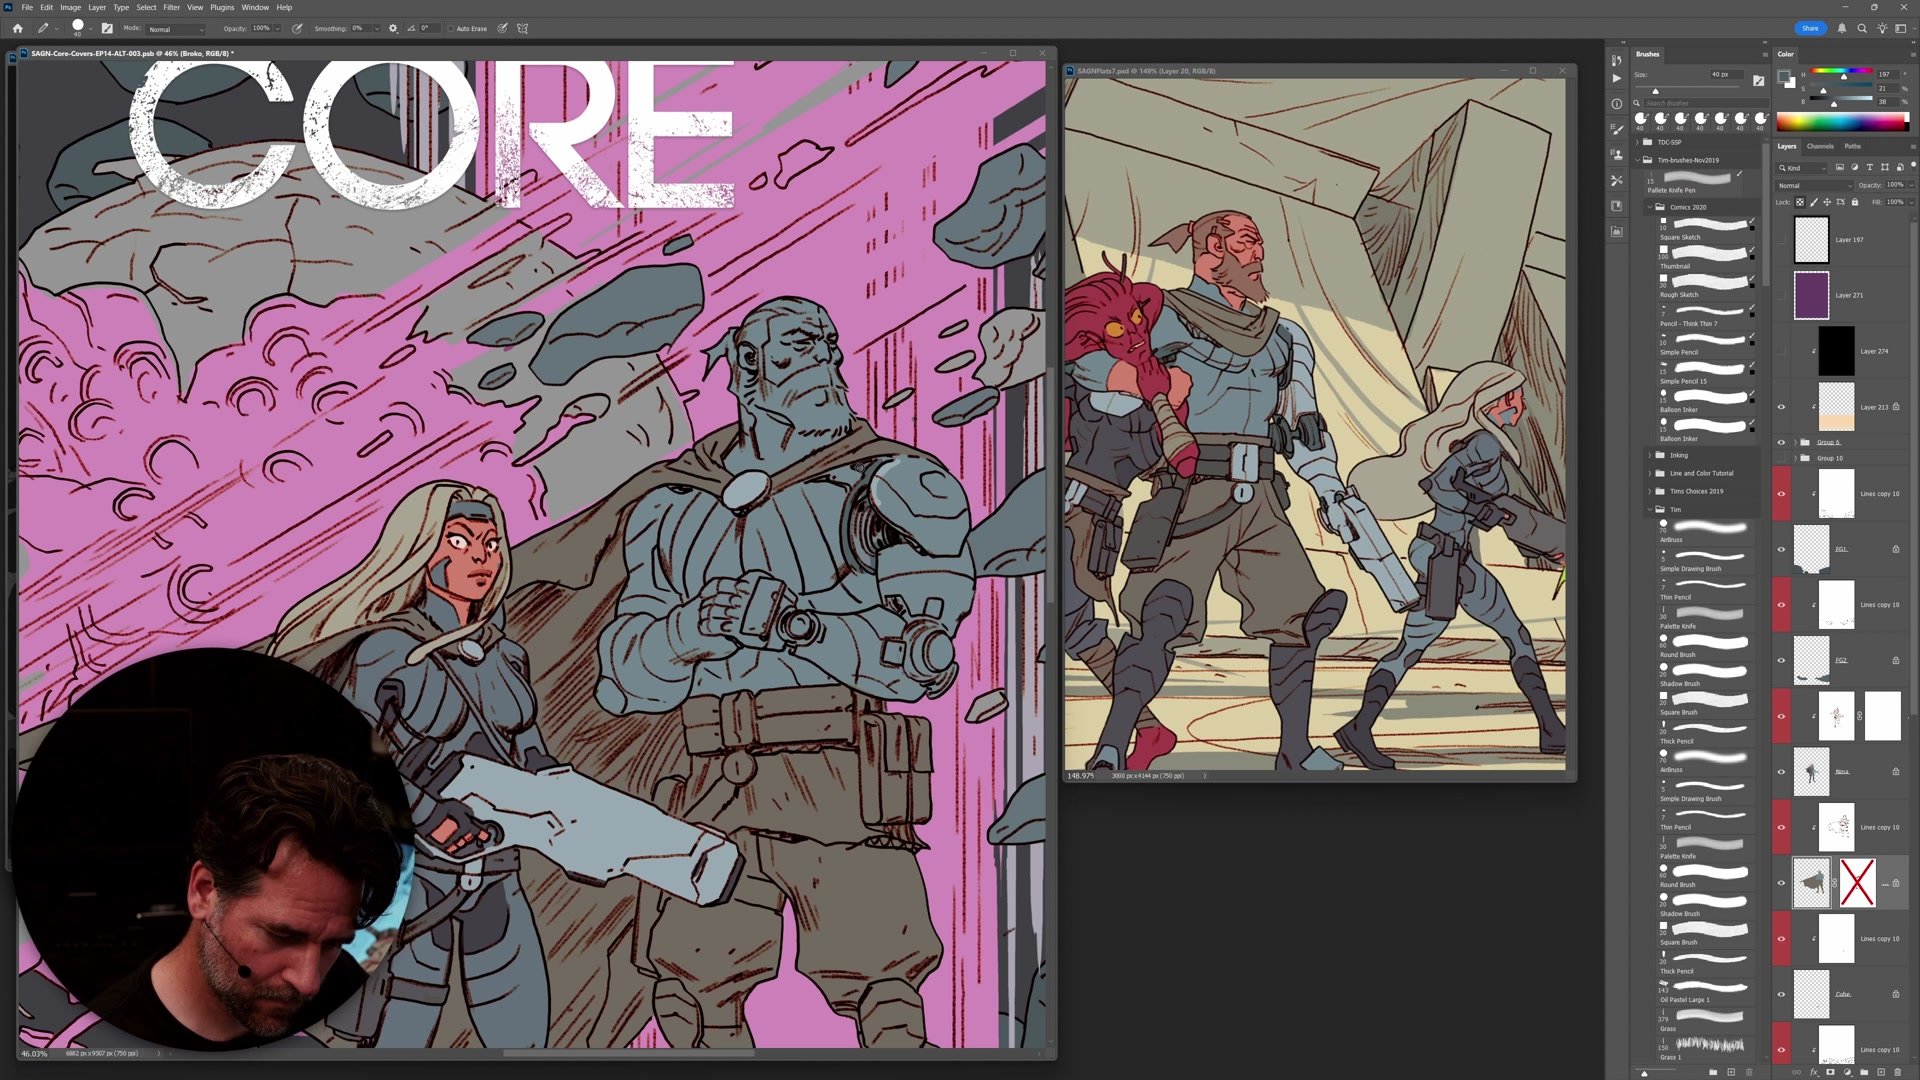
Polish Through Simple Techniques
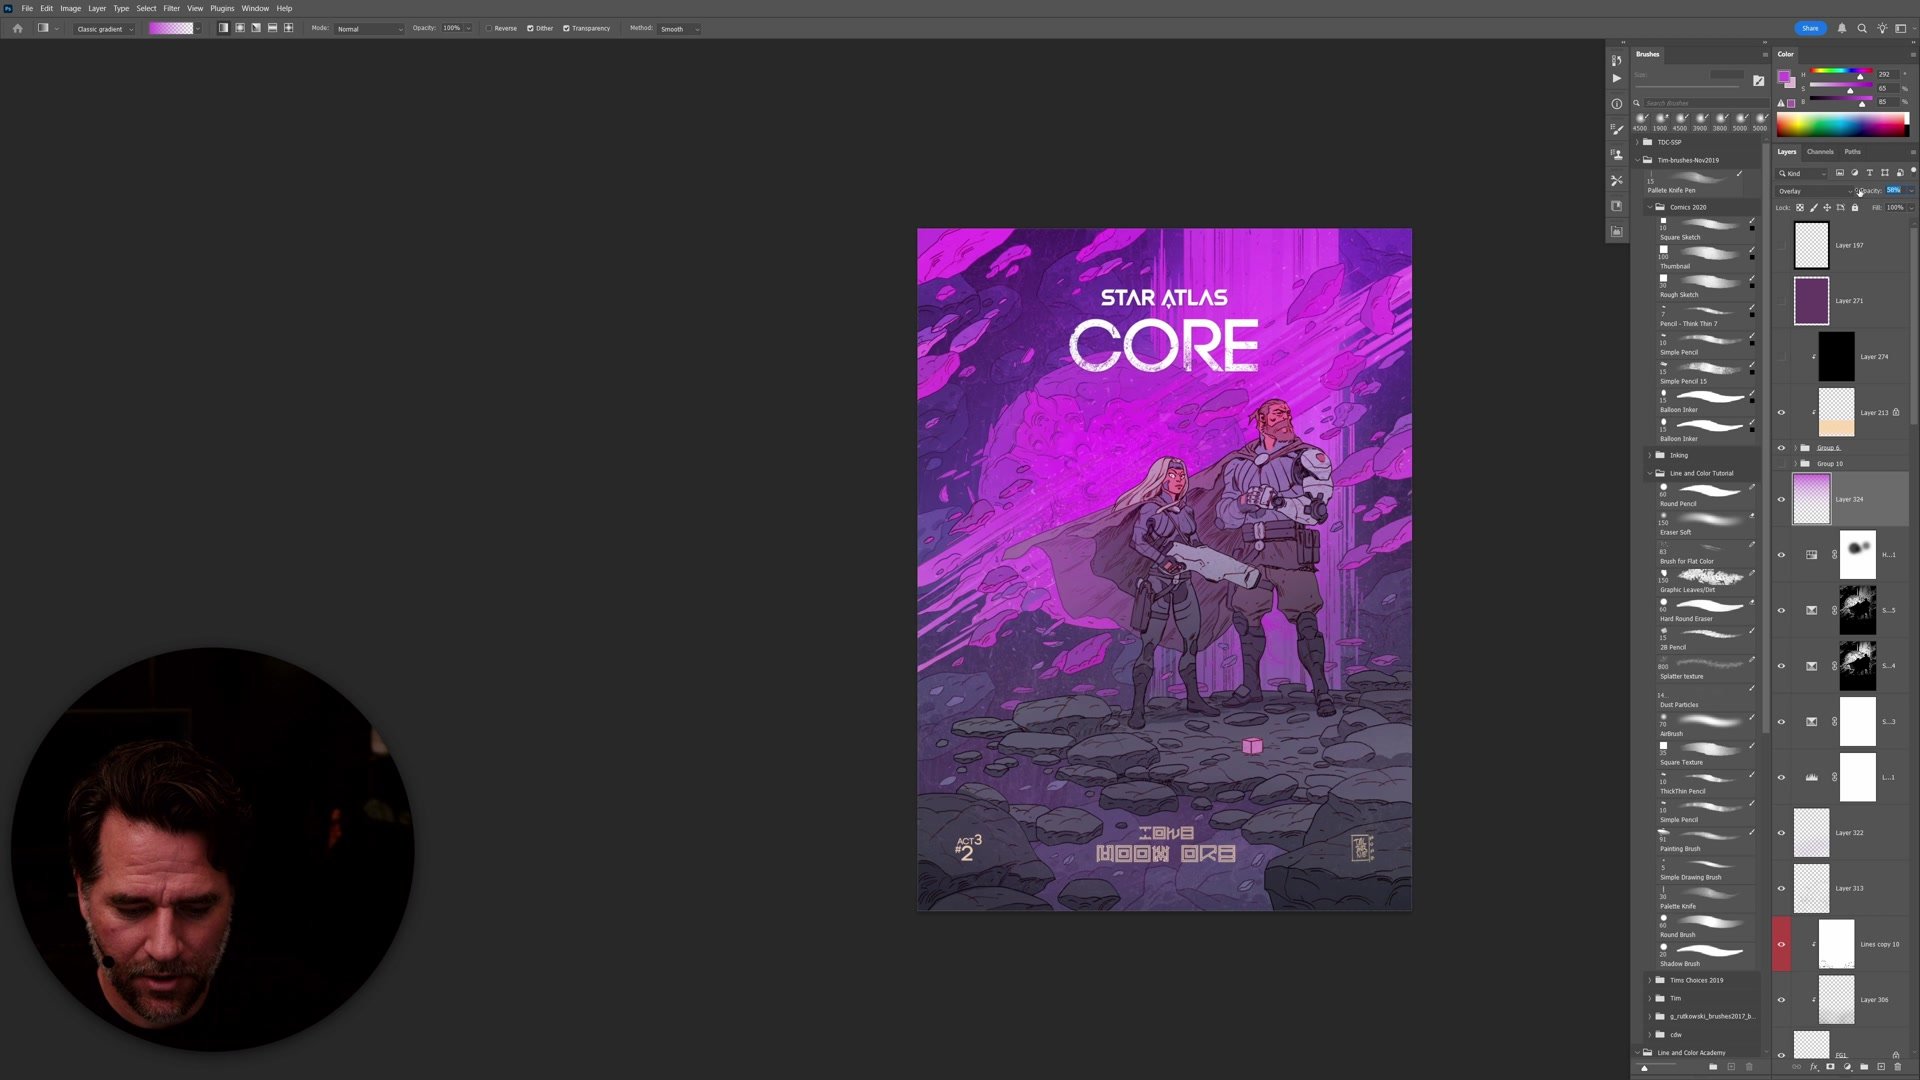
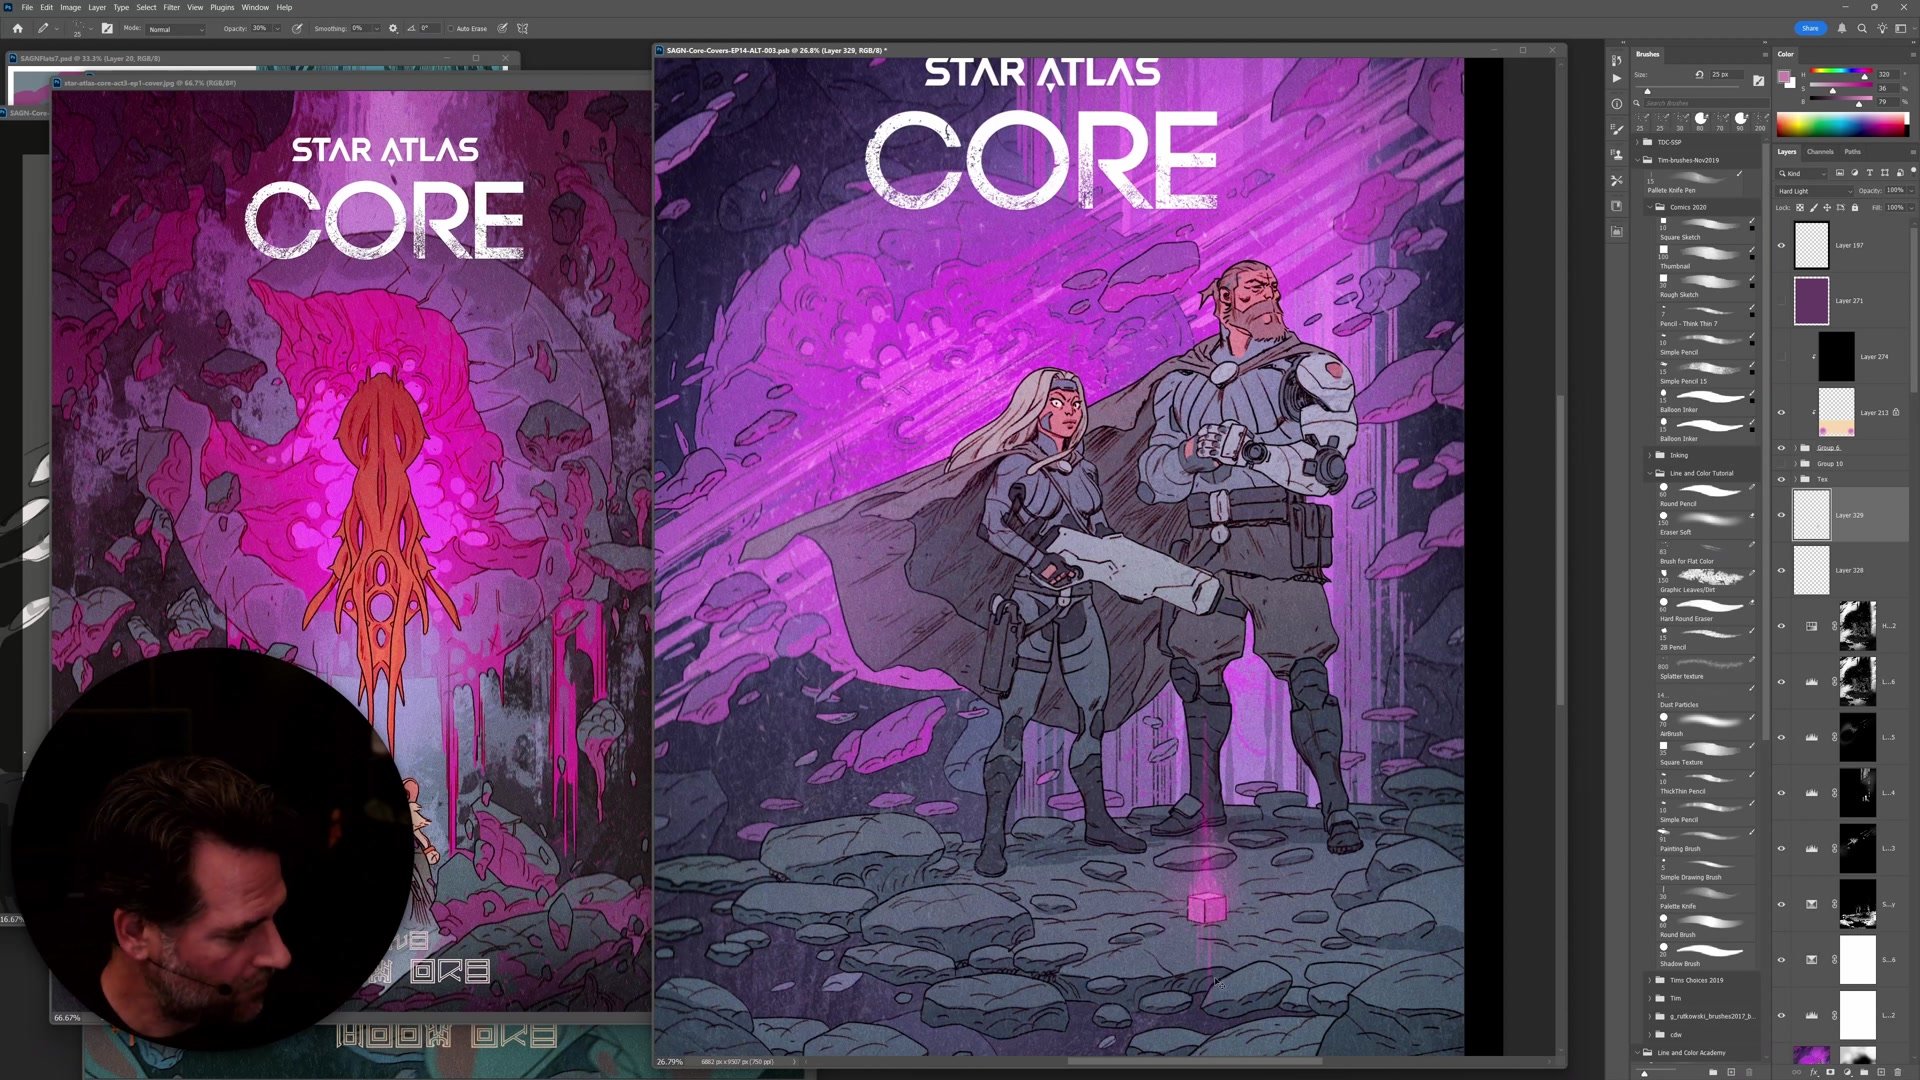
Simple gradients with a basic airbrush at low opacity transform flat coloring into dimensional illustration. Running a gradient up each character grounds them in the scene. Atmospheric gradients across the background create a sense of depth and space. These are not sophisticated techniques, but their power comes from systematic application and restraint.
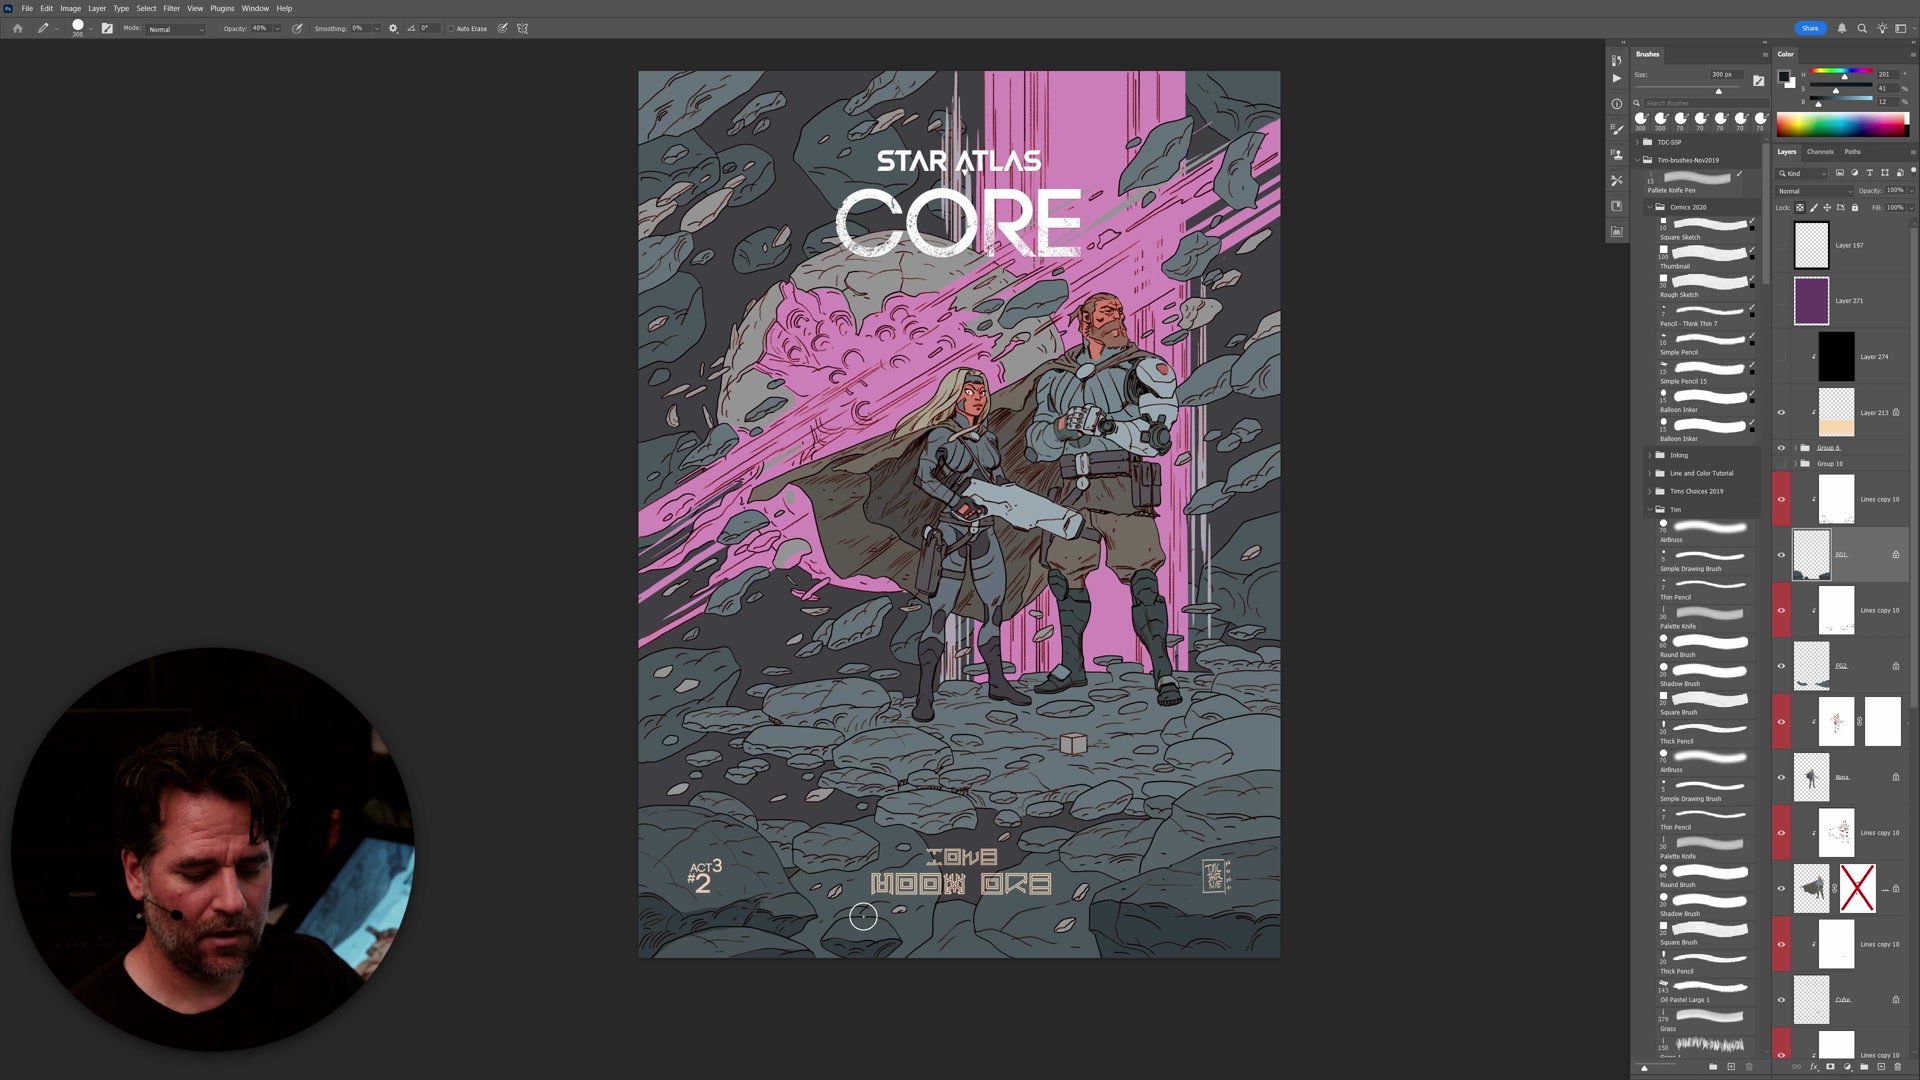
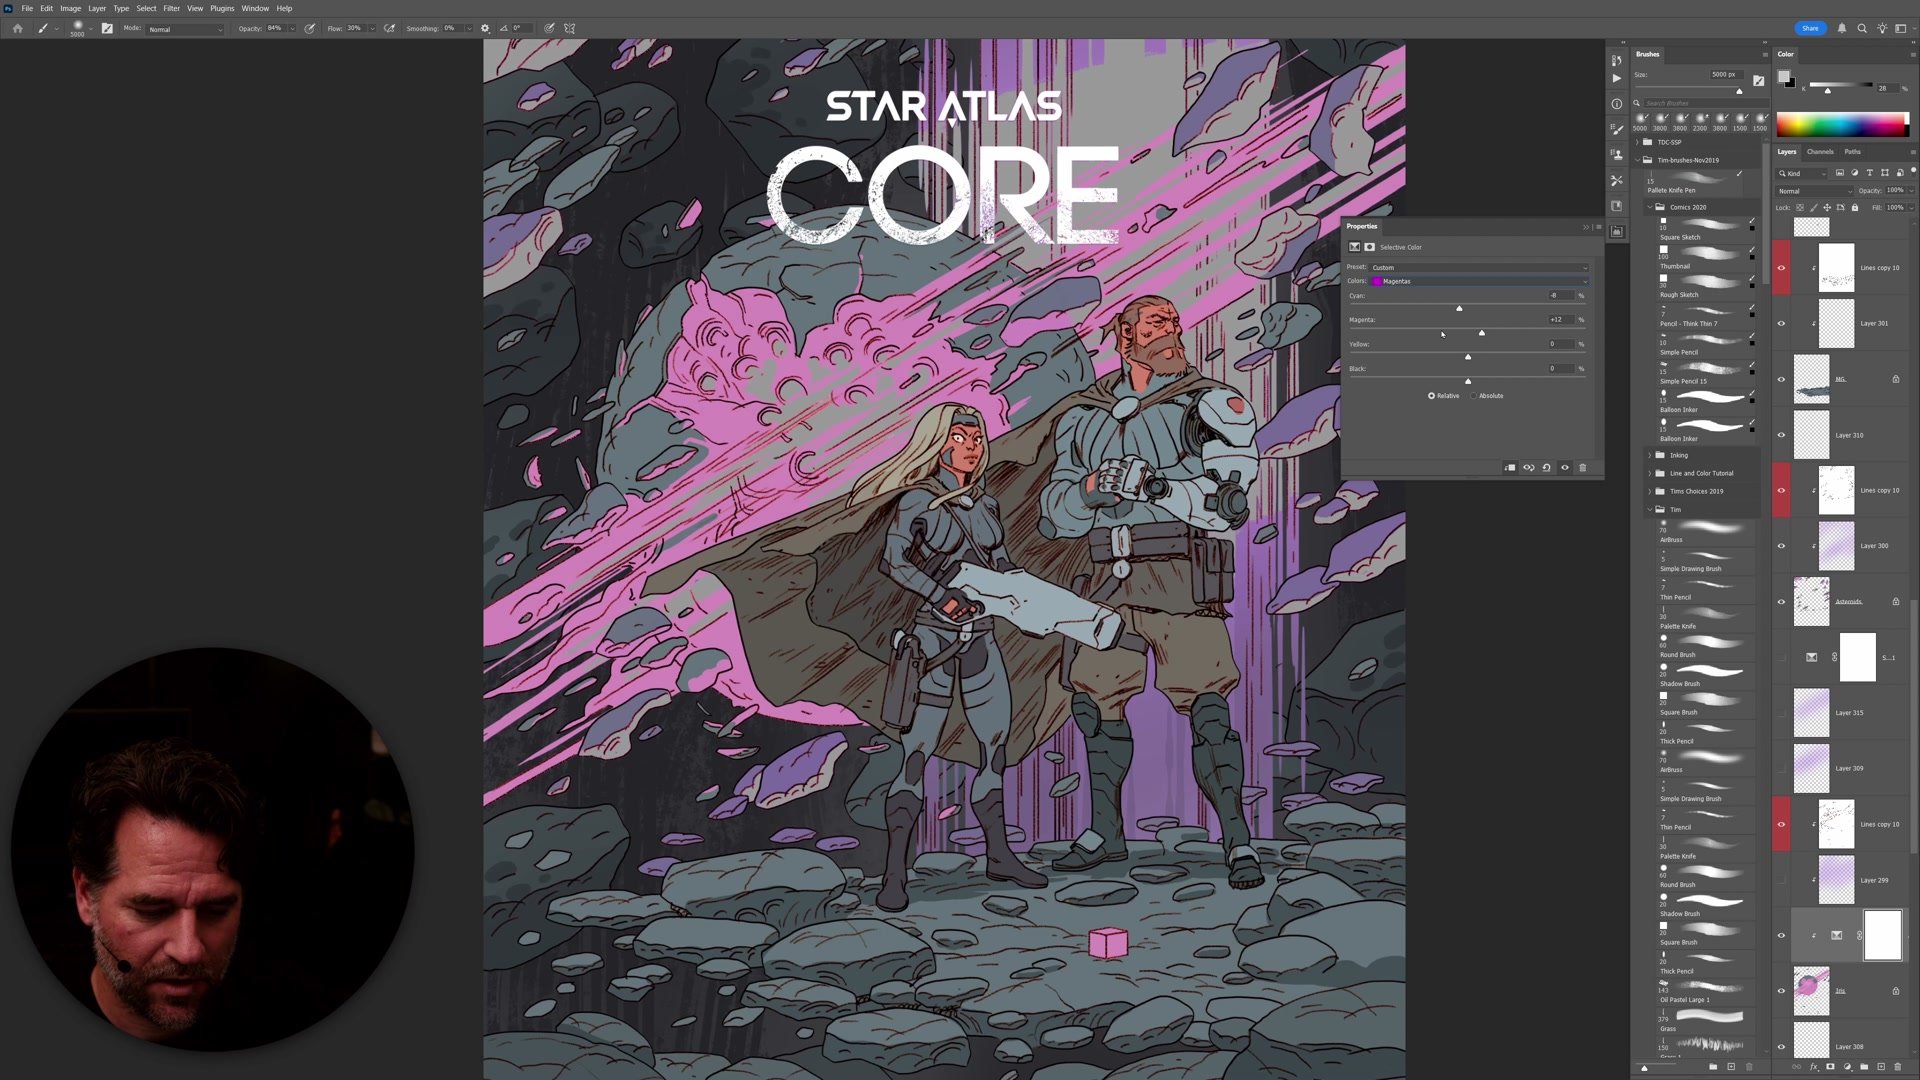
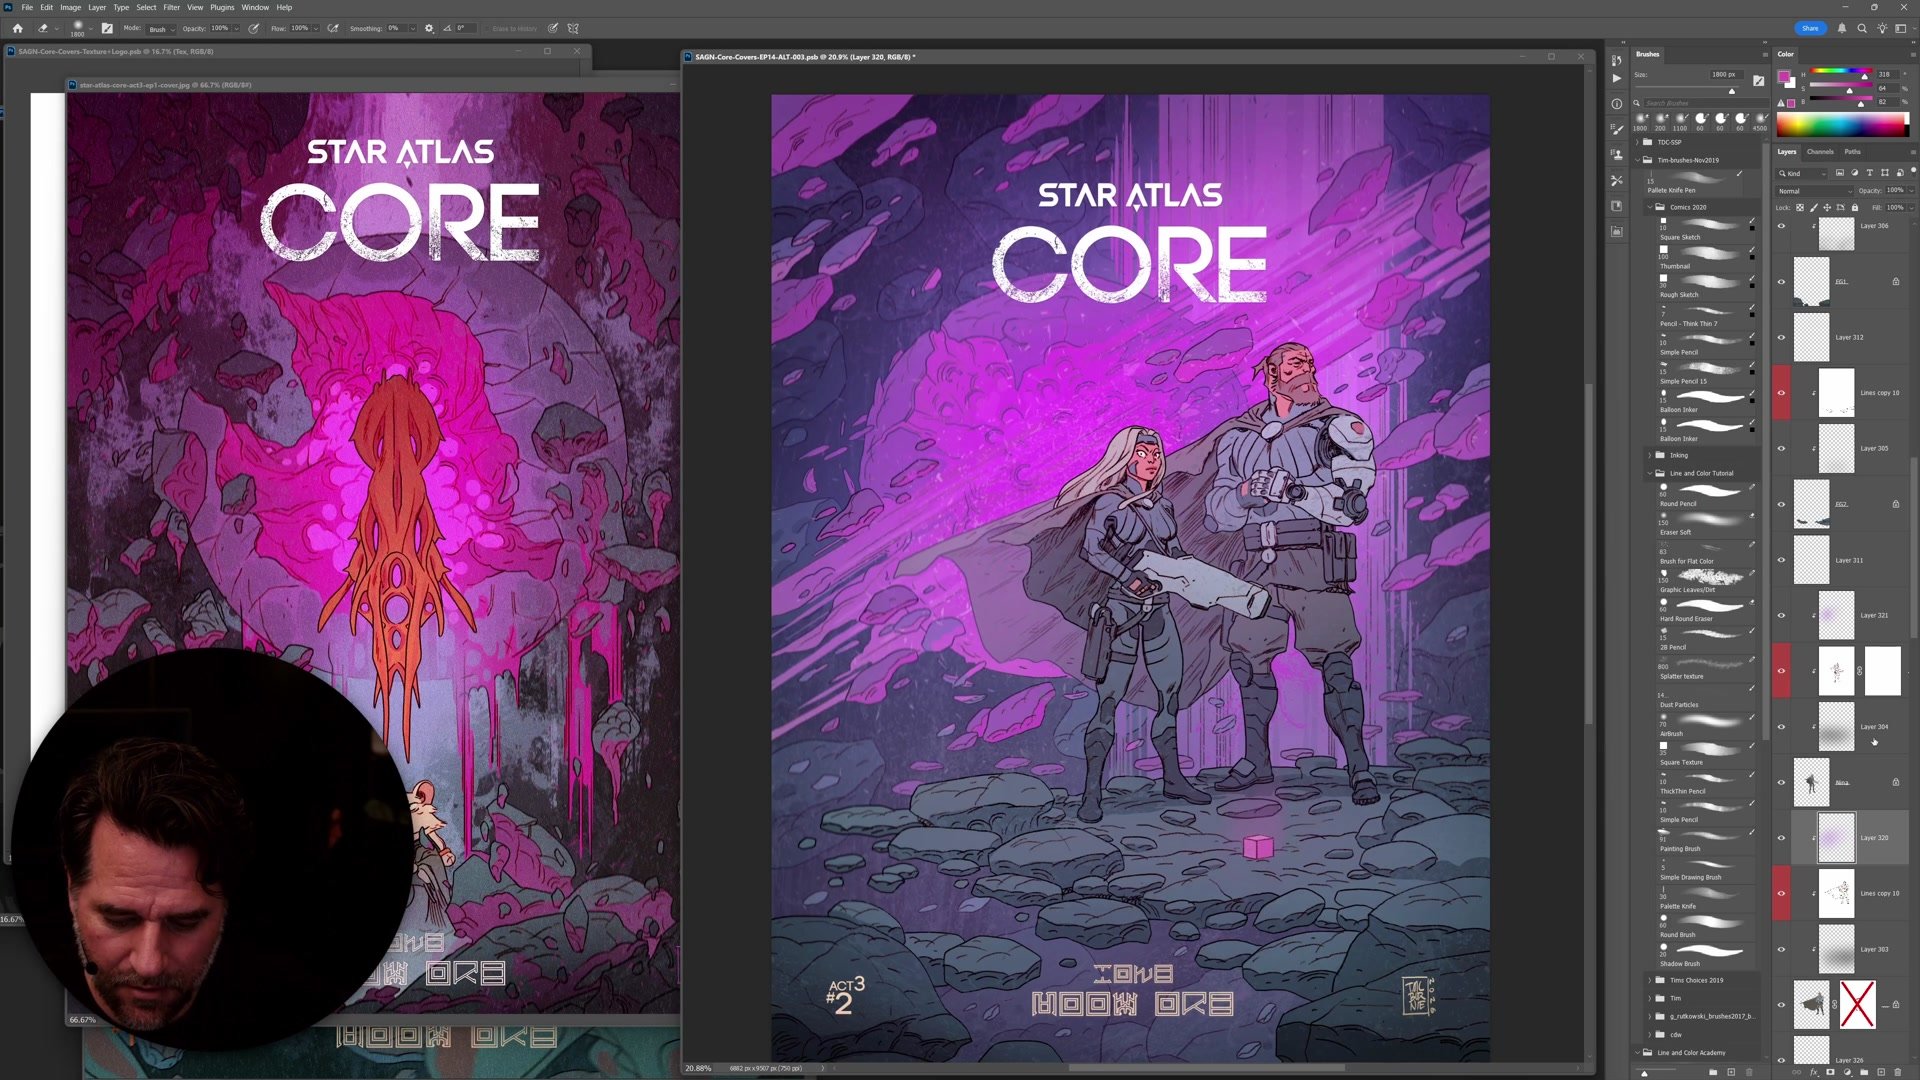
Paper texture adds production value almost for free. A textured overlay across the entire illustration creates a unified surface quality that makes digital work feel more organic. Motion blur applied selectively to peripheral elements pushes focus toward the main characters. Levels adjustments add contrast punch, and desaturation of background elements creates further depth separation. The final file reaches about 2.5 gigabytes at full resolution, preserving enough fidelity for large-format printing at over 30 inches tall at 300 DPI.
Final Color Result
Key Techniques
Flatting Creates Leverage: Clean, closed lines from earlier phases mean Photoshop's selection tools handle complex shapes automatically. The time invested in clean lines pays off exponentially at the color stage.
Selections Over Final Color: Flatting is about building selections, not choosing colors. Once every element has a flat, any color change becomes a matter of selecting the flat and adjusting freely.
High Resolution Pays Off: Working at high pixel counts gives far more fidelity for contracting and expanding selections. Resize down after flatting, but do the precision work at maximum resolution.
Simple Tools, Systematic Application: Airbrush gradients, paper texture overlays, and basic levels adjustments are all simple tools. Their sophistication comes from consistent application within a reliable workflow.
Try This Approach
Create Flats First: On the next colored illustration, create flats for every major element before doing any rendering. Use Photoshop's magic wand with contiguous on and tolerance at zero to select white space.
Use Quick Mask: Hit Q to enter quick mask mode and isolate the lines. This creates pixel-level selections that can be modified with Select, Modify, Contract or Expand.
Experiment Freely: Notice how having flats for everything changes the approach to color adjustment. Any element can be selected and modified instantly, making experimentation almost cost-free.


