Watch Me Draw This Dragon Girl Character
Summary
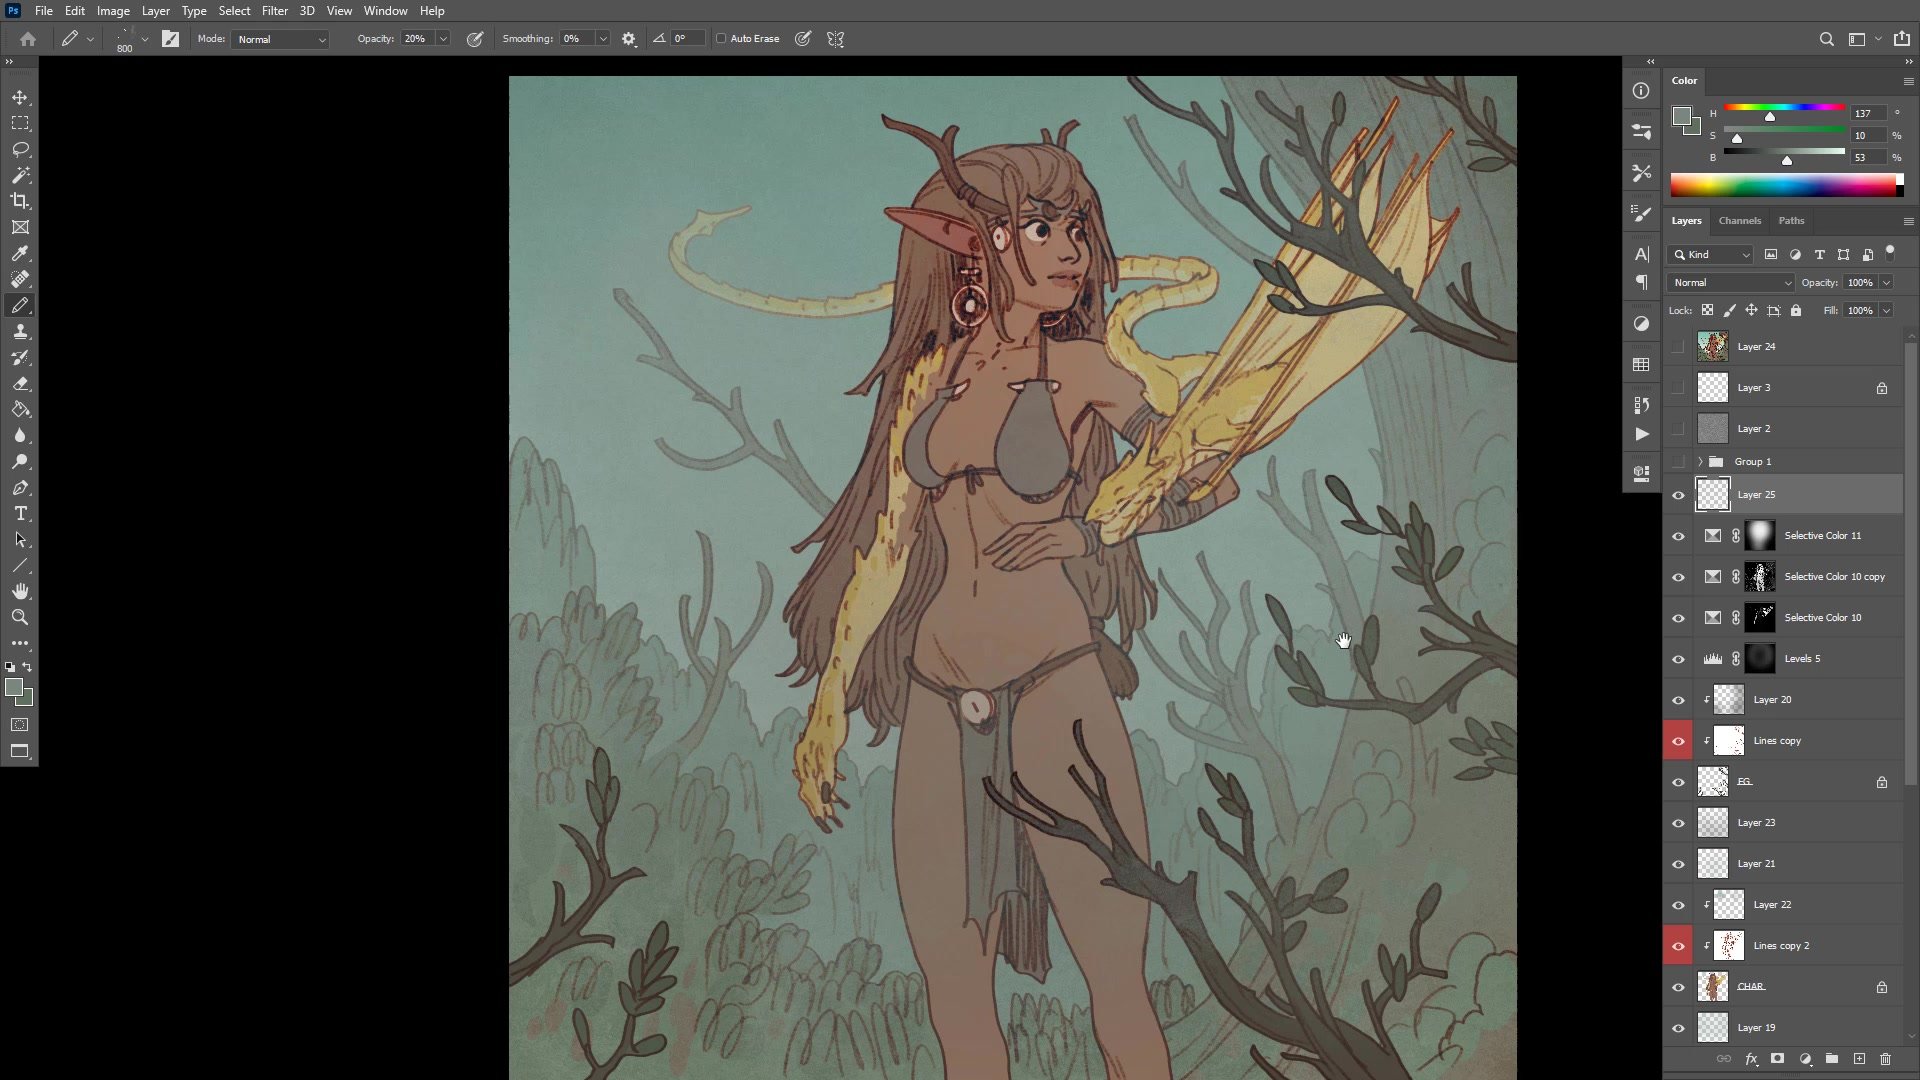
Fantasy Dragon Girl Process
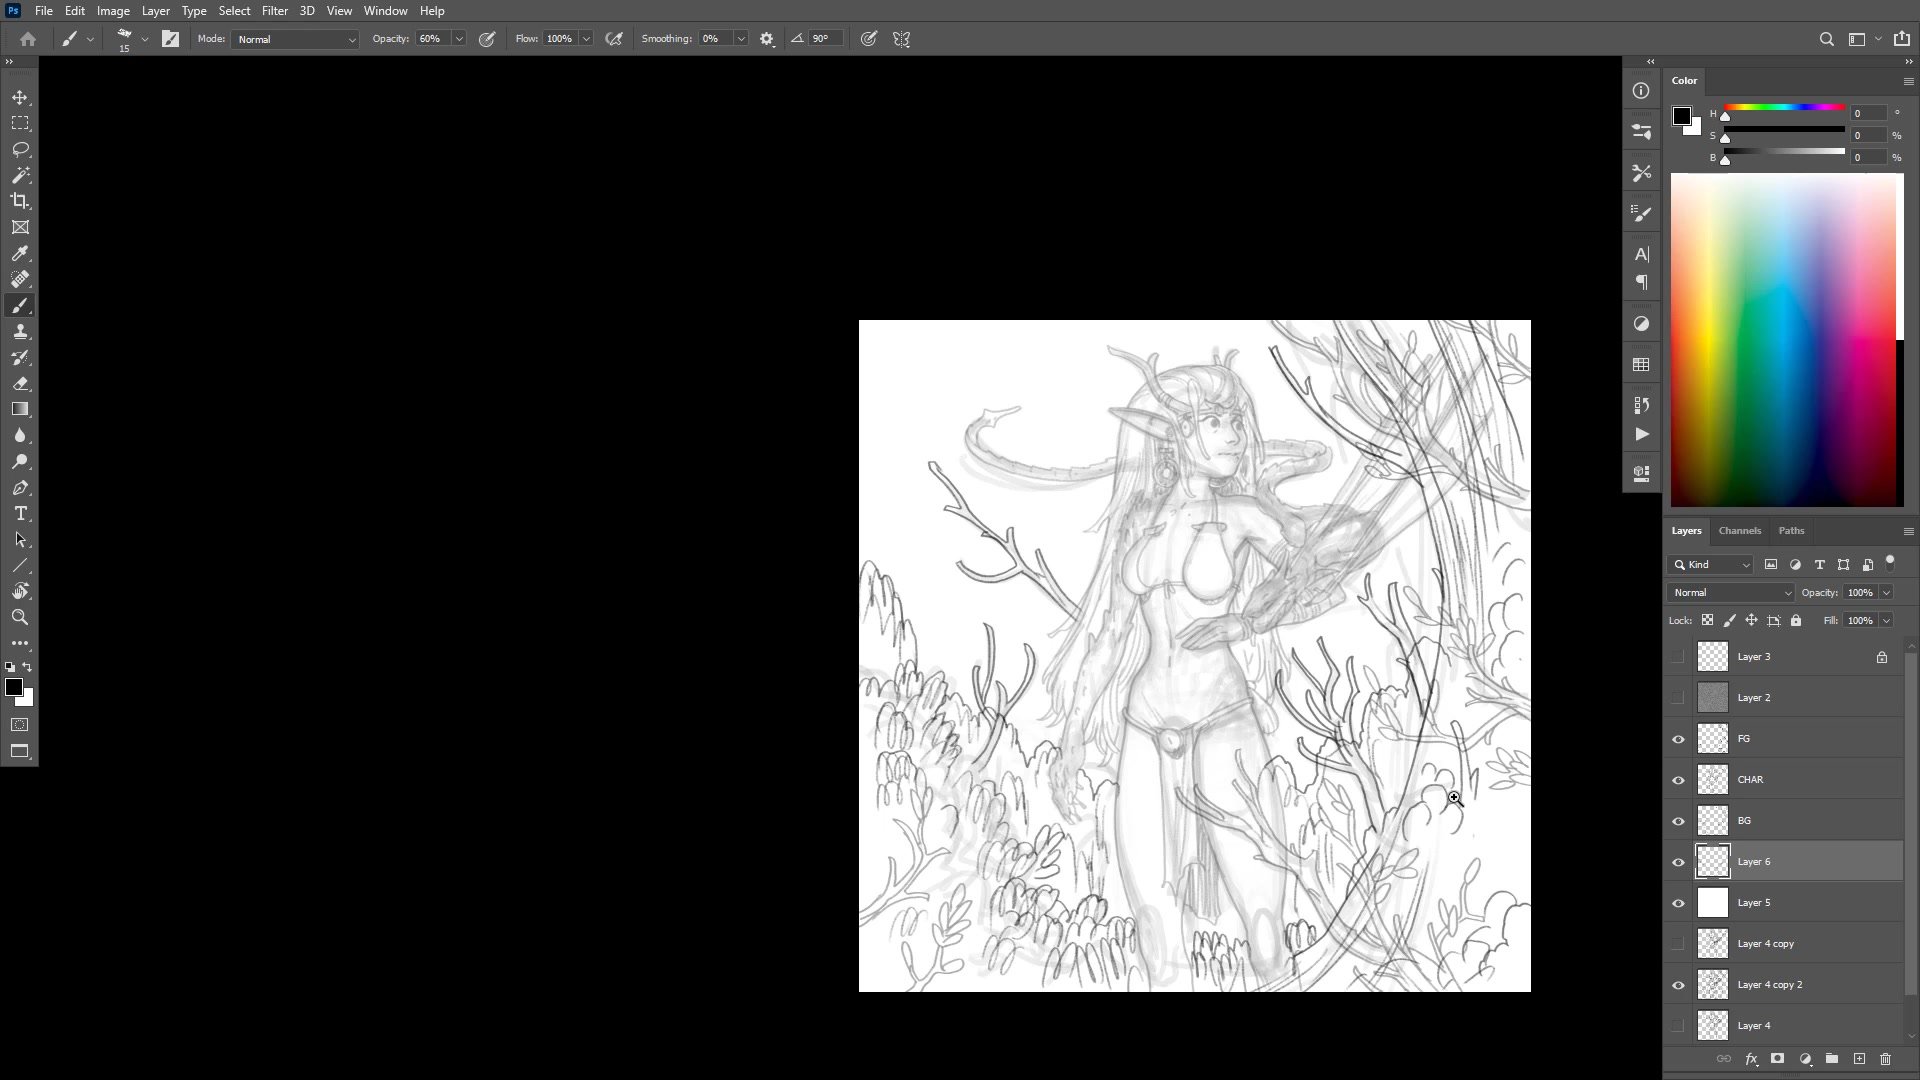
This two-hour real-time tutorial follows the complete process of creating a fantasy dragon girl character illustration in Photoshop. Starting from a blank canvas with nothing but a vague idea, the session covers rough construction sketching, environment planning with foreground and background elements, detailed line work, flat color blocking, and final atmospheric rendering.
The demonstration captures the honest reality of building an illustration without a thumbnail or detailed plan. Decisions happen on the fly, problems get worked through in real time, and the process reveals how a professional artist navigates uncertainty while drawing from imagination. The focus is on the line and color workflow using simple tools like Photoshop's chalk brush and custom actions for flatting.
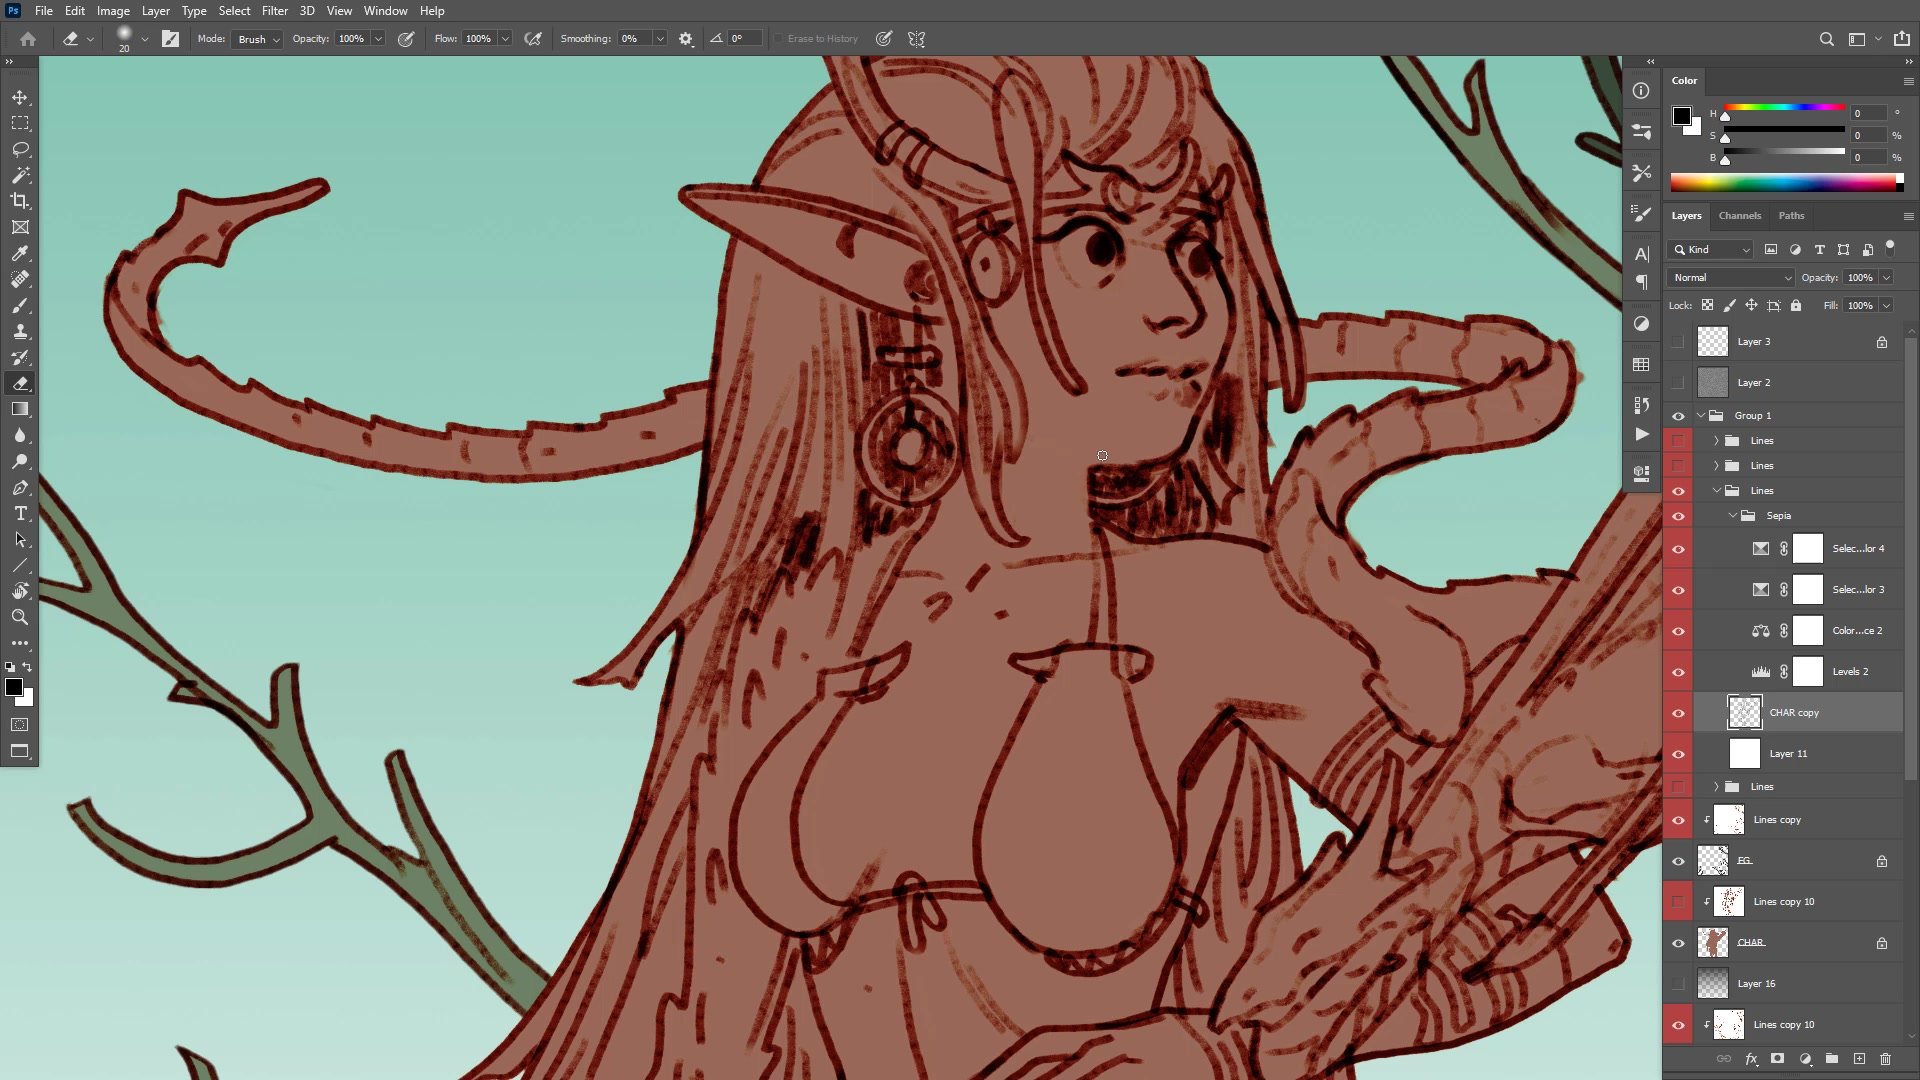
Sketching and Construction
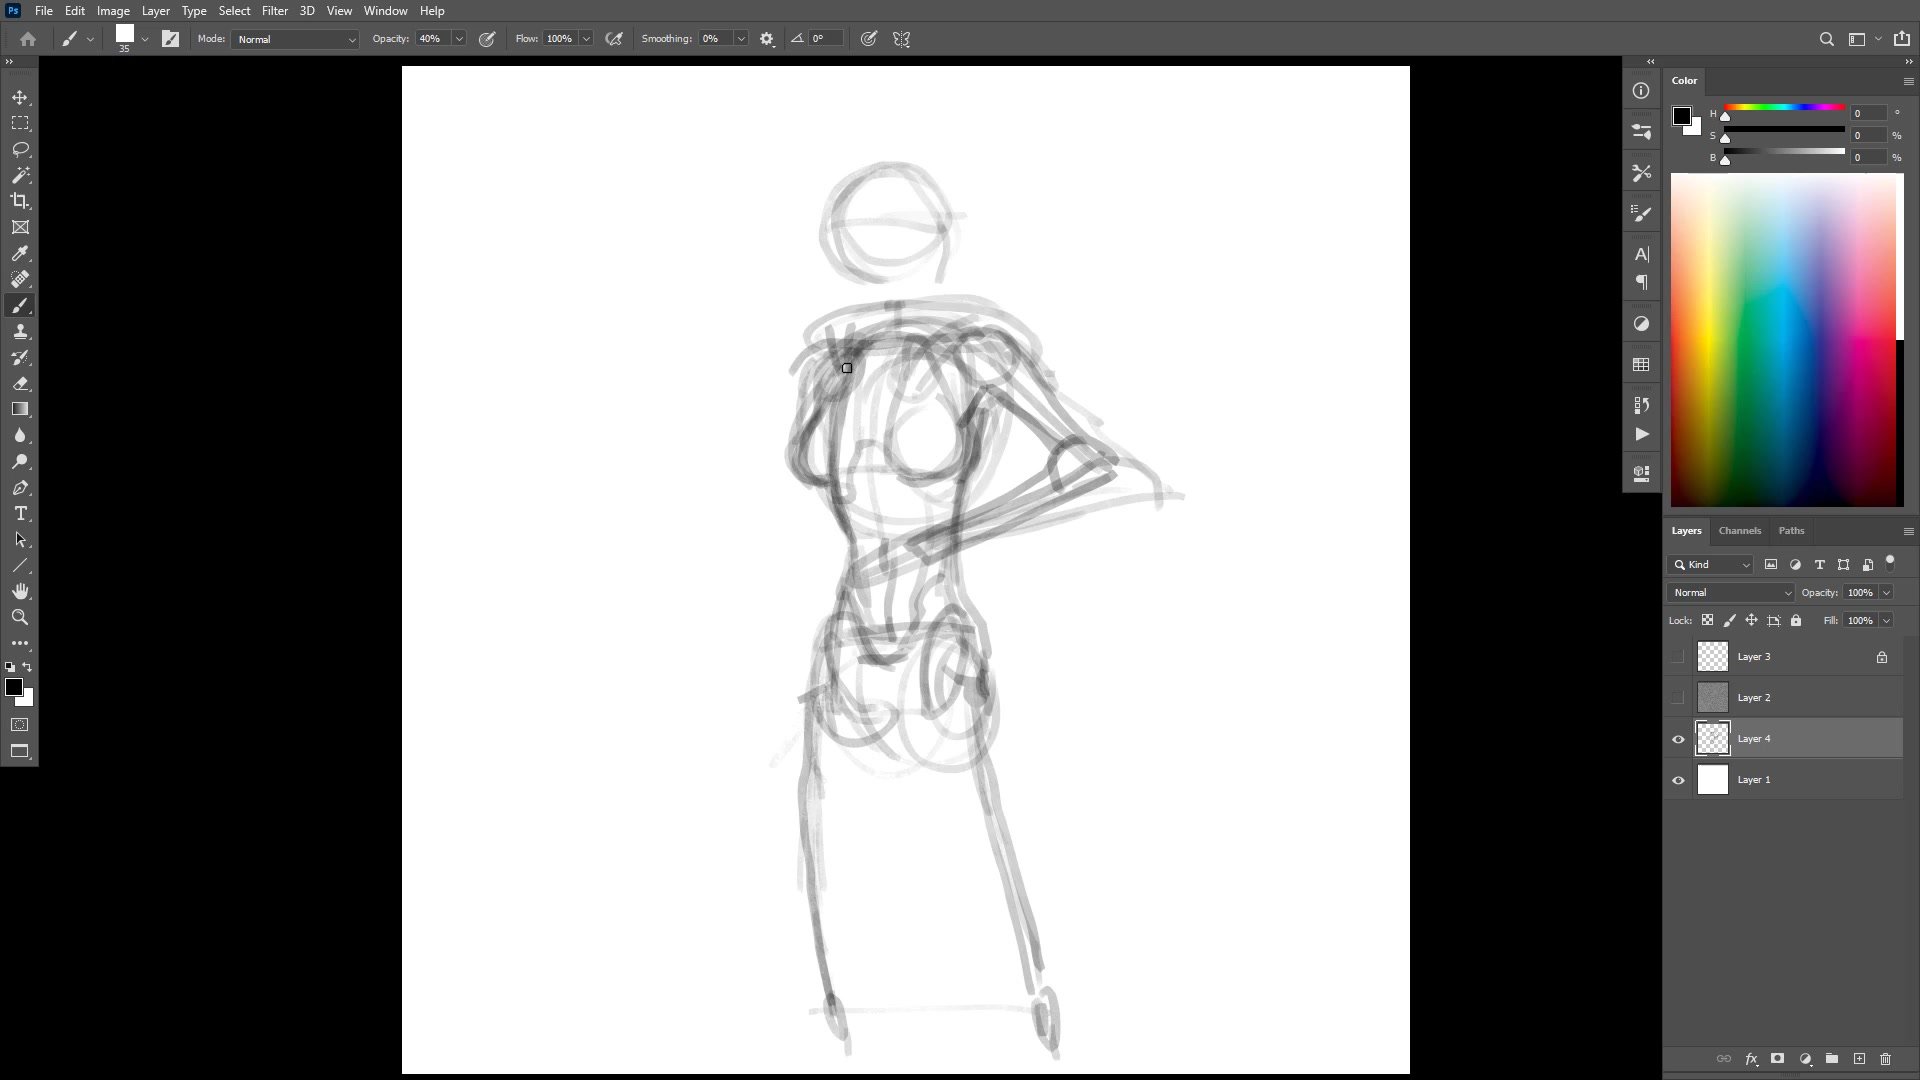


Building From Nothing
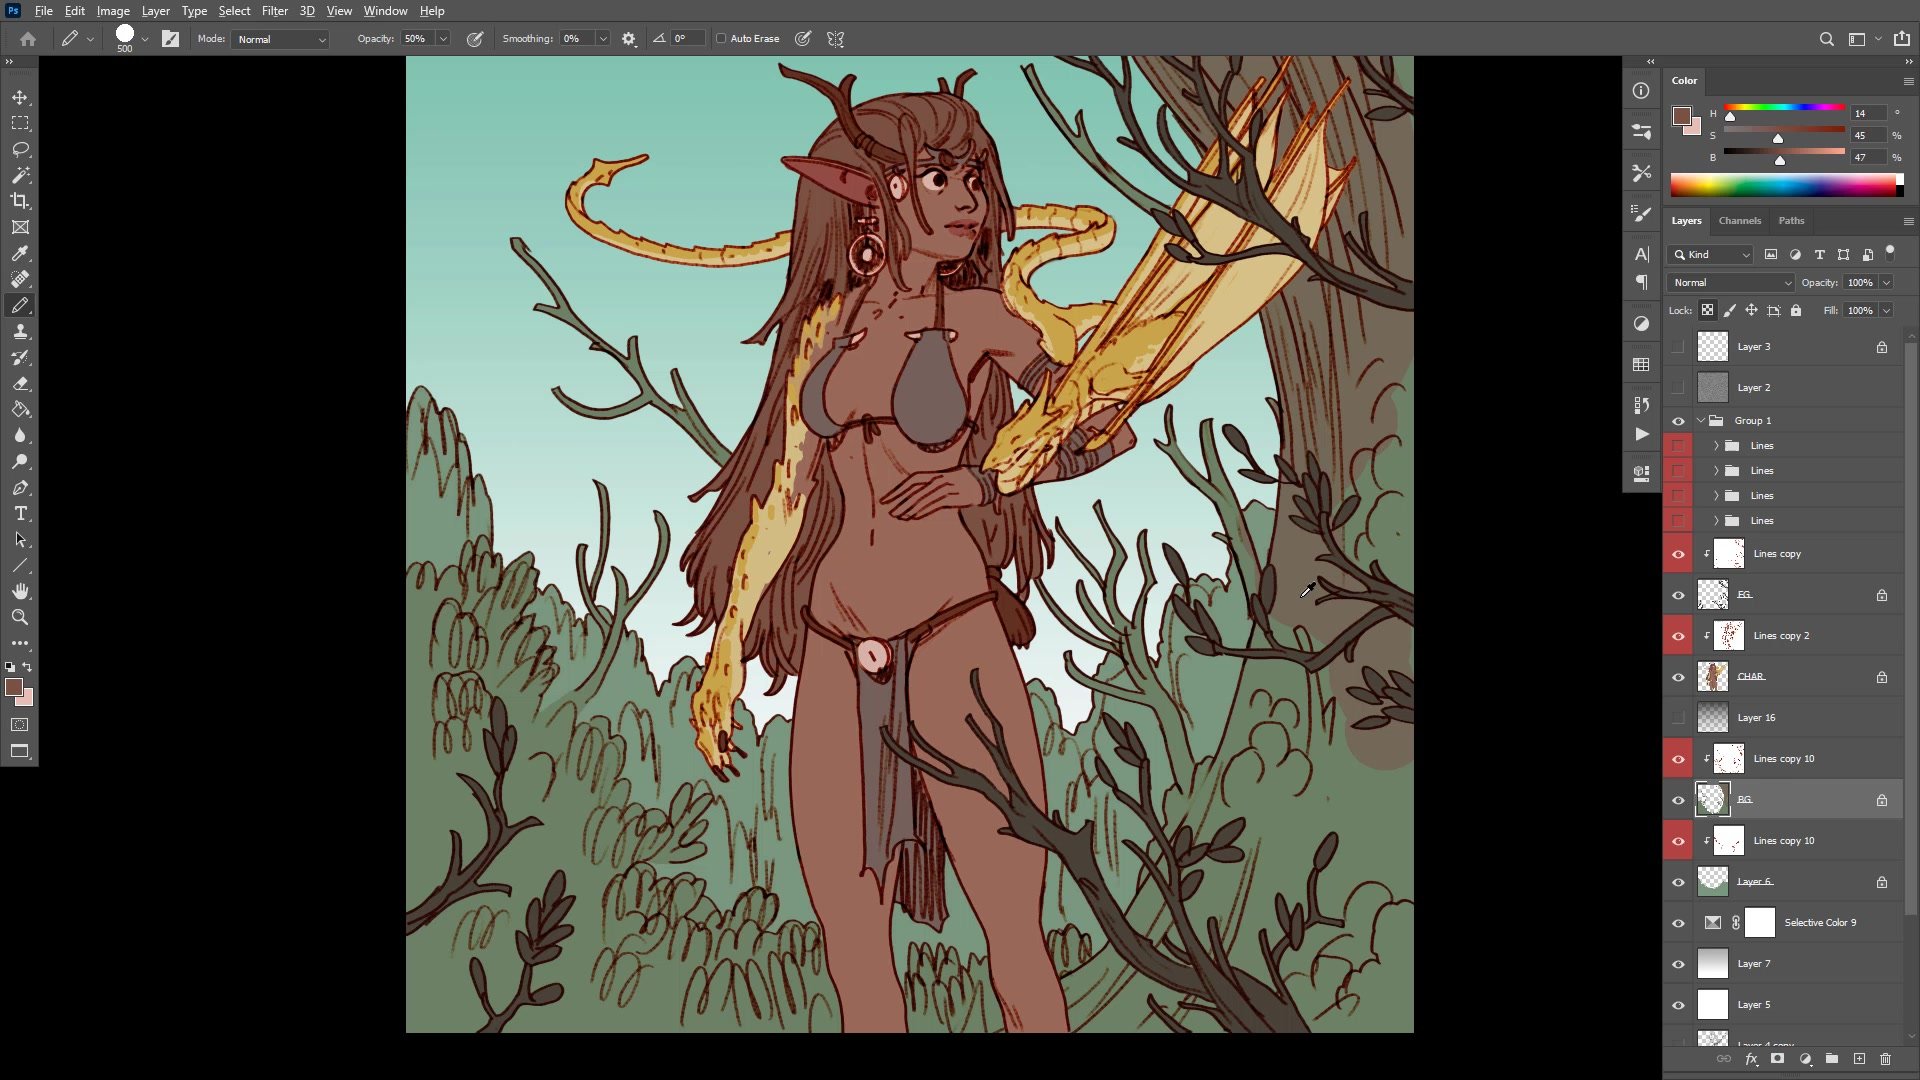
The session opens with a soft square brush at 40% opacity, treating the digital canvas like a piece of paper. The construction phase uses primary forms and major anatomical masses to block in the character, drawing through and finding structure before committing to any details. A small dragon perched on the character's shoulder becomes the focal idea that needs to carry the image.
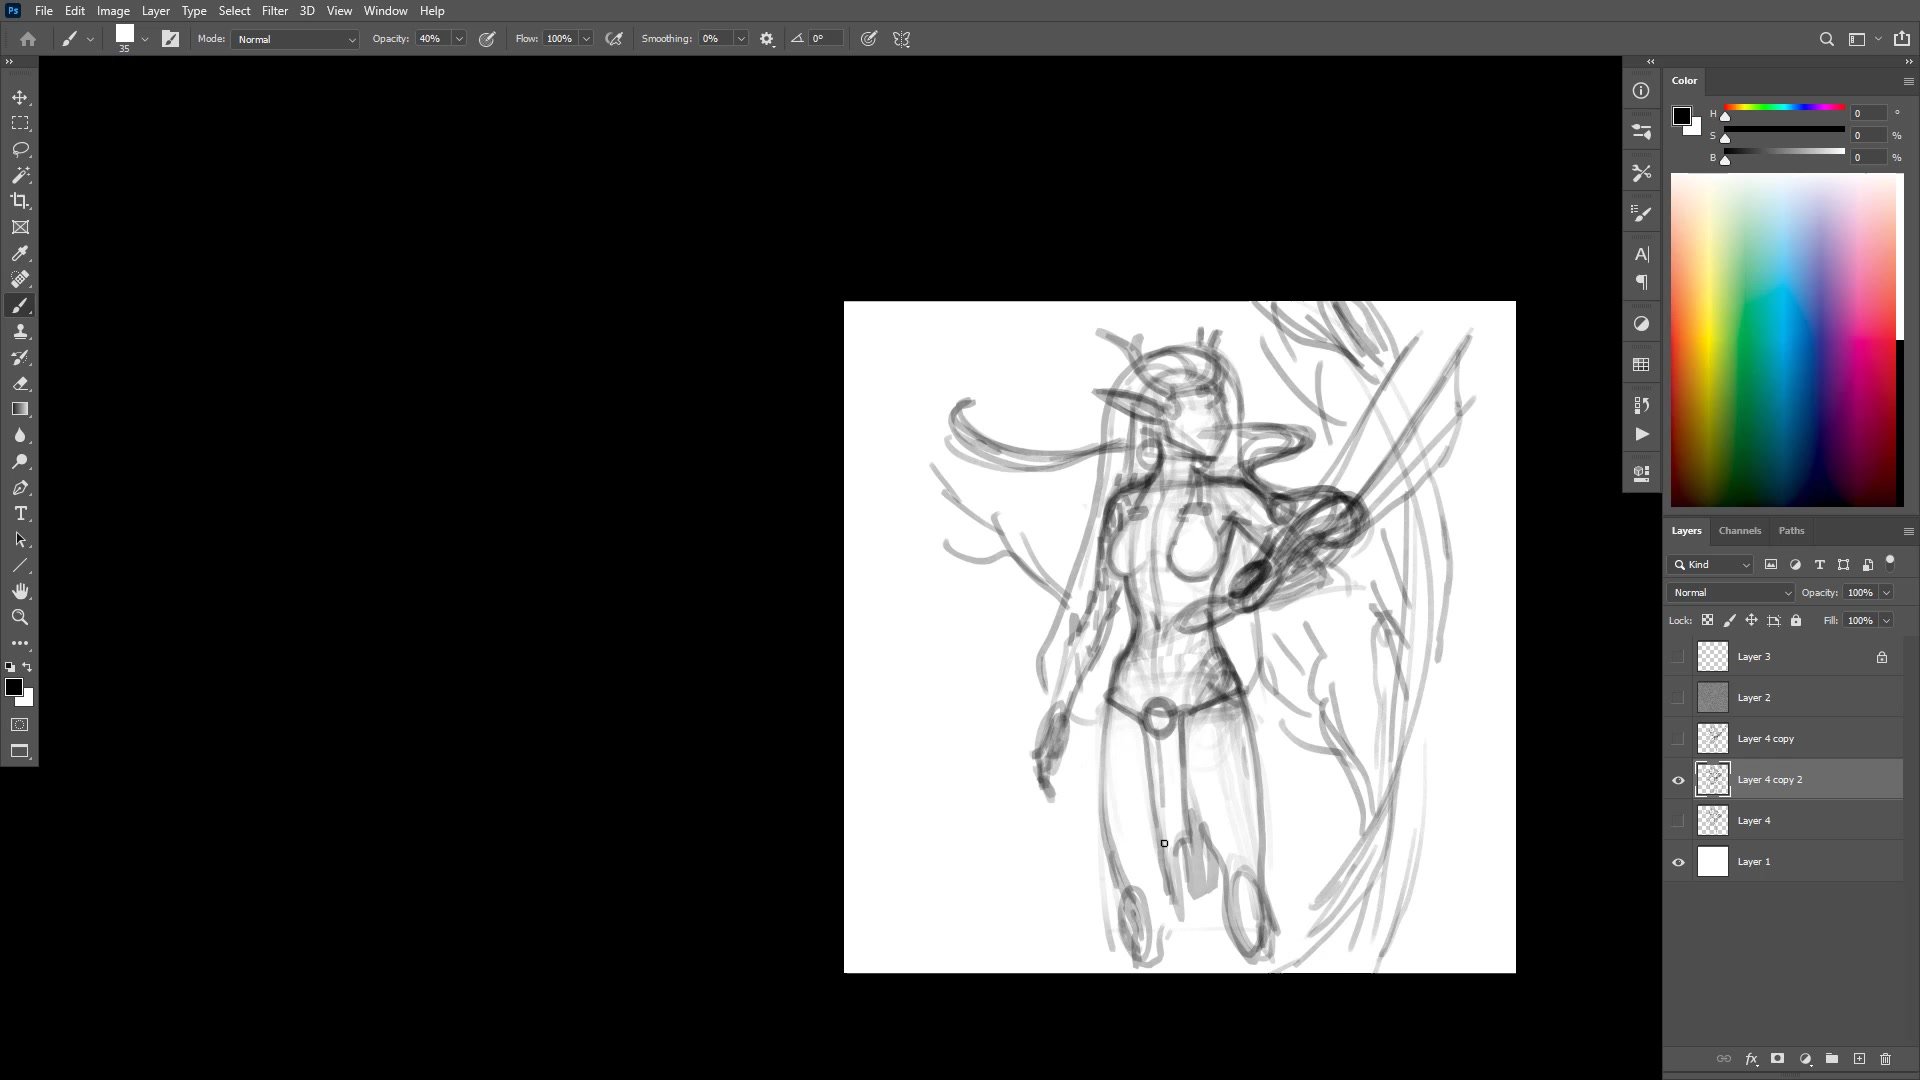
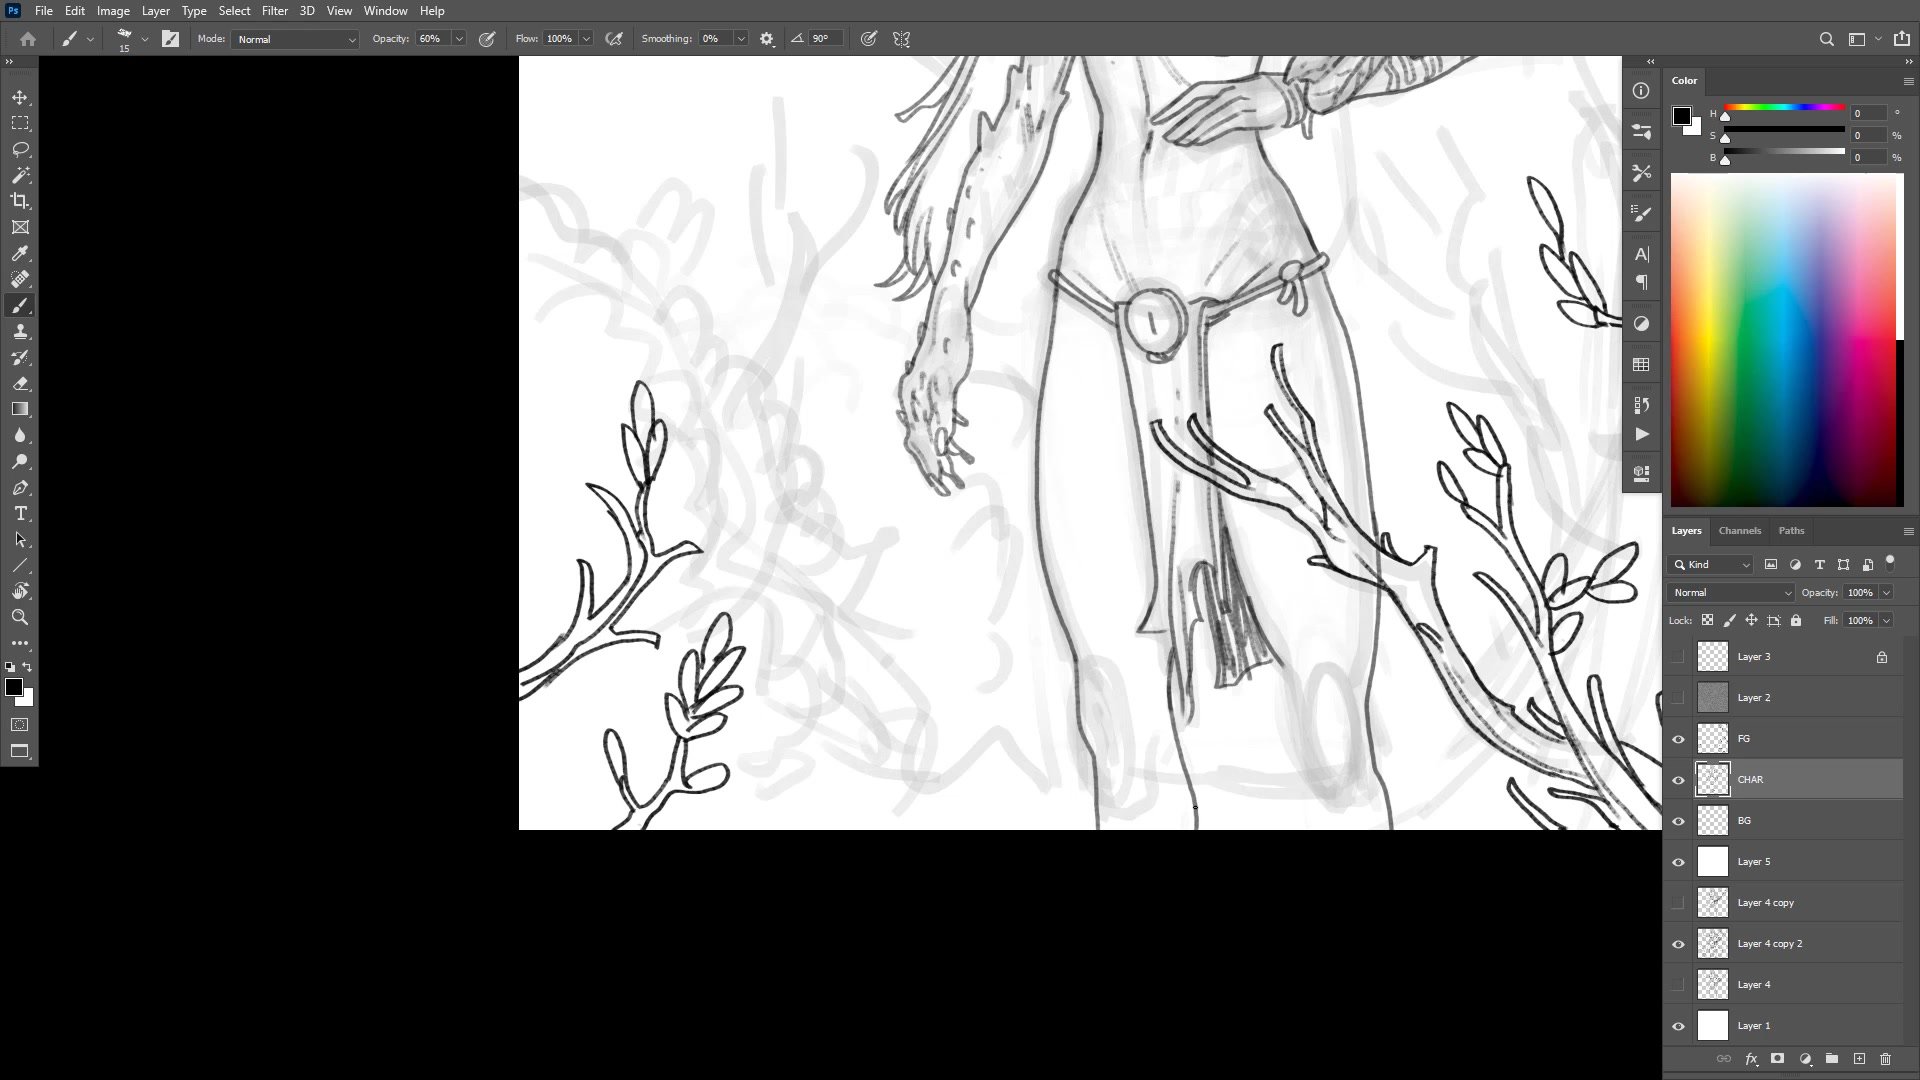
Rather than refining anatomy endlessly, time gets allocated to foreground elements. Using the simple pencil brush, branches, leaves, and foliage go onto separate layers for foreground, character, and background. This visual library approach pulls from a stored collection of standard set pieces that can make the image more interesting with relatively little time investment. Closing all line work gaps at this stage saves considerable time during the flatting phase later.
Line Work and Details
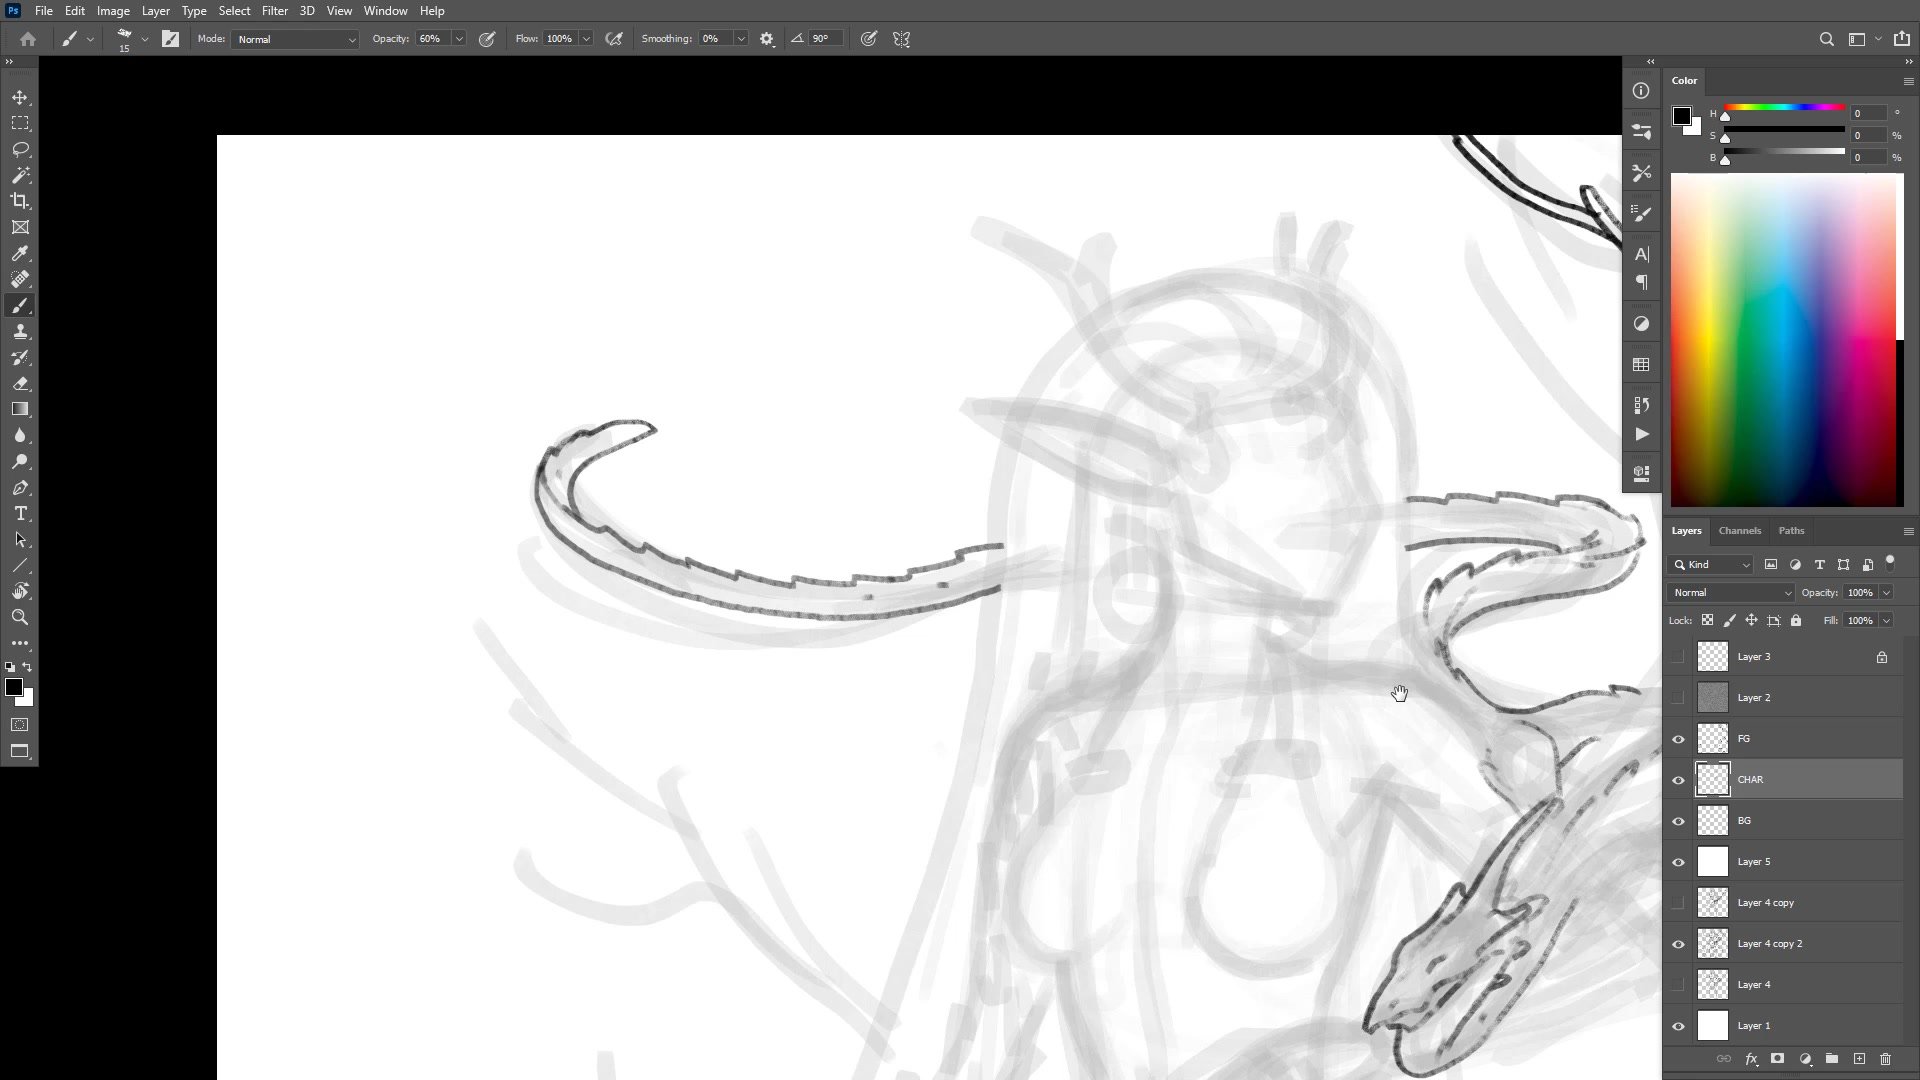
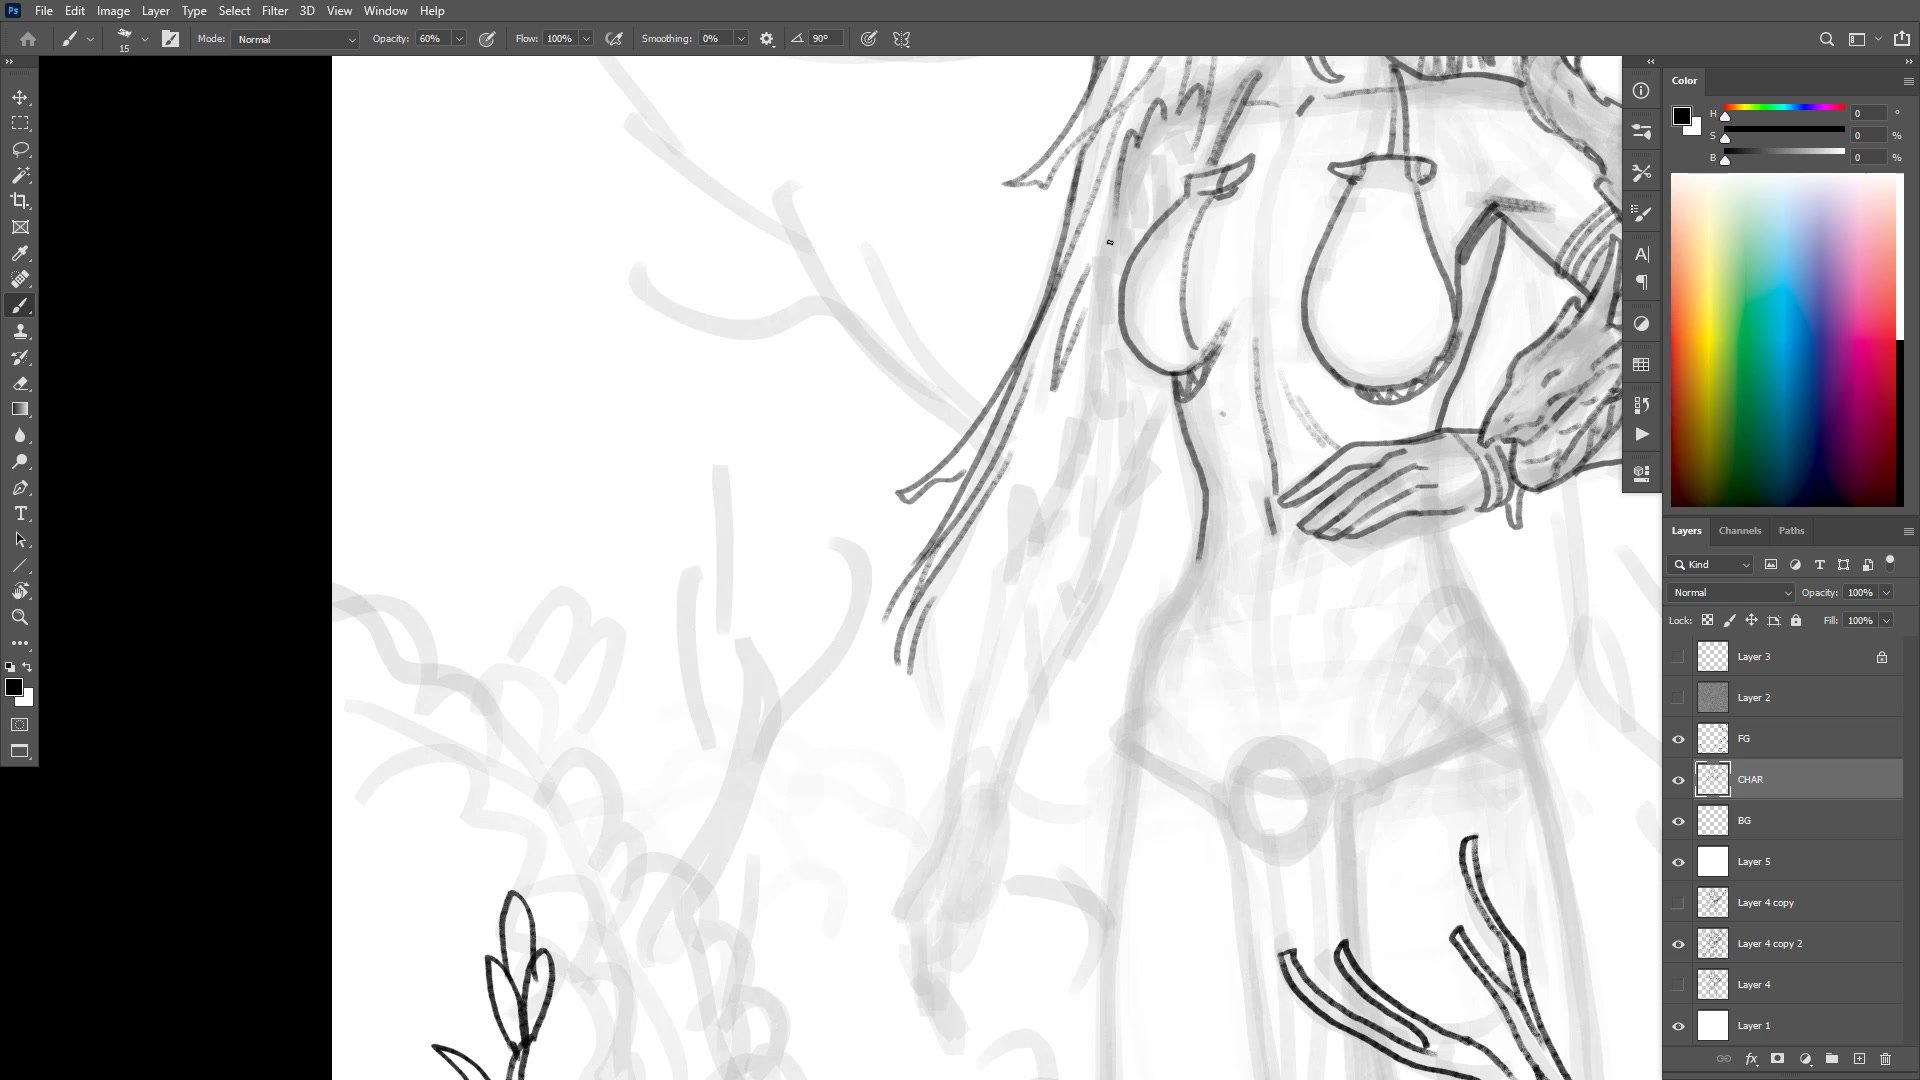
Inking and Character Detail
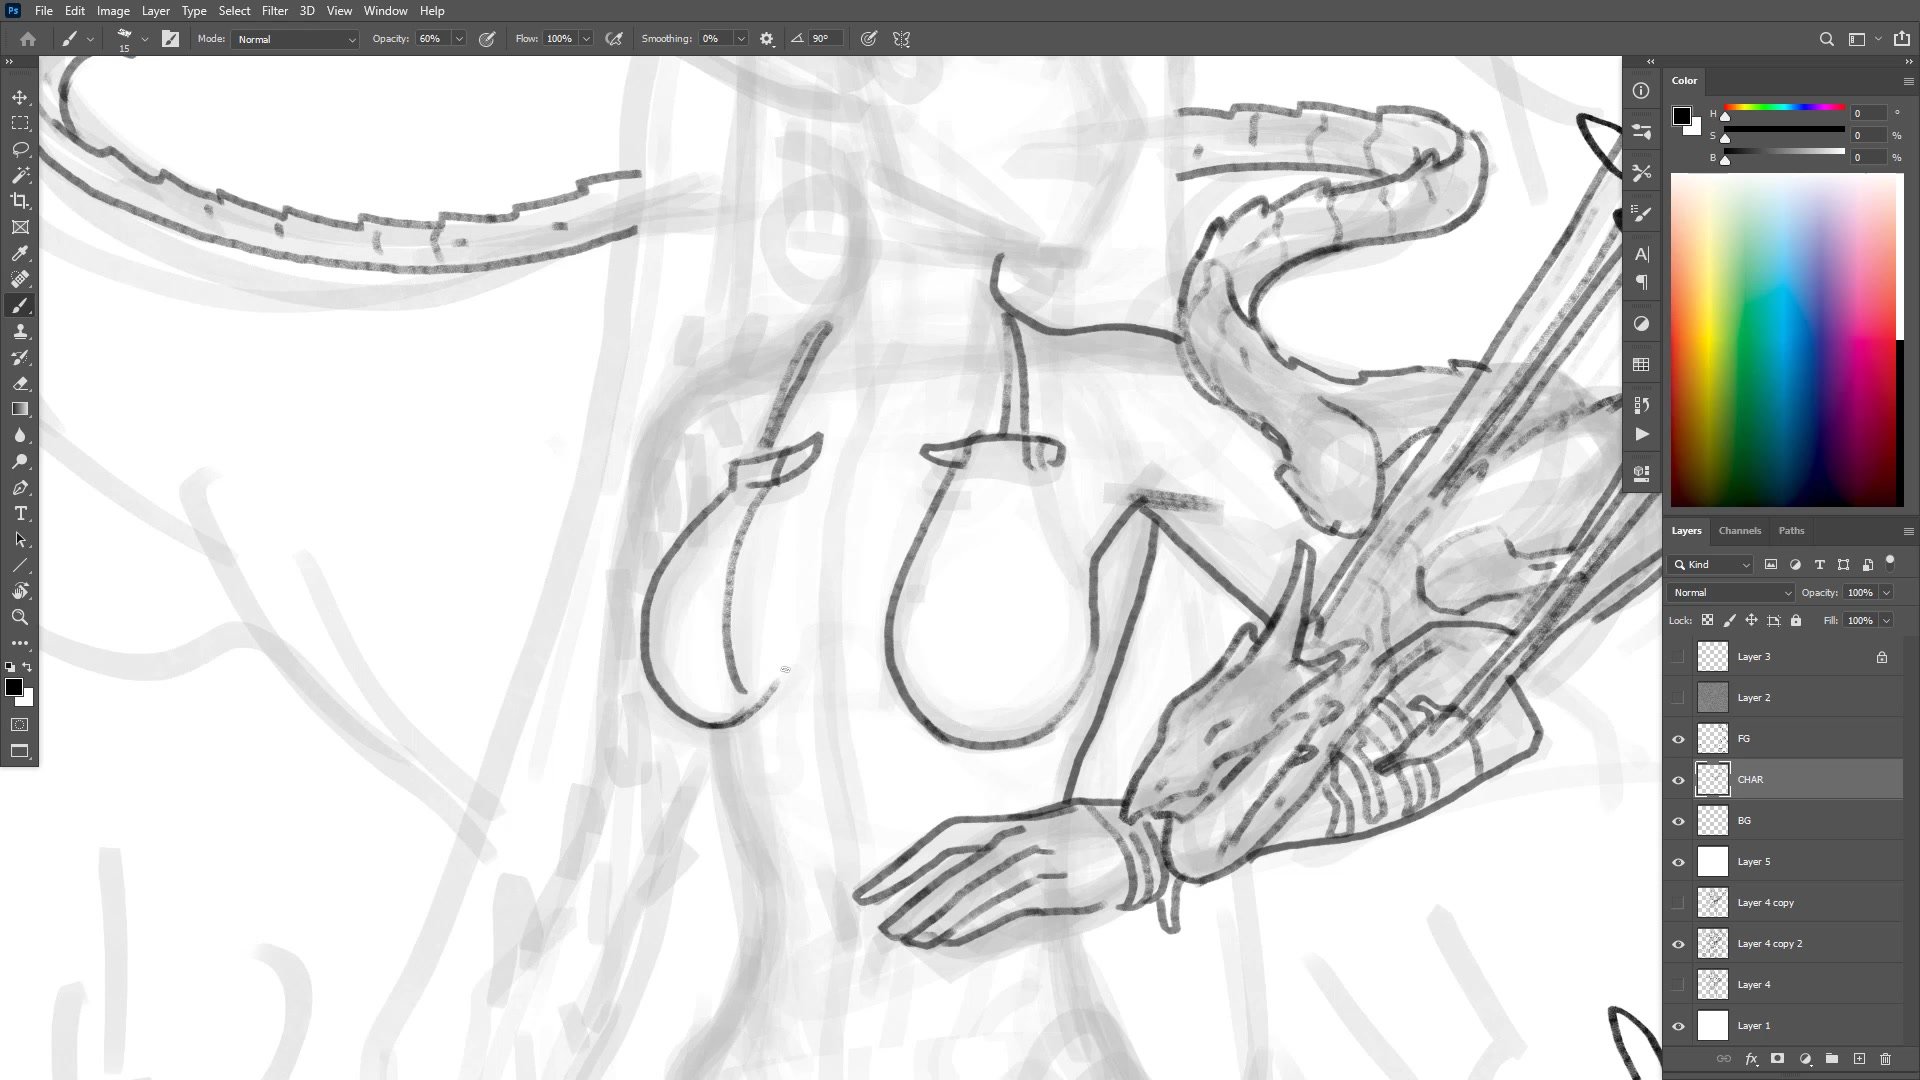
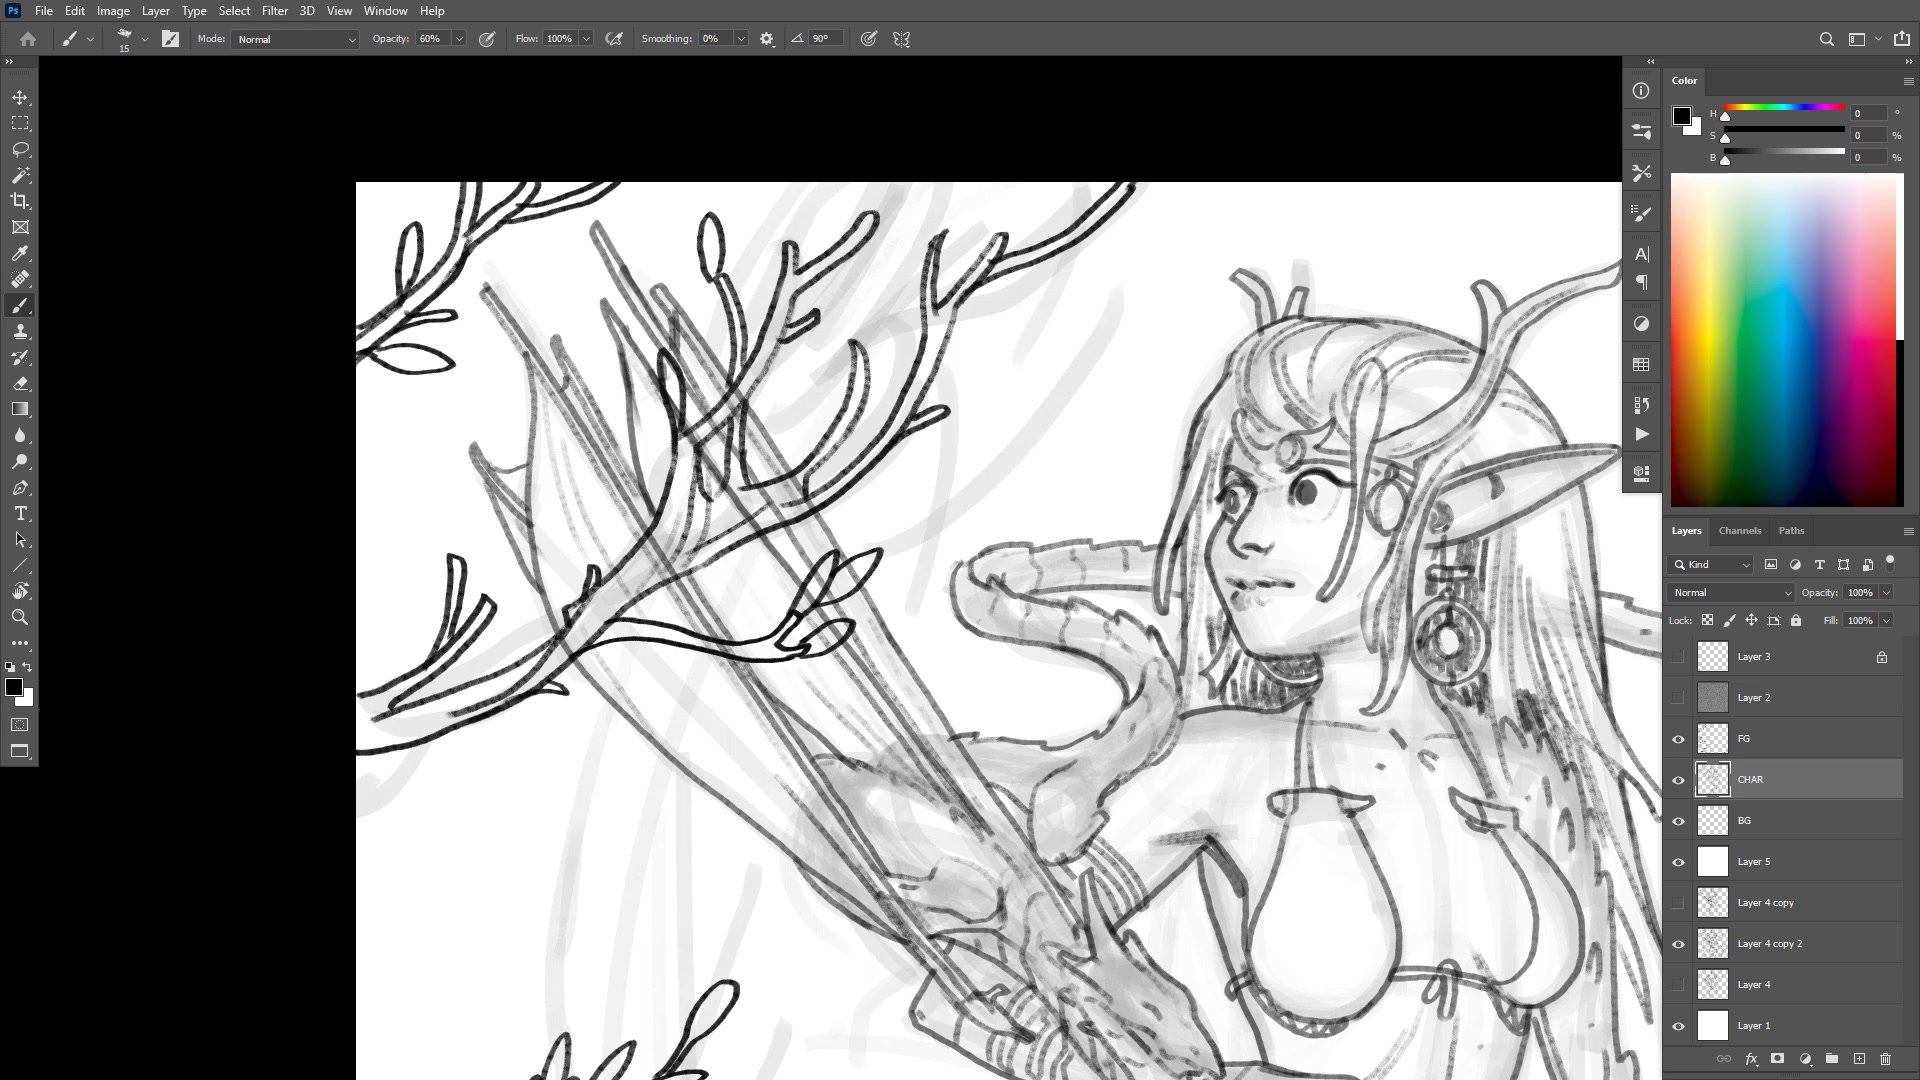
The line work phase drops opacity to 60% for better pressure sensitivity control with the Wacom stylus. Center lines trace through the dragon to establish the twisting, sinuous form, while details like scales, claws, and wings get added progressively. The dragon's design favors impression over accuracy, with wings that deliberately do not make anatomical sense but serve the composition.
Face construction starts with the nose and center line rather than the overall skull shape. The reasoning is direct: placing the center first provides a reliable anchor for building features outward, especially without a solid prior construction pass. Getting the drawing sequence right, putting the correct lines down first, is identified as one of the most important skills in the entire process.
Flat Colors and Blocking
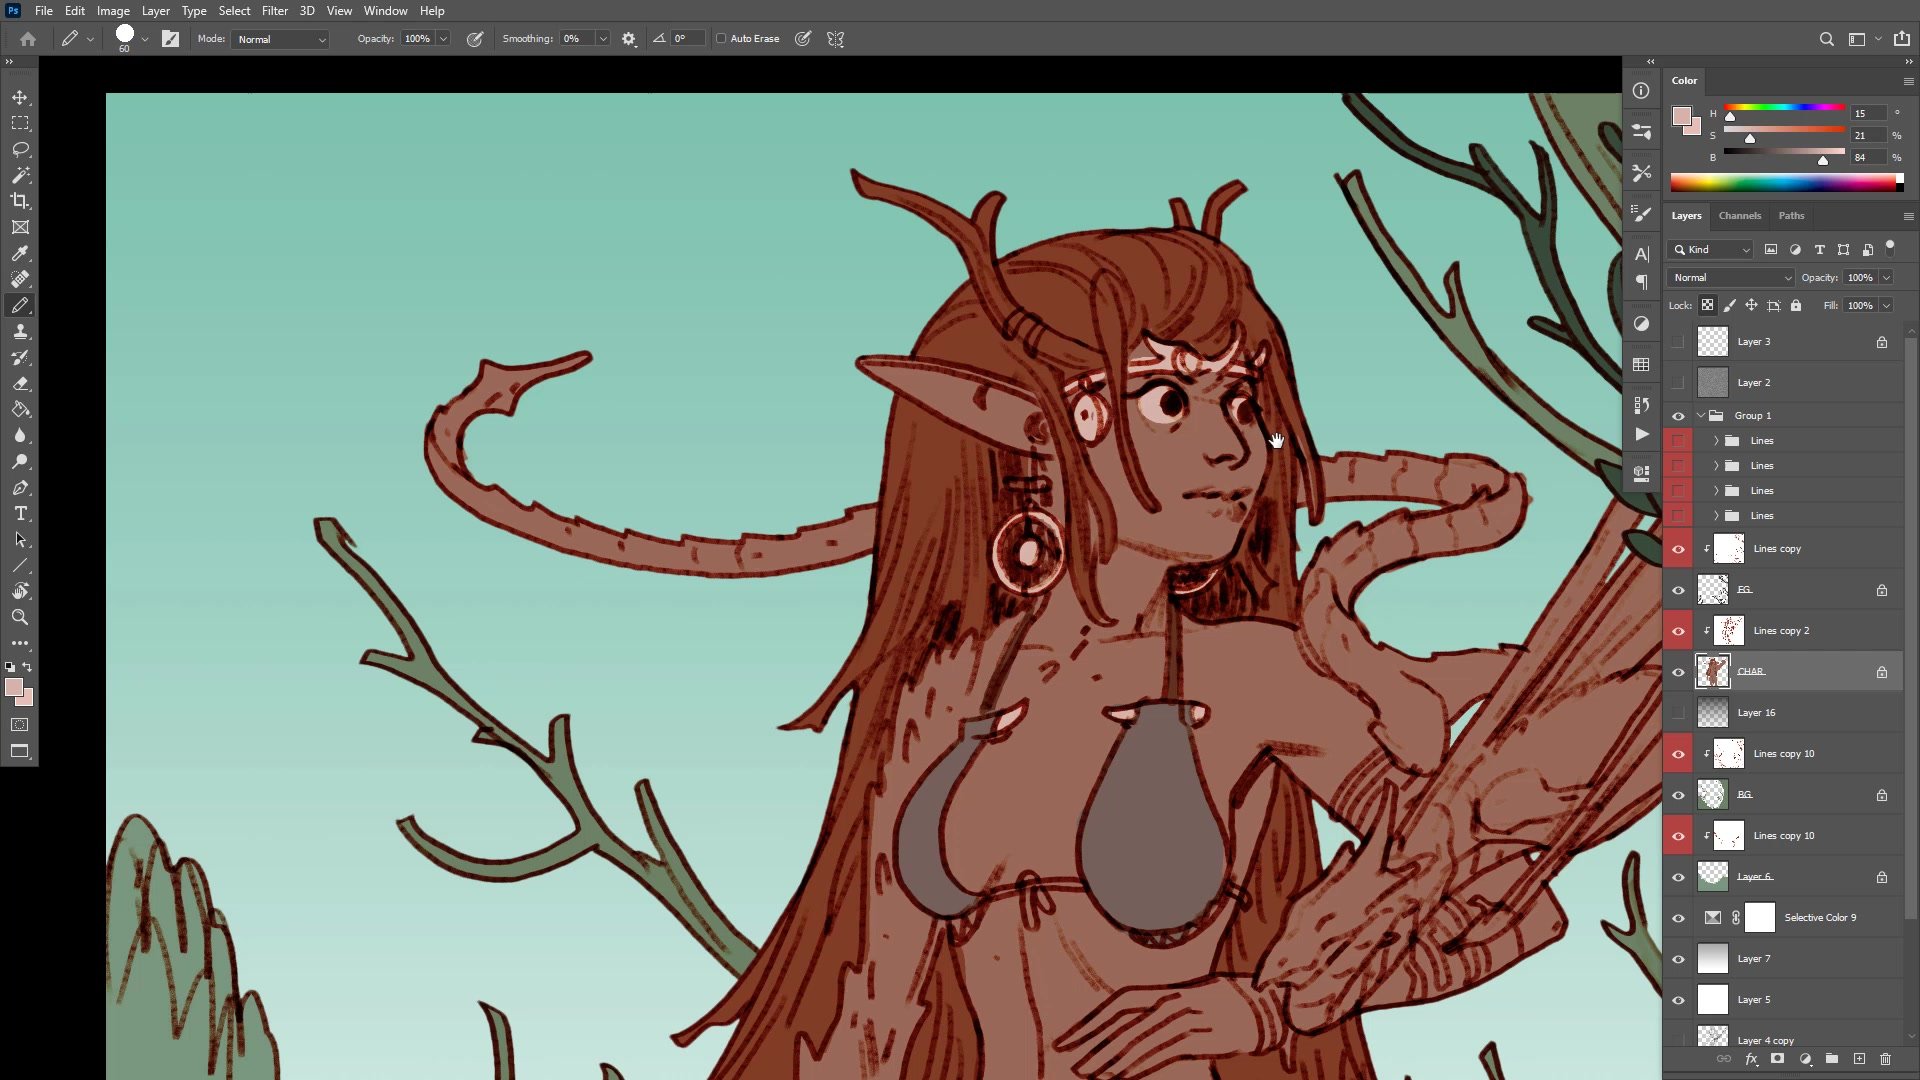
Color Strategy and Flatting
The flatting process uses Quick Mask selections and custom Photoshop actions to rapidly separate elements onto individual layers. Color decisions follow a practical logic: trees get green and brown because they must, red hair complements the green environment, and the dragon gets yellow to pop against everything else. Desaturated reds on clothing create neutral tones that recede compared to the vivid hair.
Layer locking keeps flat colors contained while allowing easy adjustments. Blending the dragon's yellow into the character's skin at 50% opacity creates visual connection between the two figures. The process deliberately keeps colors graphic and simple rather than complex, maintaining the line and color illustration style throughout.
Atmosphere and Final Result

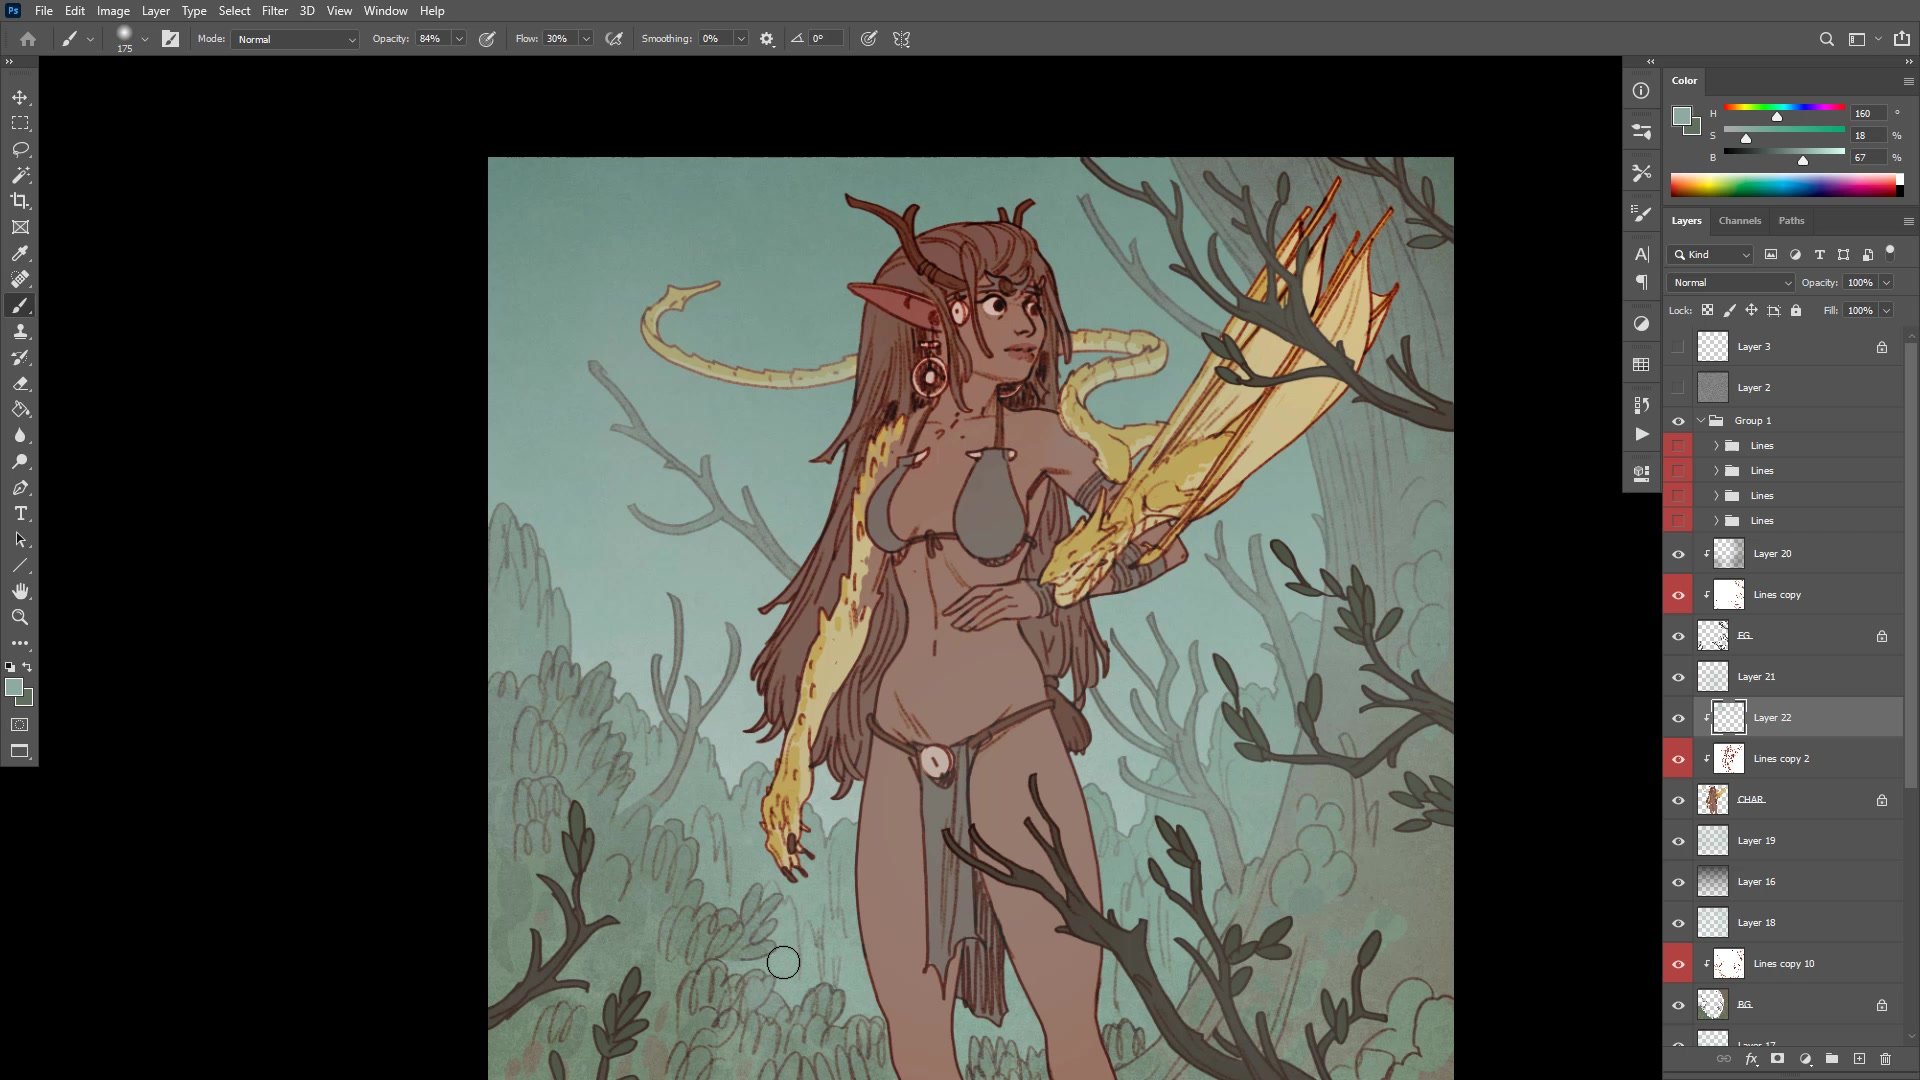
Key Techniques
Visual Library Speed: Drawing from a stored collection of standard set pieces like trees, branches, and foliage allows adding foreground, middle ground, and background elements quickly, making any image more interesting with minimal time investment.
Layer Organization for Export: Flattening line groups into flat white layers makes PSD export straightforward for clients who need separated layers for animation or further work.
Atmosphere Through Texture: Using a texture brush at low opacity to paint background color over line work creates depth separation between foreground, character, and background without complex painting techniques.
Complementary Color Logic: Choosing red hair against a green environment and yellow dragon against muted backgrounds follows simple complementary relationships rather than sophisticated color theory.
Try This Approach
Start Without a Plan: Pick a subject from a personal list of things that are comfortable and fun to draw. Begin with a soft brush at low opacity and sketch around to see what happens, treating decisions as experiments rather than commitments.
Add Depth in Five Minutes: Spend just five minutes putting in foreground elements using visual library set pieces. Close all line gaps for easy flatting, then add a simple background layer to instantly create foreground, middle ground, and background separation.
Blend With Atmosphere: After flat colors are established, use a texture brush at low opacity with background colors to paint over the entire image, then bring contrast back using levels to create a more cohesive, unified illustration.


