Digital Inking Strategies for Complex Comic Covers
Summary
Inking a Sci-Fi Comic Cover
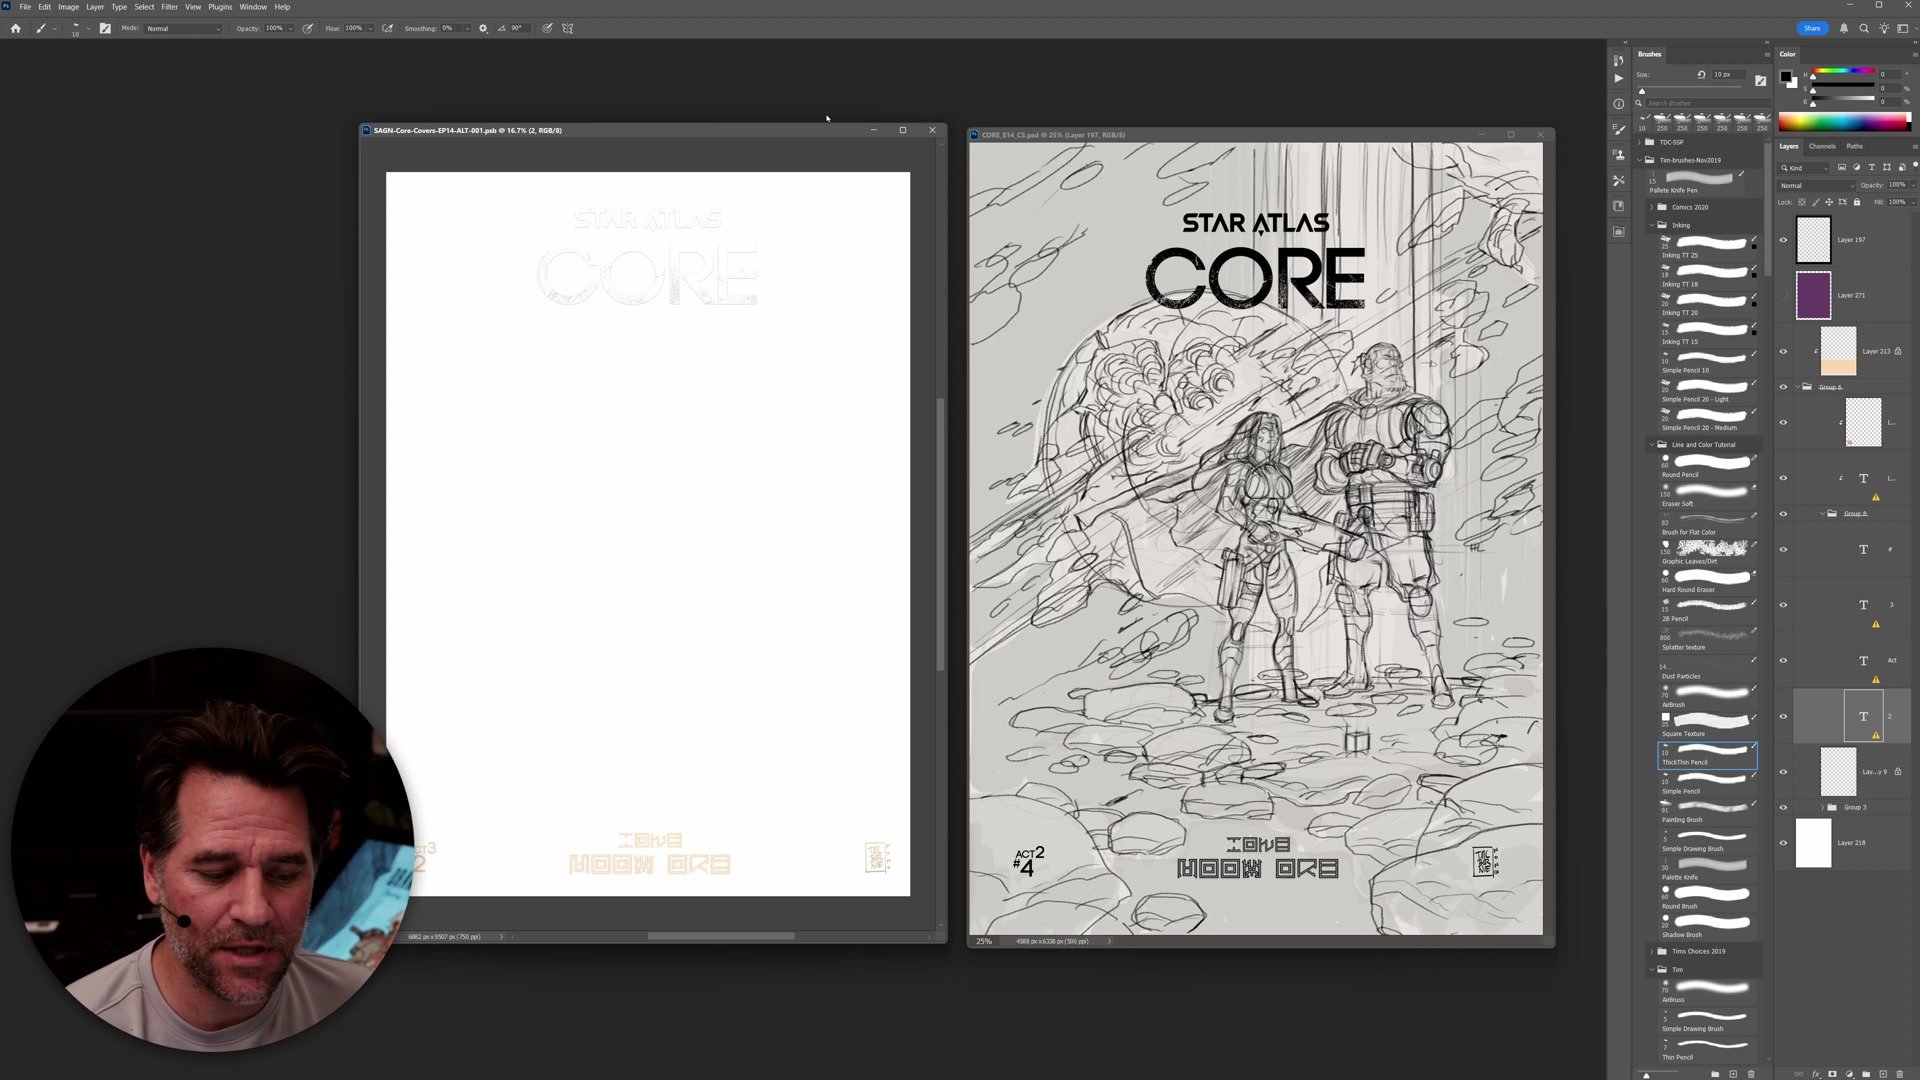
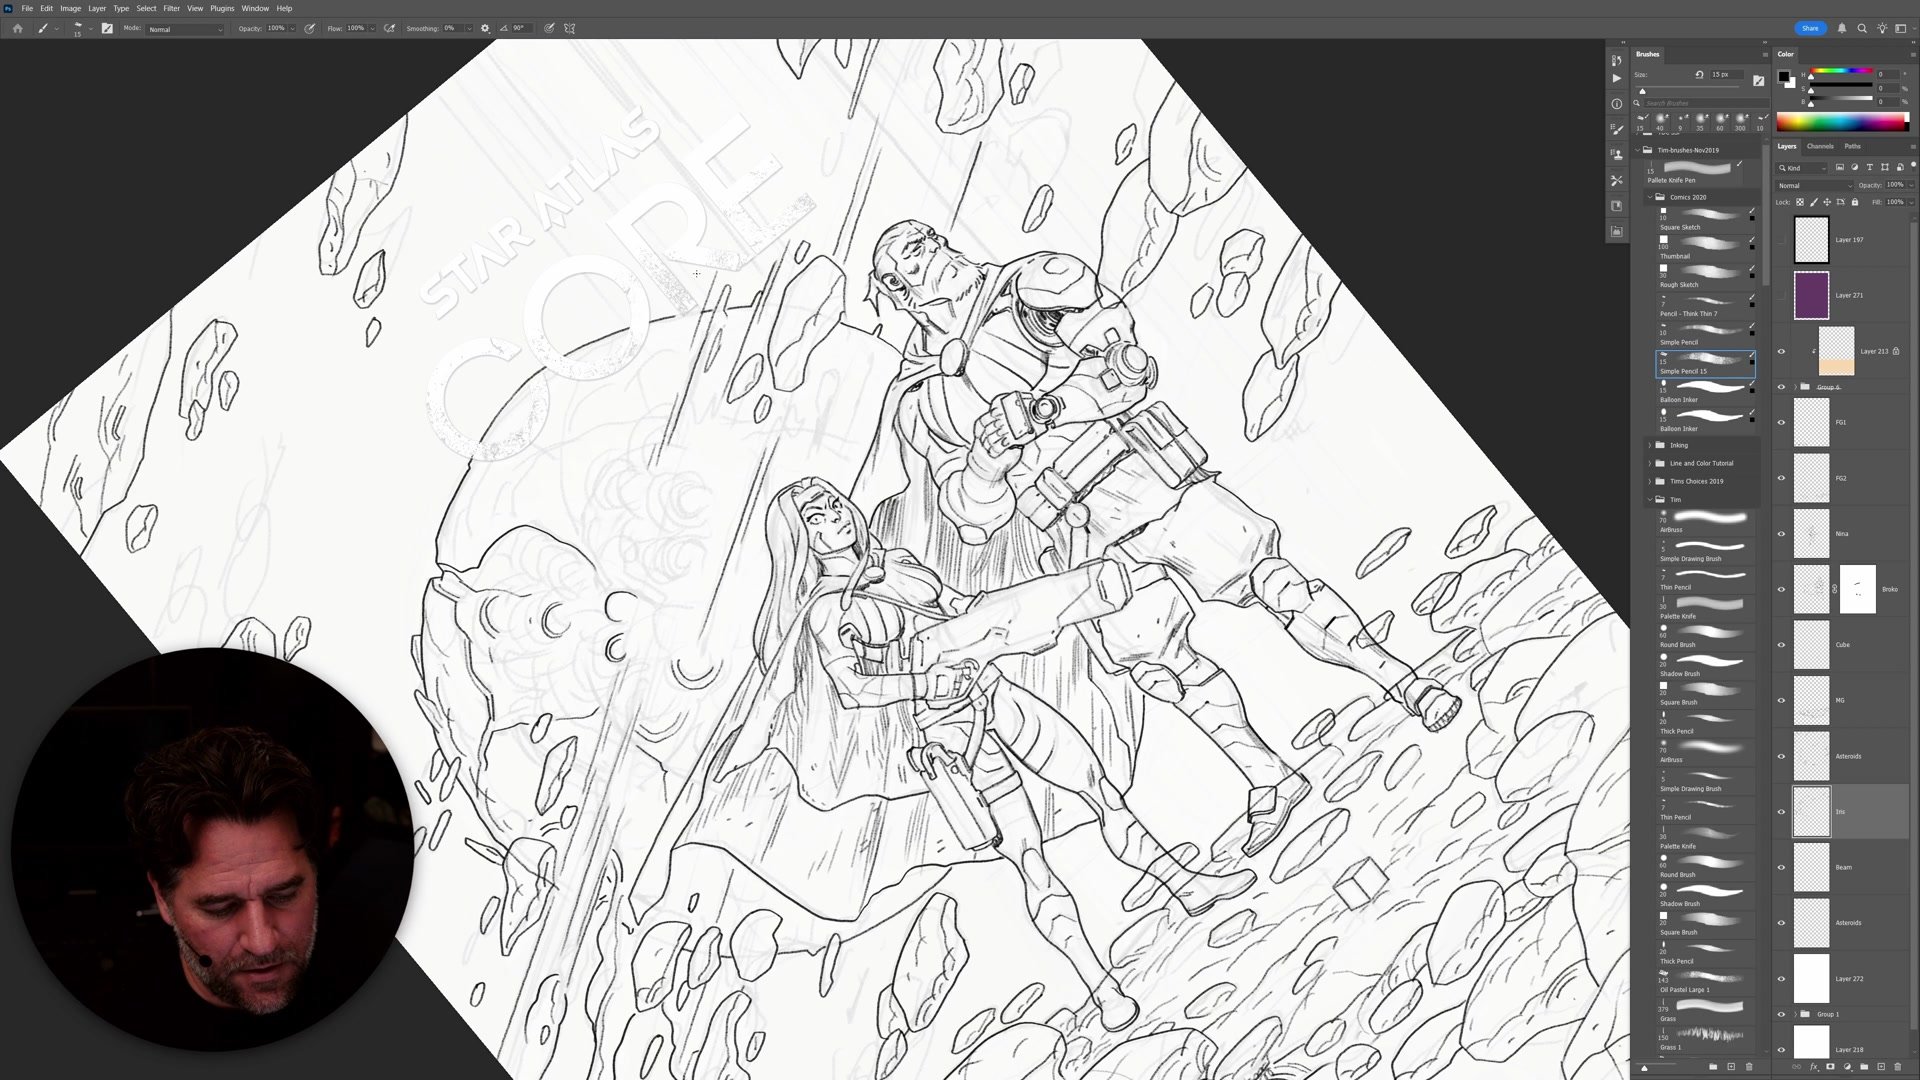
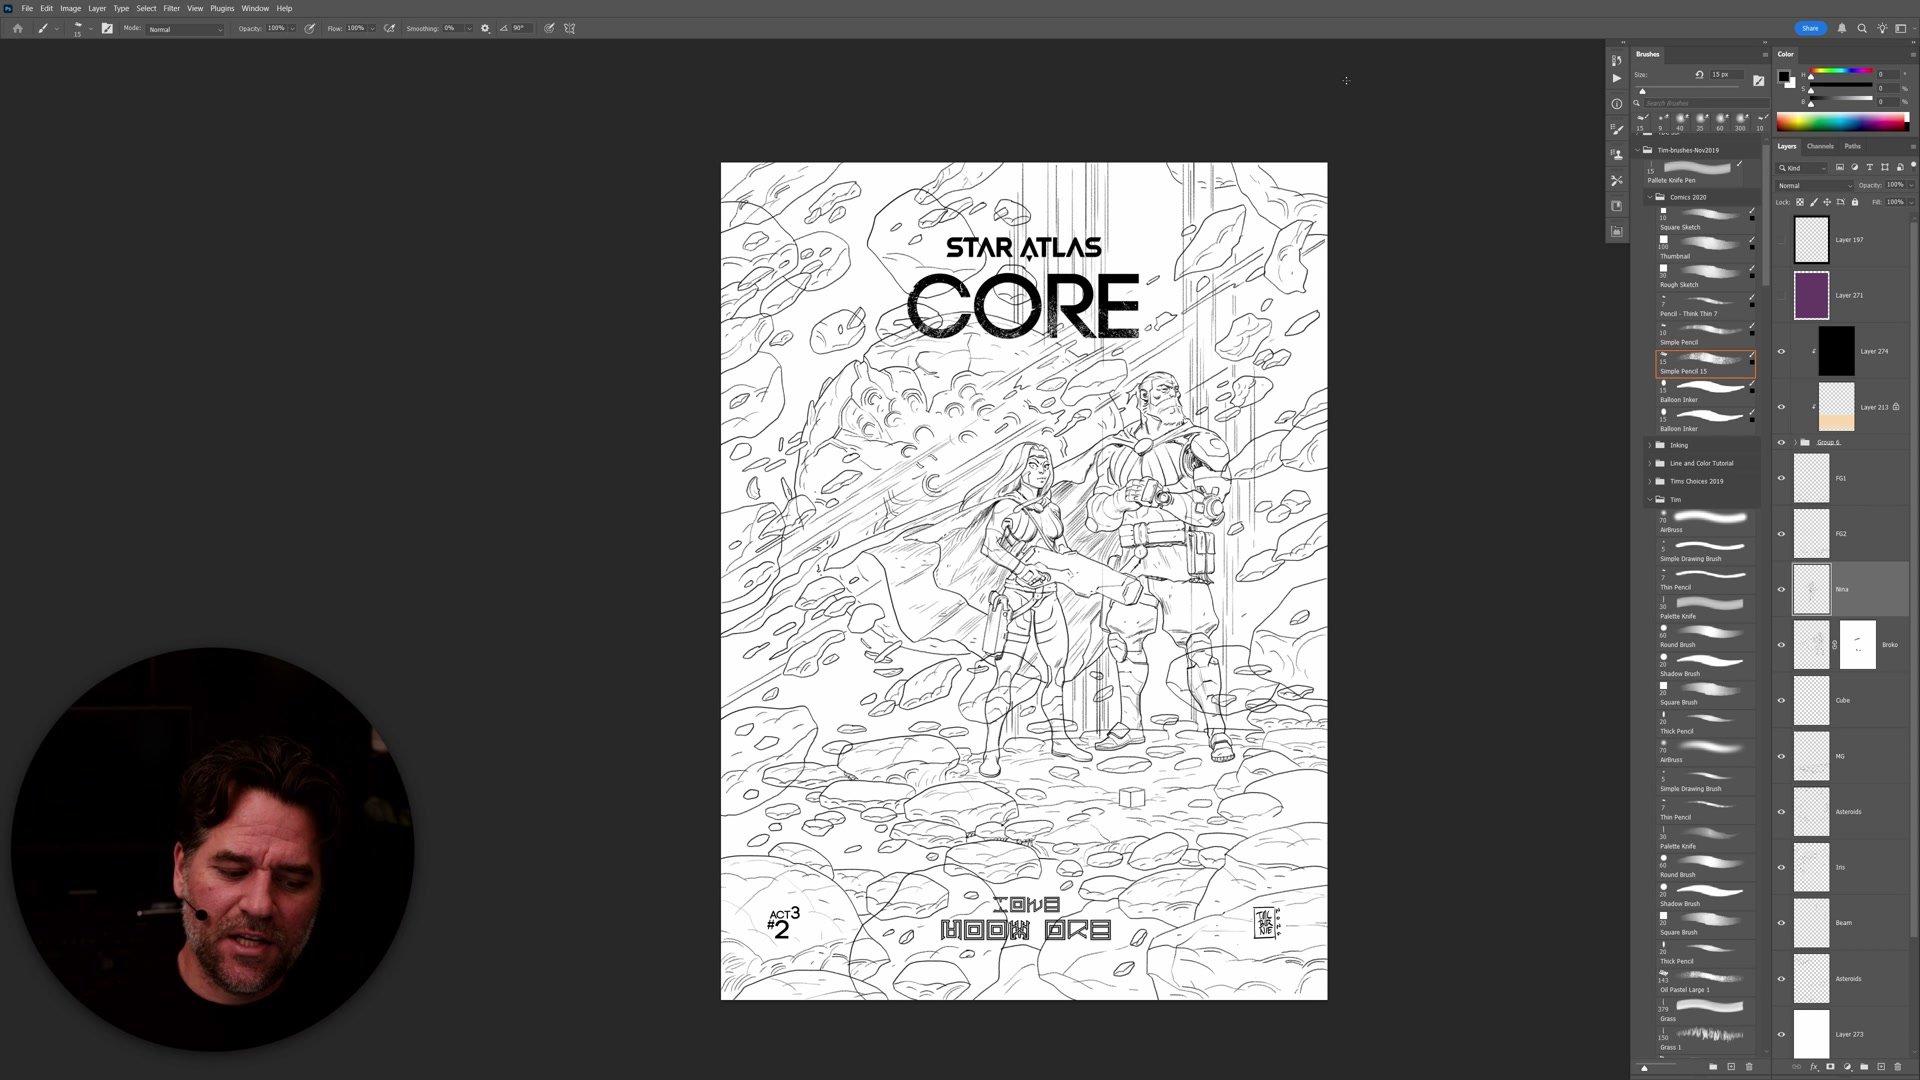
This real-time session covers the inking phase of a sci-fi comic cover for Star Atlas Core, picking up where the construction drawing left off. Nearly two hours of finish line work across foreground rocks, two characters, an asteroid field, a planet, and an energy beam cutting through the composition.
The session demonstrates how to manage overwhelming complexity through clear sequencing. Working in Photoshop with a simple pencil brush and strategic layer separation, the entire inking process follows a foreground-to-background approach that keeps decisions manageable while naturally building depth through overlap. This is Part 2 of a 3-part series covering the complete cover creation.
Setup and Foreground Rocks
Foreground to Background
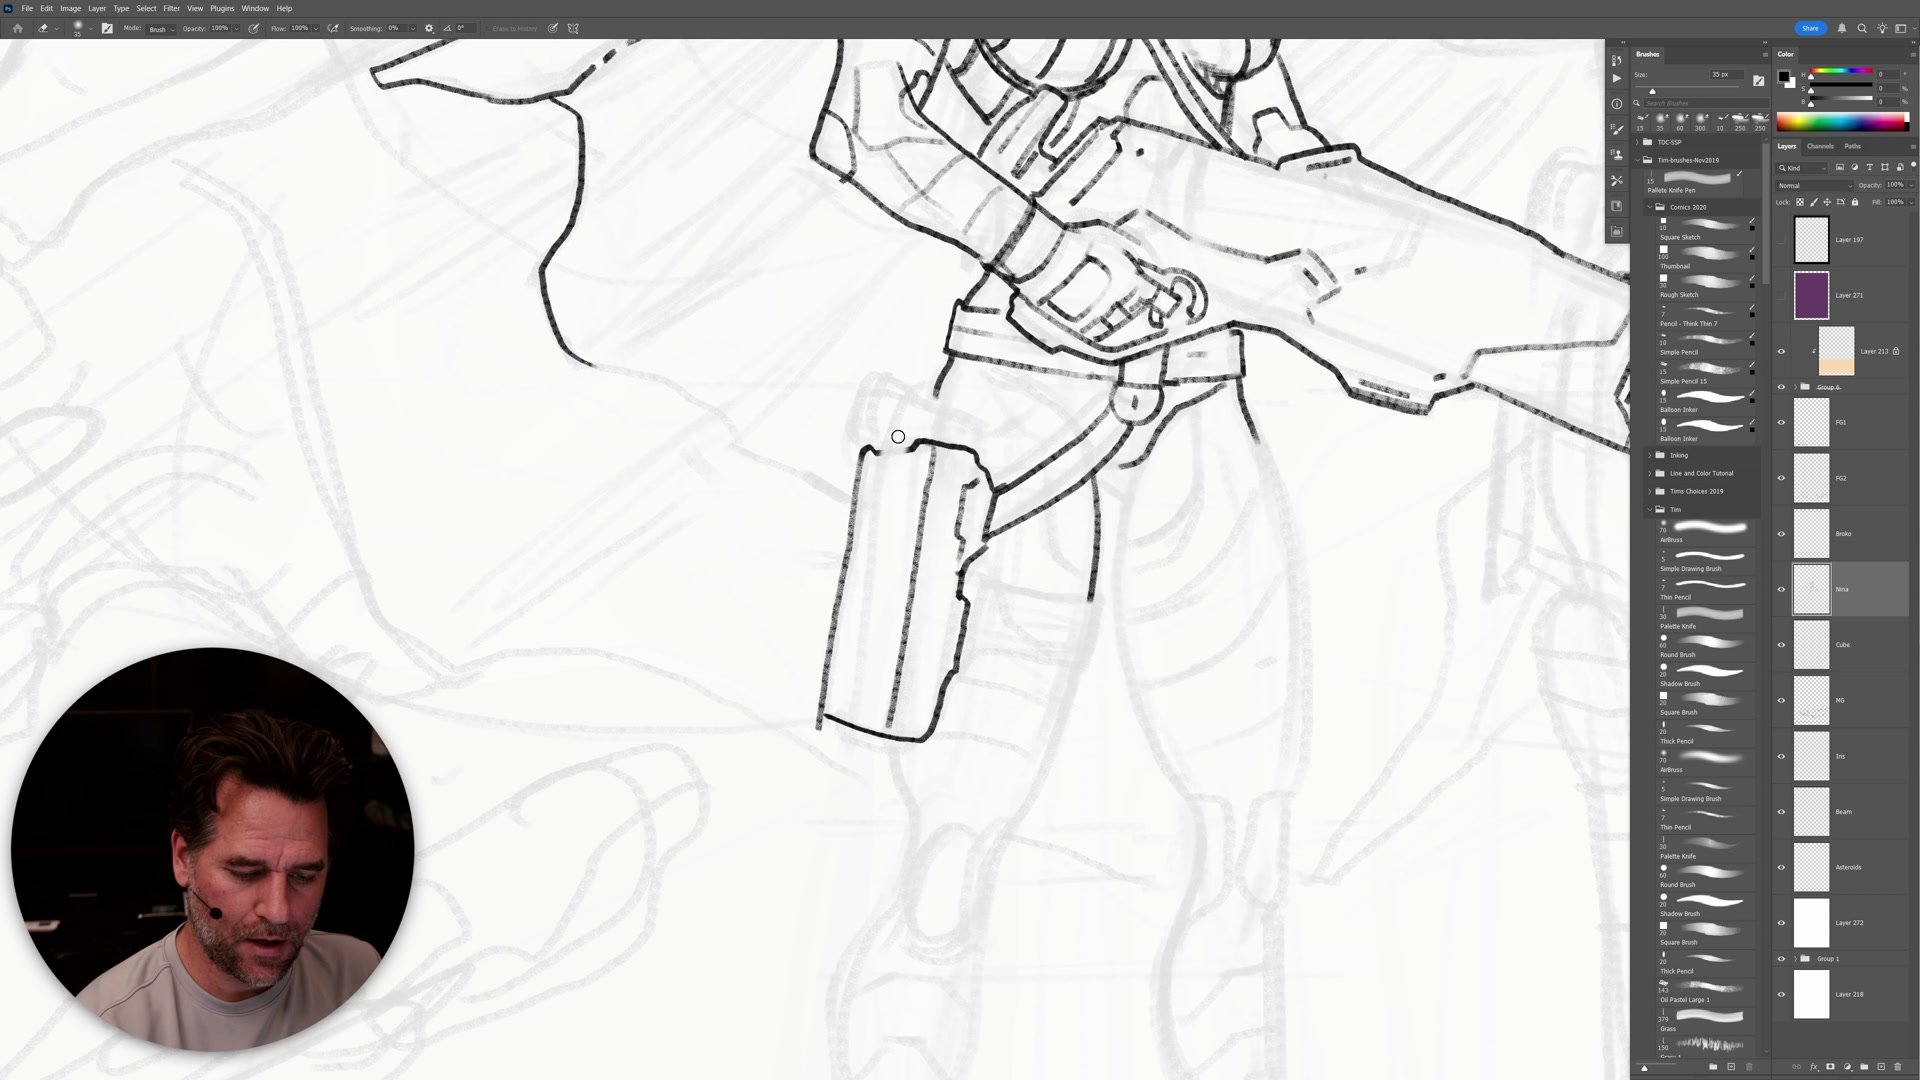
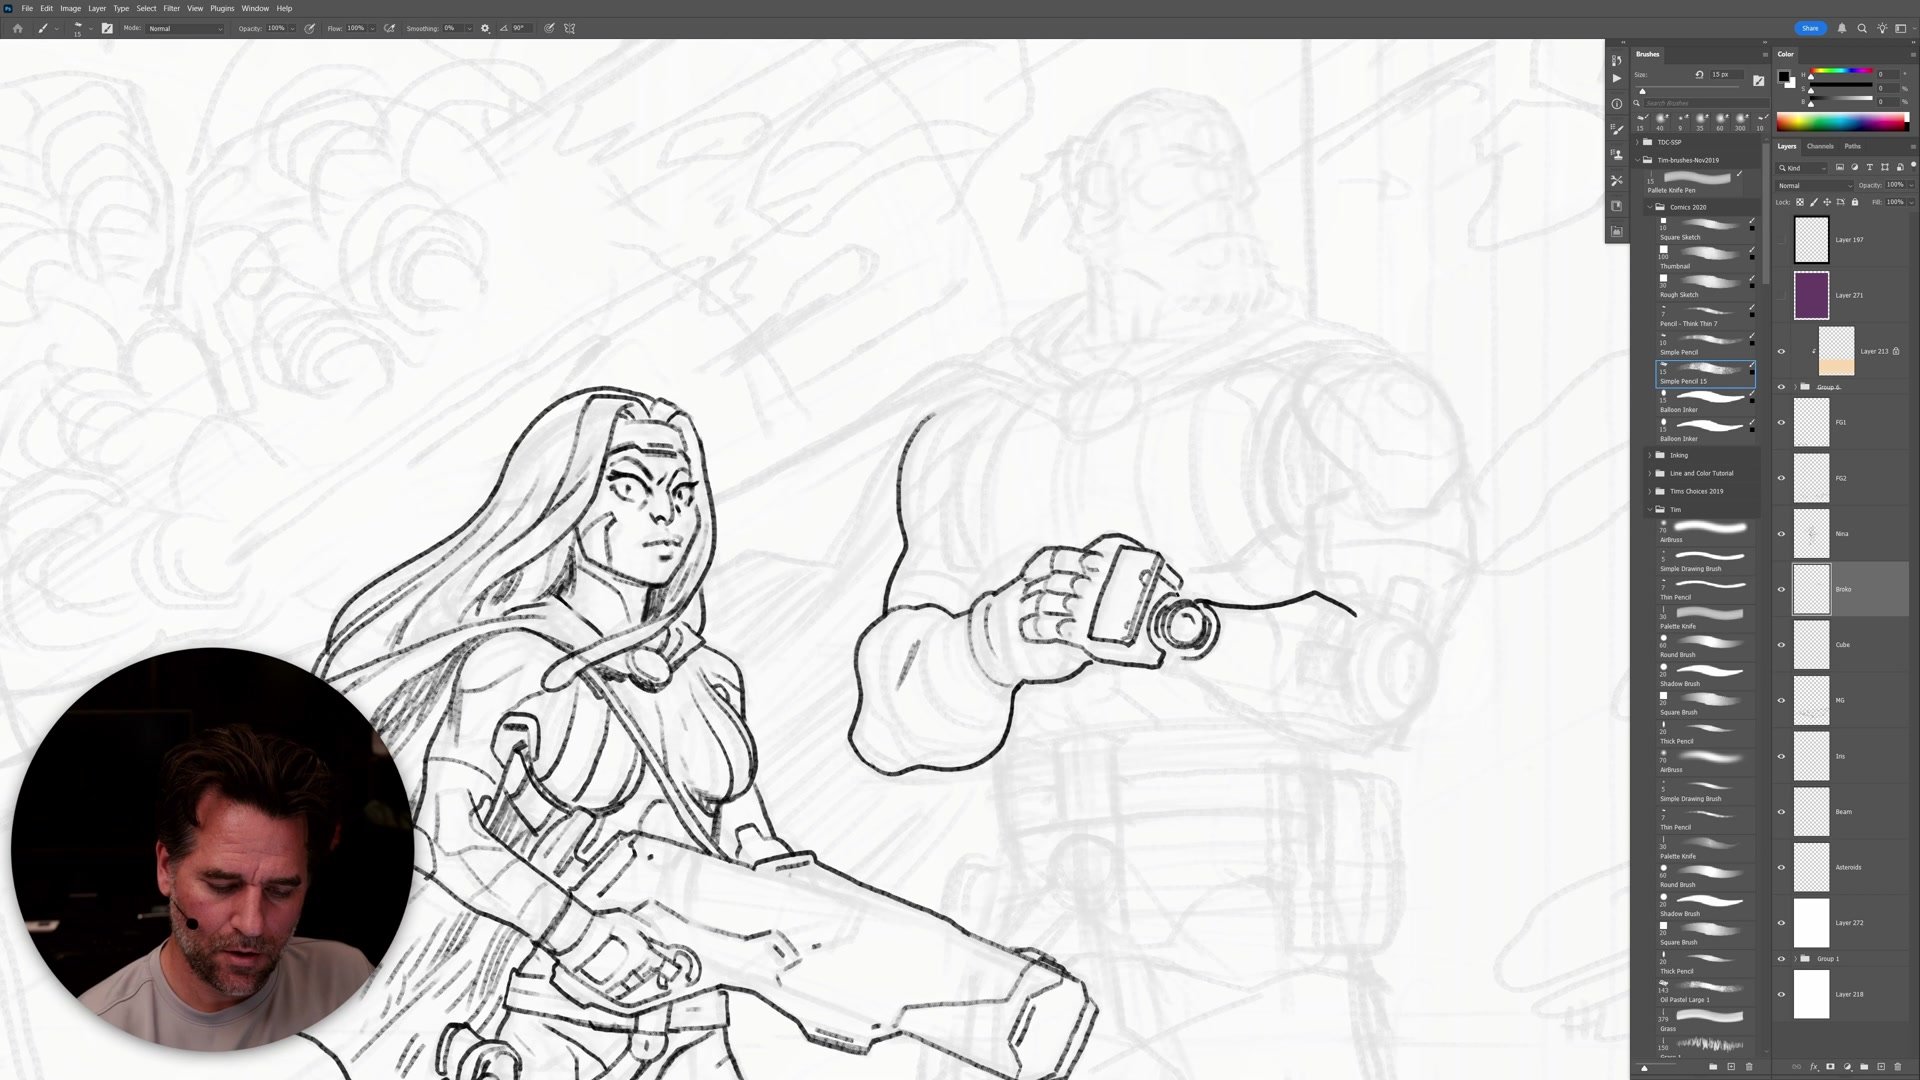
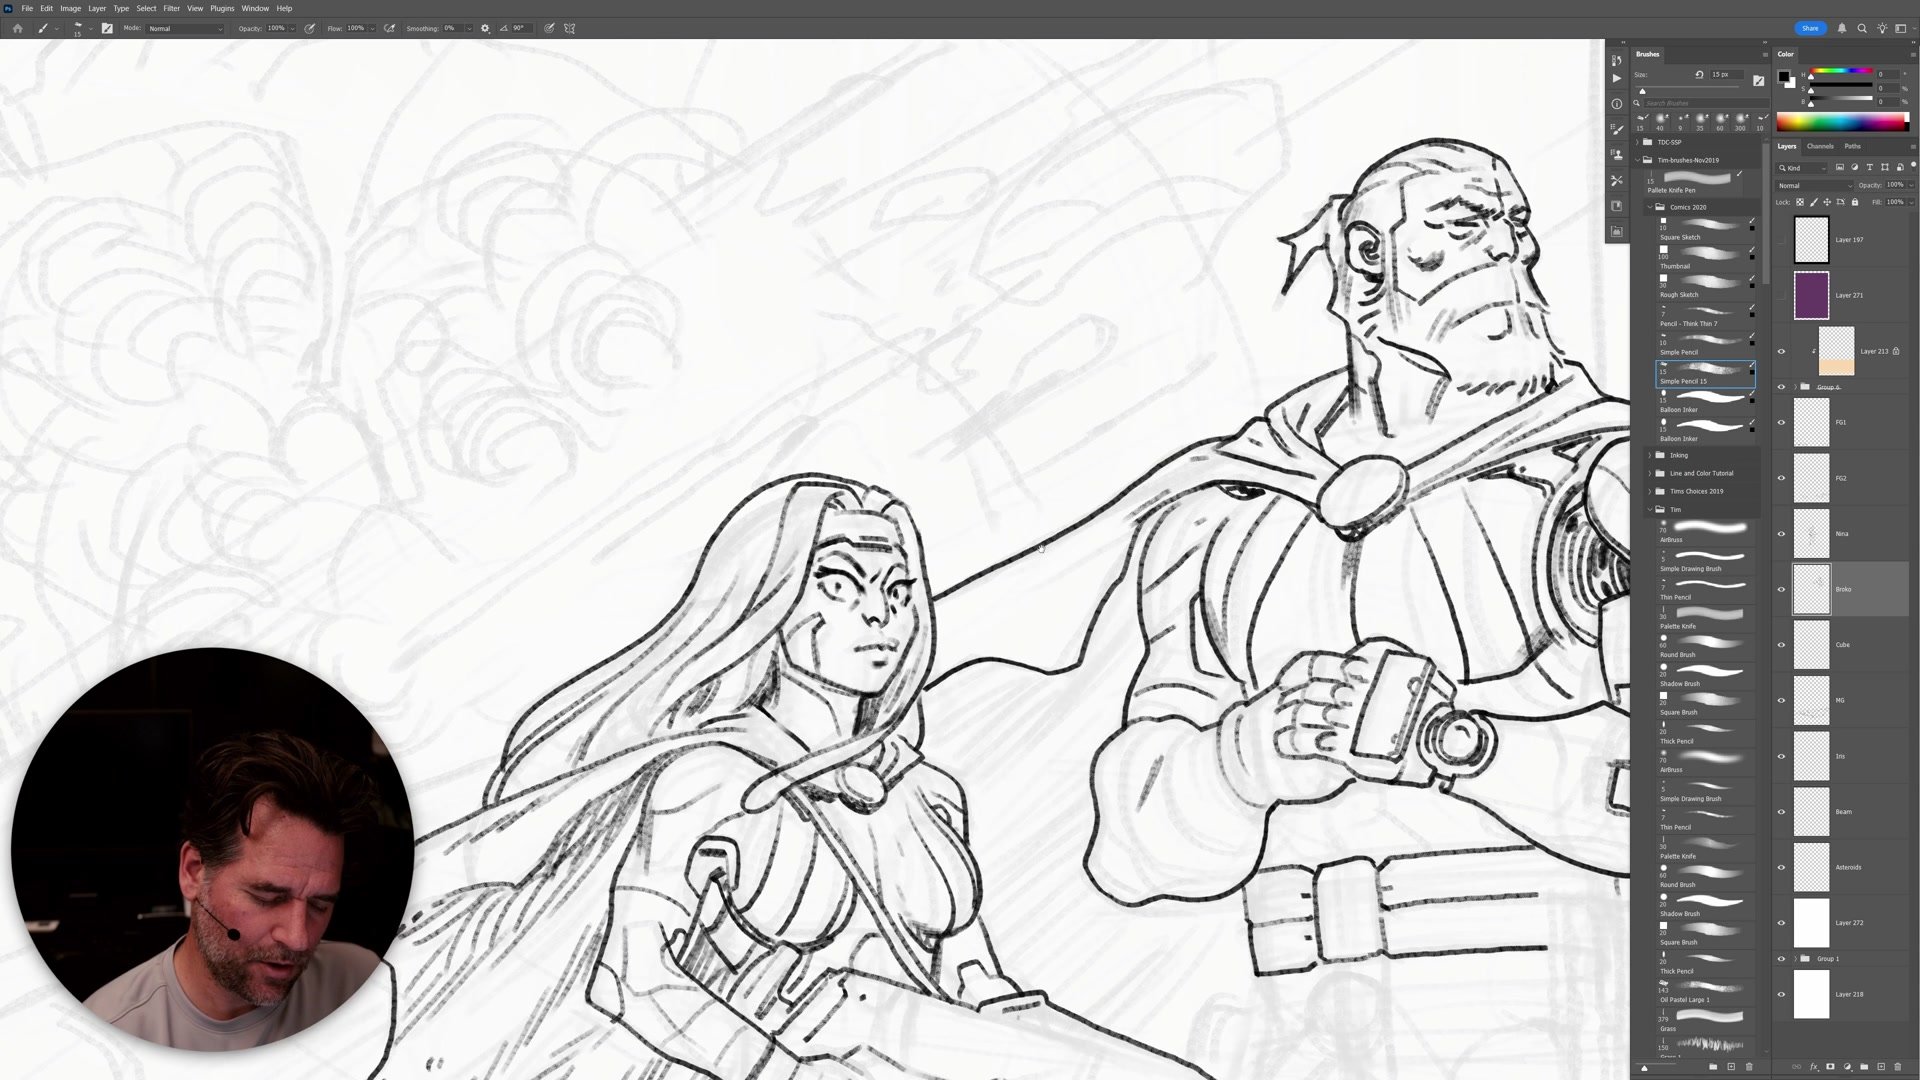
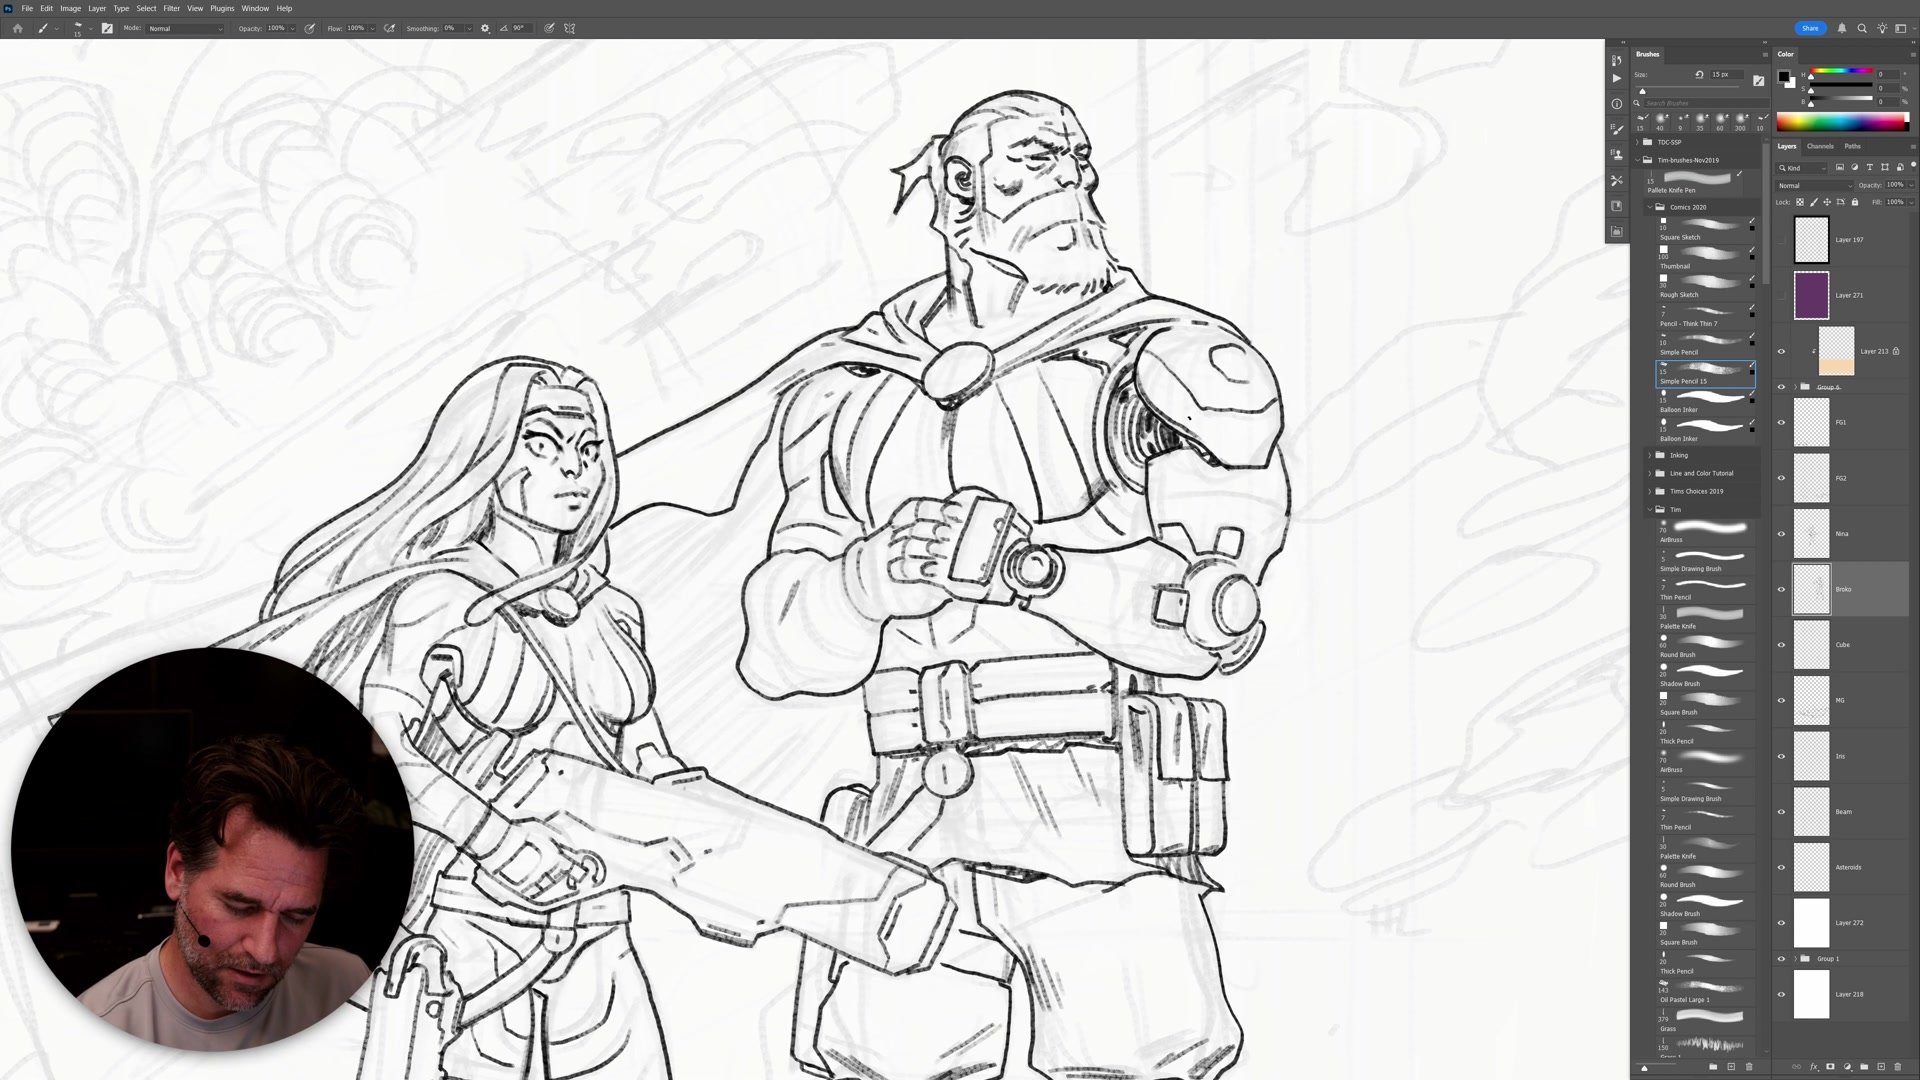
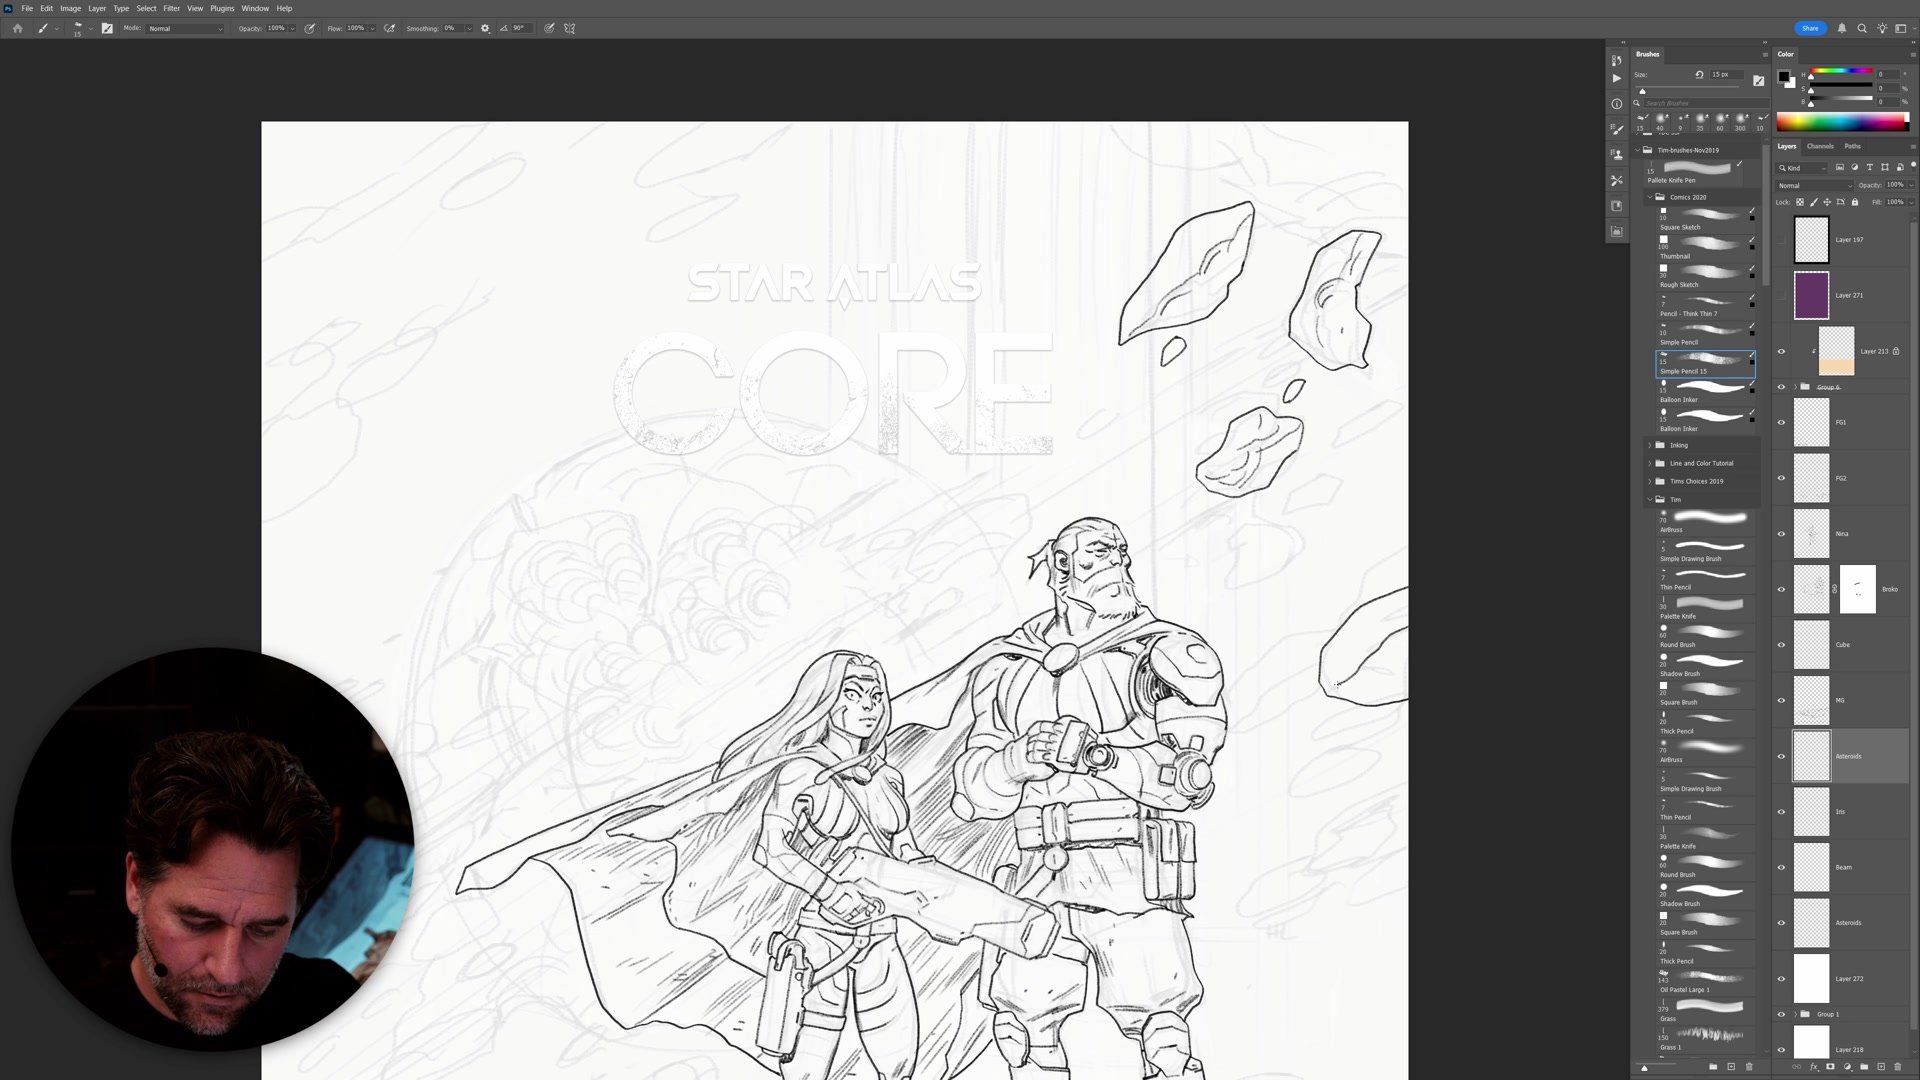
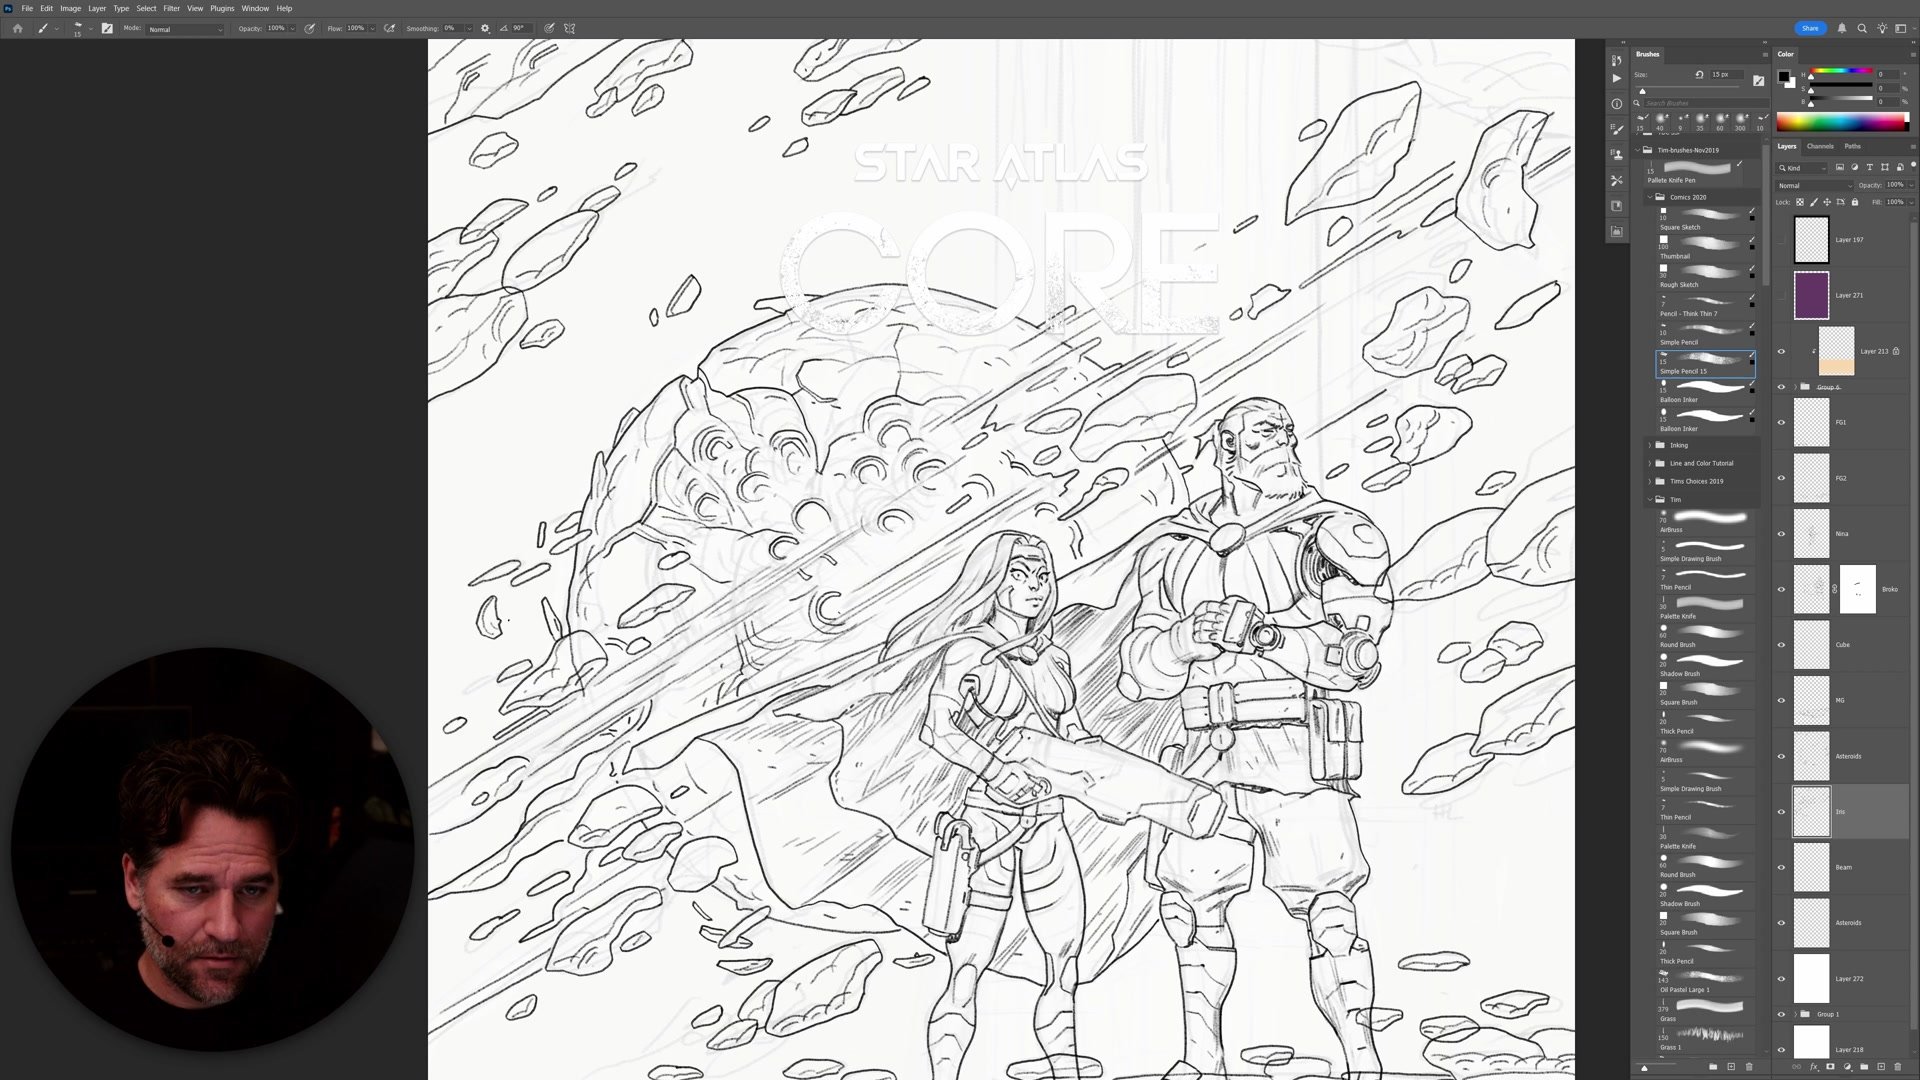
The inking begins with file housekeeping, transferring Procreate layers into the final Photoshop template at proper print resolution. Seven layers are established from the start: foreground rocks, middle ground, the two characters, the planet, the beam, and asteroids. Each major element lives on its own layer, which simplifies color flatting later and allows corrections without complete redraws.
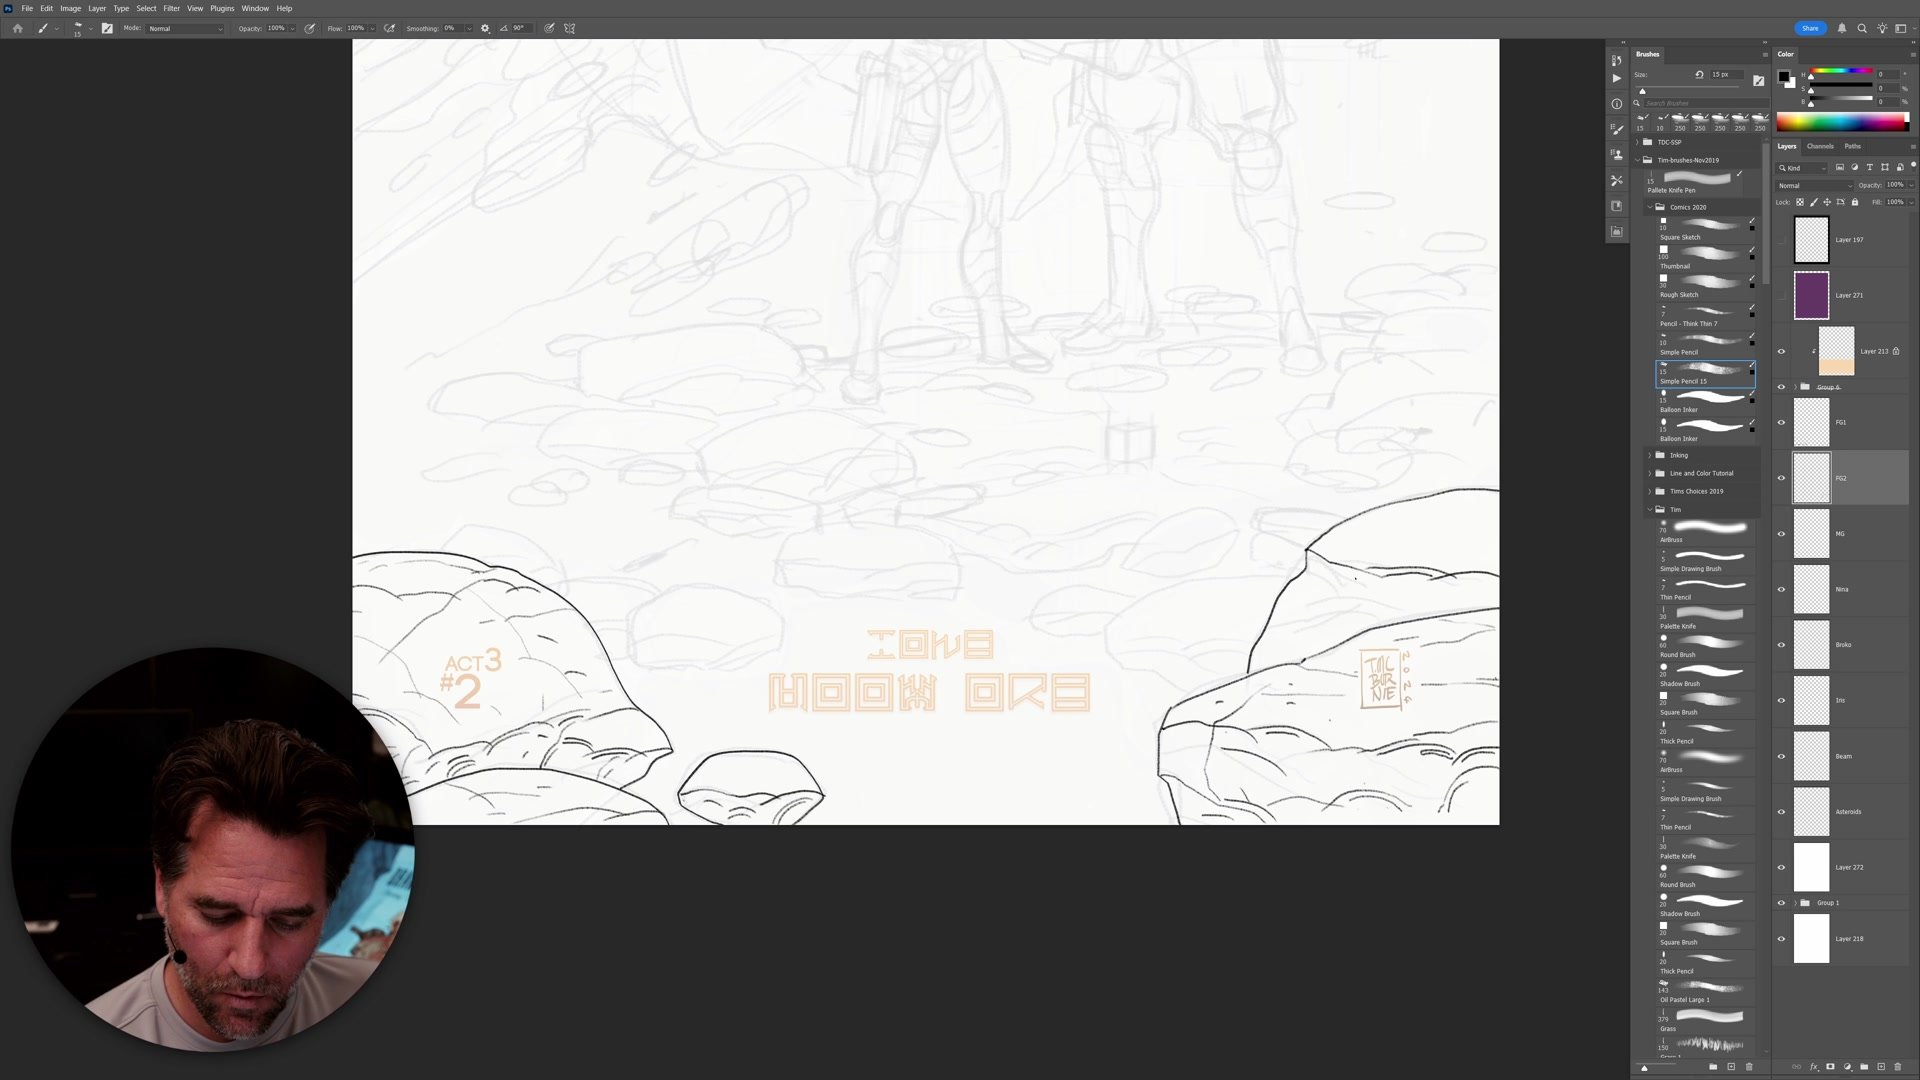
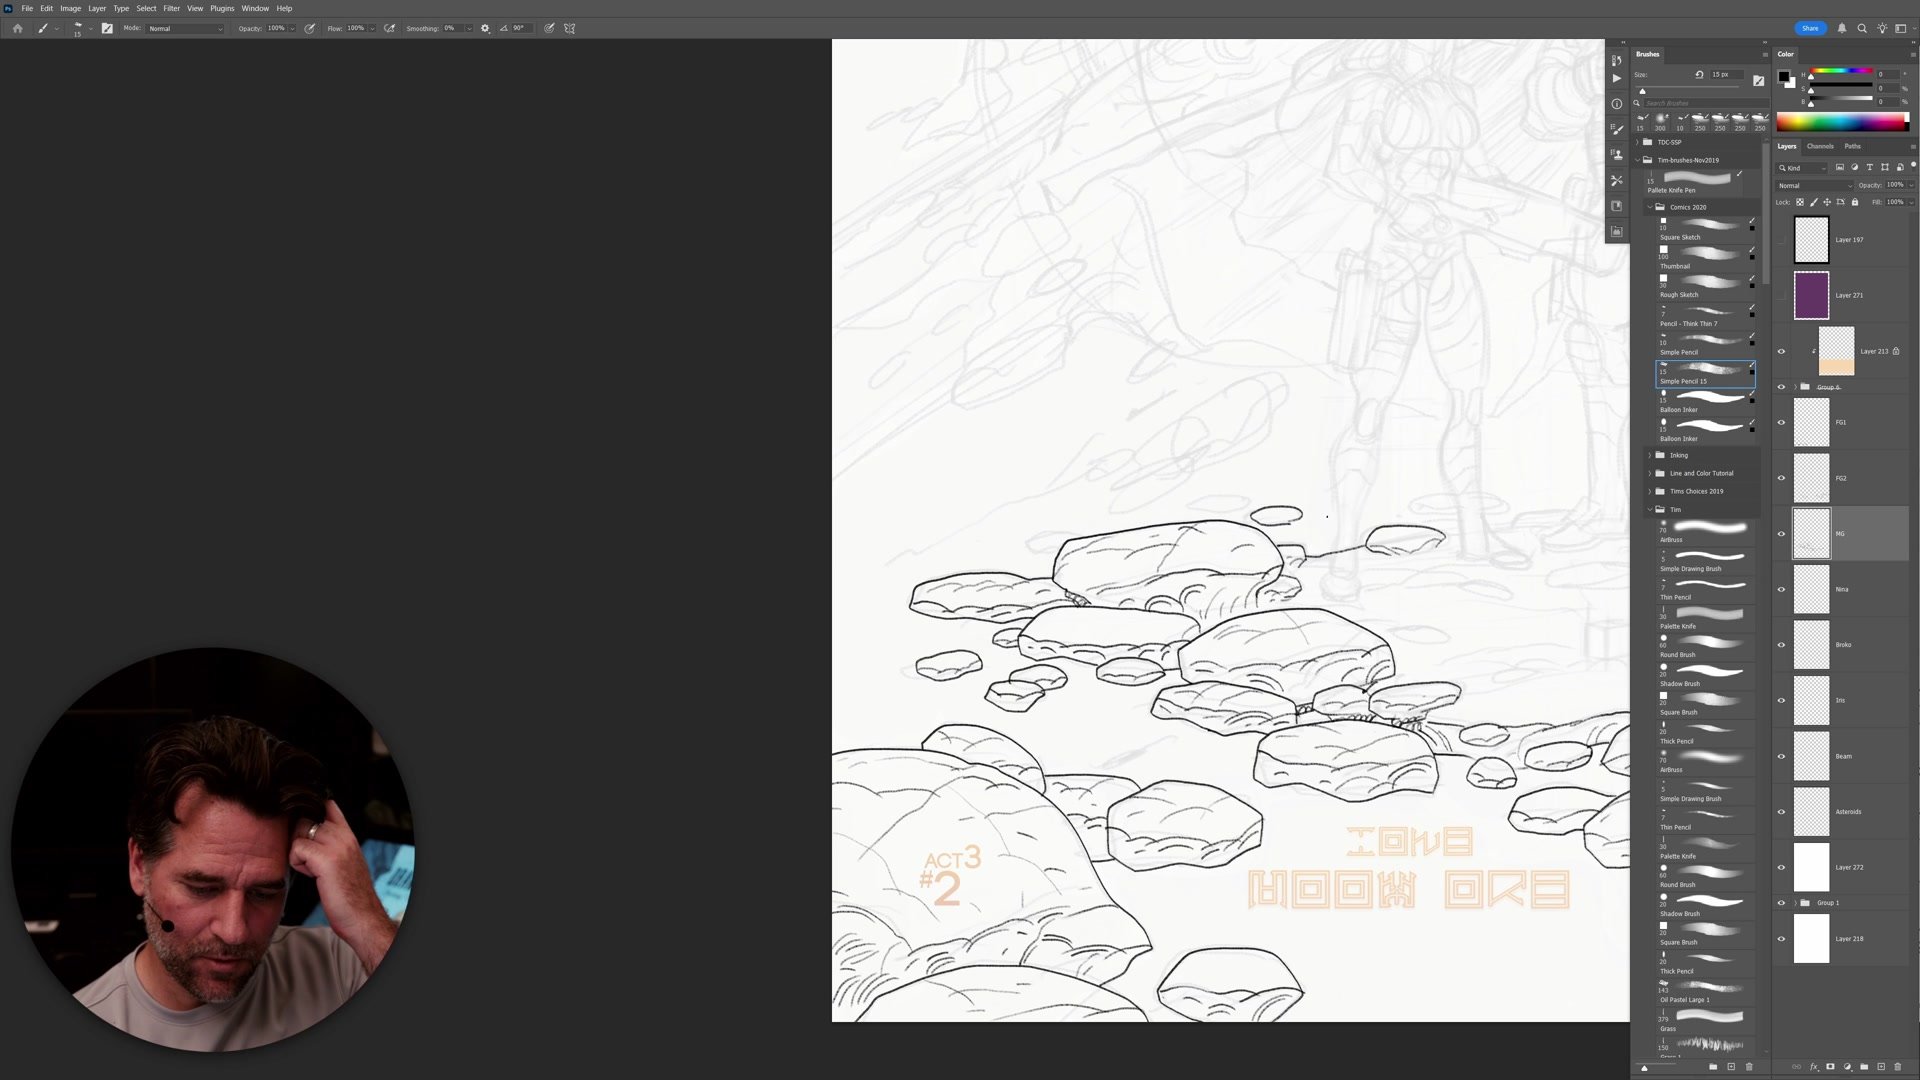
Working foreground to background provides a reliable sequence for tackling the image. Starting with elements closest to the viewer establishes a detail level that everything else can relate to. Foreground rocks get inked first, with additional layers creating parallax and depth. The approach naturally generates overlap, which is essential for spatial relationships. Within each plane, main forms come first, then secondary details. This prevents the common problem of over-rendering background elements that should visually recede.
One practical consideration discussed throughout: the quality delta between well-drawn and roughly-drawn background elements matters far less than whether those elements exist at all. If the compositional placement is right and the forms are recognizable, their presence contributes more to production quality than individual rendering perfection.
Character Inking
Character Faces and Inking Logic
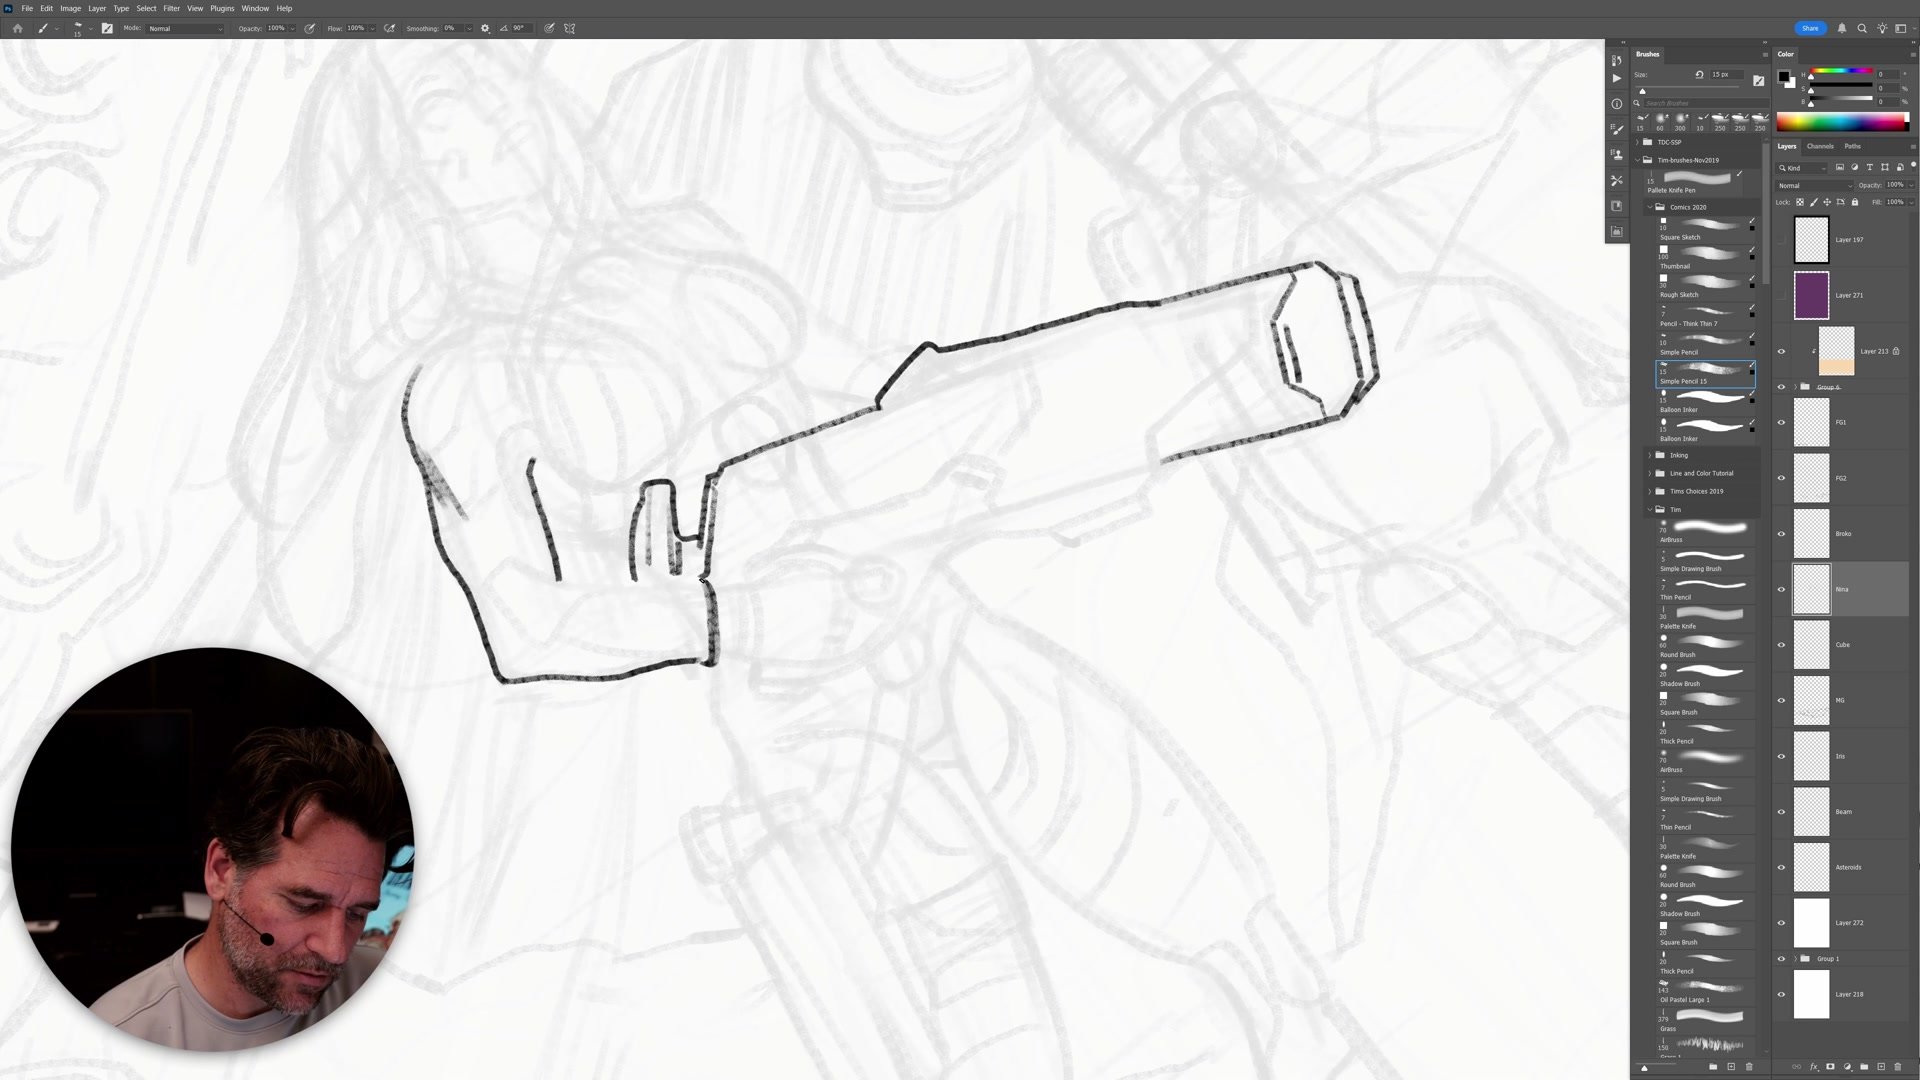
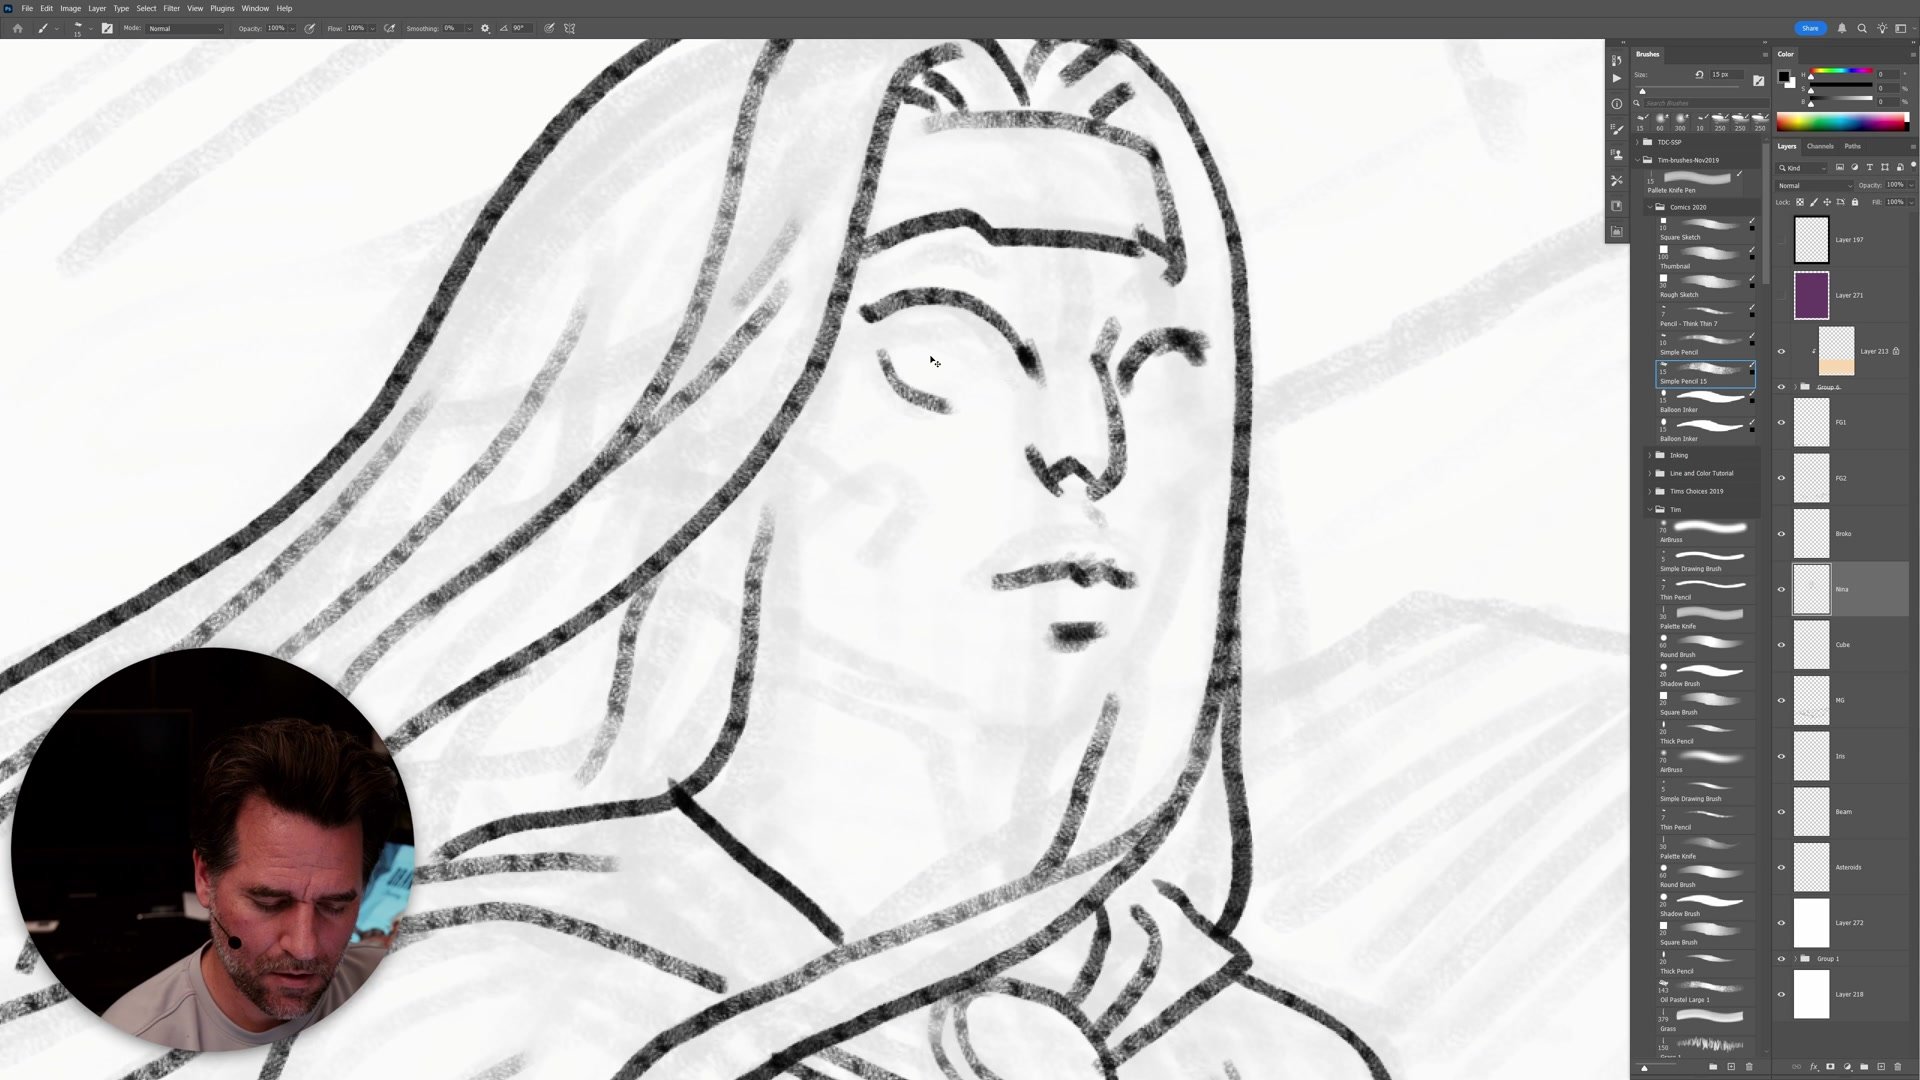
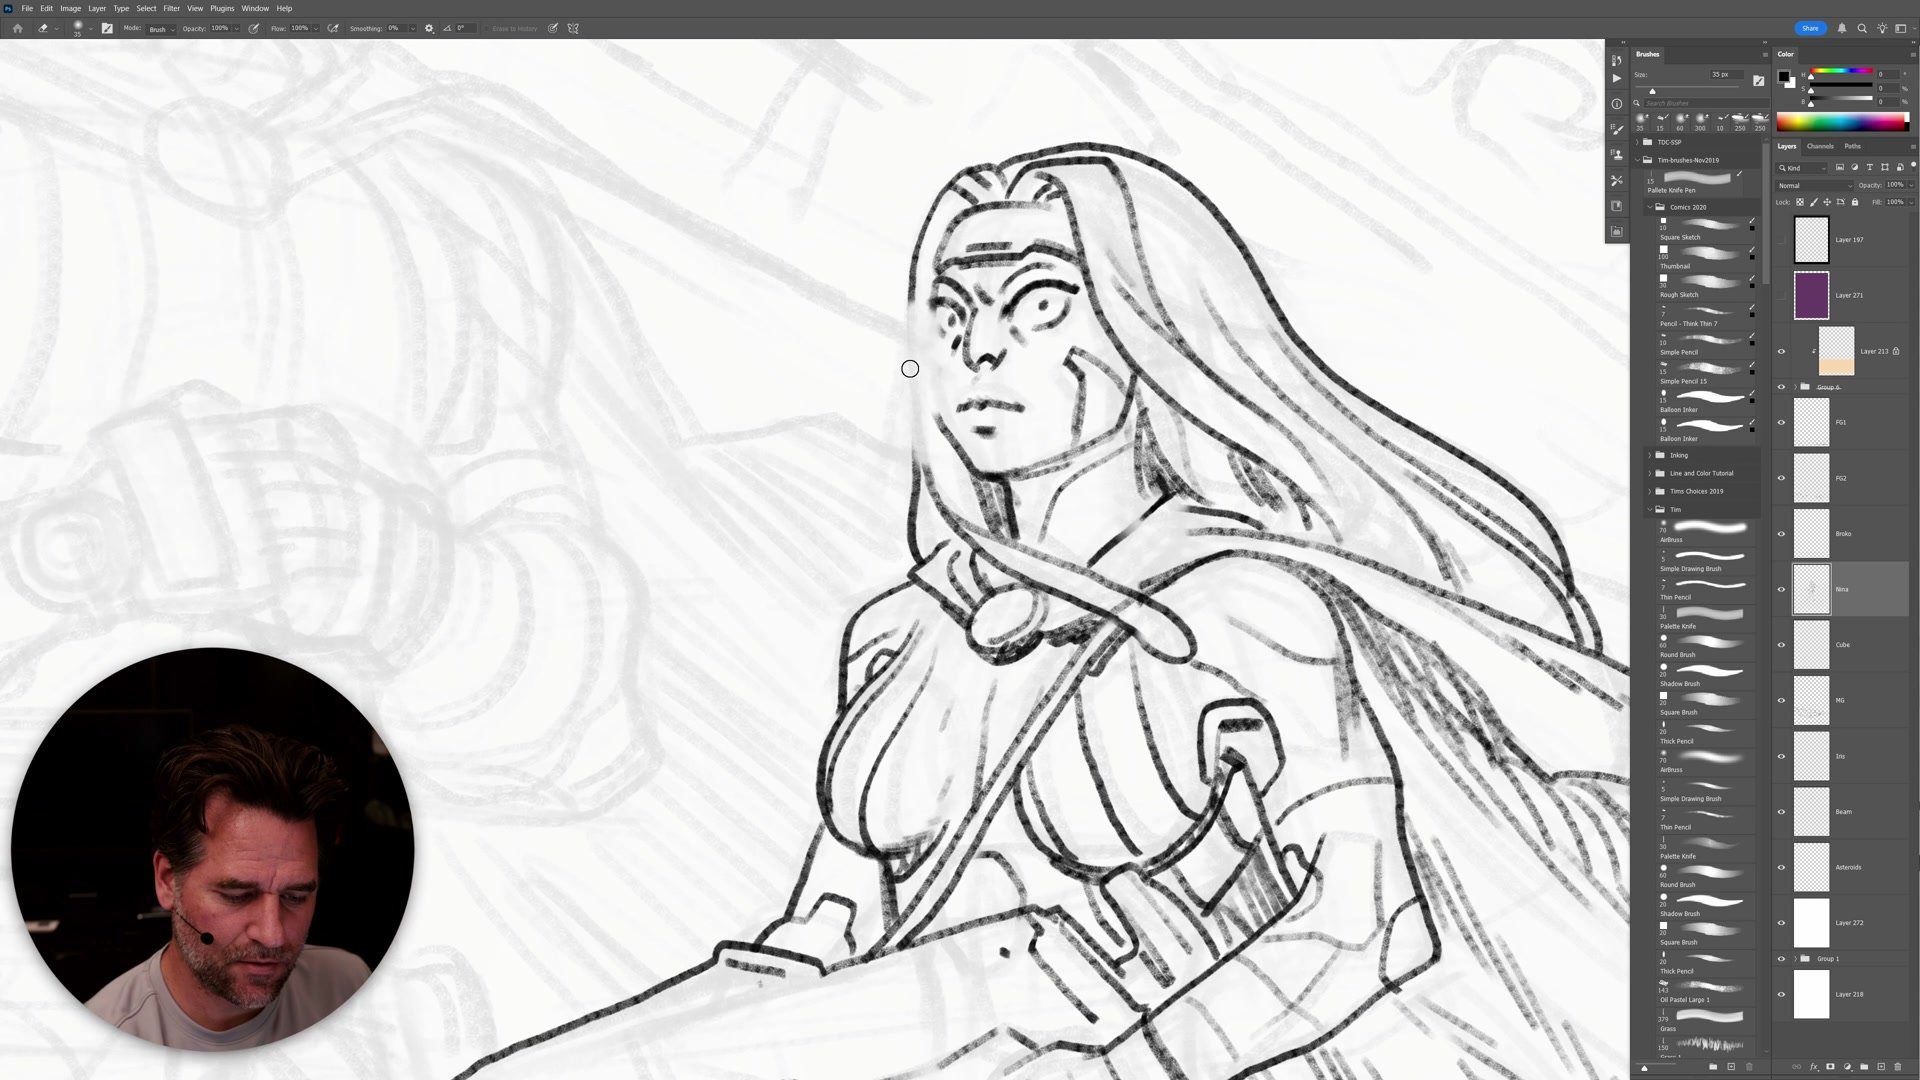
The character inking reveals a different kind of challenge. Unlike rocks and asteroids that can be approached almost meditatively, faces require active problem-solving. The approach starts from the center of the face, finding the nose and eye structures first, then building outward. This avoids the trap of drawing the face outline first and trying to fit features inside it.
Not every line gets completed. Deliberately leaving breaks in the line work prevents the coloring-book look that emerges when all forms are fully enclosed. The balance between closure and ambiguity affects how the viewer perceives dimension. Too many closed lines flatten the form. The session acknowledges that some characters are simply harder to nail than others. Despite designing a character and drawing it hundreds of times, certain faces resist settling into a reliable formula. This honest assessment reflects the reality of long-term character work.
Inking characters also involves constant flipping of the canvas to check proportions from a fresh perspective, erasing and redrawing areas rather than treating the construction lines as sacred outlines to trace.
Asteroids and Background
Muscle Memory and Repetition
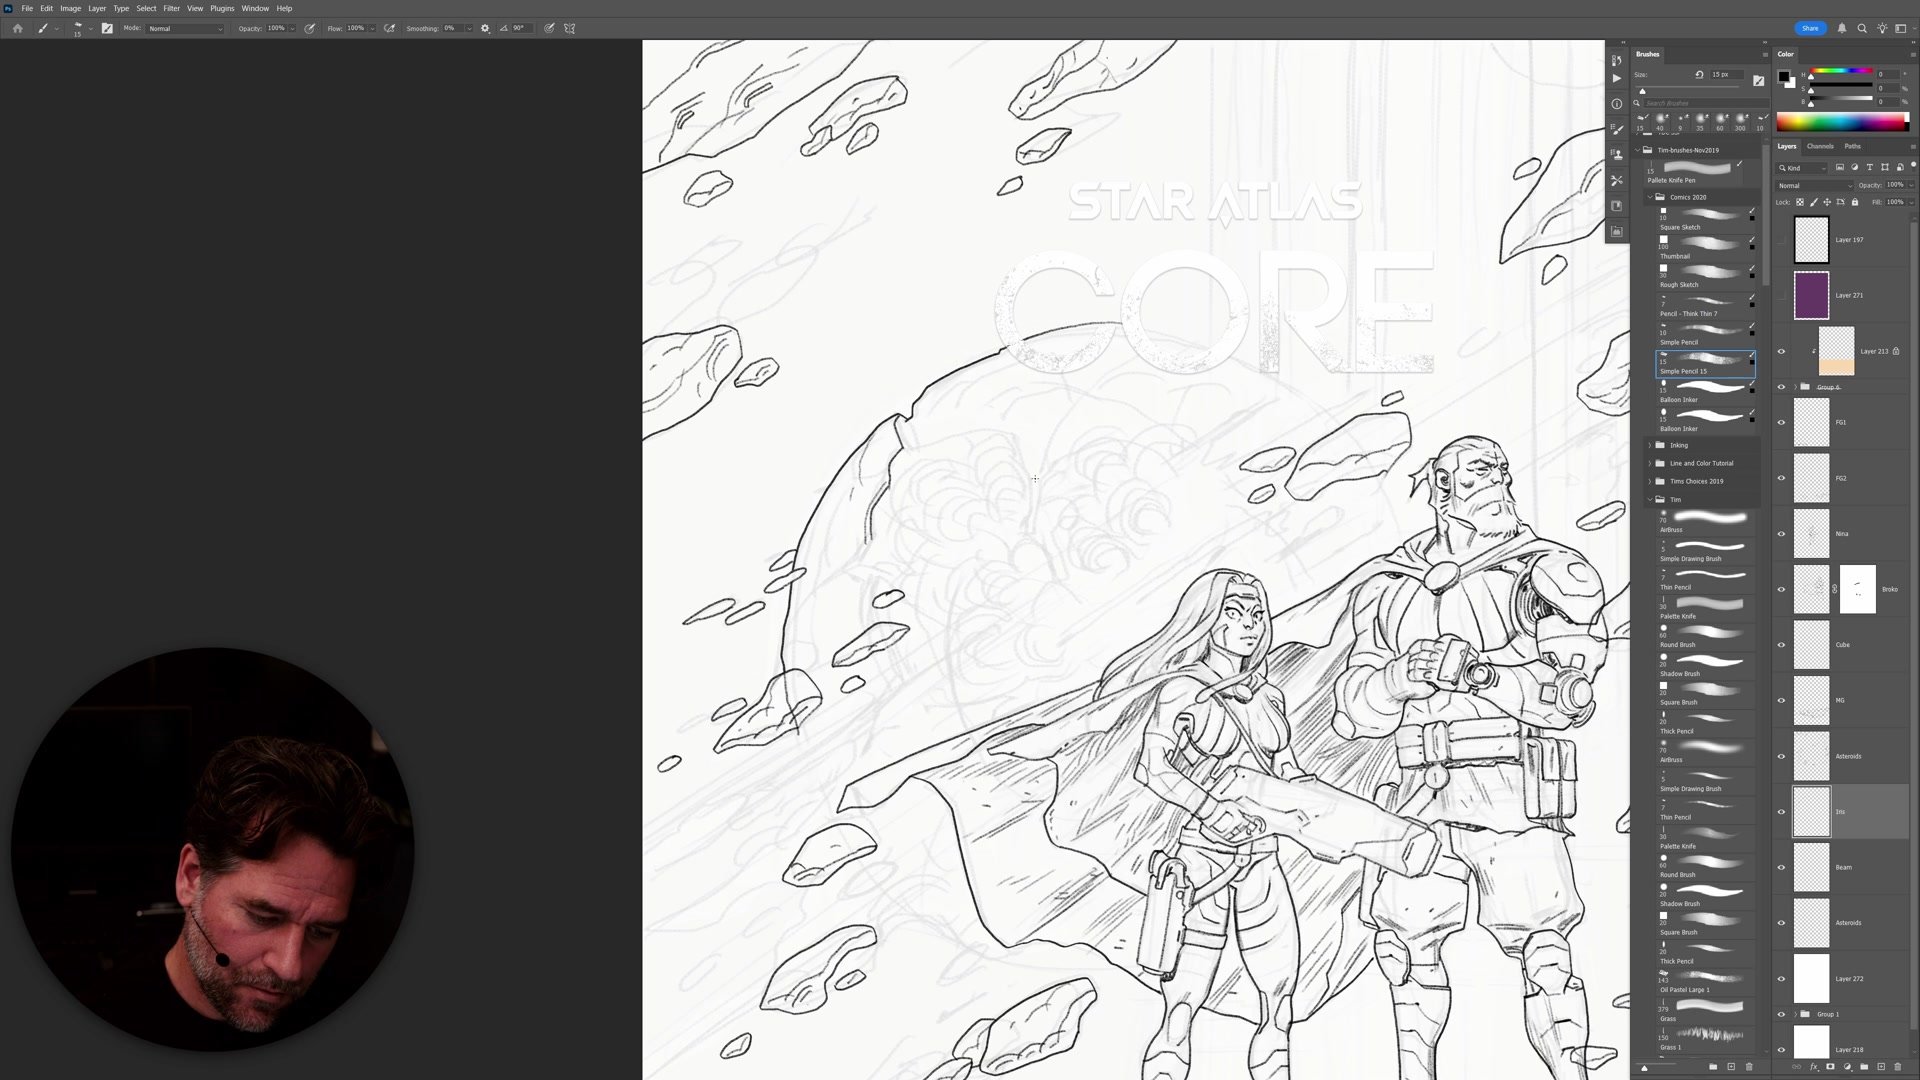
The asteroid field represents the most meditative phase of the session. Drawing hundreds of overlapping rock forms becomes an exercise in muscle memory. The first time a specific subject is drawn, it takes exponentially longer. With repetition, complex marks become automatic, and the process shifts from problem-solving to flow state.
This is why developing a personal visual aesthetic pays off. Having a consistent approach to recurring elements like rocks, trees, or specific character designs means inking sessions become opportunities for quiet, focused work rather than constant invention. The session uses saved warm-up tasks like asteroid fields for those moments when creative energy is low but productive time is available.
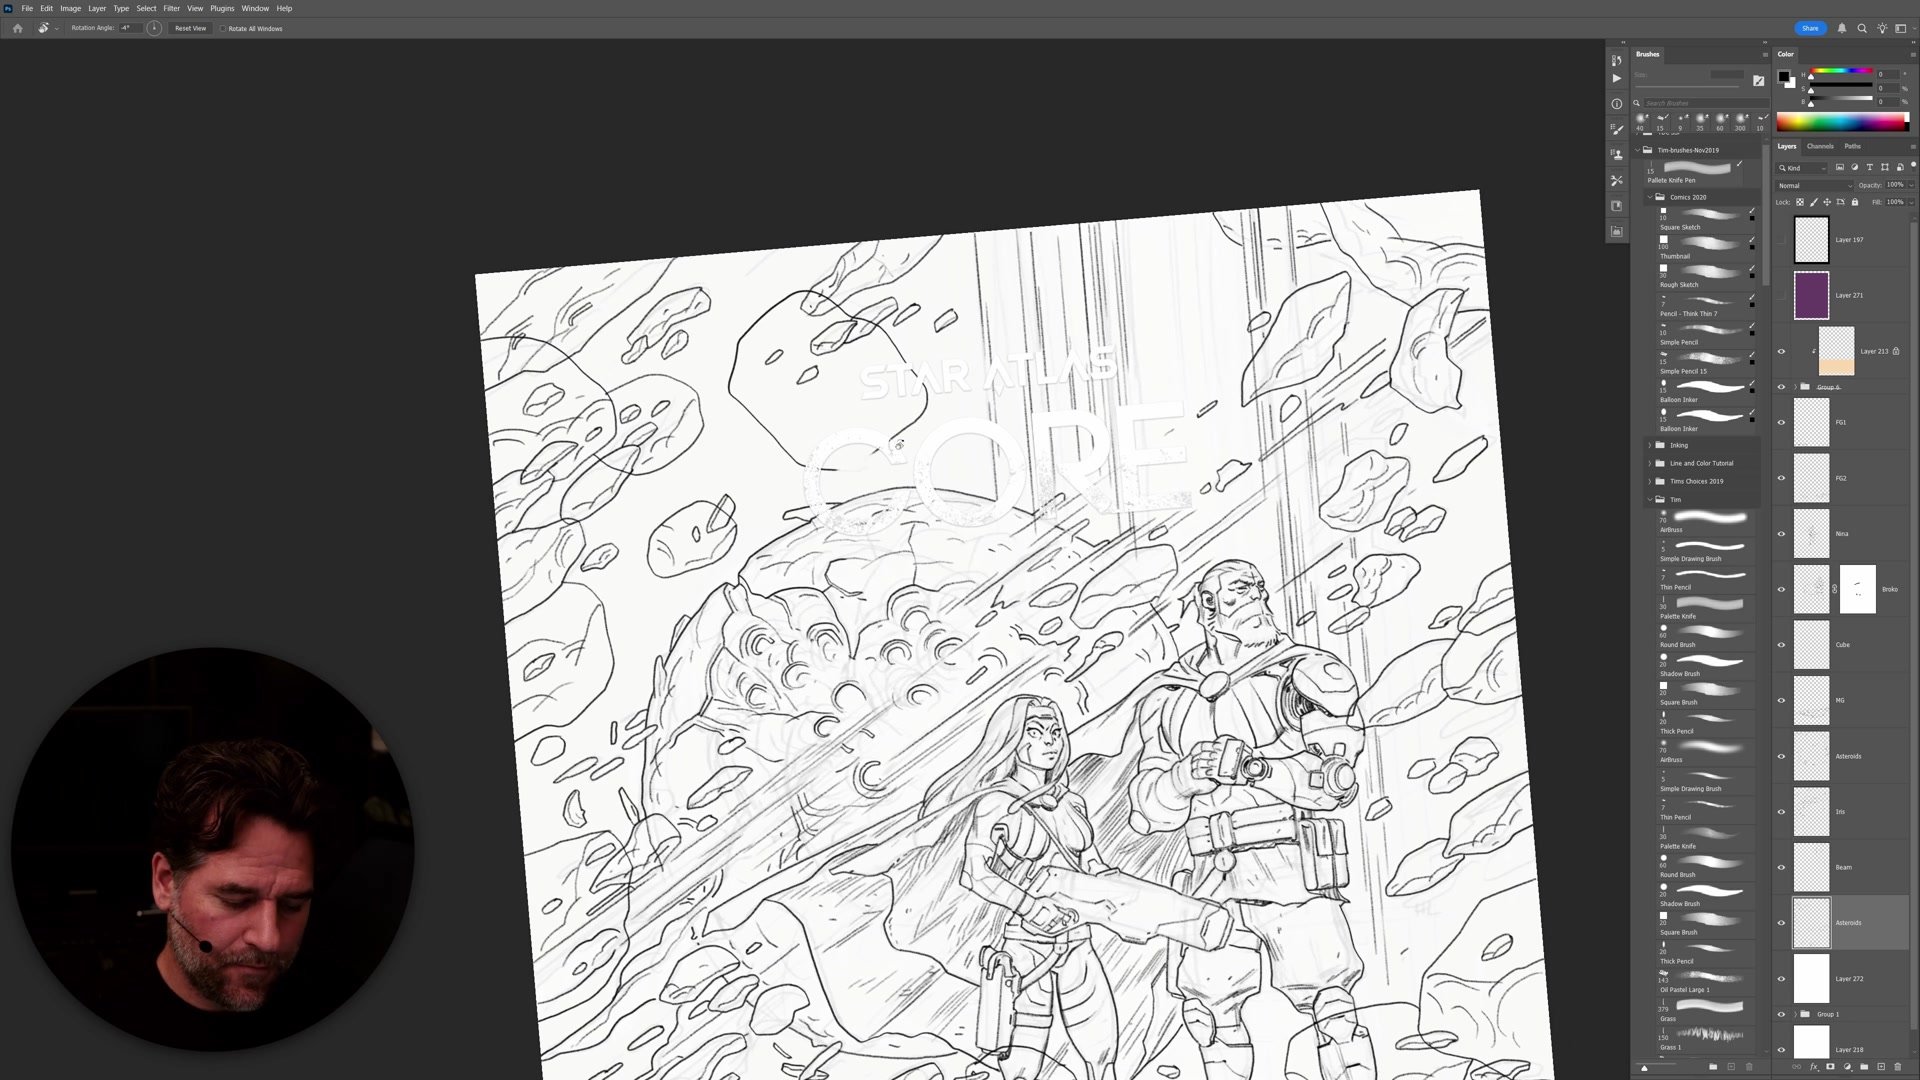
The background pass includes drawing the planet with hand-drawn lines rather than using Photoshop rulers, adding background asteroids behind all other layers for depth, and creating the energy beam using vertical lock constraints. A final white layer review checks for gaps, missed textures, and areas where small additions would plus the overall image. Five minutes of targeted refinement at this stage yields disproportionate results.
Final Line Review
Key Techniques
Foreground to Background: Starting with elements closest to the viewer and working backward creates natural overlap and depth while providing a clear detail benchmark for the entire image.
Layer Separation Strategy: Placing each major element on its own Photoshop layer simplifies color flatting and allows corrections without redrawing. Seven layers proved sufficient for this complex composition.
Existence Over Perfection: Background elements contribute more through their compositional presence than through rendering quality. If the design placement is right and the forms are recognizable, production quality follows.
Muscle Memory Investment: Repetitive elements become faster and more fluid with practice. Saving these meditative tasks for warm-up periods or low-energy sessions keeps productivity high.
Deliberate Line Breaks: Leaving gaps in line work prevents the flat, coloring-book quality that comes from fully enclosing every form. Controlled ambiguity preserves dimensional perception.
Try This Approach
Plan Your Sequence: Before making the first ink mark on a complex illustration, identify what sits in the foreground, middle ground, and background. Assign each major element its own layer.
Ink Front to Back: Start with the foreground elements, establish their detail level, then work backward through the composition. Notice how overlap decisions become clearer when earlier layers are already complete.
Review on White: When inking is complete, place a white layer behind all line work to check for gaps, missing textures, and areas that could benefit from a few additional marks.


