Real-Time Comic Cover Construction Drawing
Summary
Comic Cover Construction
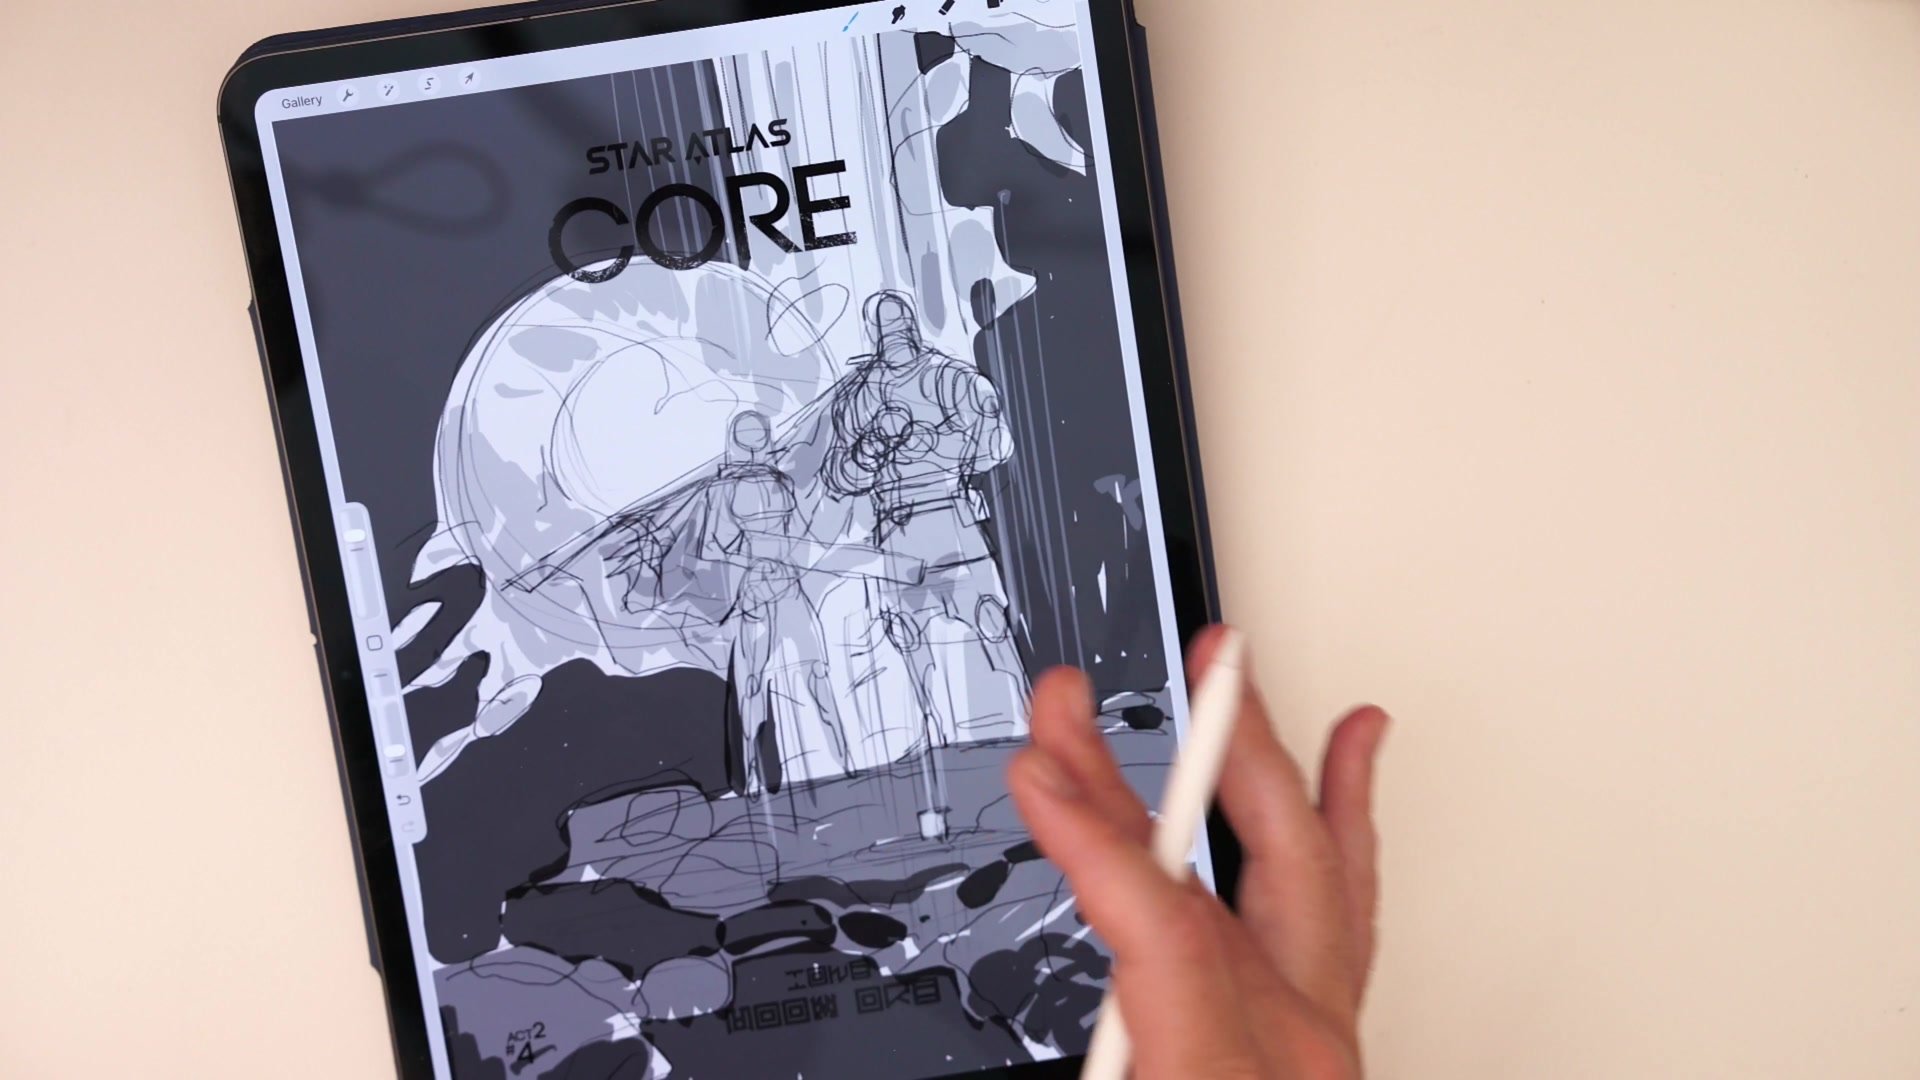
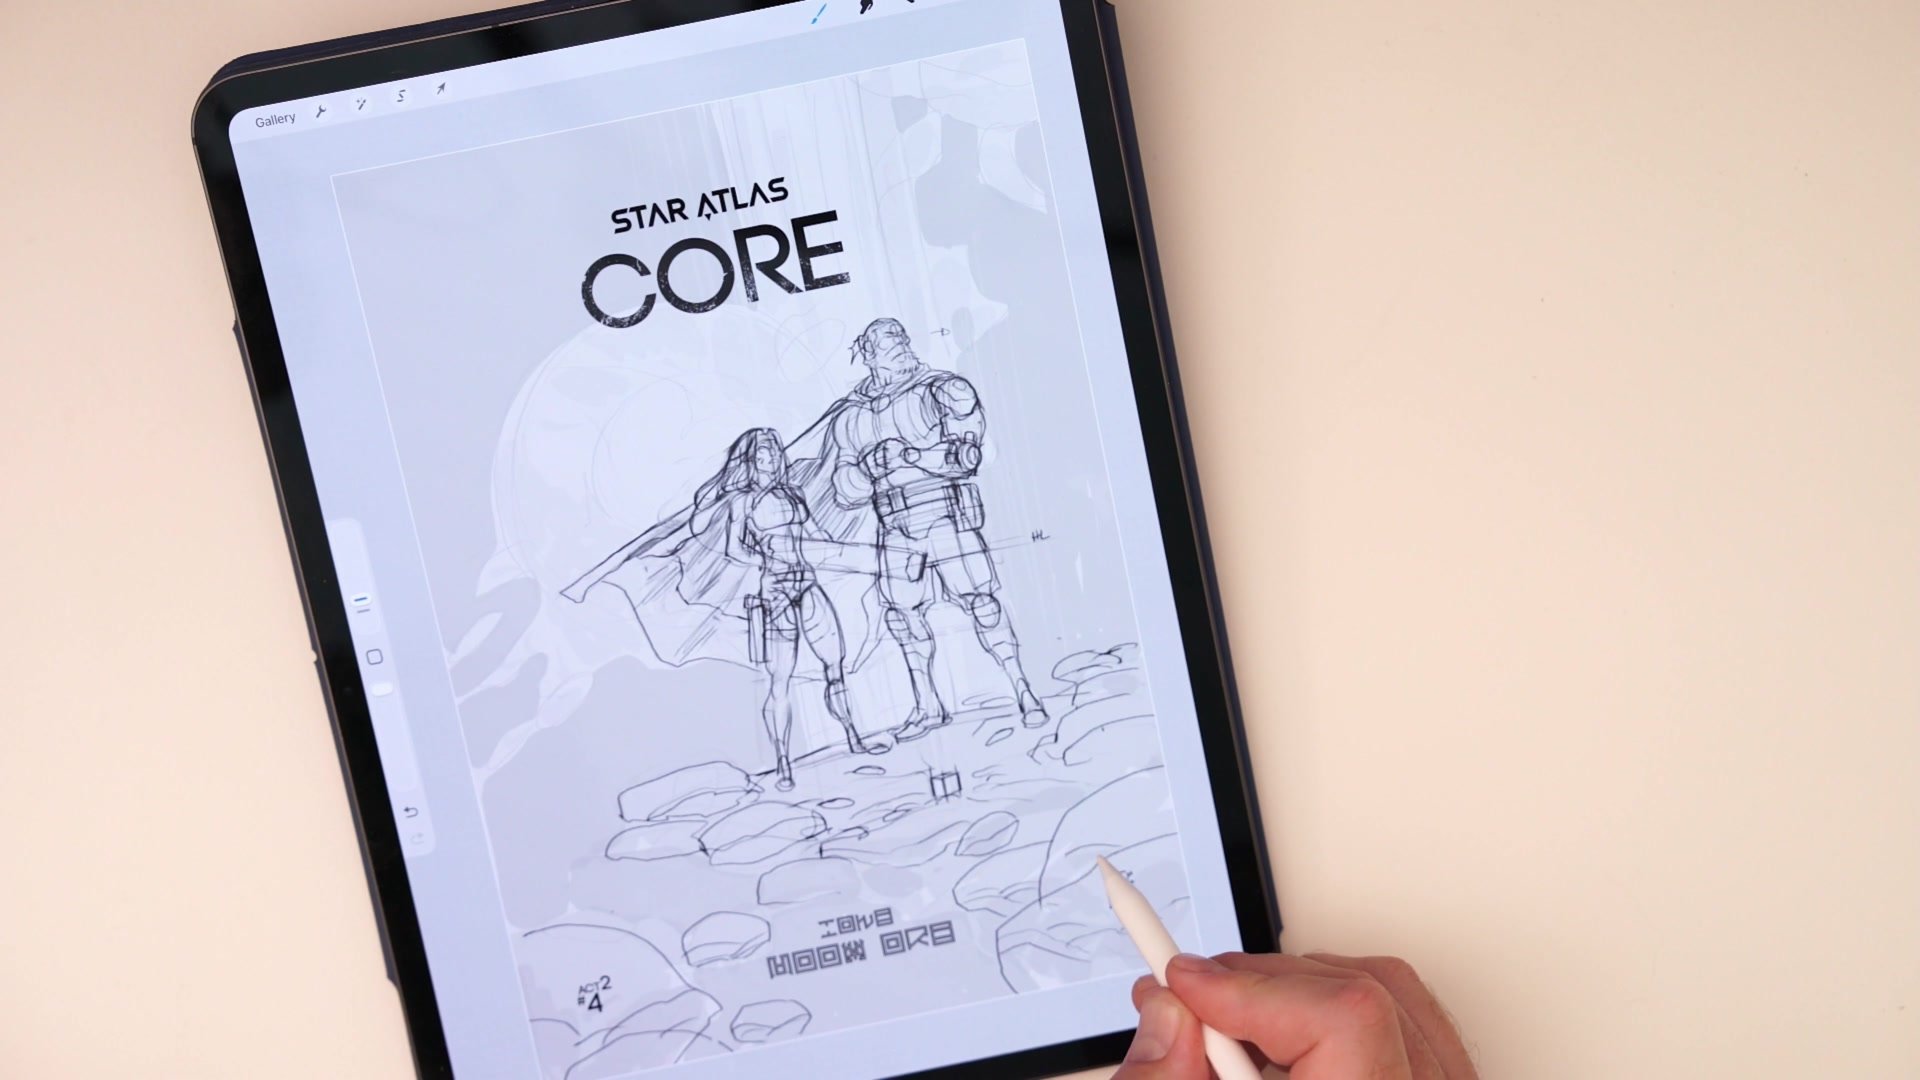
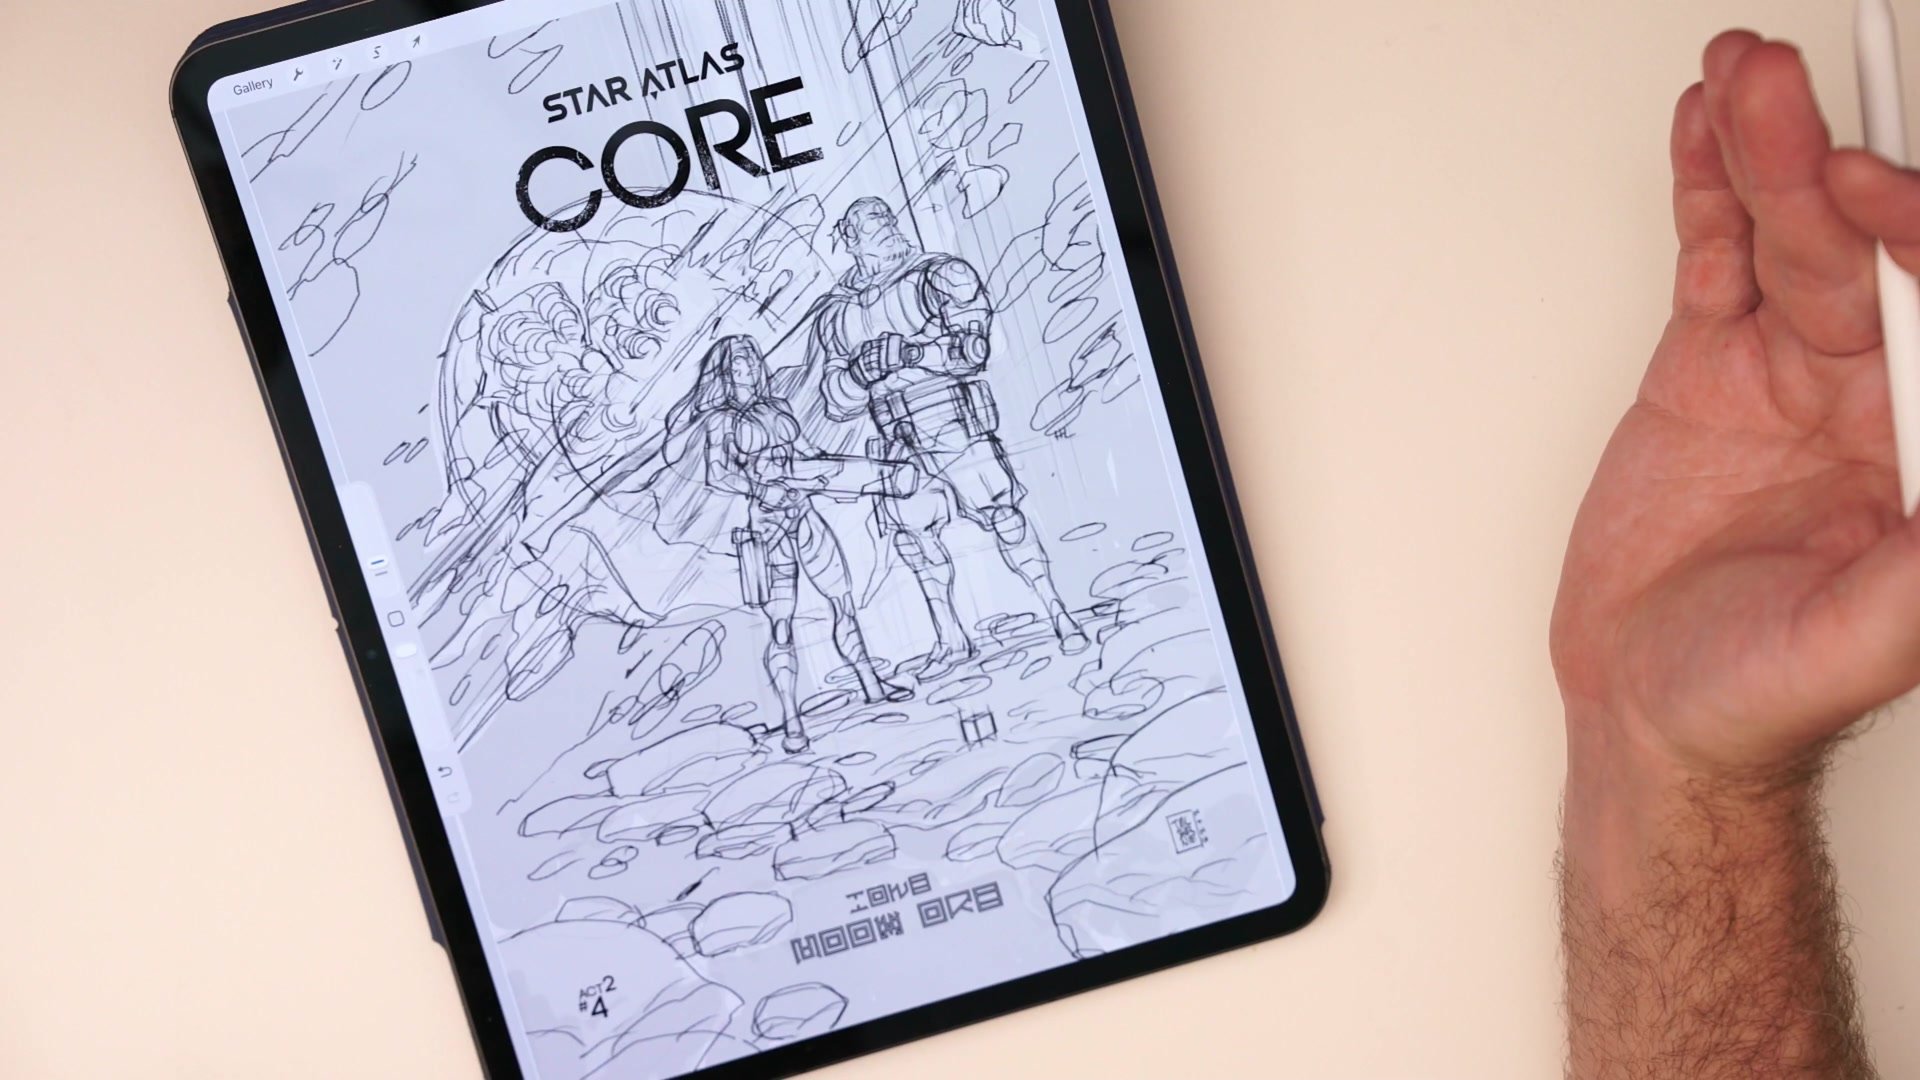
This 80-minute real-time studio session covers the construction drawing phase of a professional comic book cover. The cover features two characters from the Star Atlas Core universe, set against an abstract sci-fi composition of floating asteroids, a fractured planet, and a data cube focal point. Working in Procreate on iPad Pro, the session moves from a rough thumbnail through mannequin construction, facial structure, costume detail, and abstract background elements.
The construction phase sits between thumbnailing and inking. It is the stage where rough shapes become structured forms, where proportions get locked in, and where compositional decisions around depth and overlap get resolved. This session shows that phase unedited, with all the tweaking, moving, and problem-solving that production work actually involves.
Thumbnail to Construction
Mannequin Construction
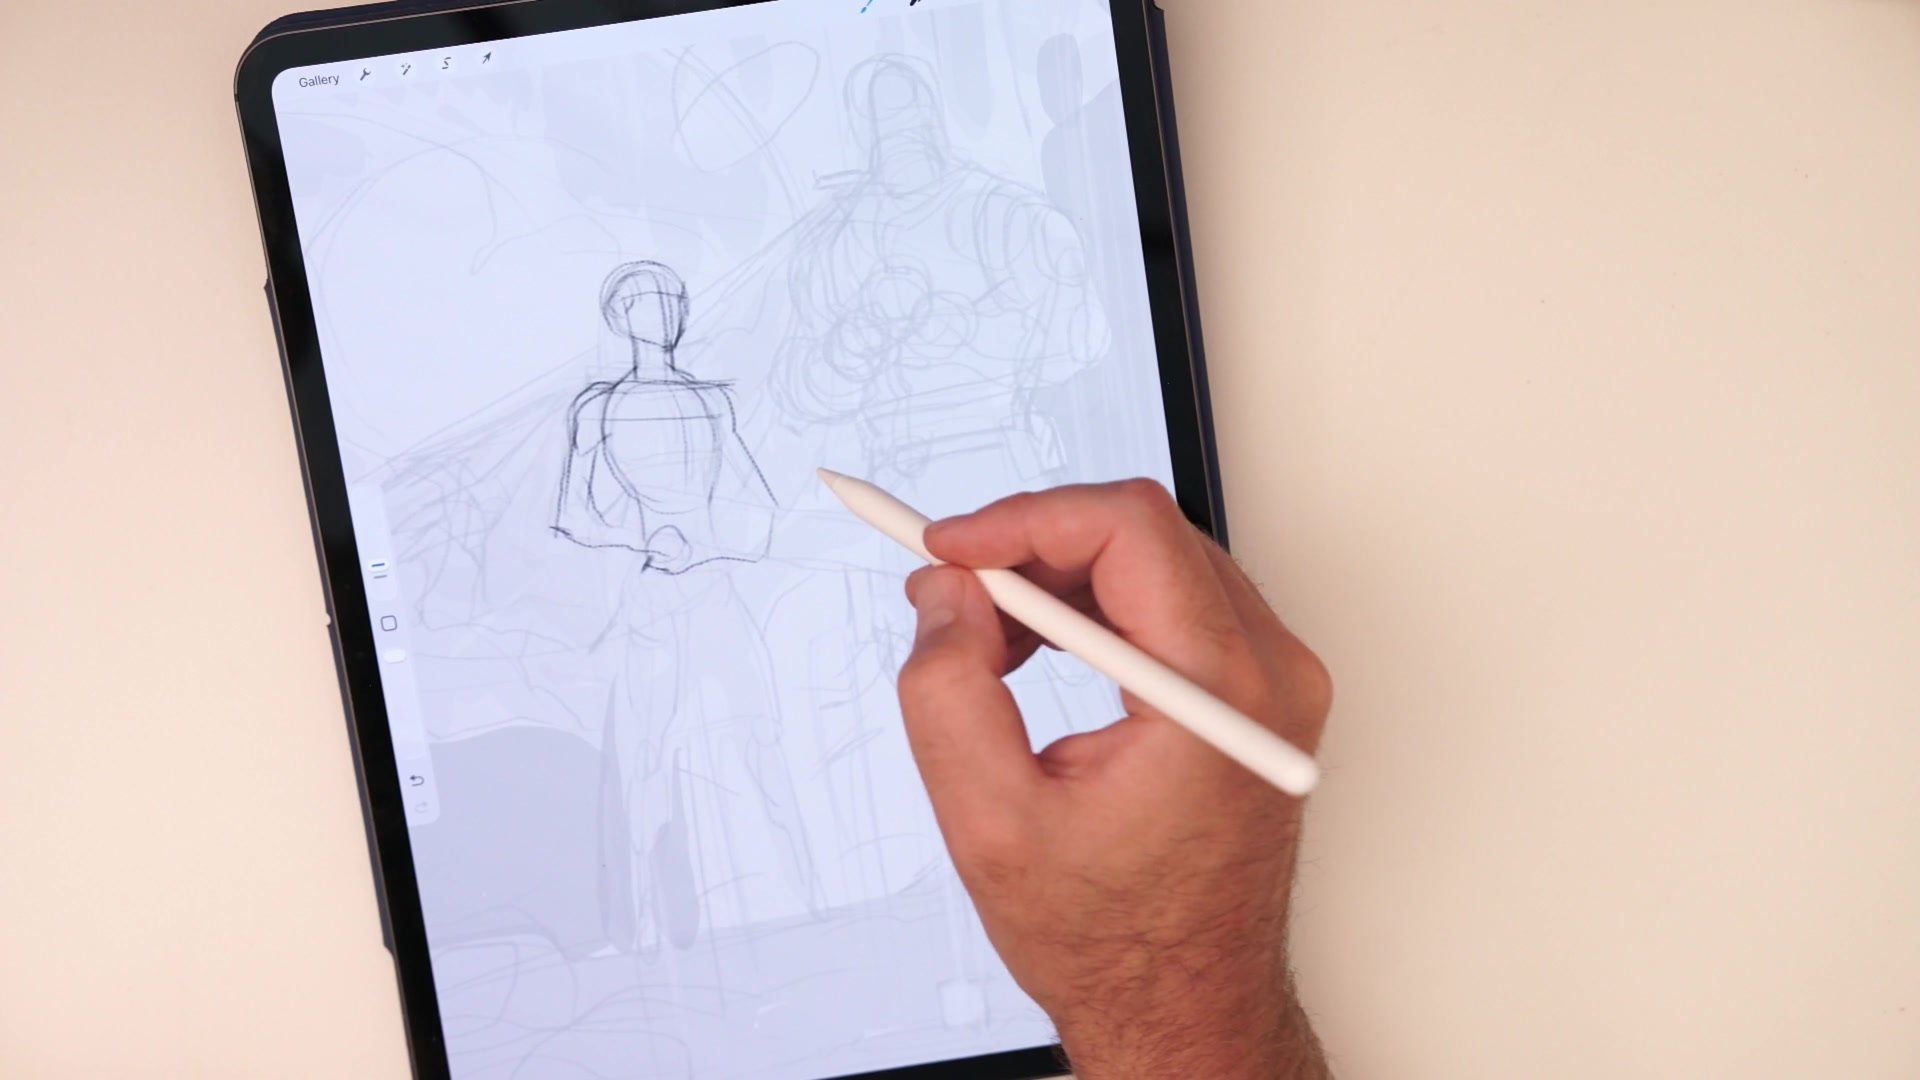
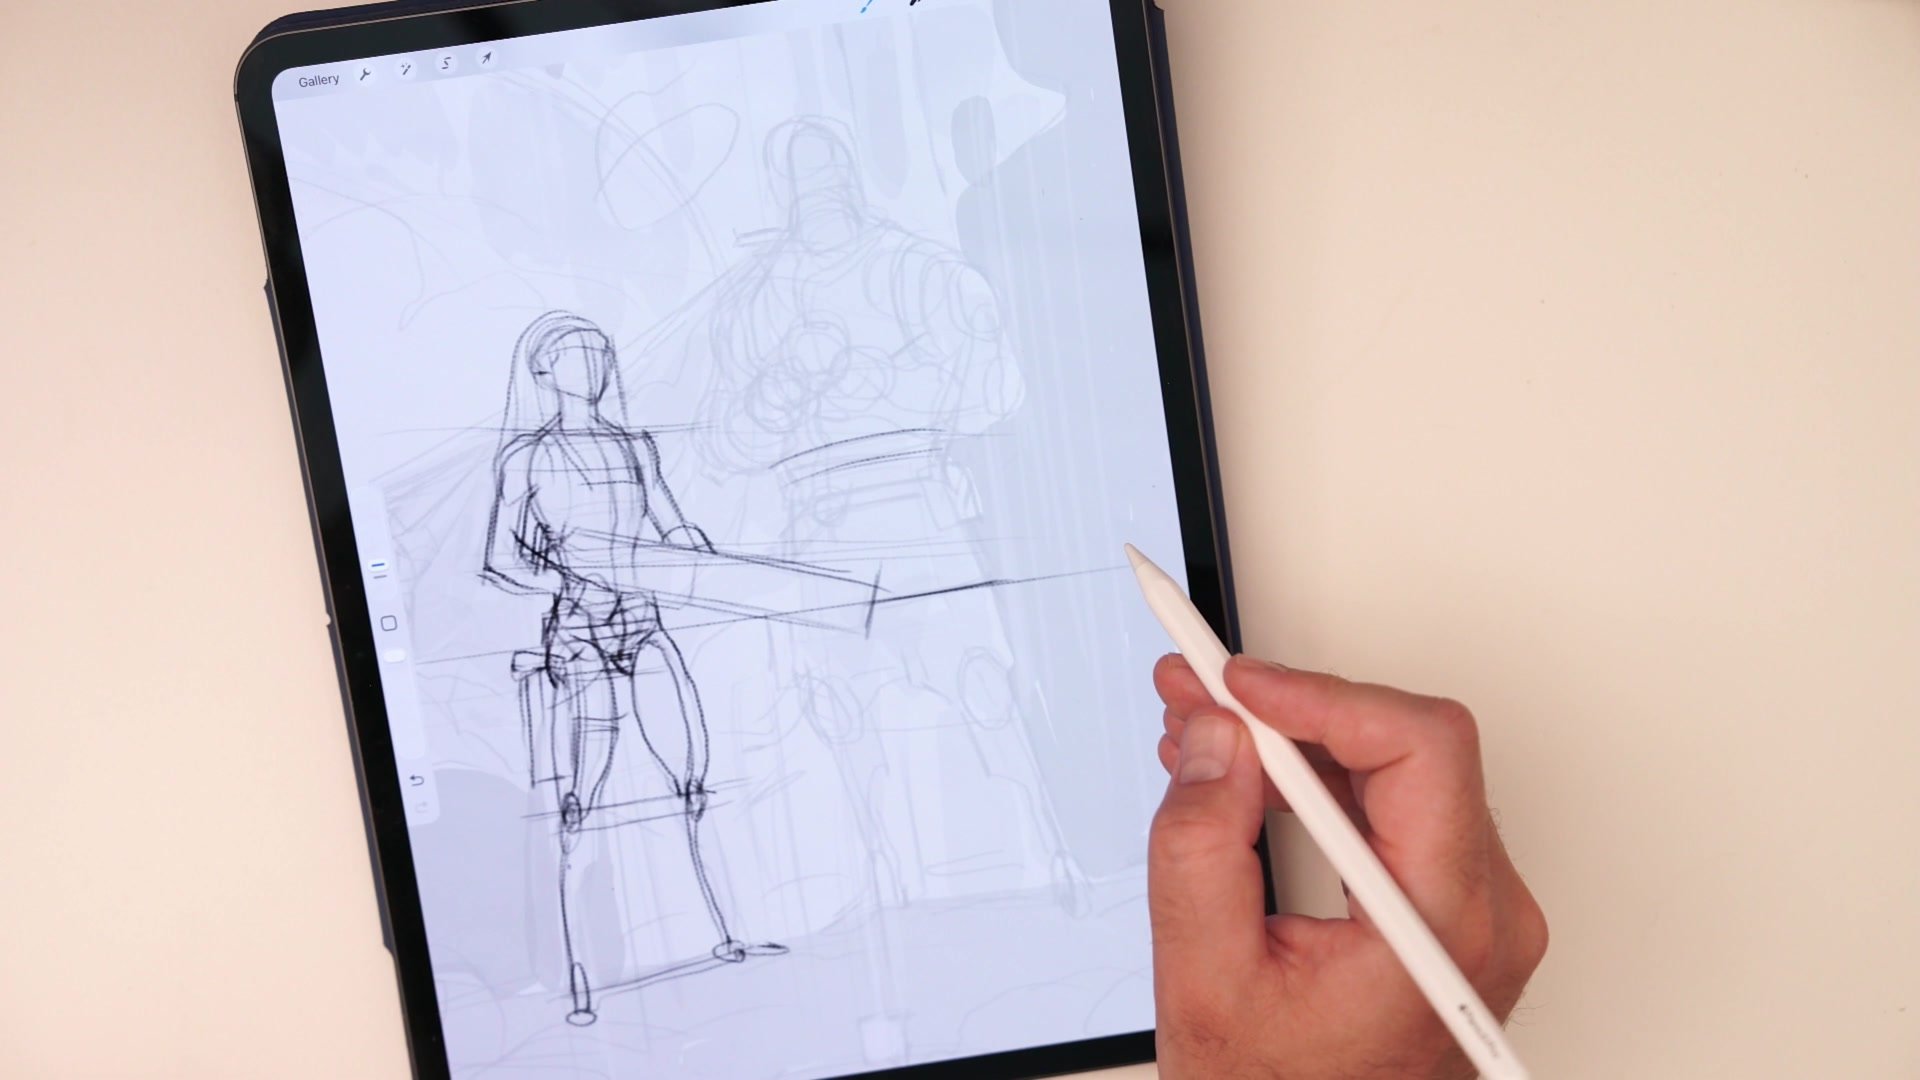
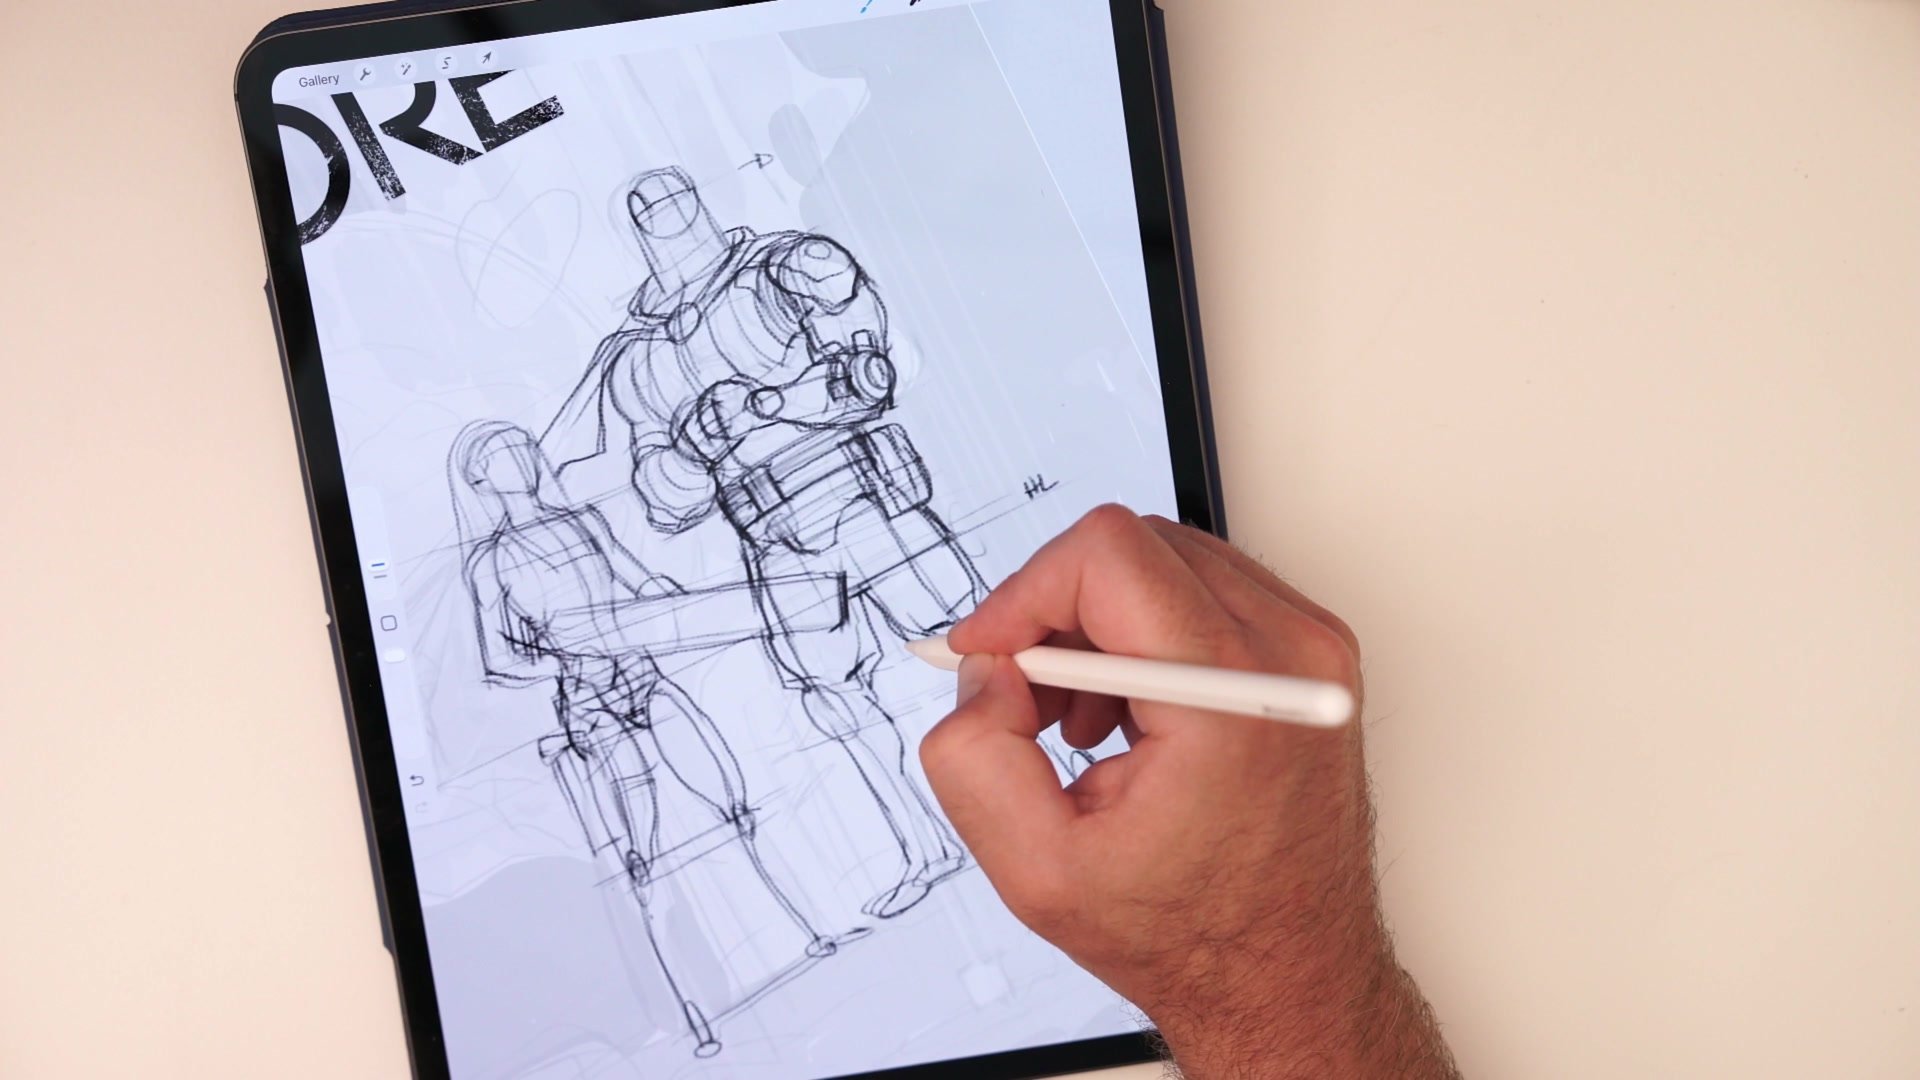
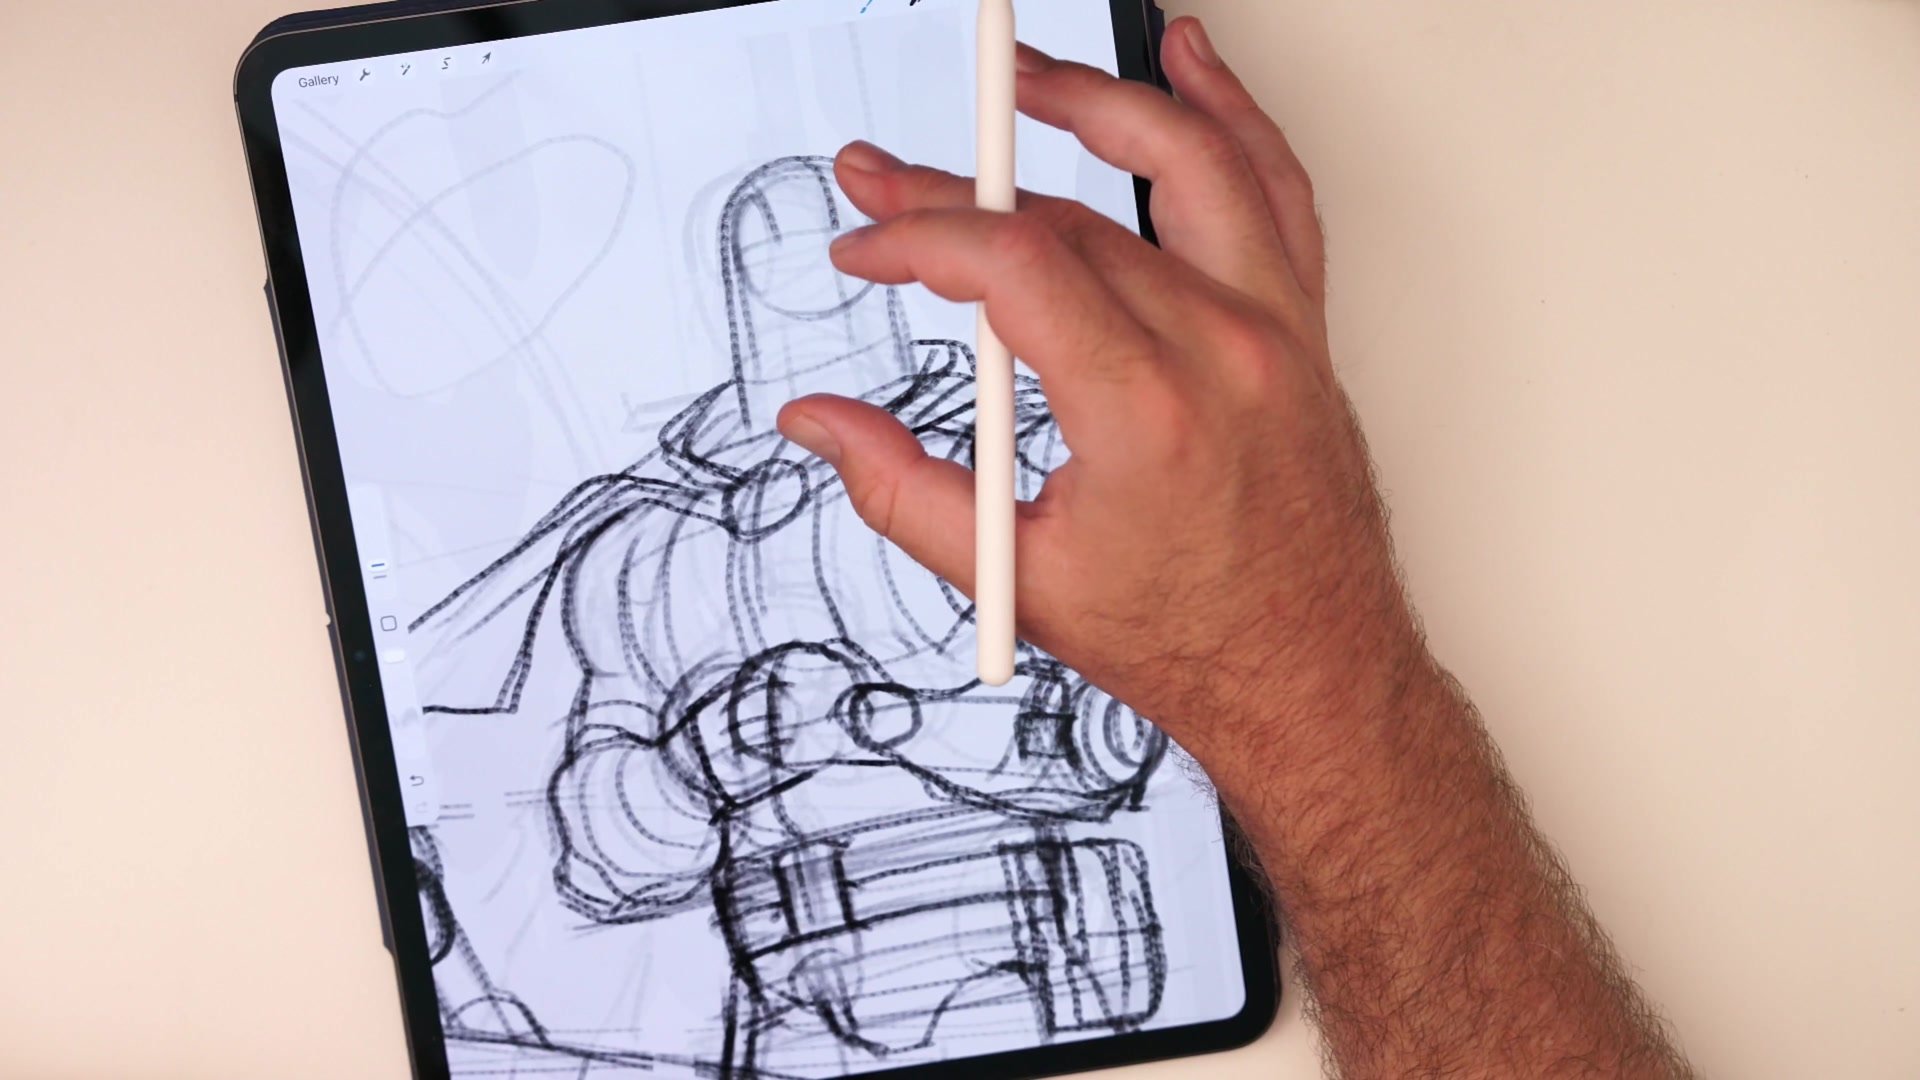
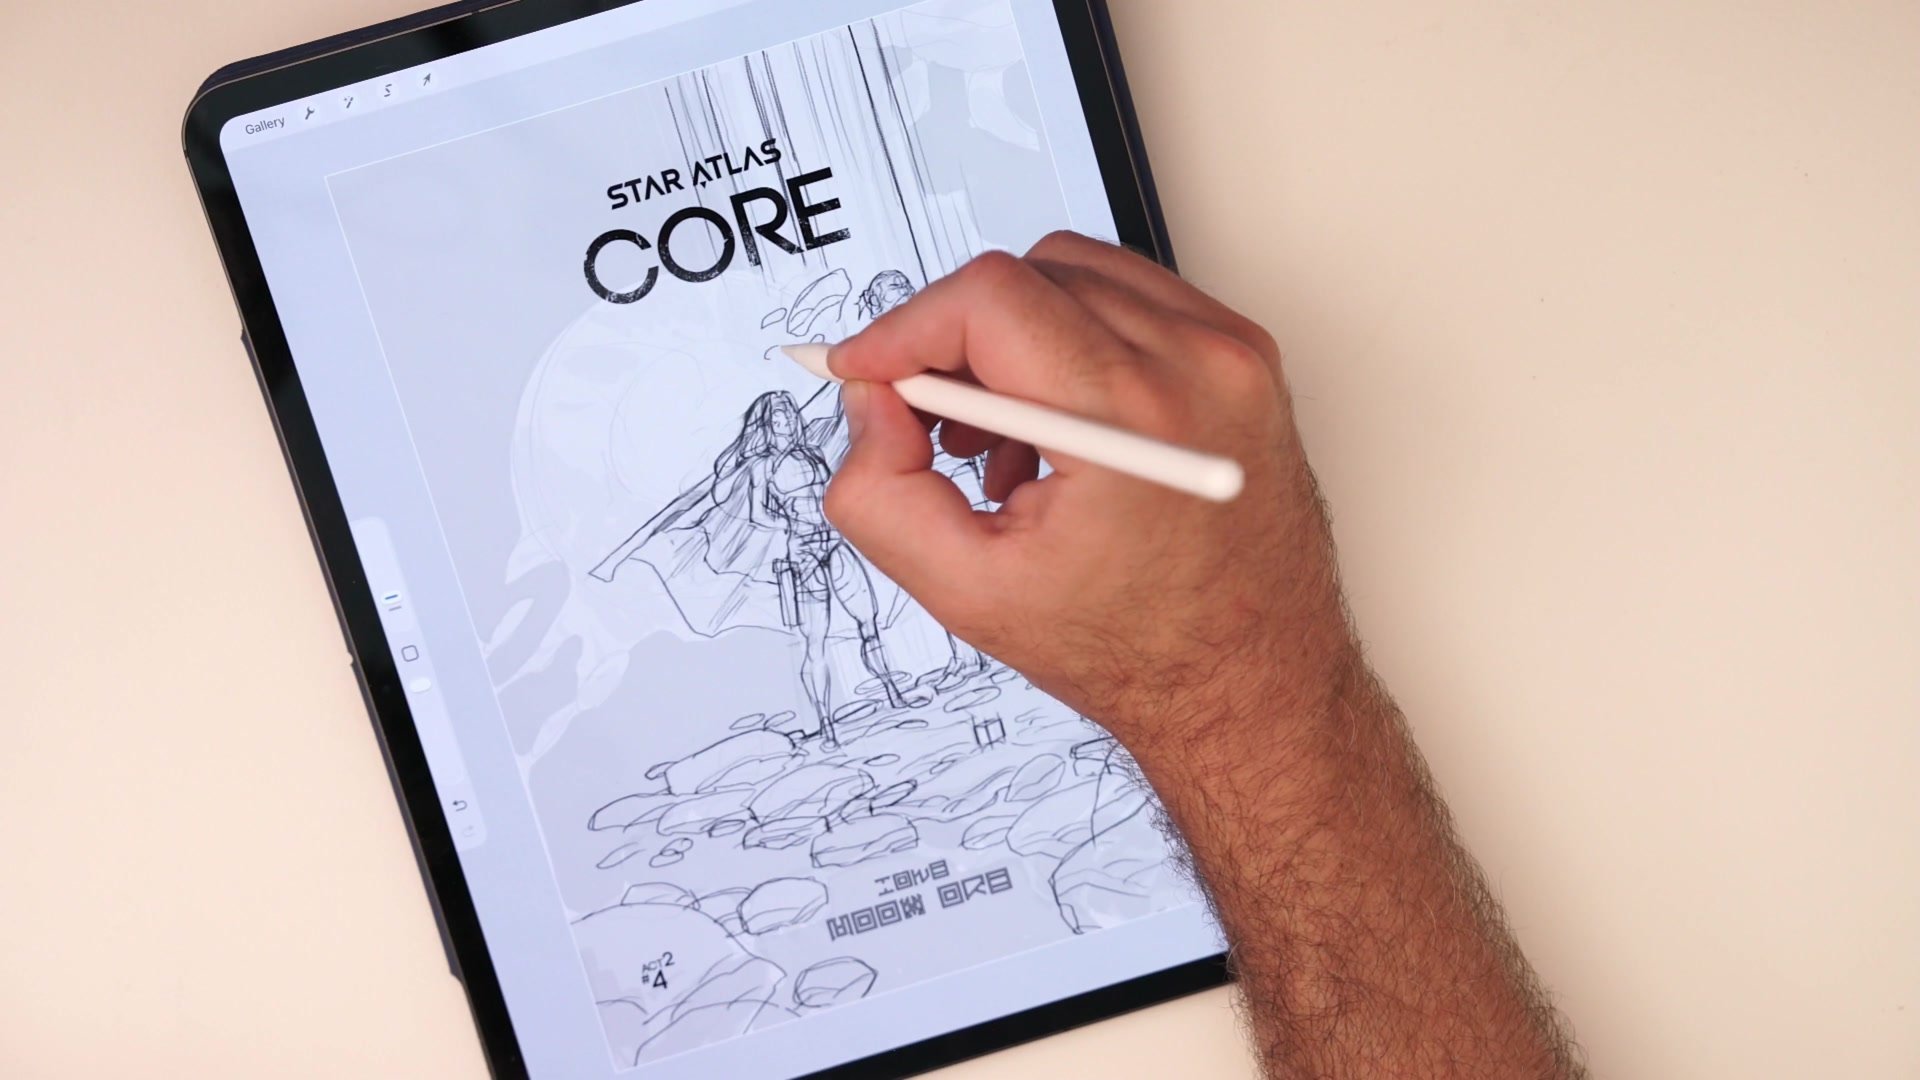
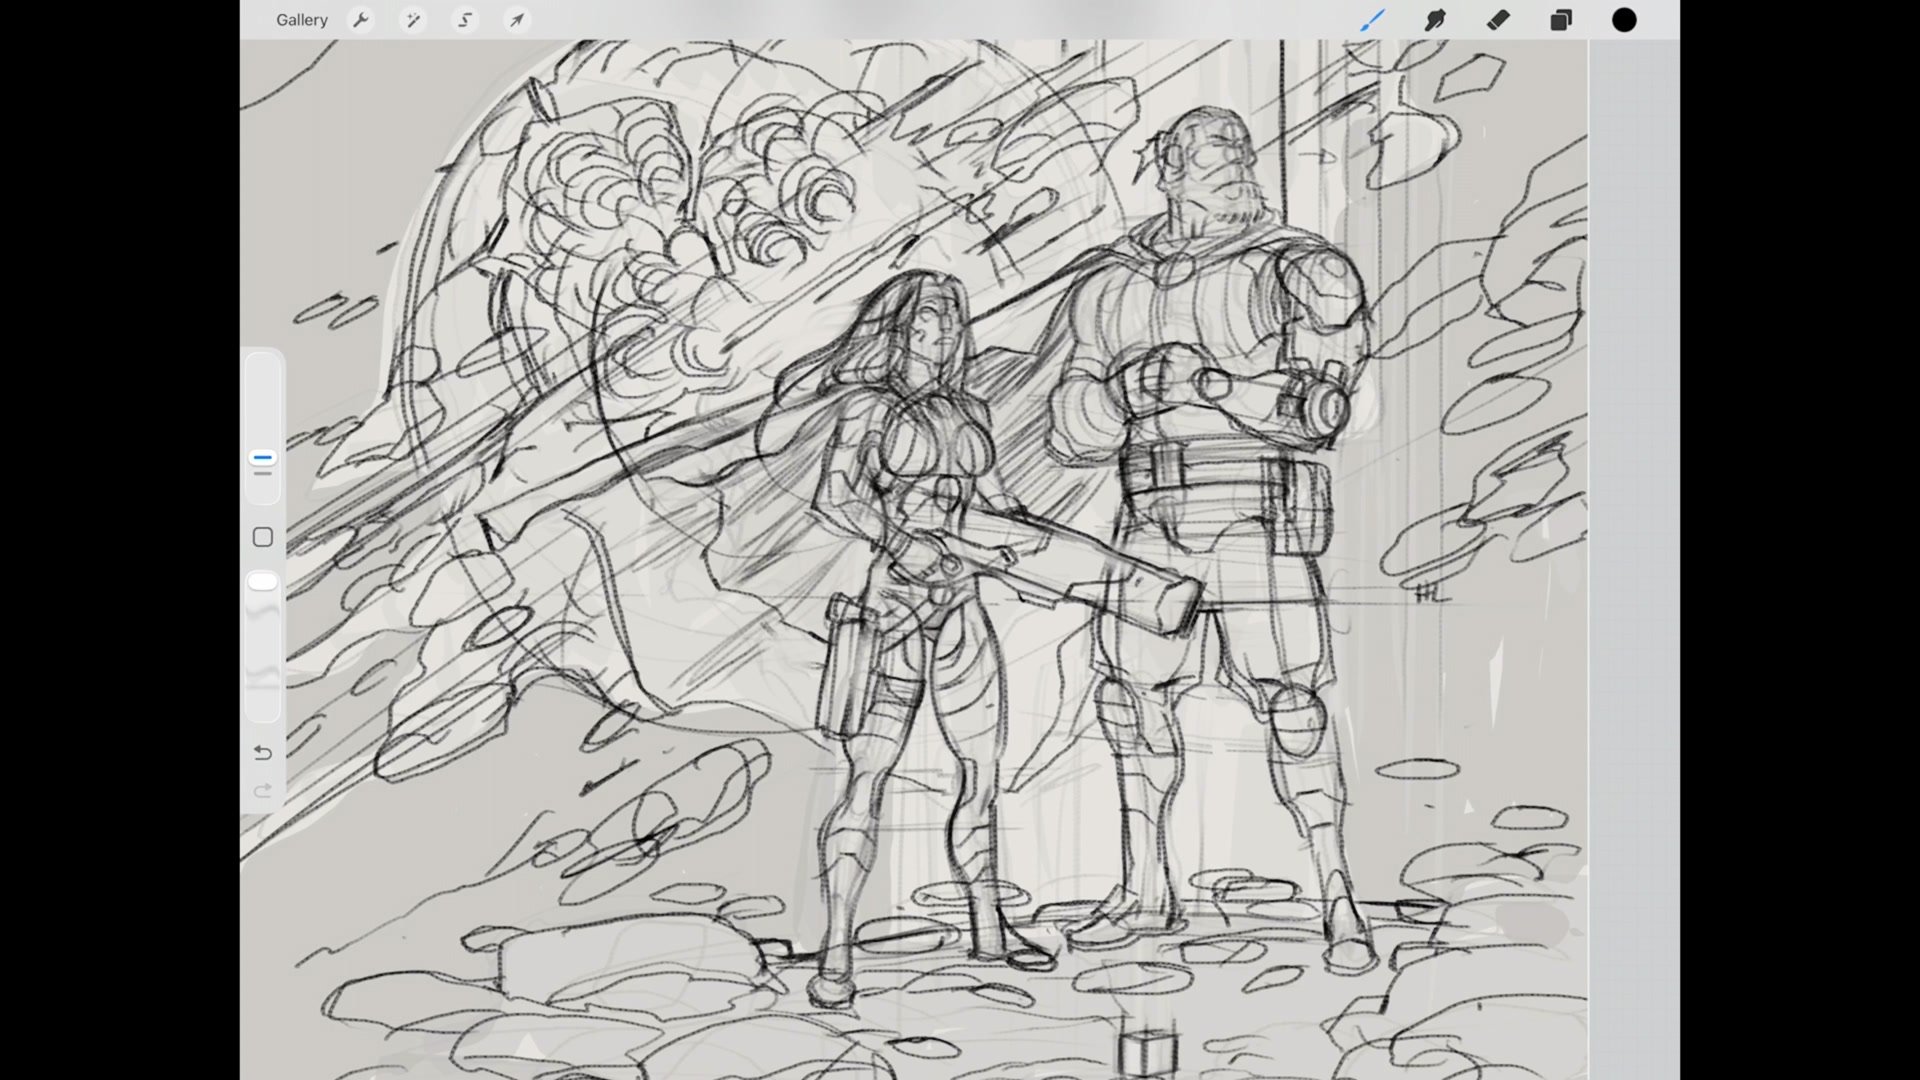
The construction process begins with a low-opacity white layer placed over the thumbnail sketch. Rather than refining the existing drawing, the approach involves rebuilding the figures from their mannequin forms. Ribcage, pelvis, and limbs get blocked in as simple geometric shapes. Drumstick-style leg construction finds the bone first, then builds up the anatomy around it.
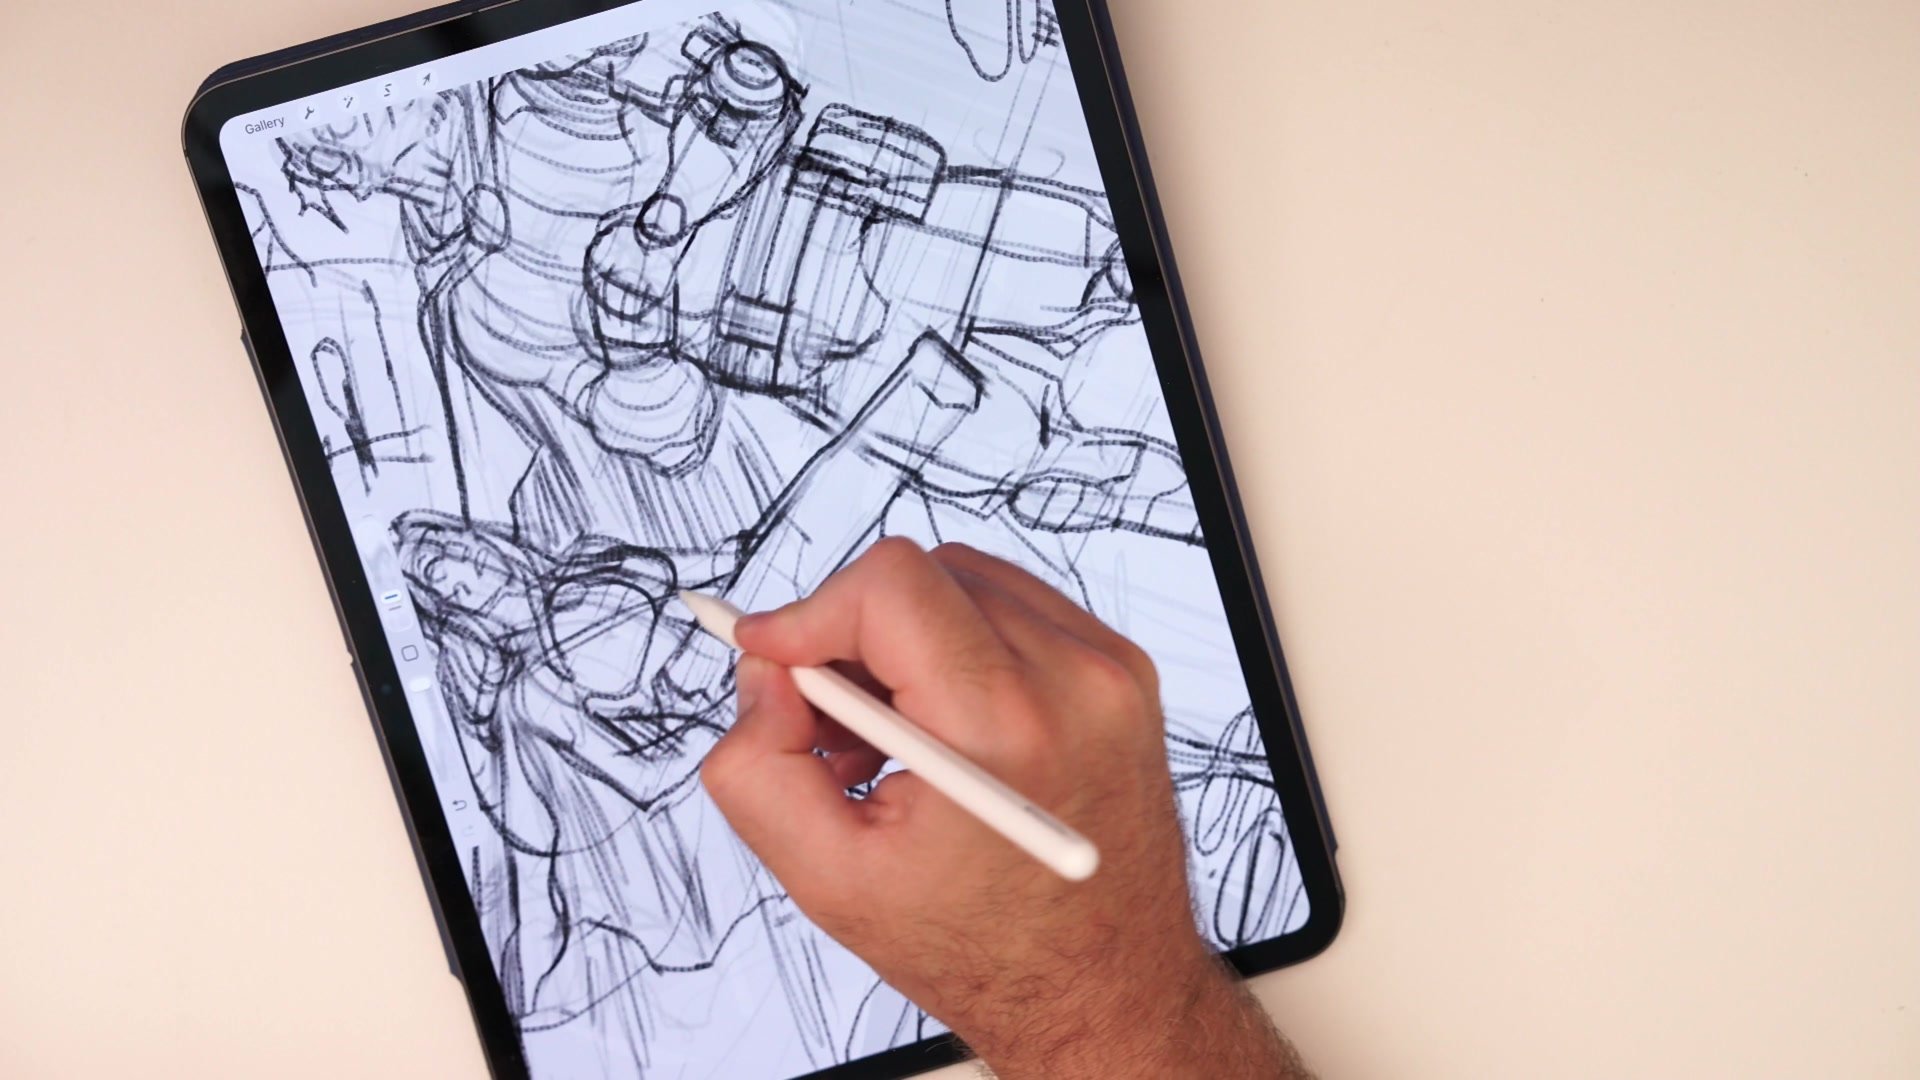
Drawing through is essential. Even forms hidden by costume get drawn because those invisible lines keep proportions accurate. The center line of the torso, the pelvis position, the hip angles, all get established even when they will eventually be covered by belts, pouches, and sci-fi gear. This seconds-long investment in structural drawing prevents having to redraw entire figures when proportions drift.
The difference between learning and production becomes clear here. In practice, the goal is to redraw and improve. In production, the goal is to block in and move things around until they work. Perfecting each element before moving forward creates bottlenecks. Instead, both characters get mannequins roughed in quickly so their relationship and proportions can be evaluated together.
Character Development

Facial Construction
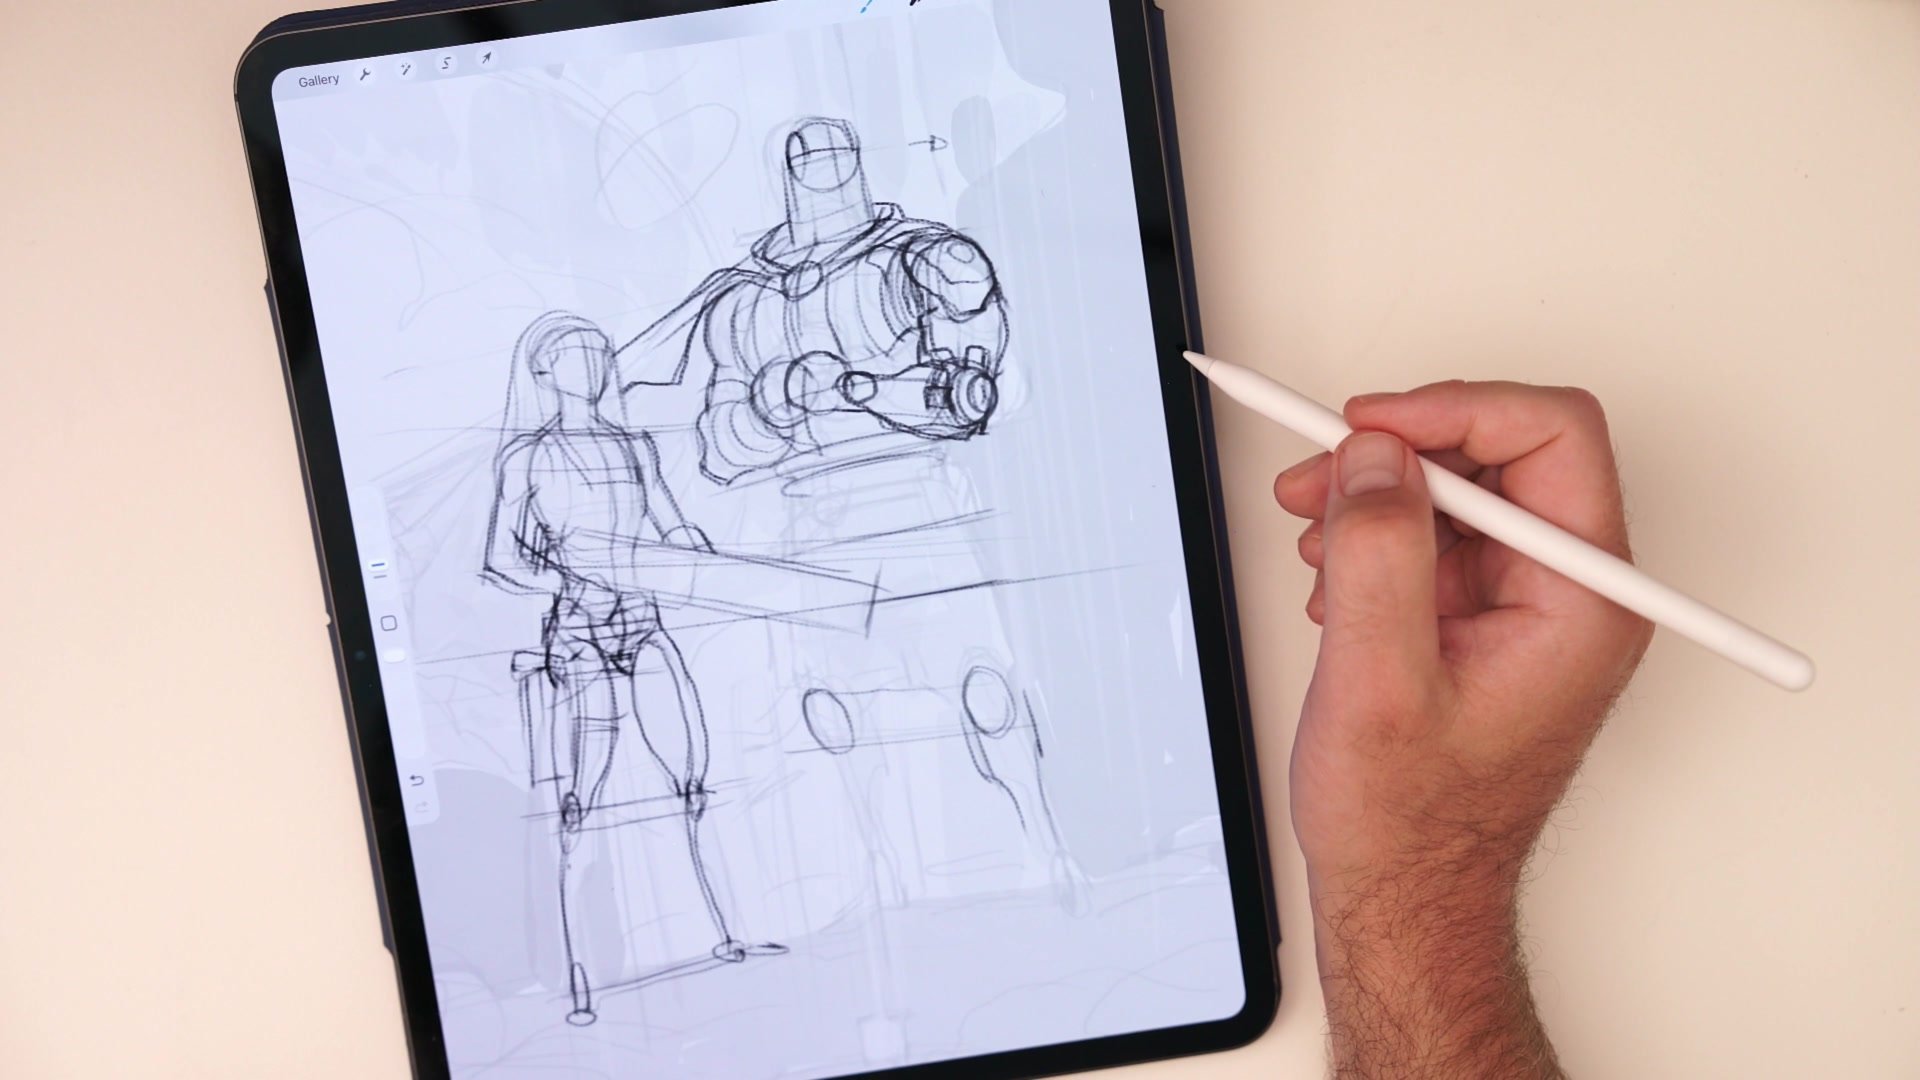
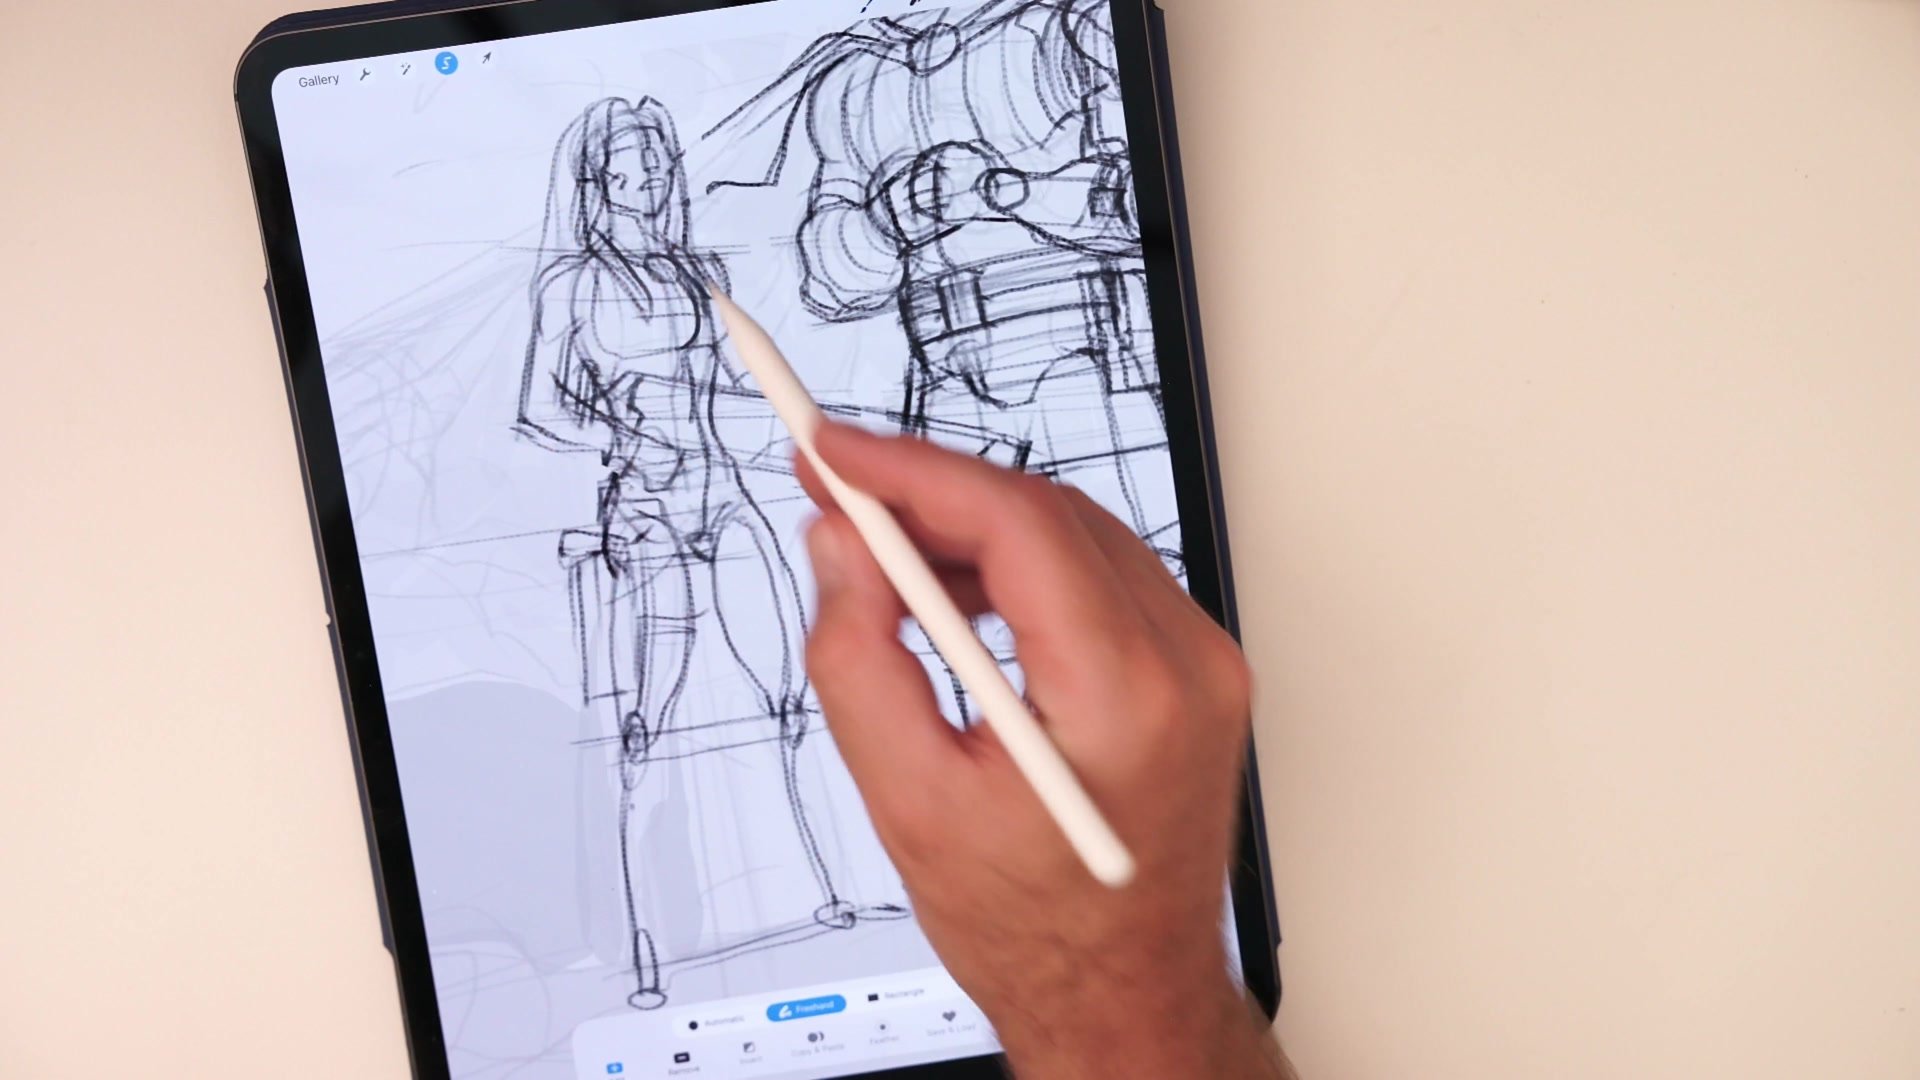
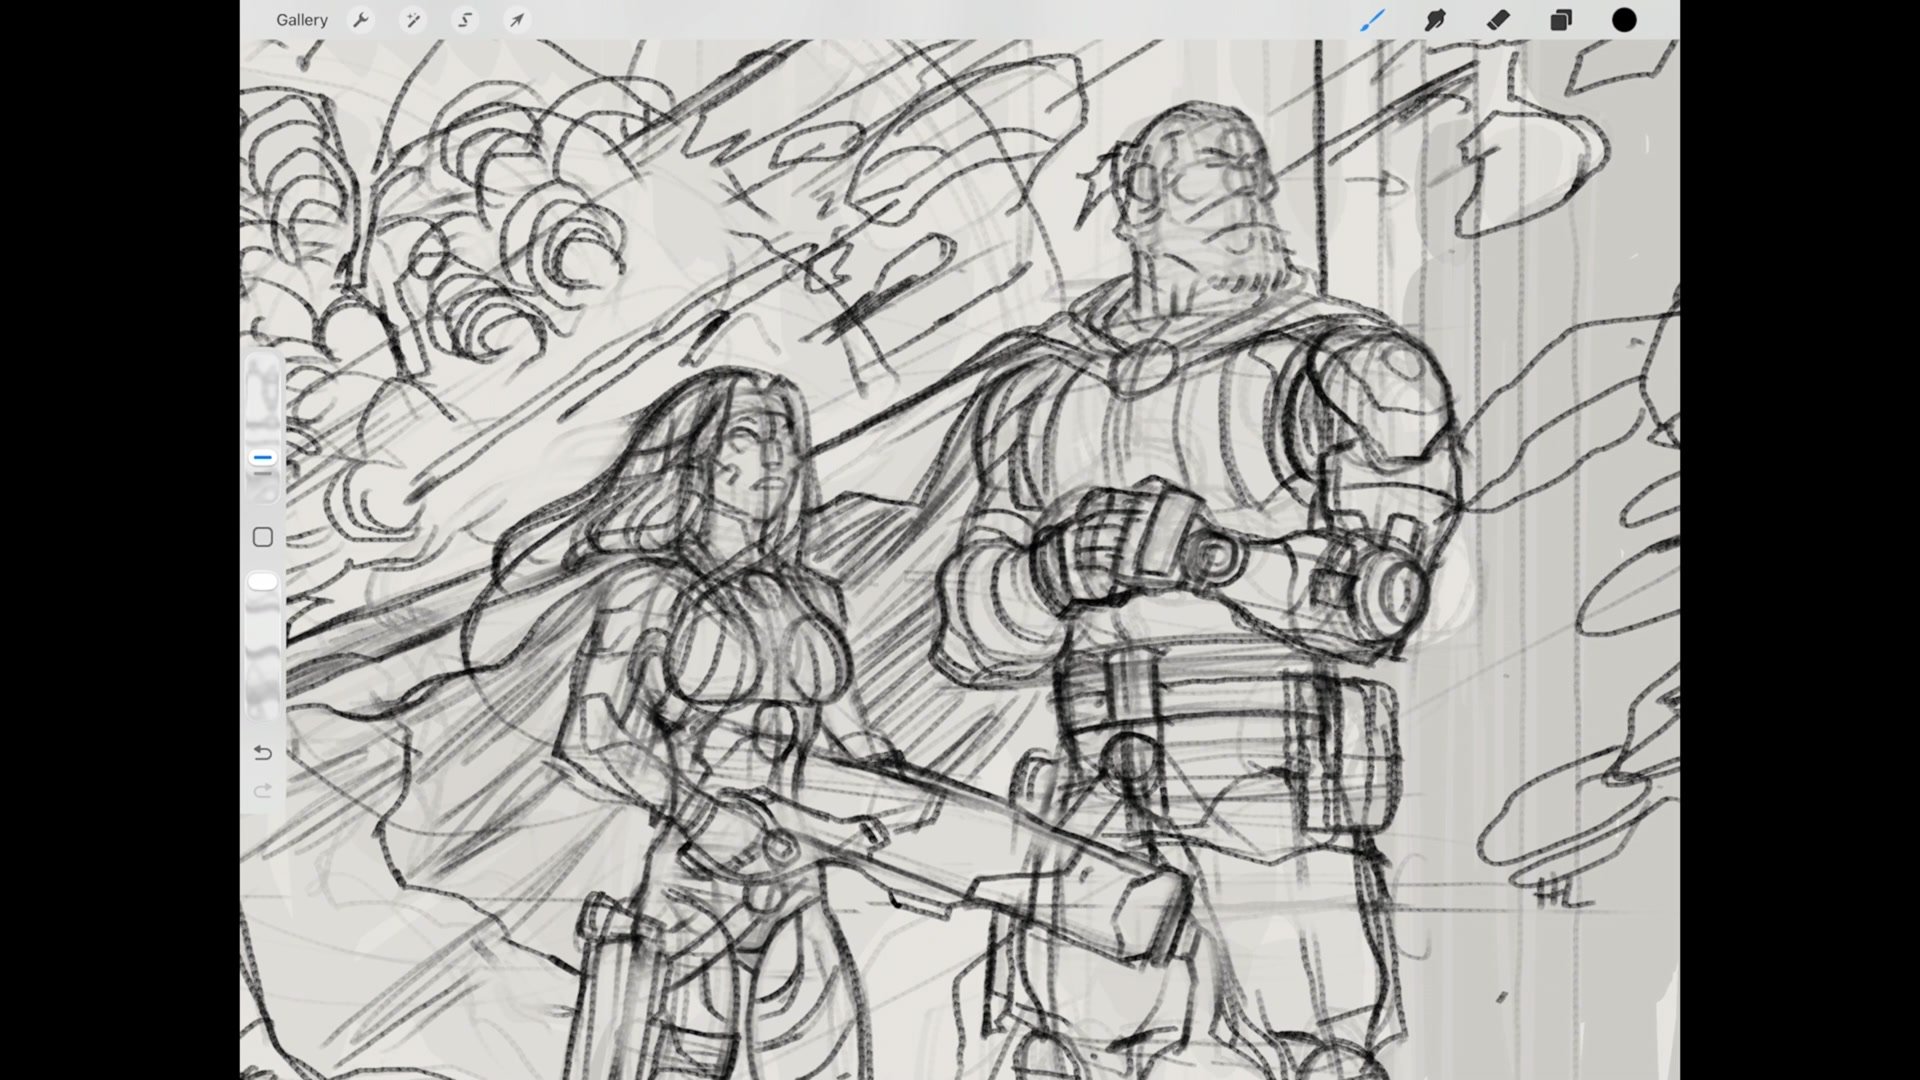
The Loomis method provides a starting framework for facial construction, establishing the head sphere and center line to position features in three-dimensional space. But the real value comes from character-specific modifications built on top of that foundation. Strong cheekbones for one character. A particular jaw shape for another. These stylistic choices become part of the construction vocabulary.
Everything positions relative to the center line. Eyes, nose, mouth, beard, mechanical modifications, even collar placement all relate back to that single structural line. With the male character, the center line gets pulled forward slightly to achieve the strong-jawed archetype, with cheekbones added as a stylistic structural element that helps distinguish characters from one another.
Adapting the Loomis method into a personal version means adding the specific structural markers that matter for a given style. The cheekbone indication, for instance, is not standard Loomis but serves a critical role in maintaining consistent comic book character faces across multiple covers and episodes.
Environment and Depth
Depth Through Overlapping
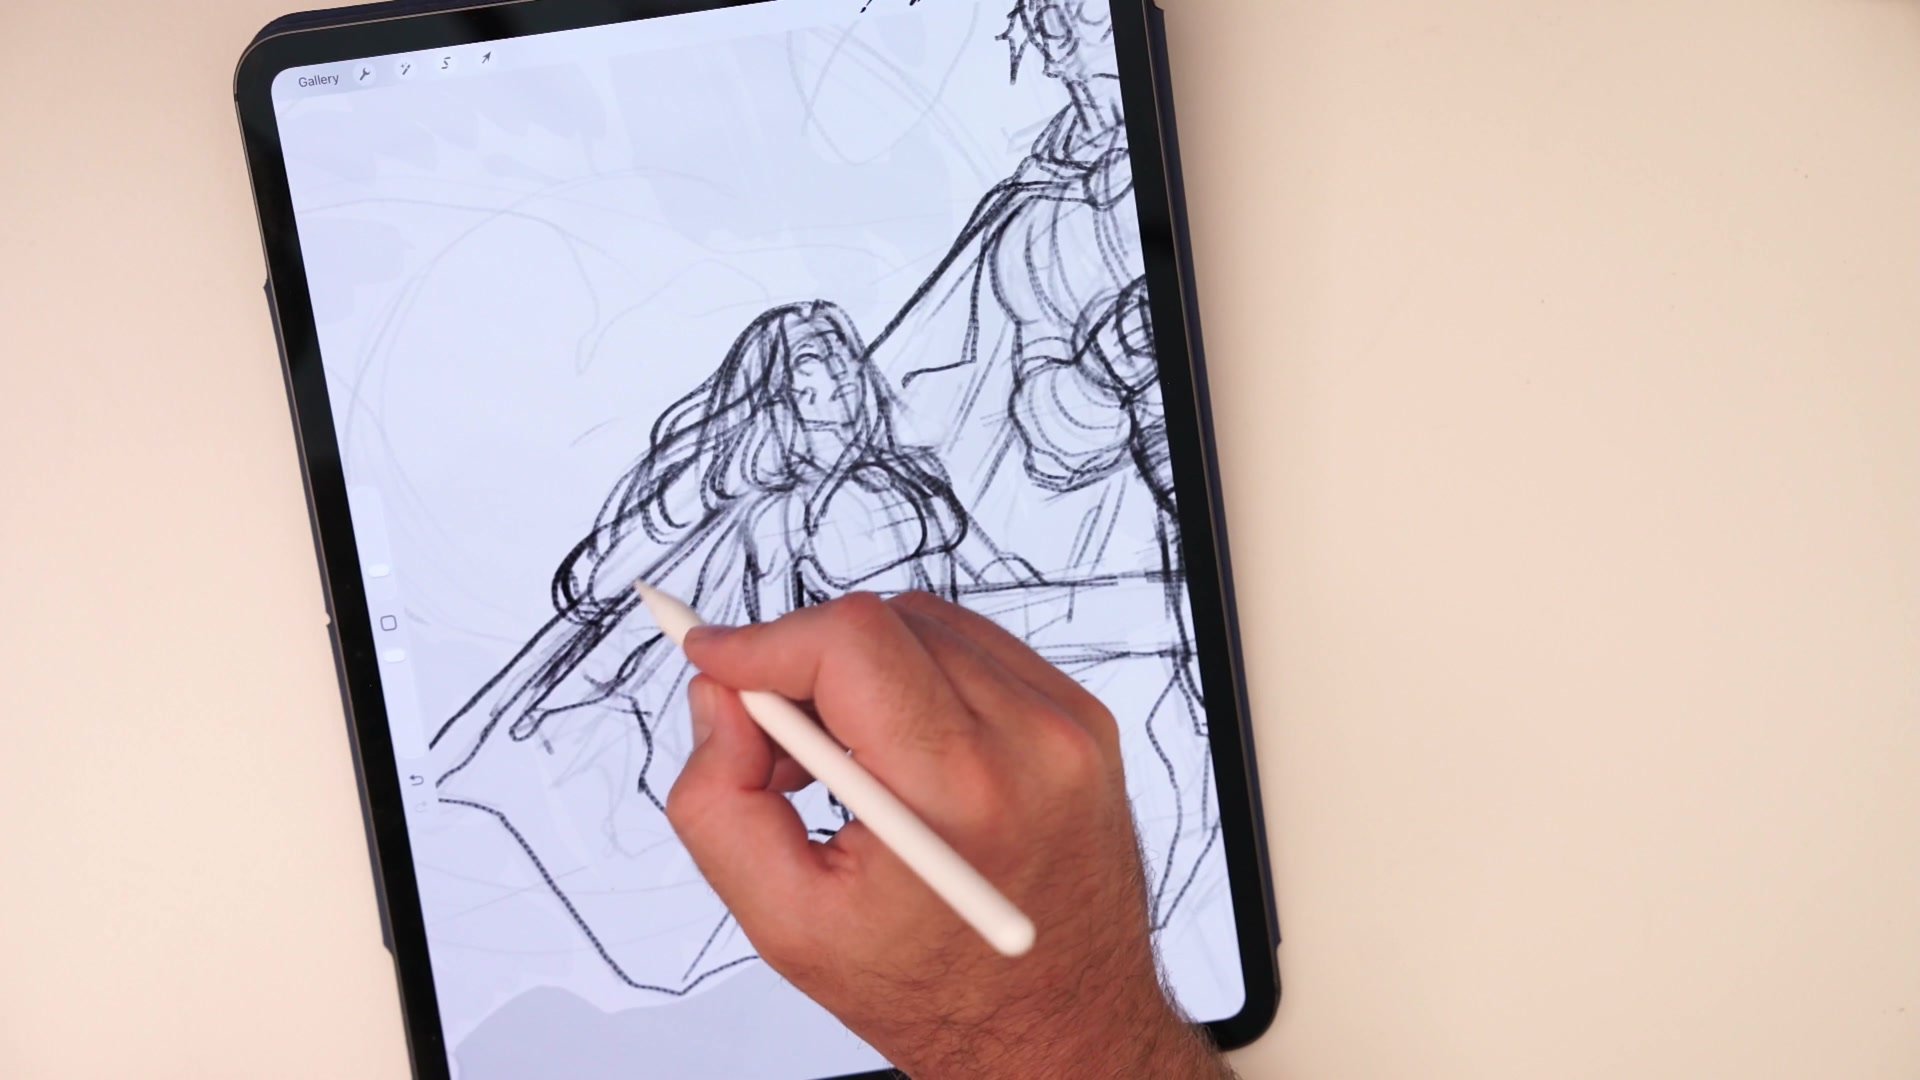
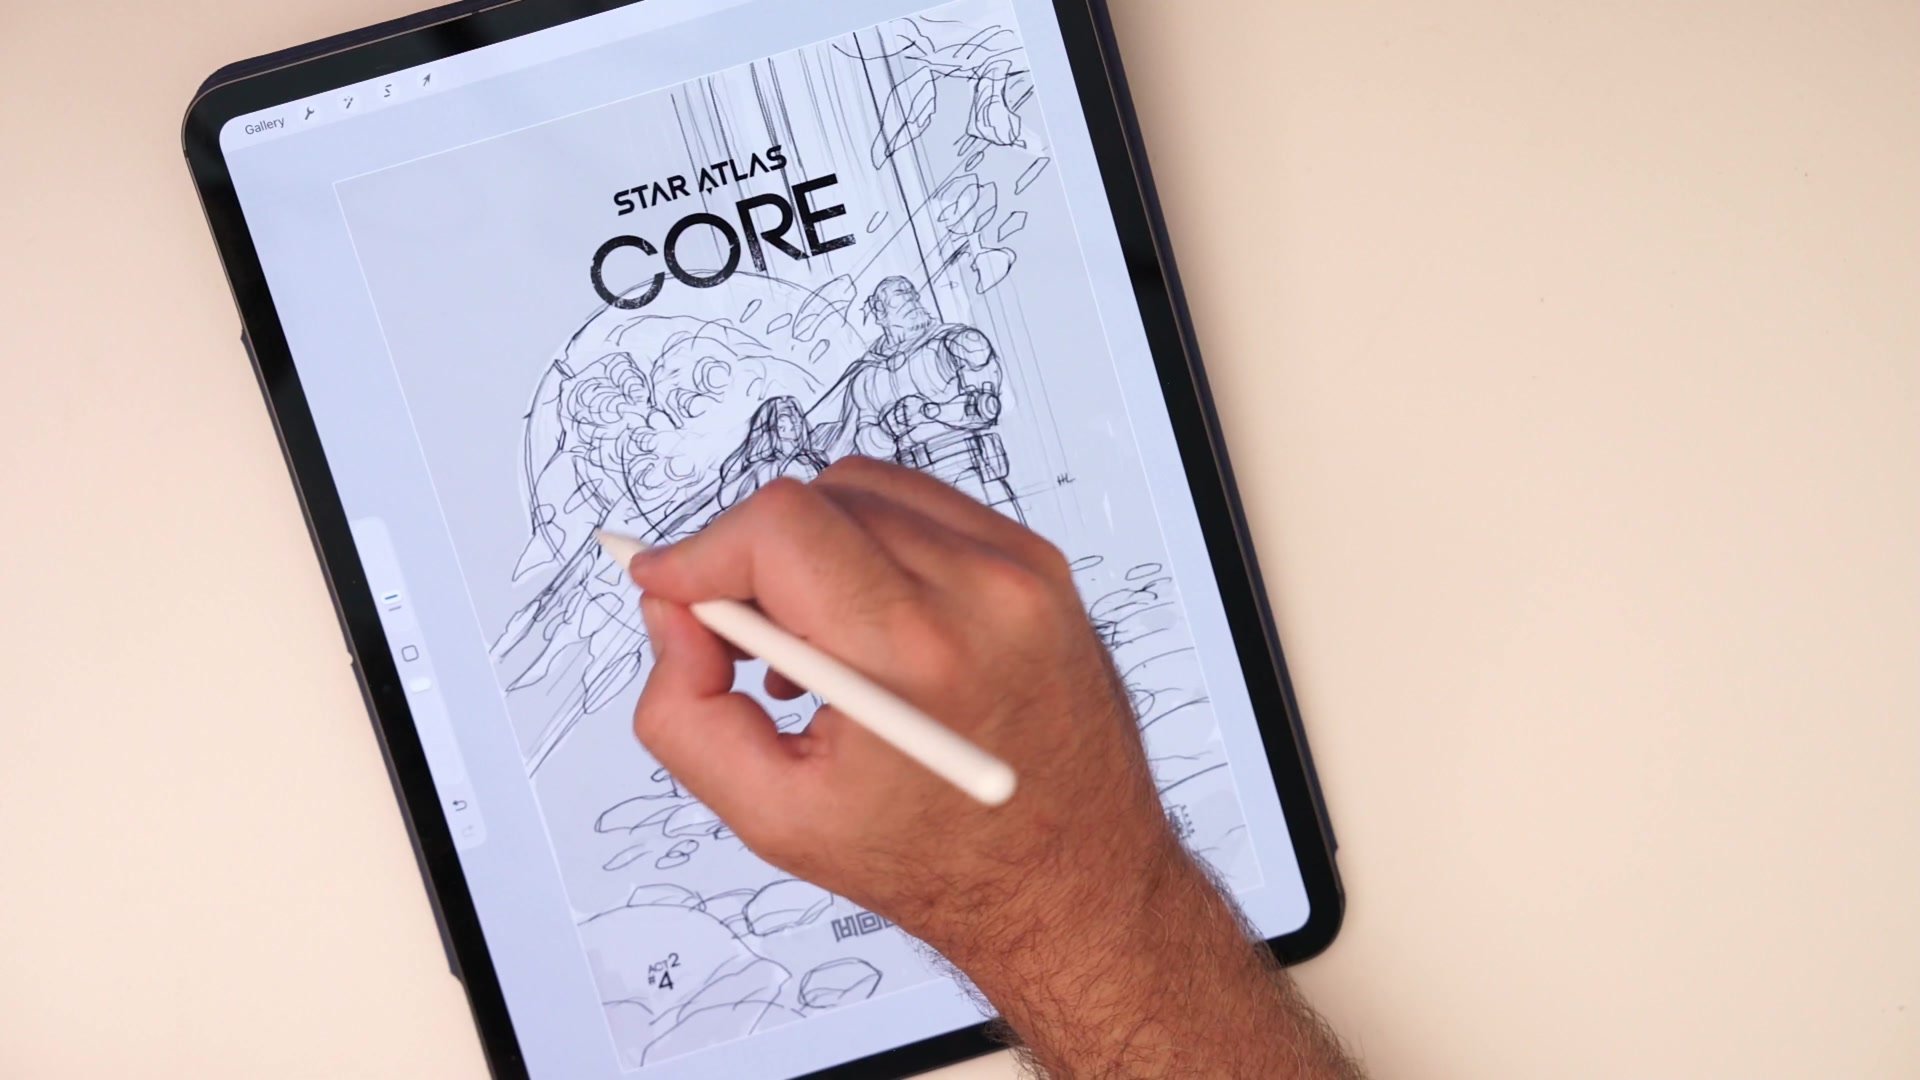
The abstract compositional elements serve a specific purpose: establishing depth through overlap. Floating rocks, planet fragments, and debris create layered relationships that communicate foreground, middleground, and background. The cover template with its logo, episode number, and signature gets treated as part of the design, with elements positioned to frame those fixed components.
Transitions between elements matter more than the elements themselves. A straight line where an asteroid ends looks awkward and breaks suspension of disbelief. Blending edges, letting elements fade into each other, and thinking about how one shape transitions to the next is what separates functional cover composition from amateur work. The approach draws inspiration from movie poster art where multiple scenes and elements coexist in a single image.
Working zoomed out keeps the whole composition visible. Treating the digital canvas like a sheet of paper maintains speed and prevents getting bogged down in details that do not matter at the construction stage. Size variation, big shapes in front and small shapes behind, creates natural depth before any rendering or color work begins.
Final Construction
Key Techniques
Block In, Then Refine: Construction is iterative, not precious. Block in mannequin forms for all characters, evaluate the relationships, then refine. Perfecting each element before moving forward creates bottlenecks in production work.
Draw Through Hidden Forms: Finding center lines and drawing anatomy even when it will be covered by costume keeps proportions accurate. This takes seconds but saves multiple redraws later.
The Five-Minute Question: When refining, ask what would get fixed if only five minutes remained. This forces identification of what actually matters, whether that is hands, boots, or a specific tricky angle, and lets everything else be handled at the inking stage.
Overlap Creates Depth: Abstract elements establish spatial relationships through deliberate overlapping and size variation. Transitions between elements must blend naturally rather than ending in hard lines.
Try This
Start From a Thumbnail: Take a rough thumbnail sketch and create a construction layer over it at low opacity. Find the mannequin forms for any figures, blocking in ribcage, pelvis, and limbs as simple geometric shapes.
Draw Center Lines Through Everything: Even when forms will be hidden by costume or overlapping elements, draw the structural center lines. Find the pelvis, the torso center, the horizon line.
Work Zoomed Out: Treat the digital canvas like paper. Stay zoomed out enough to see the whole composition and evaluate proportions, rather than tightening up details that do not matter at the construction phase.


