Stop Drawing Awkward Feet
Summary
Grounding Characters With Simple Perspective
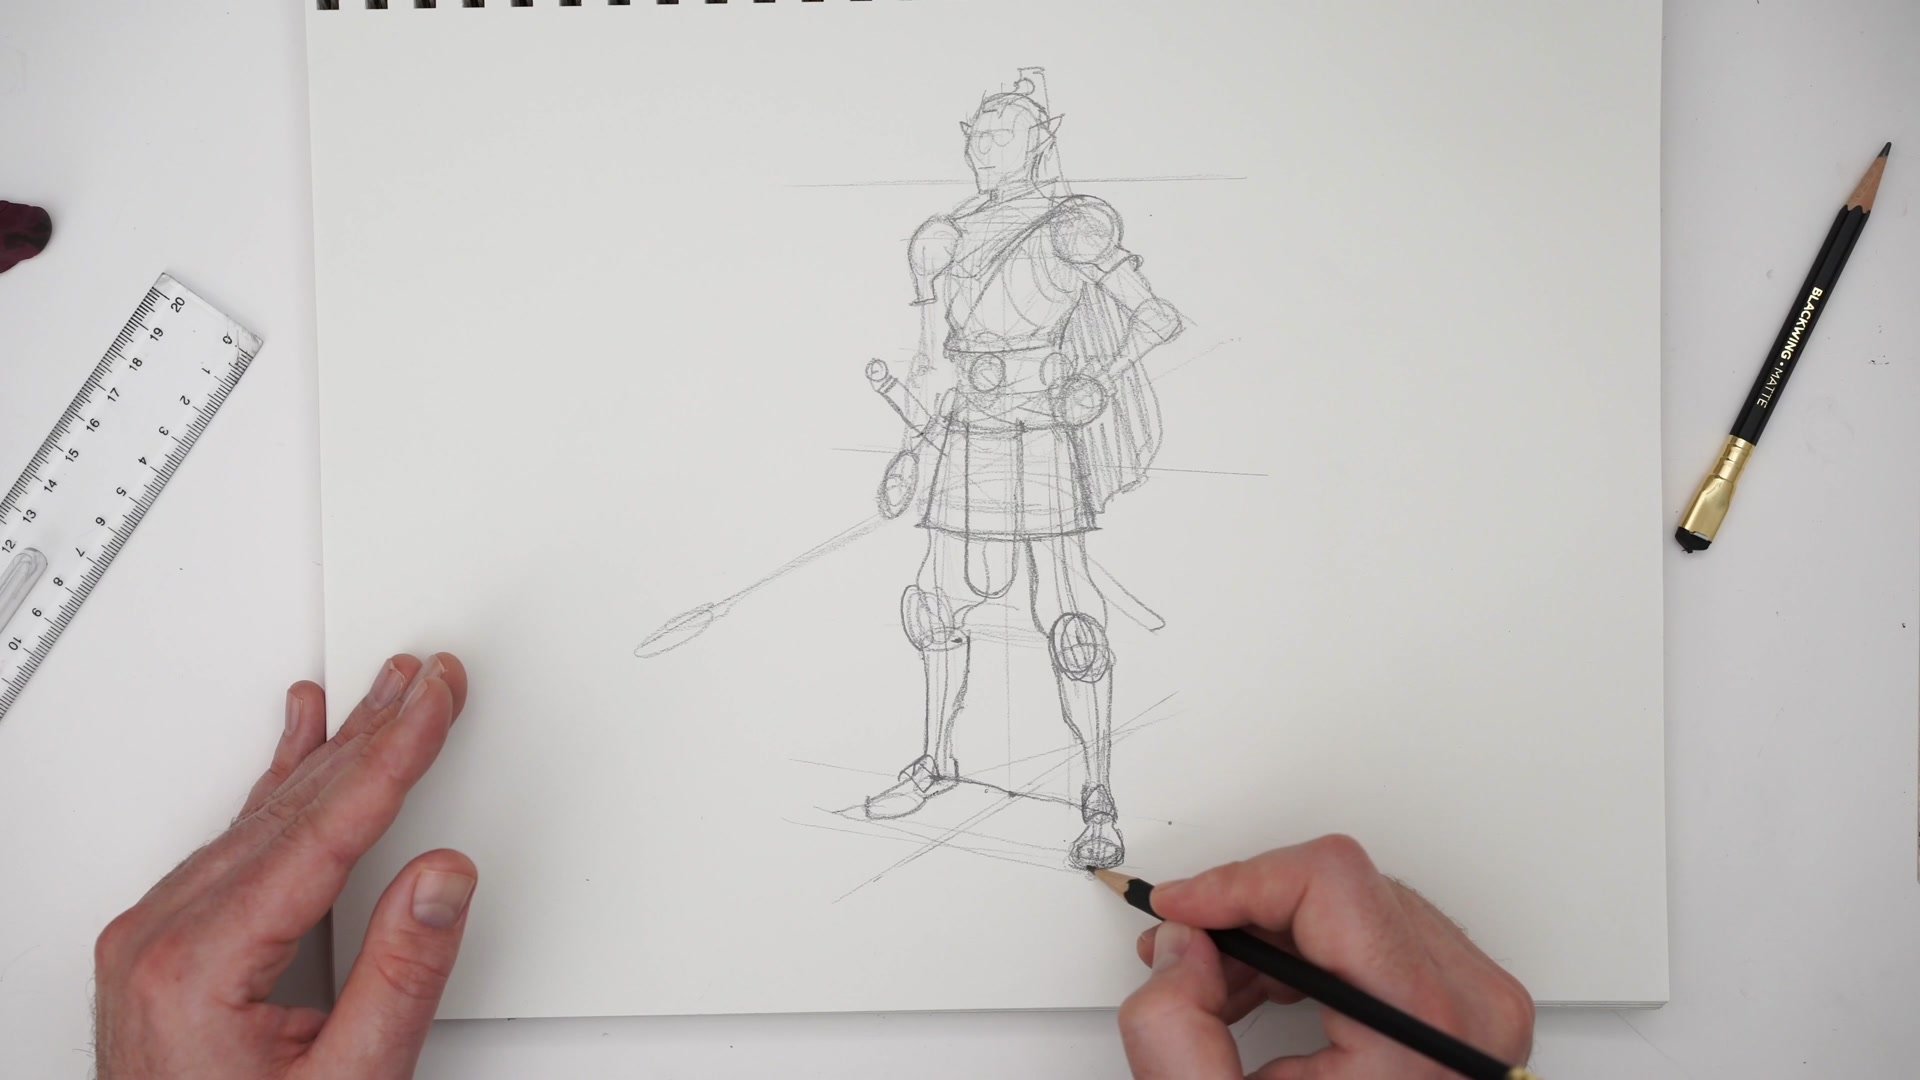
Drawing feet that connect convincingly to the ground is one of the most persistent frustrations in figure drawing. The perspective tolerances are small, the foreshortening is unforgiving, and the result of getting it wrong is a character that looks like they are floating or off-balance. This video tackles the problem at its root by teaching a construction method built on three core elements: the center line, the ground plane, and box logic for foot placement.
Rather than jumping straight into complex anatomy or dynamic poses, the approach starts with the most fundamental task first. Getting a static standing figure solidly grounded is the building block that everything else depends on, from weight shifts and hip rotations to crowd scenes where multiple characters need to share the same ground plane.
Setting Up the Construction

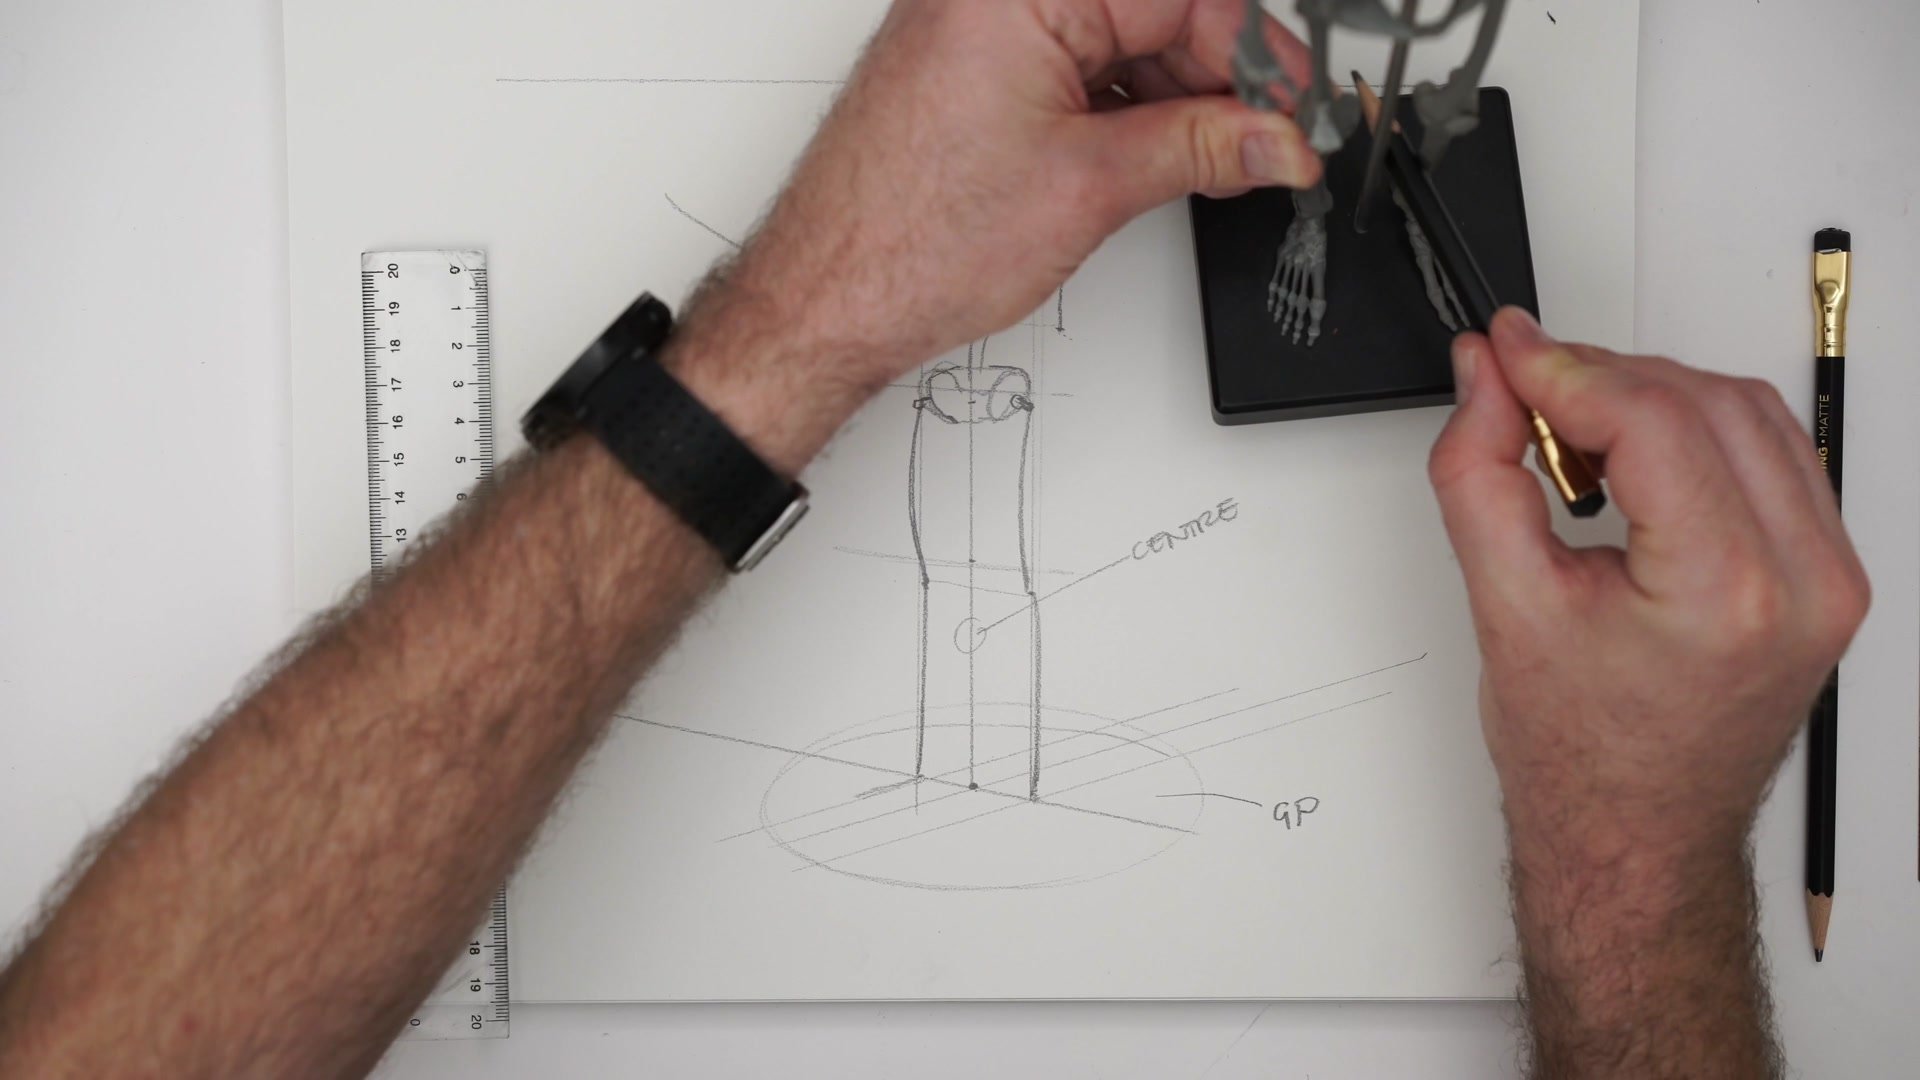
Center Line and Ground Plane
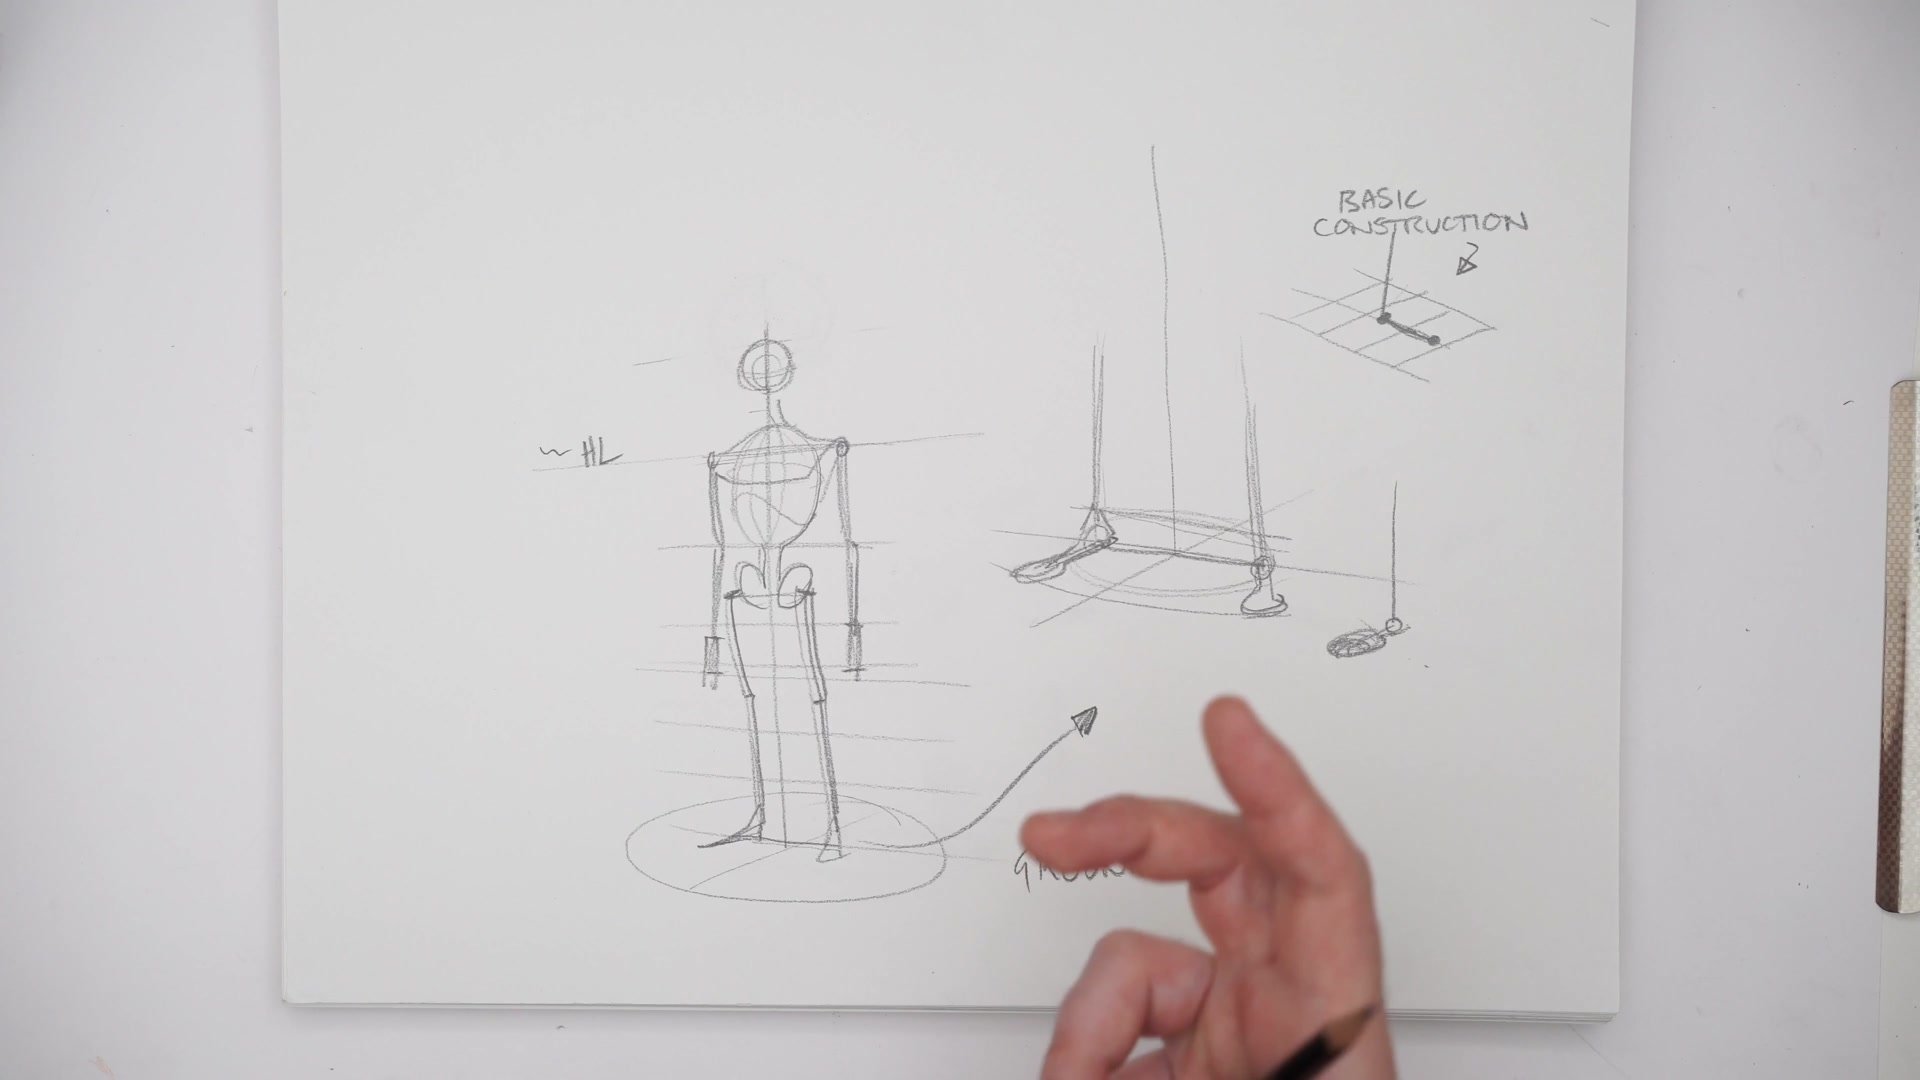
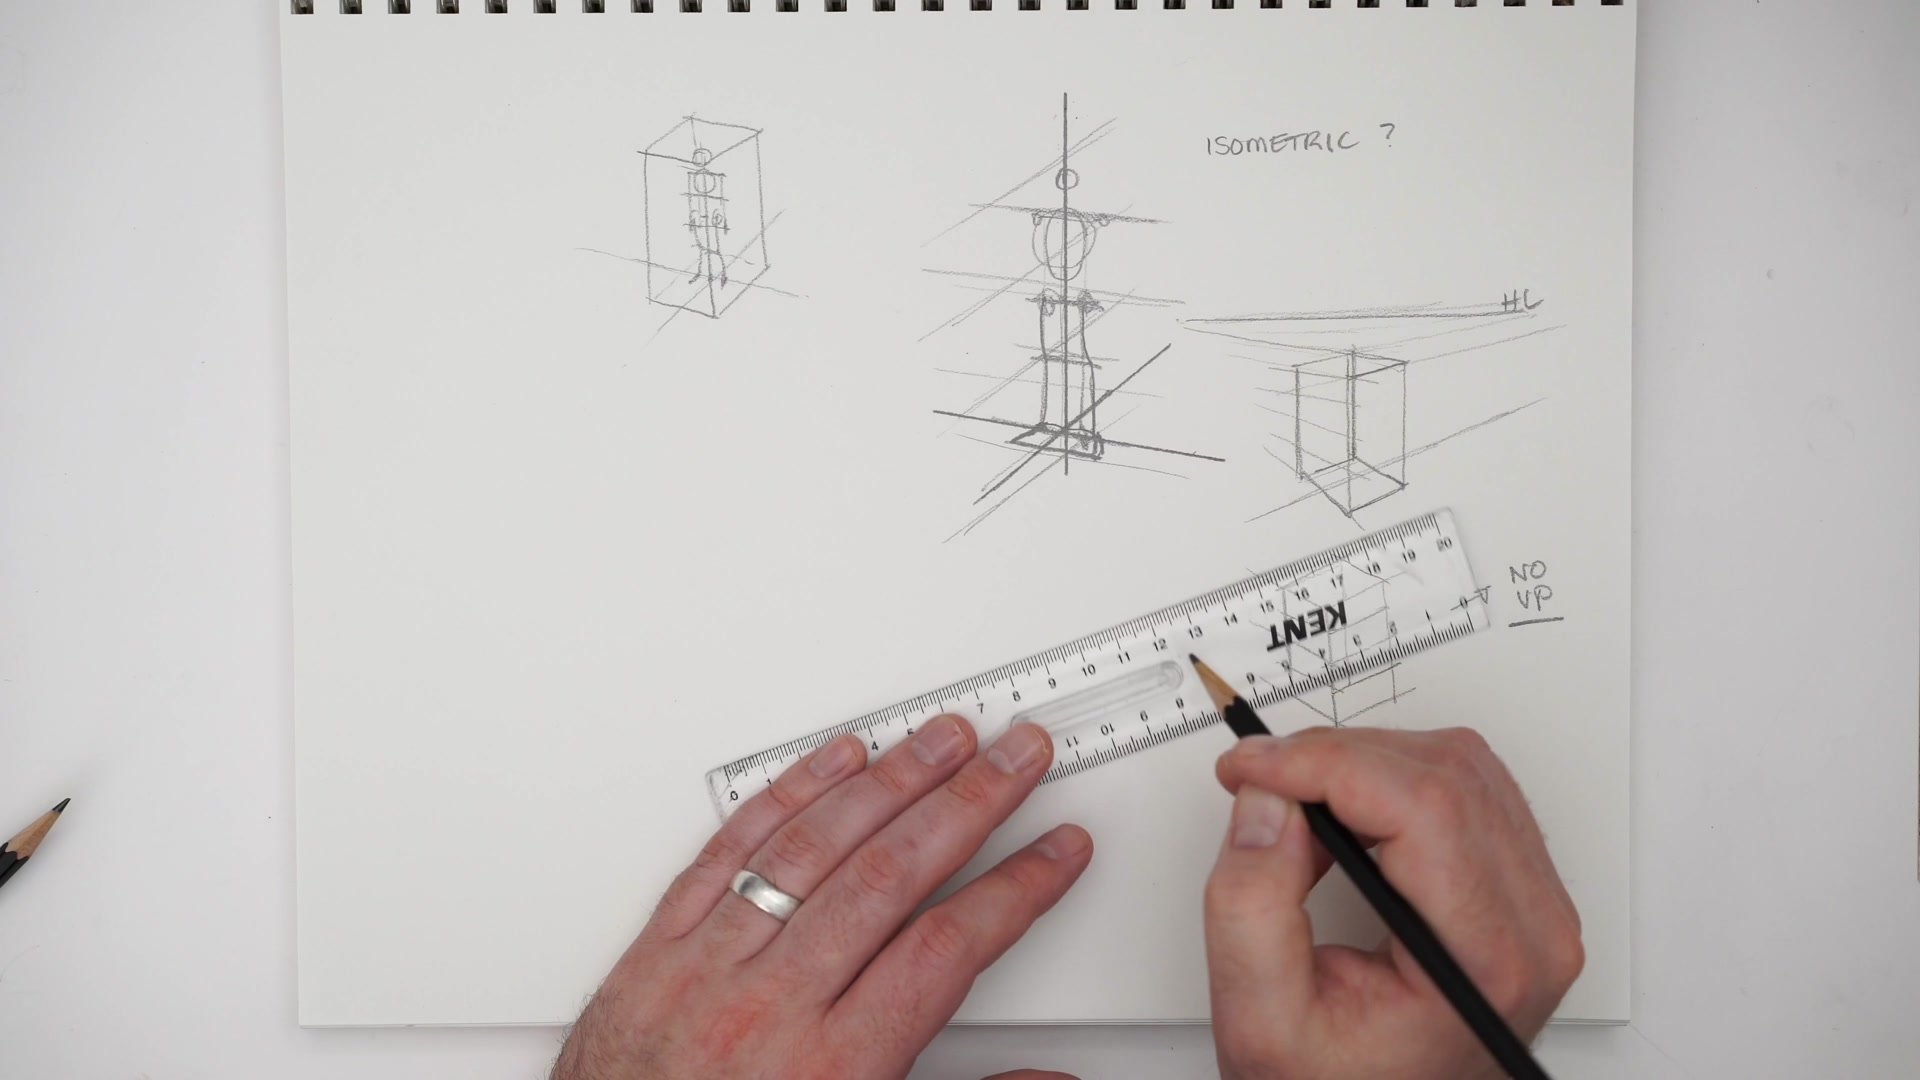
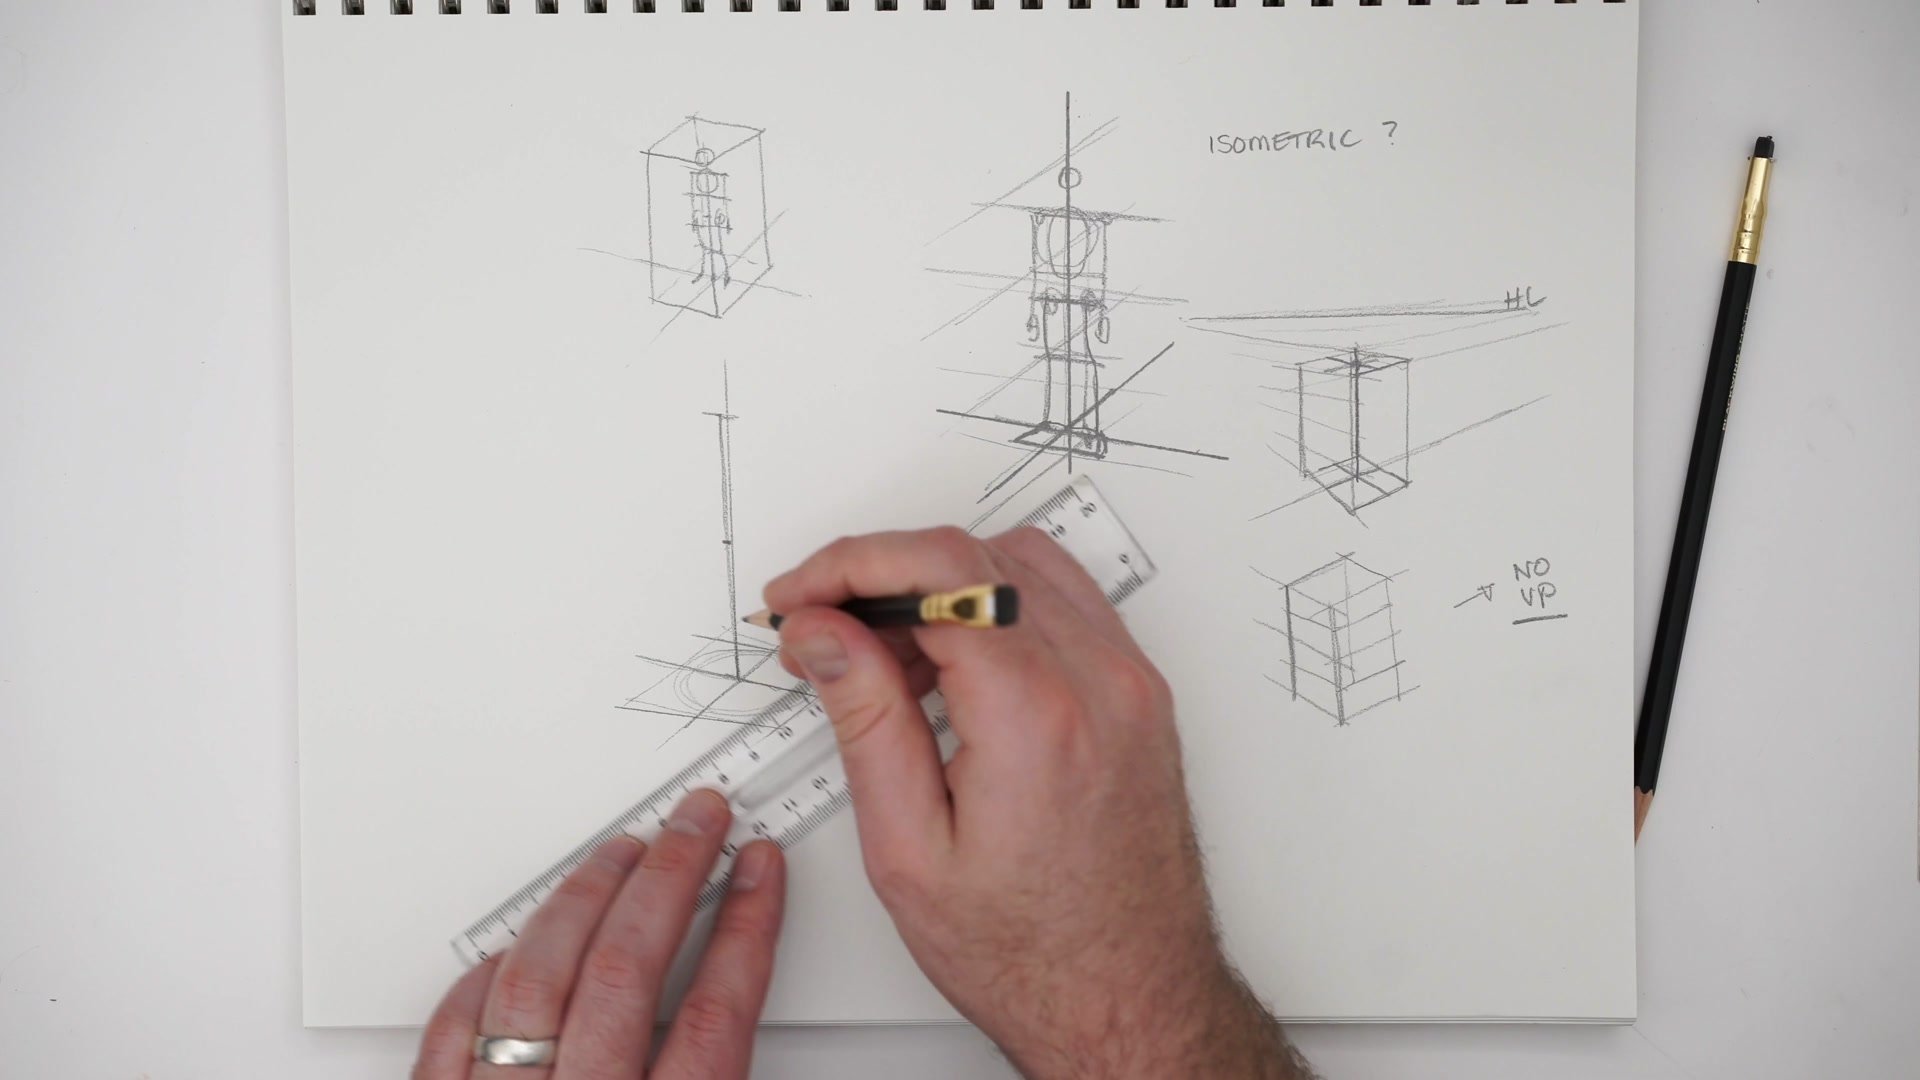
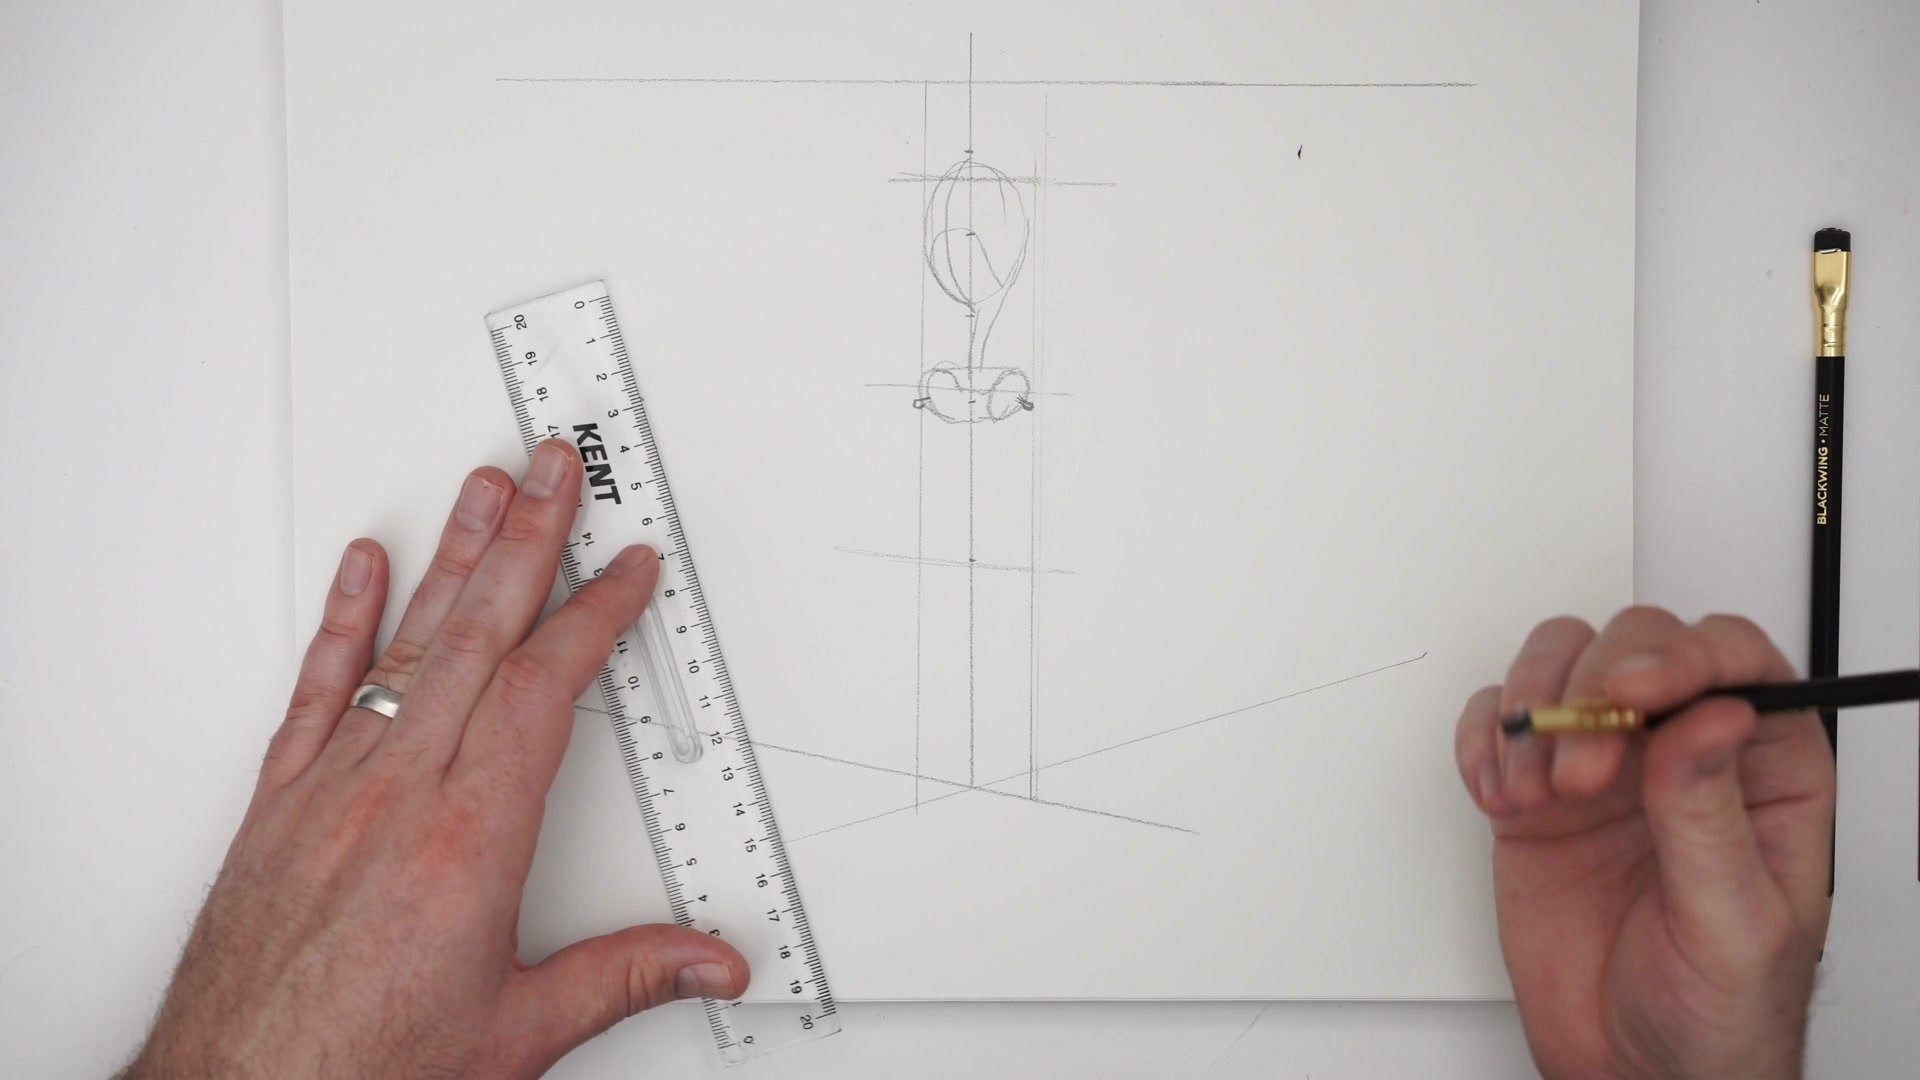
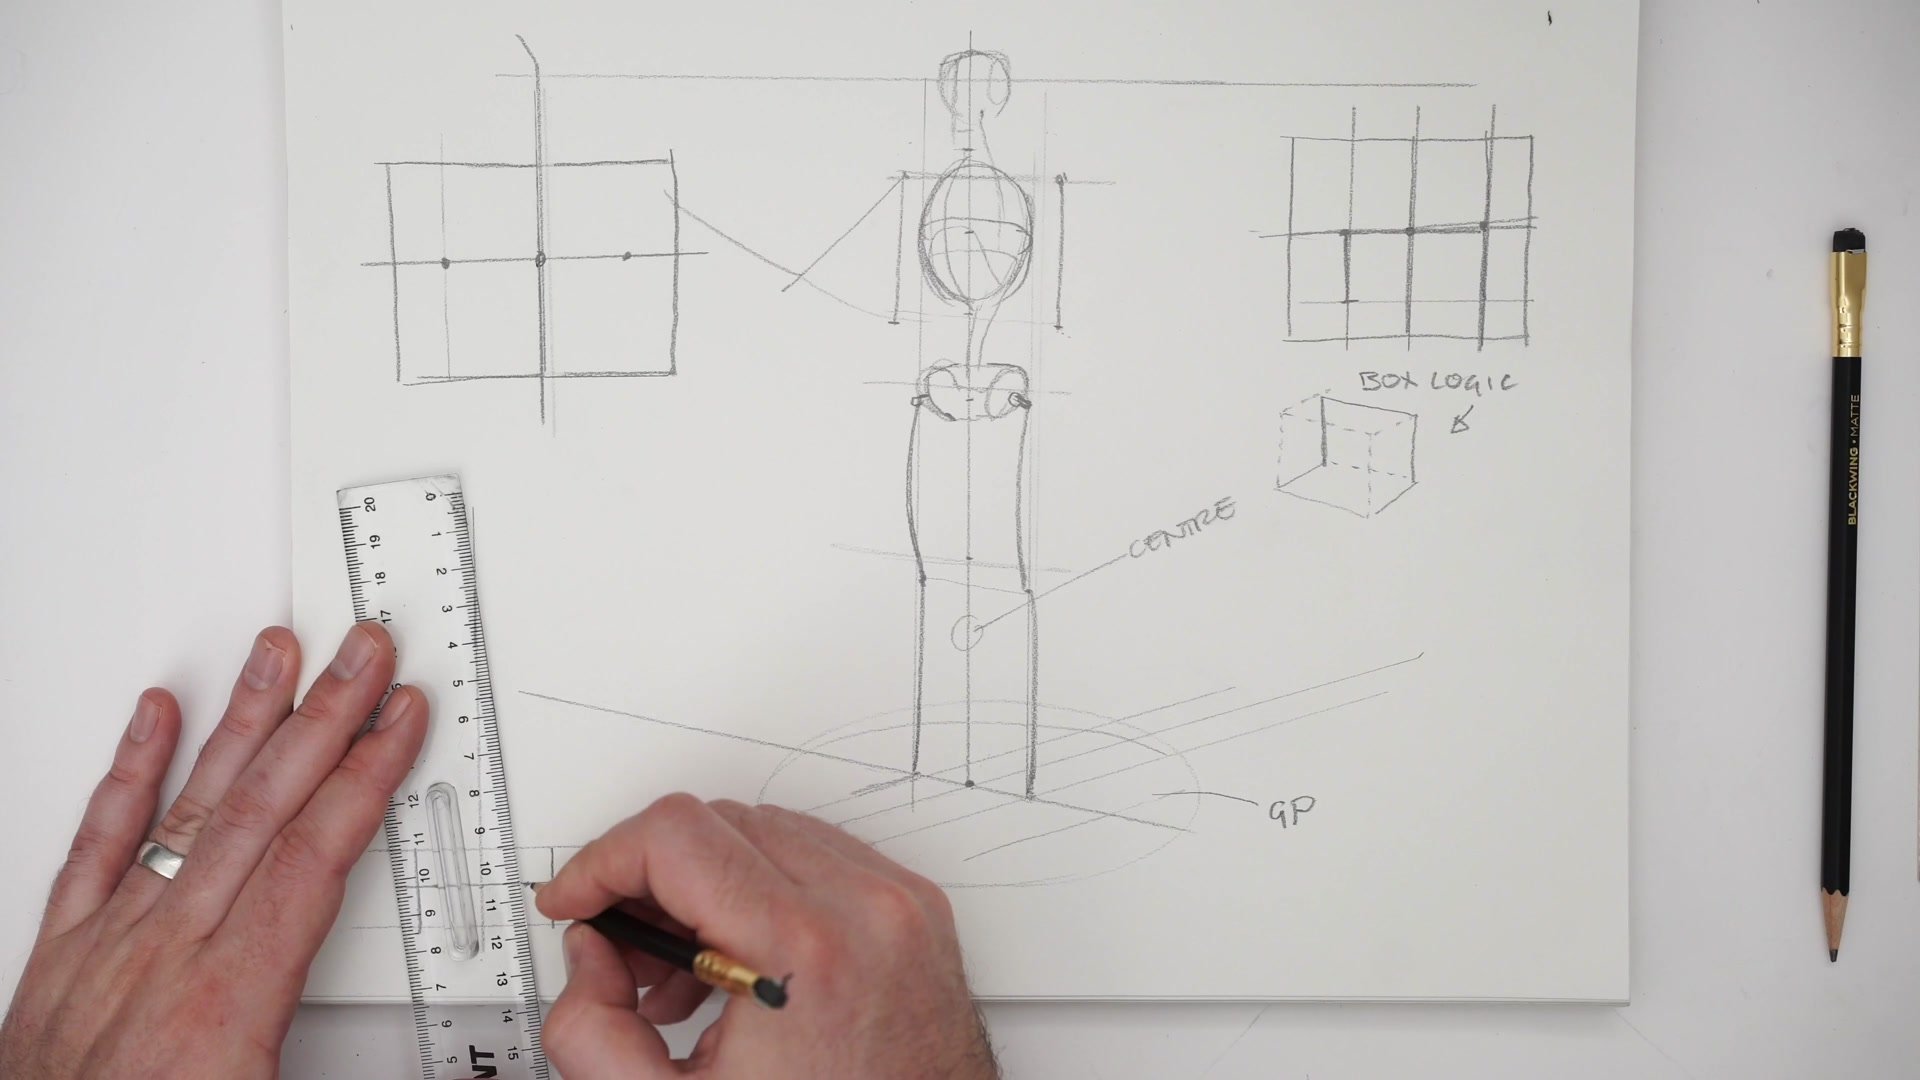
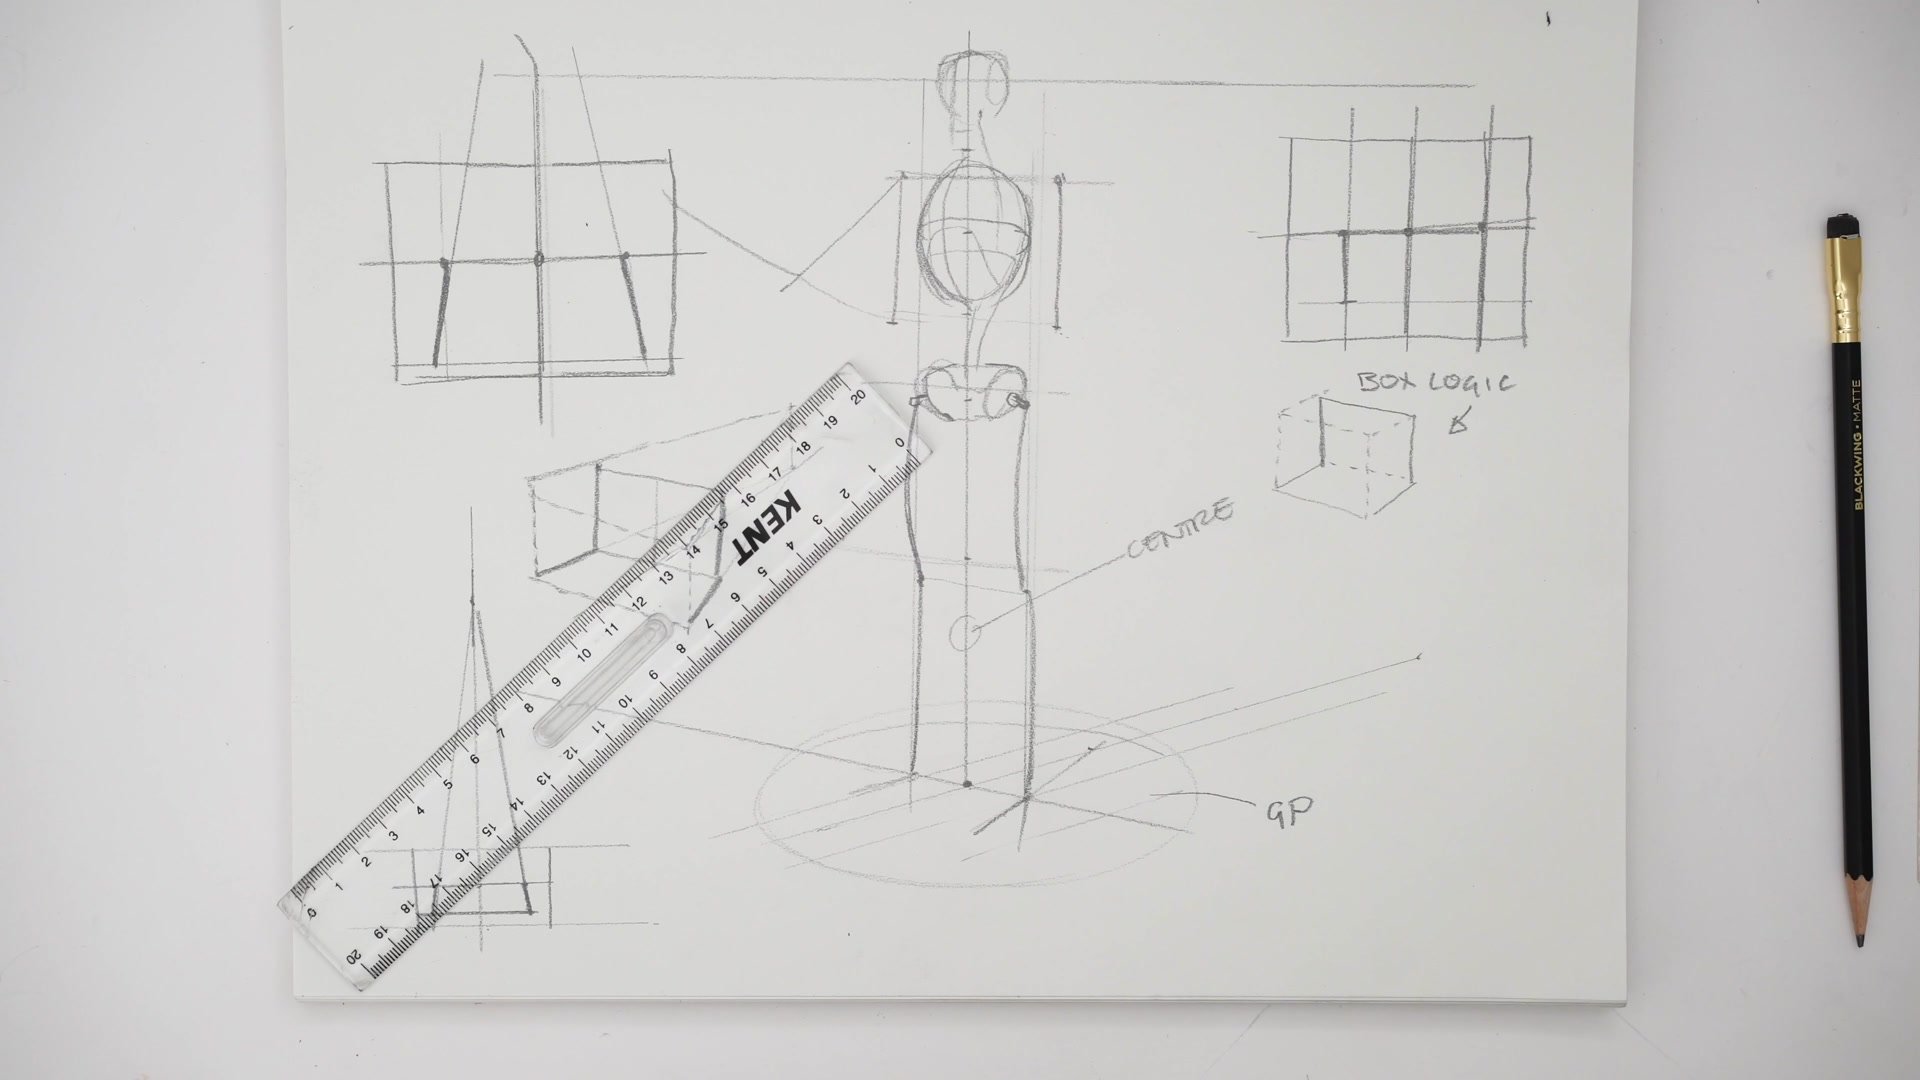
The entire construction begins with two elements that set most of the perspective without requiring a full vanishing point setup. The center line runs vertically through the figure, functioning like the steel beam inside an anatomical model, establishing the axis of balance. The ground plane cross-section marks where the figure connects to the surface it stands on.
Using these two reference points, the figure can be constructed within an isometric or mildly converging grid without needing to calculate precise vanishing points. The key insight is that an isometric approach, where lines run roughly parallel rather than converging to distant points, is actually more practical for character work. It provides enough spatial information to place feet accurately without the overhead of technical perspective. Drawing the character as if viewed from a slightly zoomed-out camera angle keeps things manageable while still capturing the spatial relationships that matter.
Foot Construction and Box Logic
The Ski Method and Box Logic
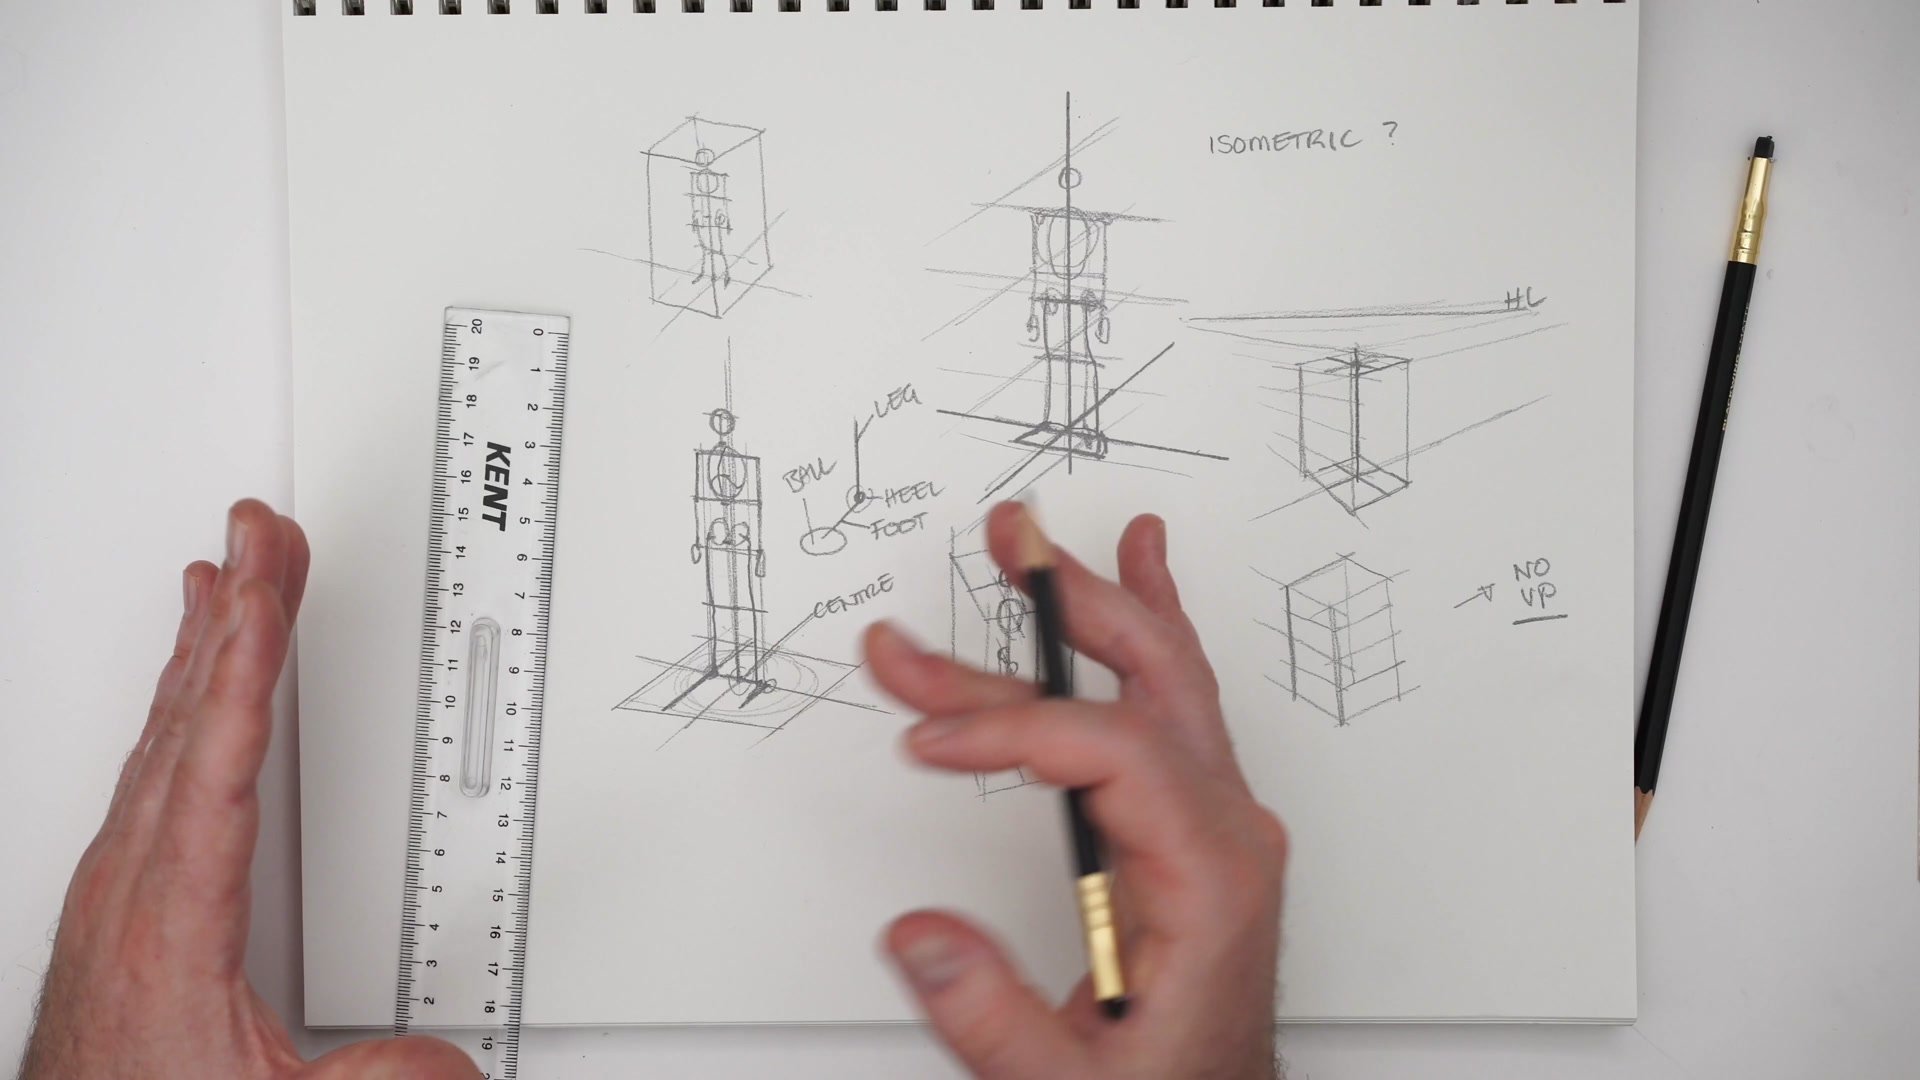
The foot itself is simplified to two contact points: the heel, where the vertical alignment of the leg meets the ground, and the ball of the foot, the mound just before the toes. These two points define a vector or direction line that establishes how the foot sits on the ground plane.
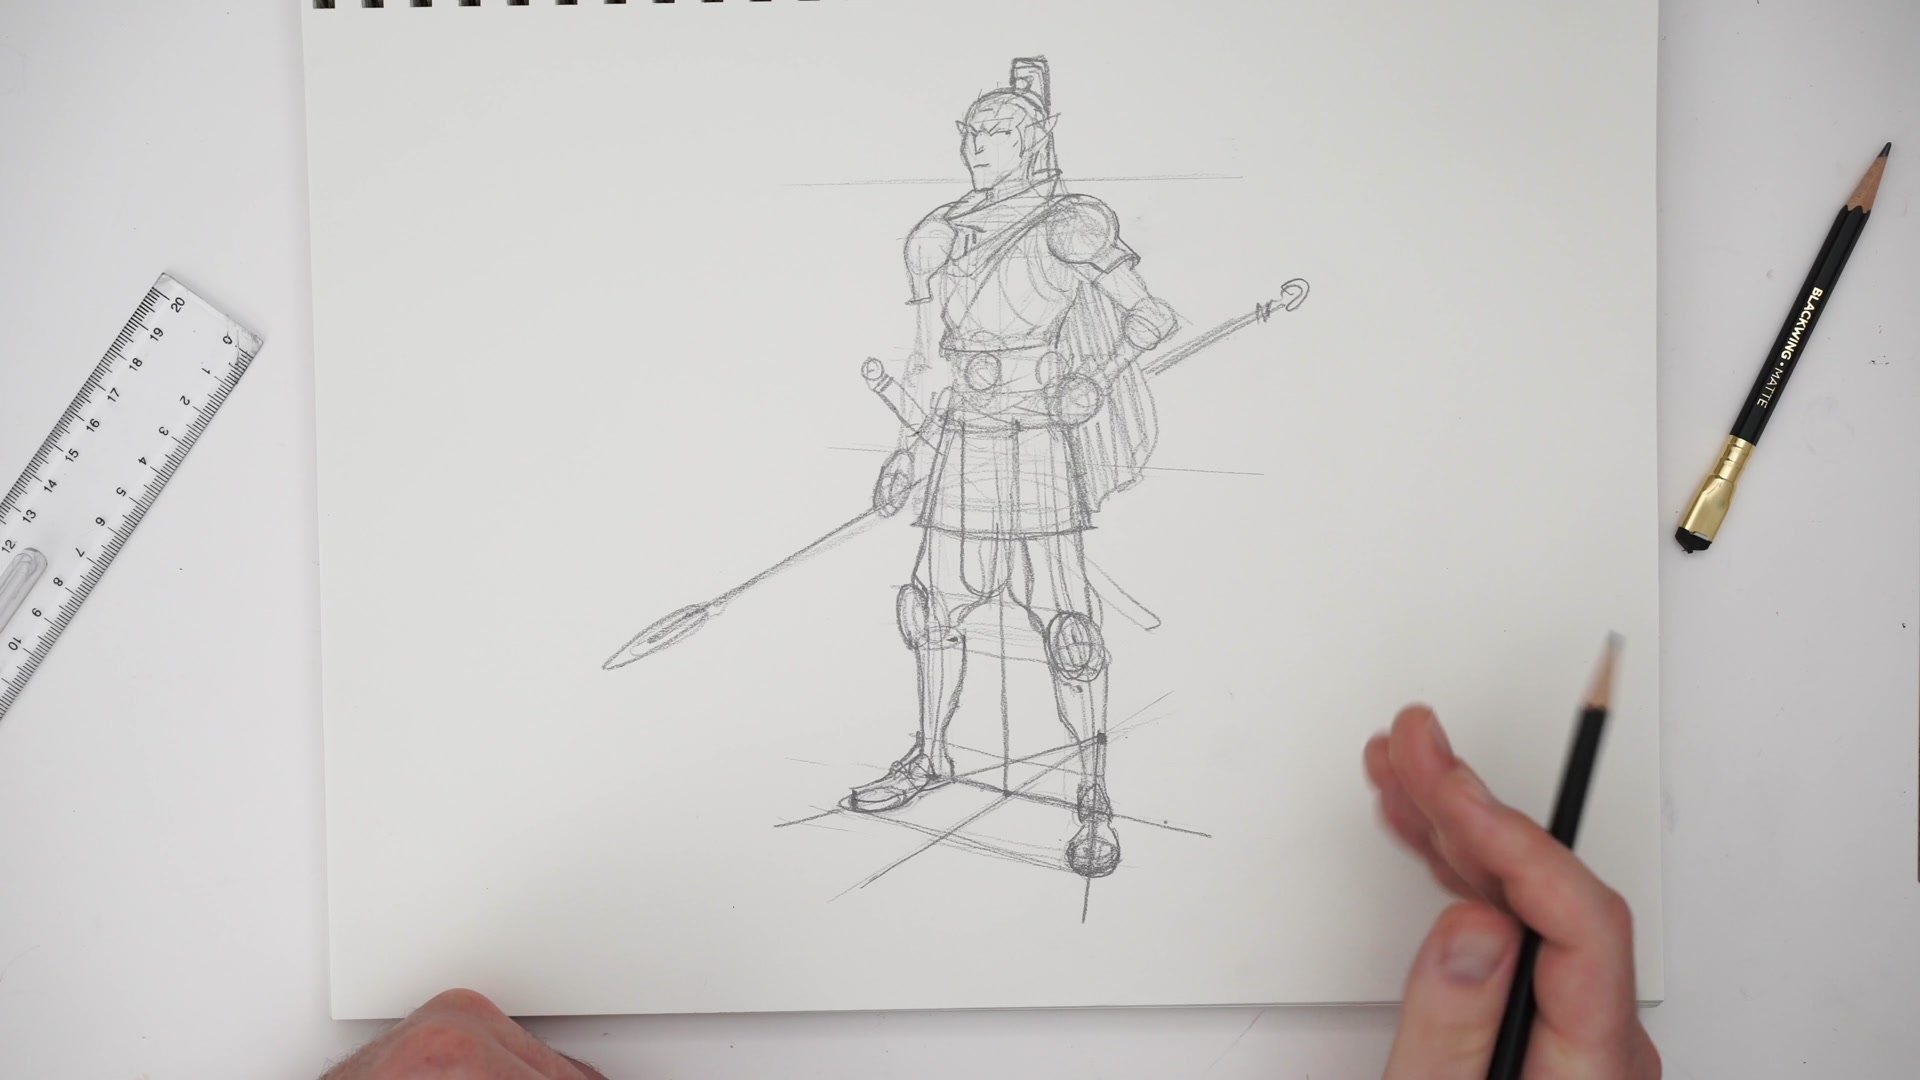
The simplest way to start is imagining the character is wearing skis, with the feet running straight forward parallel to the center line. From there, foot angle variations become geometry problems. Drawing a triangle back to the center point makes it straightforward to mirror the angle on the opposite foot. This is what gets called box logic: the foot placement can be understood as a simple box shape sitting on the ground plane, with the heel and ball of the foot defining the length and the angle defining the rotation. Once this box logic clicks, visualizing foot position in any perspective becomes systematic rather than guesswork.
Building the Figure
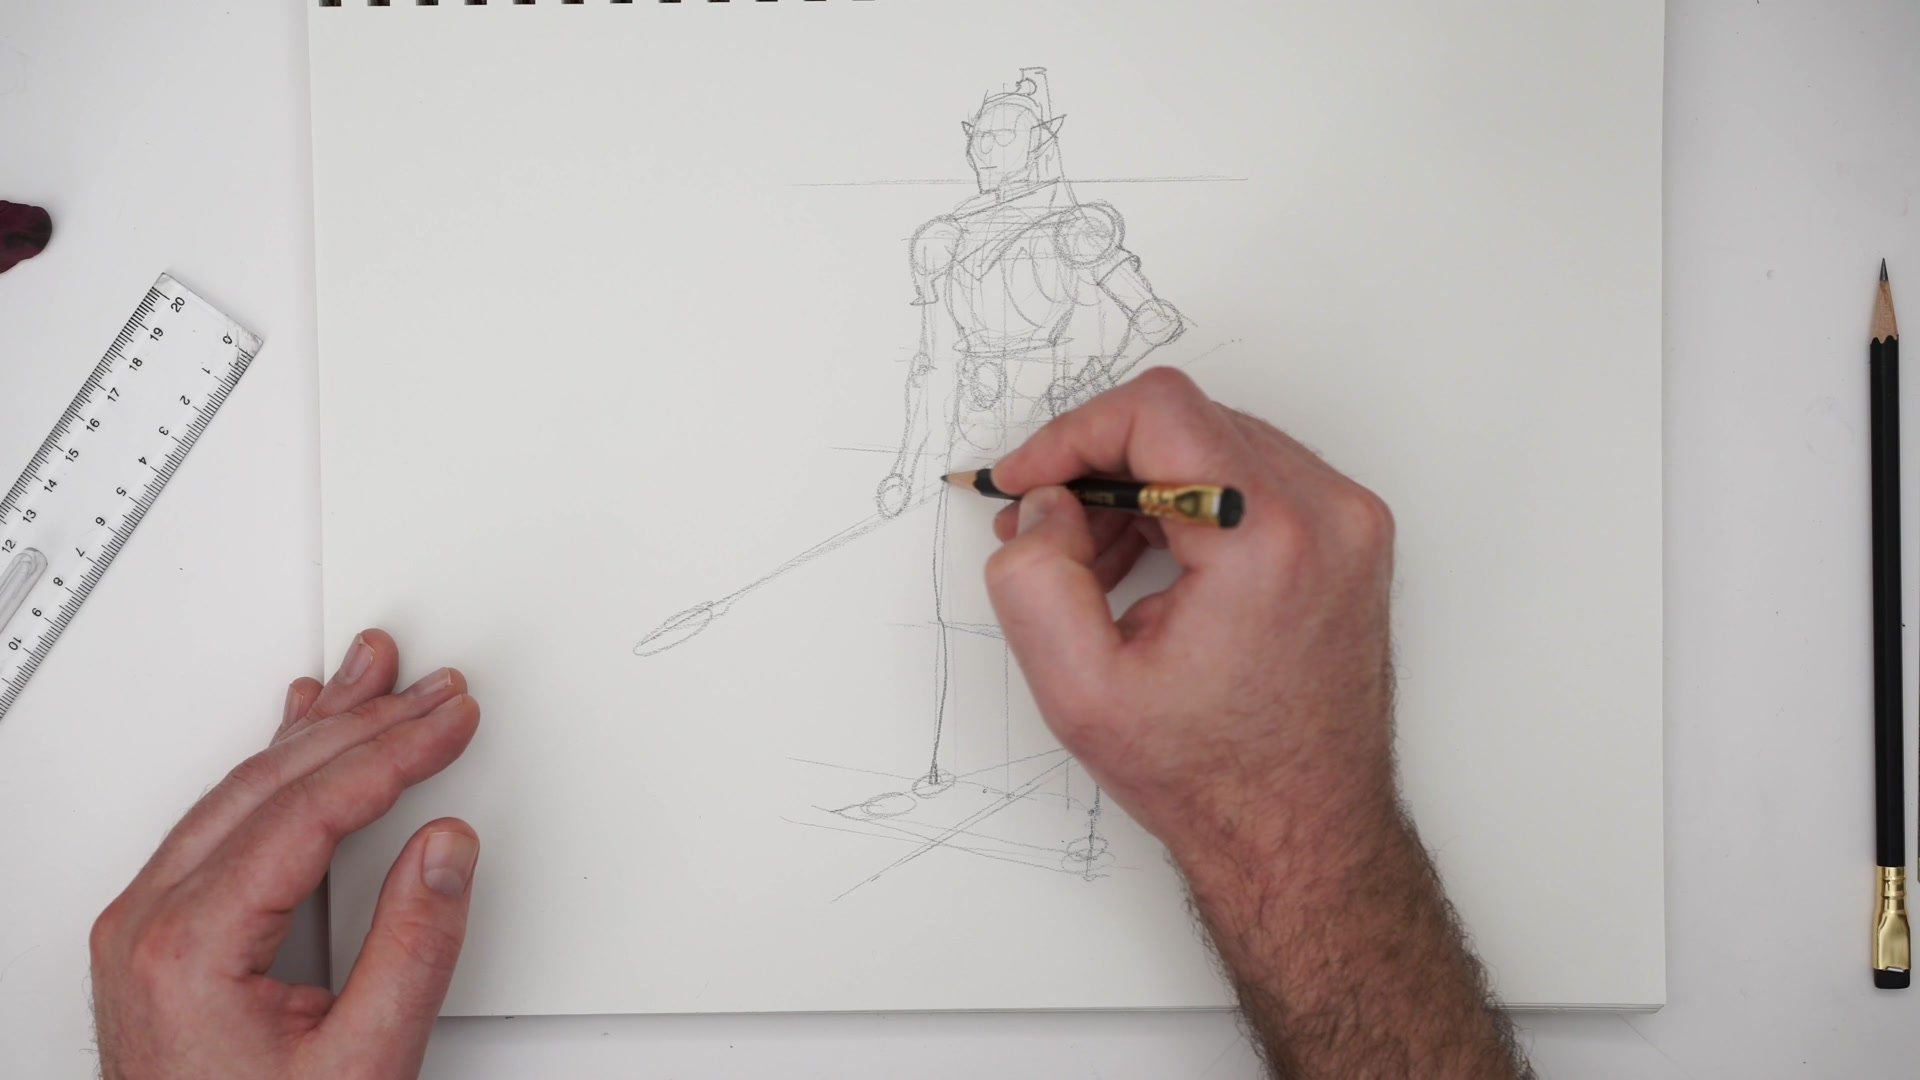
From Abstract Exercise to Character
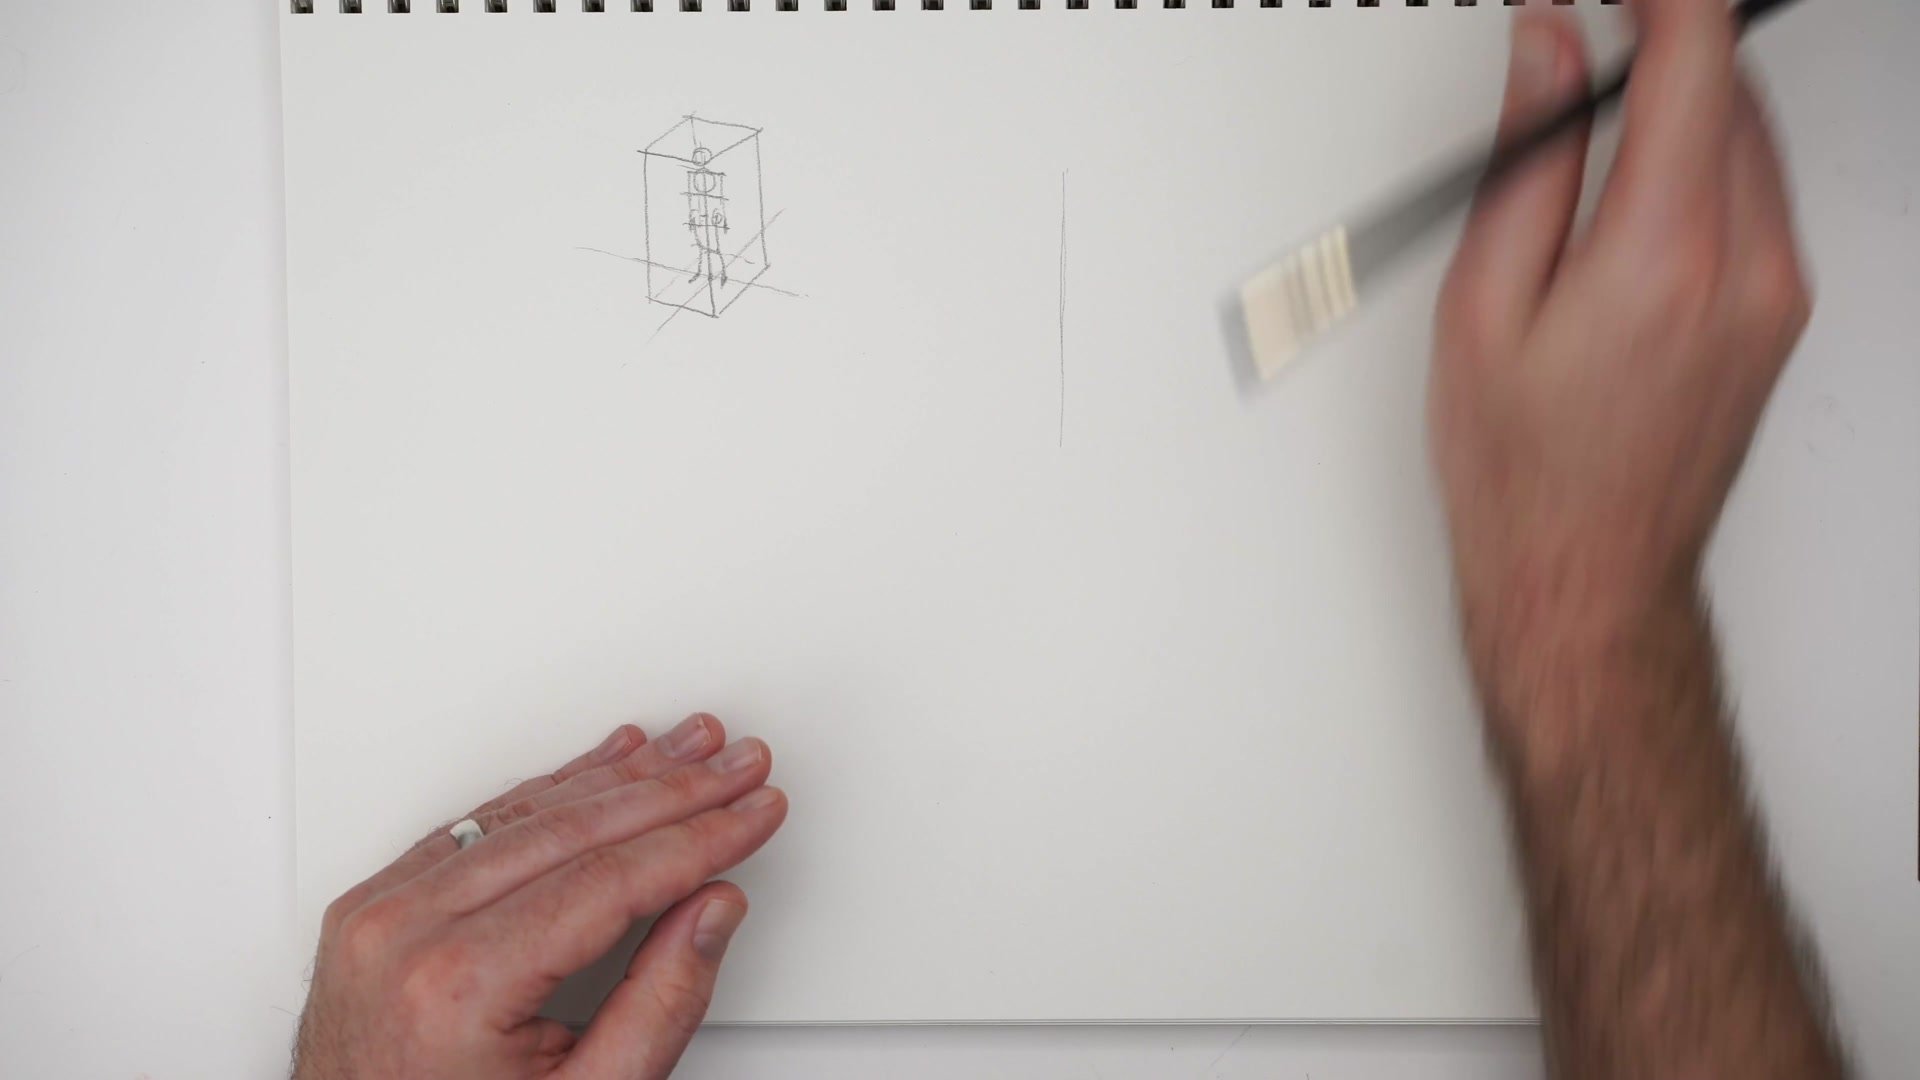
The technical construction is deliberately treated as an abstract drawing exercise, separate from how actual sketching works. Using a ruler, measuring proportional markers, and being precise trains the internal sense of accuracy that eventually makes freehand estimation reliable. The recommendation is to practice these constructions at a smaller scale first, where proportional errors are more forgiving and easier to spot.
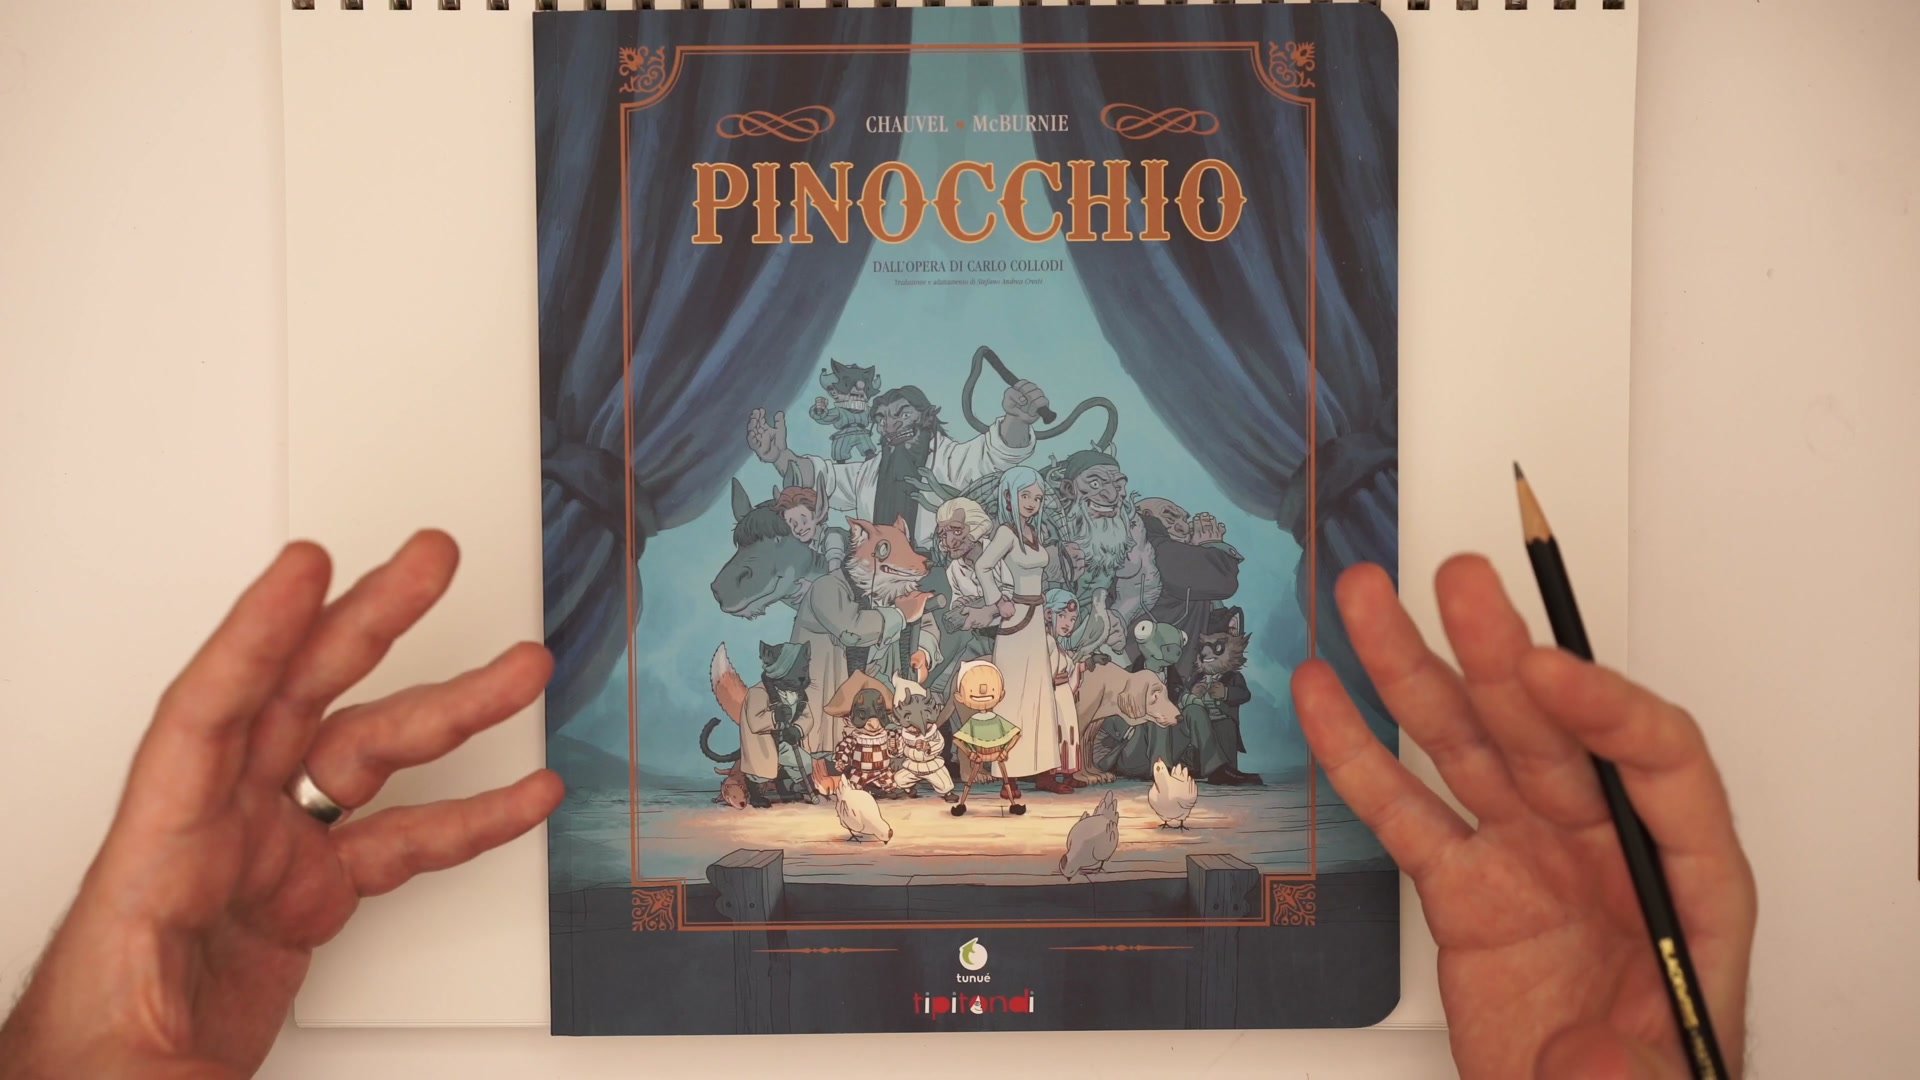
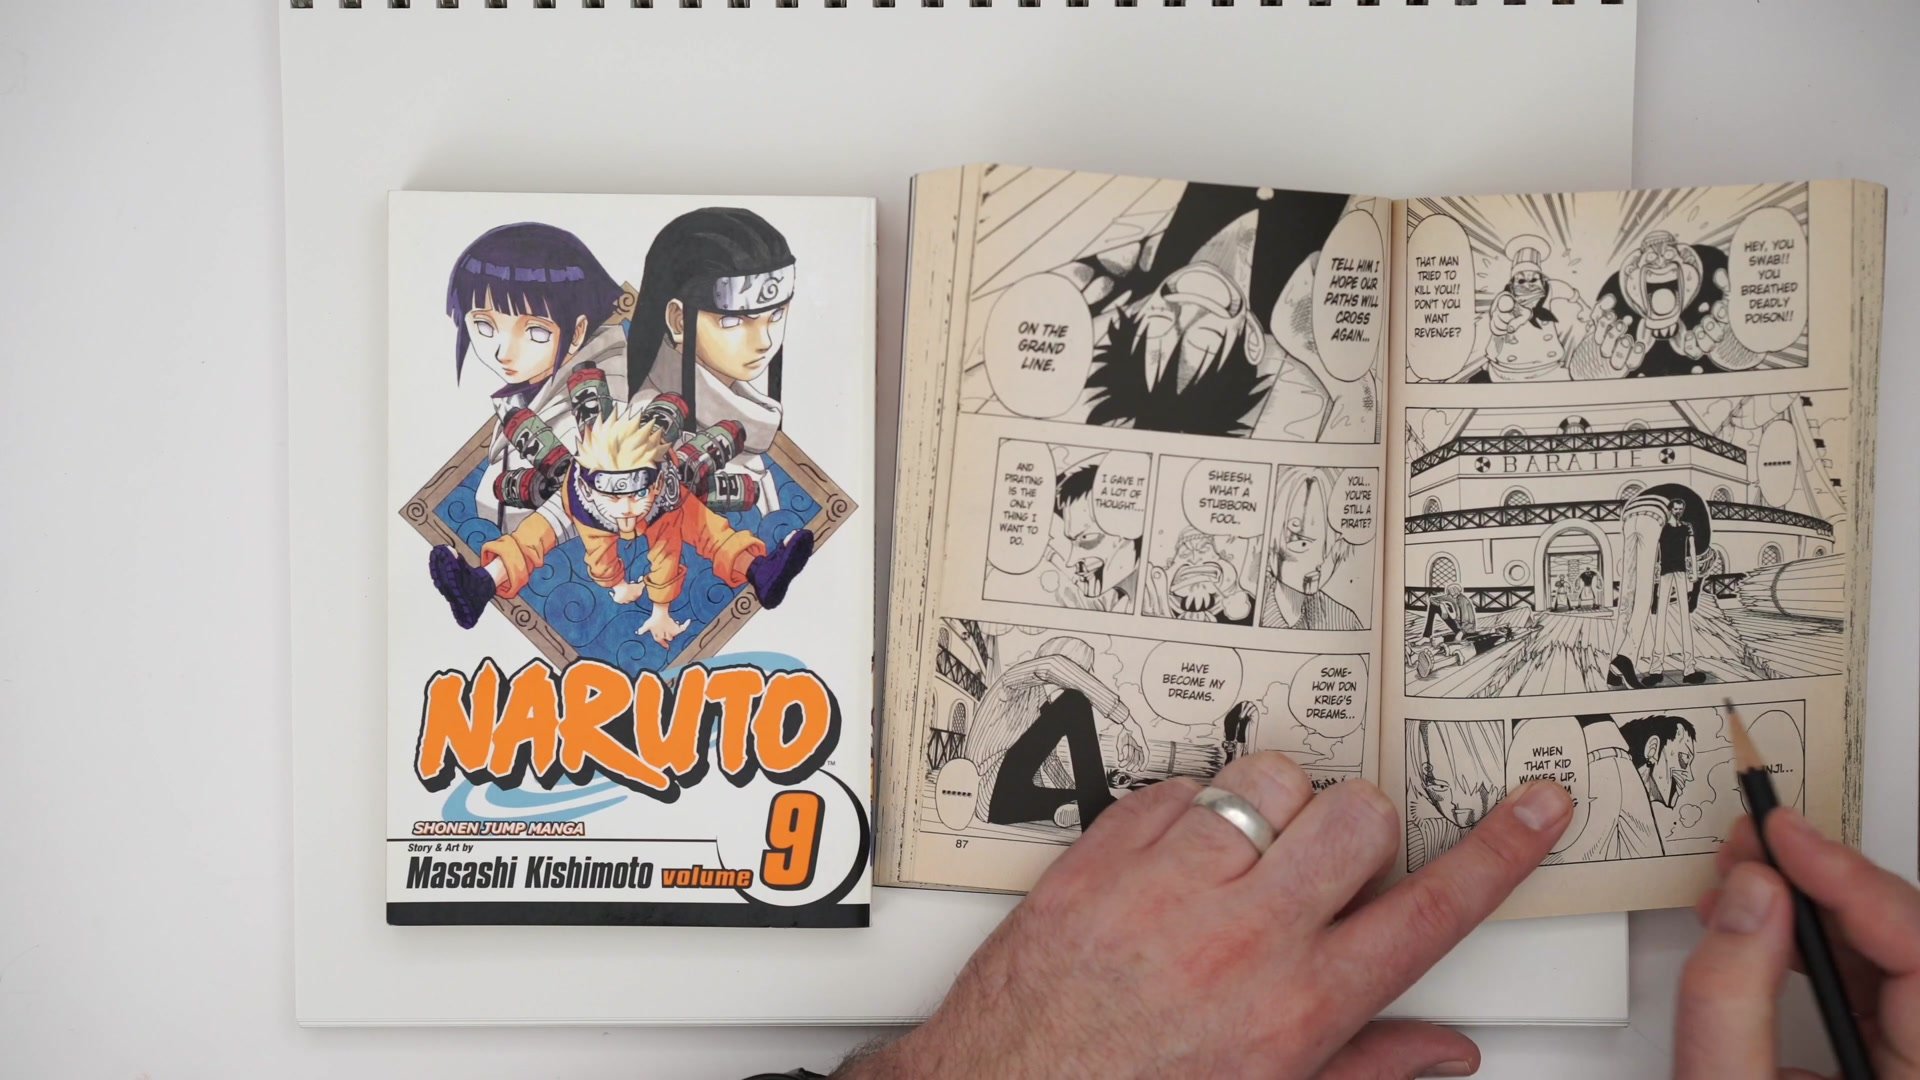
Real-world examples from the Pinocchio comic, One Piece manga, Naruto, and Breath of Fire concept art demonstrate that even highly stylized characters maintain convincing grounding. Characters in One Piece may have exaggerated rubber limbs, but their feet are always solidly connected to the ground. That grounding is what gives them their sense of weight and personality. The precision work is what makes the loose, expressive sketching possible when it counts.
Applying to a Character Design

Key Principles
Center Line First: The vertical center line establishes balance before any anatomy is drawn. Combined with a ground plane cross-section, it sets most of the perspective needed for accurate foot placement.
Two Contact Points: Simplify the foot to heel and ball. These two points define the foot's vector on the ground plane and are all that is needed to construct convincing grounding.
Box Logic: Foot placement follows the same logic as drawing a box on a surface. Understanding how a simple box sits on a ground plane translates directly to placing feet at any angle.
Precision Trains Estimation: Technical ruler-and-grid exercises build the internal accuracy that makes freehand sketching reliable. The abstract exercise is not how drawing works in practice, but it is what makes practice work.
Practice This
Start With Skis: Draw a center line and ground plane cross, then place feet parallel to the center line as if the character is on skis. Get comfortable with straight-ahead placement before adding angles.
Mirror With Triangles: Once straight placement feels solid, angle one foot outward and draw a line back to the center point. Use that geometry to mirror the angle on the opposite side for consistent foot rotation.
Build Small and Iterate: Draw multiple small figures rather than one large one. Smaller constructions reveal proportion issues faster and let you repeat the process more times in a single session.


