Shadow Layer Techniques for Digital Art
Summary
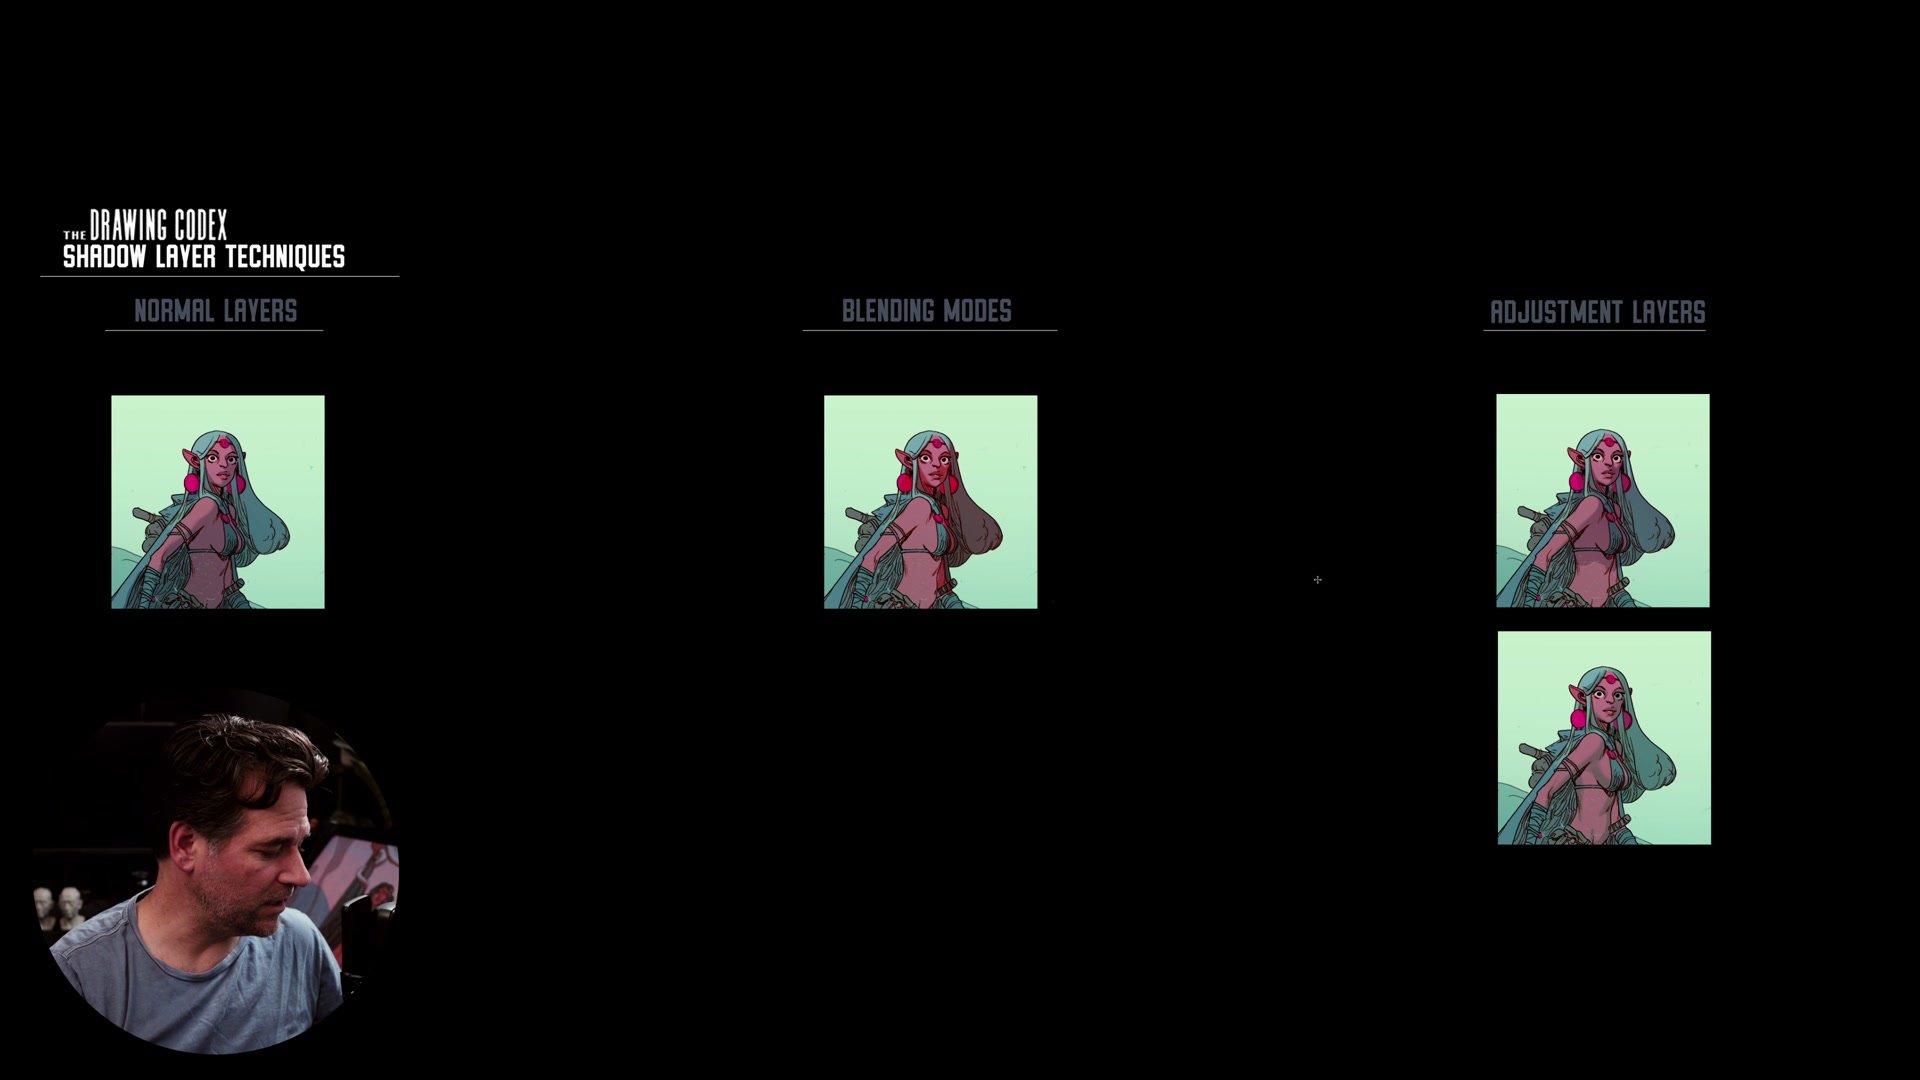
Choosing Shadow Colors
Muddy shadows are one of the most common problems in digital art, and picking the right color for every shadow individually makes the process harder than it needs to be. A more effective approach is to use a single layer that adjusts the value and color of all shadows together, whether through opacity control, a blending mode, or a color adjustment. This works remarkably well and keeps the focus on what actually matters: getting the shadow shapes right.
There are three distinct levels of complexity to this technique, and they each affect shadows in different ways. Some work in any digital art program, while others require more advanced software like Photoshop or Clip Studio. The important insight is that more complex does not always mean better. After 25 years of professional illustration work, sometimes the simplest approach is the right tool for the job. Understanding all three levels means knowing when to reach for sophistication and when simplicity serves the work better.
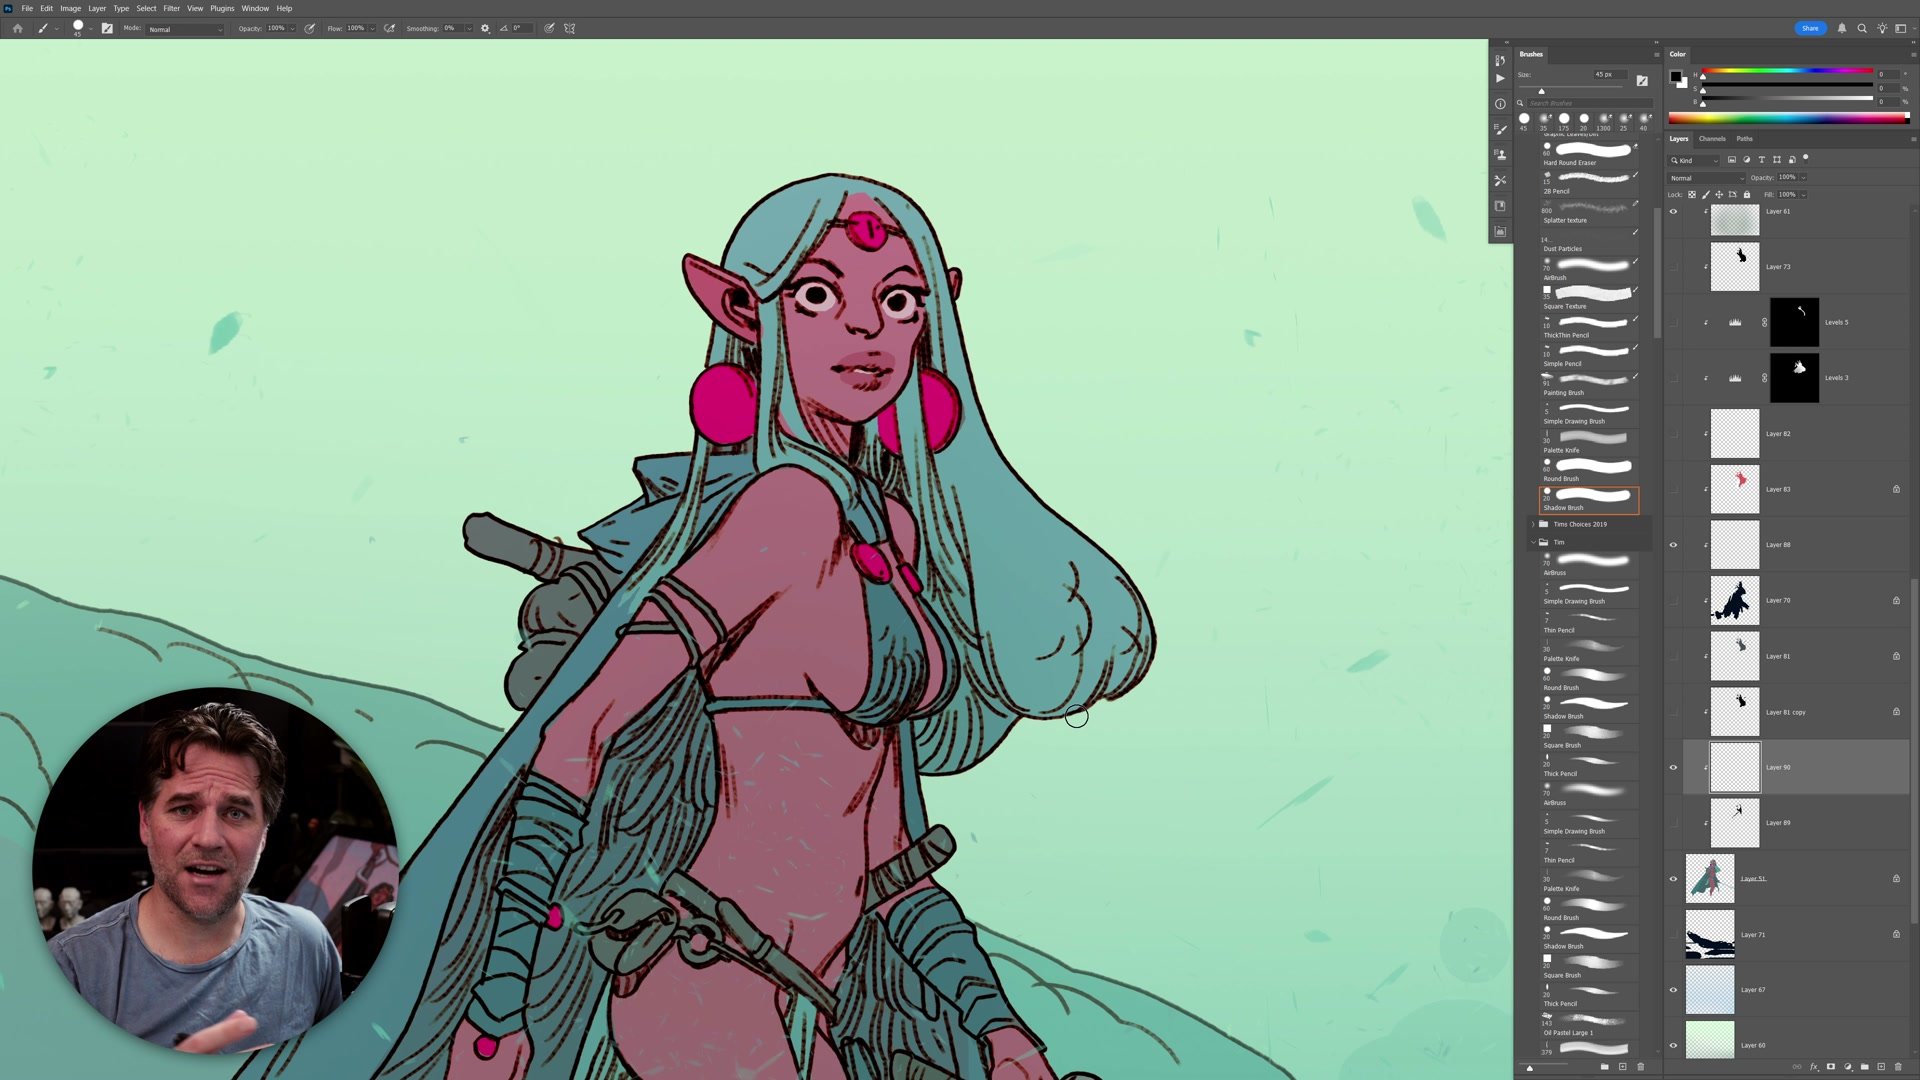
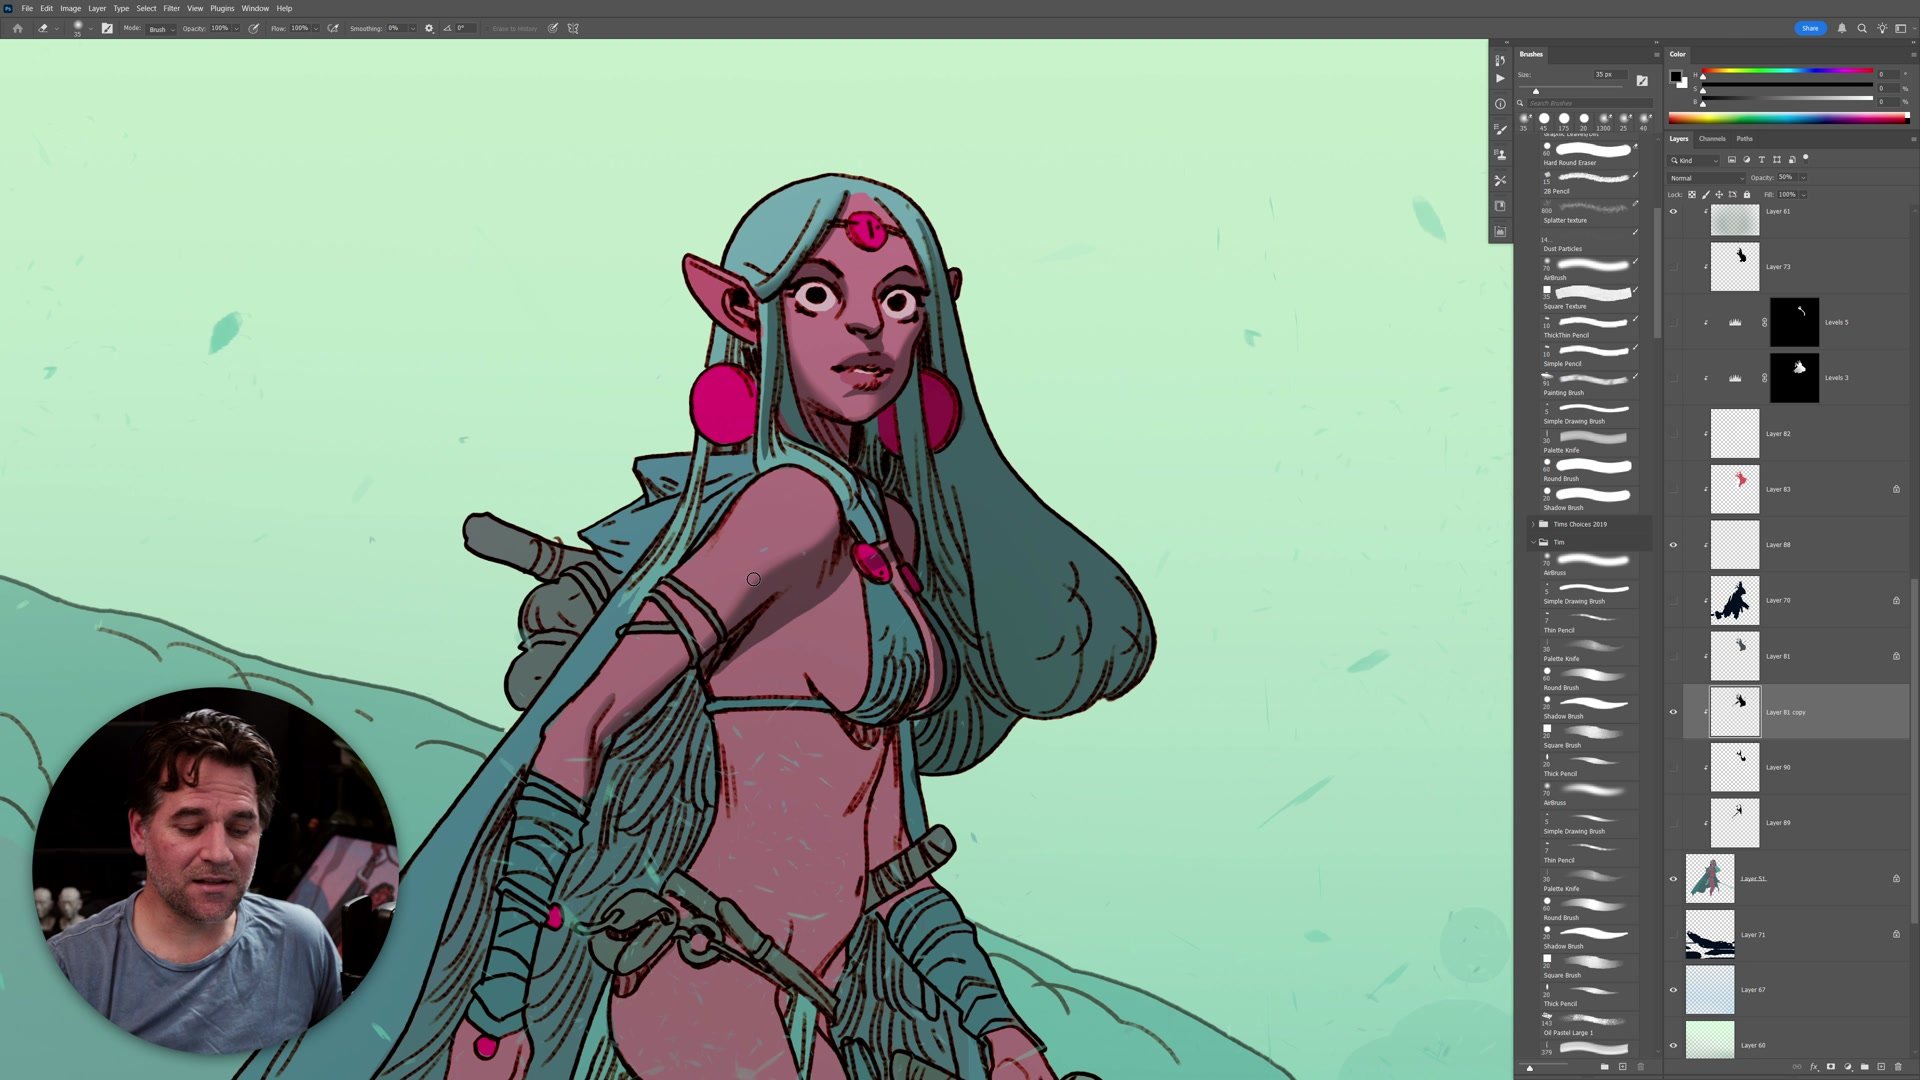
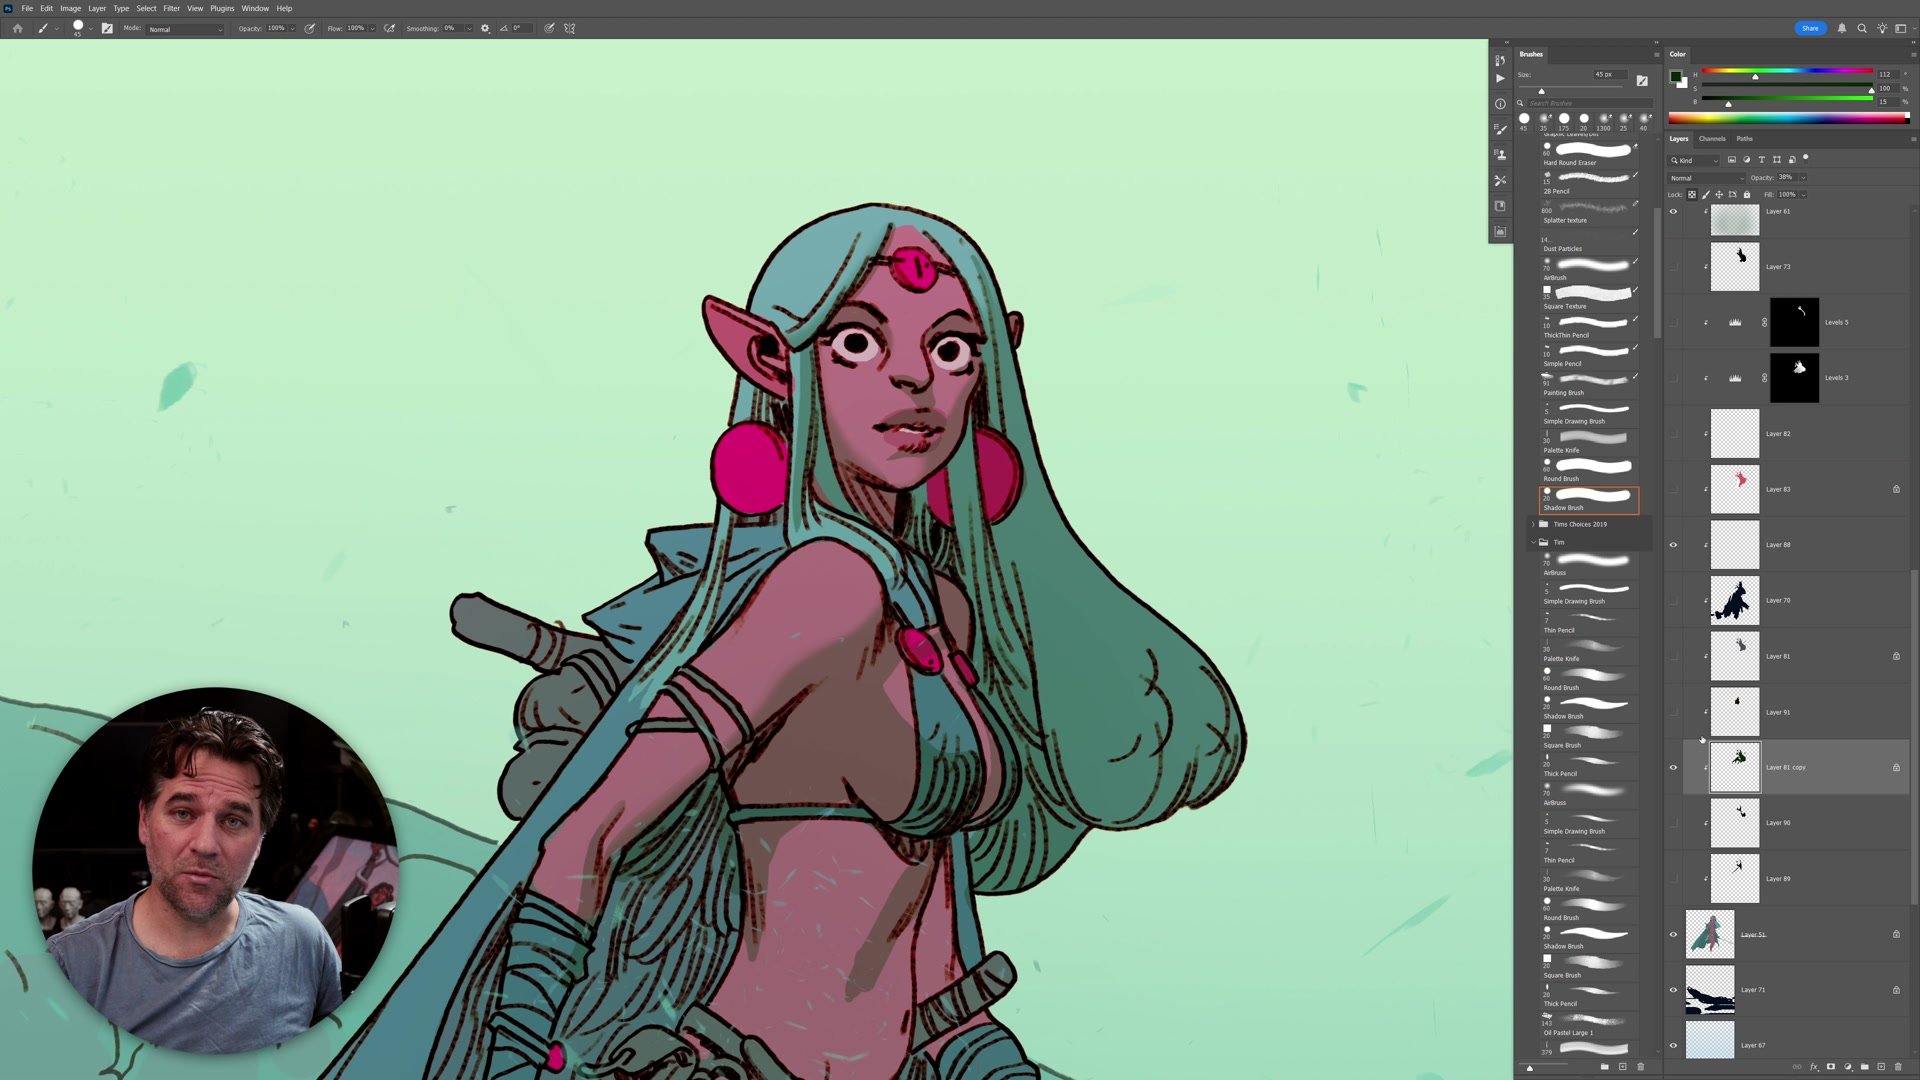
{% component: prose_section_start, title: "Normal Layers at 50%" %} The simplest approach is a normal layer painted with pure black at 50% opacity. This moves every color underneath halfway to black on the value scale, creating a consistent and believable shadow depth across the entire image. Skin tones, hair, clothing, and background all shift by the same relative amount, which reads as coherent lighting.
The real advantage of this method is what it removes from the decision process. Painting with one color at one opacity means the only question left is where the shadows go. Cast shadows get hard edges. Form shadows wrap across surfaces with softer transitions. That delineation is what defines form in a drawing, and it matters far more than which layer technique is being used. Blocking in confident shadow shapes with a thick-to-thin brush produces better results than trying to be painterly before the structure is established.
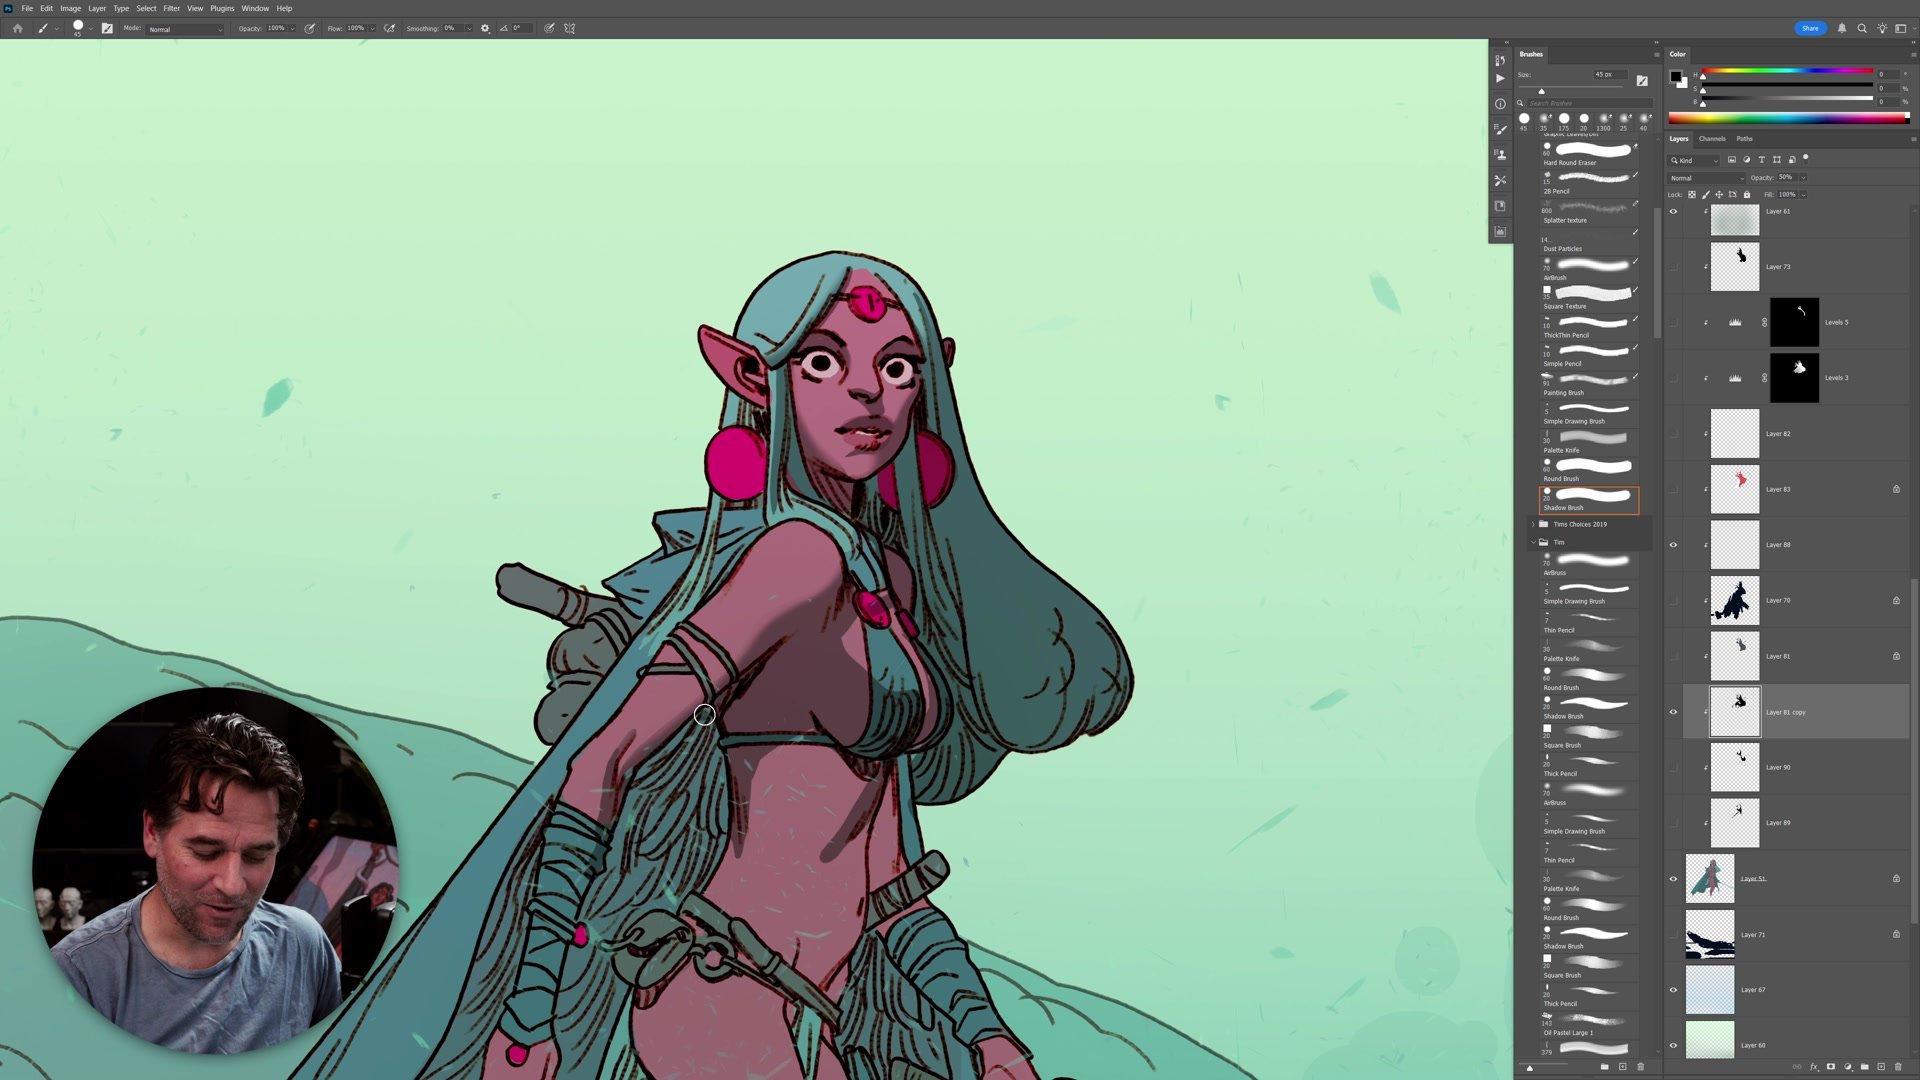
Locking the layer transparency and filling with a dark, saturated color instead of black adds warm or cool color shifts to the shadows. This is enough sophistication for most work, and it functions in every digital art program. {% component: prose_section_end %}

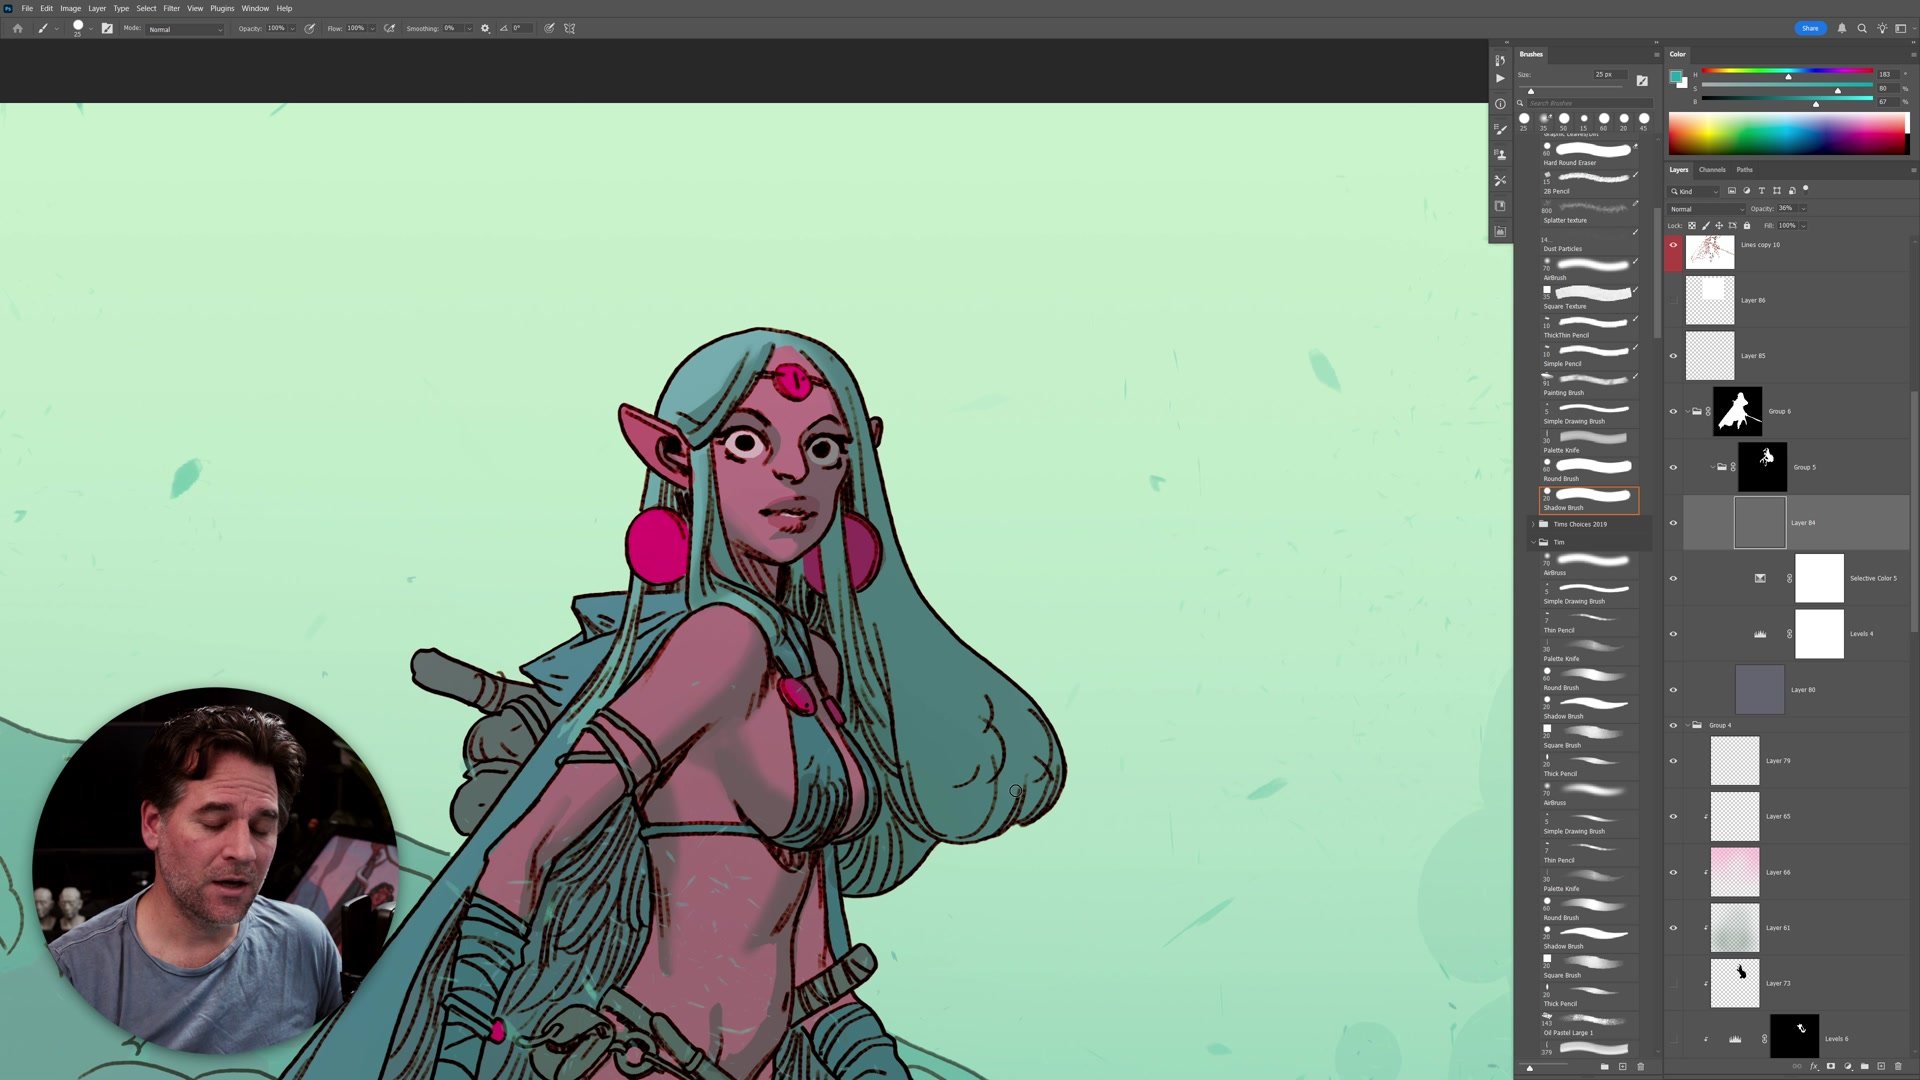
Blending Modes
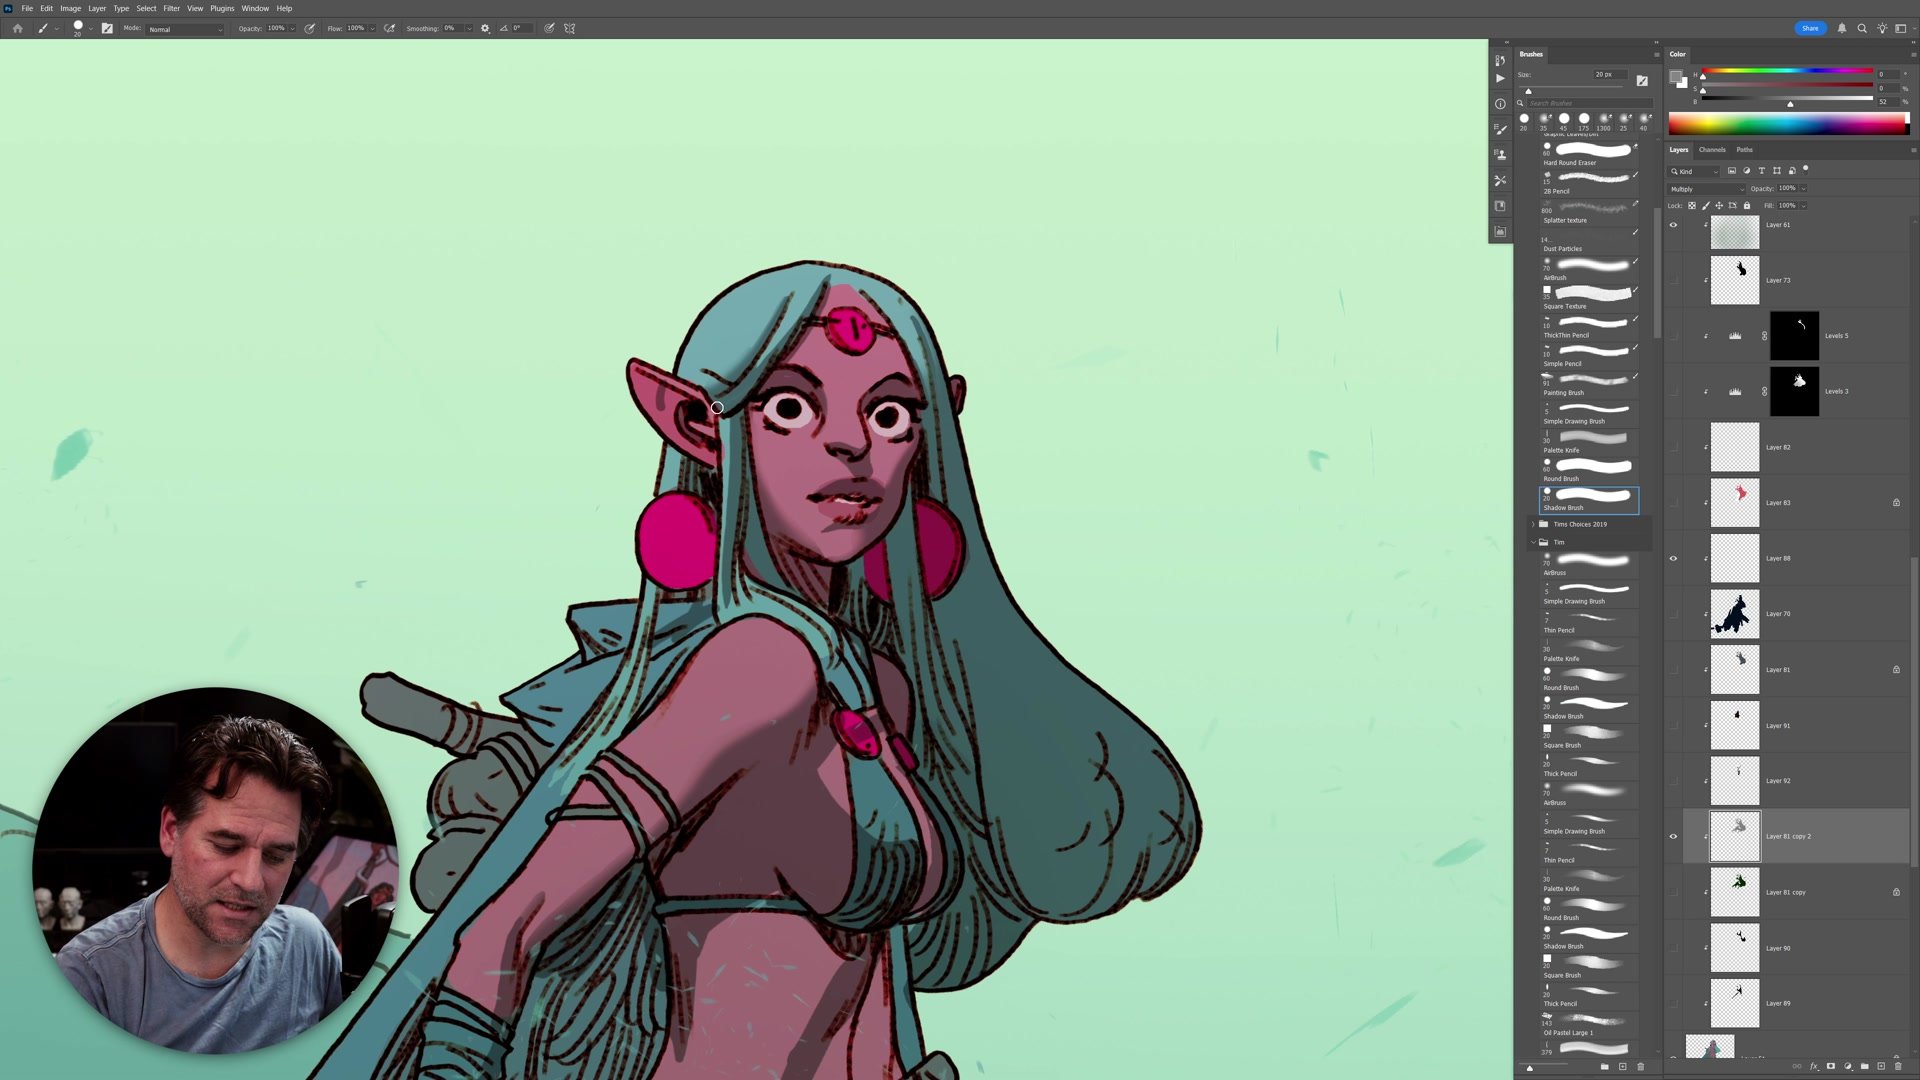
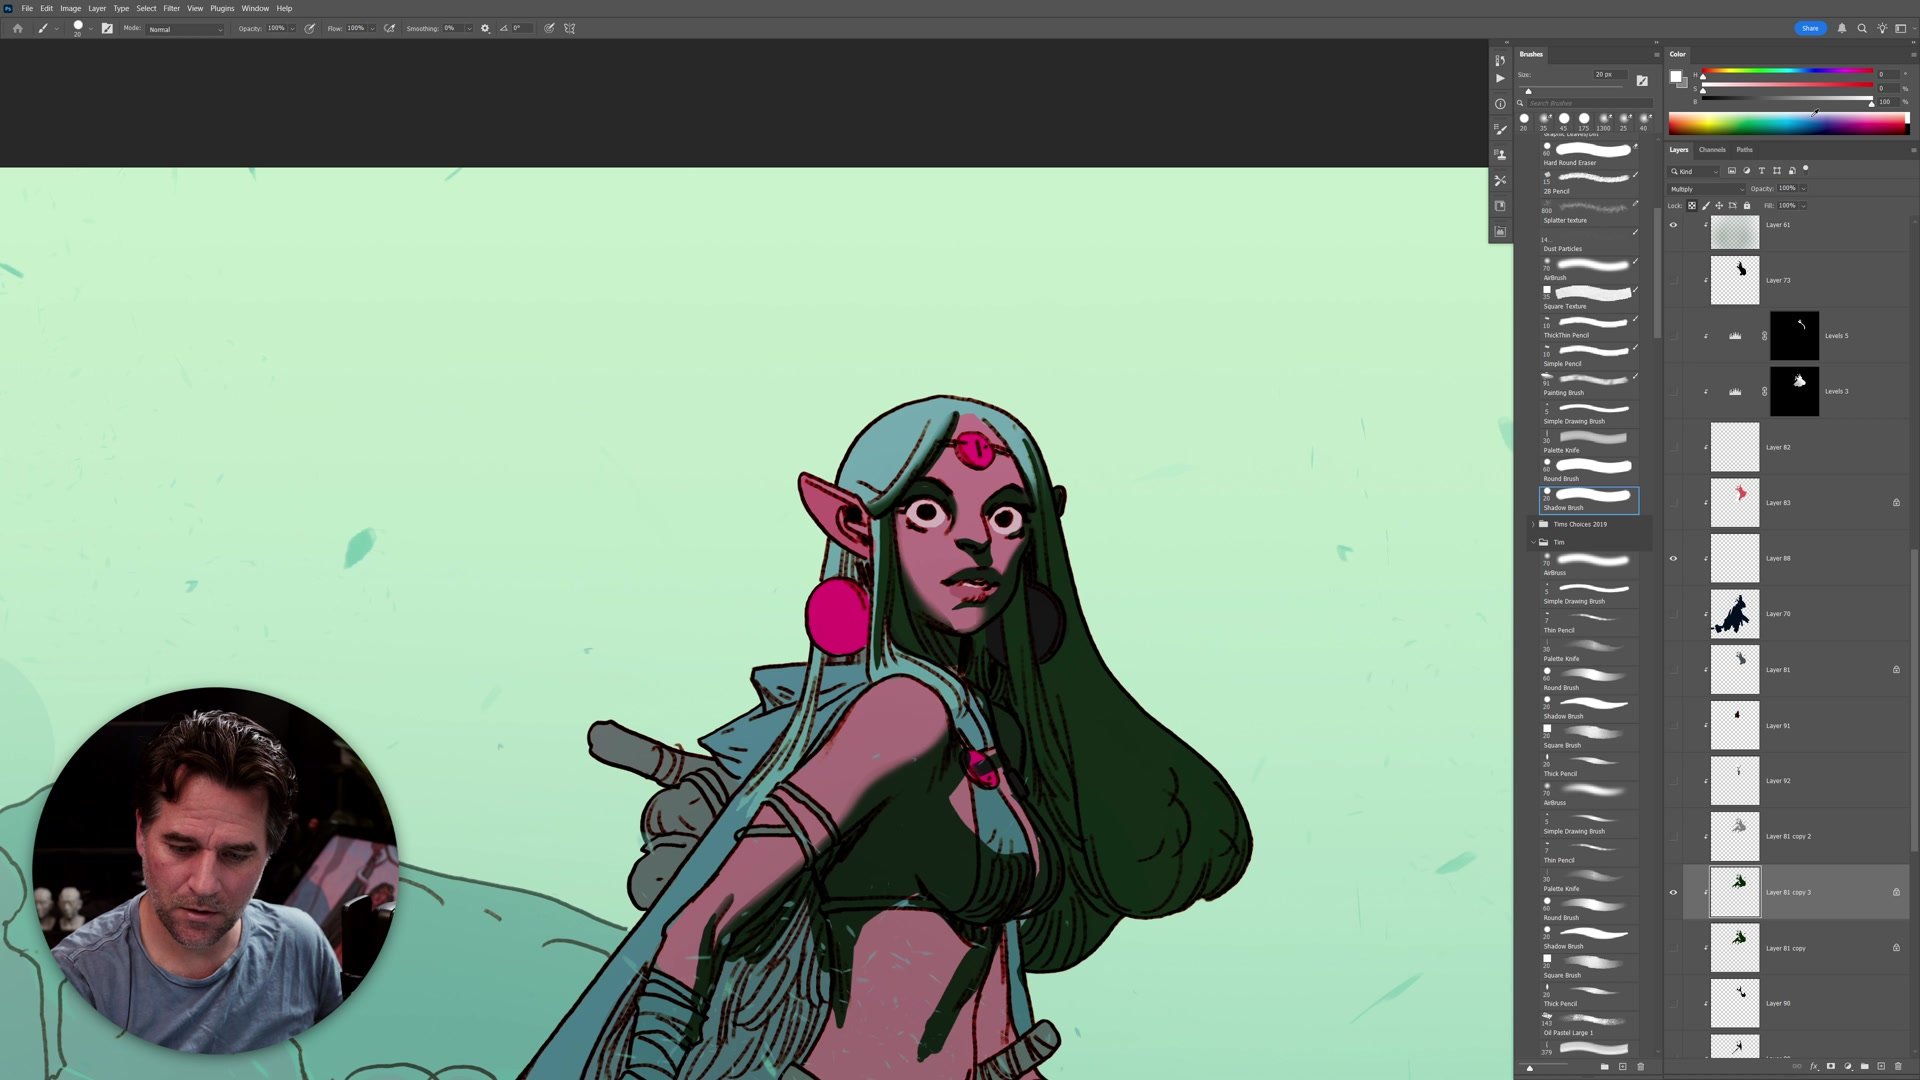
Multiply and Hard Light layers offer more flexibility in how shadows interact with the colors underneath. With a Multiply layer, black produces full shadow, 50% gray produces the same halfway-to-black effect as a normal layer, and white is completely transparent. That transparency is the key benefit: painting with white on a Multiply layer erases shadow without switching tools, making it much easier to sculpt exactly the right shapes.
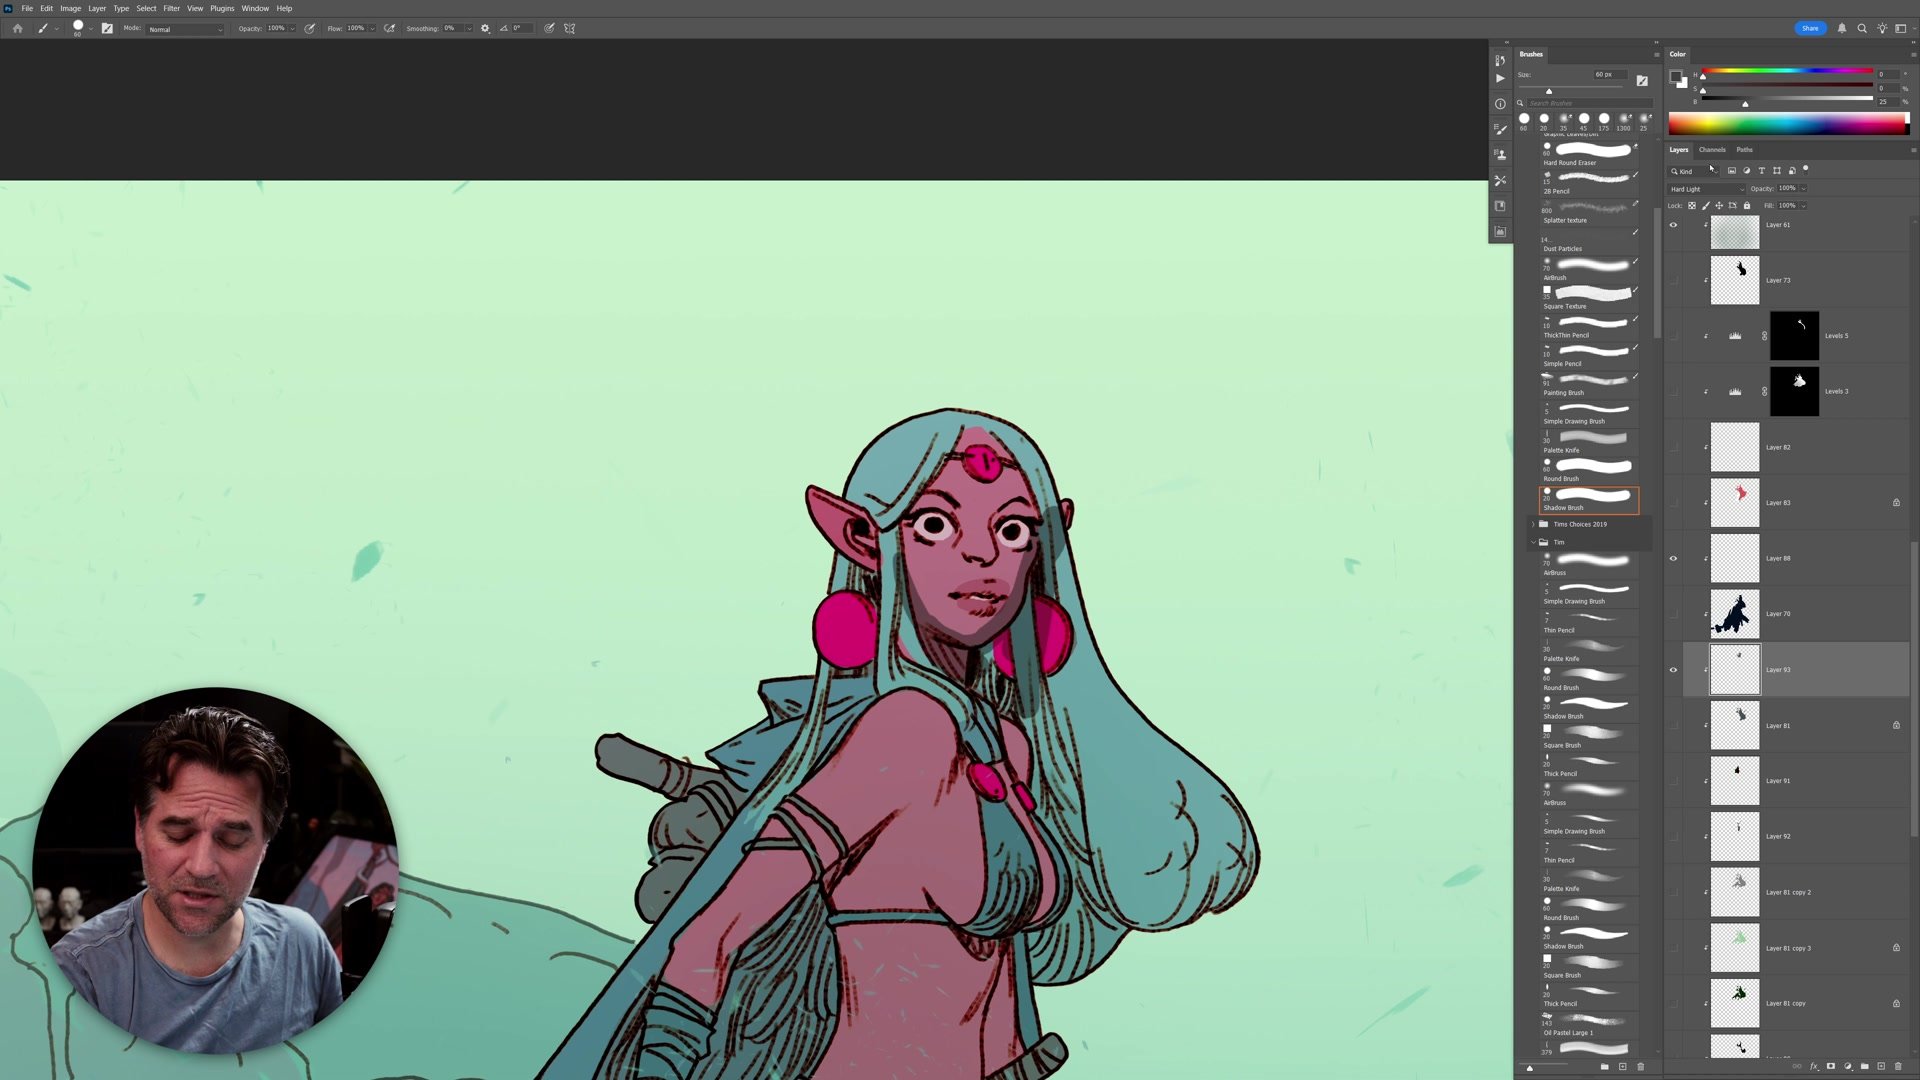
Hard Light works differently. 50% gray is transparent, pure black is full shadow, and values above 50% add highlights. This means a single Hard Light layer can handle both shadows and highlights, which is useful when layer count is limited (as in Procreate). The ability to cut into shadow shapes with white and build them up with dark values gives more control over the exact silhouettes that define form. Different saturated colors on these layers produce color combinations that are not possible with normal layers alone.
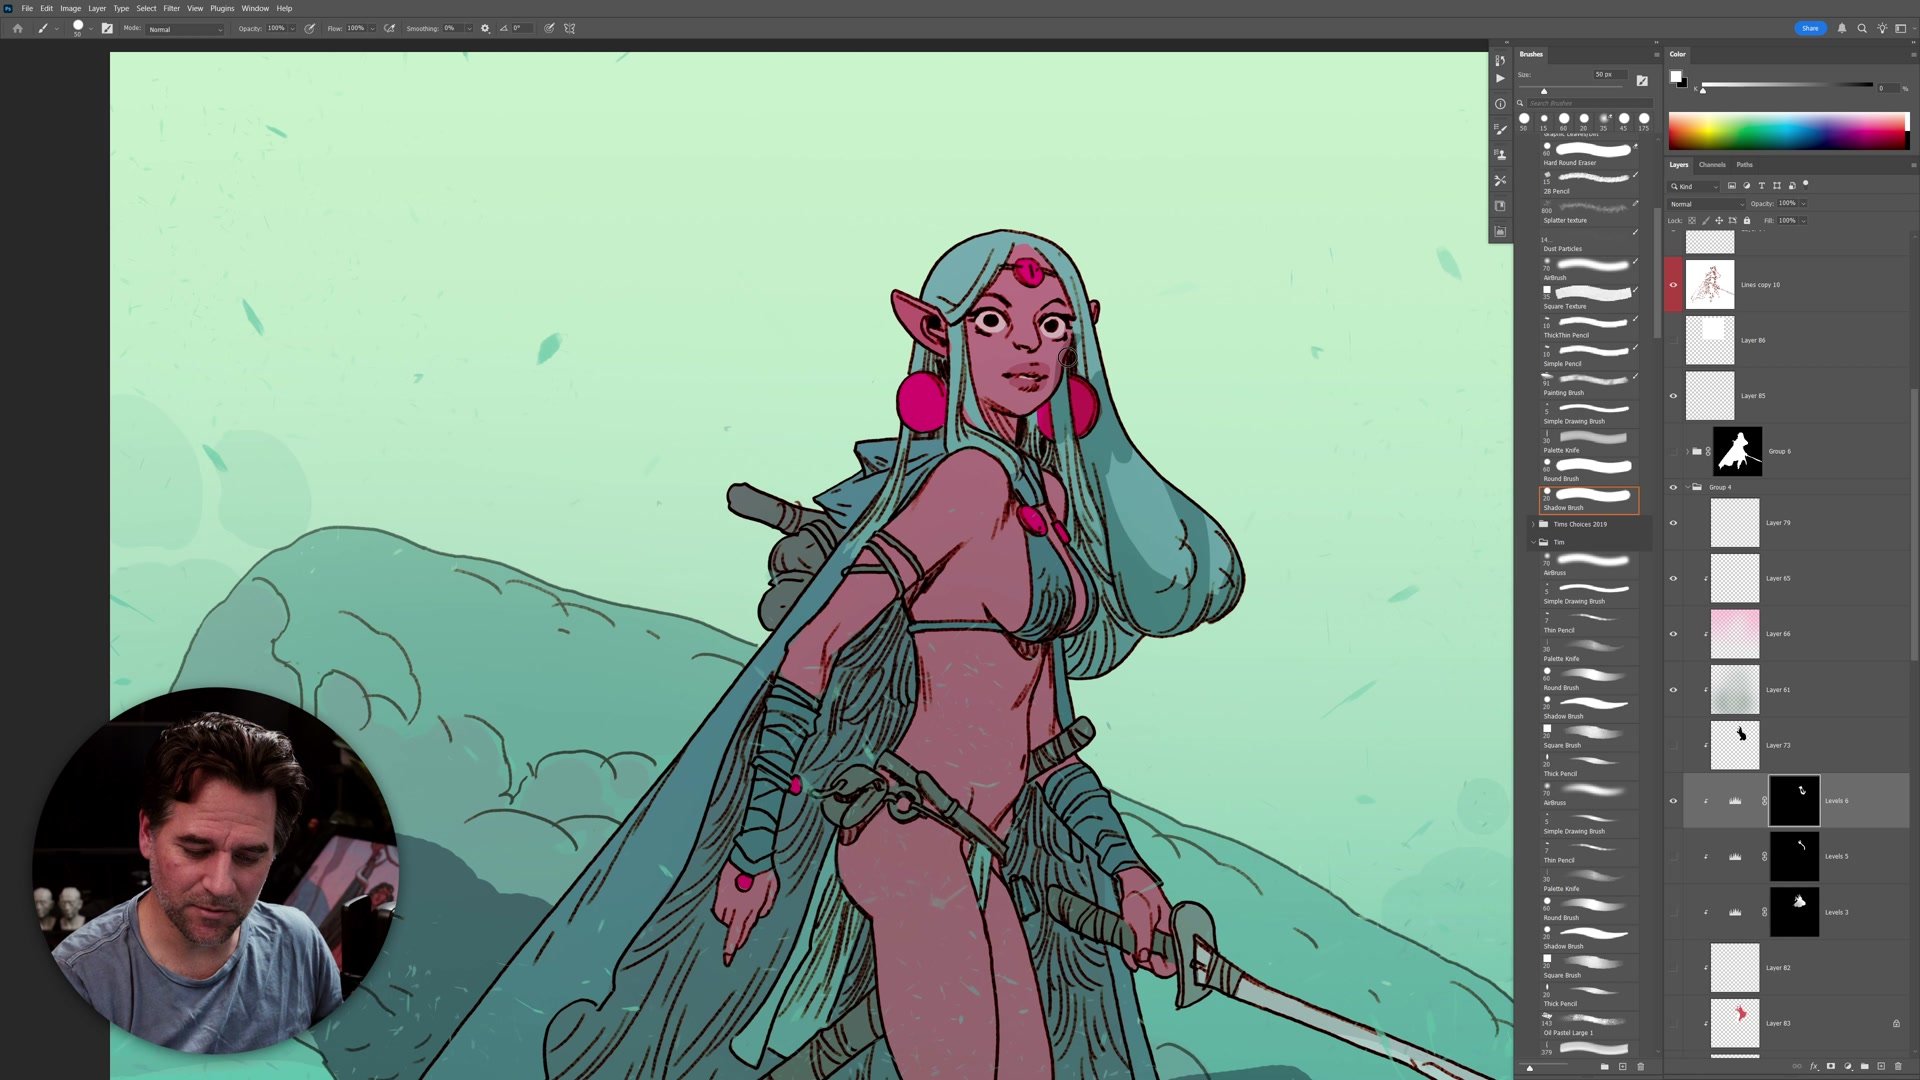
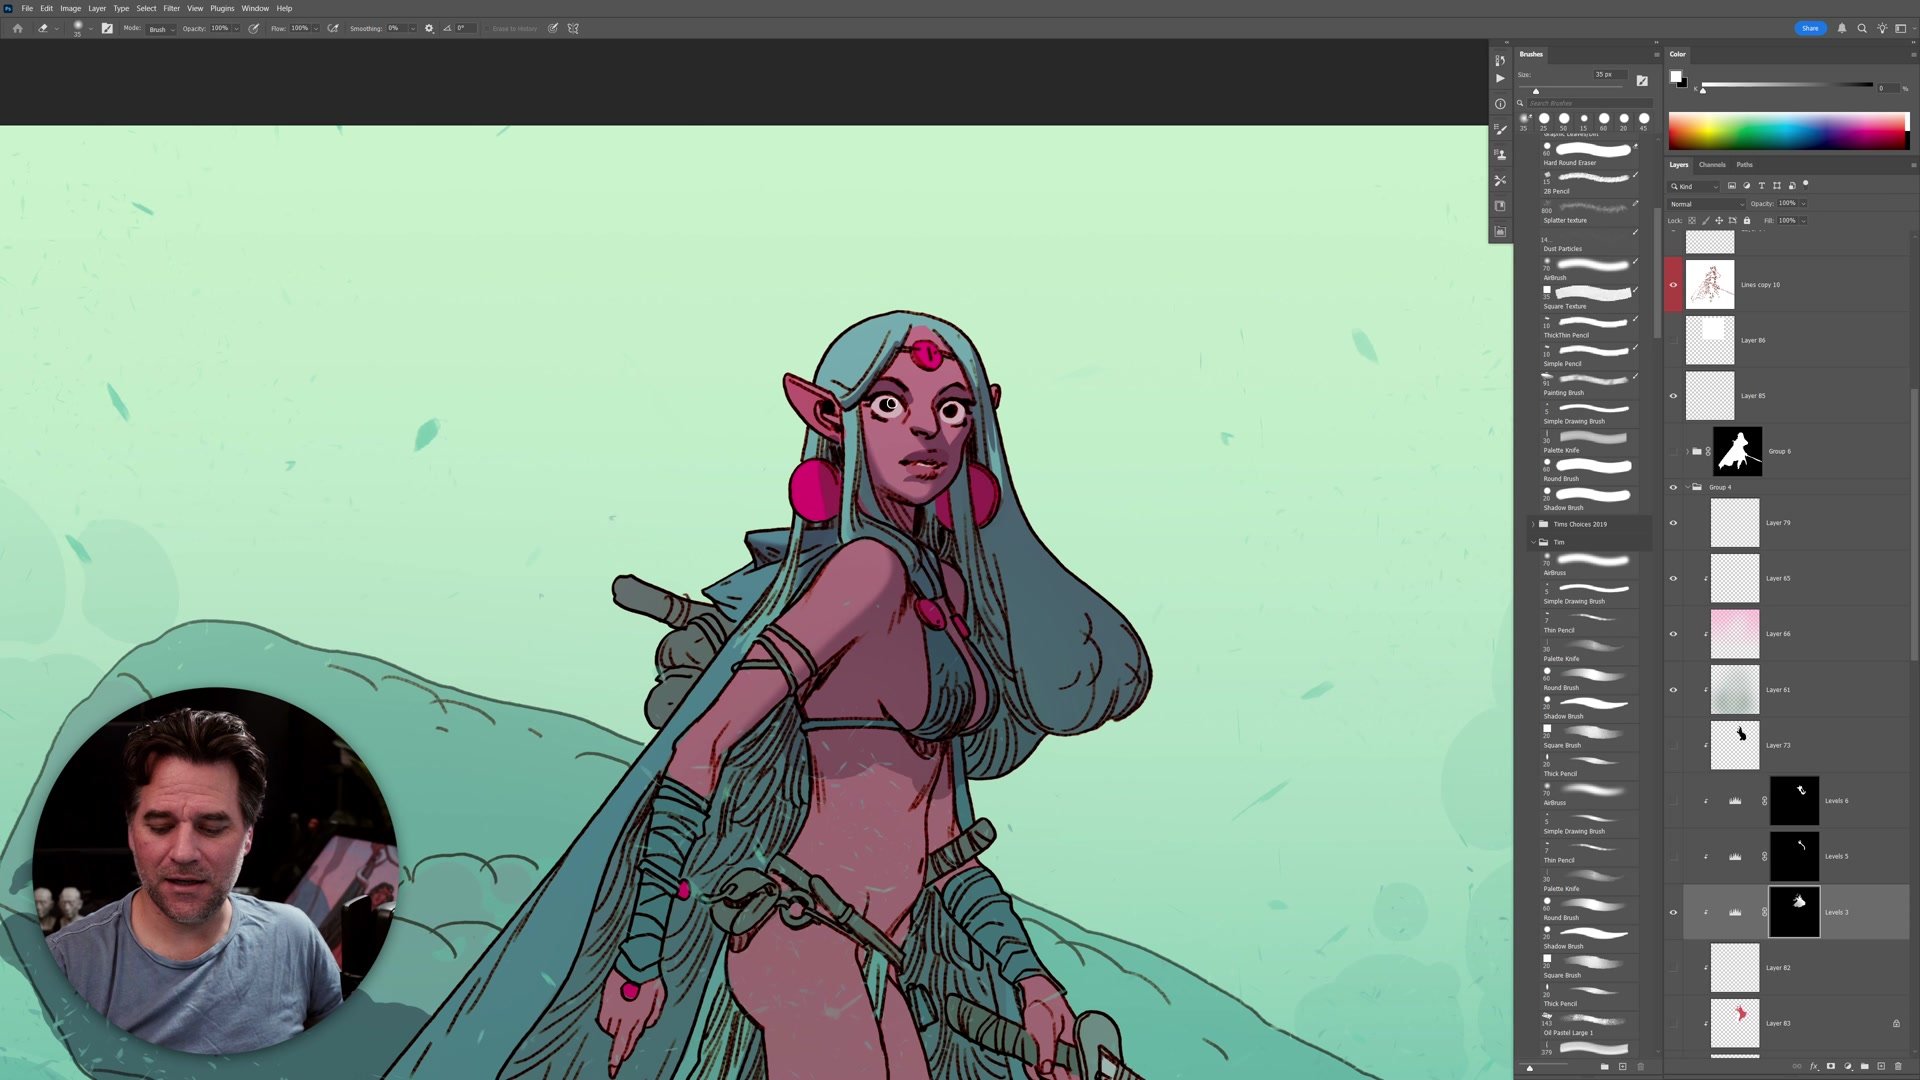
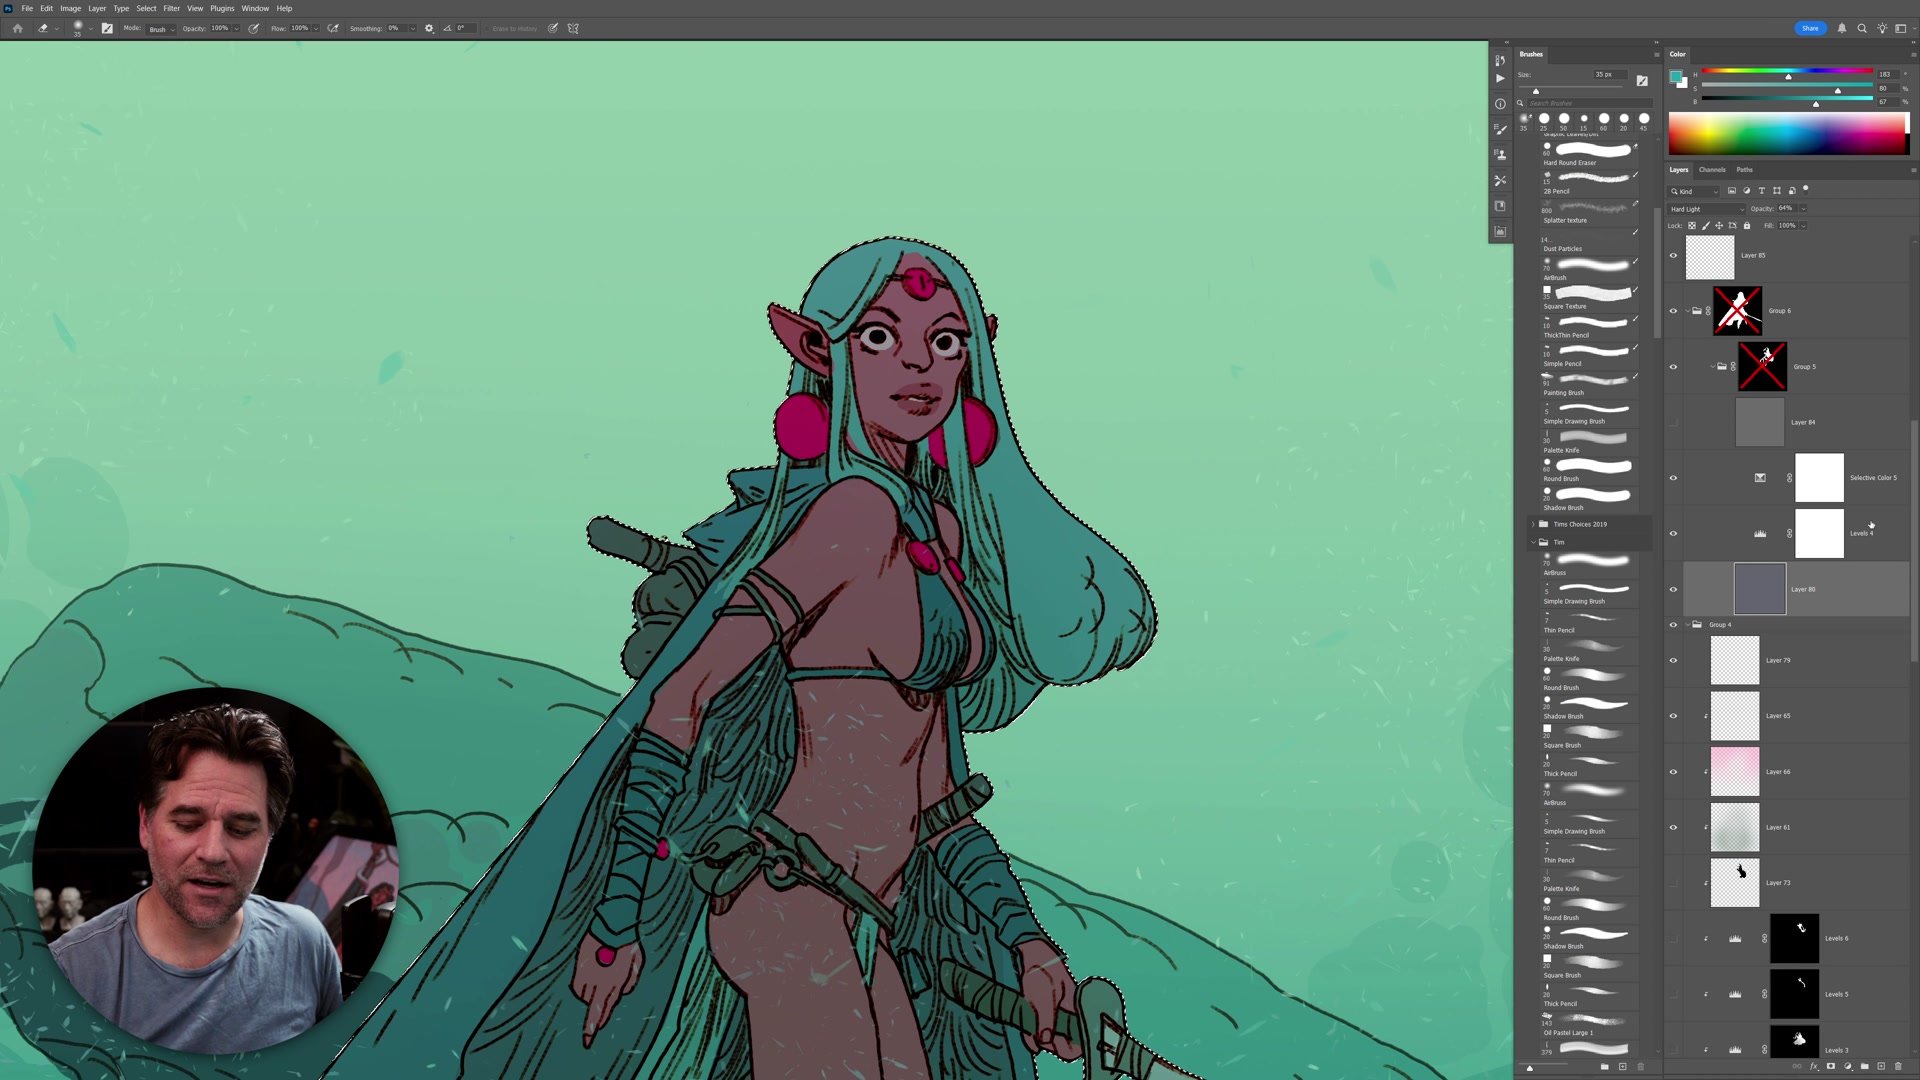
Adjustment Layers and Masks
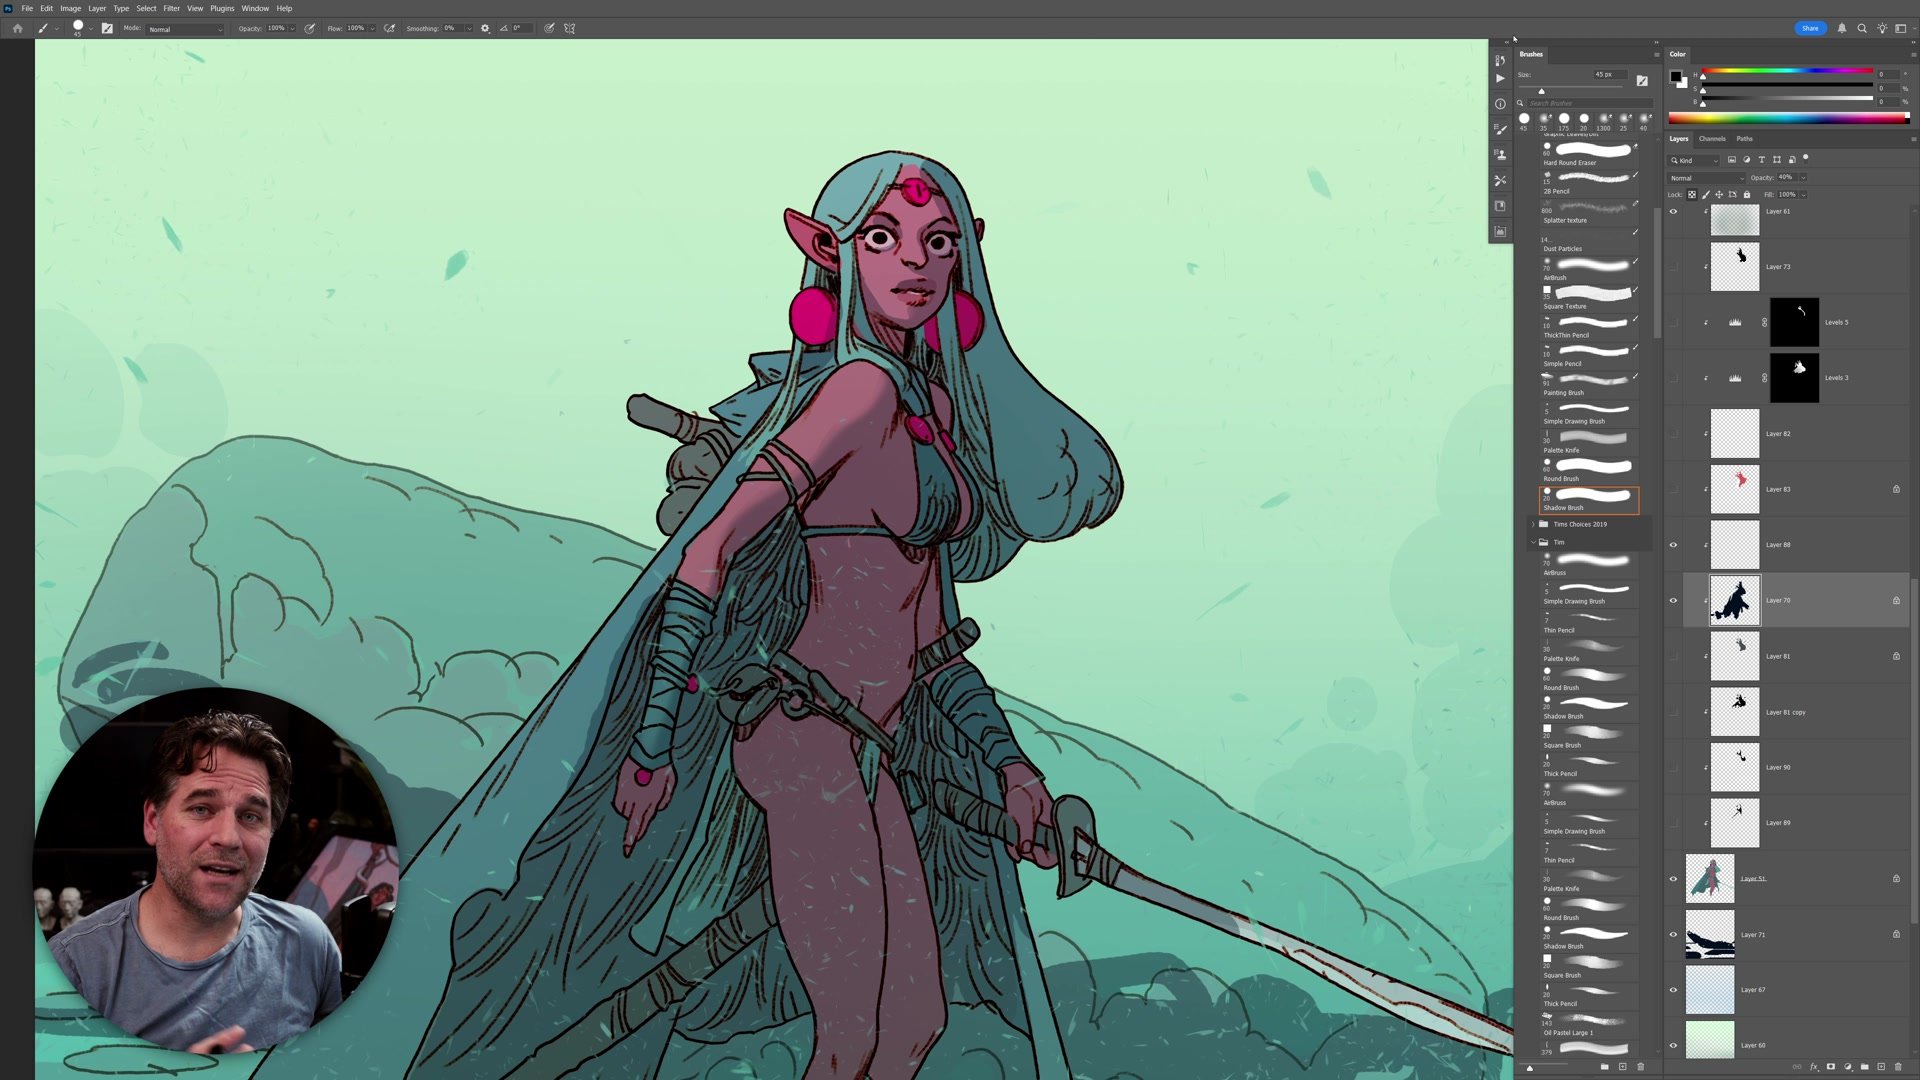
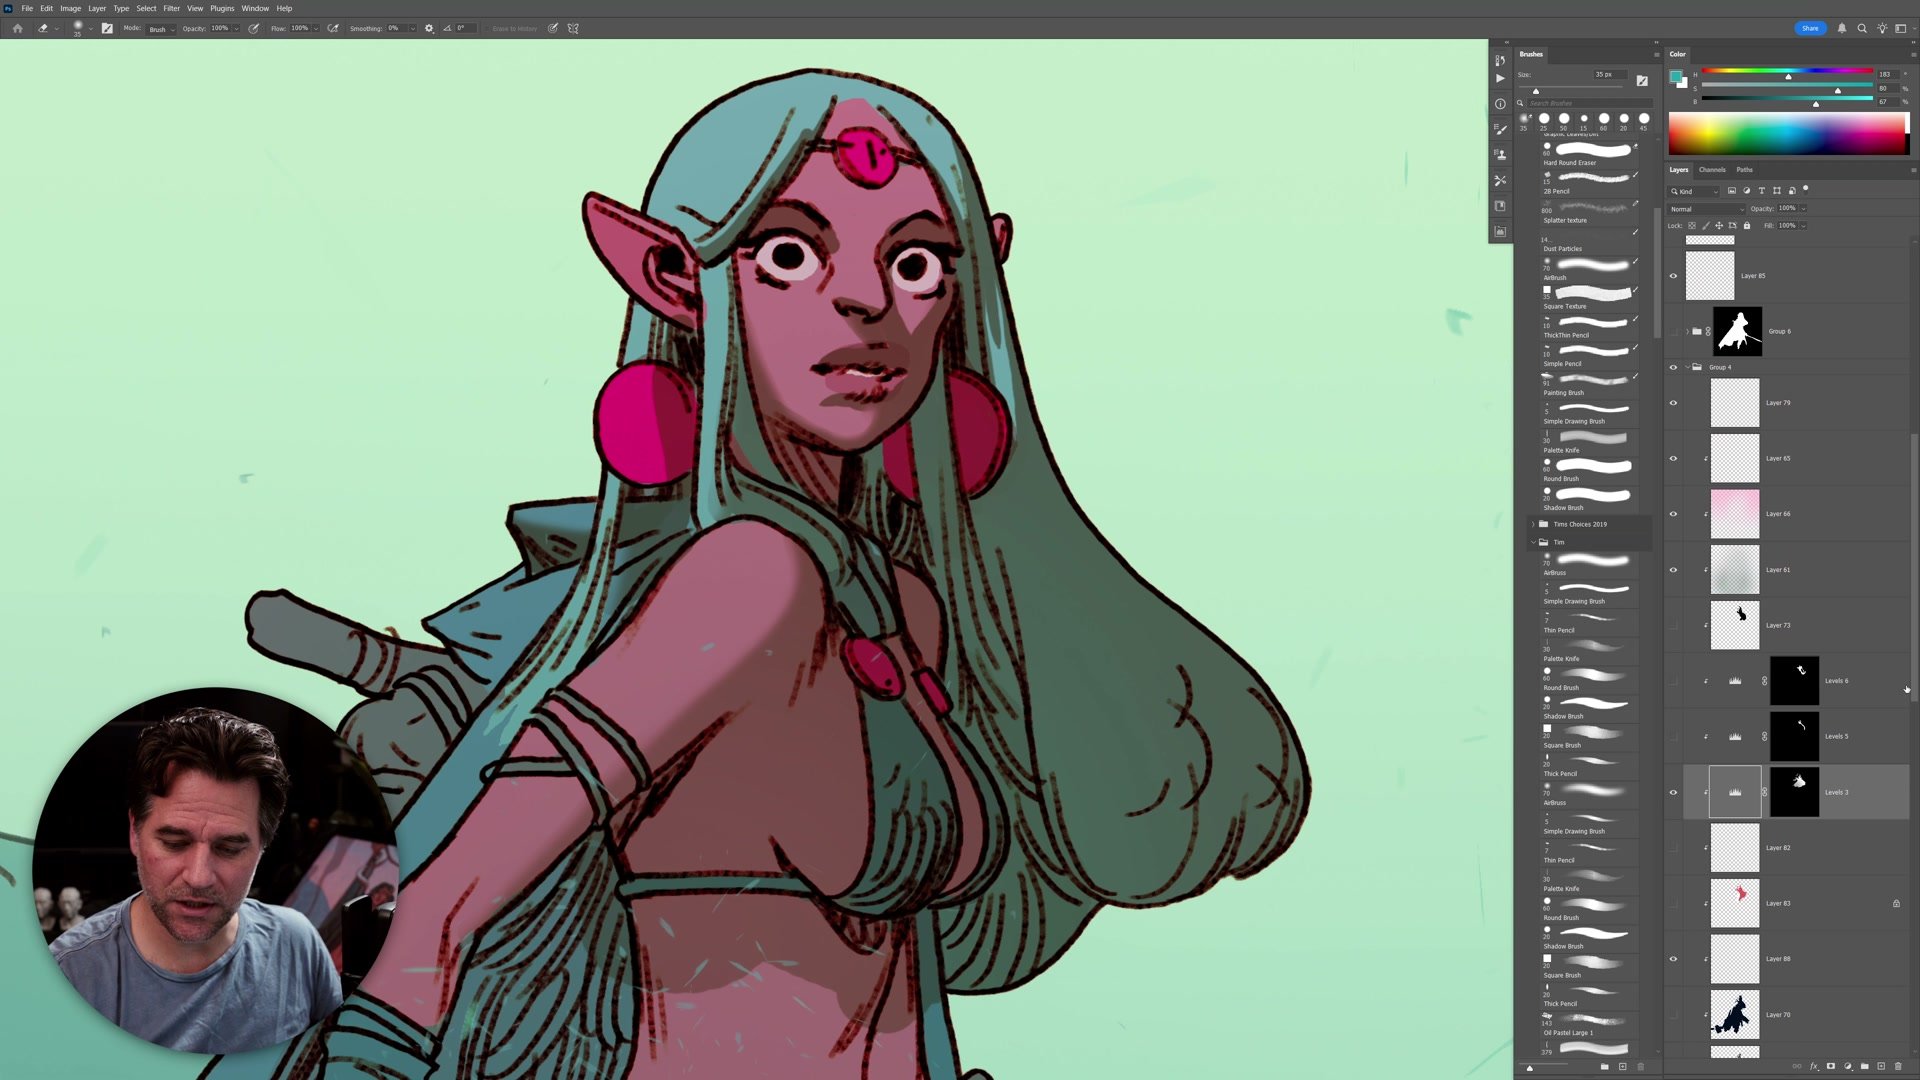
Adjustment layers provide the most sophisticated color control available for shadows. A levels, curves, or selective color adjustment creates the shadow appearance, then a mask filled with black hides it entirely. Painting white onto that mask reveals the shadow wherever it is needed. This separates the two problems completely: the adjustment itself controls how shadows look, and the mask controls where they appear.
The power comes from what adjustments can do that layer modes cannot. Individual color channels can be shifted, values can be clamped or redistributed, and the entire shadow appearance can be tweaked after painting without redoing any brush work. A more advanced version combines multiple adjustments and a normal layer inside a single group with one shared mask. This combo approach allows stacking hard light color shifts, level adjustments, and a desaturation layer into one shadow system that can be dragged between files. It is more complex to set up, but once dialed in, it produces the most consistent and controlled shadow treatment across multiple illustrations.
Key Concepts
Simple Often Wins: A normal layer at 50% opacity painted with black is enough for most shadow work. It removes color decisions from the equation and lets the focus stay on getting shadow shapes correct, which is what actually defines form.
Shape Over Technique: The most important part of shadow creation is not which layer mode is used but whether the shadow shapes correctly describe cast shadows, form shadows, and consistent lighting direction. Block in confident shapes first, then refine.
Escalate When Needed: Blending modes add color flexibility and the ability to sculpt with white. Adjustment layers add per-channel control and non-destructive tweaking. The combo group gives maximum consistency across files. Each level trades simplicity for control, so match the technique to what the work actually requires.
Try This
Start with Normal: Create a new layer, set it to 50% opacity, and paint your shadows with pure black. Focus entirely on where the shadows fall and whether the shapes clearly describe the form. Get the structure right before adding any sophistication.
Test Blending Modes: Duplicate your shadow layer and set it to Multiply at 100% opacity. Fill it with 50% gray to see the same effect. Then try painting with white to carve into the shadow shapes. Compare how much easier it is to sculpt the exact edges.
Build an Adjustment Stack: Make a levels adjustment layer, dial in a shadow look, then invert the mask to black. Paint white on the mask where shadows belong. Try tweaking the adjustment after painting to see how the look changes without redoing any brush work.