Master The Round Brush With Ryu
Summary
The Round Brush Challenge
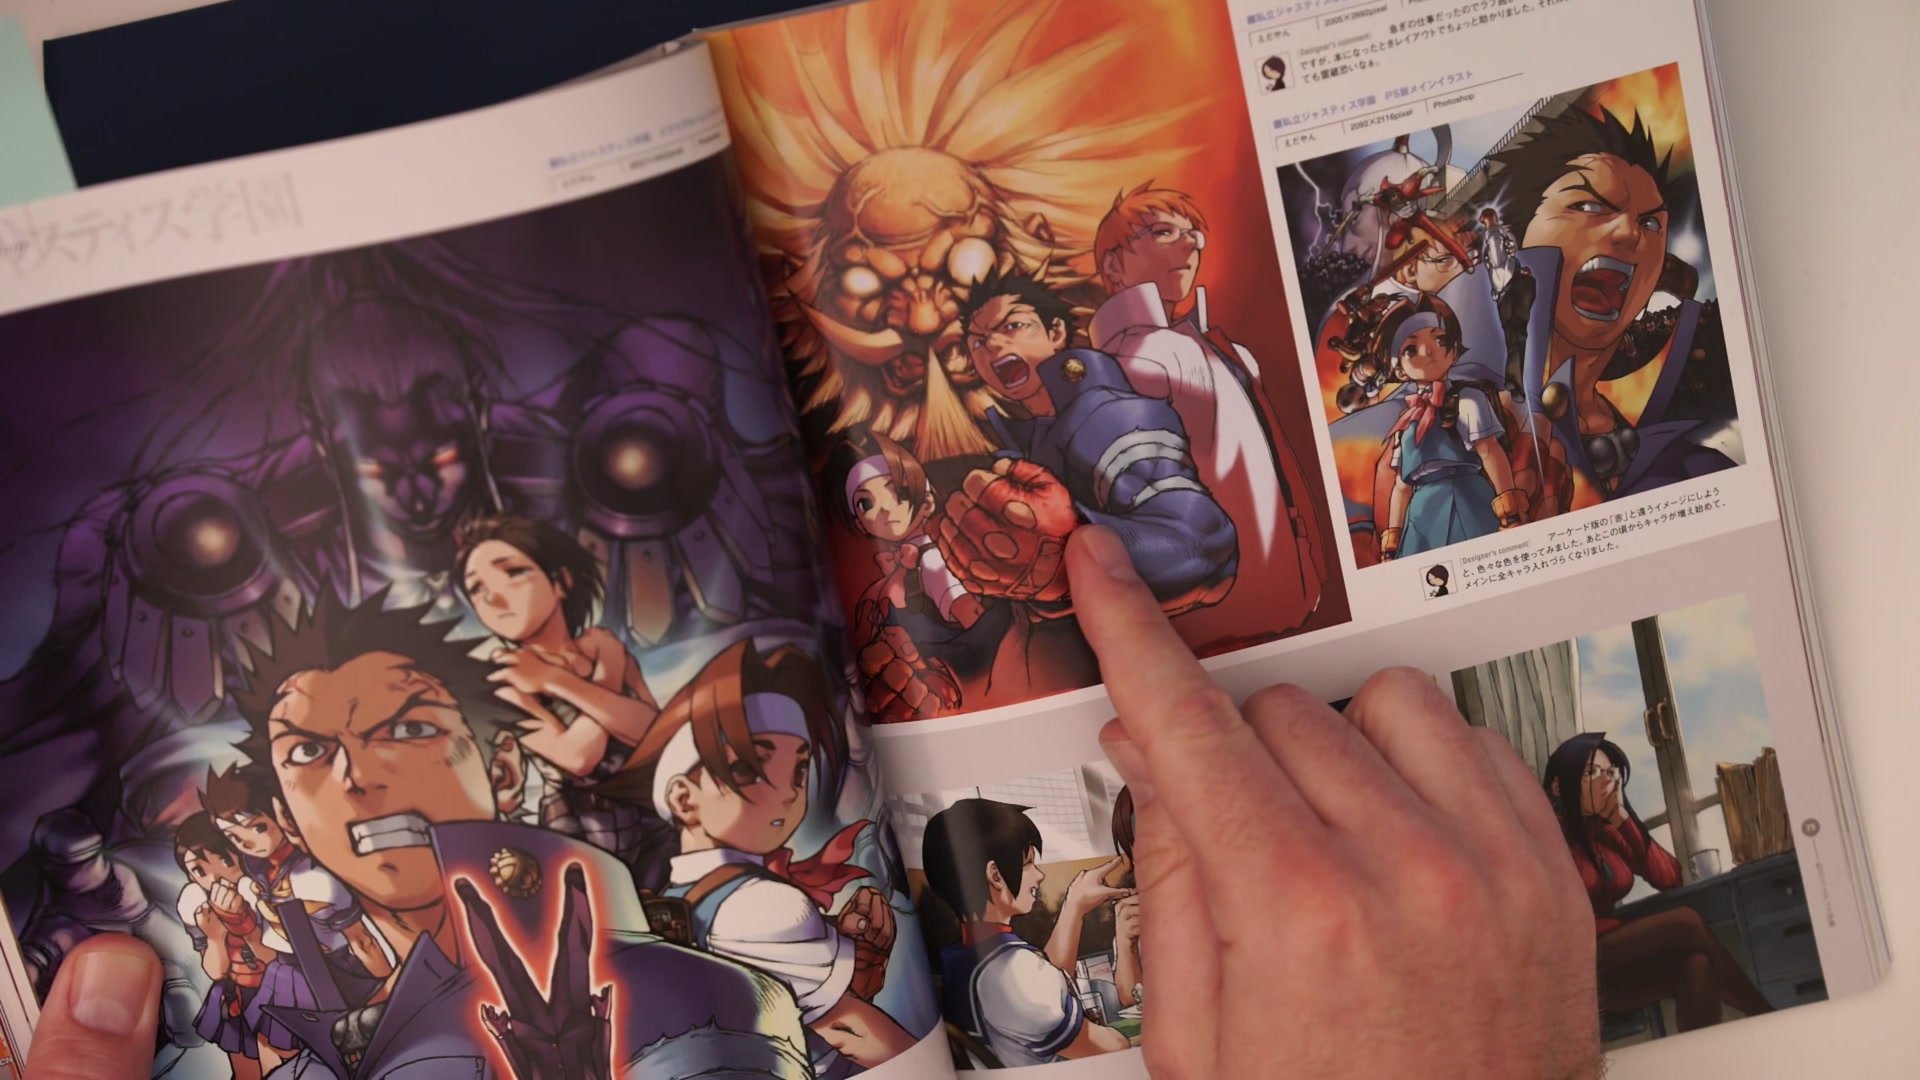
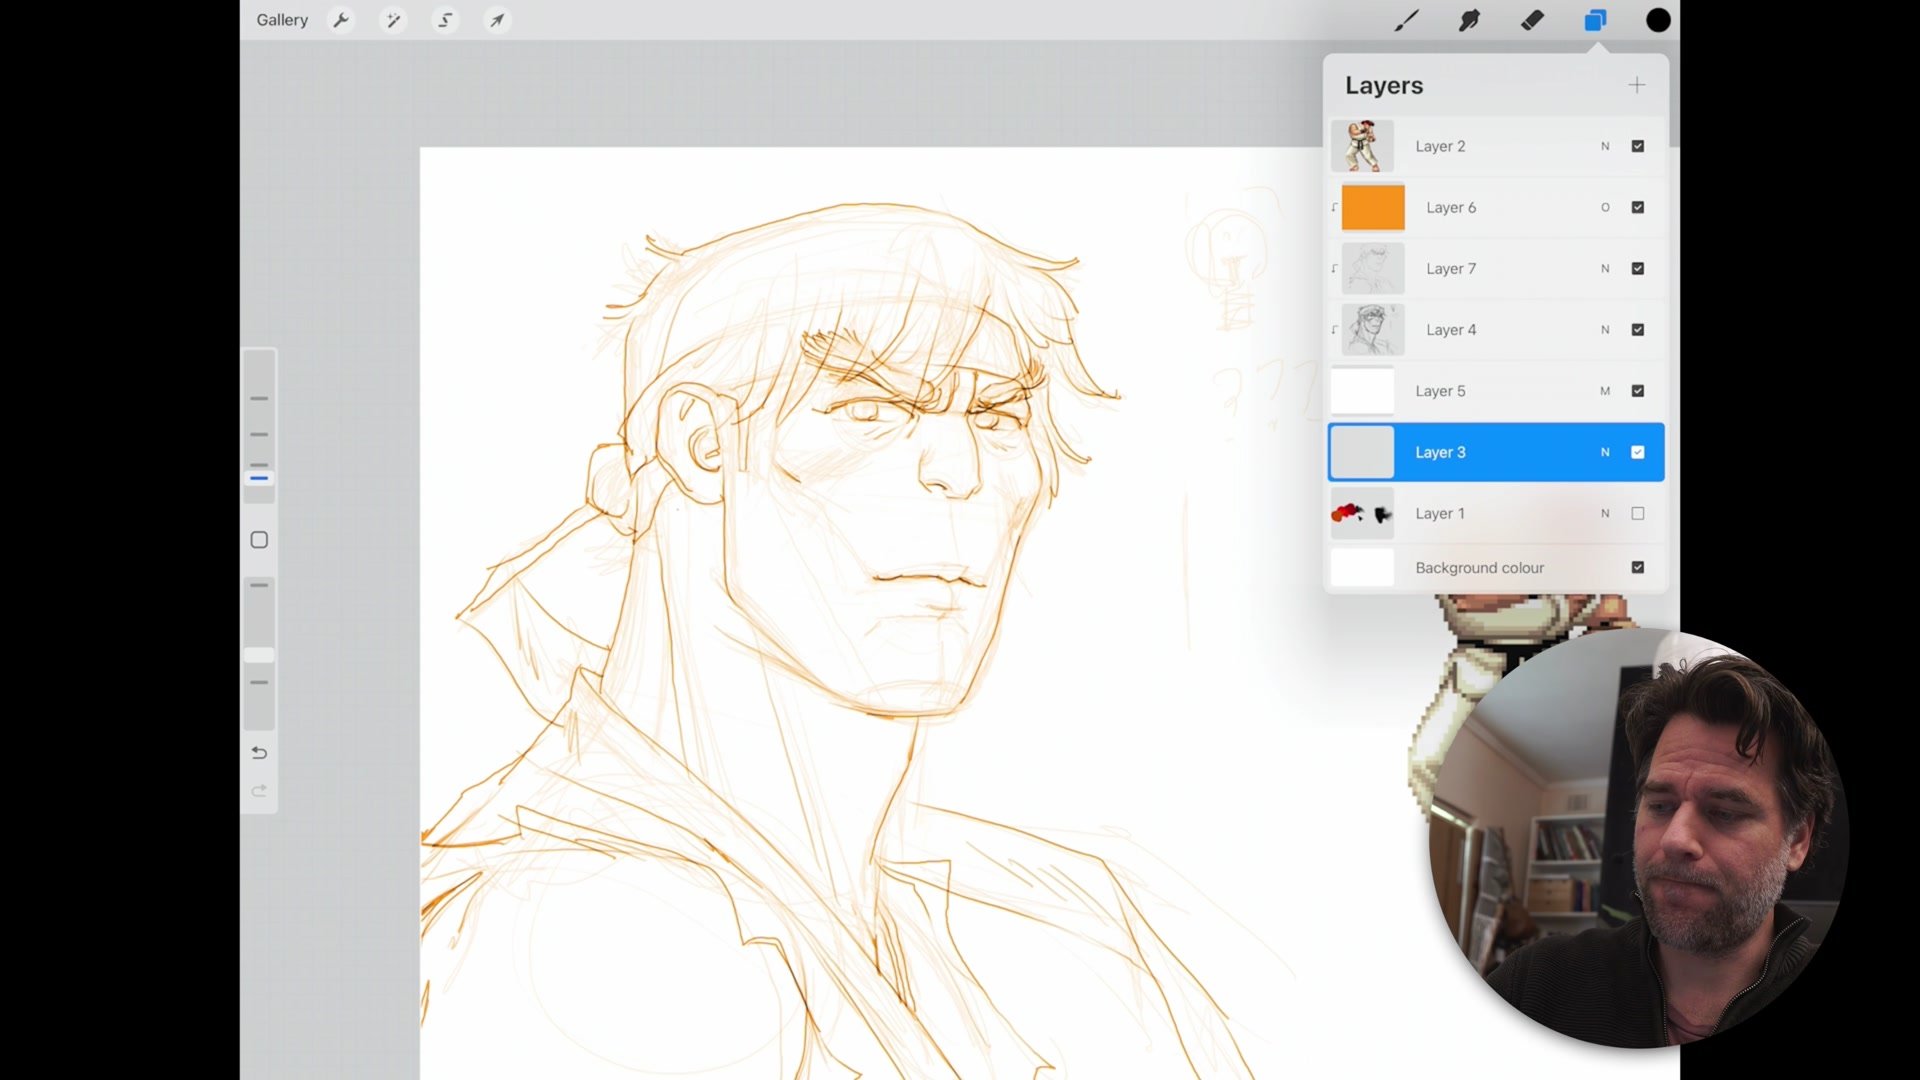
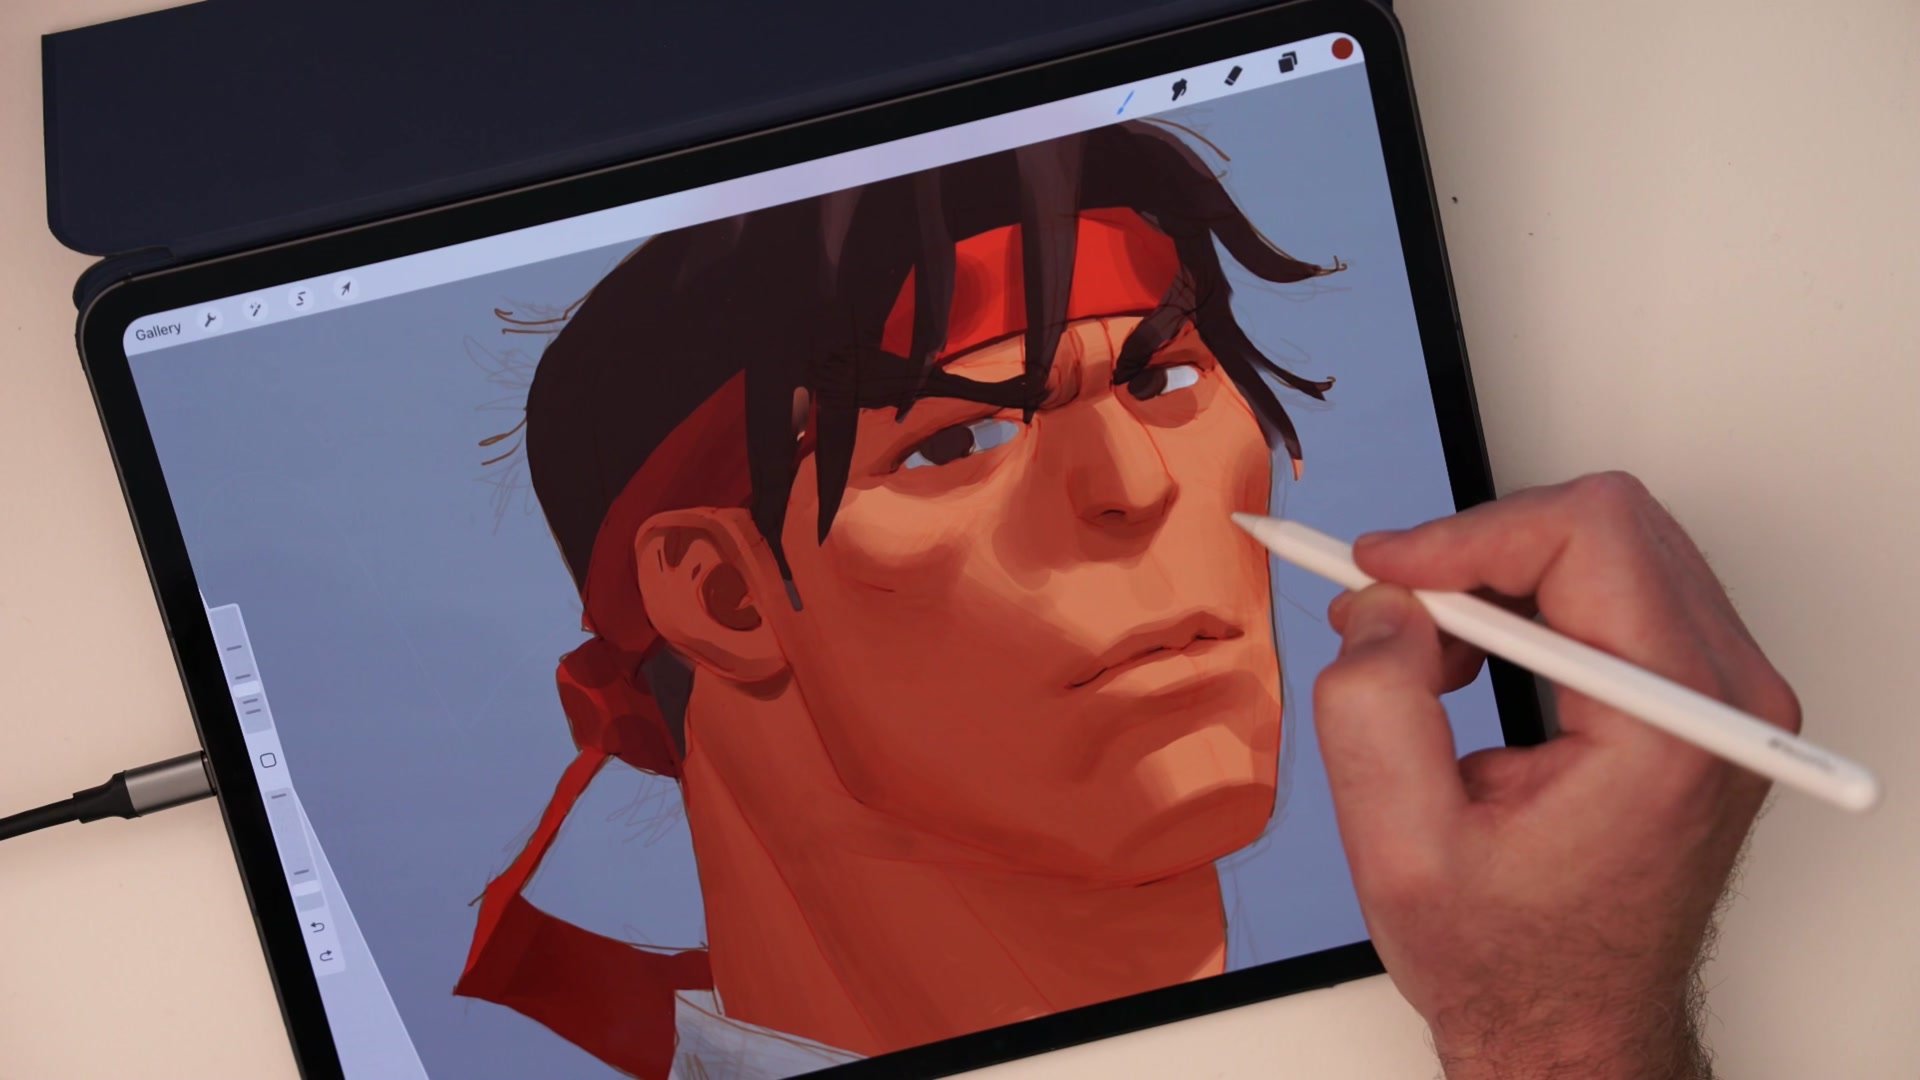
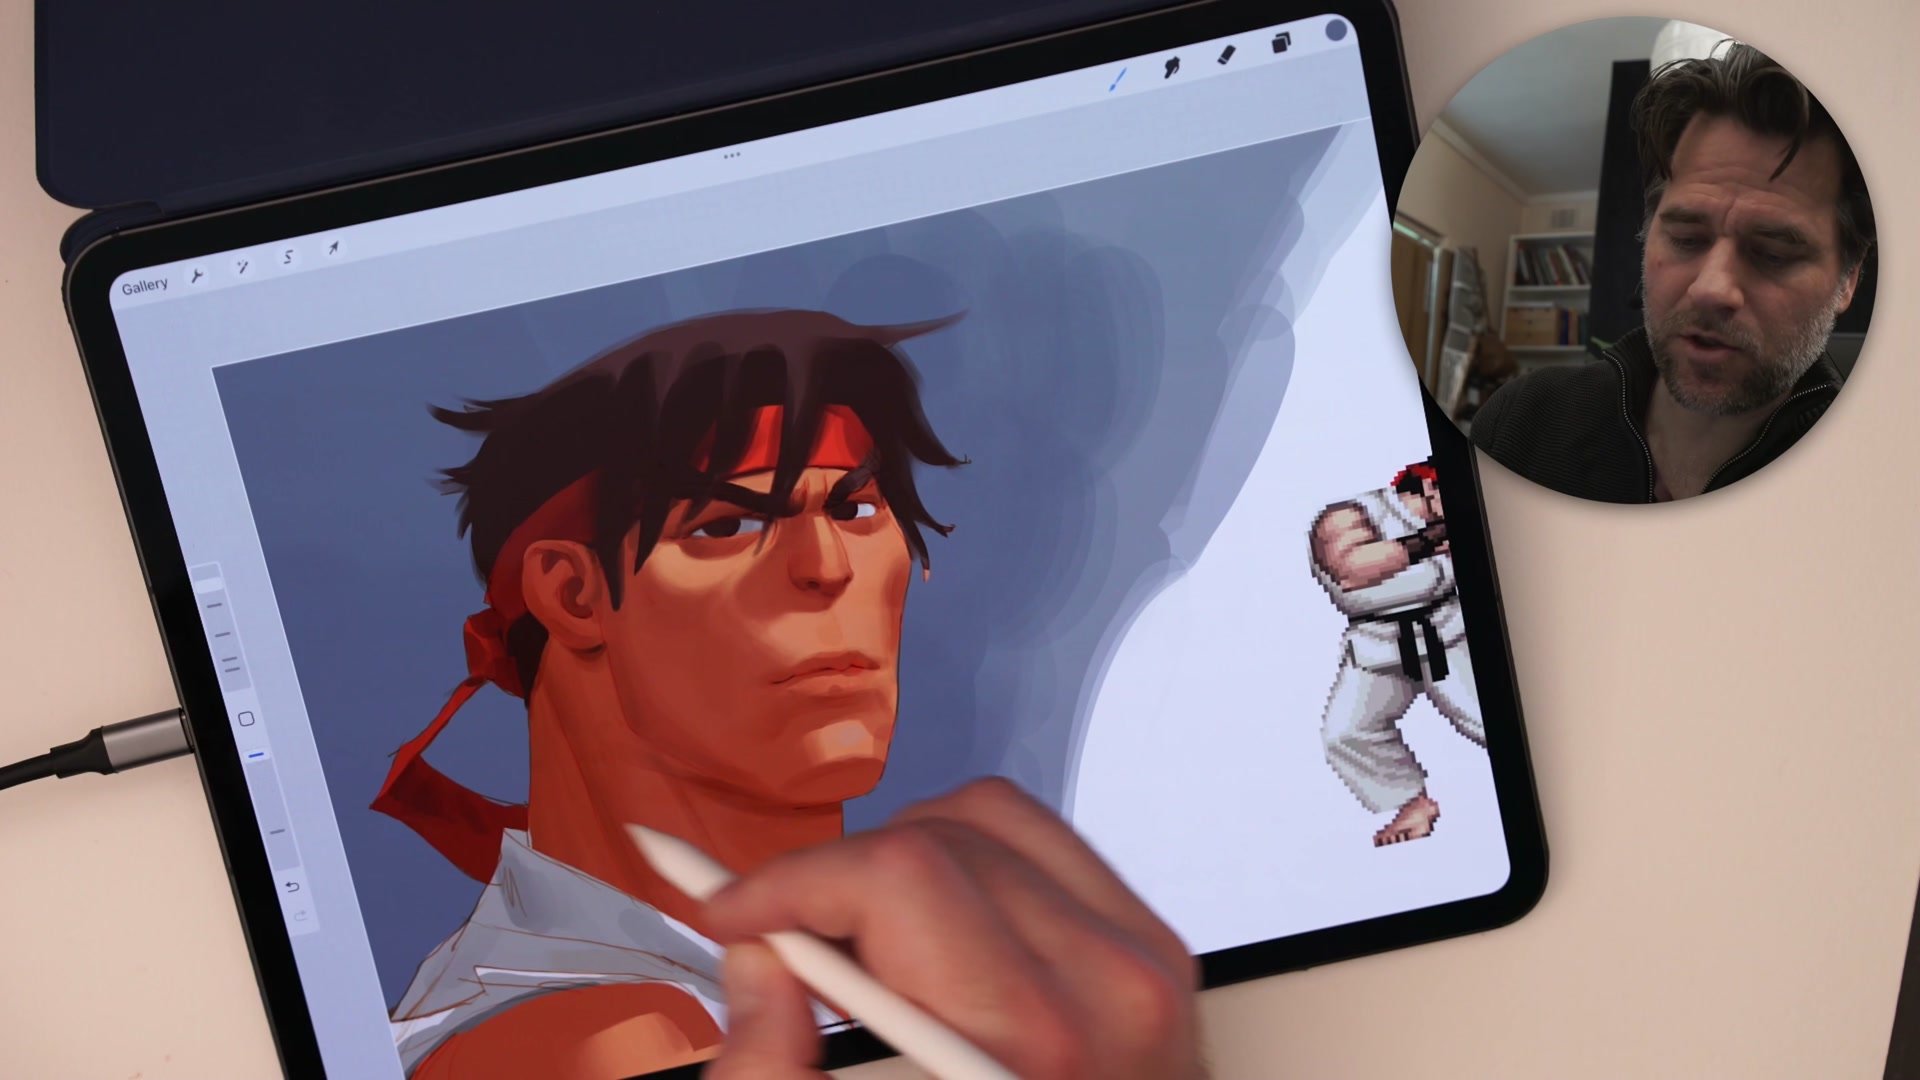
The round brush is the most unforgiving tool in digital art, and that is exactly what makes it the best teacher. This two-hour real-time demo walks through painting Ryu from Street Fighter using only the default round brush in Procreate. No fancy texture brushes, no special effects, no shortcuts.
Every mistake the round brush exposes reveals a gap in fundamental understanding. When textured brushes hide bad blending and messy value control, we think we are improving. The round brush strips that illusion away. The ugly overlapping marks, the choppy transitions, the muddy build-up that plagues early digital work all become visible, forcing us to confront what actually needs practice.

Pressure and Opacity
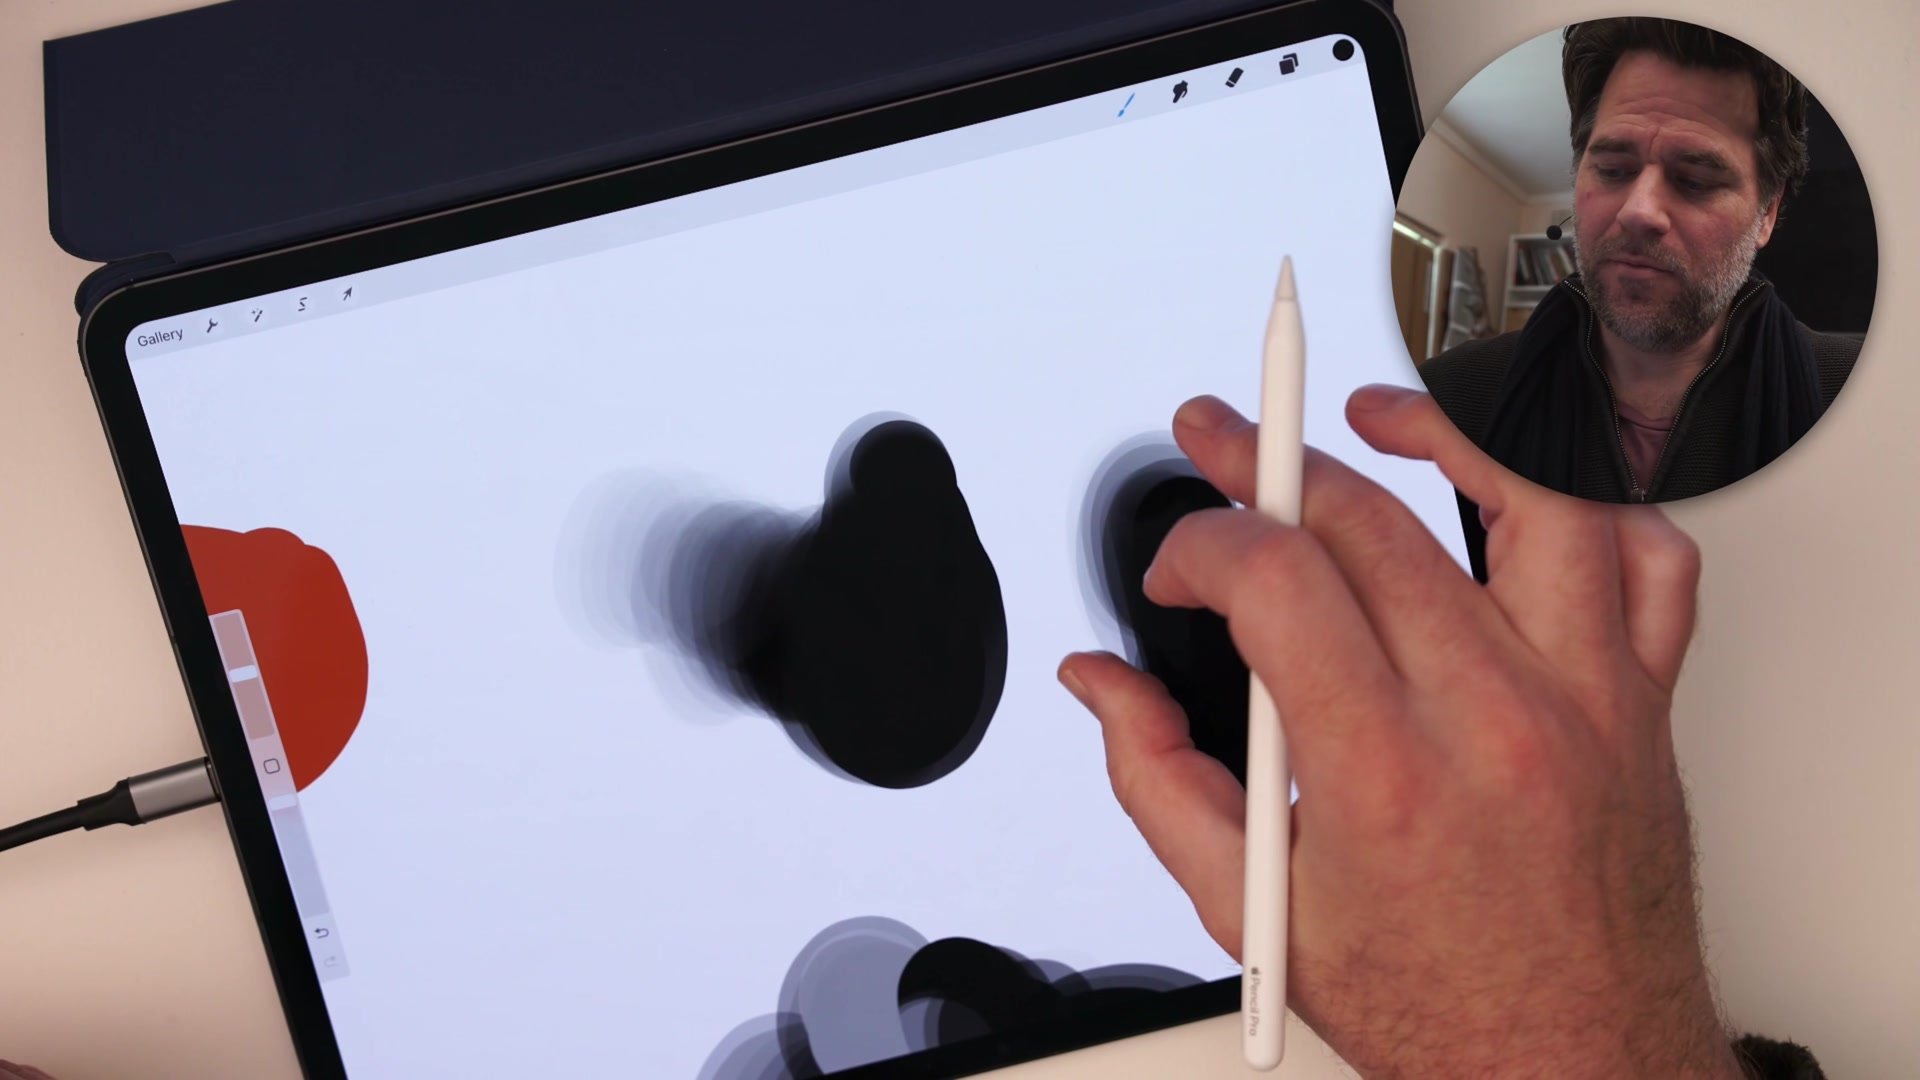
The first major skill the round brush demands is conscious pressure control. Without texture to mask inconsistent strokes, every pressure variation shows. The demo begins by exploring how opacity settings work alongside pen pressure to create smooth transitions. Stepping down the opacity allows subtler blending without needing perfect hand control, because each stroke deposits less color.
This creates a practical workflow for gradients. Rather than trying to select intermediate colors and paint them in, the approach uses low-opacity passes of the blending color, building up gradually. Procreate and Photoshop handle this blending differently, but the underlying principle stays the same. Setting a few locked opacity levels and brush sizes creates consistency, turning the round brush into a reliable system rather than a guessing game. The demo shows how even contrasting colors blend cleanly once opacity is managed properly.

Carving and Stroke Economy
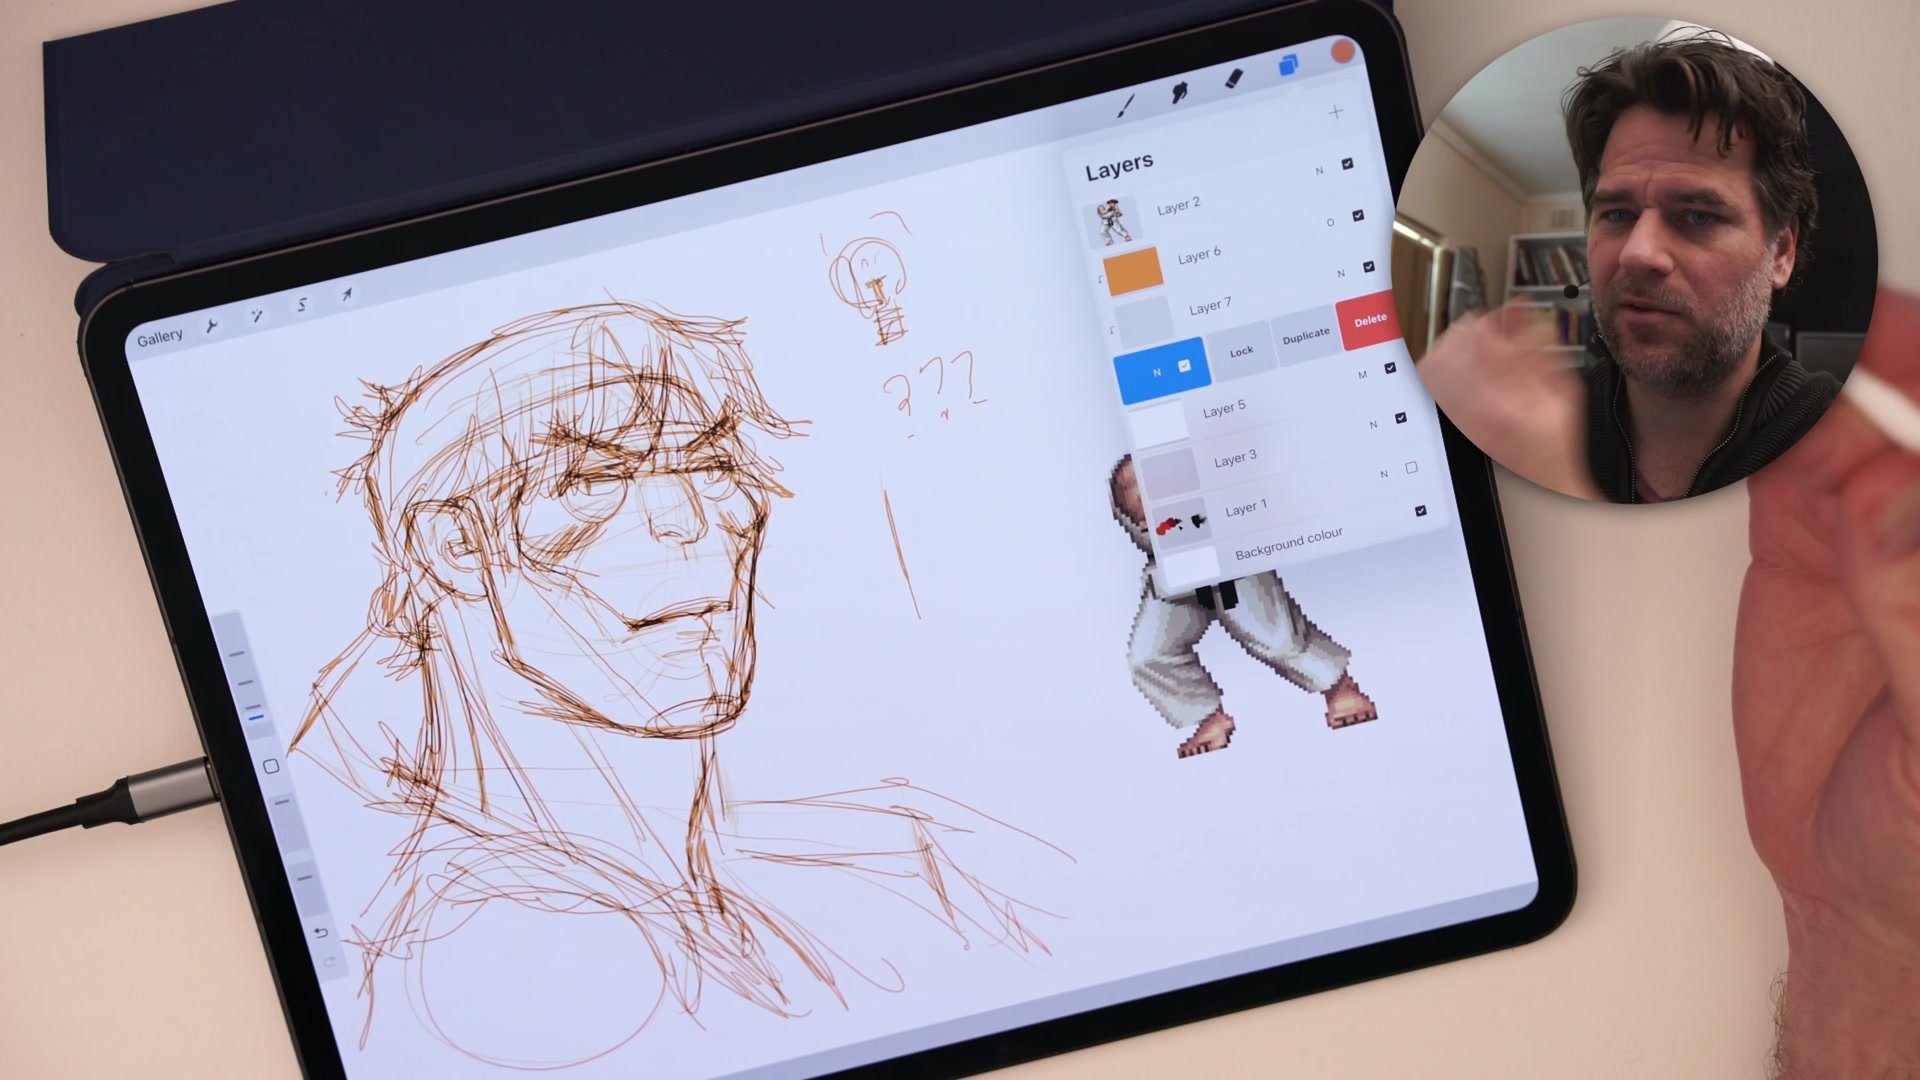
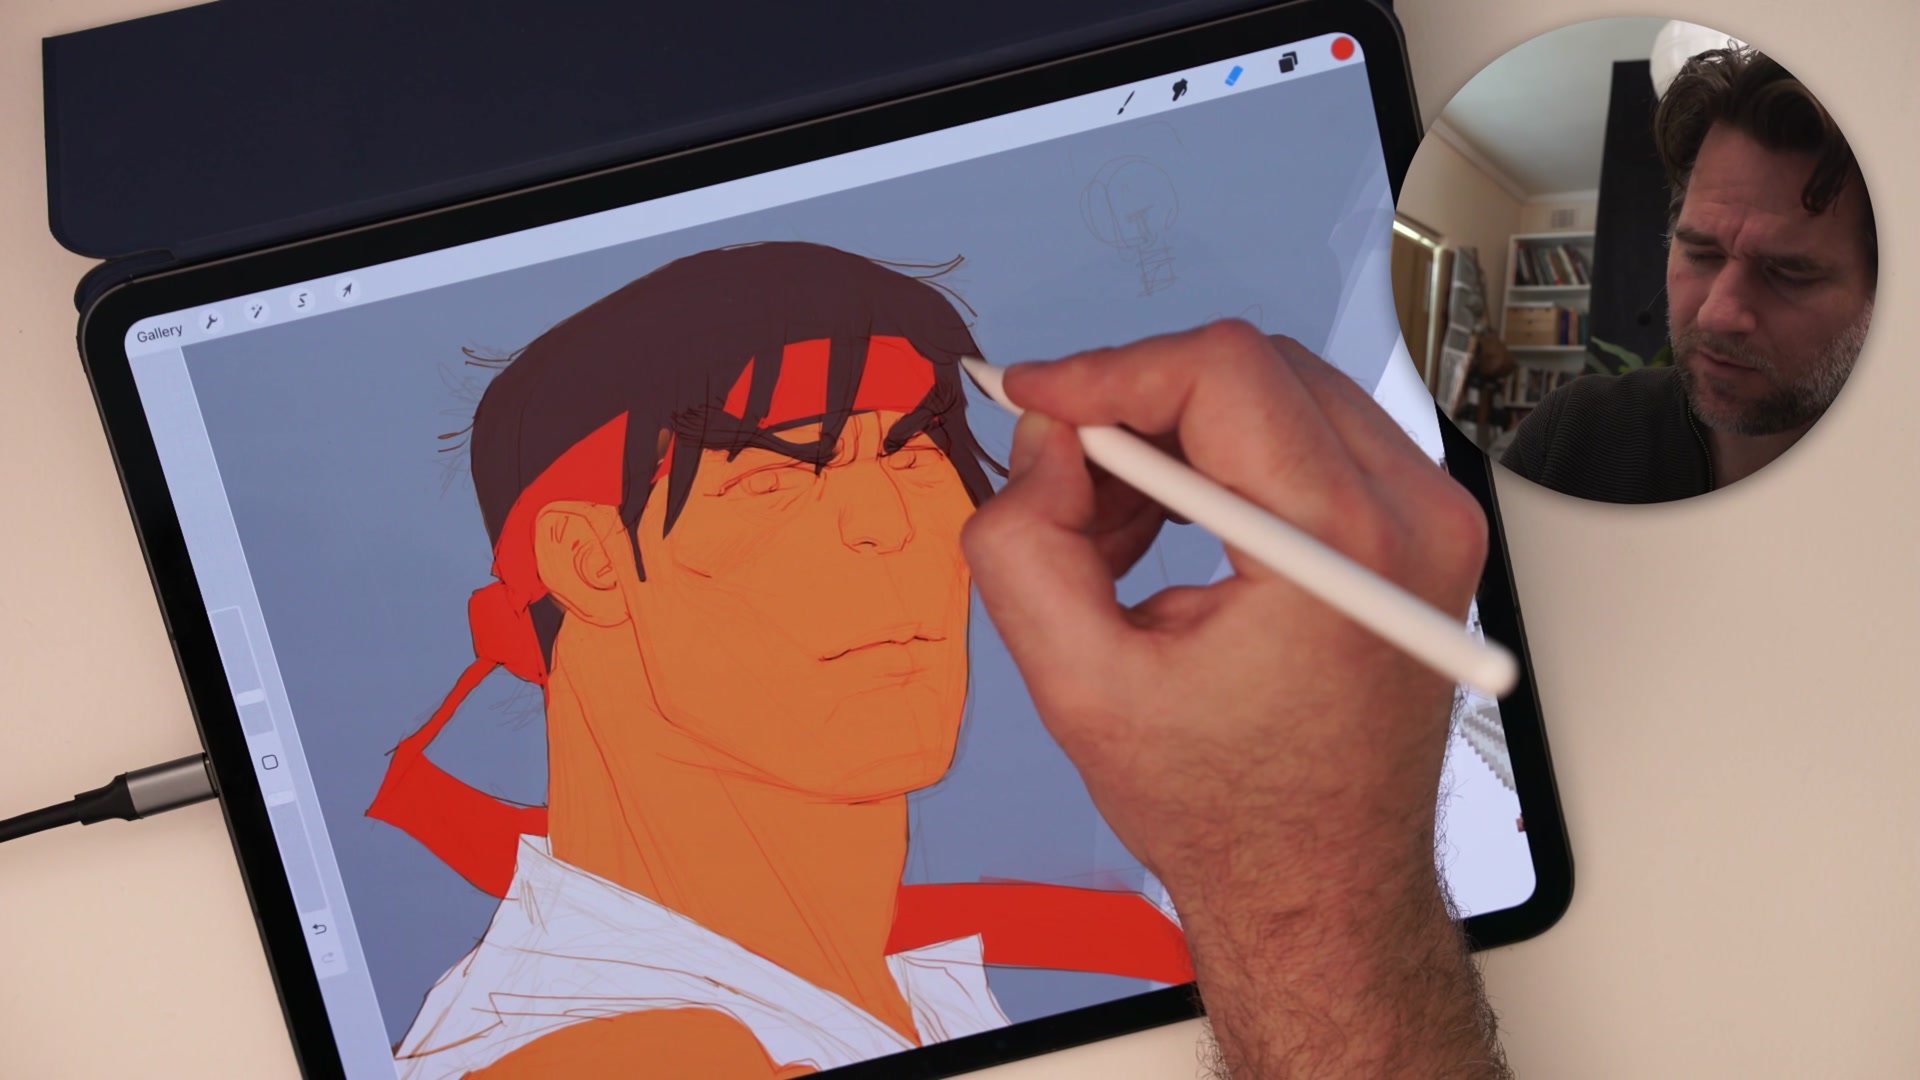
One of the most powerful techniques demonstrated is carving, using the eraser as a sculpting tool rather than just a correction tool. Instead of trying to paint every edge perfectly on the first attempt, the approach is to lay down bold strokes with the brush, then switch to the eraser and cut back into those marks to create exactly the right shape.
This transforms the round brush from a paint-by-numbers tool into something far more dynamic. The demo shows this repeatedly during the flatting phase: rather than carefully tracing edges with a tiny brush, blocking in large areas and then carving out details with the eraser produces cleaner results in less time. This is stroke economy in practice, getting the shape we need through a combination of additive and subtractive marks rather than trying to nail it in a single pass. The round brush rewards this approach because its simplicity makes switching between brush and eraser seamless.
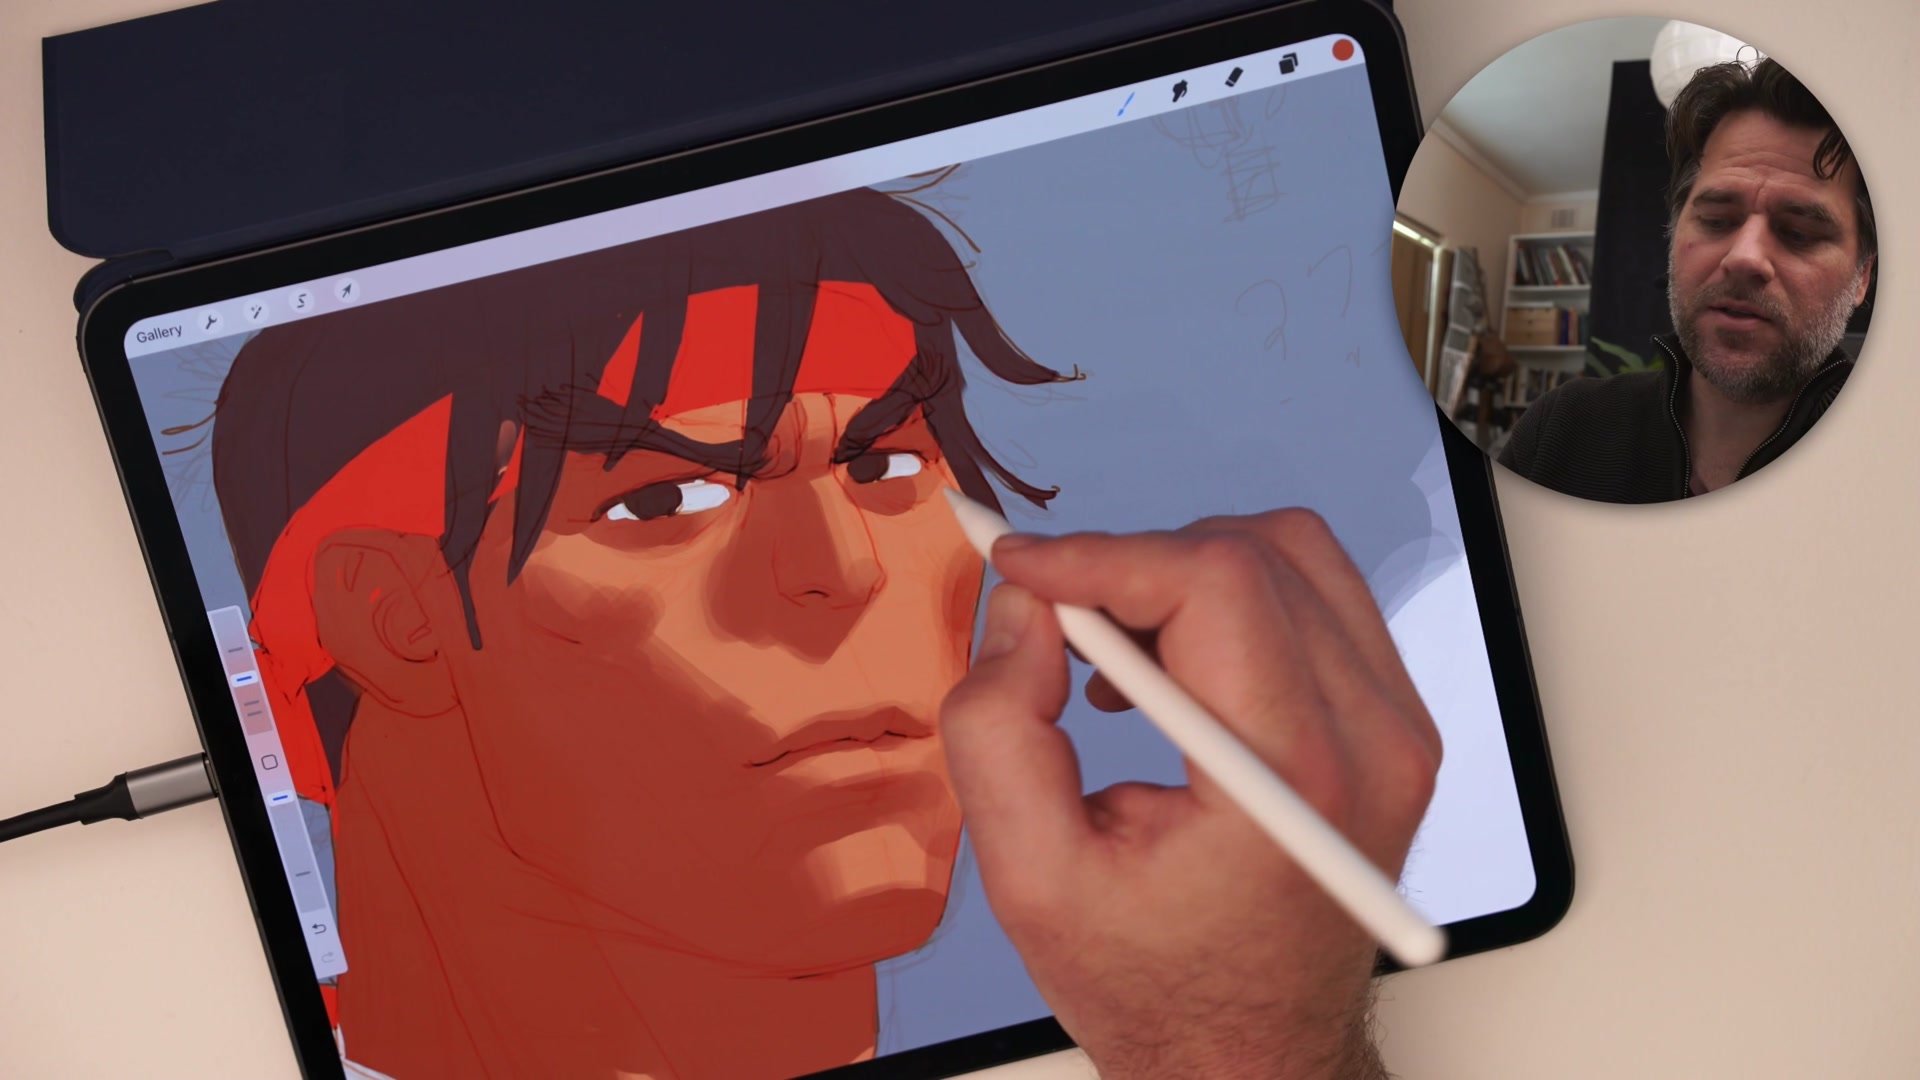
Edge Quality and Value
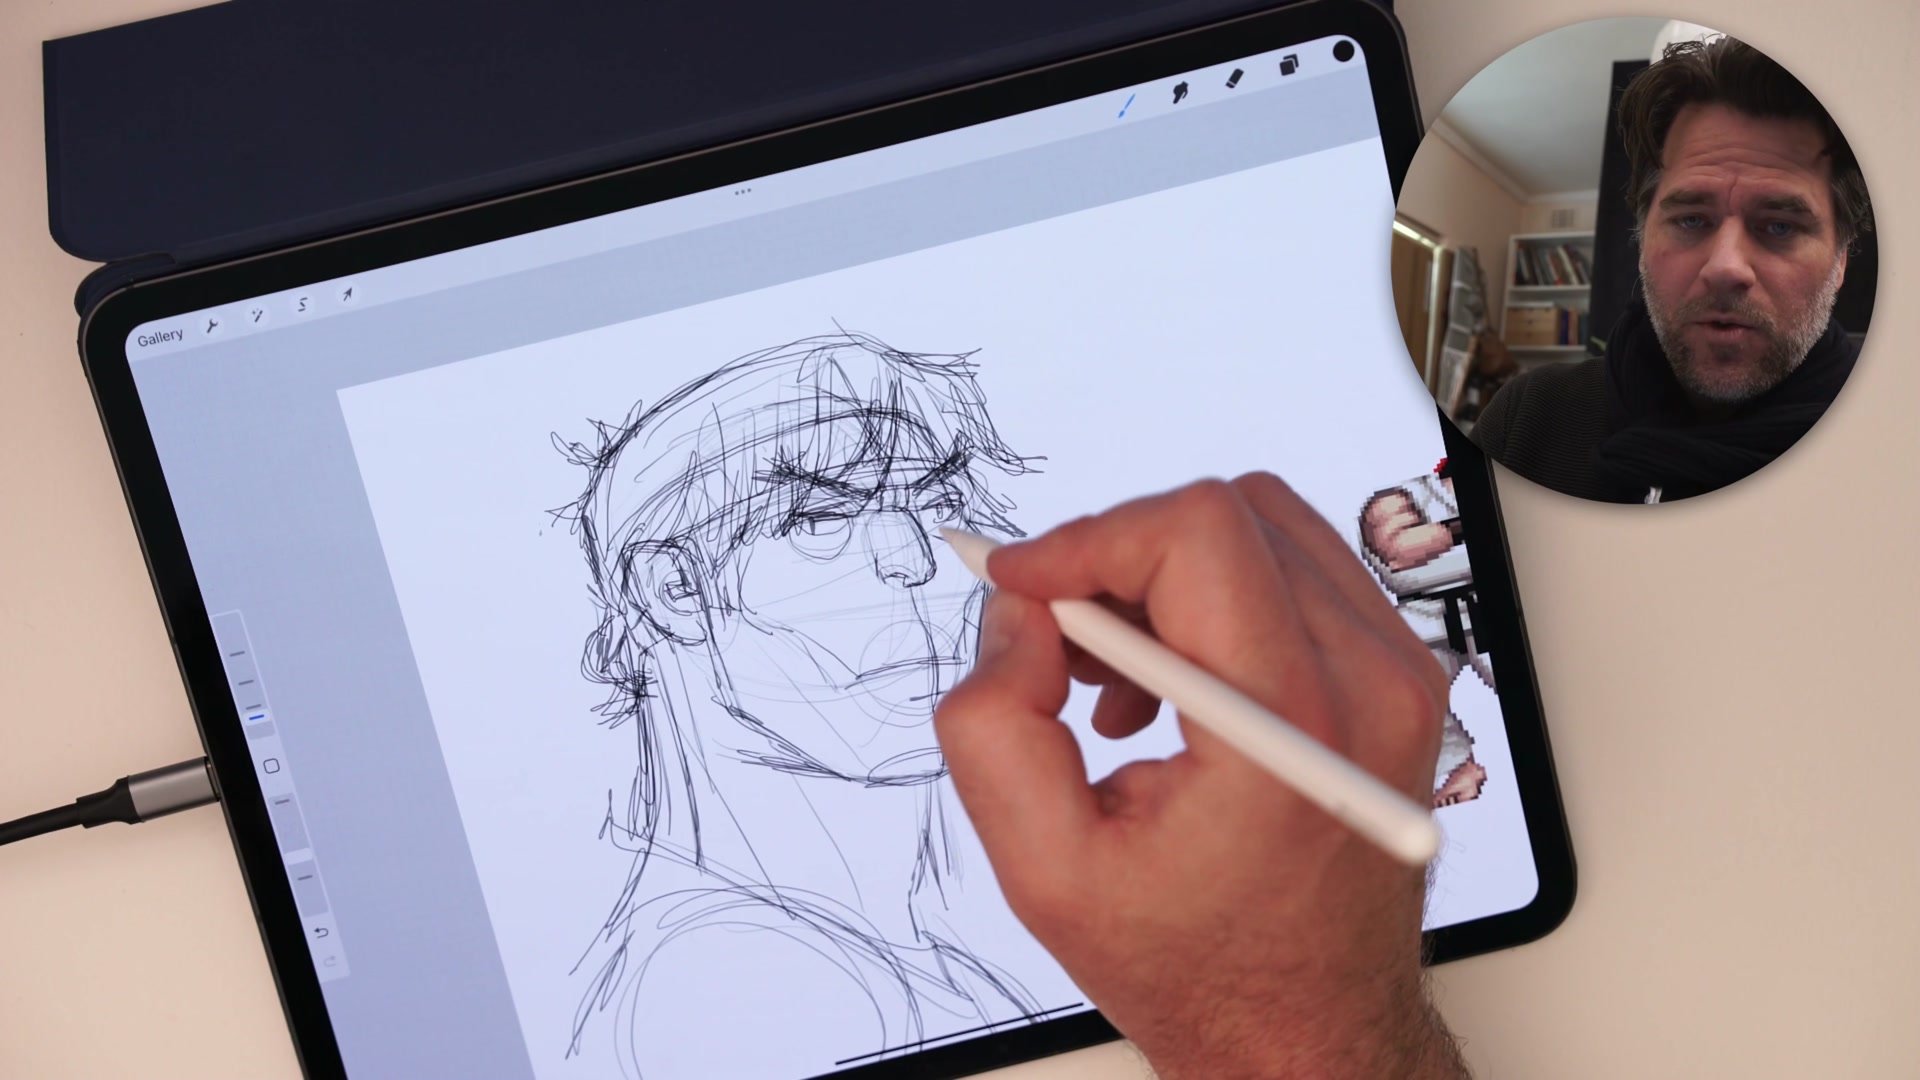
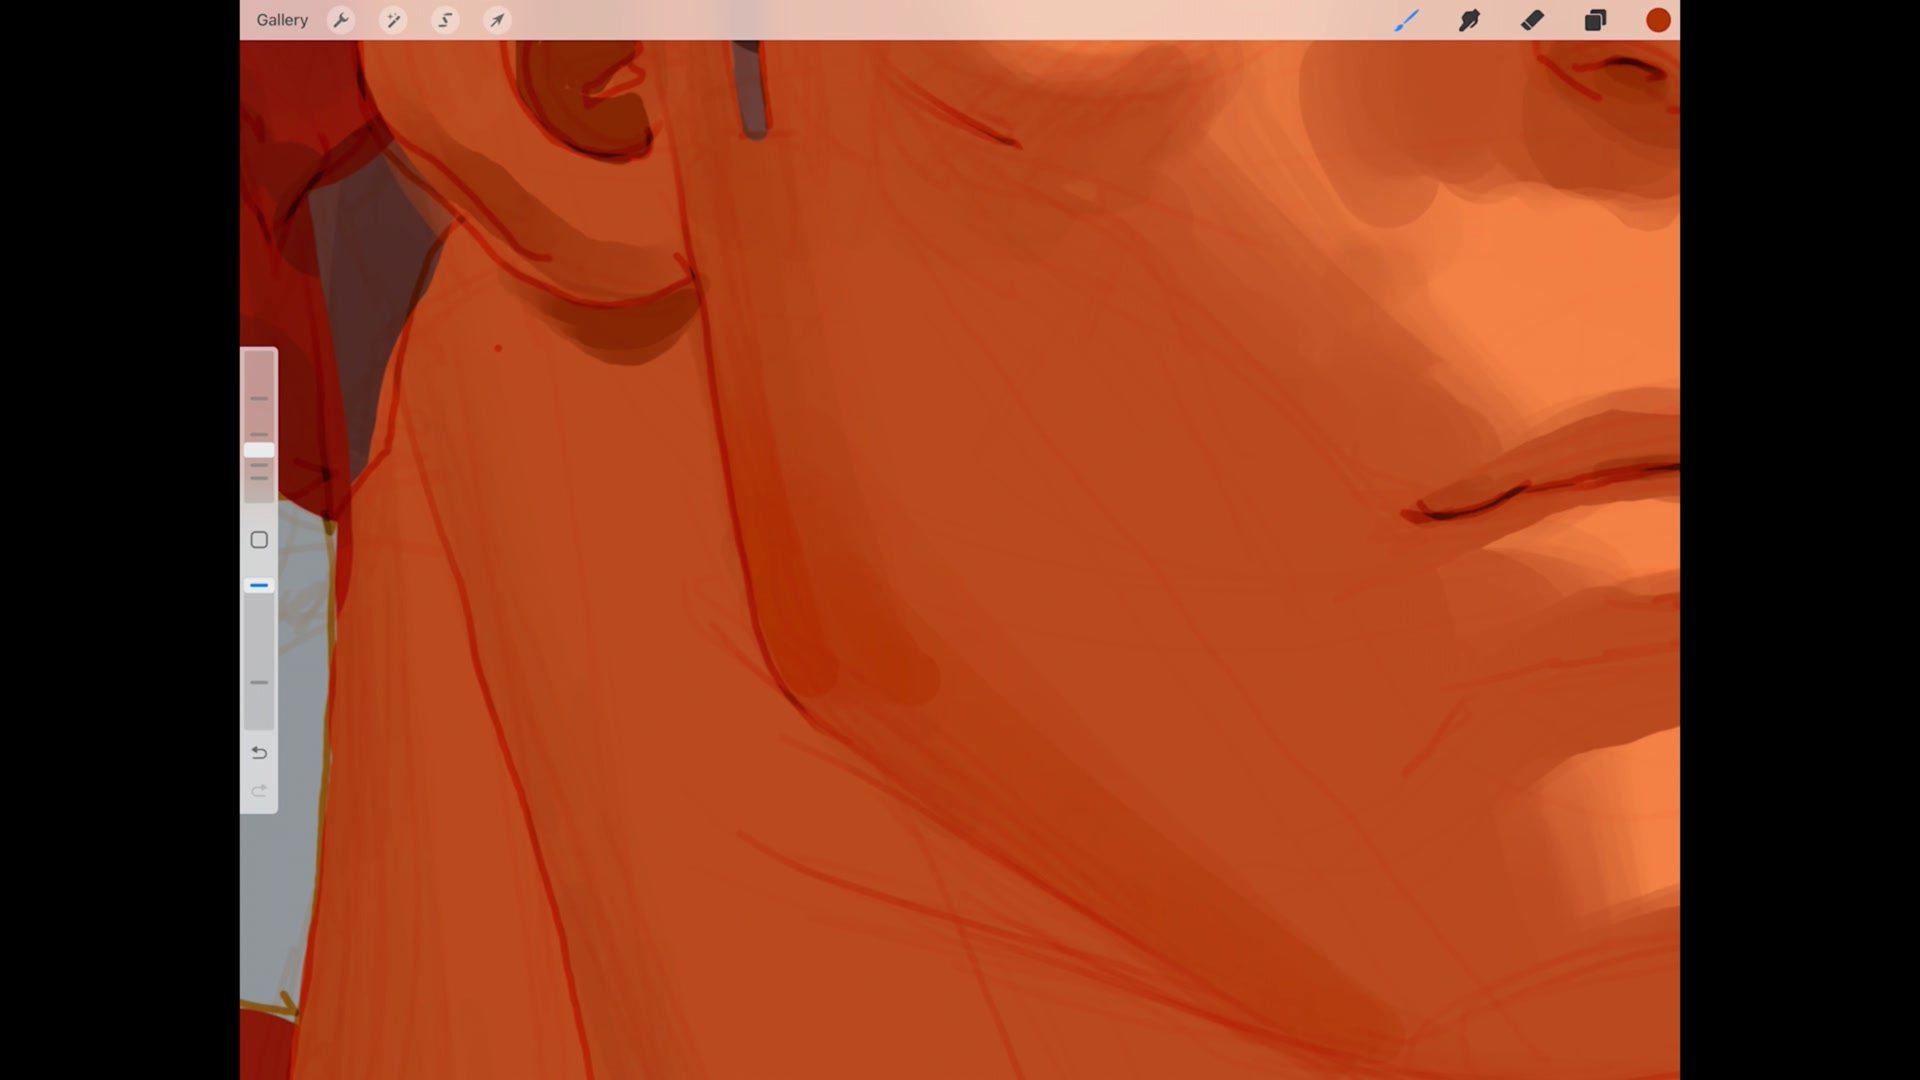
The demo repeatedly returns to one critical question: is this a hard edge or a soft edge? Every form transition in the painting of Ryu demands a deliberate choice. The shadow under the nose requires a hard, sharp cast shadow close to the surface but becomes softer and more diffuse where the distance between the casting object and the receiving surface increases.
Working systematically through these decisions is where the round brush becomes a genuine teaching tool. The process shown follows a clear sequence: block in major shadow shapes first, then refine the transitions between light and dark. Scumbling with light touches builds up soft gradients, while deliberate single strokes create the hard divisions between planes. The demo also addresses the temptation to over-render. When the round brush starts looking too brushy, the solution is not to keep adding strokes but to stop, think about the shape needed, and make one intentional mark rather than five hesitant ones.
Key Techniques
Opacity Before Pressure: Stepping down brush opacity allows smoother gradients without demanding perfect pen pressure, making subtle transitions achievable while building hand control over time.
Carve, Do Not Trace: Using the eraser to cut shapes out of bold brush strokes produces cleaner, more dynamic results than trying to carefully paint every edge with a small brush.
Sequence Matters: Blocking in large value shapes first, then refining transitions from hard to soft edges, prevents the muddy overworking that happens when details come before structure.
Embrace the Texture: The overlapping build-up that makes the round brush seem ugly can become a deliberate textural quality when applied with intention, adding surface interest rather than visual noise.
Try This Exercise
Step 1: Choose a simple character head and paint it using only the default round brush. Set two or three locked opacity levels before starting, and resist the urge to switch tools.
Step 2: Practice the carving technique during flatting. Block in large color areas with a big brush, then switch to the eraser to cut out clean edges rather than painting them in.
Step 3: Focus on creating three distinct edge types in the rendering phase: a hard cast shadow, a smooth gradient turning a form, and a textured build-up area where the round brush overlap adds surface interest.


