Quick Pro Character Design Techniques
Summary
Character Design Process
This nearly two-hour session follows the complete process of designing a lineup of fantasy characters from scratch. The project is a group of assassins called the Cult of the Blue Flame, a secret society within a fantasy comic setting. Starting with nothing but a blank canvas and a handful of loose ideas, the process moves through rough thumbnail sketches, refined line passes, flat color application, and quick polish techniques.
The emphasis throughout is on rapid ideation over polish. The goal is not finished illustrations but rather a set of strong visual ideas that can be evaluated, refined, or discarded in future rounds. The session demonstrates how working quickly and staying loose generates more creative possibilities than trying to perfect each design on the first attempt.
Initial Sketching

Silhouette-First Ideation
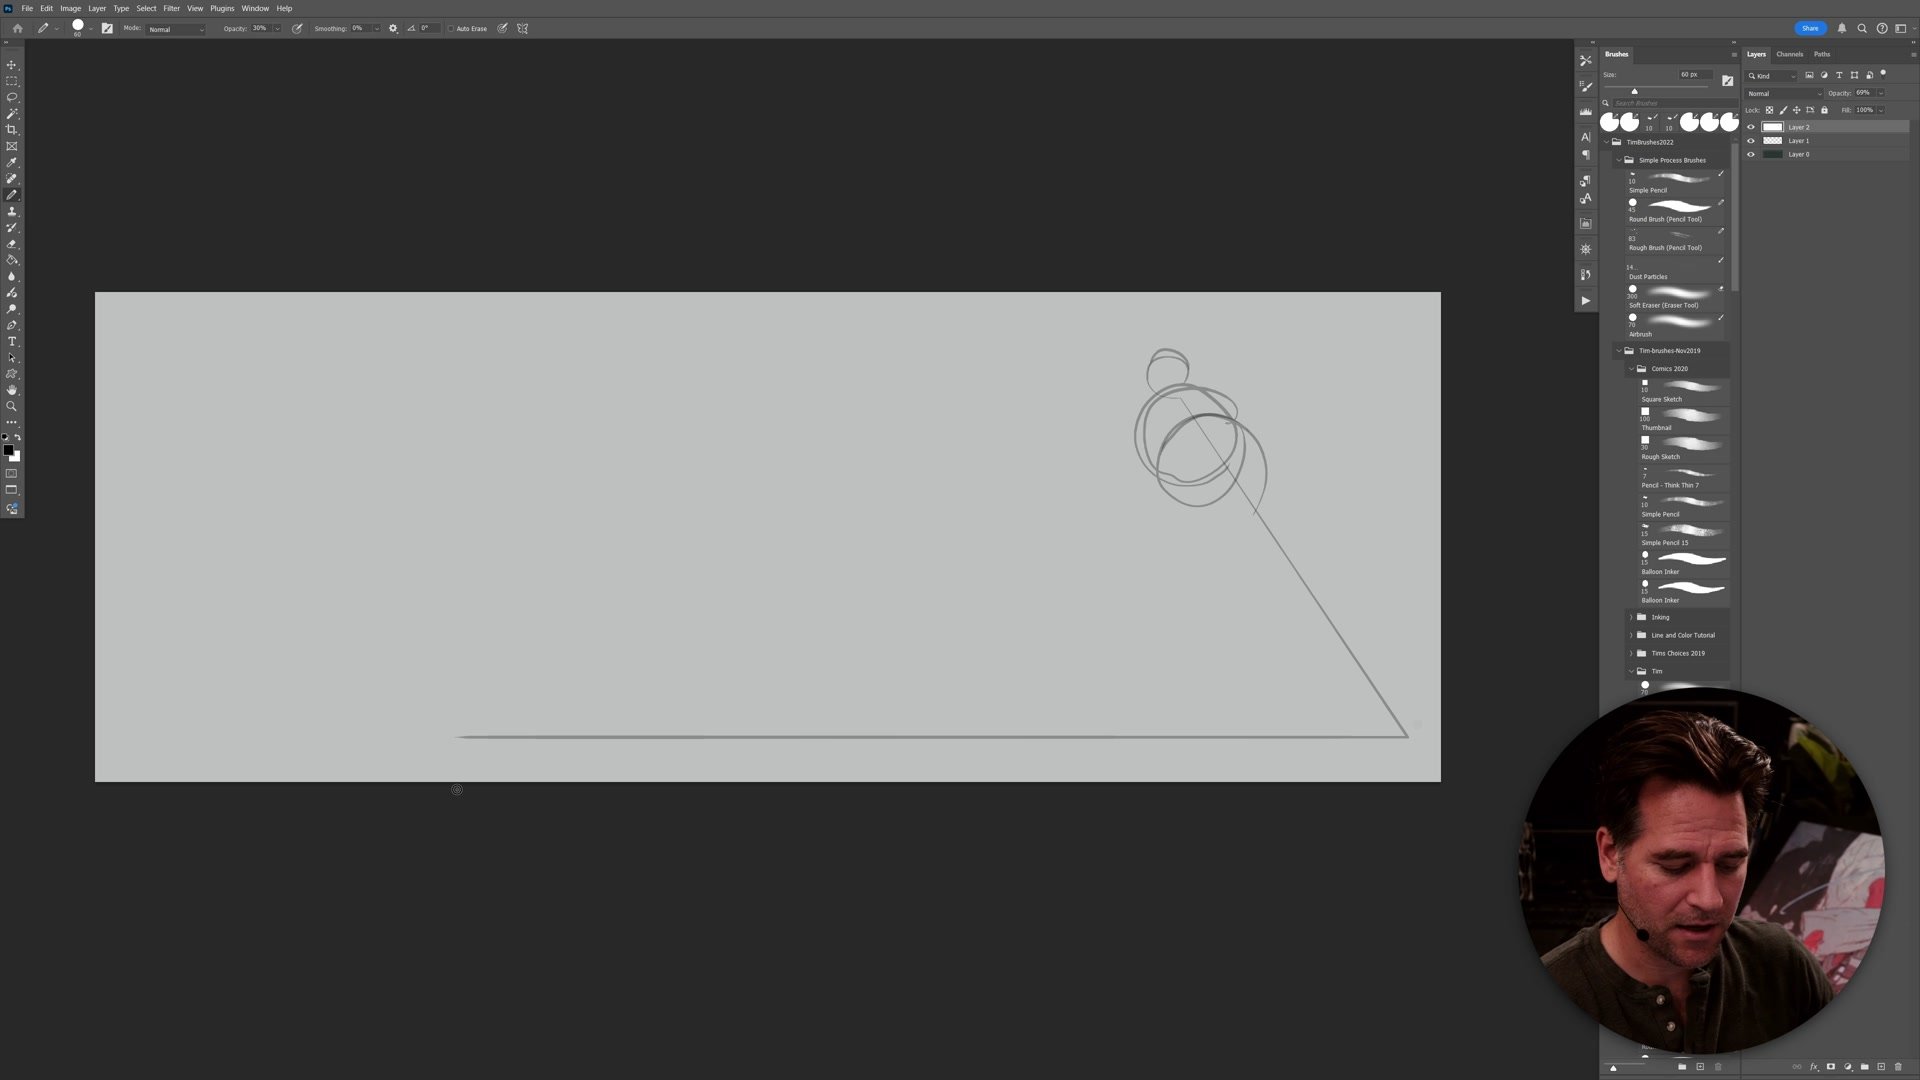
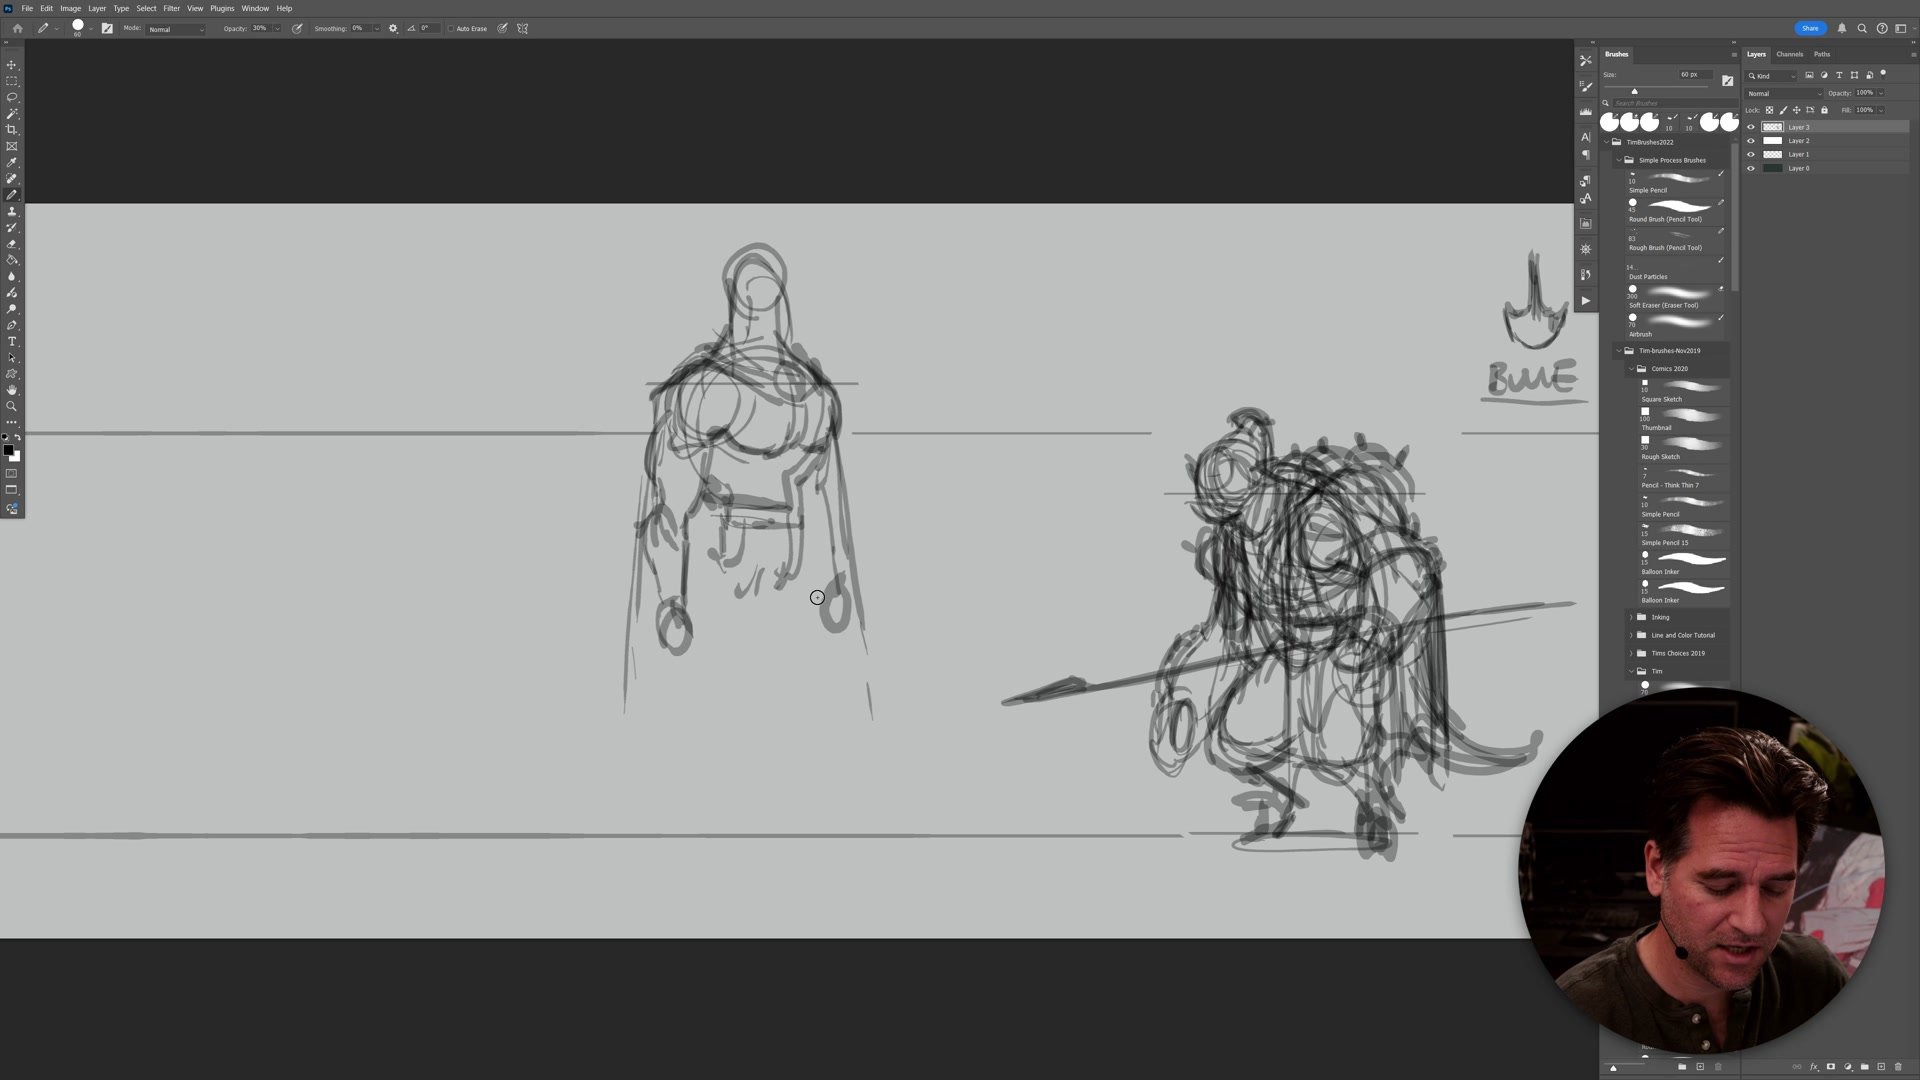
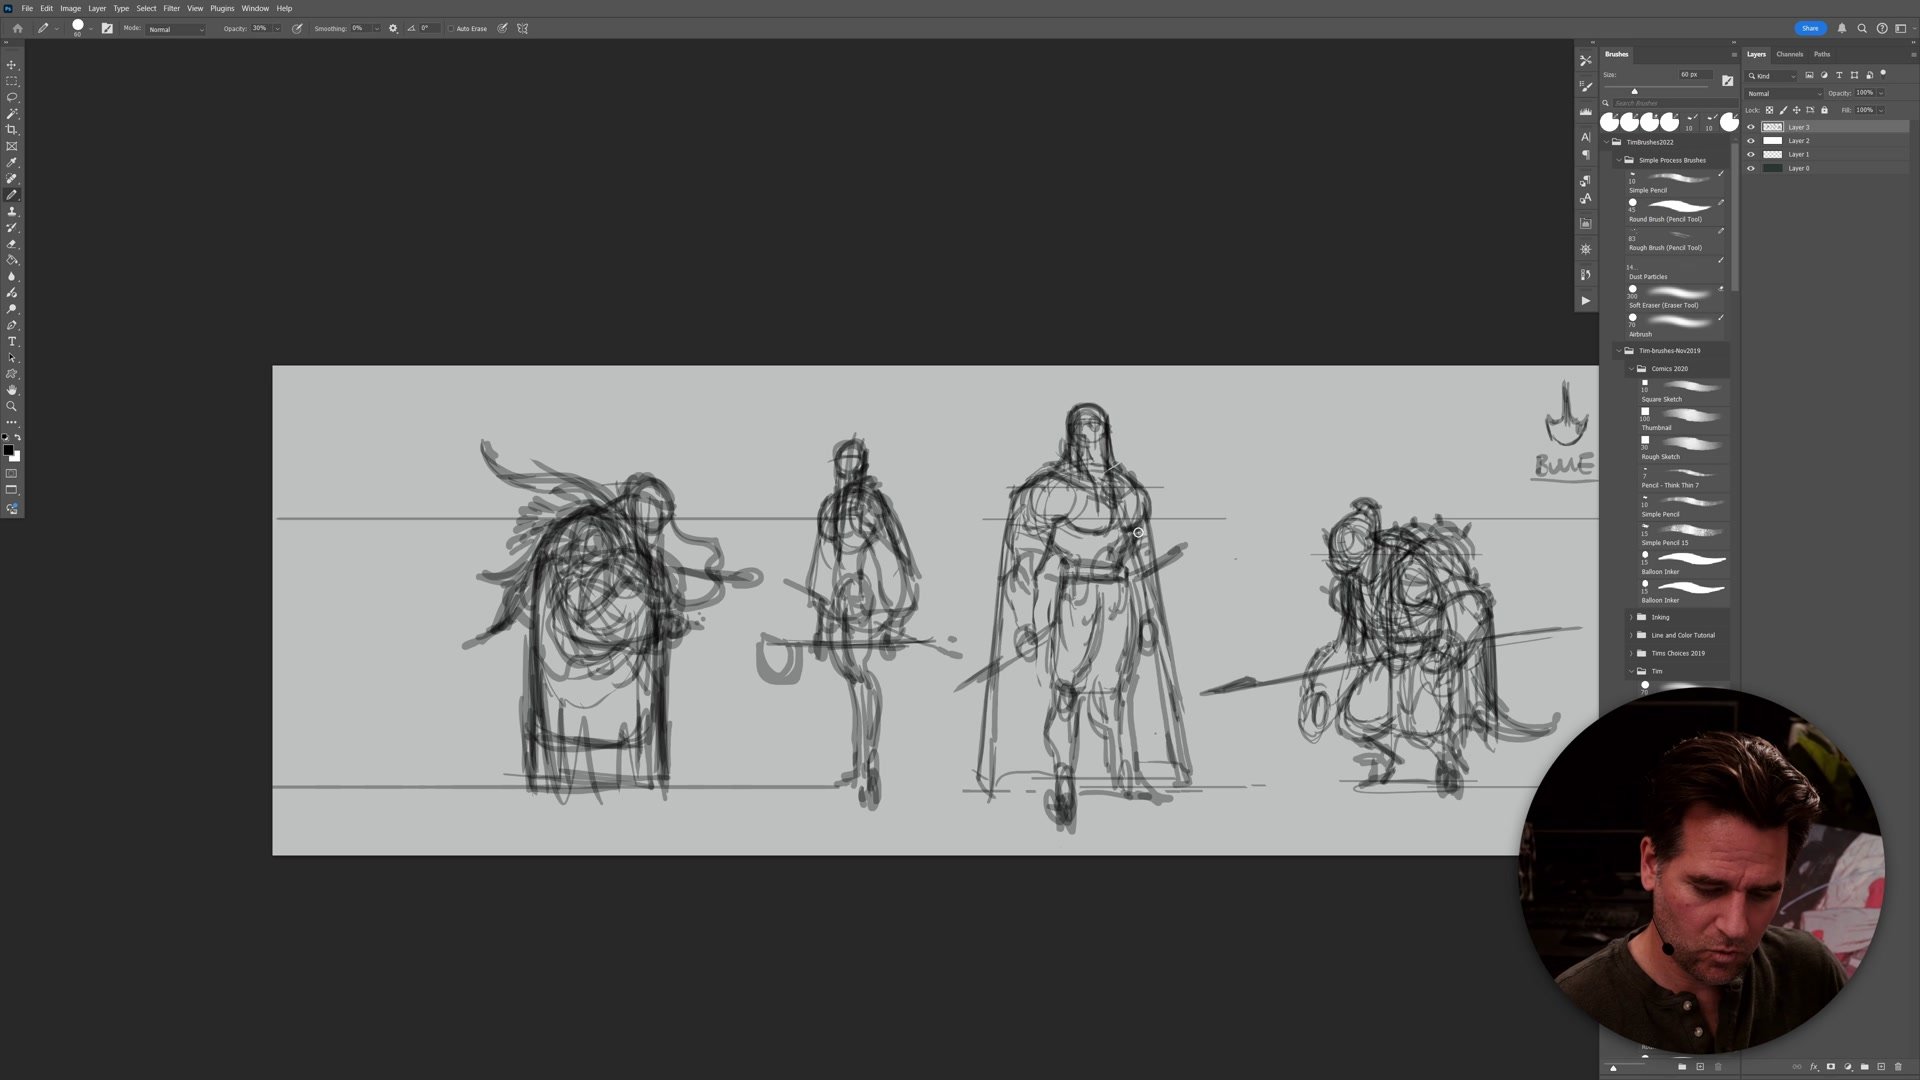
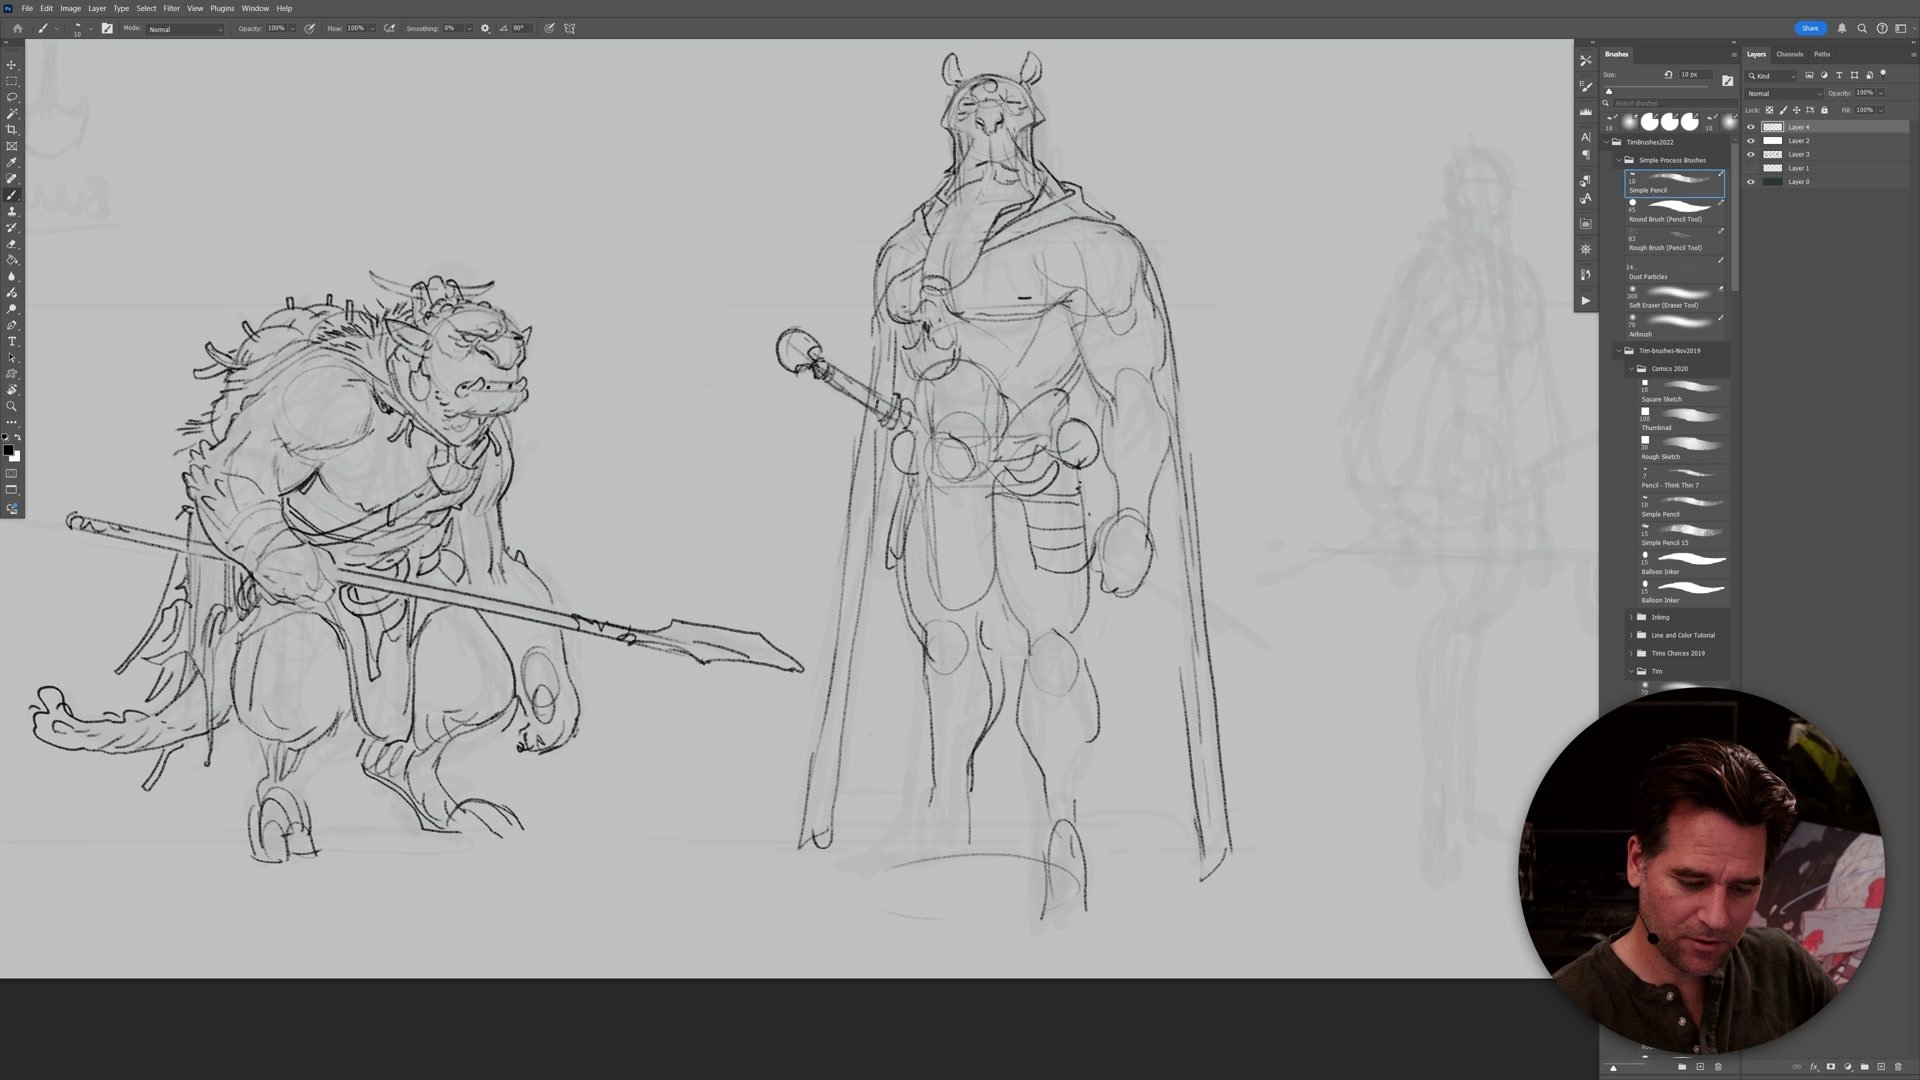
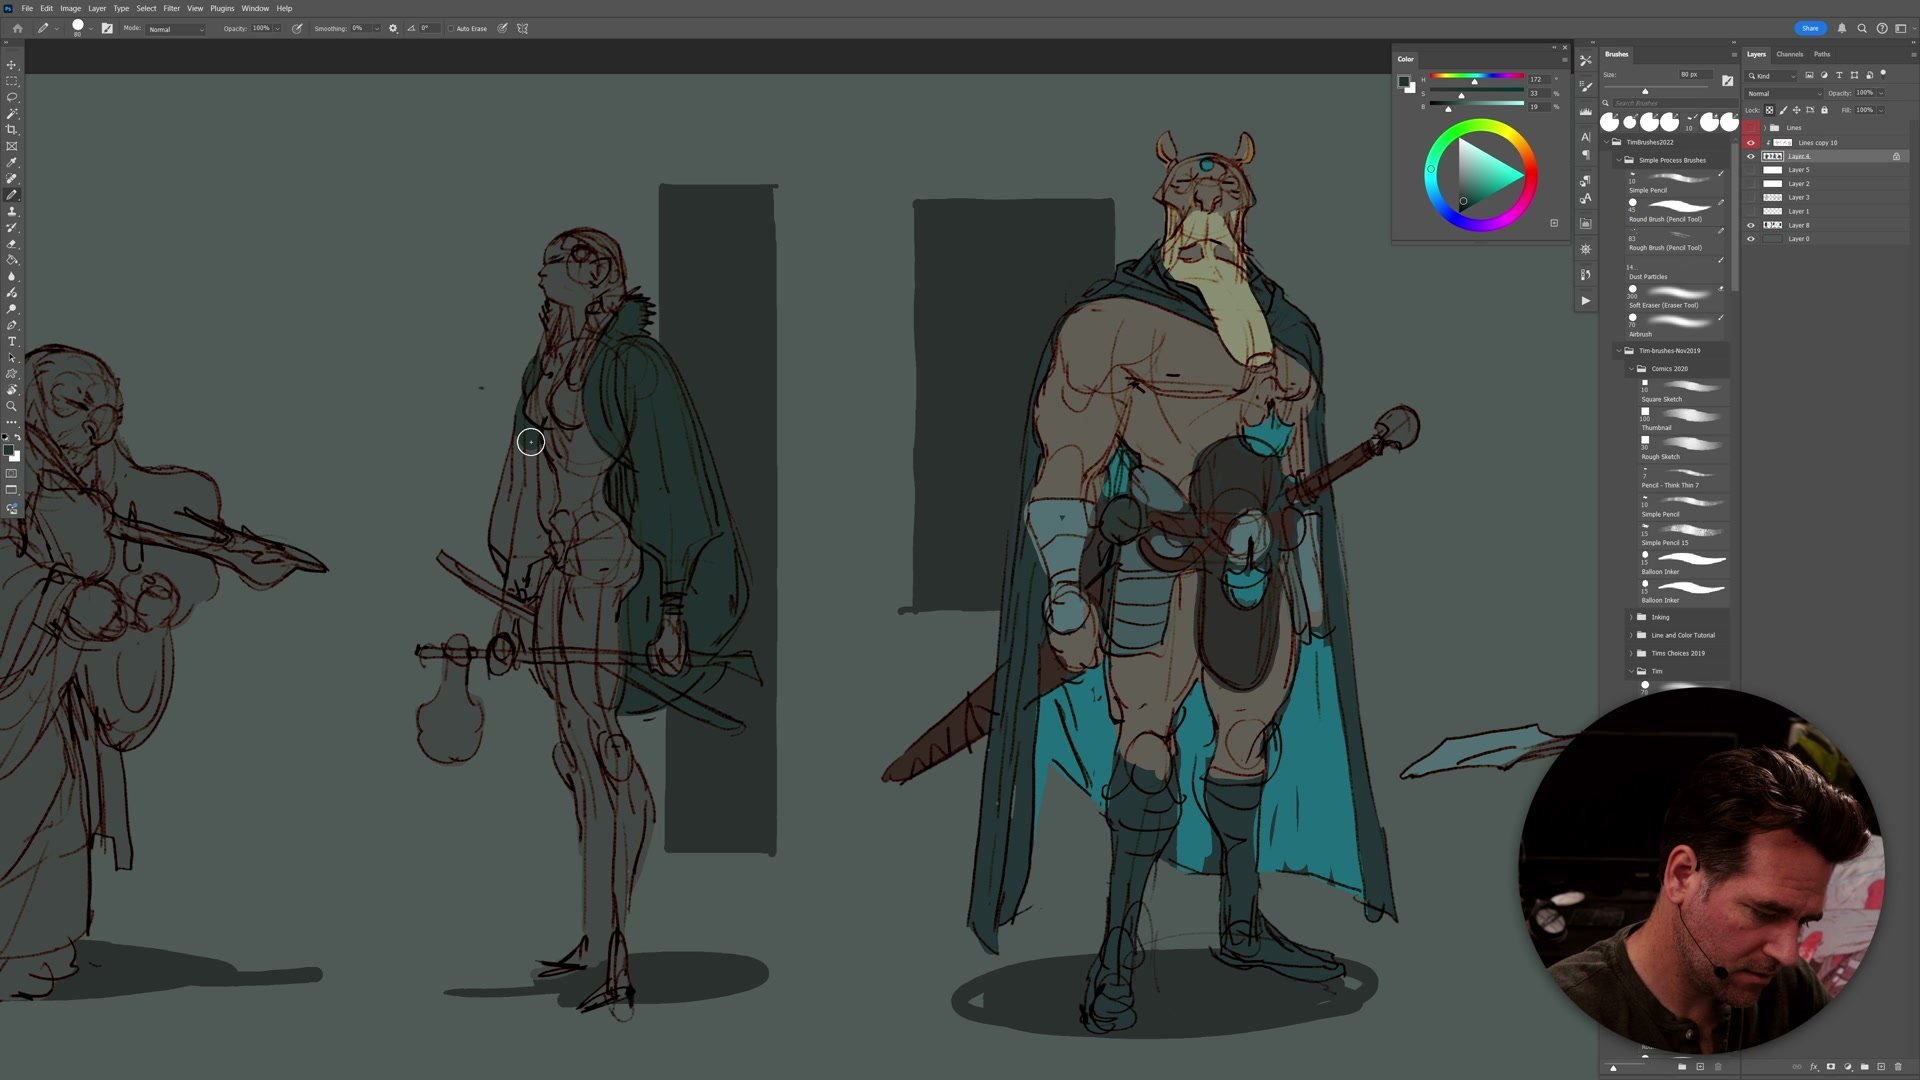
The process begins with a lineup template that establishes a ground plane, horizon line, and average character height. Drawing at a faint, almost marker-like opacity forces the focus onto broad shape language rather than detail. Each character is approached as a silhouette problem first, prioritizing interesting shapes, variety in proportion, and exaggerated forms suited to a heightened comic book aesthetic.
A lineup format keeps all designs visible simultaneously, making it obvious when shapes start looking too similar or when the visual range needs pushing. The initial pass intentionally produces generic results. That first wave of obvious ideas needs to get out before more interesting concepts can surface. Trying to skip this phase usually just delays those generic ideas rather than eliminating them.
Refined Sketches
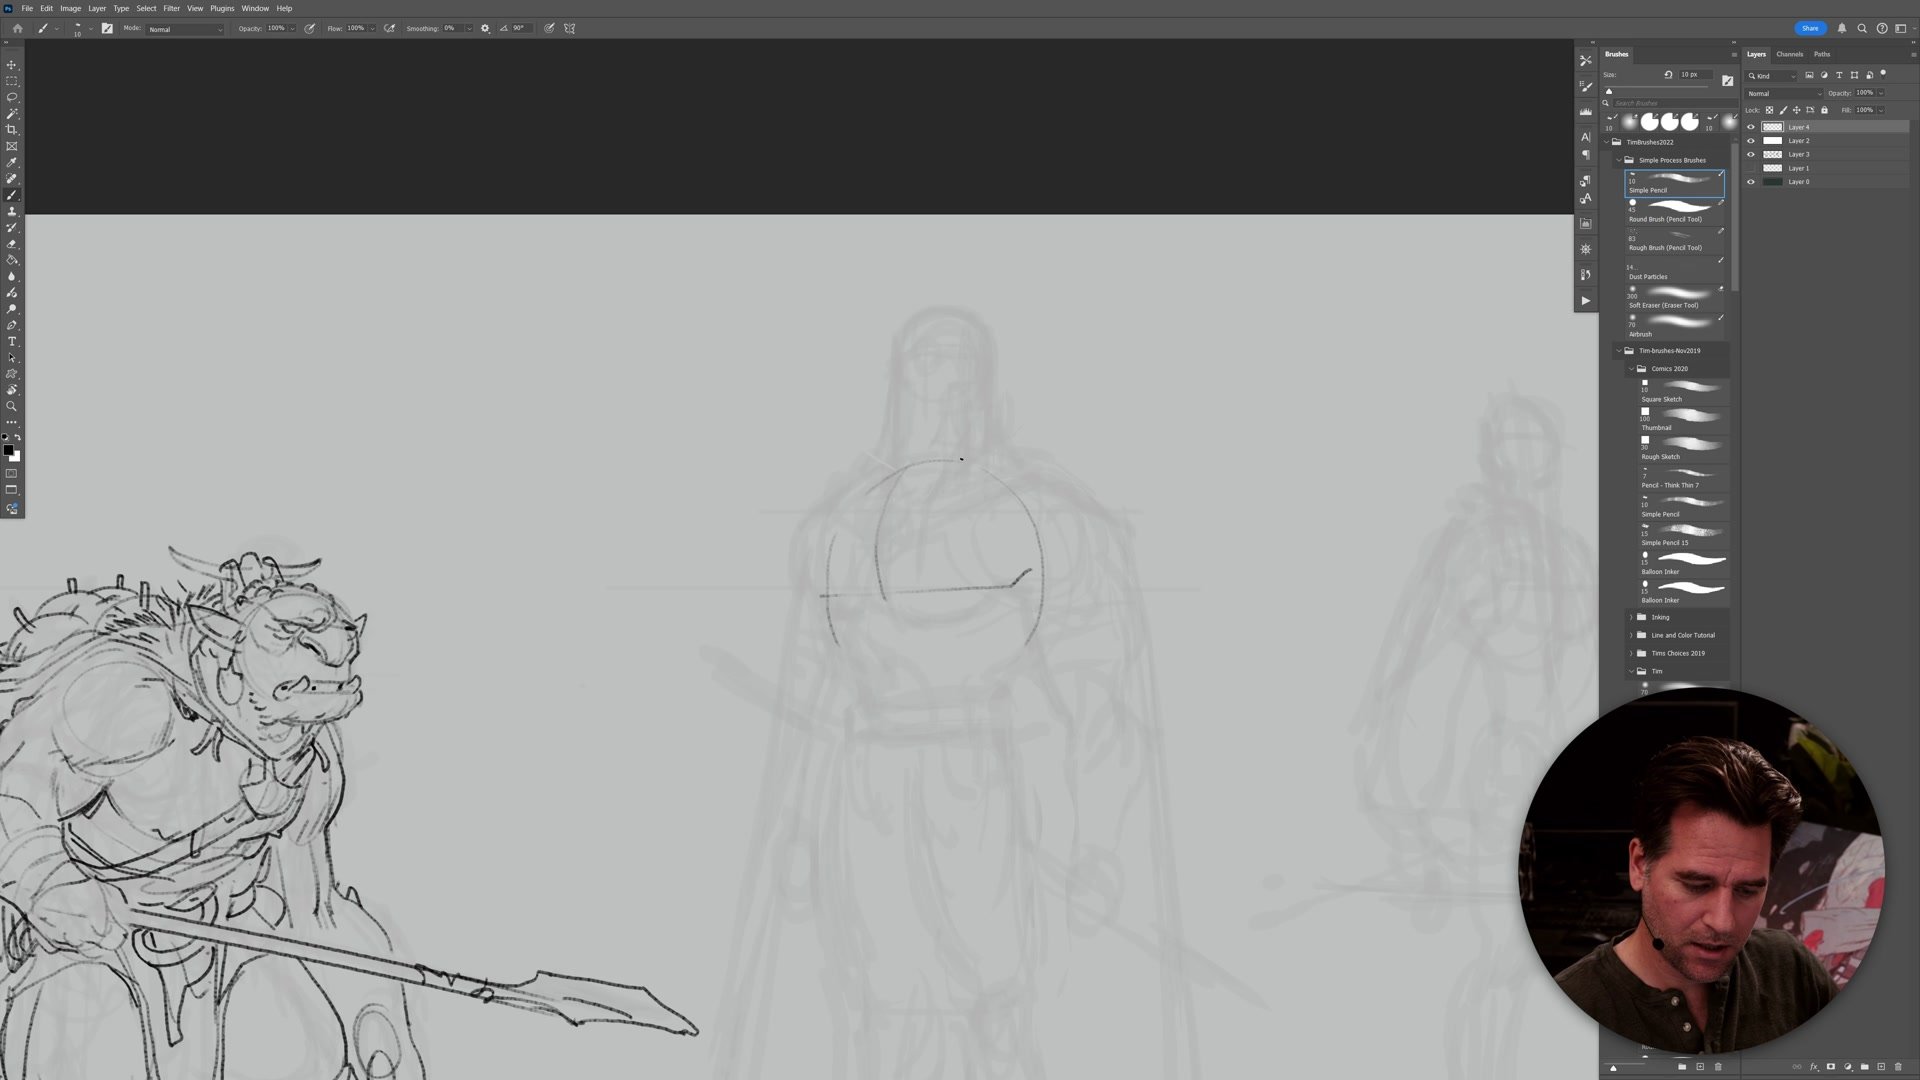
The Two-Pass Sketch
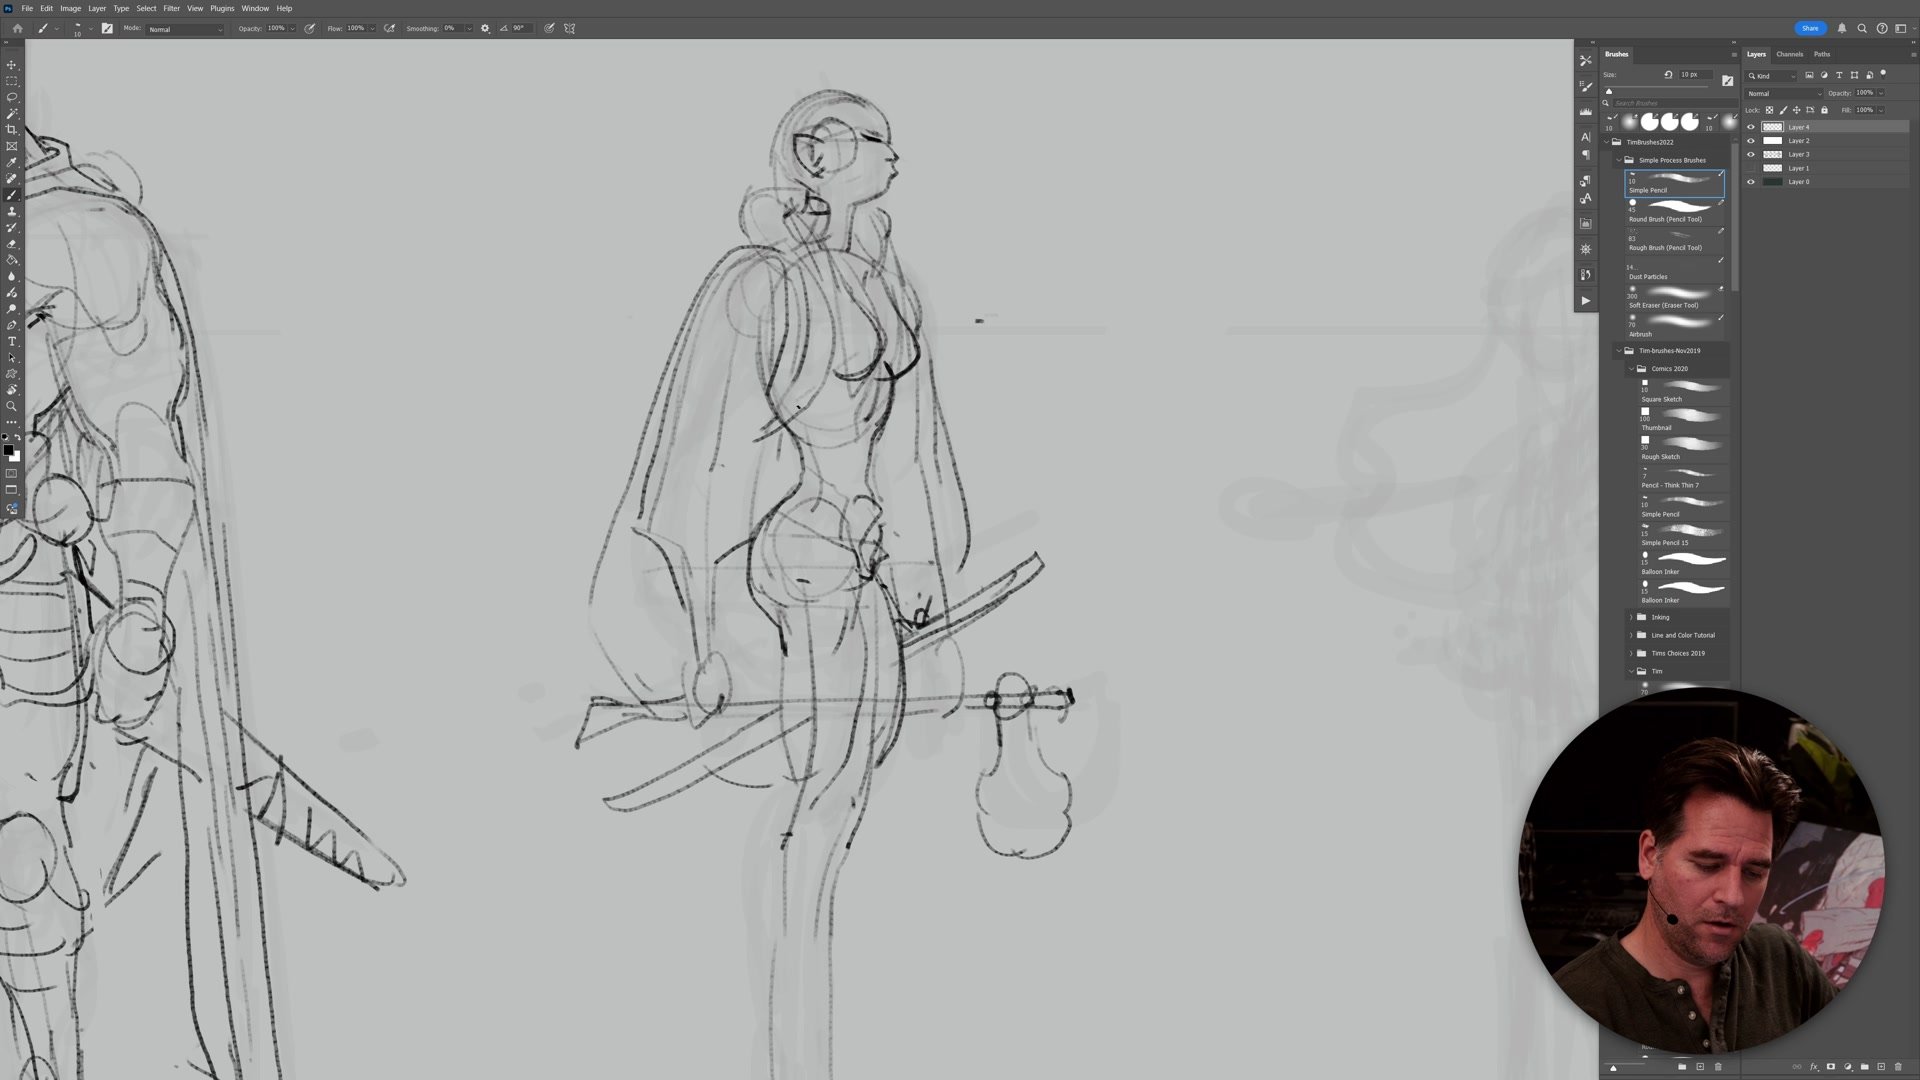
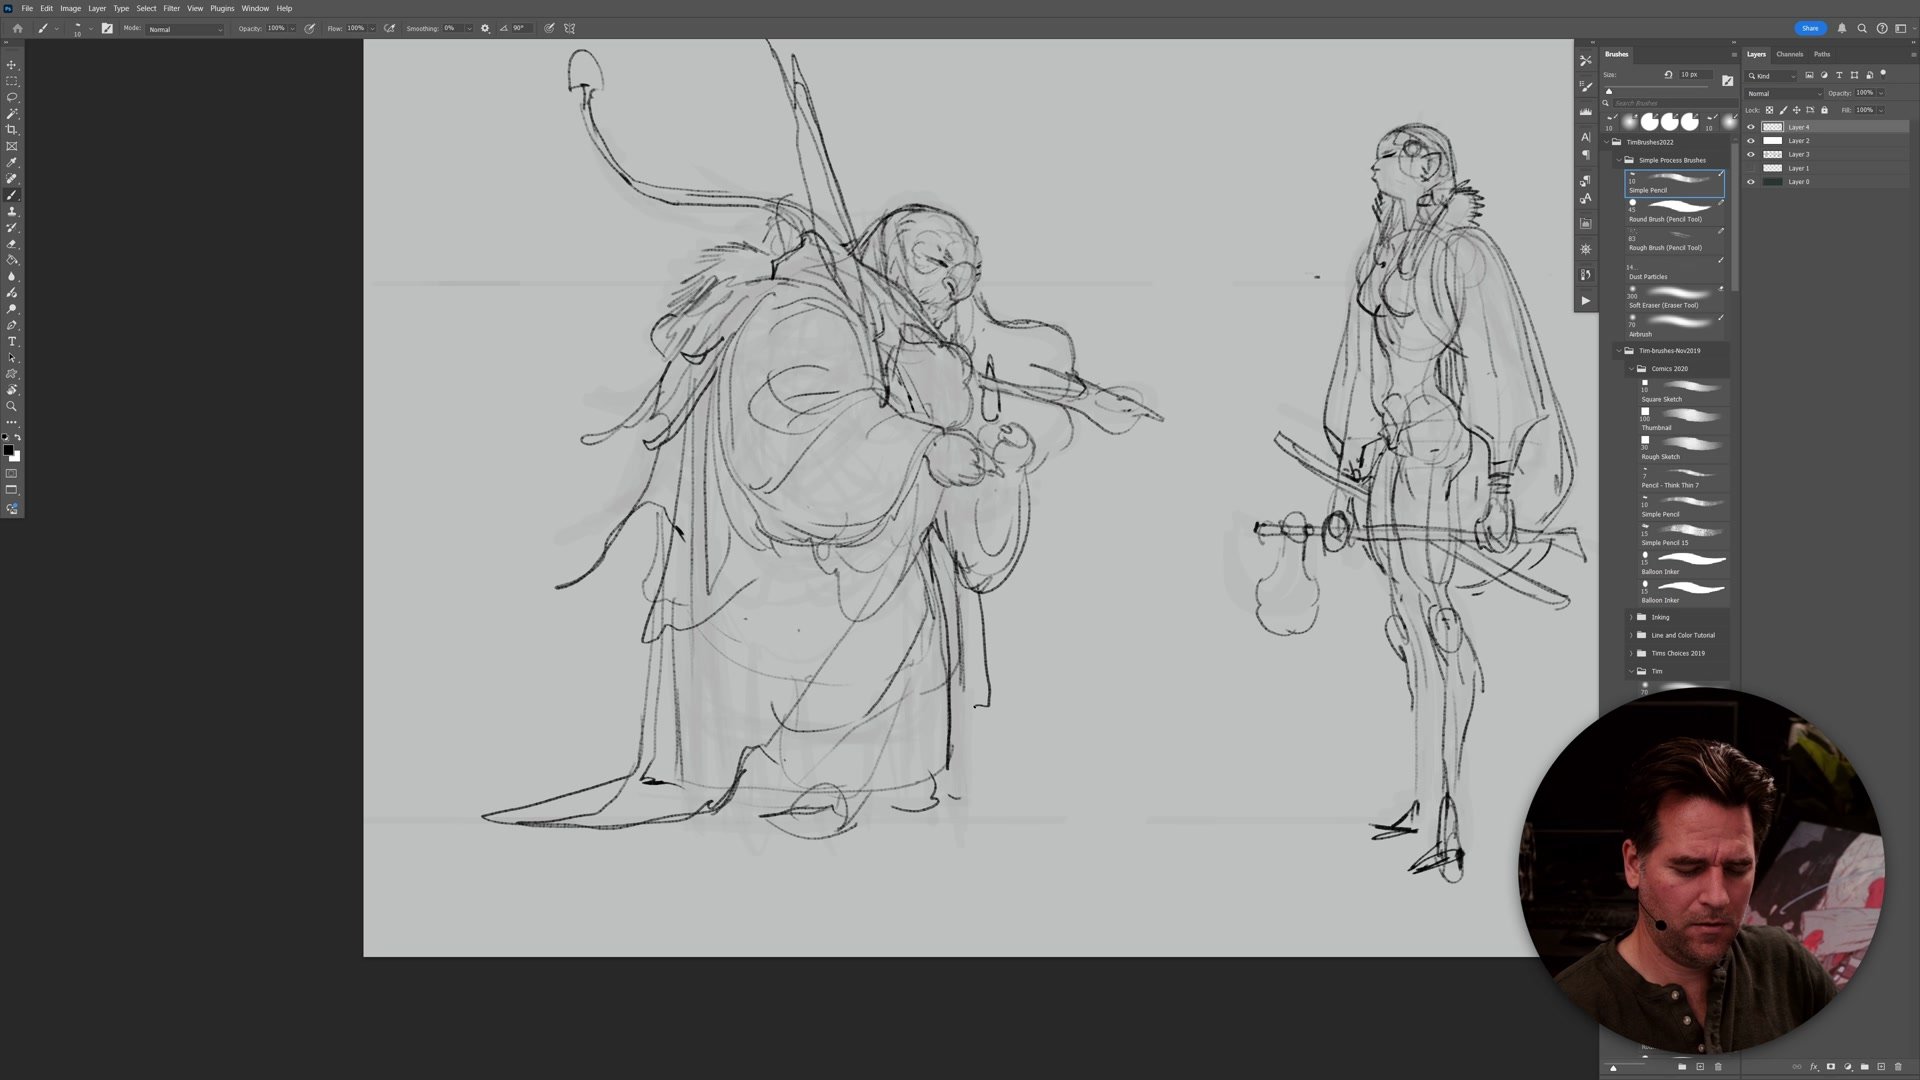
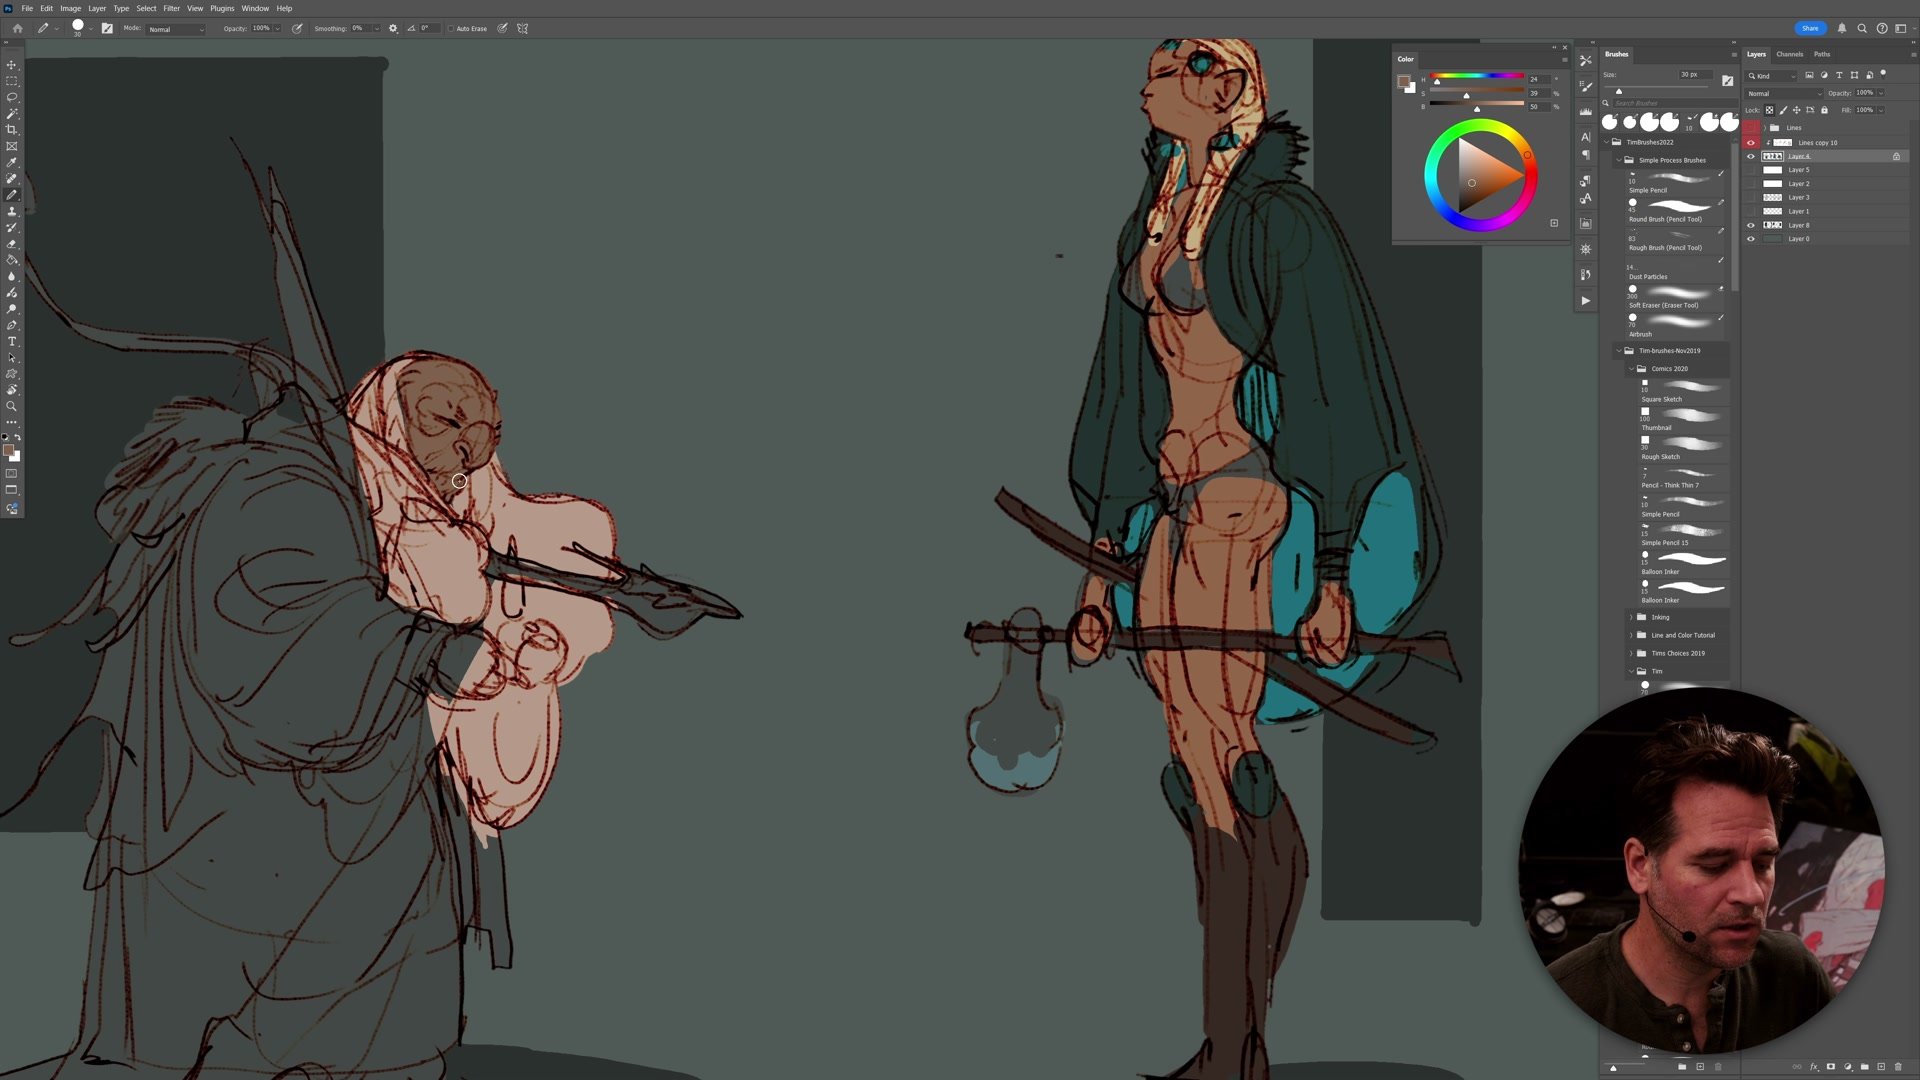
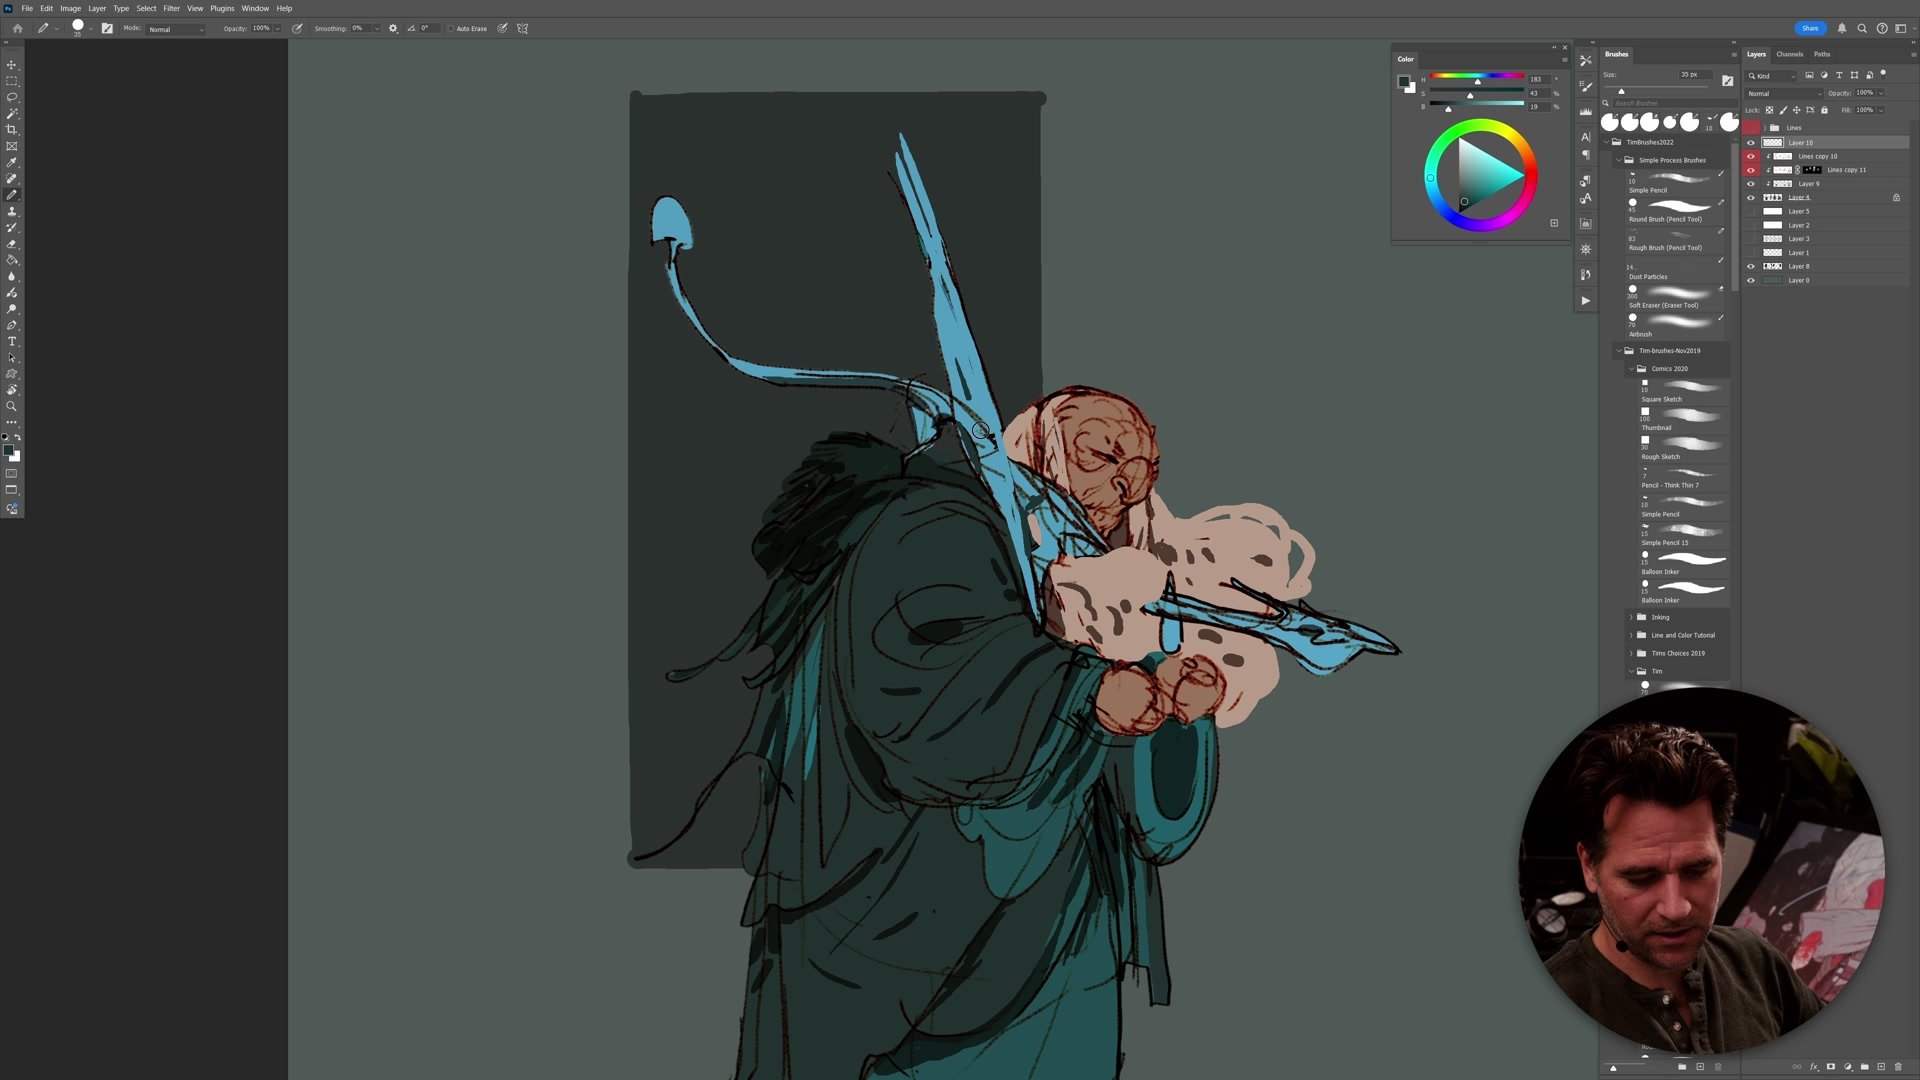
A tracing paper layer sits over the rough thumbnails, allowing a second pass that refines proportions and adds structural detail. This pass incorporates basic anatomy construction, center lines, rib cage and pelvis positioning, and head construction using Loomis-style methods. The drawing remains deliberately rough. Committing to messy marks prevents overthinking and keeps the energy of the original silhouettes.
Flipping the canvas repeatedly catches drawing problems early. Faces get particular attention since comic books demand frequent close-up panels. Each character receives a small head callout for testing facial clarity at reduced size. The entire lineup is monitored through a second window at thumbnail scale, ensuring the designs read well when small.
Color Application

Flat Color and Quick Polish
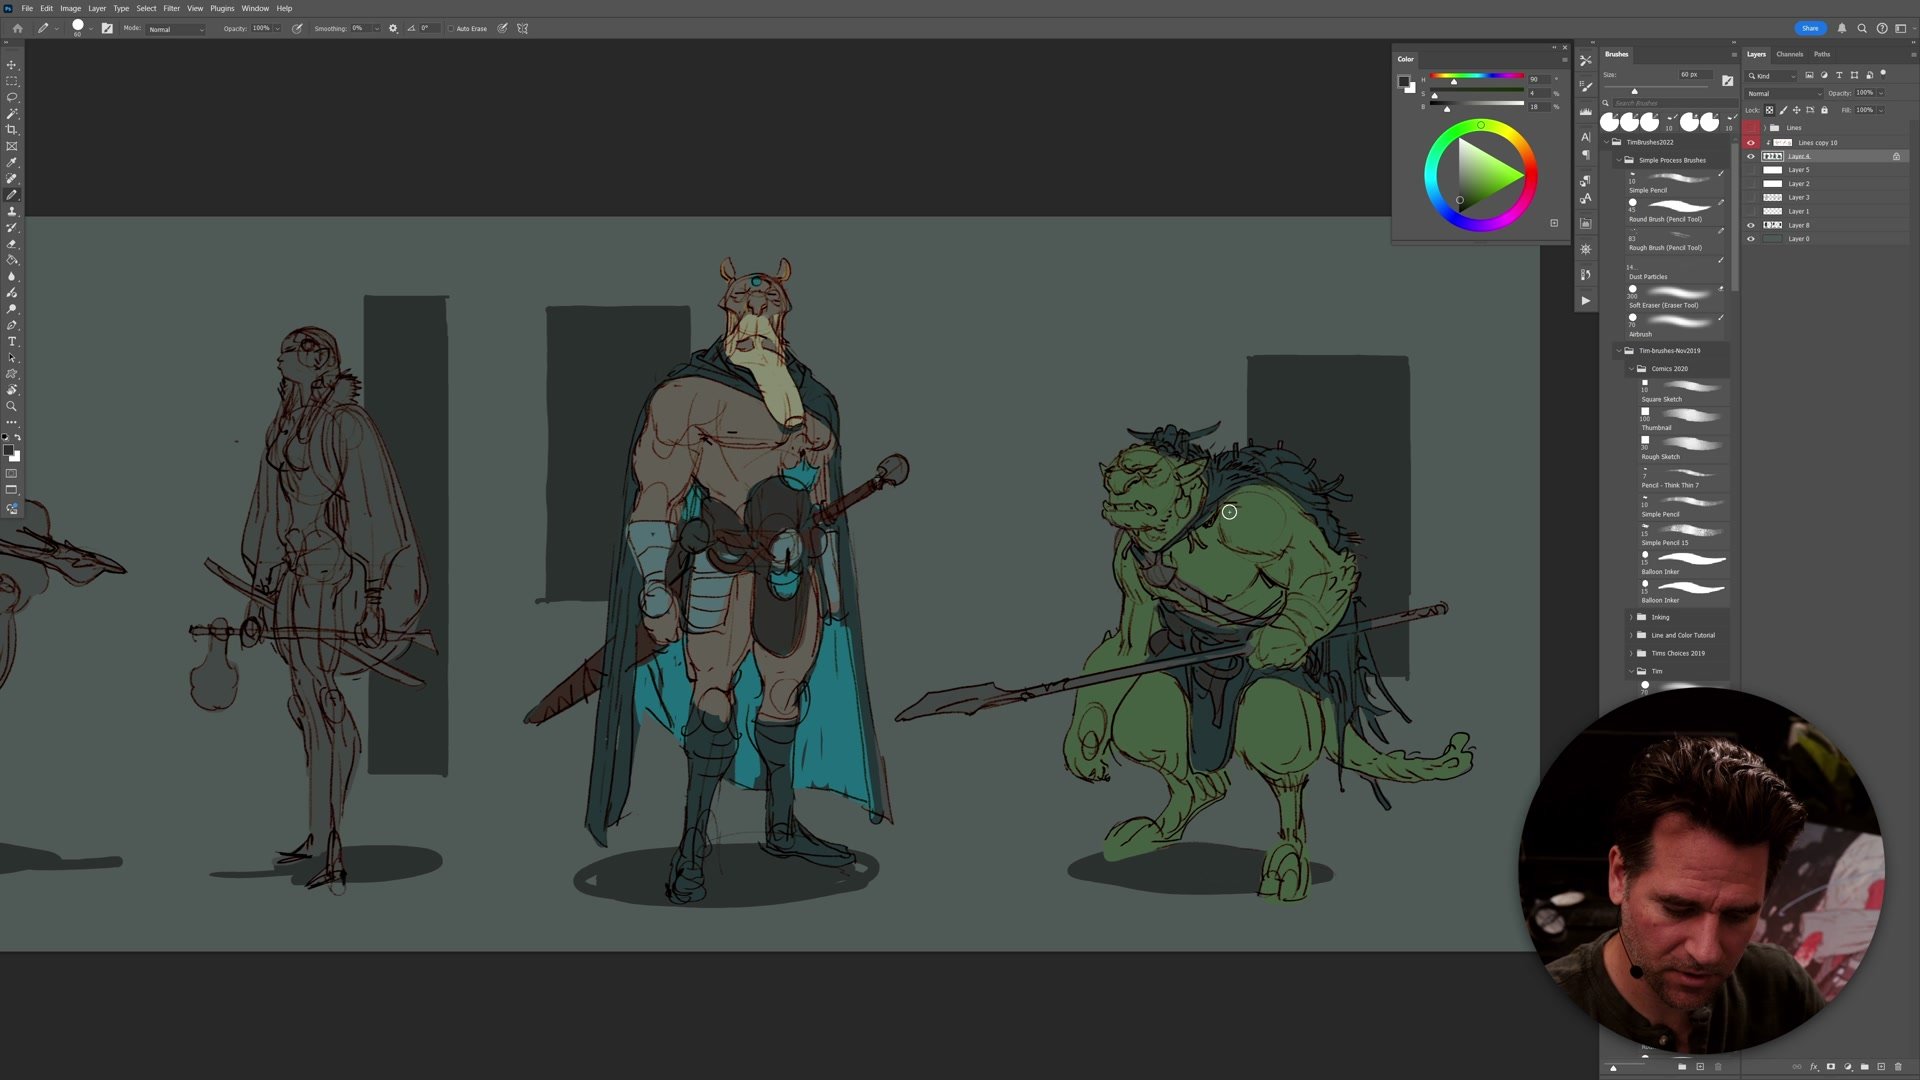
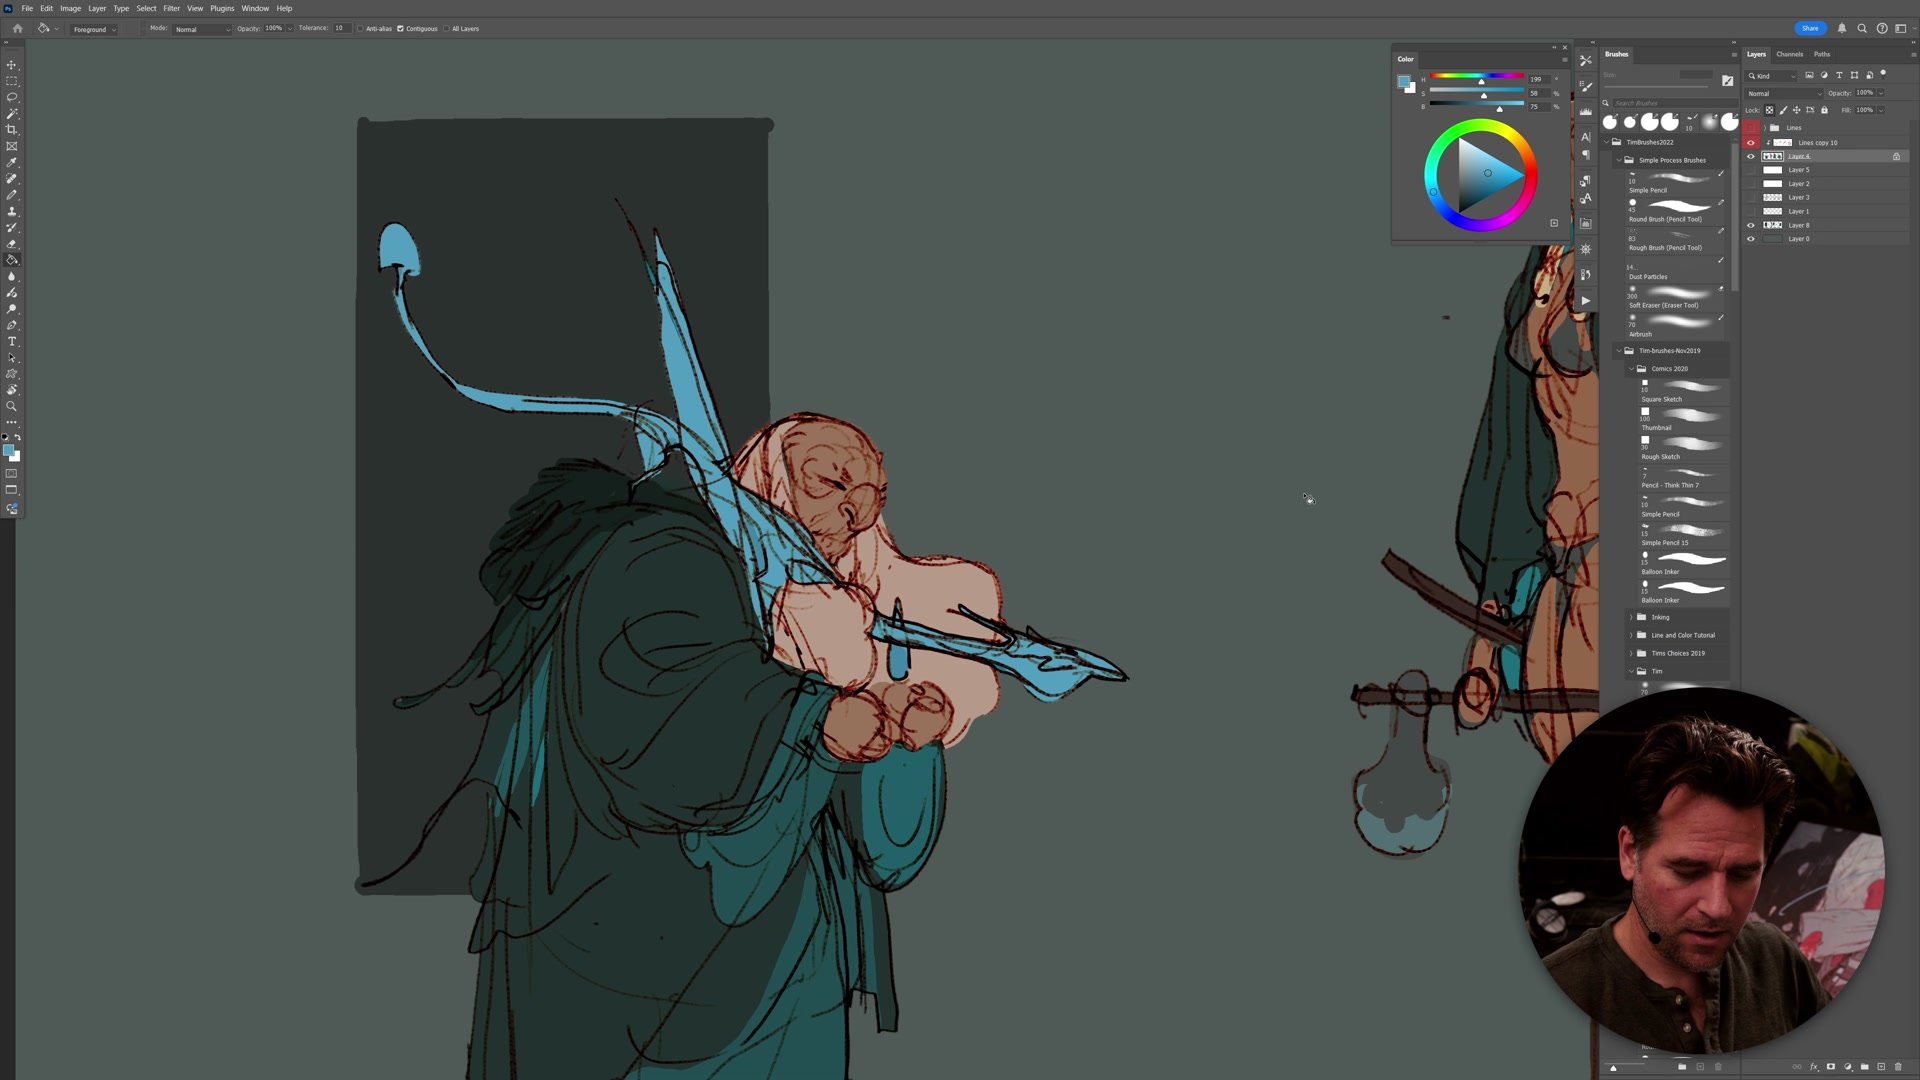
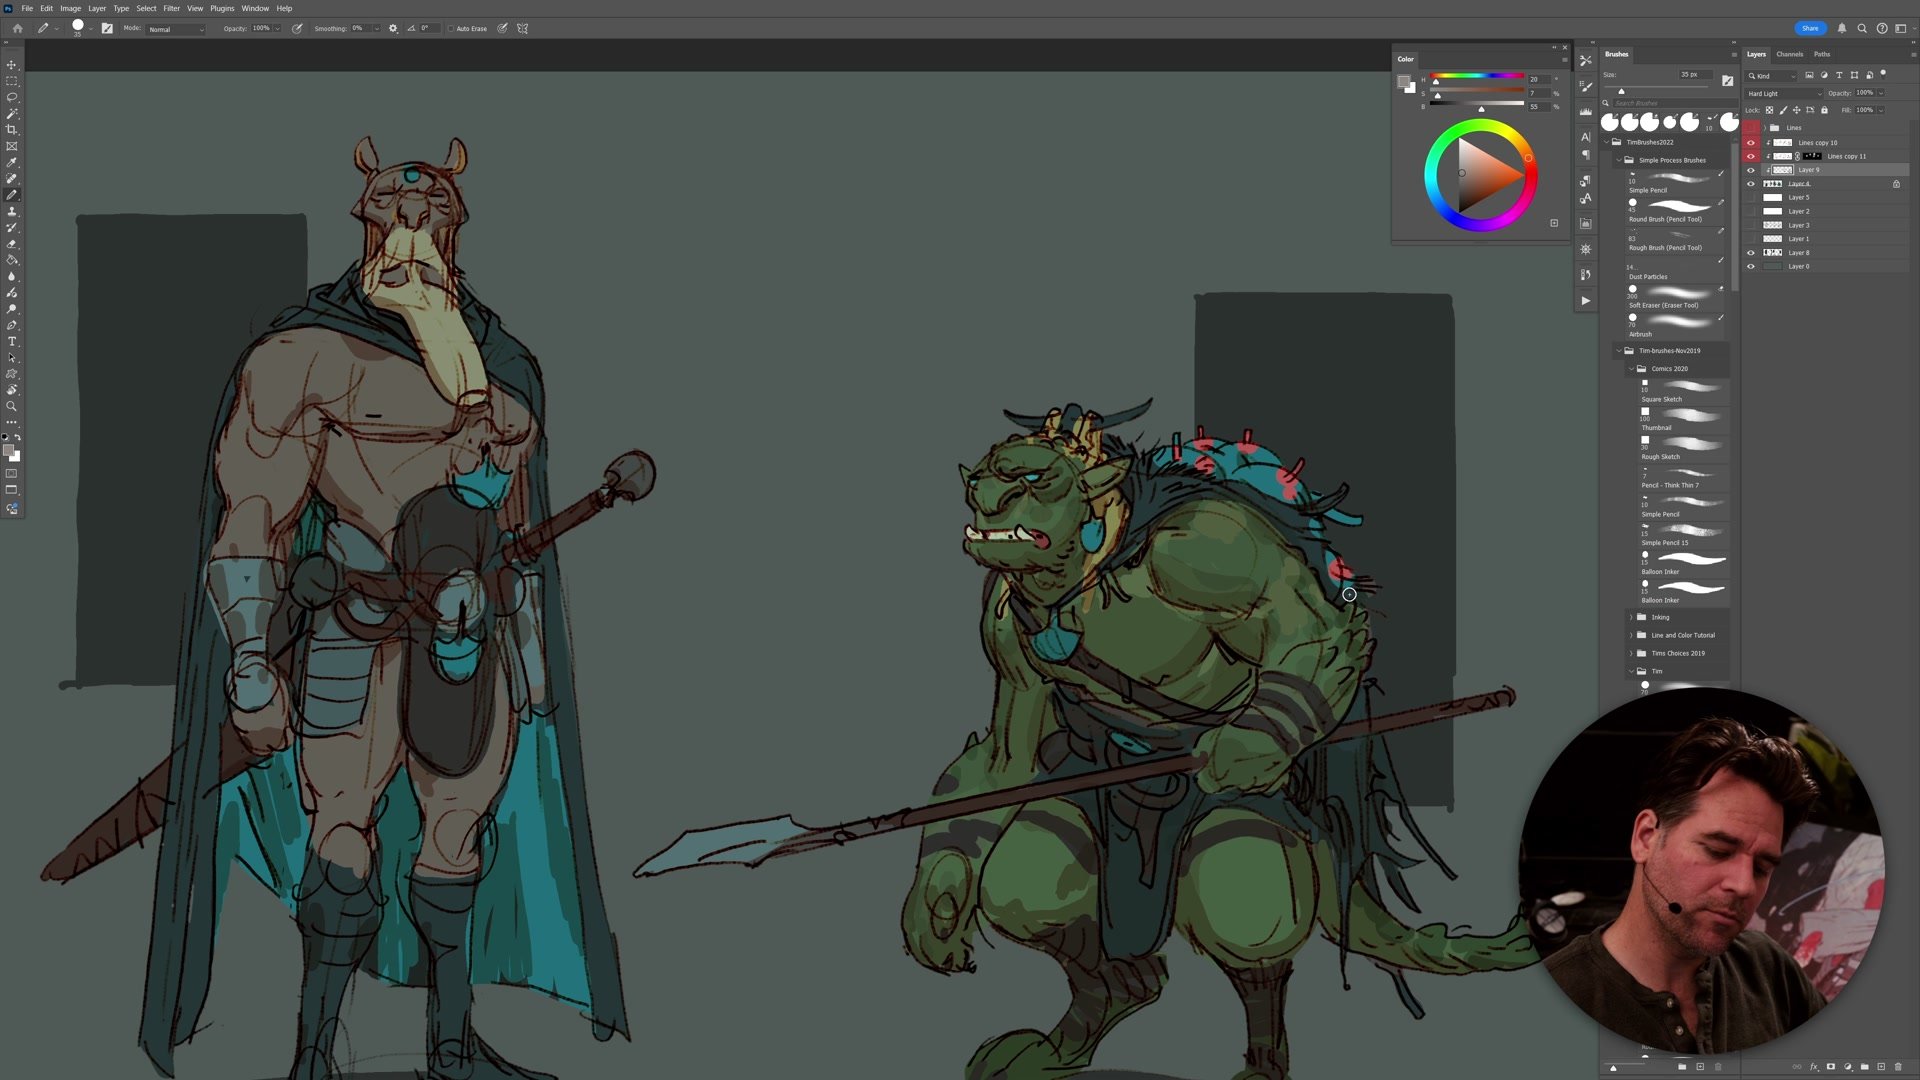
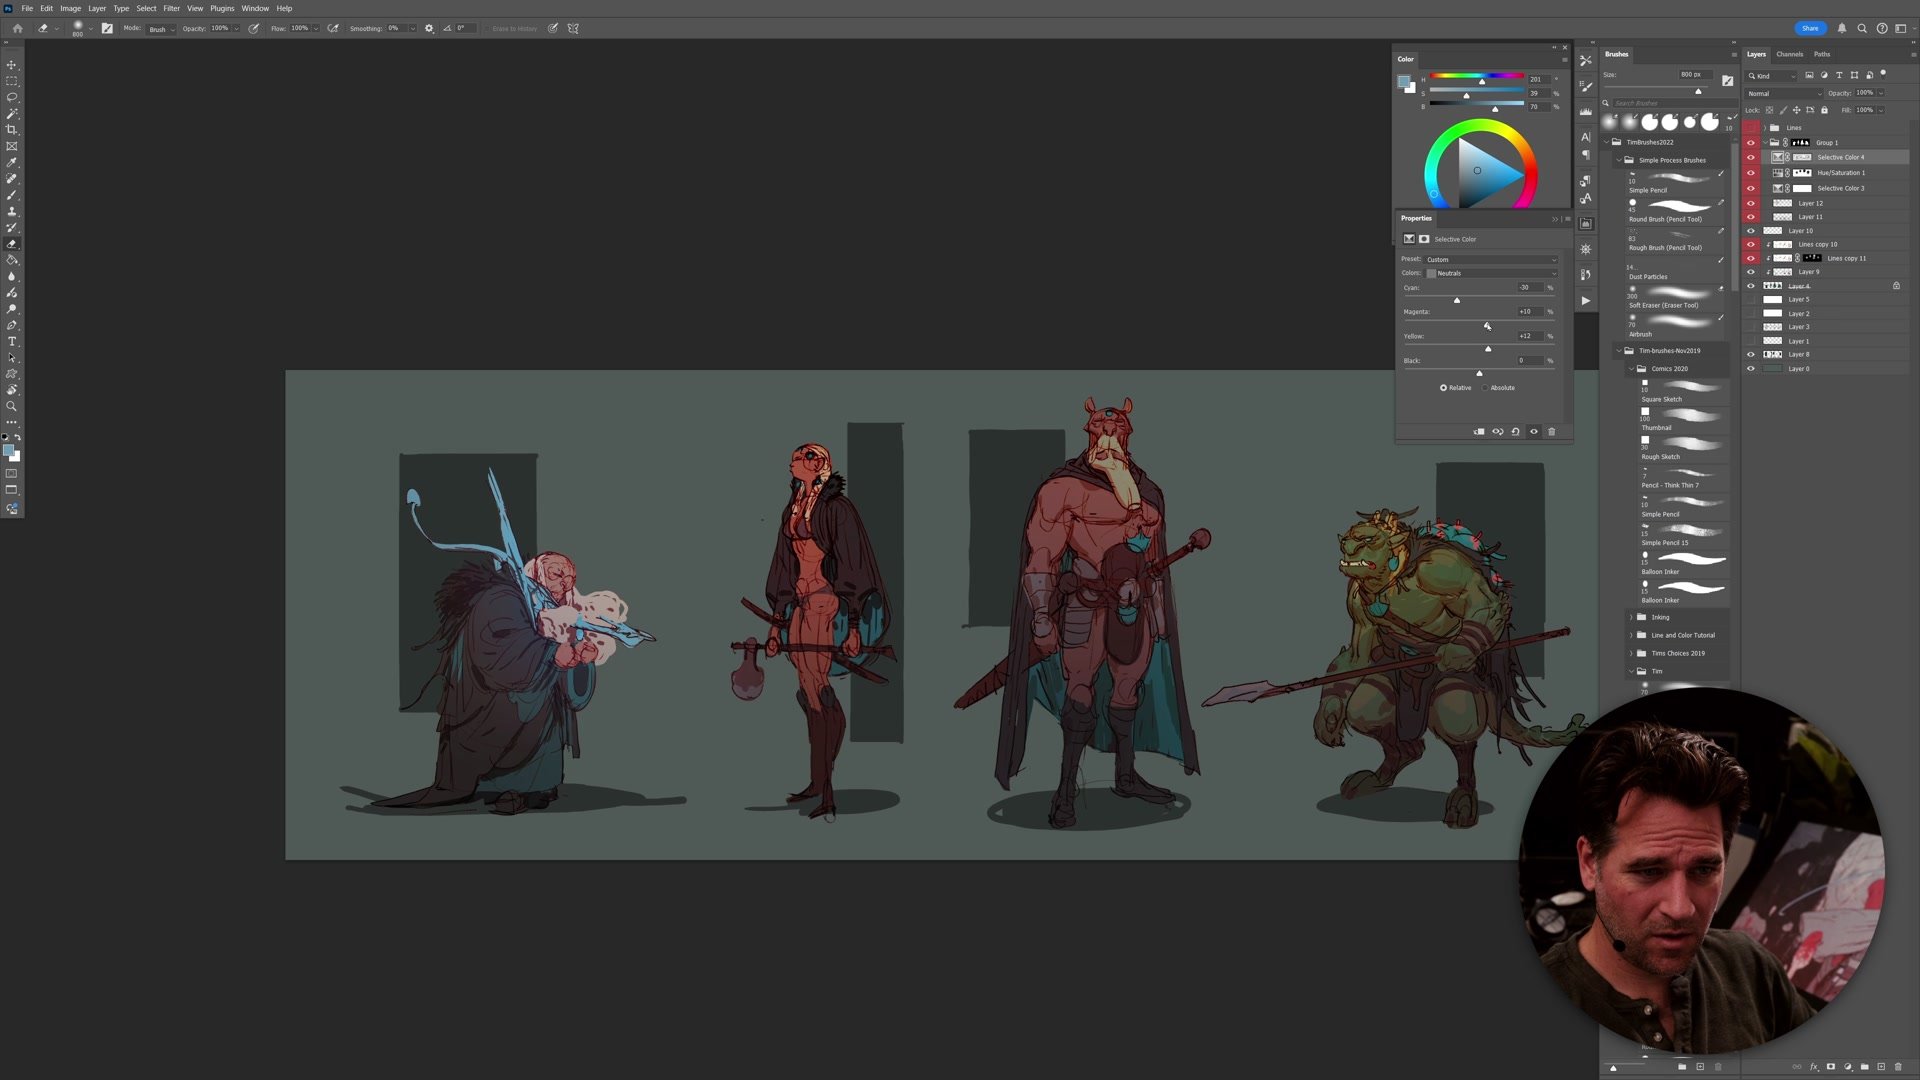
Color begins with Quick Mask to build clean silhouettes, offering one final chance to refine shapes. A unified color scheme anchors the group, with blue-gray cloaks and a deep blue accent serving as organizing visual language. Individual character colors are prototyped on one design and then eyedropped across the others. Hue/Saturation adjustments allow quick experimentation with skin tones and accent colors without repainting.
The pencil tool, the simplest brush in Photoshop, handles all the color work. Its lack of opacity variation and texture forces a direct, design-focused approach. A hard light layer at around 40-50 percent opacity adds basic shadow and highlight, pushing dimensionality without committing to full rendering. Spotting blacks, a technique borrowed from comic book inking, adds graphic impact by placing dark accents for pictorial breakup rather than strict lighting logic.
Final Lineup
Key Techniques
Lineup Format: Designing characters side by side reveals when shapes become repetitive and encourages variety in proportion, silhouette, and stance across the group.
Two-Pass Sketching: A faint rough pass captures energy and shape ideas. A second structural pass on a tracing paper layer refines anatomy while preserving the original gesture.
Unified Color Language: Eyedropping a shared palette across all characters ensures visual cohesion. Hue/Saturation adjustments per character add individual identity within the unified scheme.
Hard Light Quick Polish: A single hard light layer with the pencil tool adds shadow, highlight, and graphic accents in minutes without committing to a full rendering pass.
Try This
Set a Time Limit: Block out a two-hour session and commit to producing a lineup of four to six characters from a single project idea, moving through rough sketches, refined lines, and flat color in that window.
Use the Pencil Tool Only: Restrict yourself to Photoshop's pencil tool for the entire color phase. The constraint forces design-focused decisions rather than painterly rendering.
Evaluate at Thumbnail Scale: Keep a second window open at a reduced zoom level throughout the session. If the designs do not read clearly at small size, the silhouettes need more work.


