Practice Drawing Characters From Start To Finish
Summary
Building Characters From Mannequins
One of the biggest challenges artists face is putting it all together. Studying individual concepts like the Loomis mannequin, anatomy, or proportion is one thing, but combining them into a finished character drawing from start to finish is where most artists get stuck. The gap between textbook instruction and actual drawing practice is where the real learning happens.
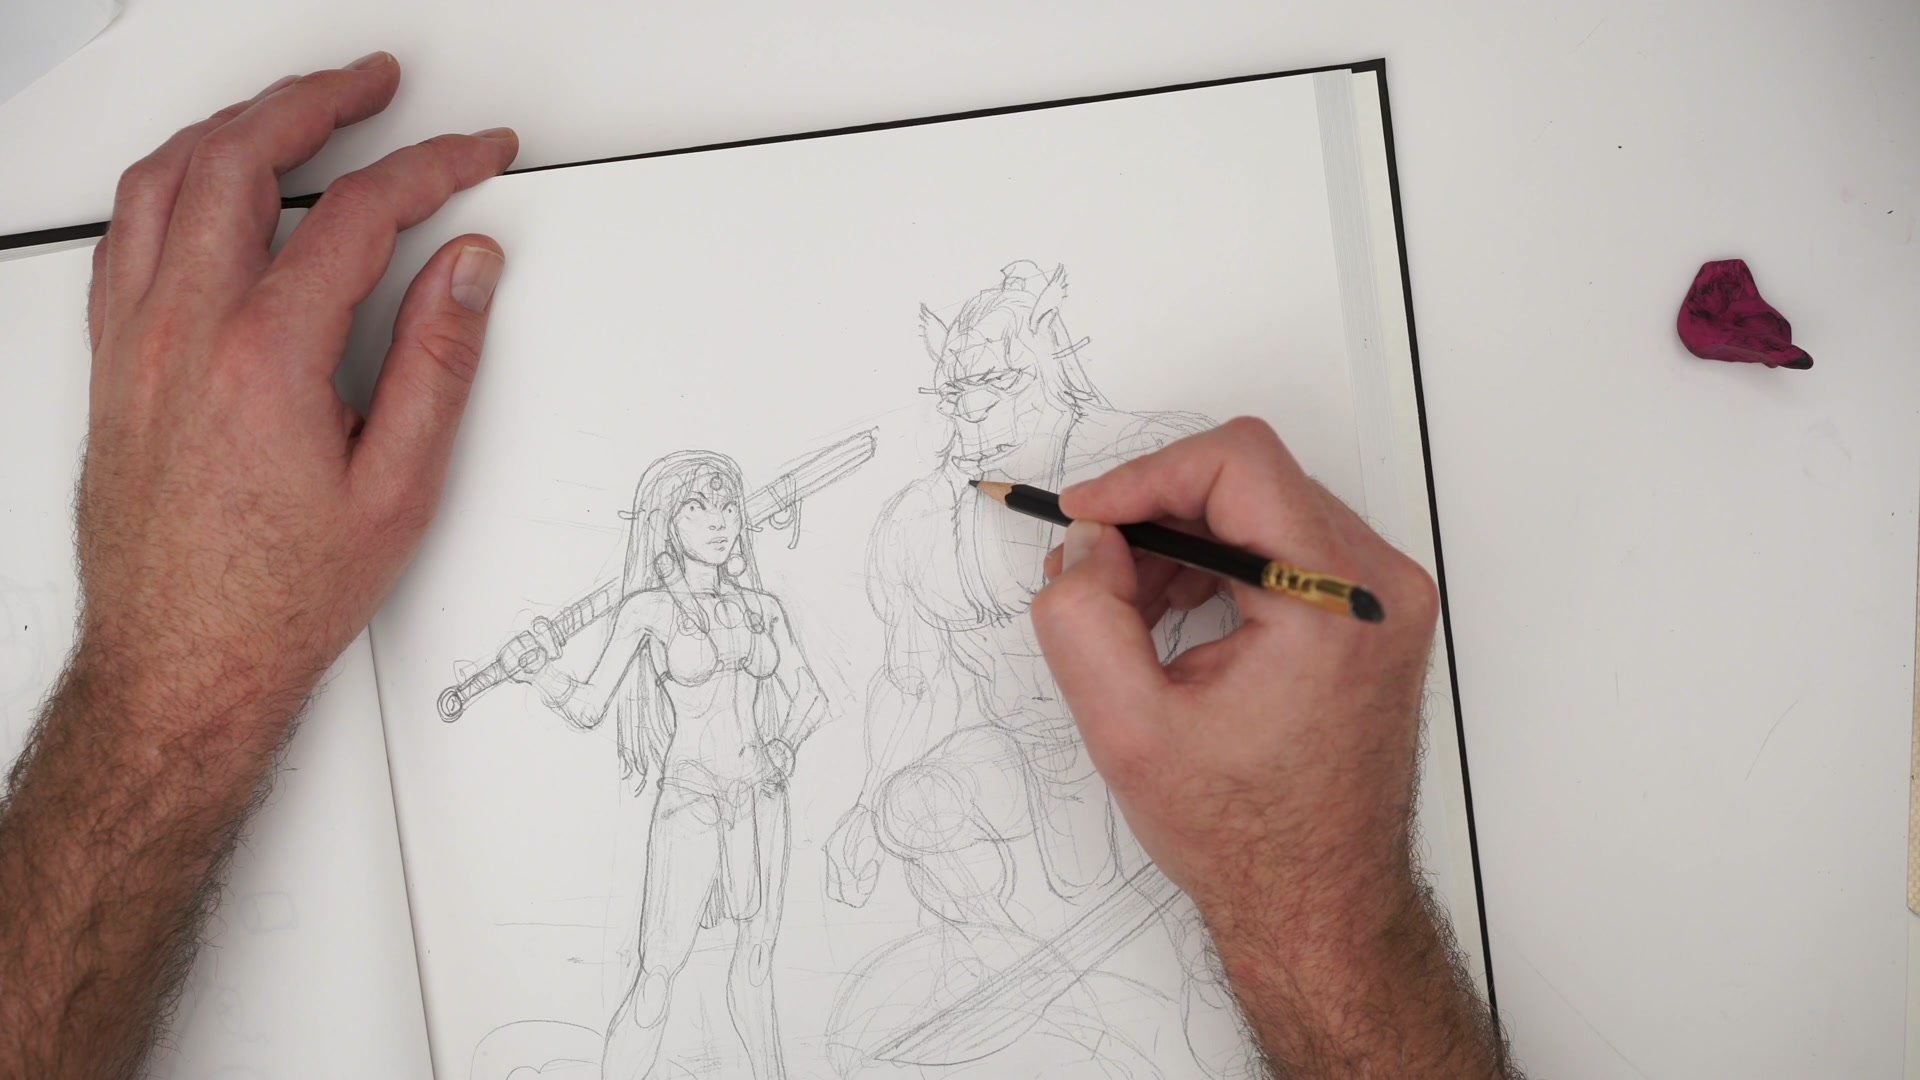
This demonstration walks through the complete process of drawing fantasy characters using mannequin construction, from the initial thumbnail sketch through stick figures, anatomical mass, and final detail. The approach mirrors how a professional comic artist actually works day in and day out, drawing characters with exaggerated anatomy inspired by sources like Capcom Design Works and classic Street Fighter illustrations.
References and Rough Blocking
Starting Rough and Staying Loose
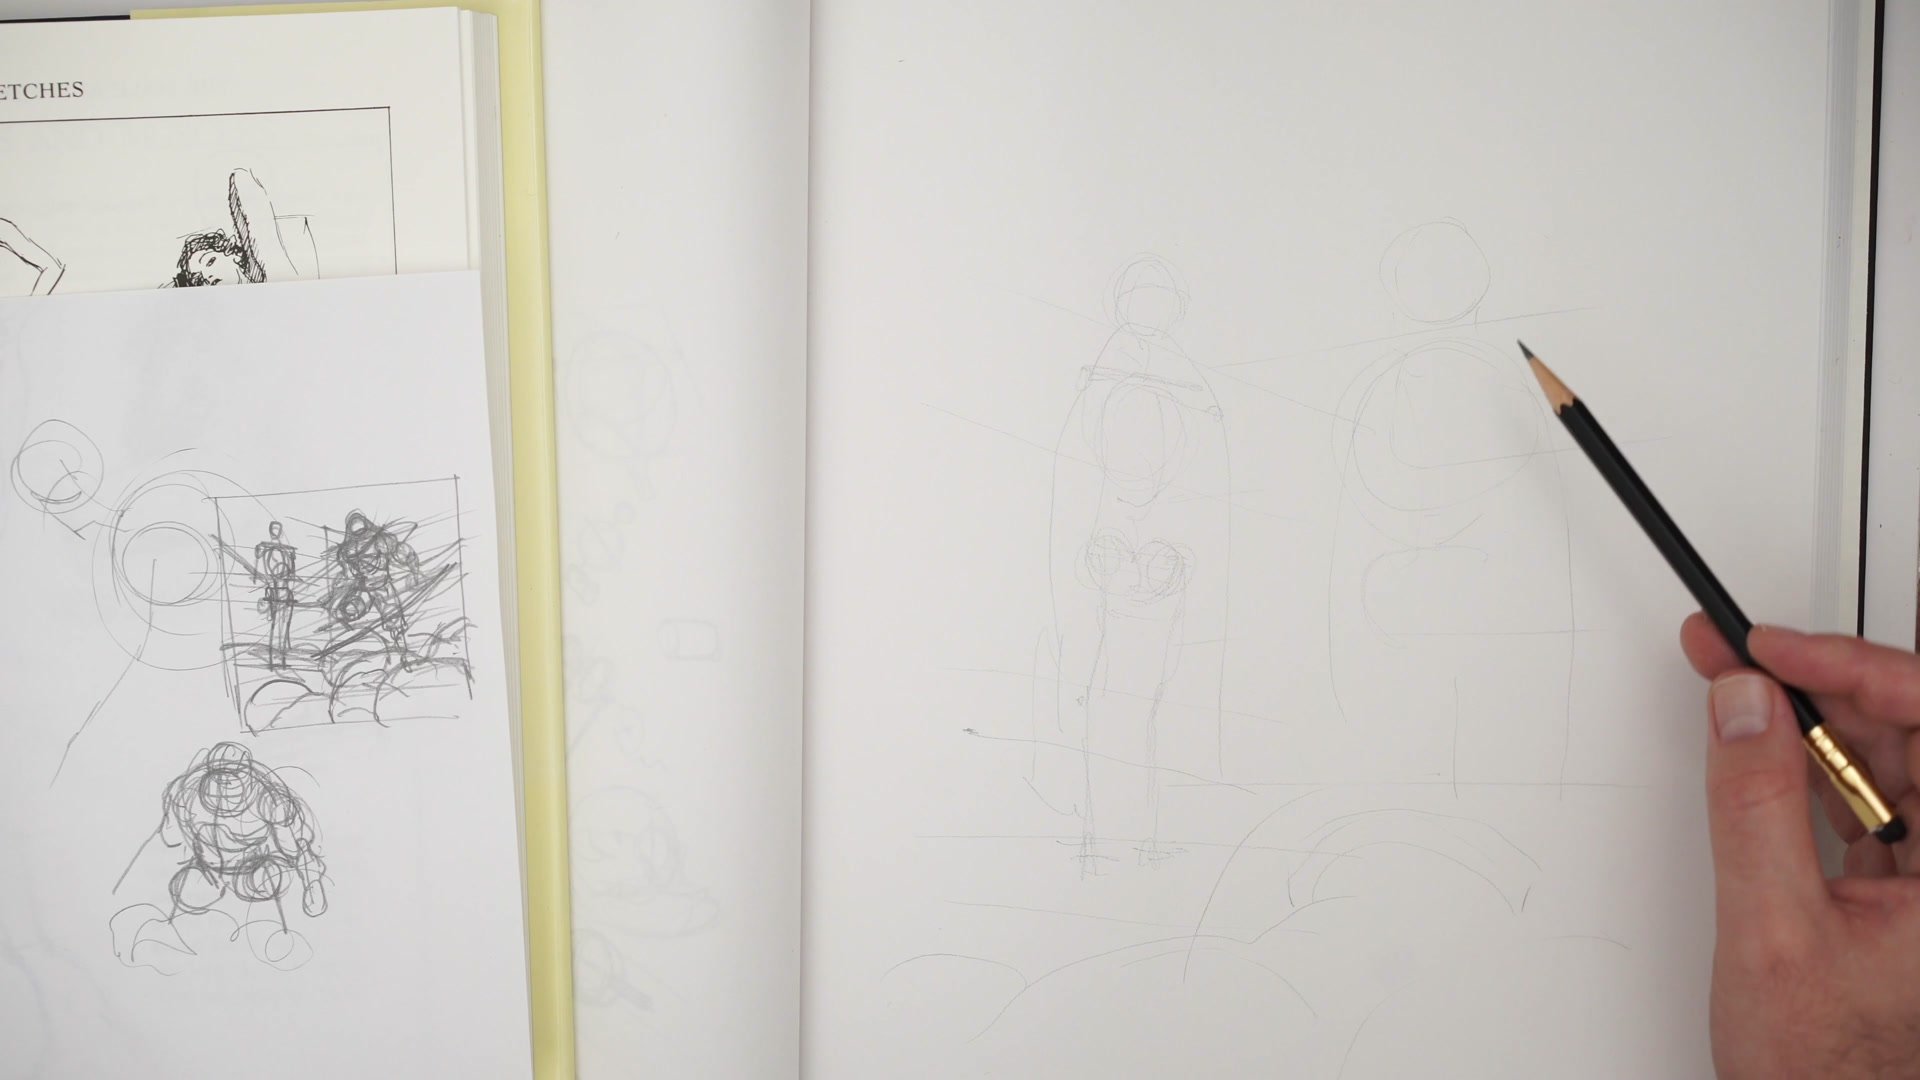
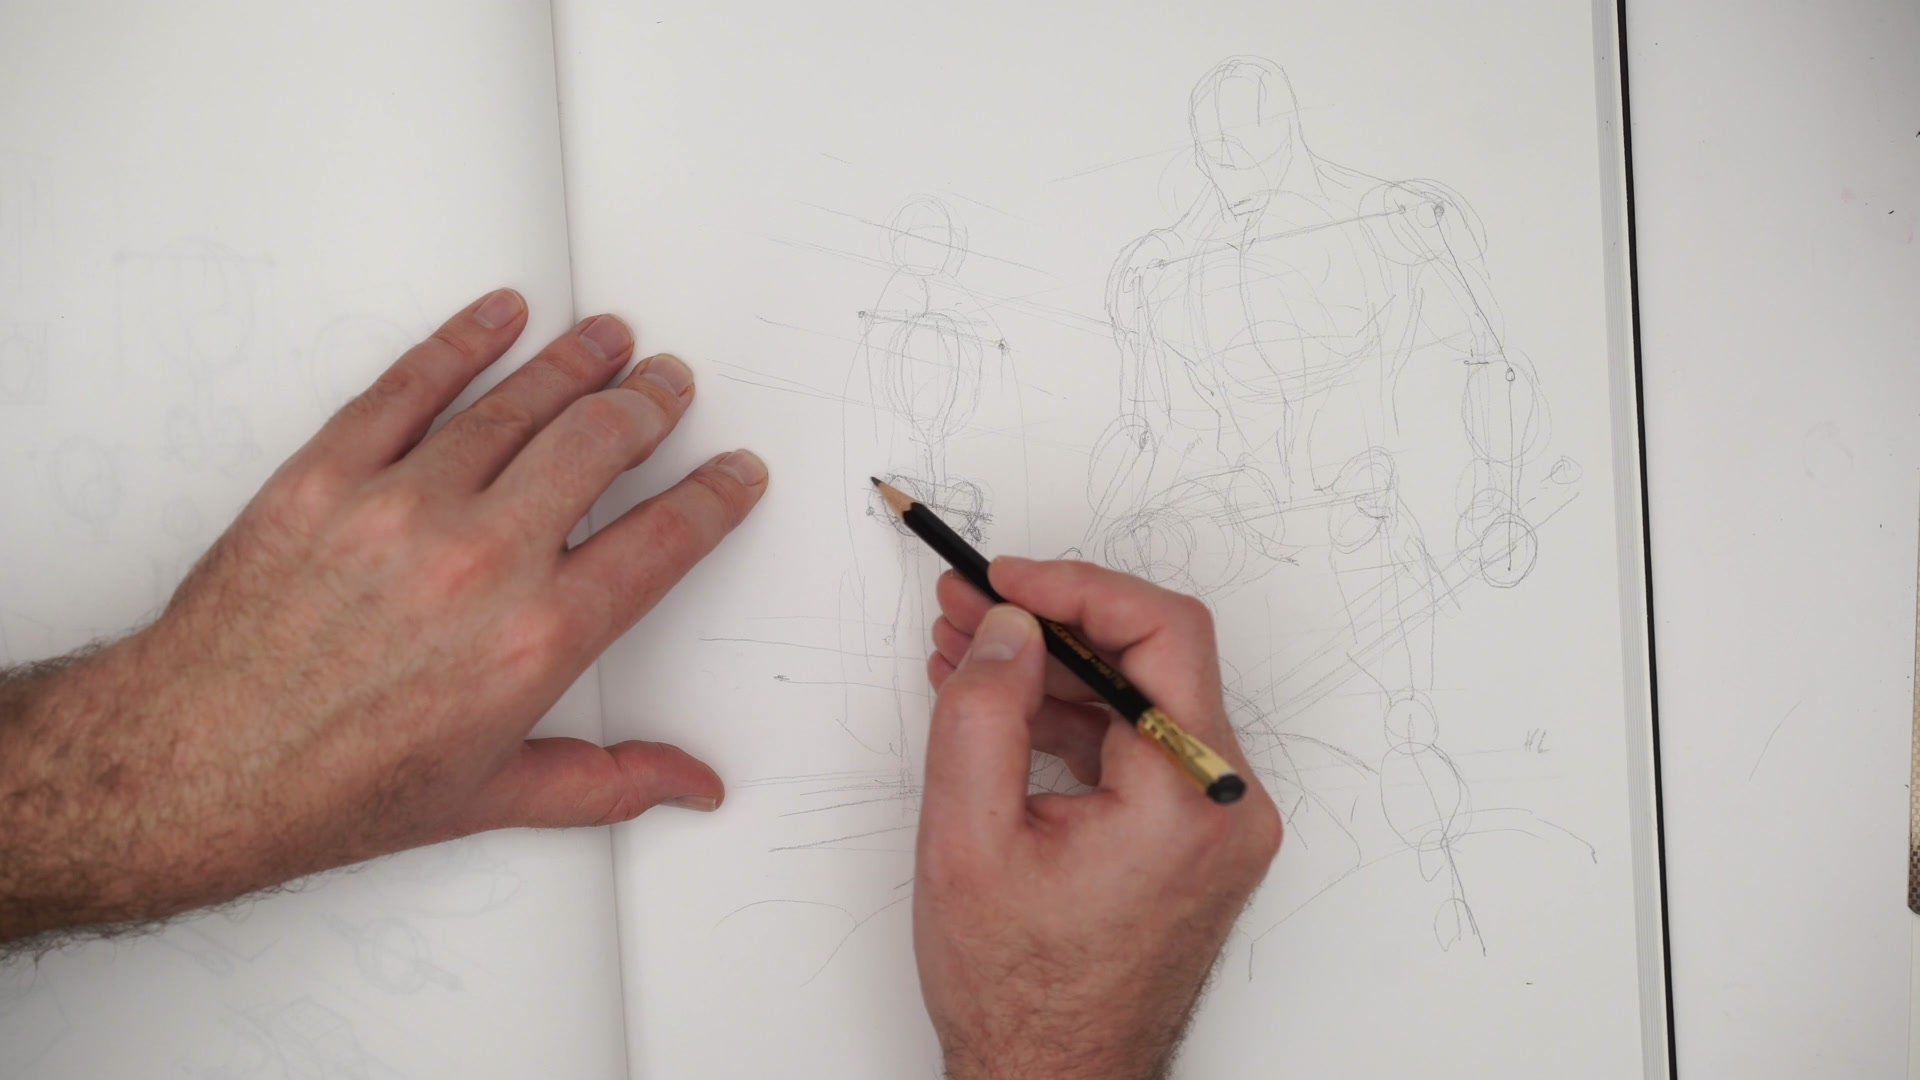
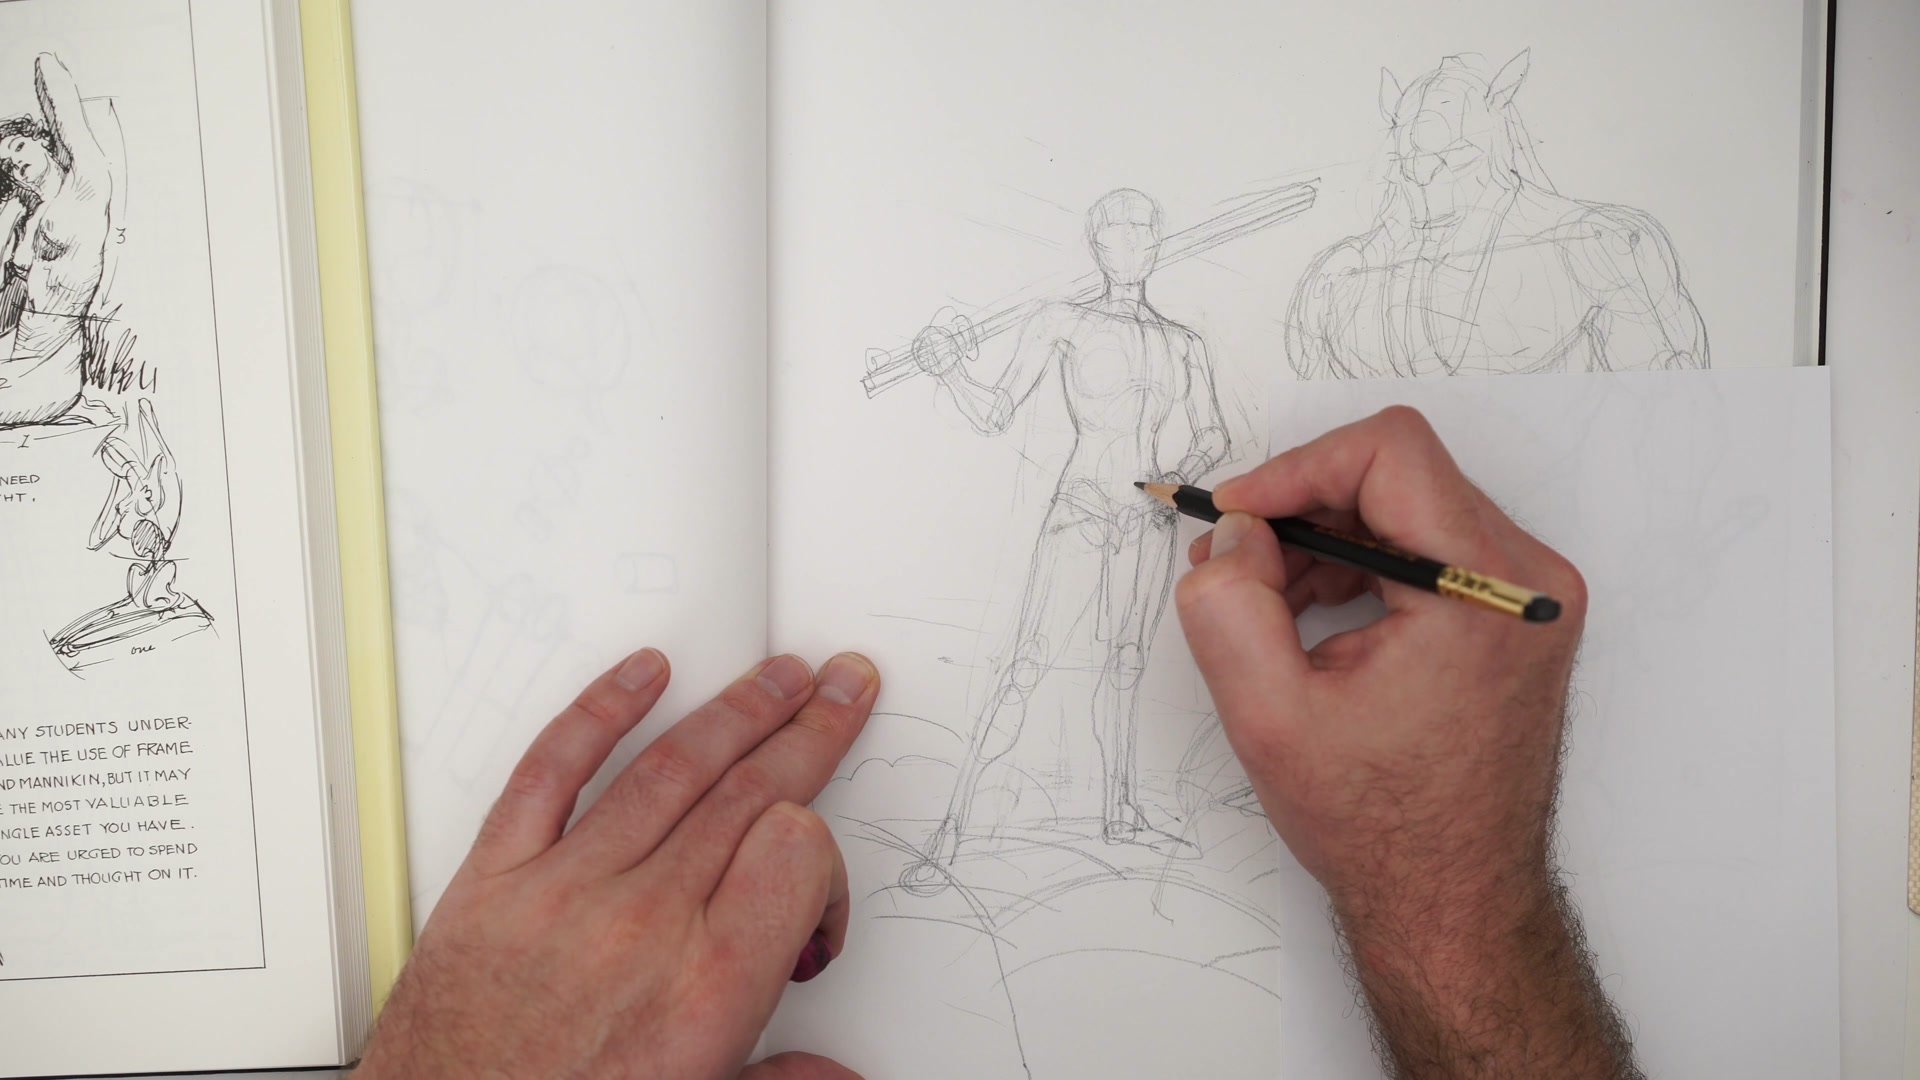
The process begins with something most instruction skips over entirely: the rough blocking phase where nothing looks finished and everything feels messy. This is the stage where characters are placed on the page as loose stick figures, checking whether the overall composition fits and the relative sizes work before committing to any detail.
Working lightly with a long pencil grip, the goal is to avoid putting down any lines that feel final. Perspective lines are placed roughly, not to vanishing points, but enough to keep things honest. The mannequin shapes go in as simple egg-form rib cages, pelvis markers, and limb indications. The critical discipline here is resisting the urge to jump ahead into anatomy or detail. If the basic placement and proportion are wrong at this stage, nothing built on top will save it.
Mannequin Construction

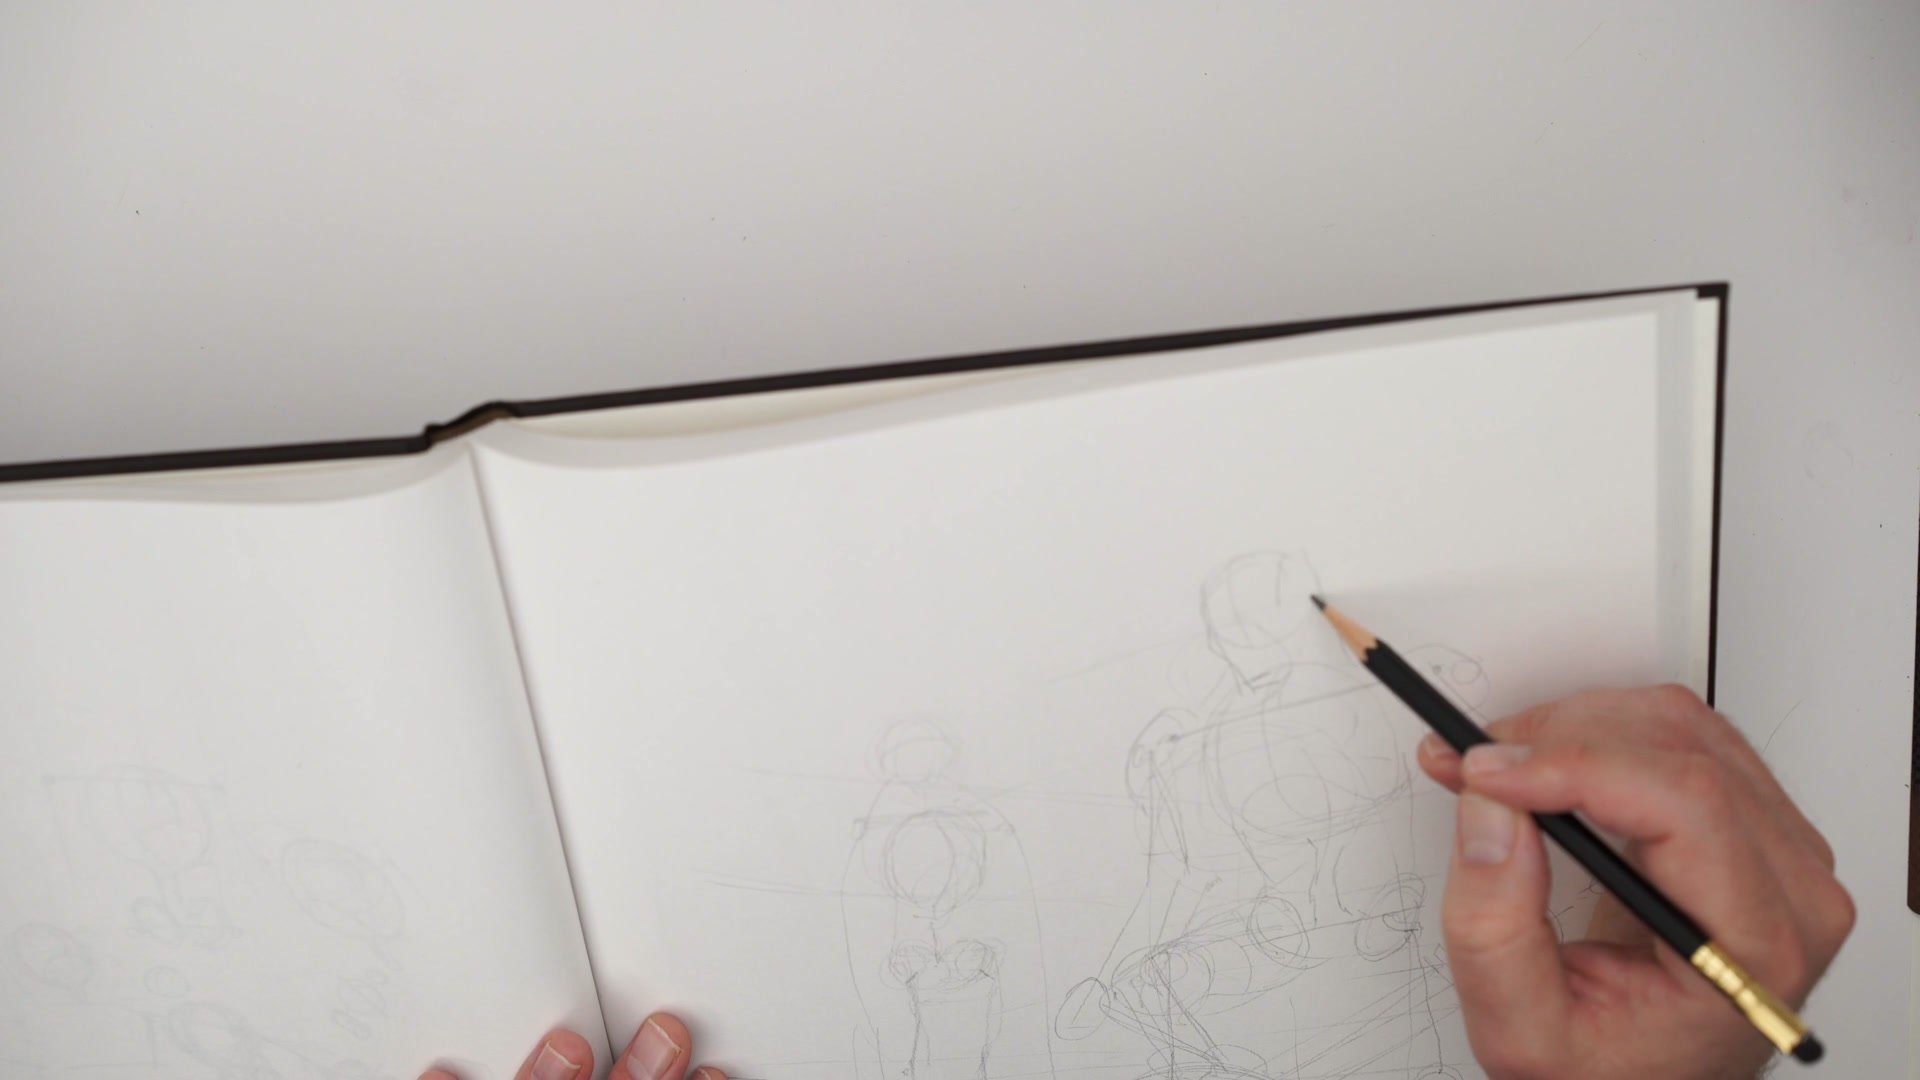
From Mannequin to Muscle
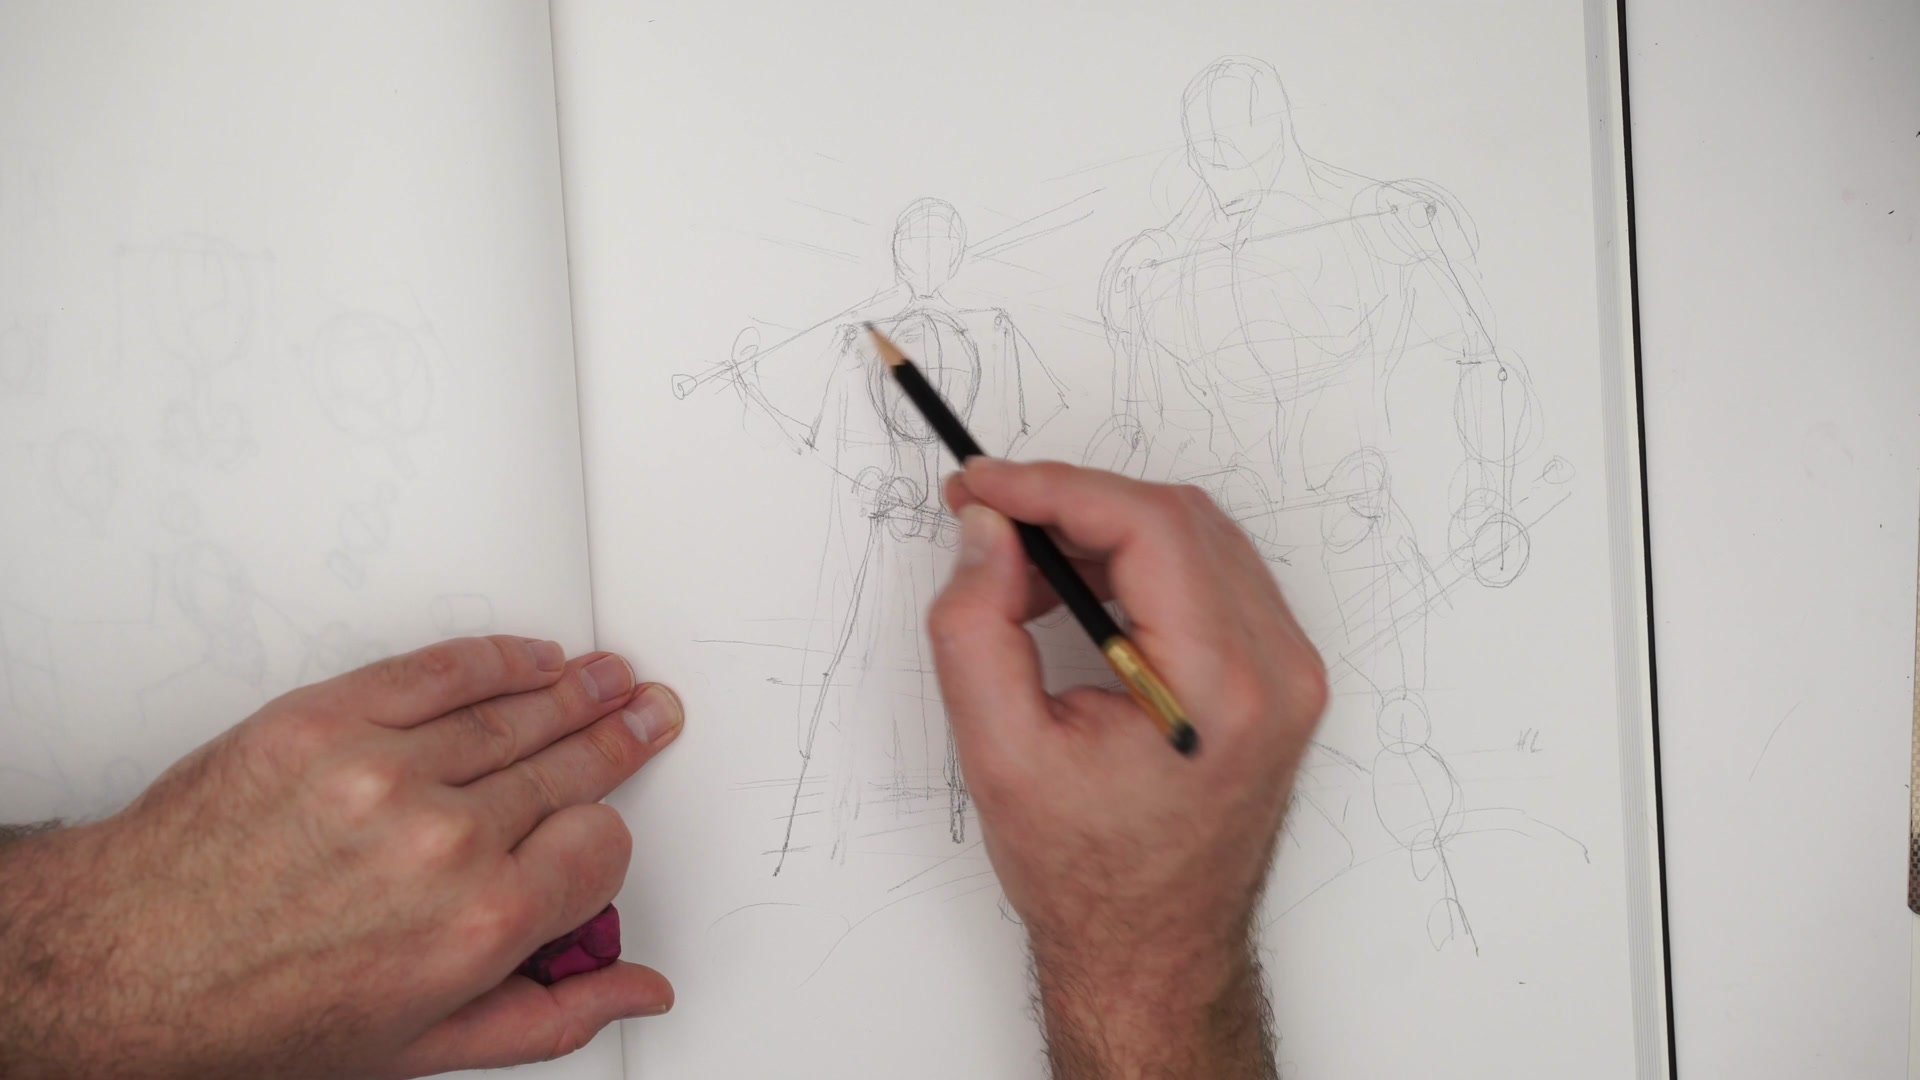
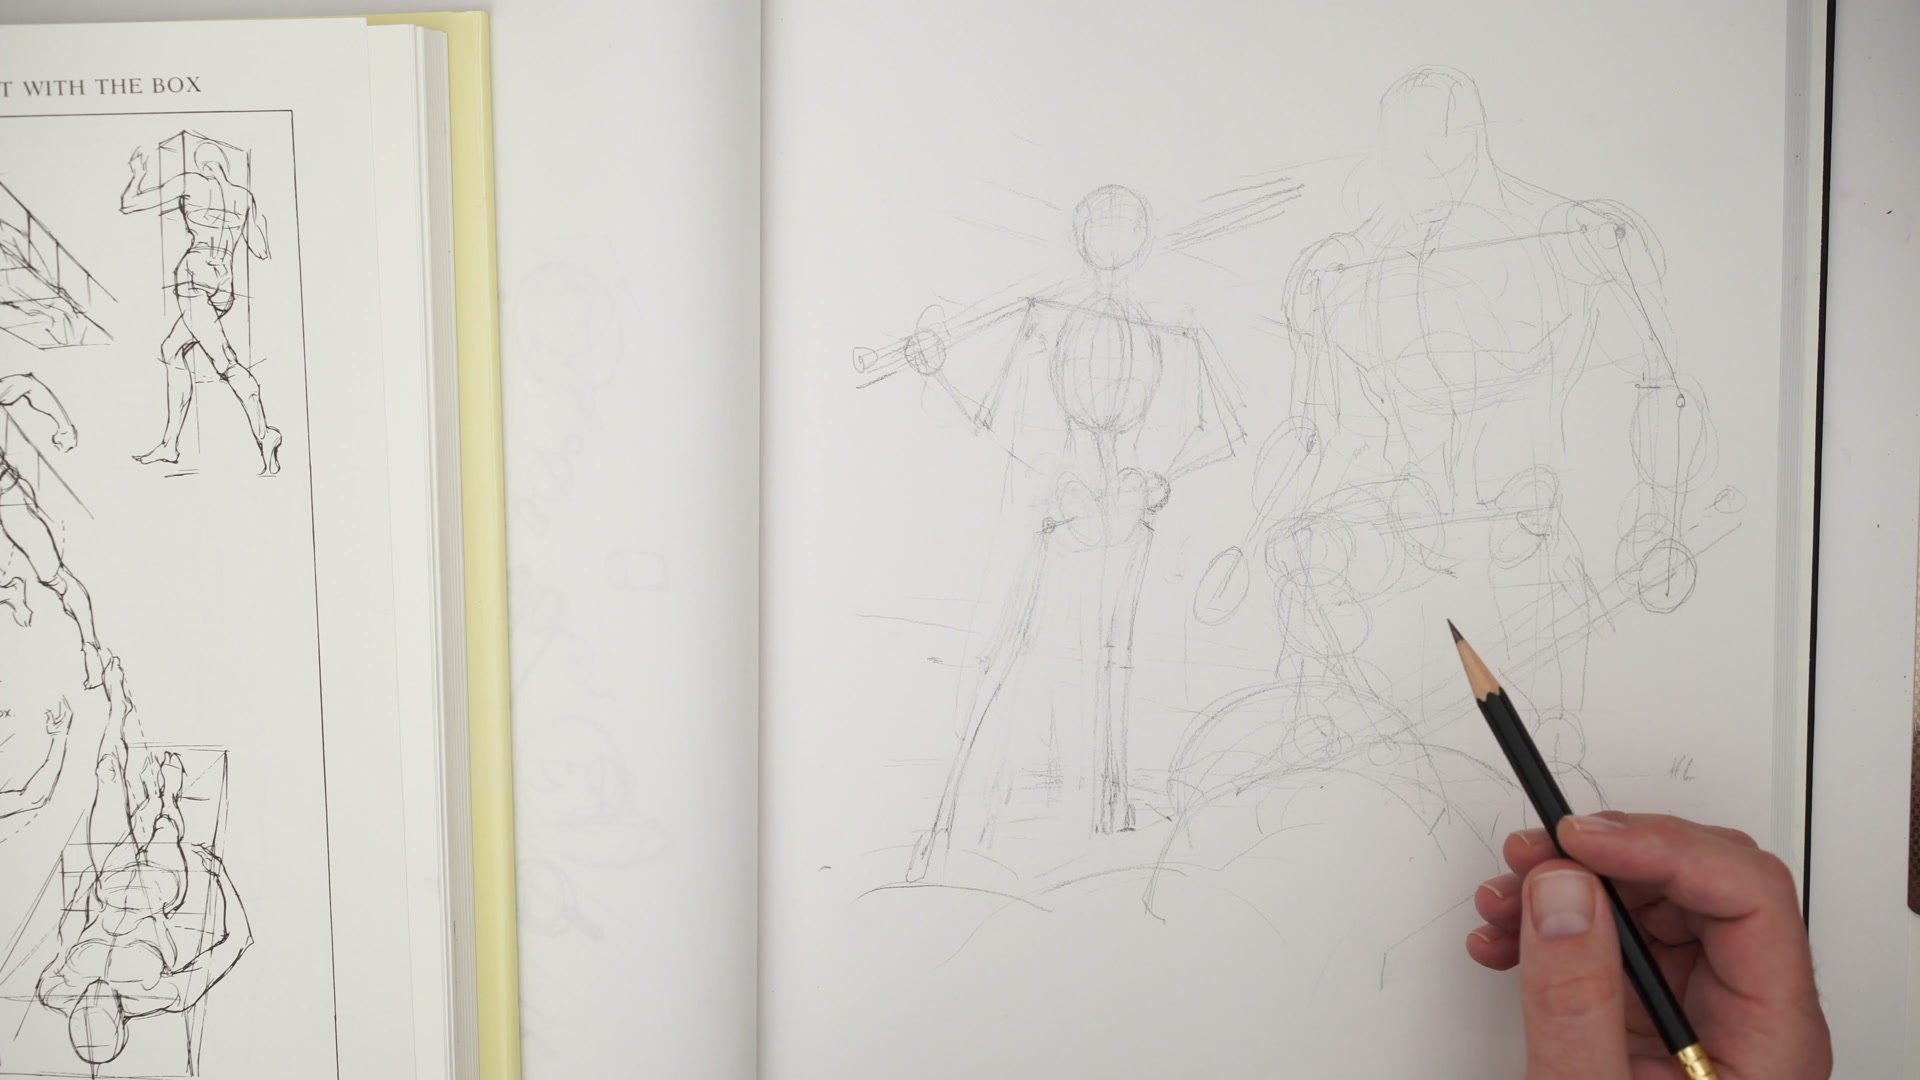
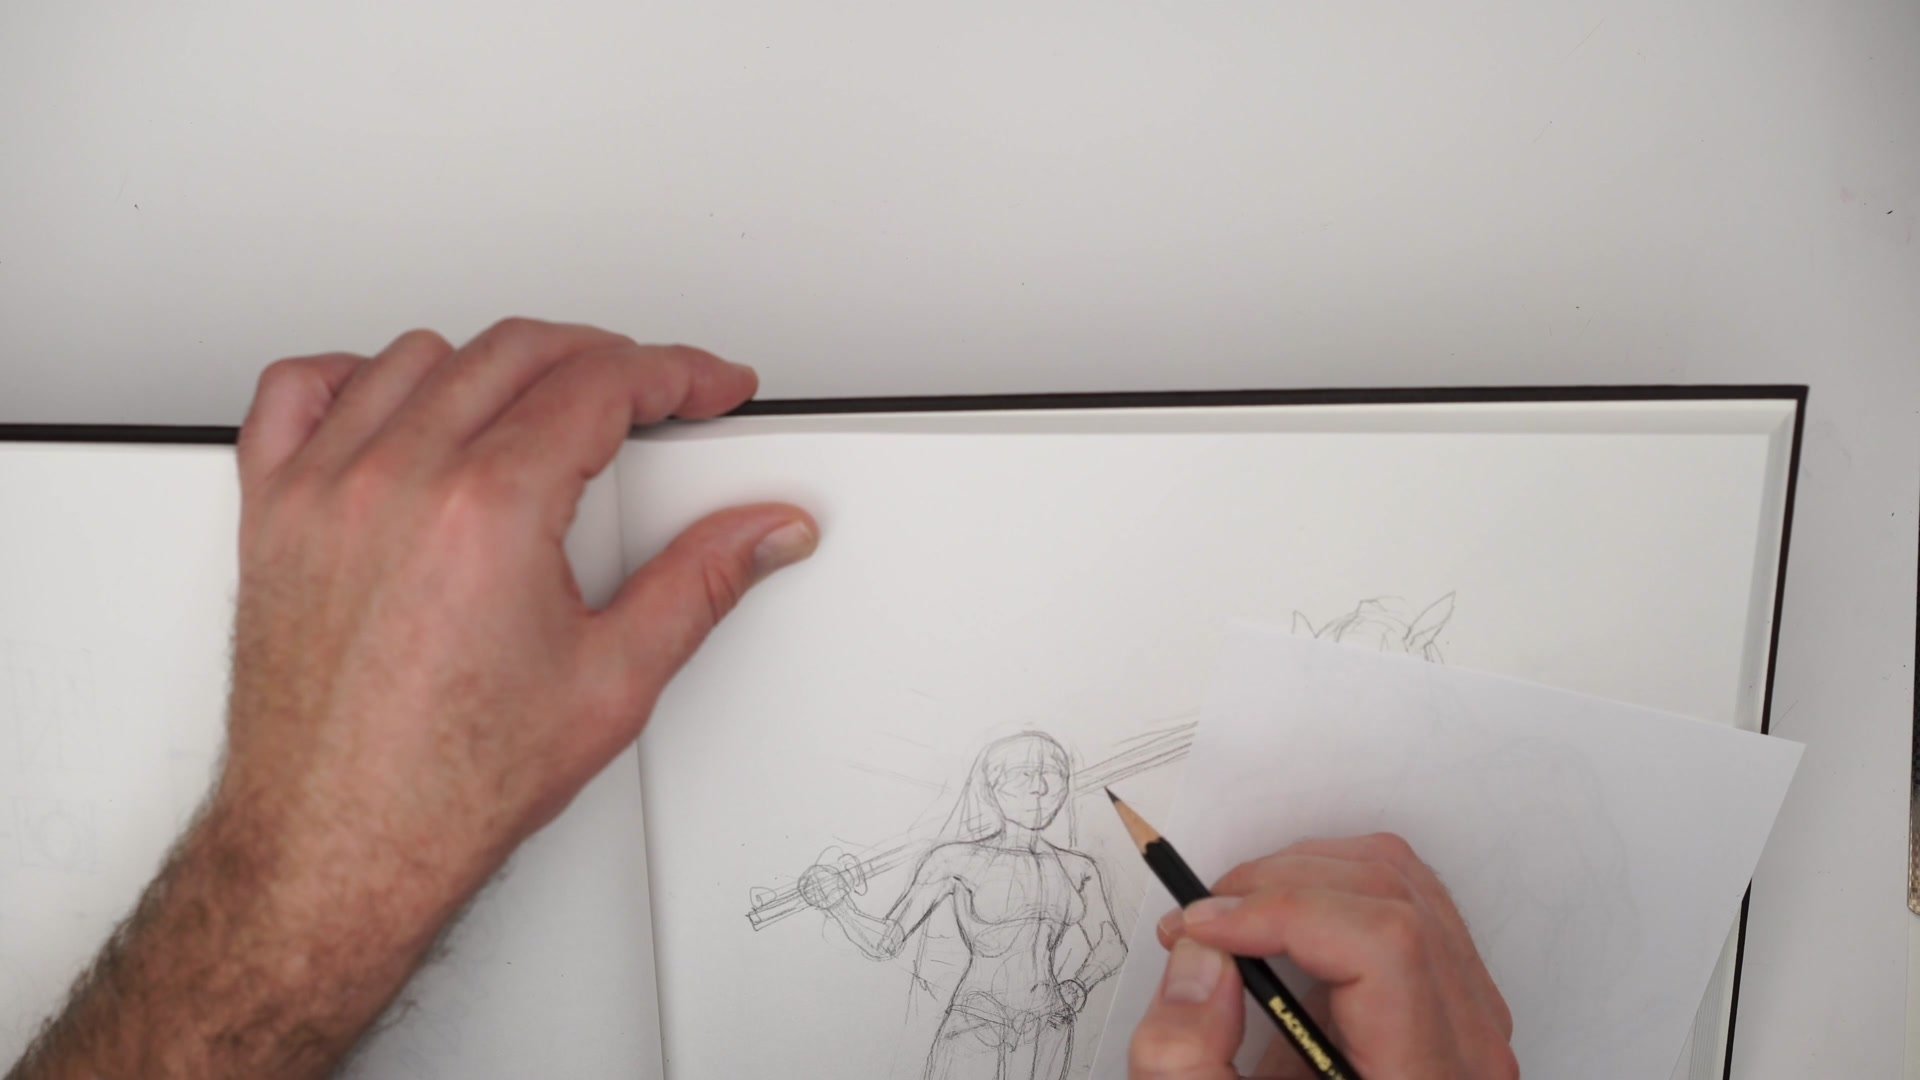
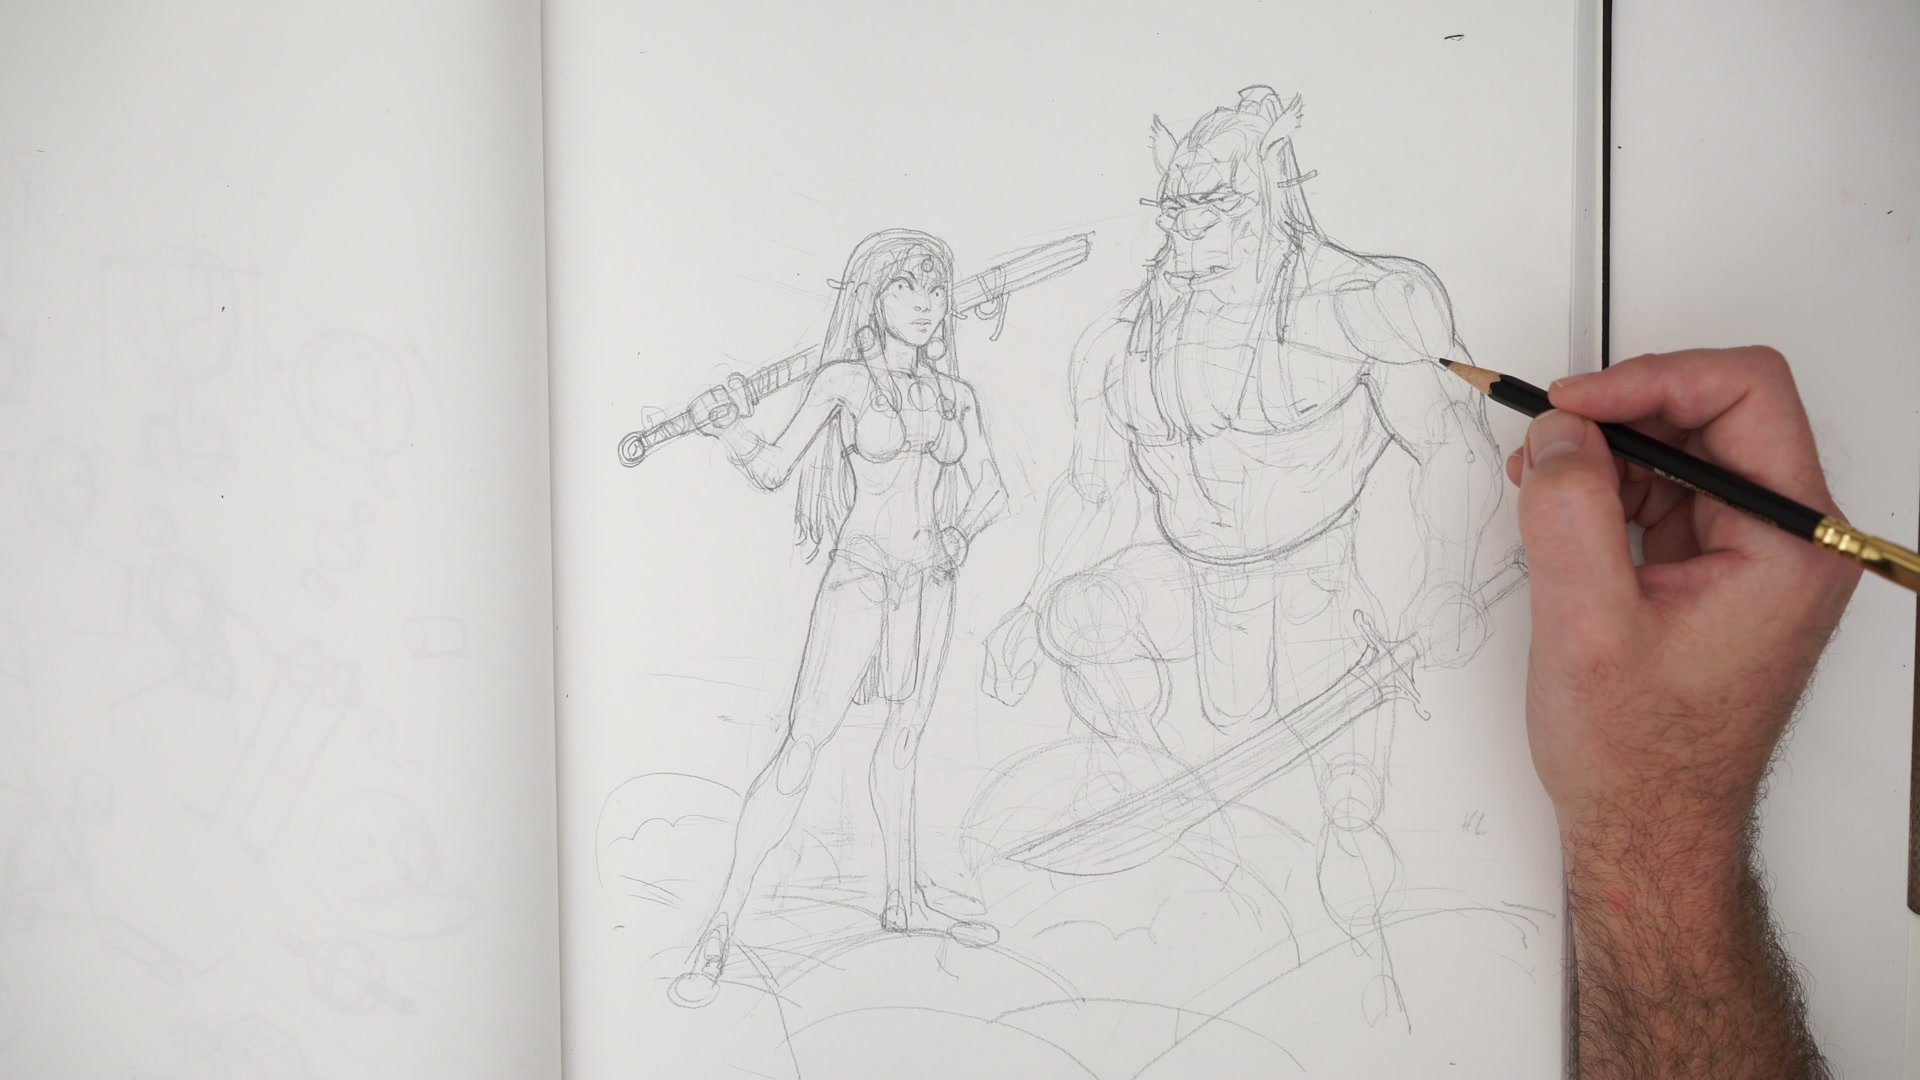
Once the mannequin phase locks in proportion and posture, the next step is building anatomical mass on top of that framework. For the larger warrior character, this means massing in primary forms like deltoids, pectorals, and the overall silhouette of a strongman build rather than lean, striated musculature. The center line remains the constant reference point throughout, keeping symmetry honest across the rib cage and pelvis.
The female character uses the same mannequin system but with different proportional choices. The hip bones become critical landmarks because on a leaner figure, those skeletal indicators define the silhouette curves that read as anatomically correct. The same construction approach yields completely different character designs simply by adjusting where mass is added and how much bulk sits on the frame. This is the real power of mannequin-based construction: the same tool produces any character type.
Adding Anatomy and Detail

Refining Through Redrawing
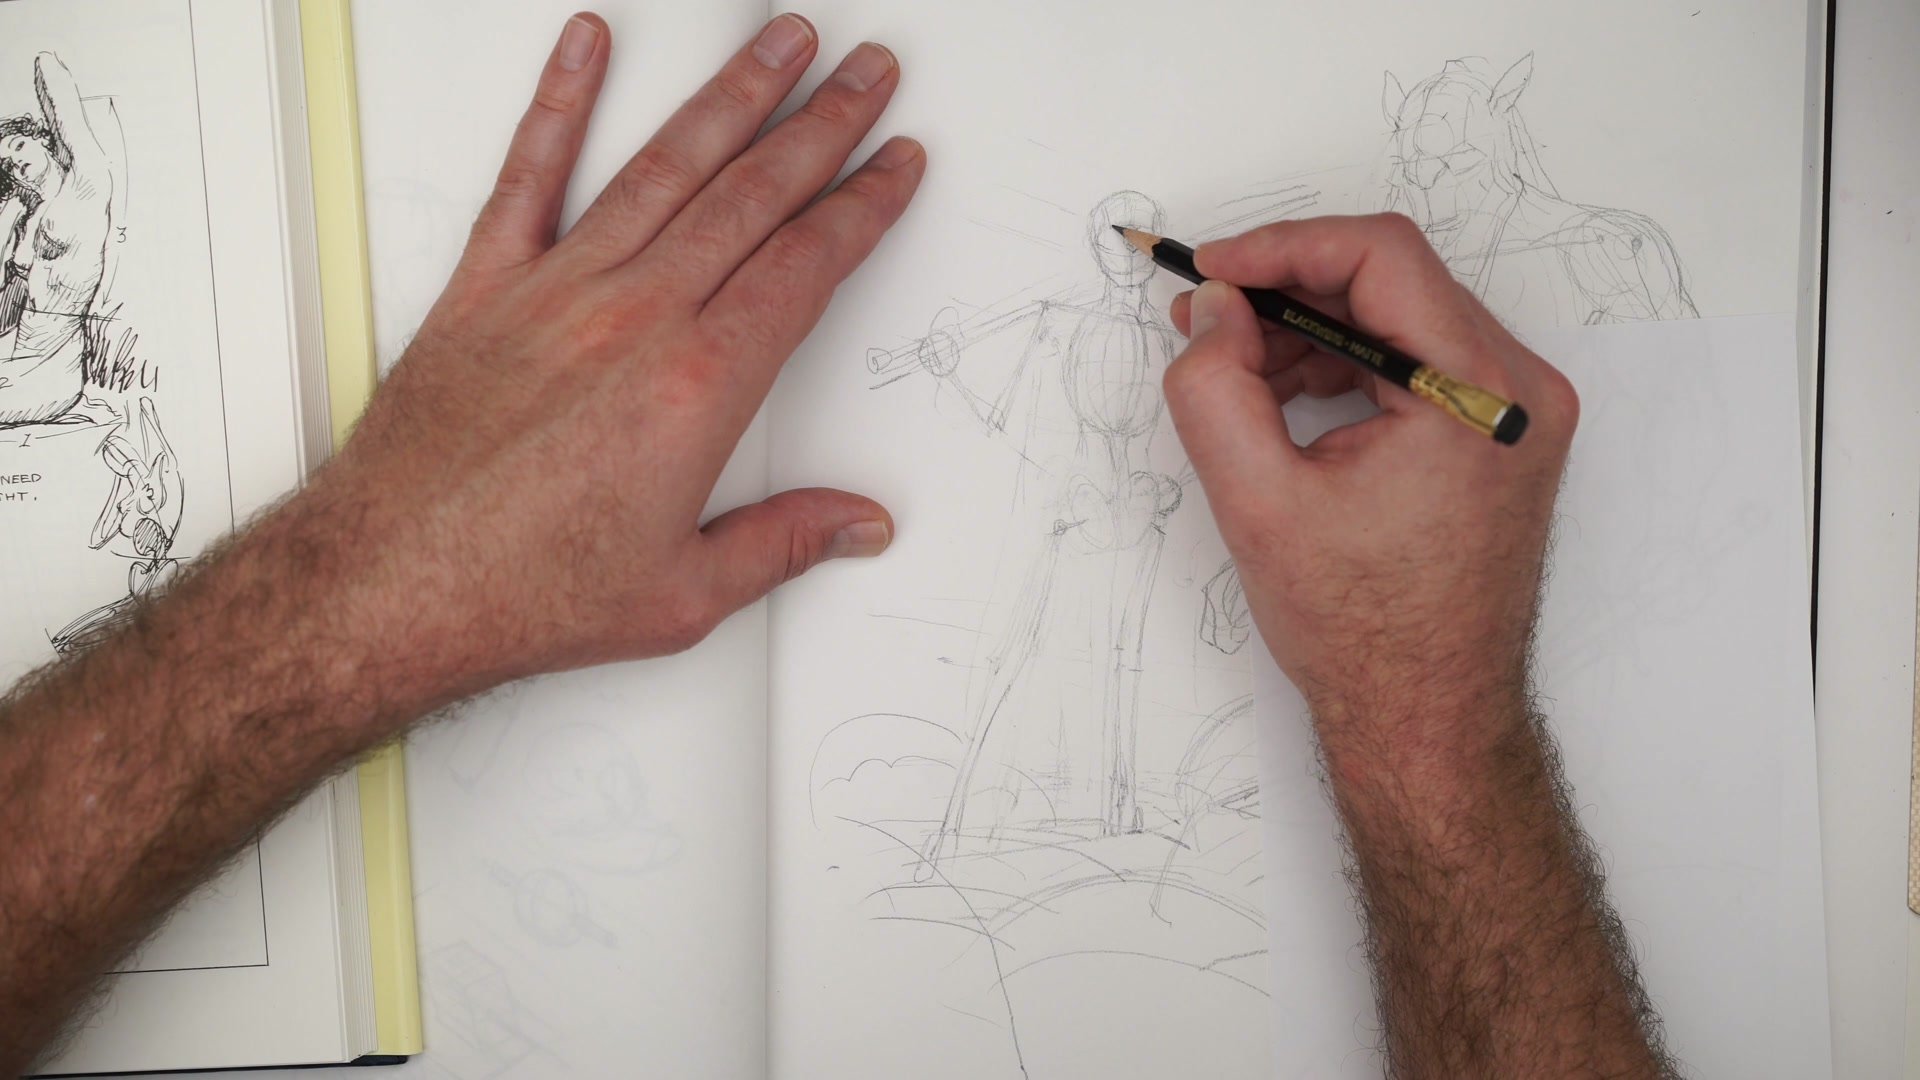
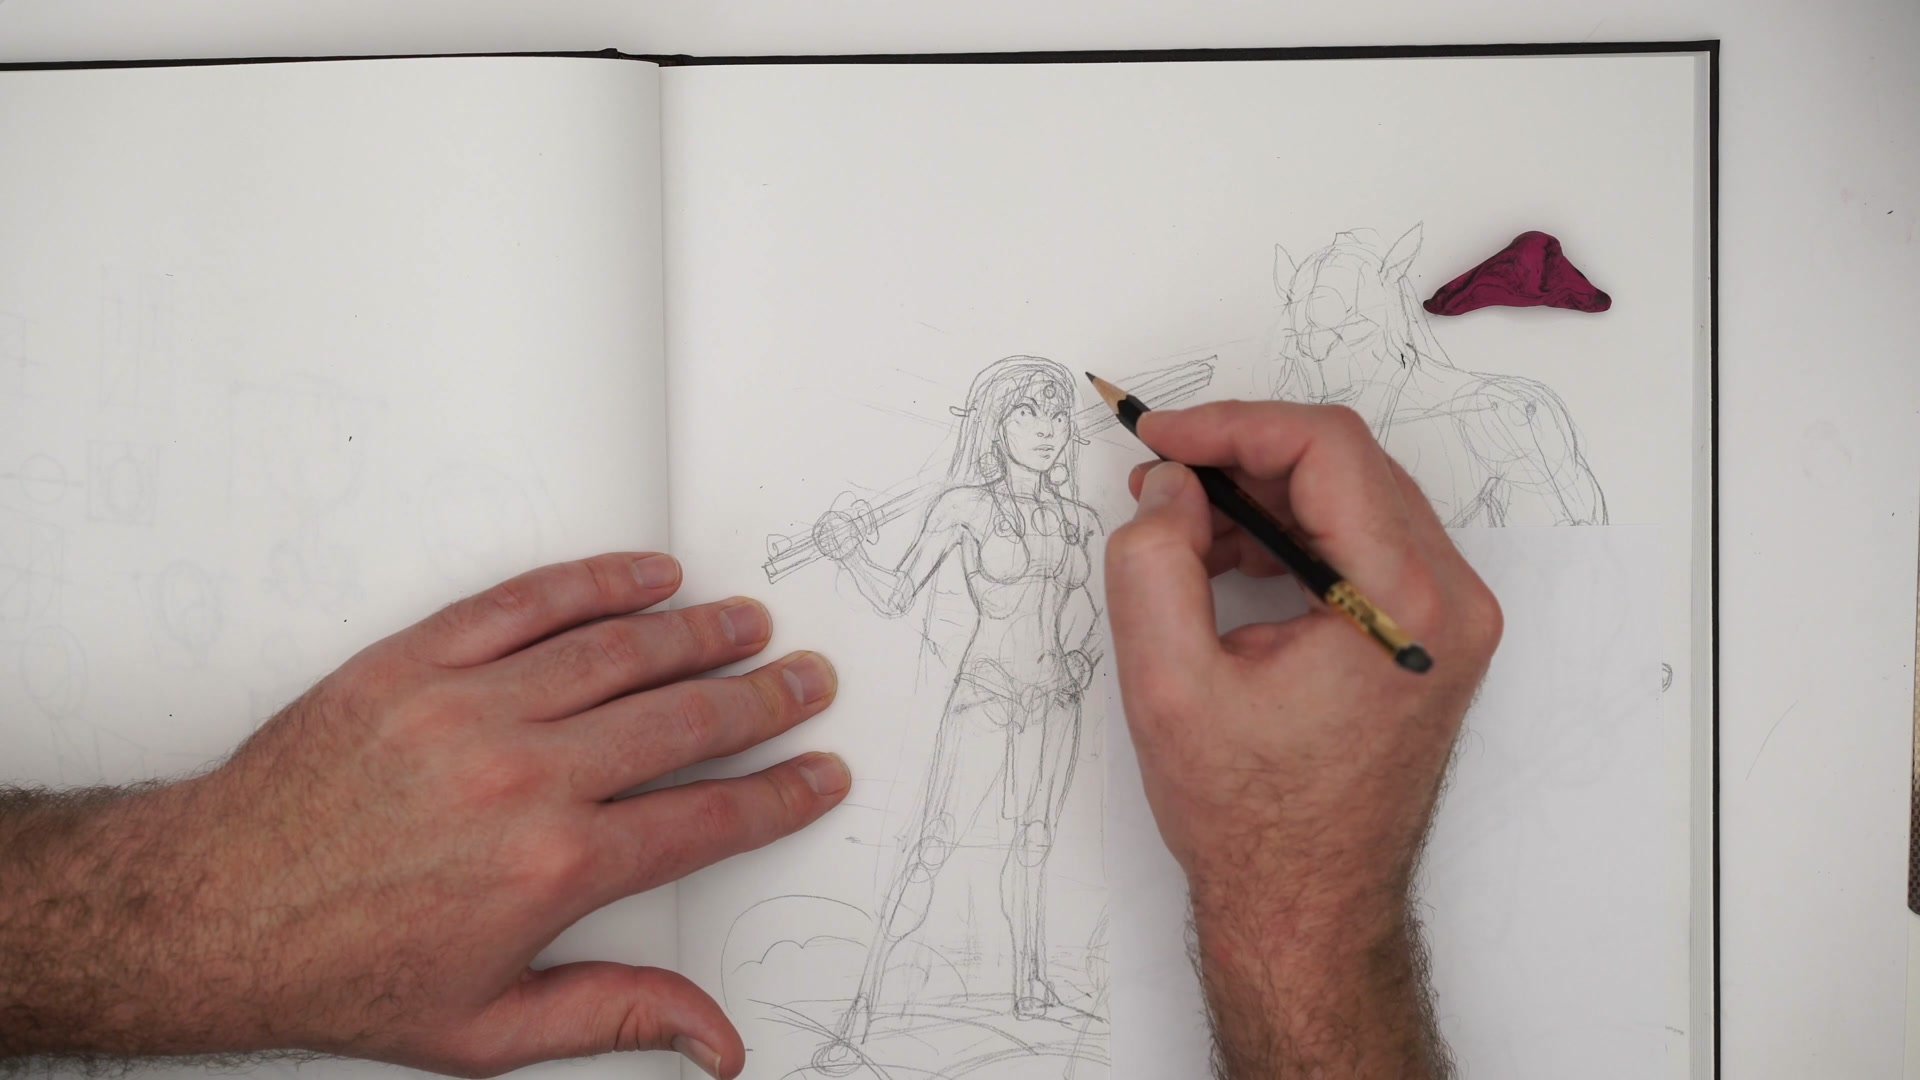
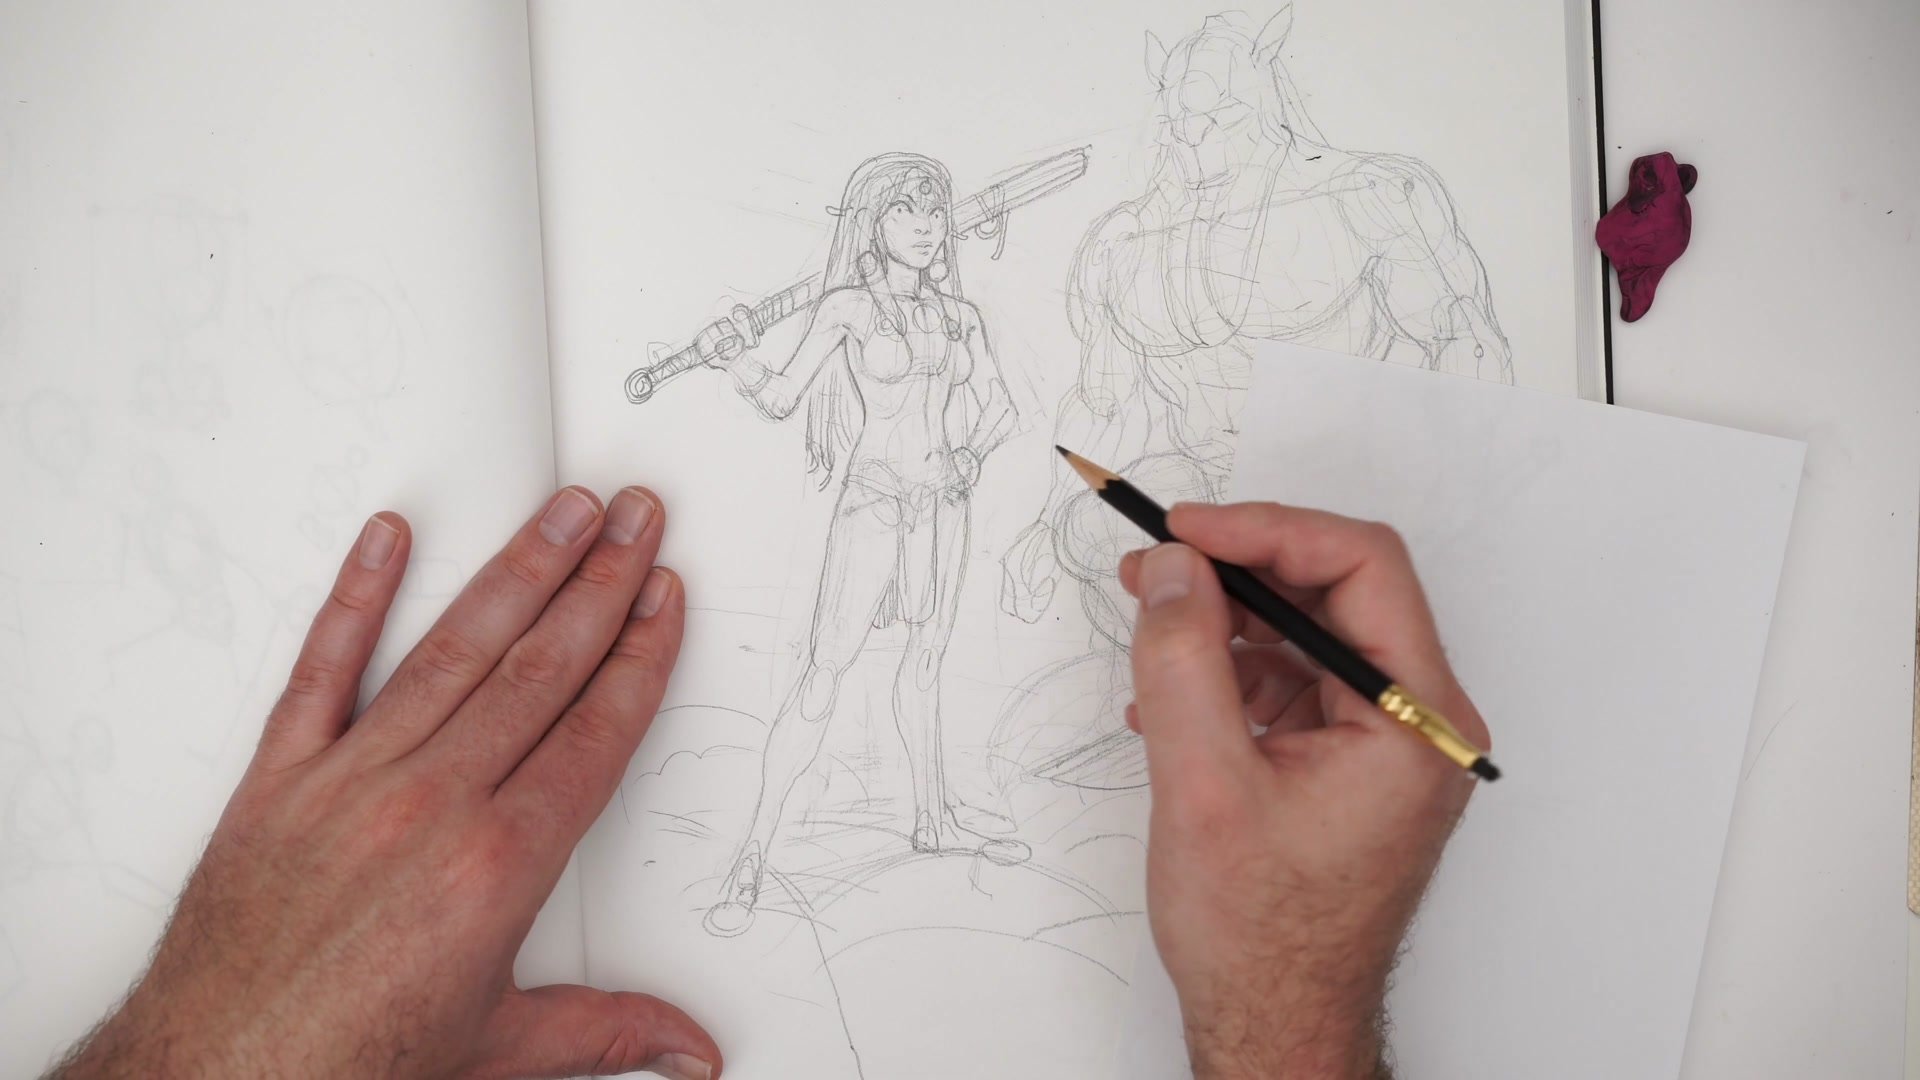
The process of refining a drawing is not a clean, linear sequence. It involves constant back-and-forth, checking the center line, reassessing symmetry, stepping back to evaluate proportion, and redrawing sections that are not working. The battle is fought in millimeters, where tiny adjustments to a shoulder position or the angle of a chin determine whether the character reads as solid or feels off.
Picking the right line from a mess of sketchy construction marks is a skill that only develops through practice. The structural lines that made construction possible become visual noise that needs to be resolved into clean, intentional marks. The more construction work done early, the more confident those final line selections become. Understanding that drawings go through stages where they look terrible is essential. That confidence to push through the messy middle is what separates artists who finish work from those who abandon drawings halfway through.
Refined Characters
Key Principles
Block In Before Detail: Place all characters on the page as rough stick figures first, checking size, proportion, and composition before committing to any anatomy or detail work.
Center Line Is Constant: The center line serves as the primary reference throughout every stage, from initial mannequin to final refinement. Losing track of it is where symmetry and perspective break down.
Same Mannequin, Different Characters: The Loomis mannequin system produces any character type by adjusting where mass is added. A warrior and a rogue use identical construction, just different proportional choices.
Embrace the Messy Middle: Drawings pass through stages where they look terrible. Structural construction creates visual noise that resolves when final lines are selected. Confidence to push through this phase comes from experience.
Practice This
Start With a Thumbnail: Sketch a small rough composition with two characters at different sizes or elevations. Keep it simple enough that the gesture reads at thumbnail scale.
Build Mannequins First: Translate that thumbnail into full-size mannequin figures using stick figures, egg-form rib cages, and pelvis shapes. Check proportion and placement before adding any anatomy.
Add Mass Differently: Build two distinct body types on those mannequins using the same construction. Push one toward heavy musculature and the other toward a leaner silhouette to practice controlling proportion with the same tools.


