How I Use The Loomis Method as a Pro Artist
Summary
The Loomis Method in Practice
The Loomis Method is one of the most widely taught approaches for constructing heads, but there is a significant gap between how it appears in textbooks and how working artists actually use it. Most instruction treats it as a precise measuring system where every proportion must be technically correct before drawing can begin. That approach produces mechanical results and discourages stylization.
This video bridges that gap by demonstrating how a professional comic book and concept artist applies Loomis construction to stylized character drawing every day. The block-in becomes a rough plan rather than a rigid template, and the real drawing happens on top of it using iconic shapes and personal style choices.
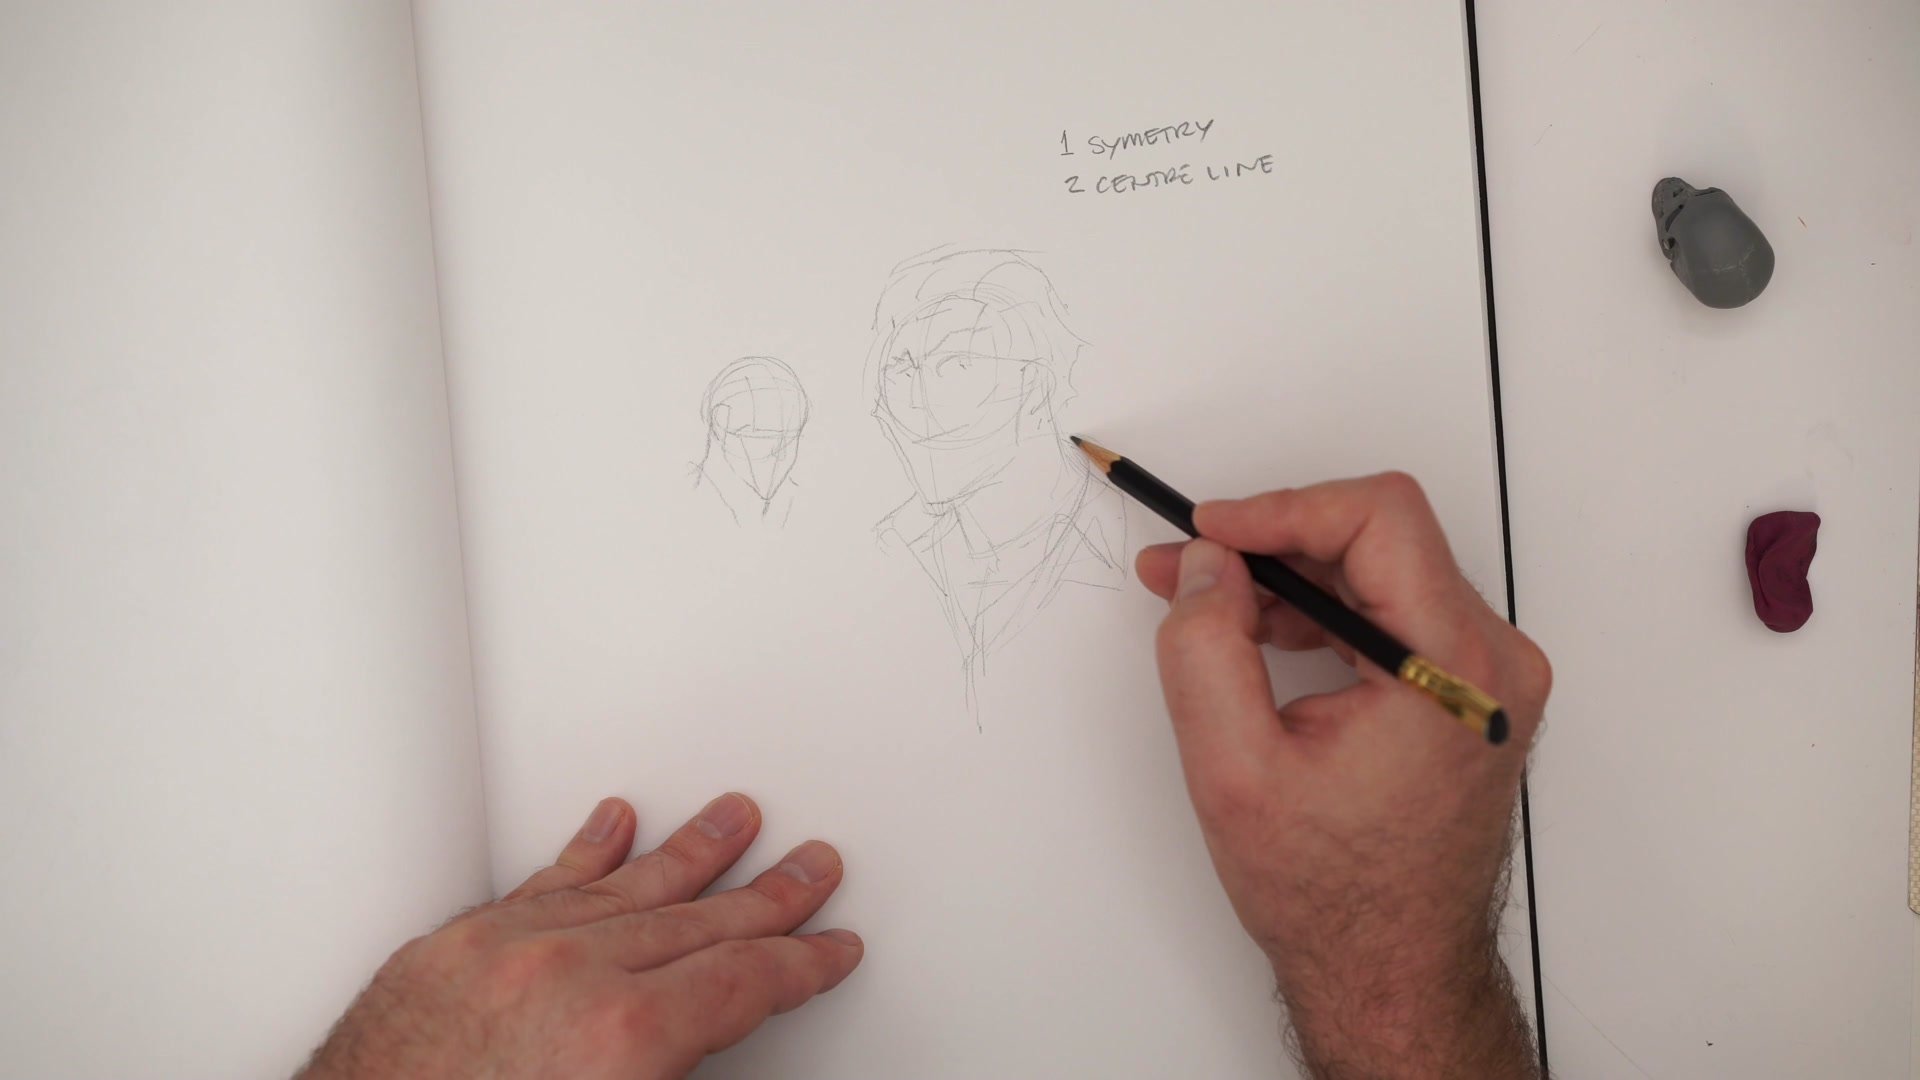
Construction Block-Ins
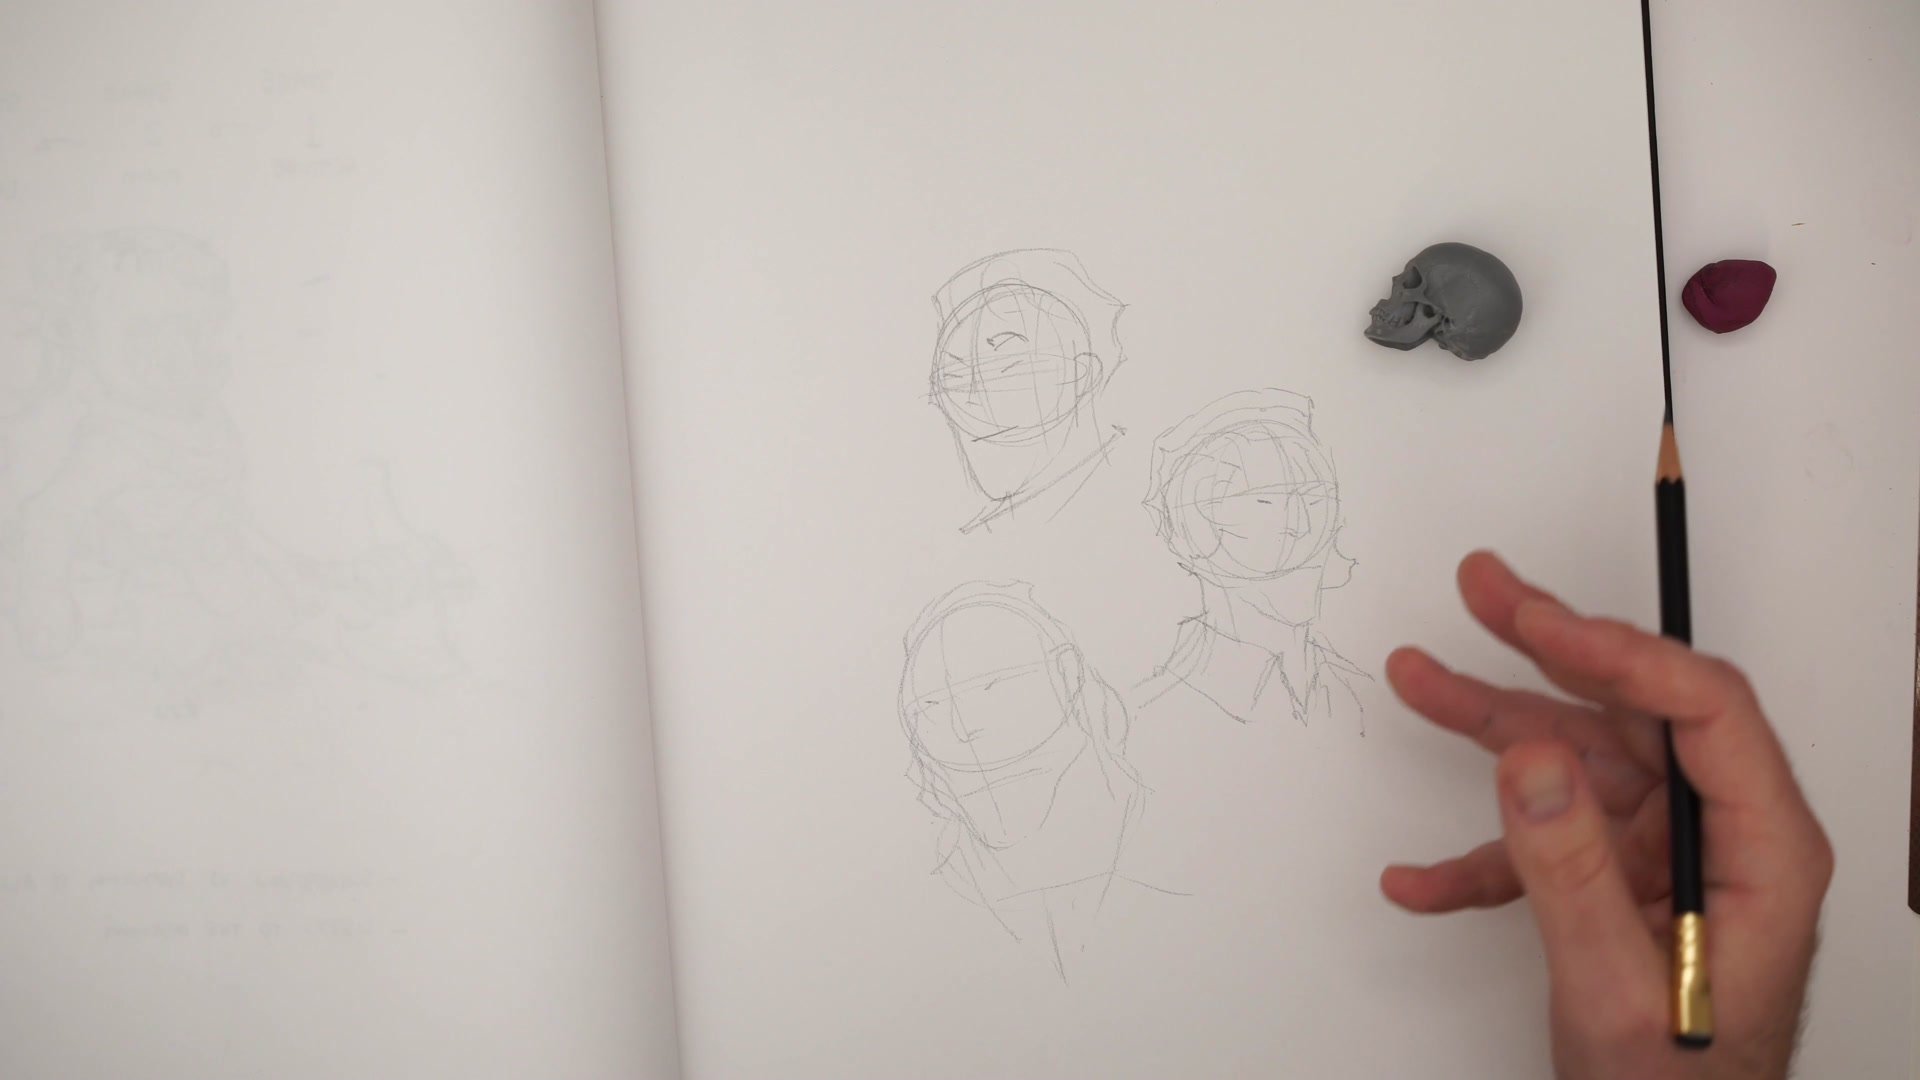
Rough Block-In, Not Rigid Blueprint
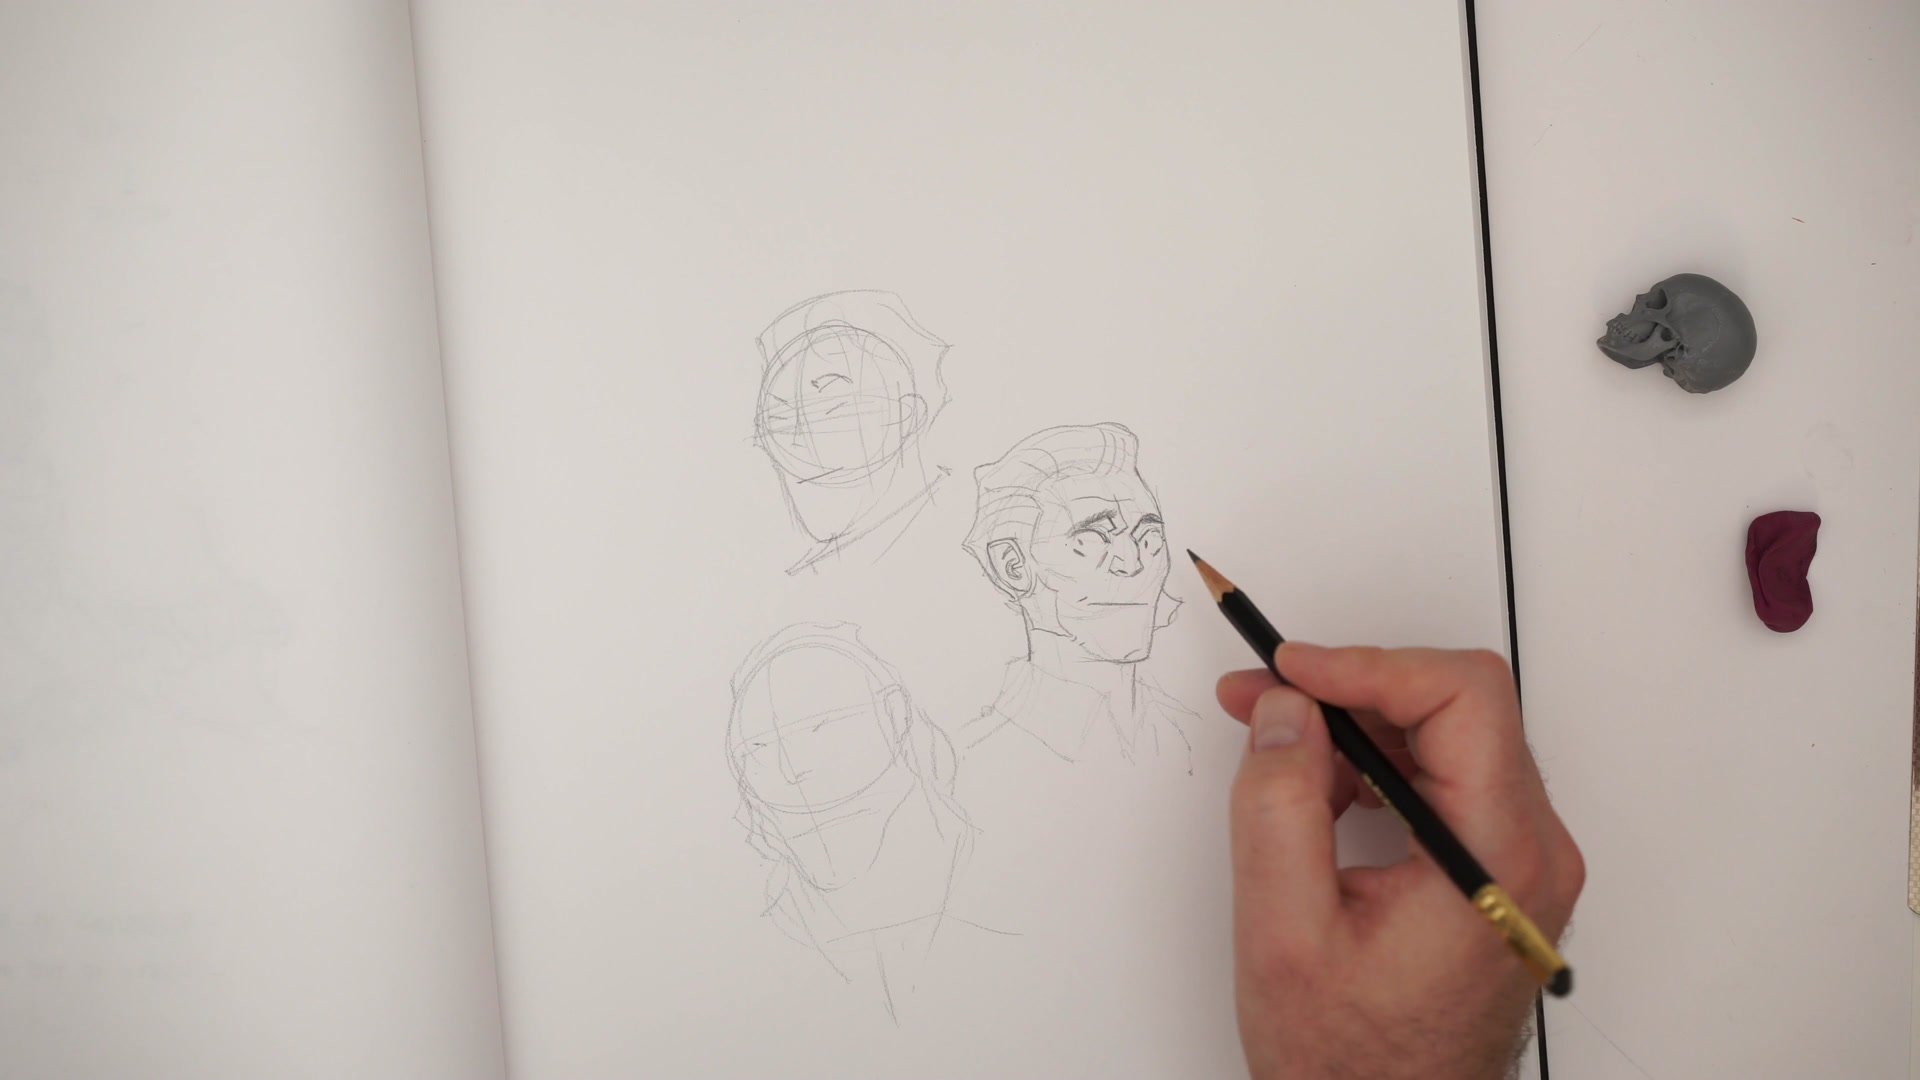
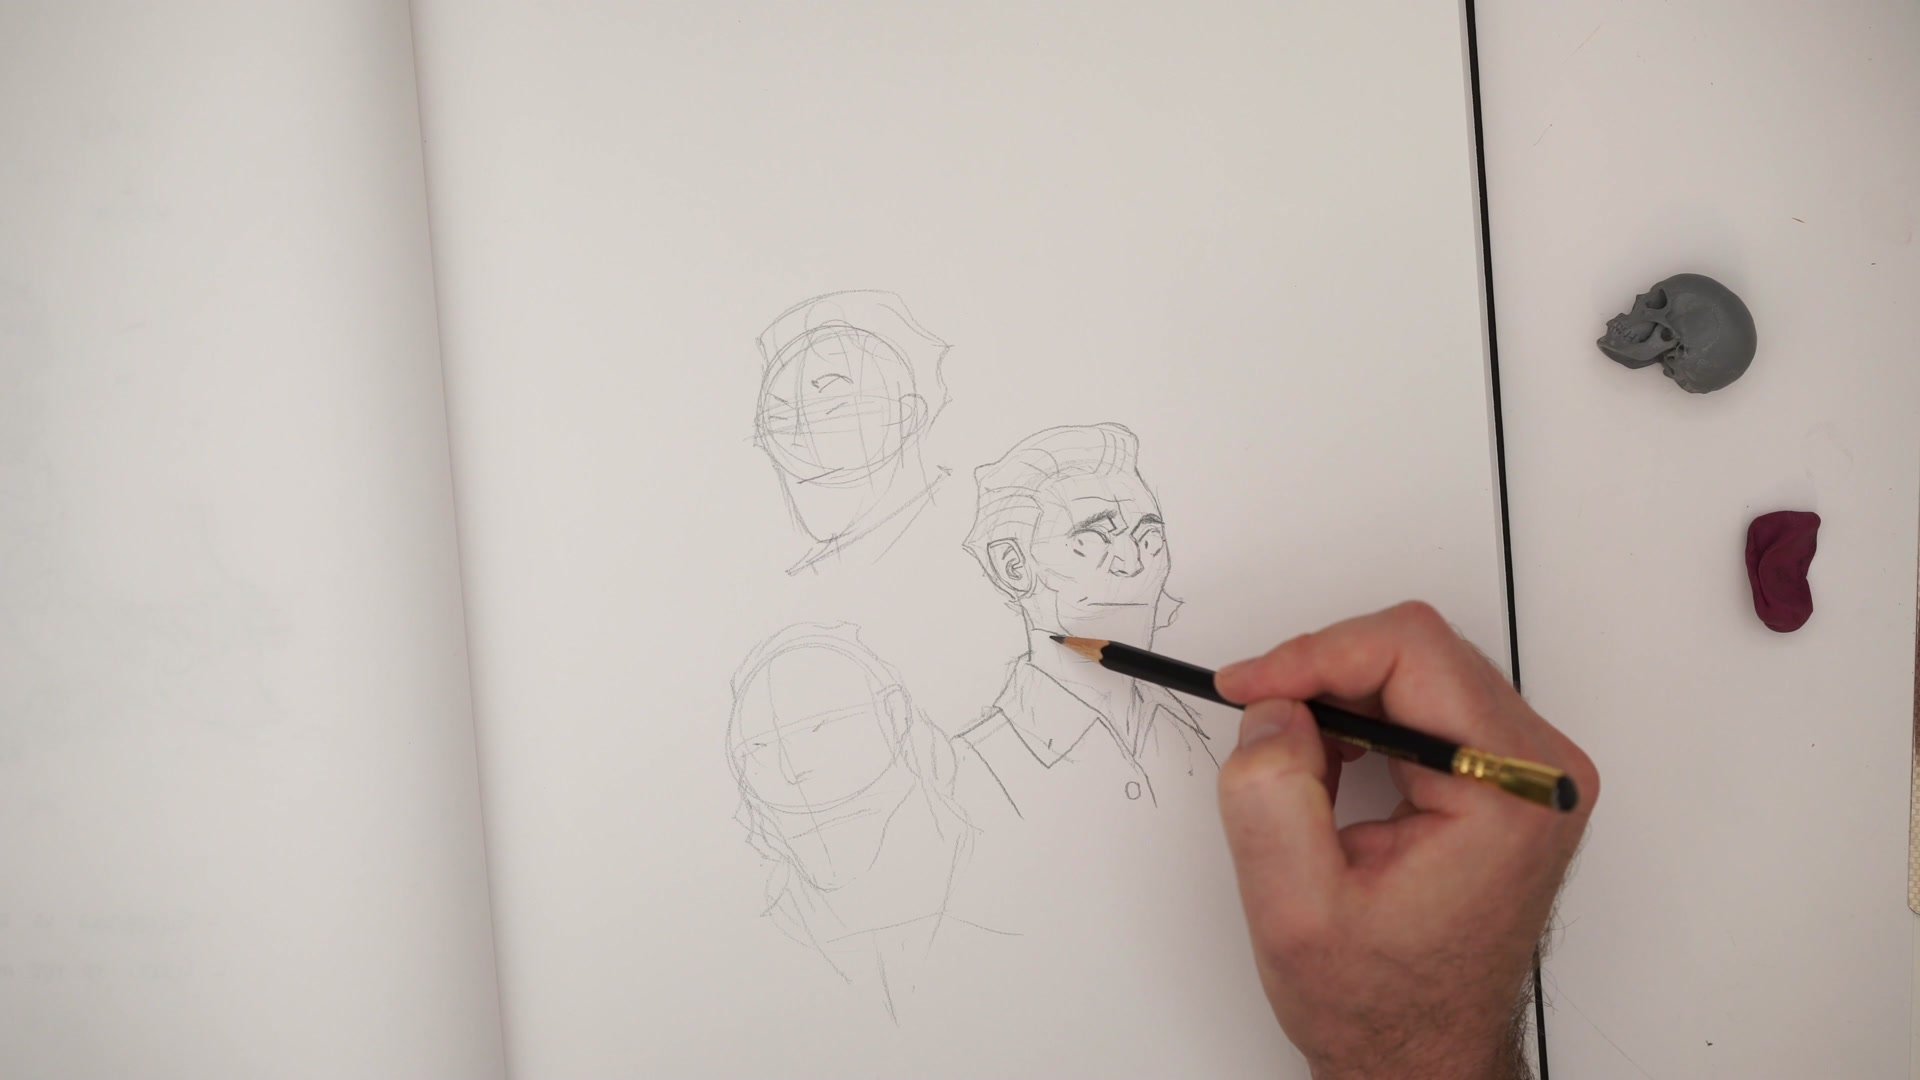
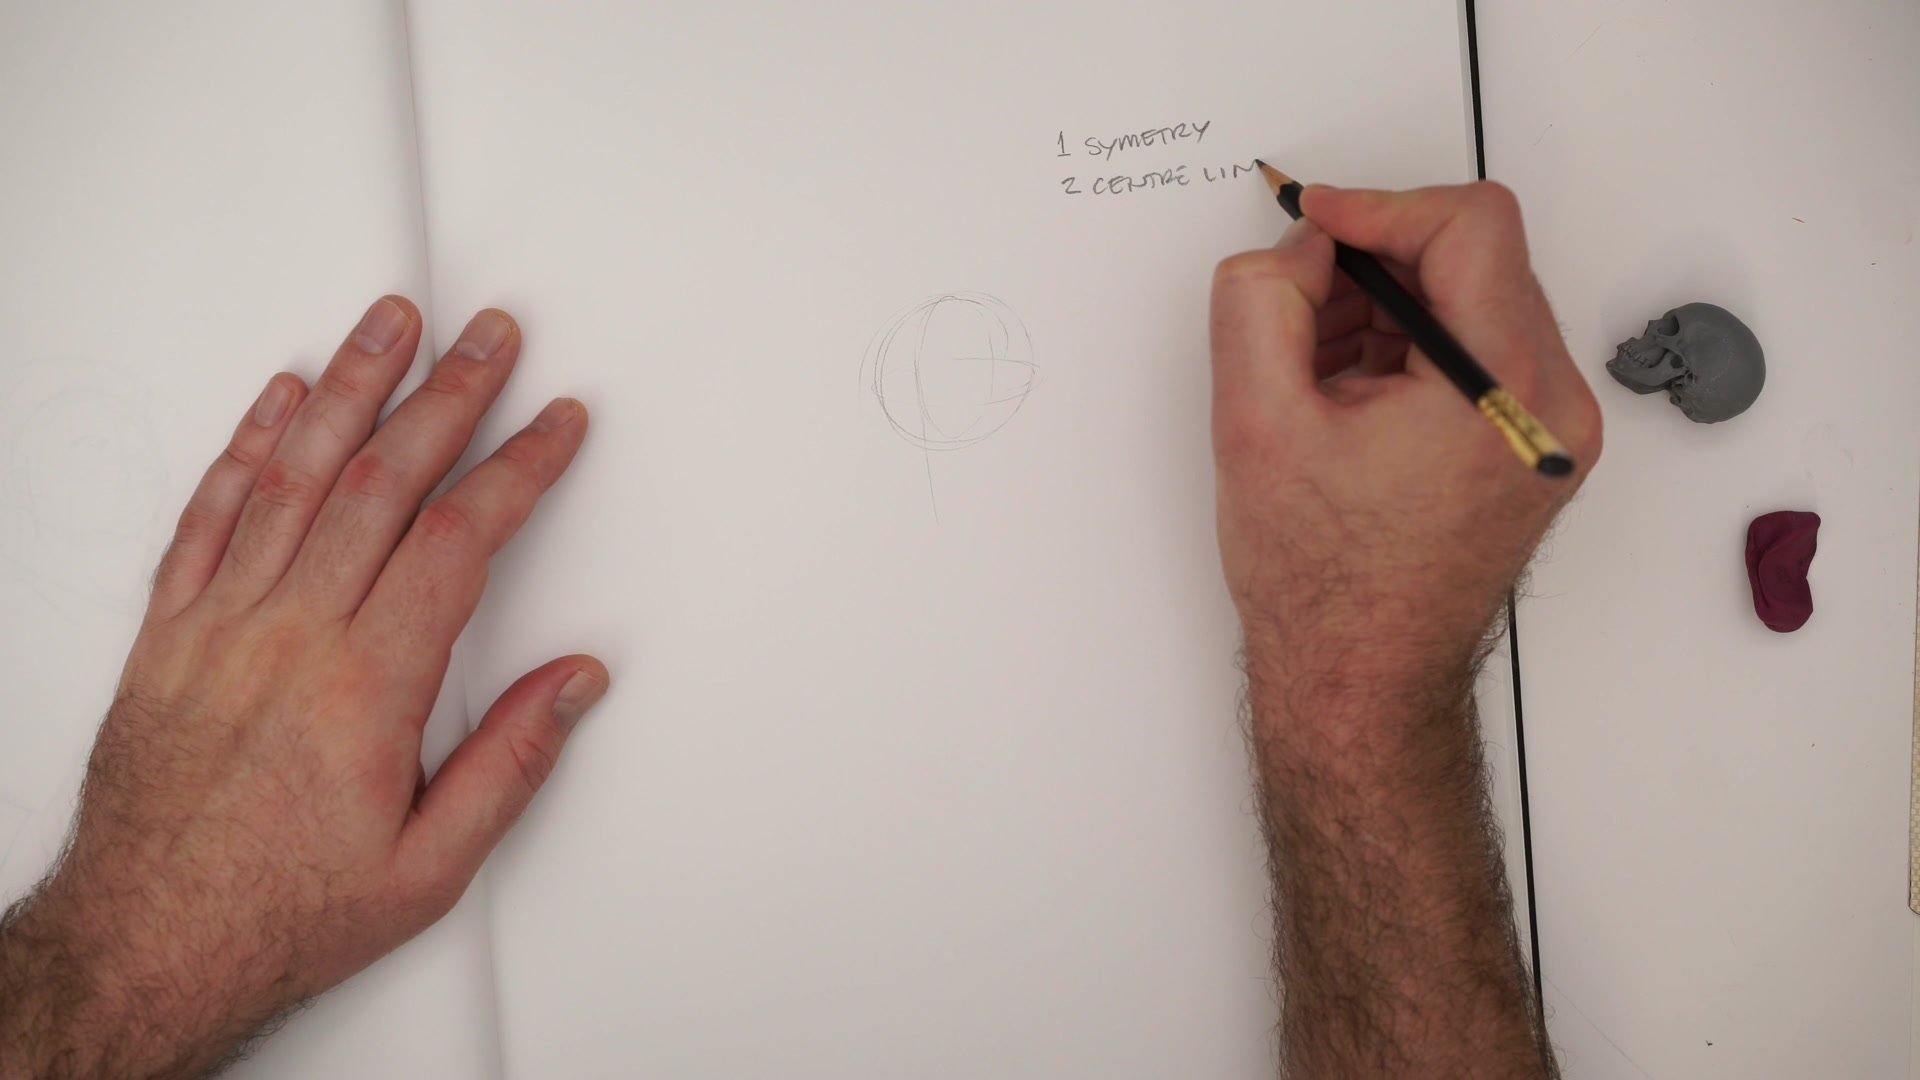
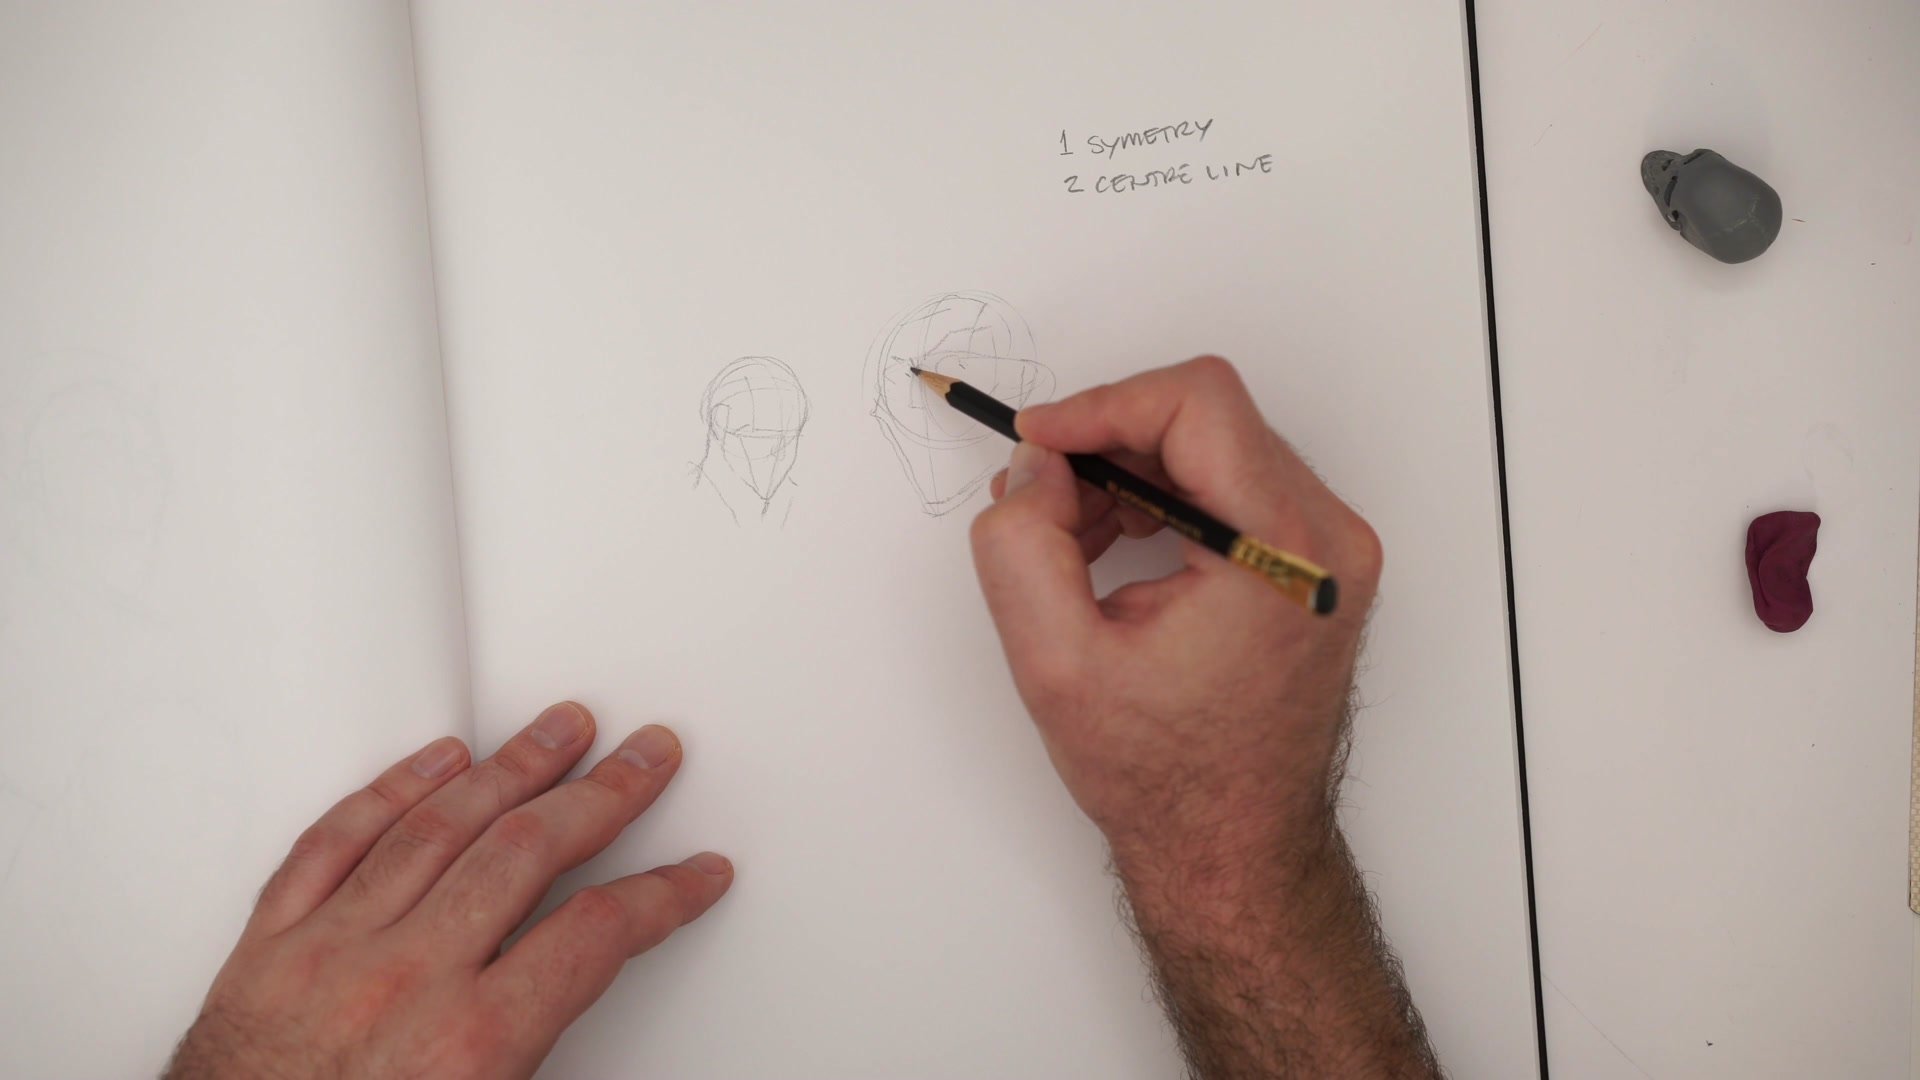
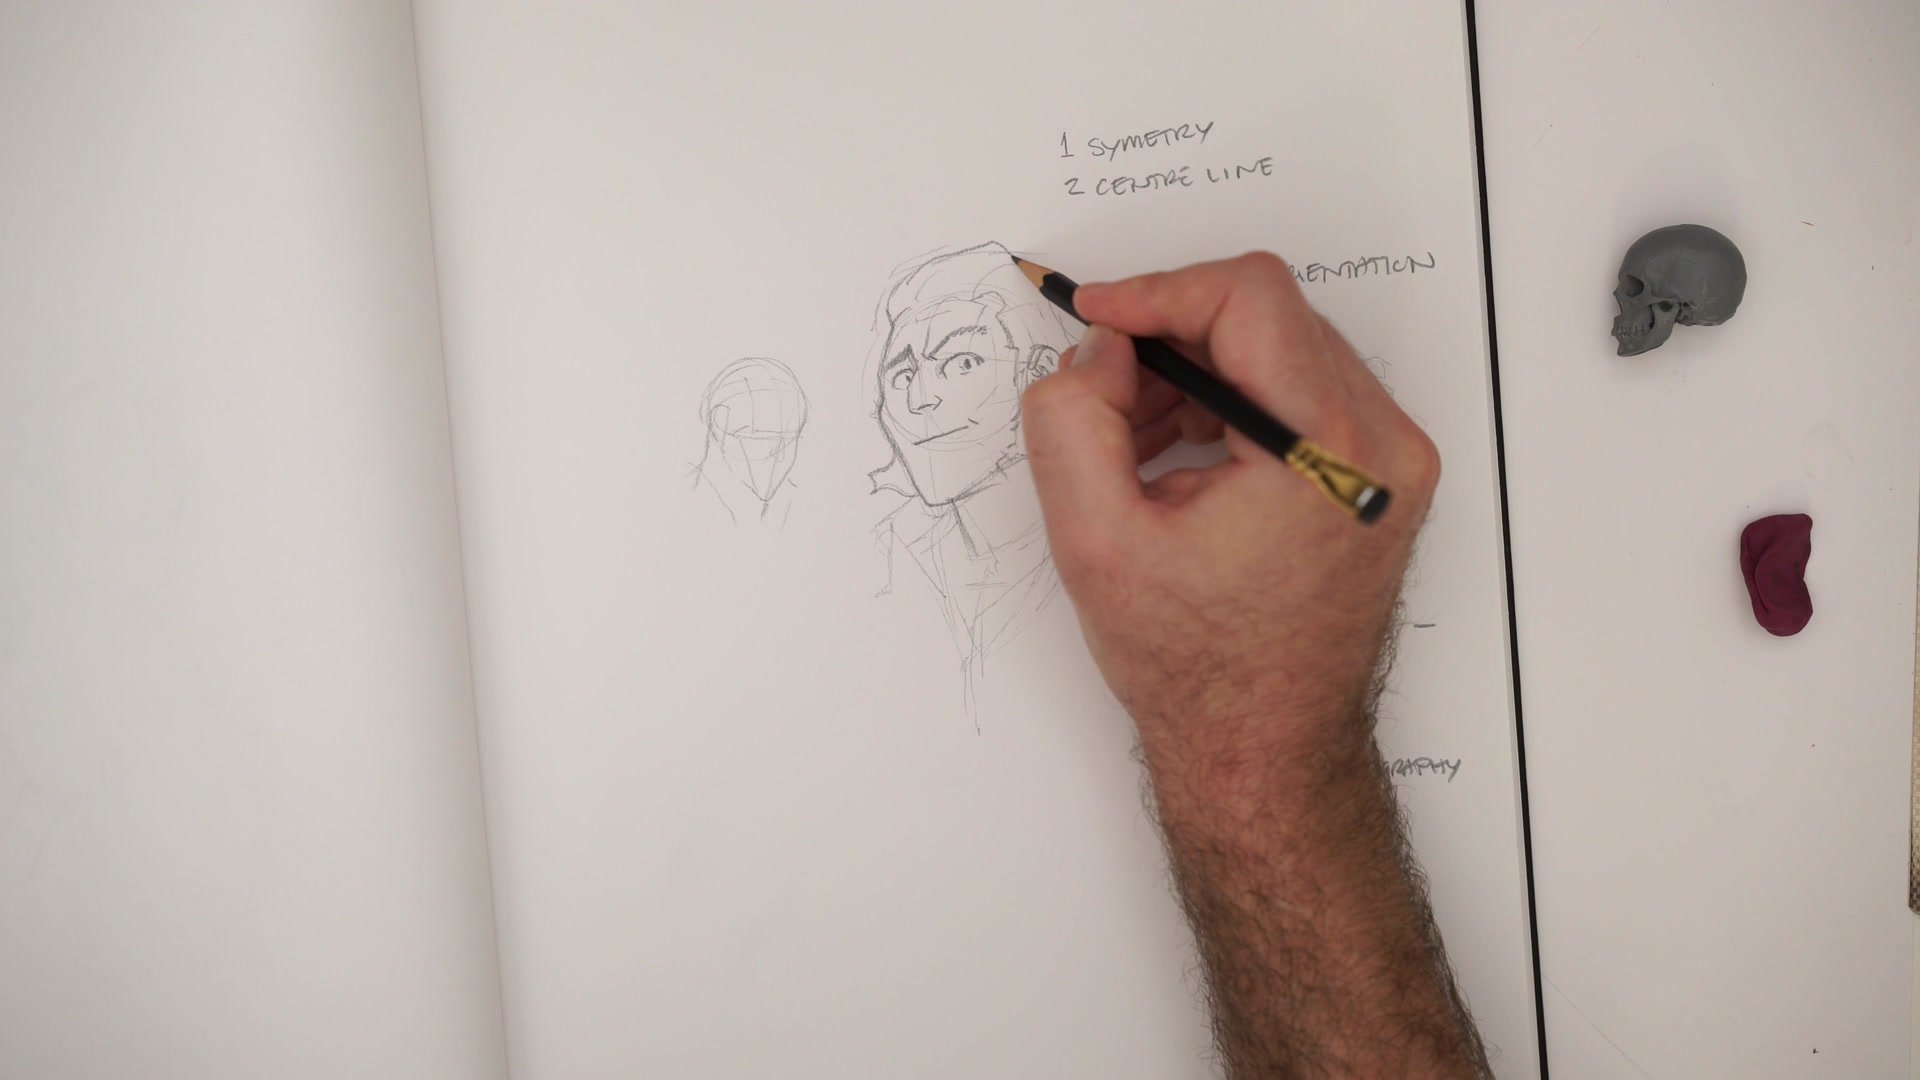
The core insight is that the Loomis block-in serves as a rough orientation tool rather than a finished construction. Professional workflow starts with a quick sphere, adds dimensionality, marks the center line, and roughly places the proportional markers for eyes, nose, and mouth. That is often all that is needed before moving to the finished drawing pass.
The more experience an artist accumulates, the rougher the construction can be. The block-in just needs to establish where the head sits in space, which direction it faces, and approximately where the features fall. From there, the actual character drawing happens using iconic feature shapes built from personal style rather than technical secondary form. This two-phase approach preserves spontaneity and character in the drawing while still benefiting from structural accuracy.
Building Features from the Center
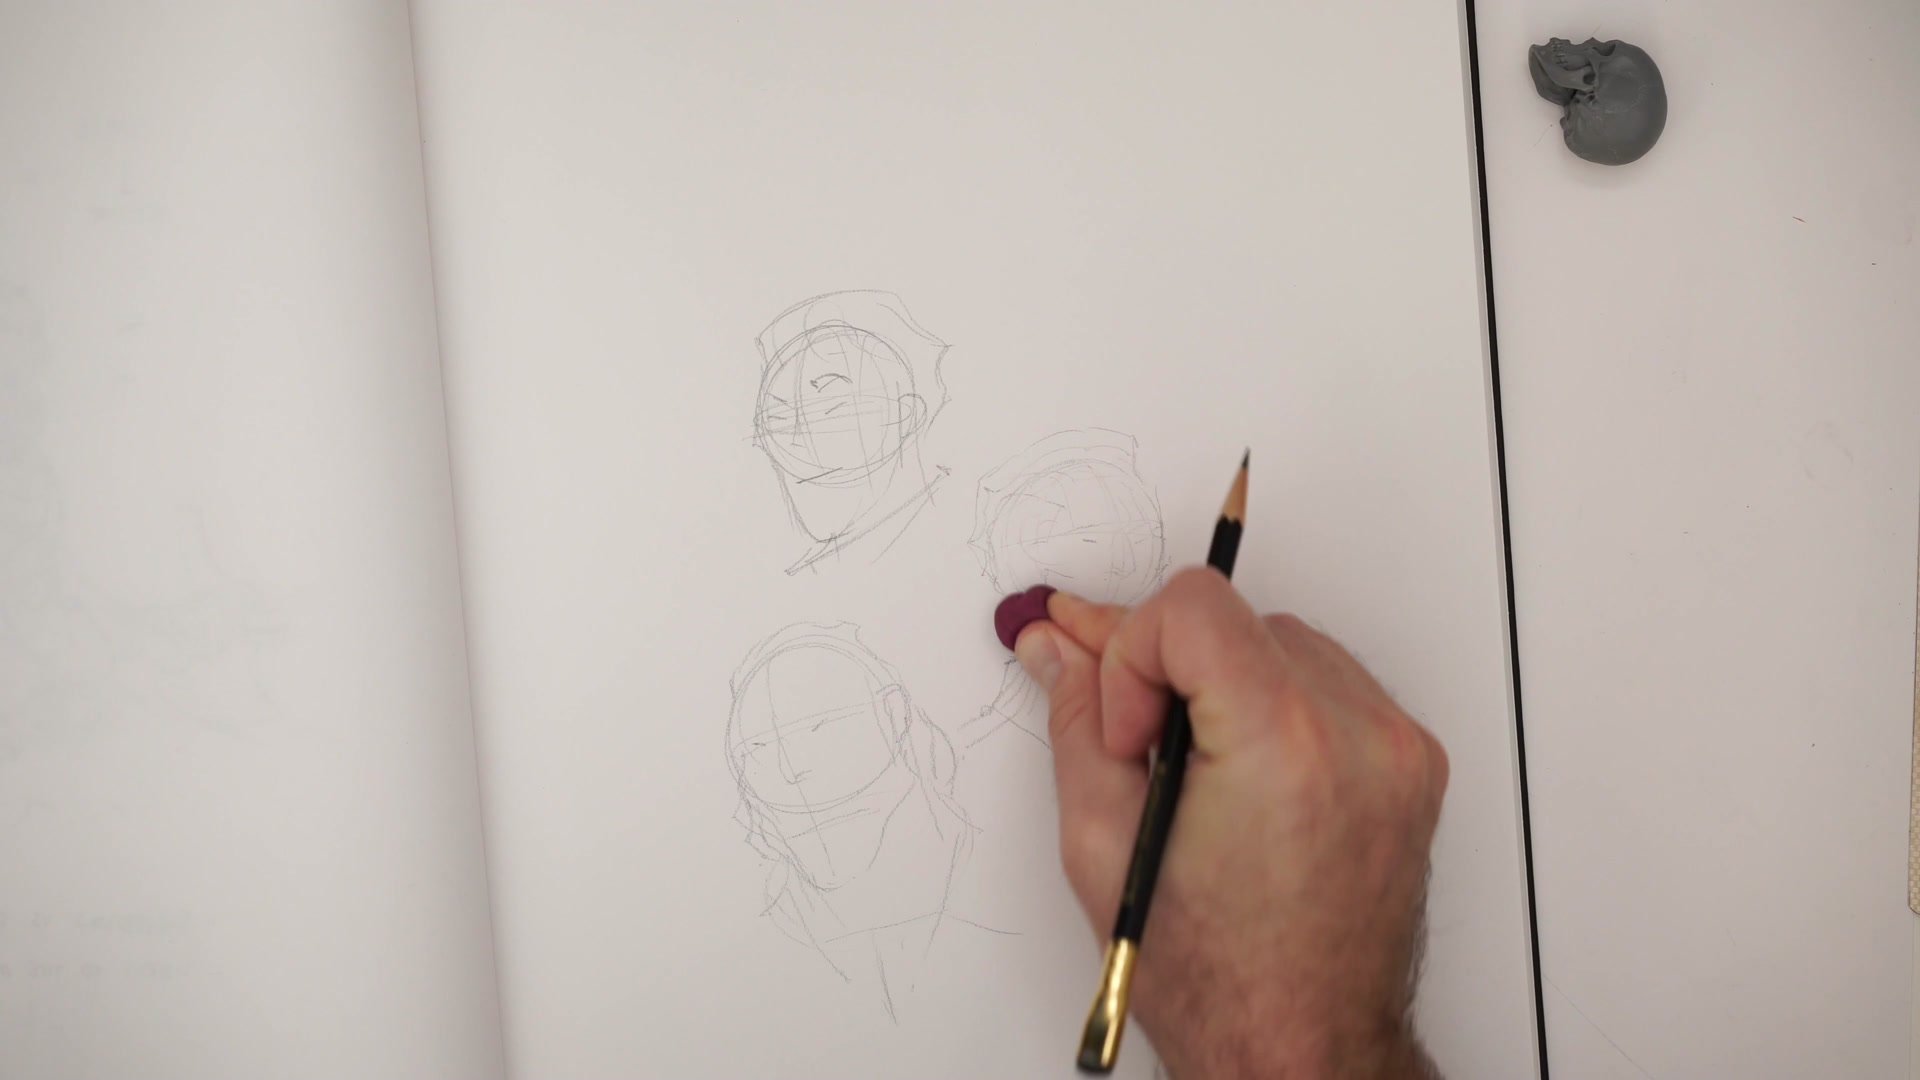
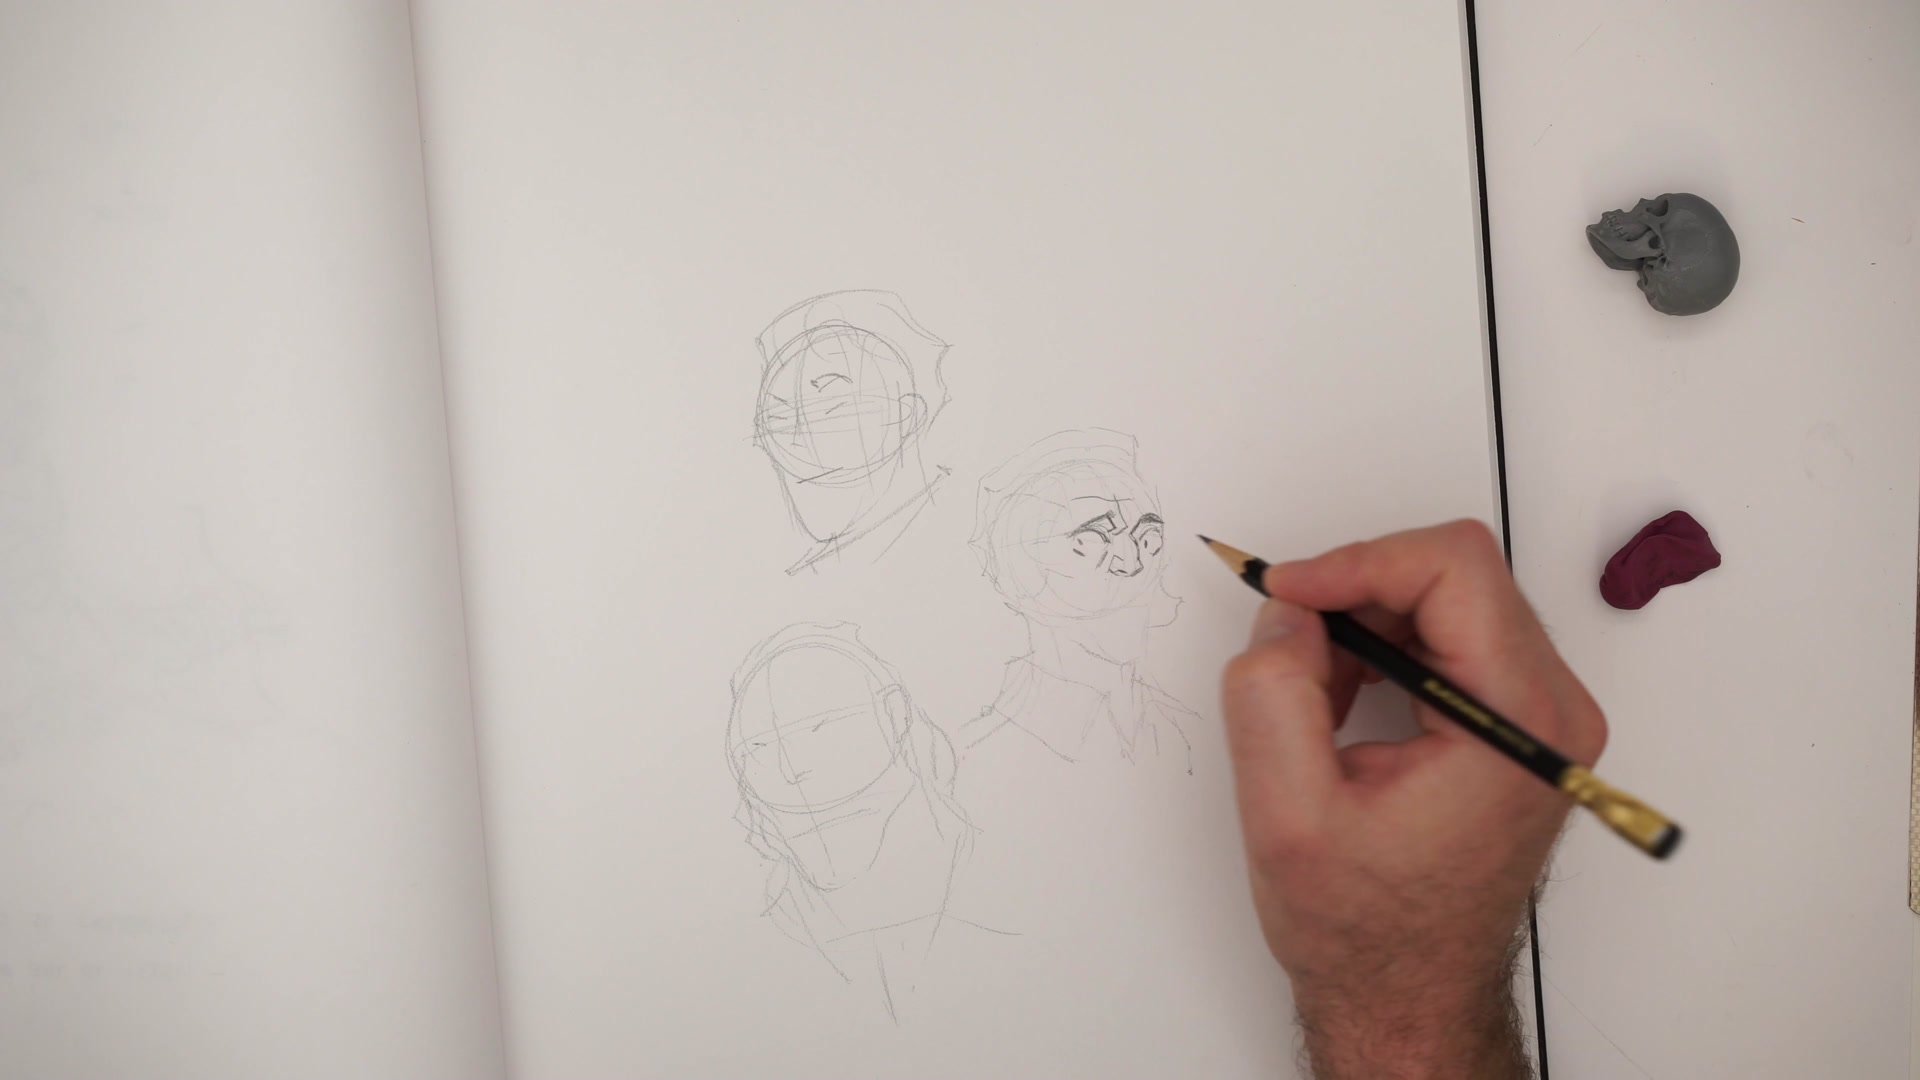
Start from the Center Out
Rather than blocking in the entire face shape and then trying to fit features inside it, the demonstrated approach starts from the nose and center features and builds outward. Placing the nose first establishes the proportional anchor, making it far easier to position the eyes, brow, and mouth accurately in relation to each other.
This solves a common problem with traditional Loomis instruction. When artists draw the full face outline first and then attempt to place stylized features within it, those features often feel forced or misaligned. Starting from the center and working outward gives the iconic features room to breathe. The face shape then wraps around the features rather than constraining them. This is particularly important for comic and manga styles where features are exaggerated and do not conform to realistic secondary form.
Iconography Over Secondary Form
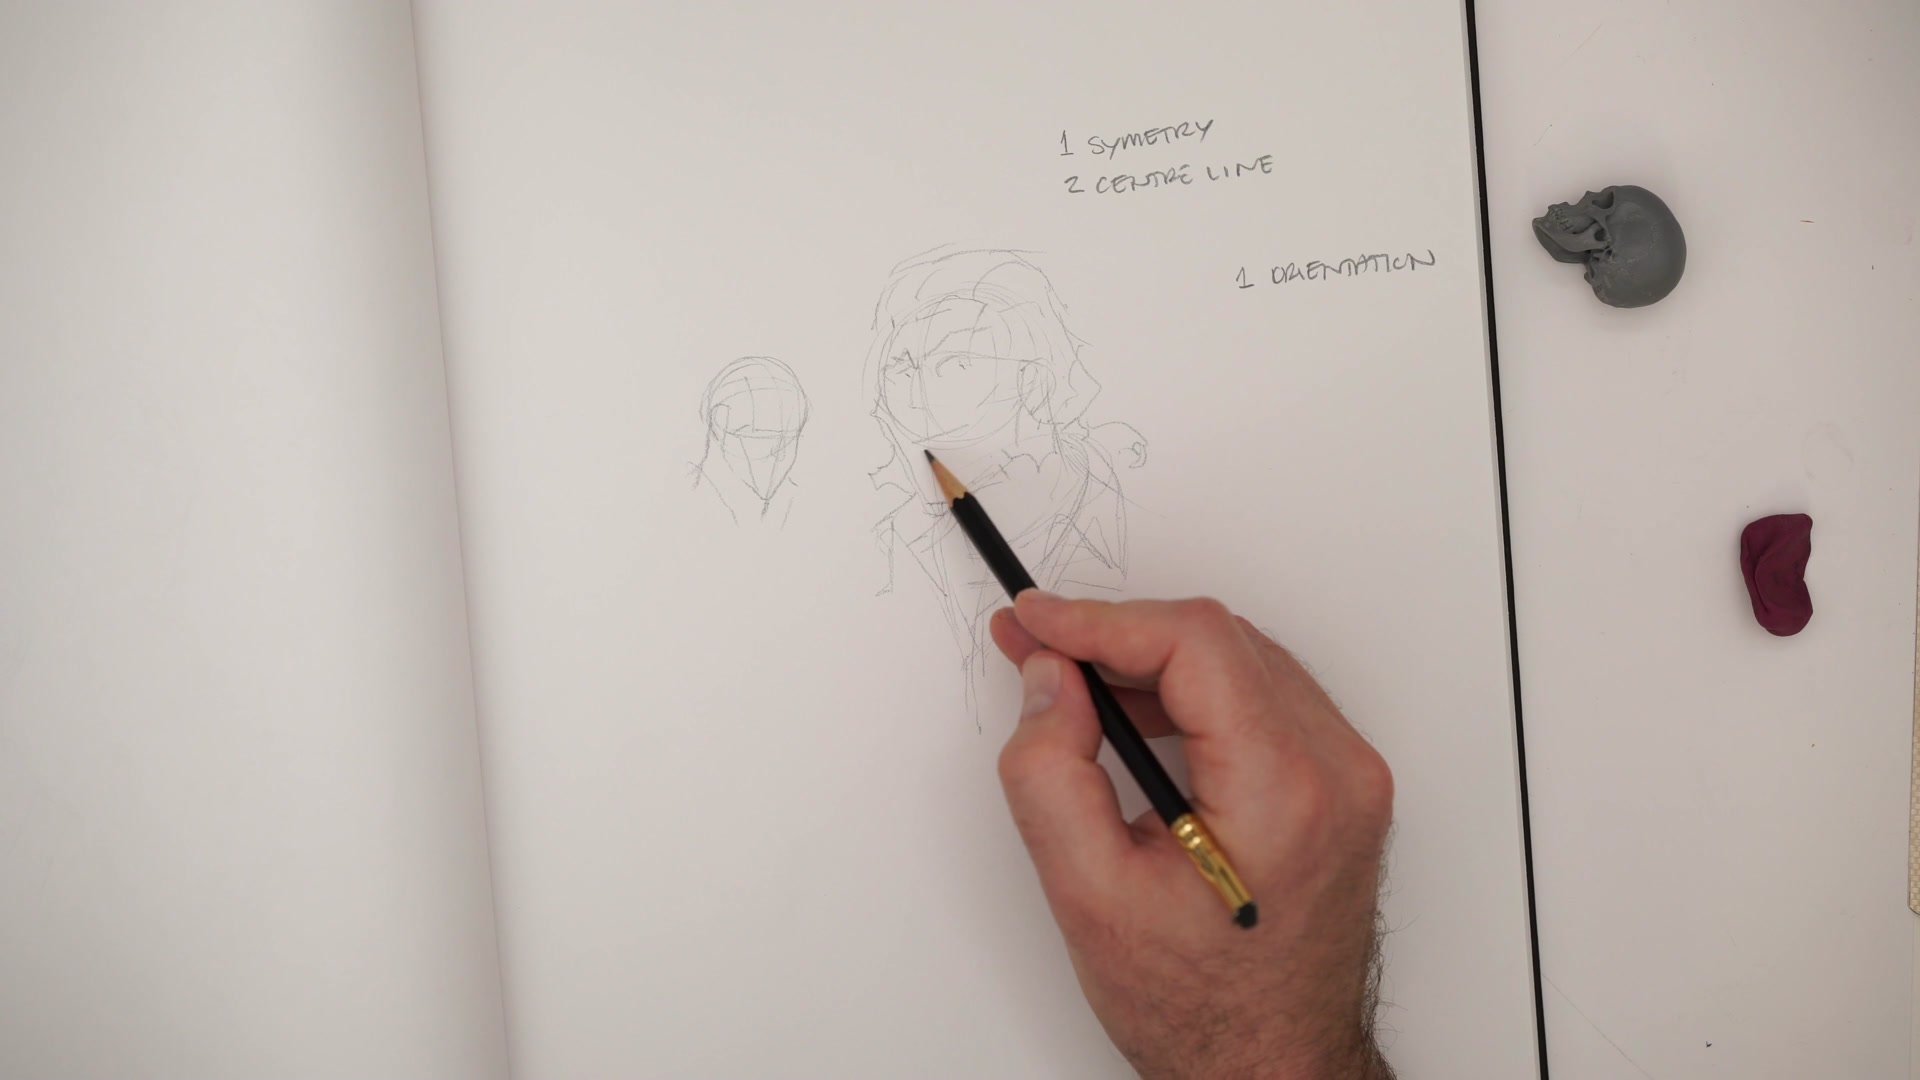
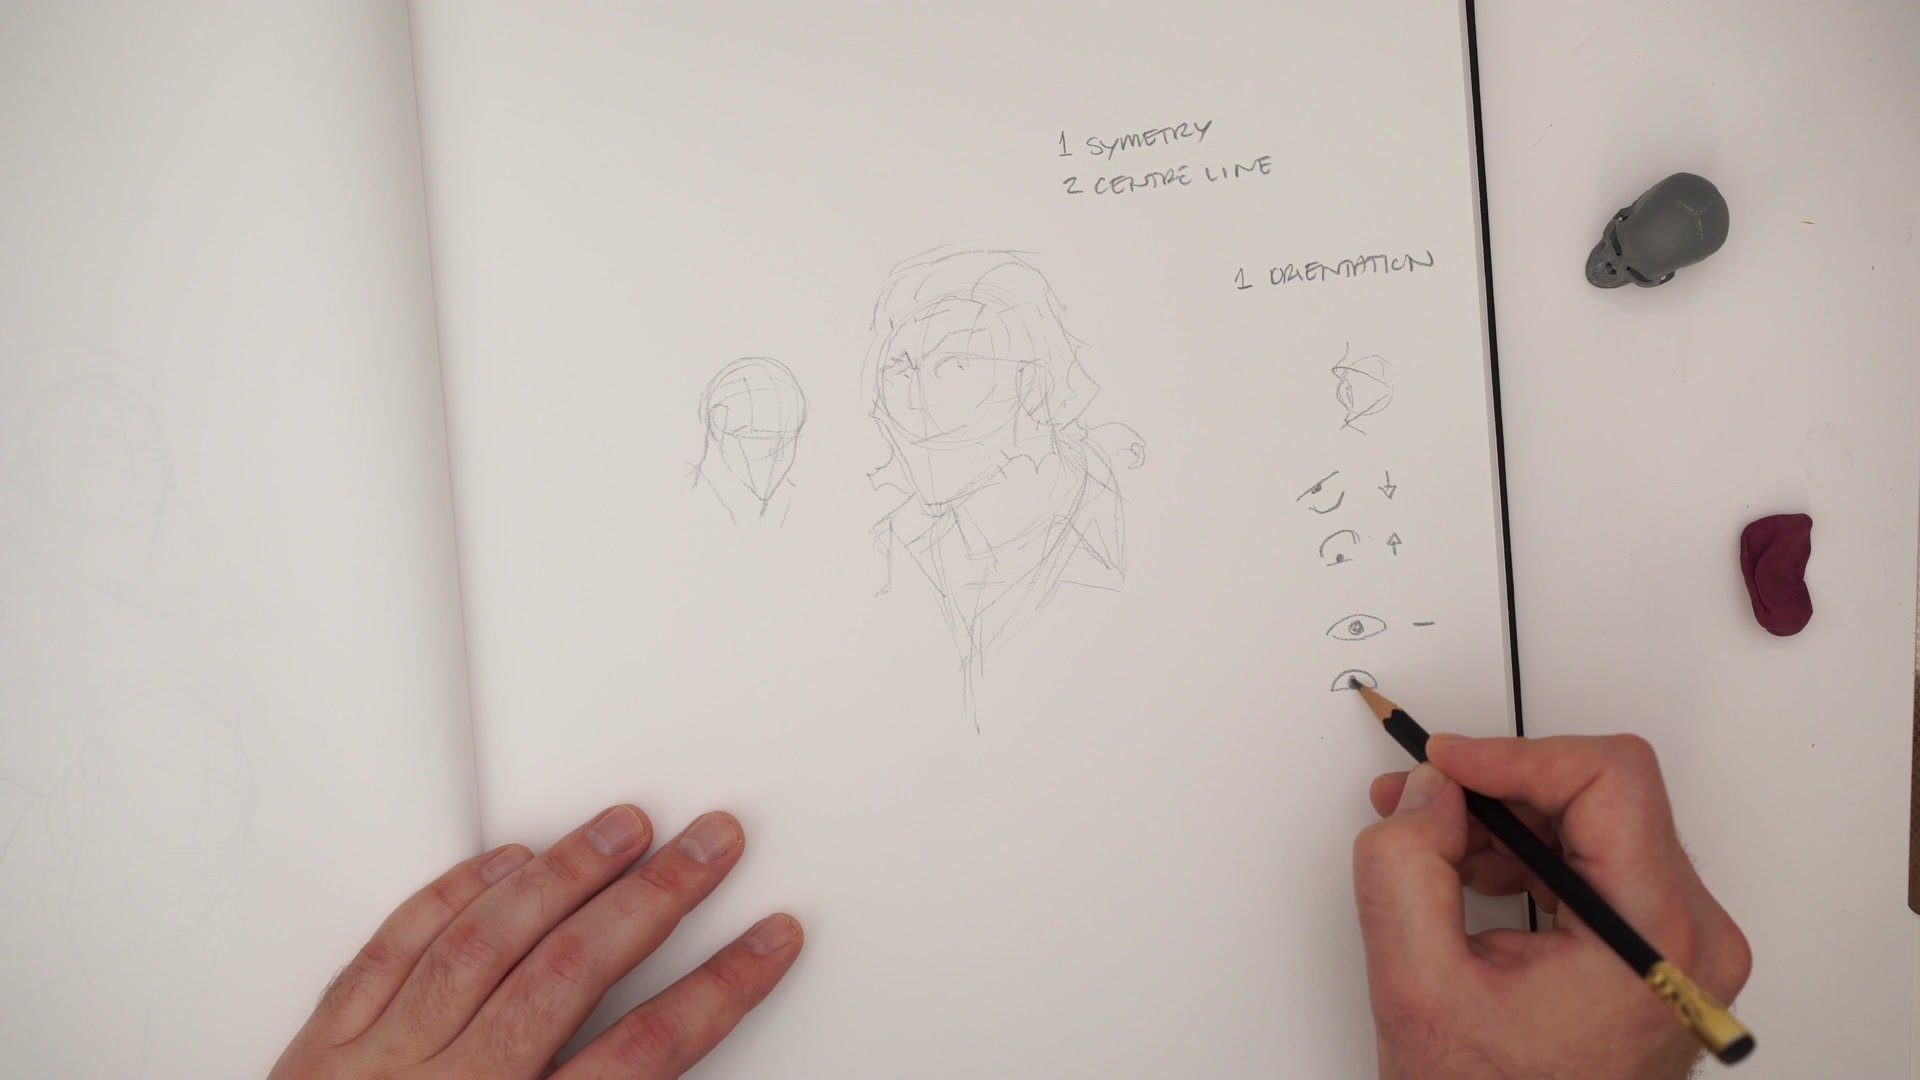
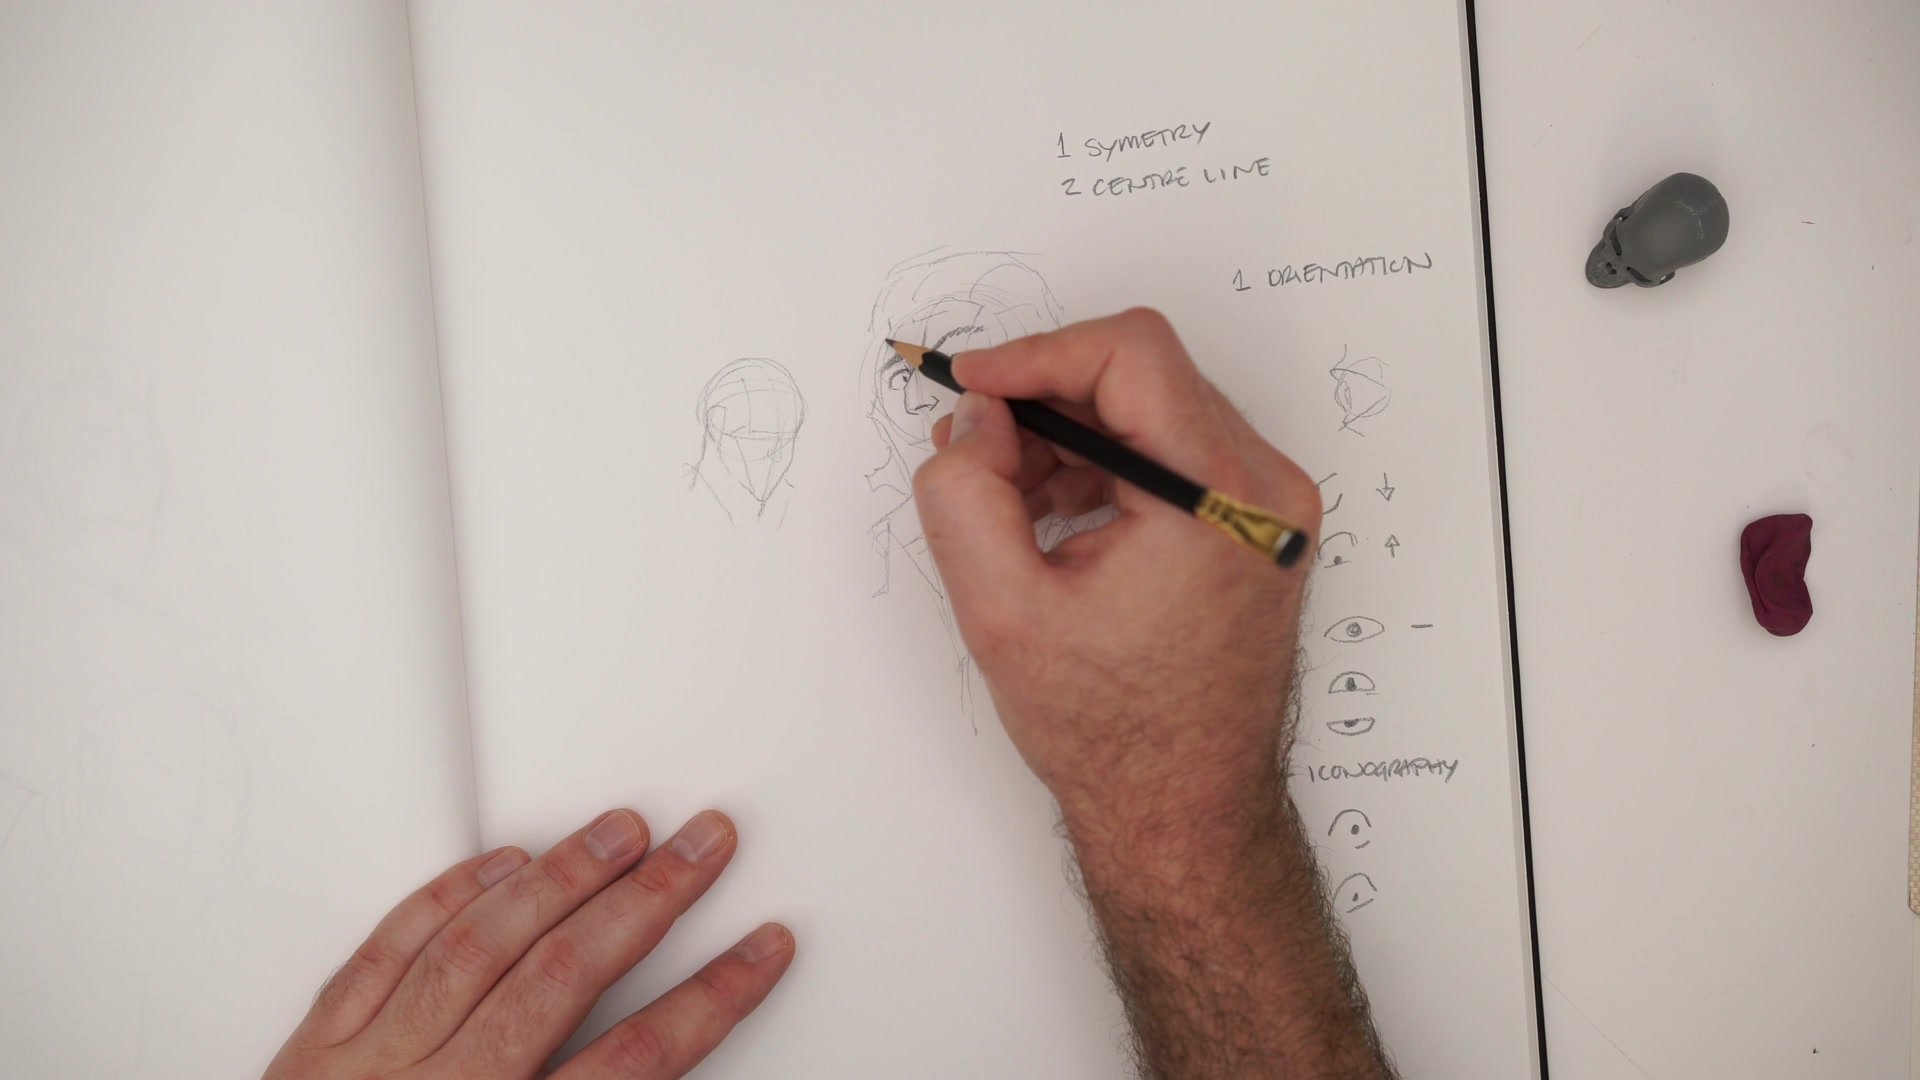
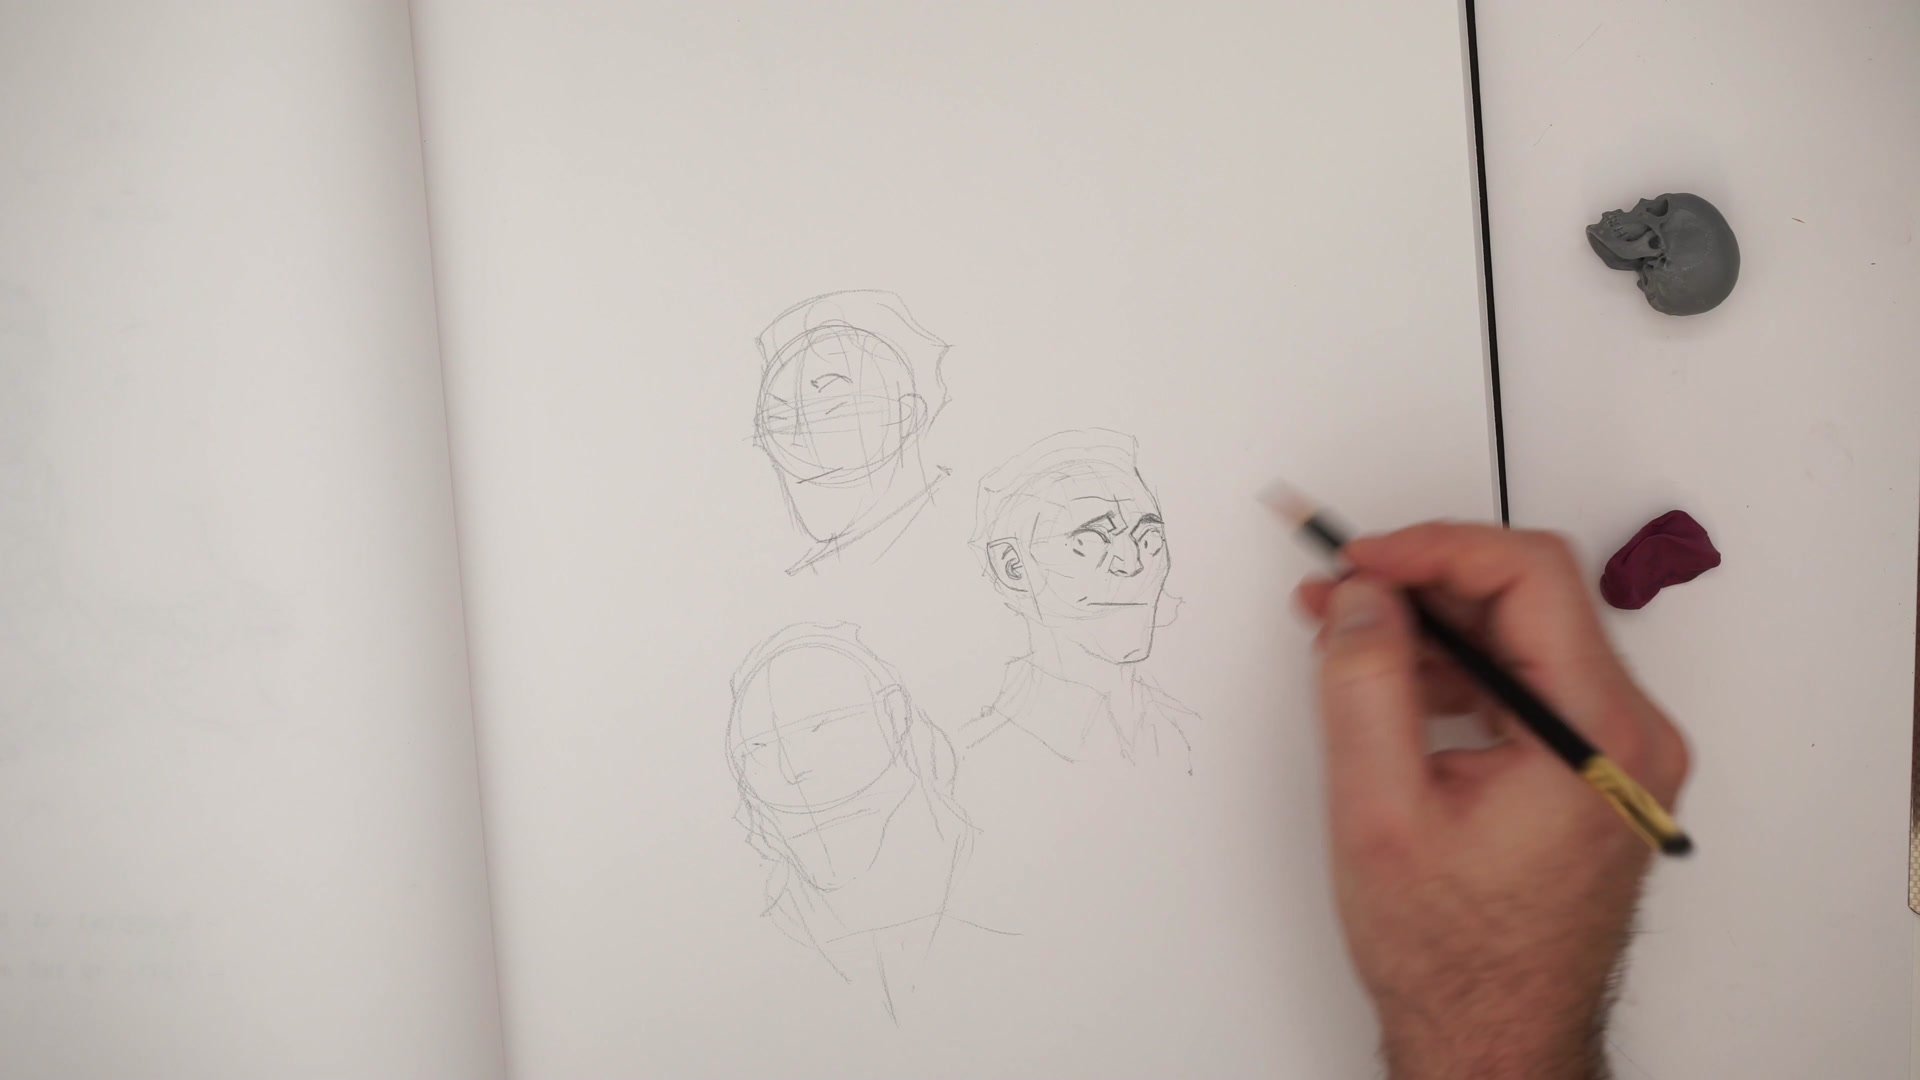
Iconography Replaces Secondary Form
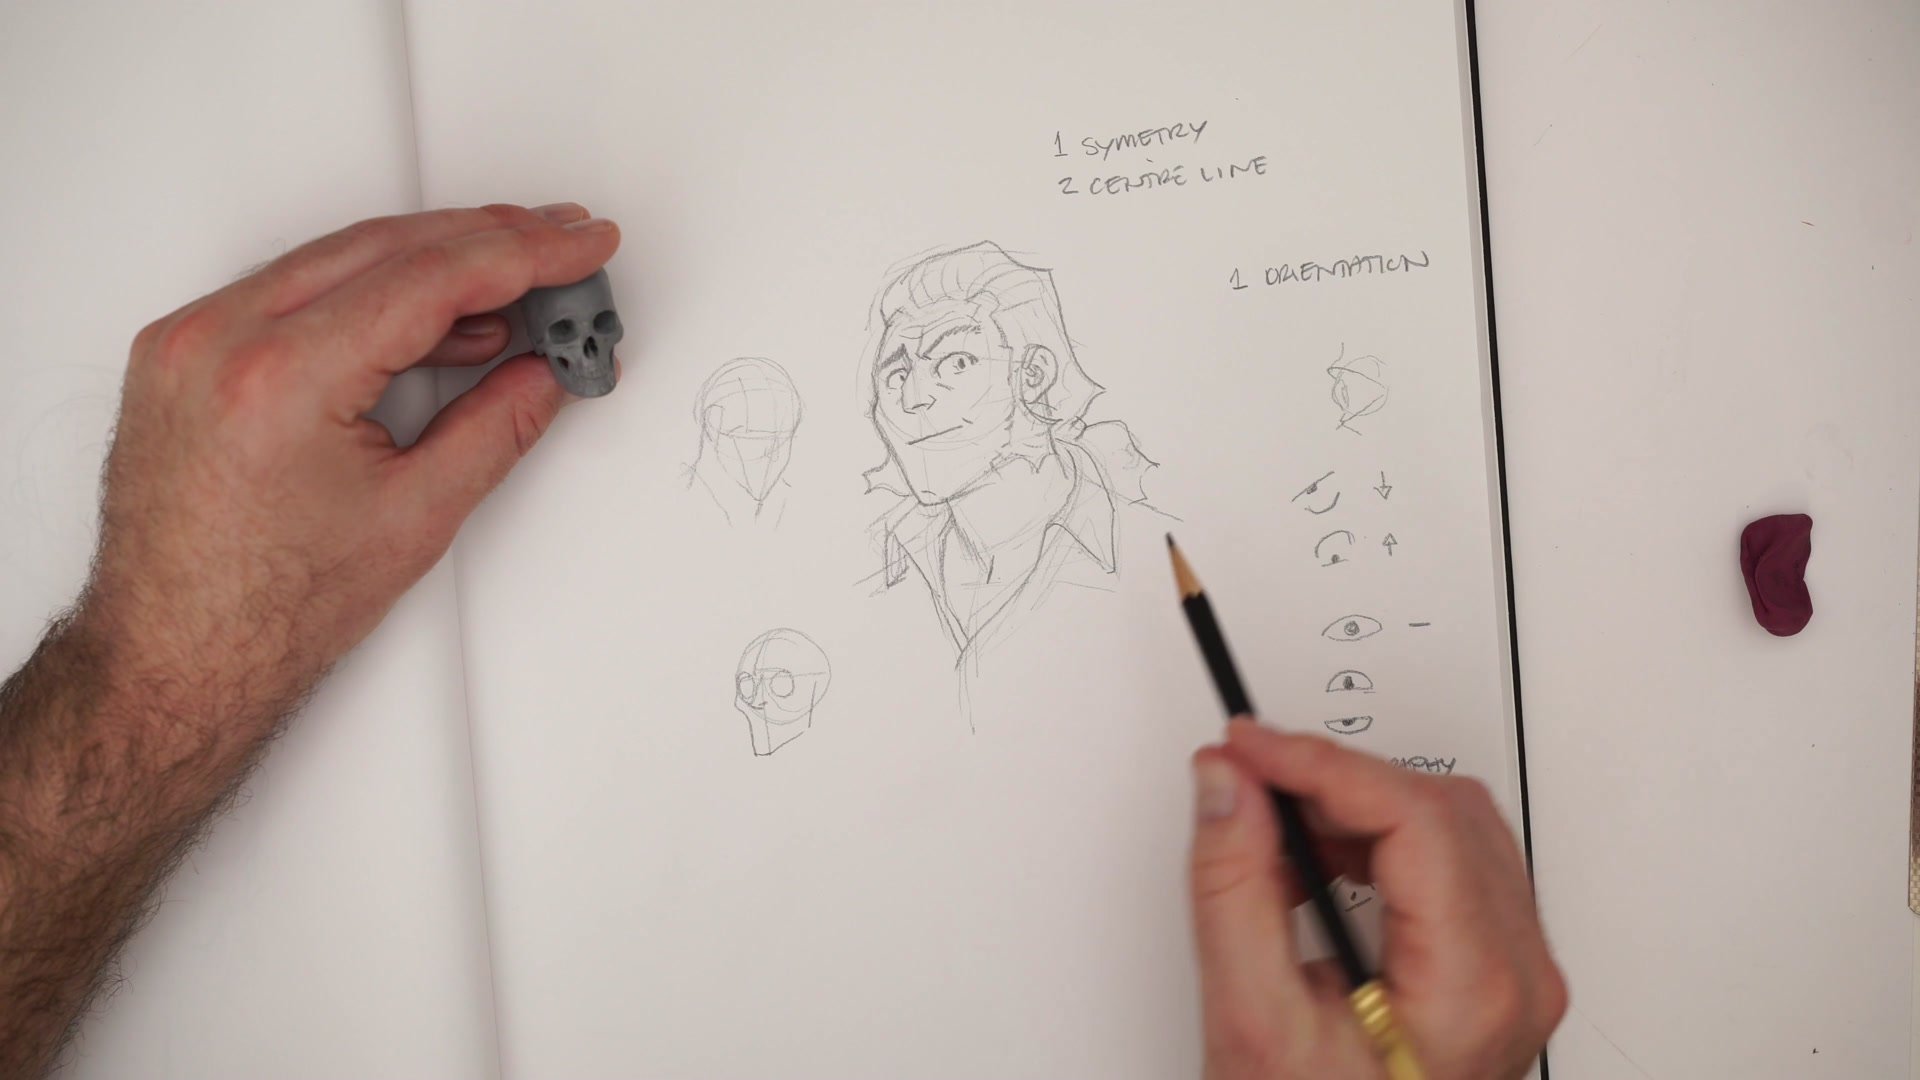
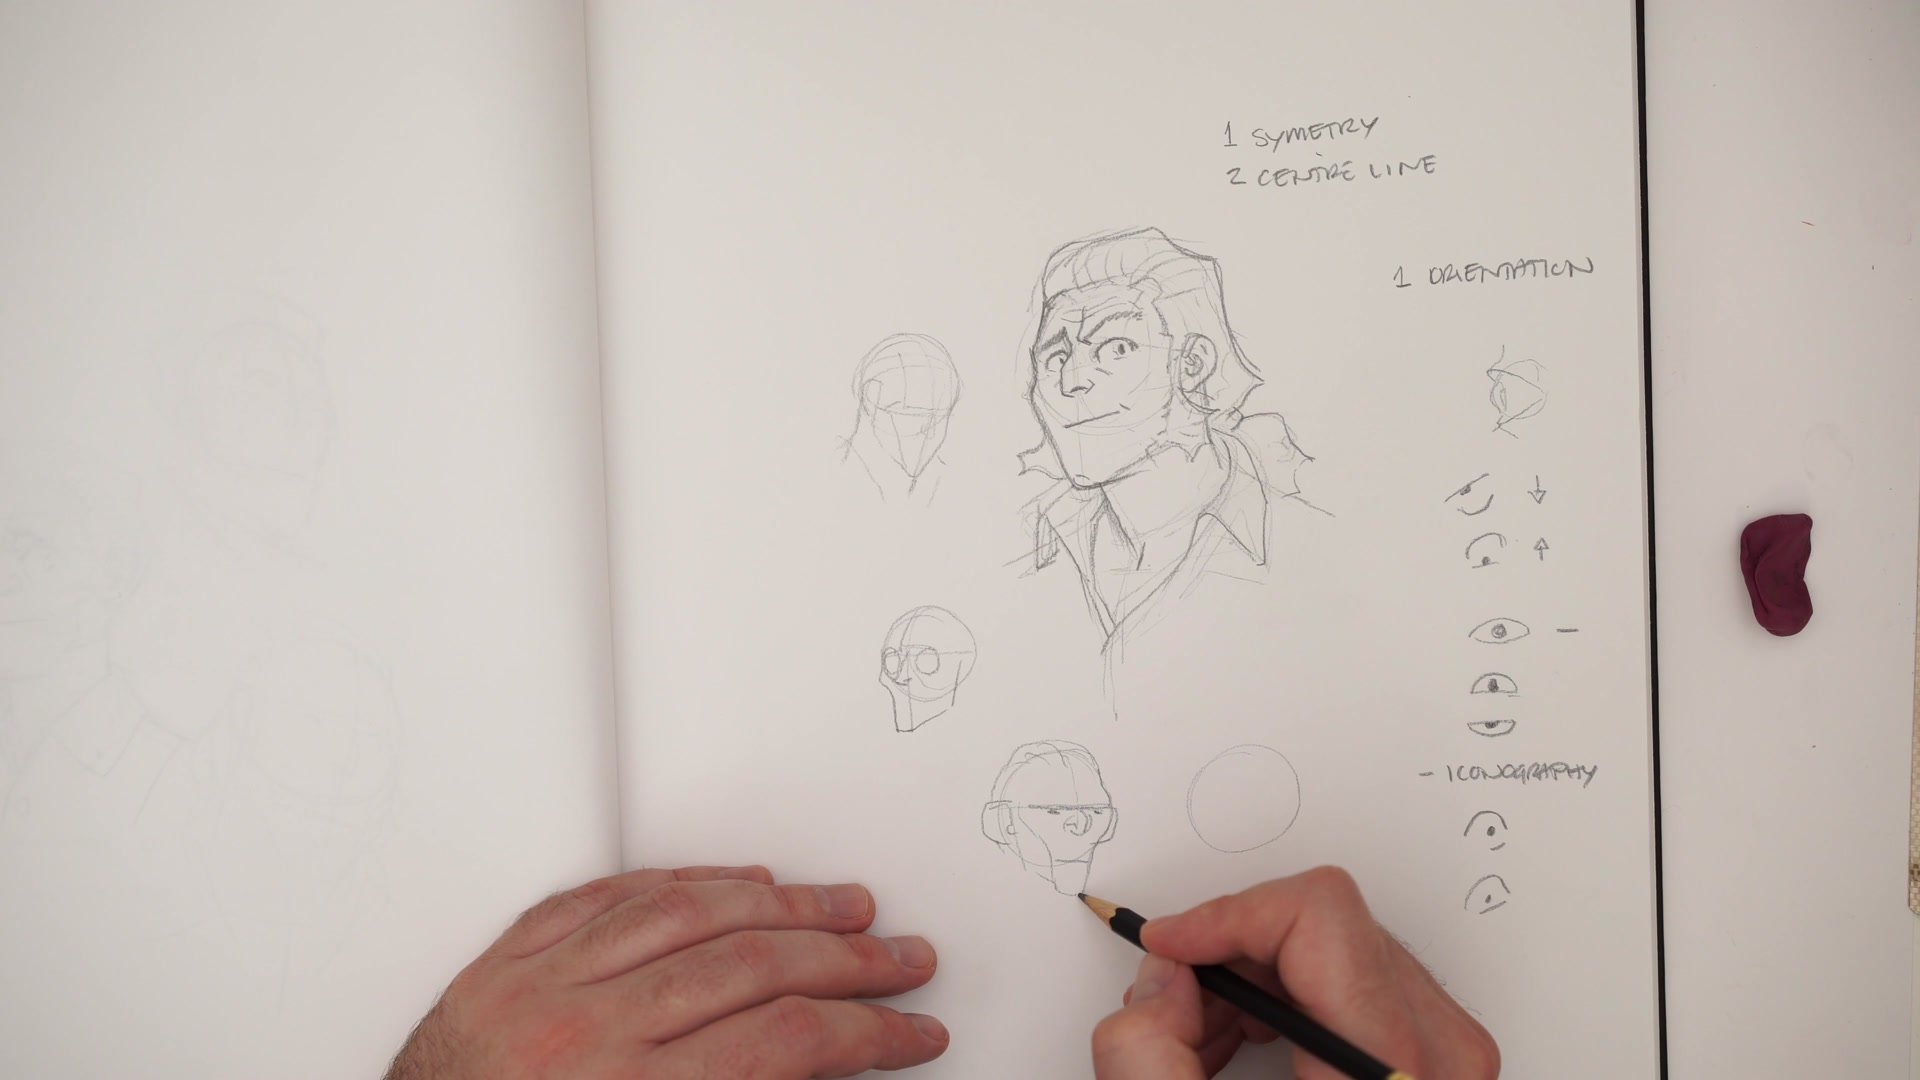
For stylized art, the key takeaway from the Loomis Method is not the detailed secondary form of cheekbones, lip structure, and eyelid curvature. What matters most is the symmetry aspect and the center line. These two elements give control over head rotation and feature placement at any angle.
Once the block-in provides orientation, stylized features rely on iconography, meaning simplified symbolic shapes for eyes, noses, and mouths that read as specific emotions and character types. An eye looking up versus looking down is conveyed through simple arc direction changes, not anatomical eyelid rendering. This iconographic approach also enables drawing different character types quickly. A weaselly pirate, a broad-jawed hero, and a small snub-nosed character all use the same basic Loomis sphere-plus-center-line setup, but their iconic features create entirely different personalities.
Character Variations

Key Principles
Symmetry and Center Line: These are the two most important elements to take from the Loomis Method for stylized work. They control feature placement across any head rotation without requiring full anatomical construction.
Construction as Planning: The block-in phase gets rougher with experience. It provides a plan for orientation and proportion, not a finished technical drawing to trace over.
Center Features First: Starting the finished drawing from the nose and central features outward gives better proportional accuracy than blocking in the full face shape first.
Iconography Over Realism: For comics and manga, simplified symbolic shapes for features matter more than secondary anatomical form. The Loomis sphere just tells you where to place them.
Methods Serve Style: The Loomis Method is a tool to improve your drawing, not a system that controls it. How you apply it should match the art you actually want to make.
Practice This
Start with Sphere Plus Center Line: Draw a quick sphere, add dimensionality, and mark the center line. Keep it rough and fast rather than measured and technical.
Build Features from the Nose Out: Place the nose first, then position the eyes and brow relative to it. Let the face shape follow the features rather than constraining them.
Draw Three Character Types: Using the same basic Loomis setup, create three different characters by changing only the iconic features, chin shape, and proportional ratios.


