Color Rough Sketches and Talk Concept Design
Summary
Coloring Rough Sketches
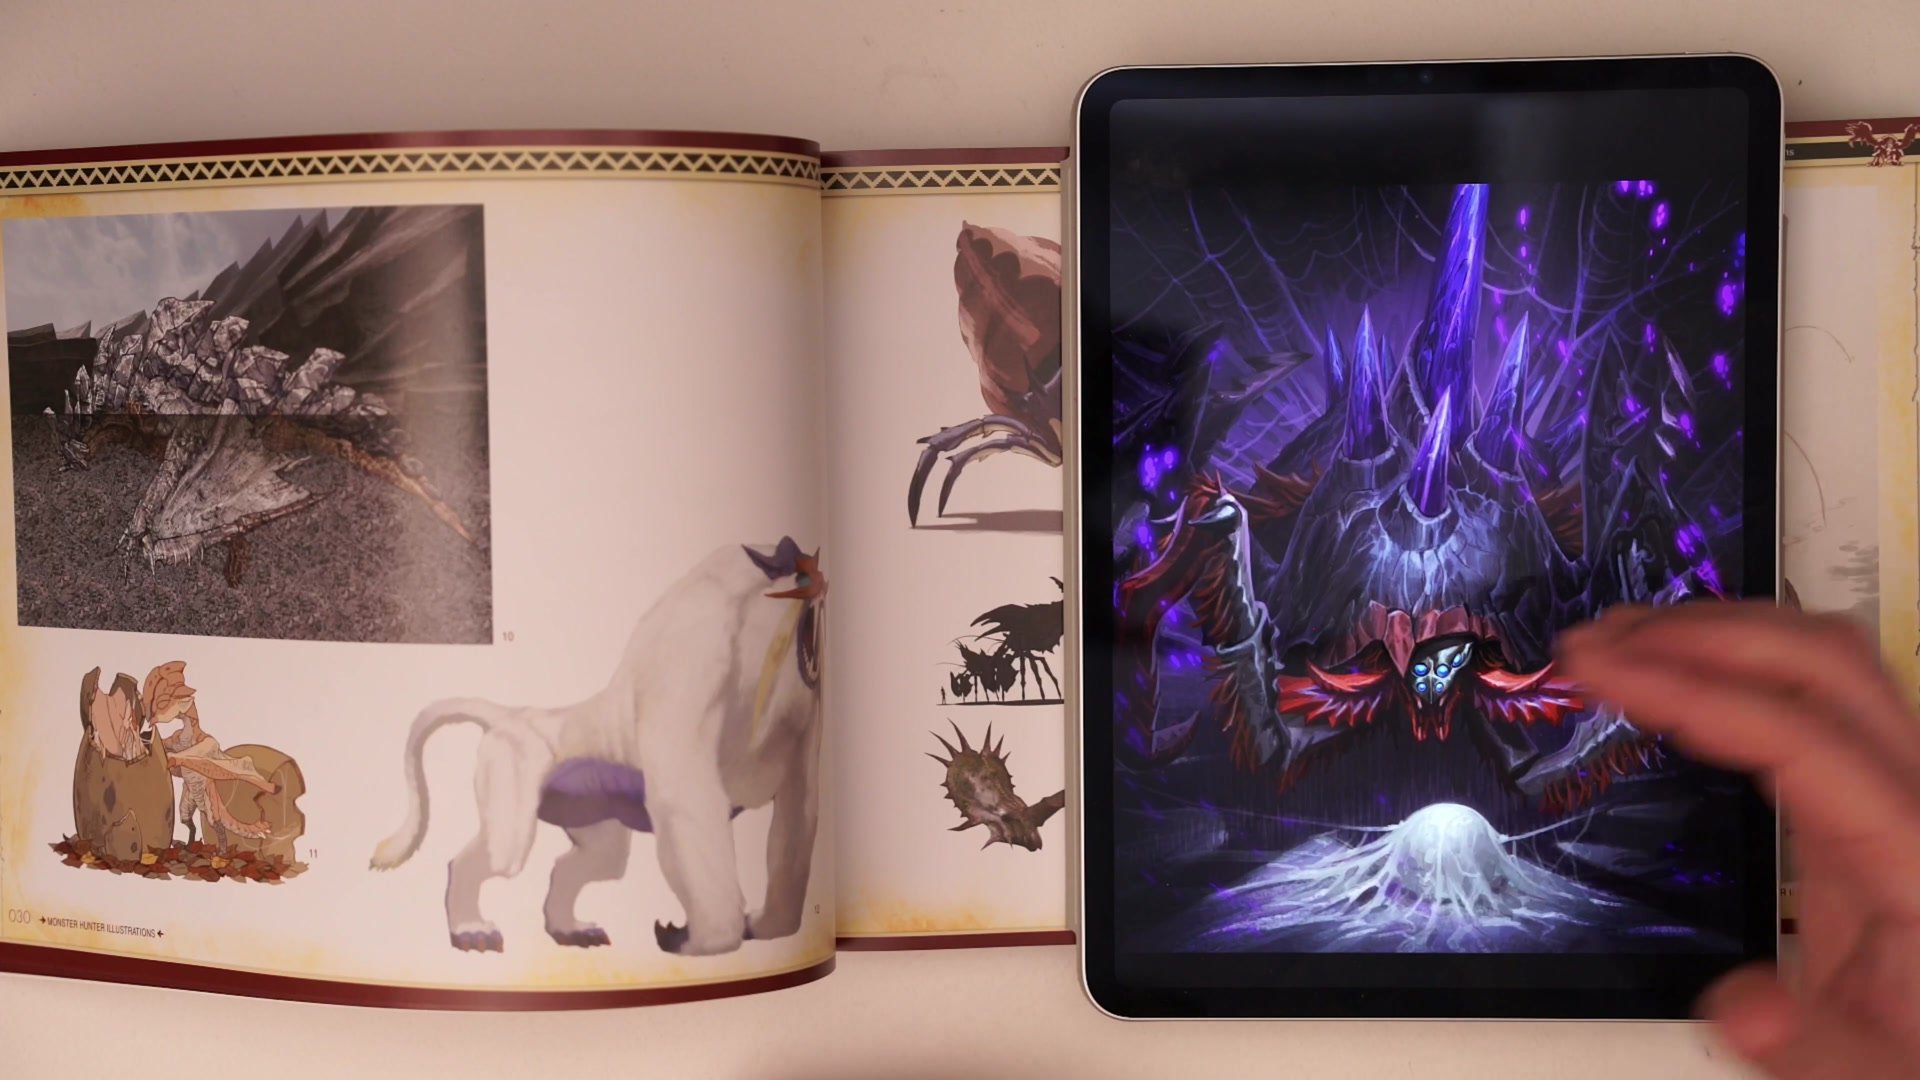
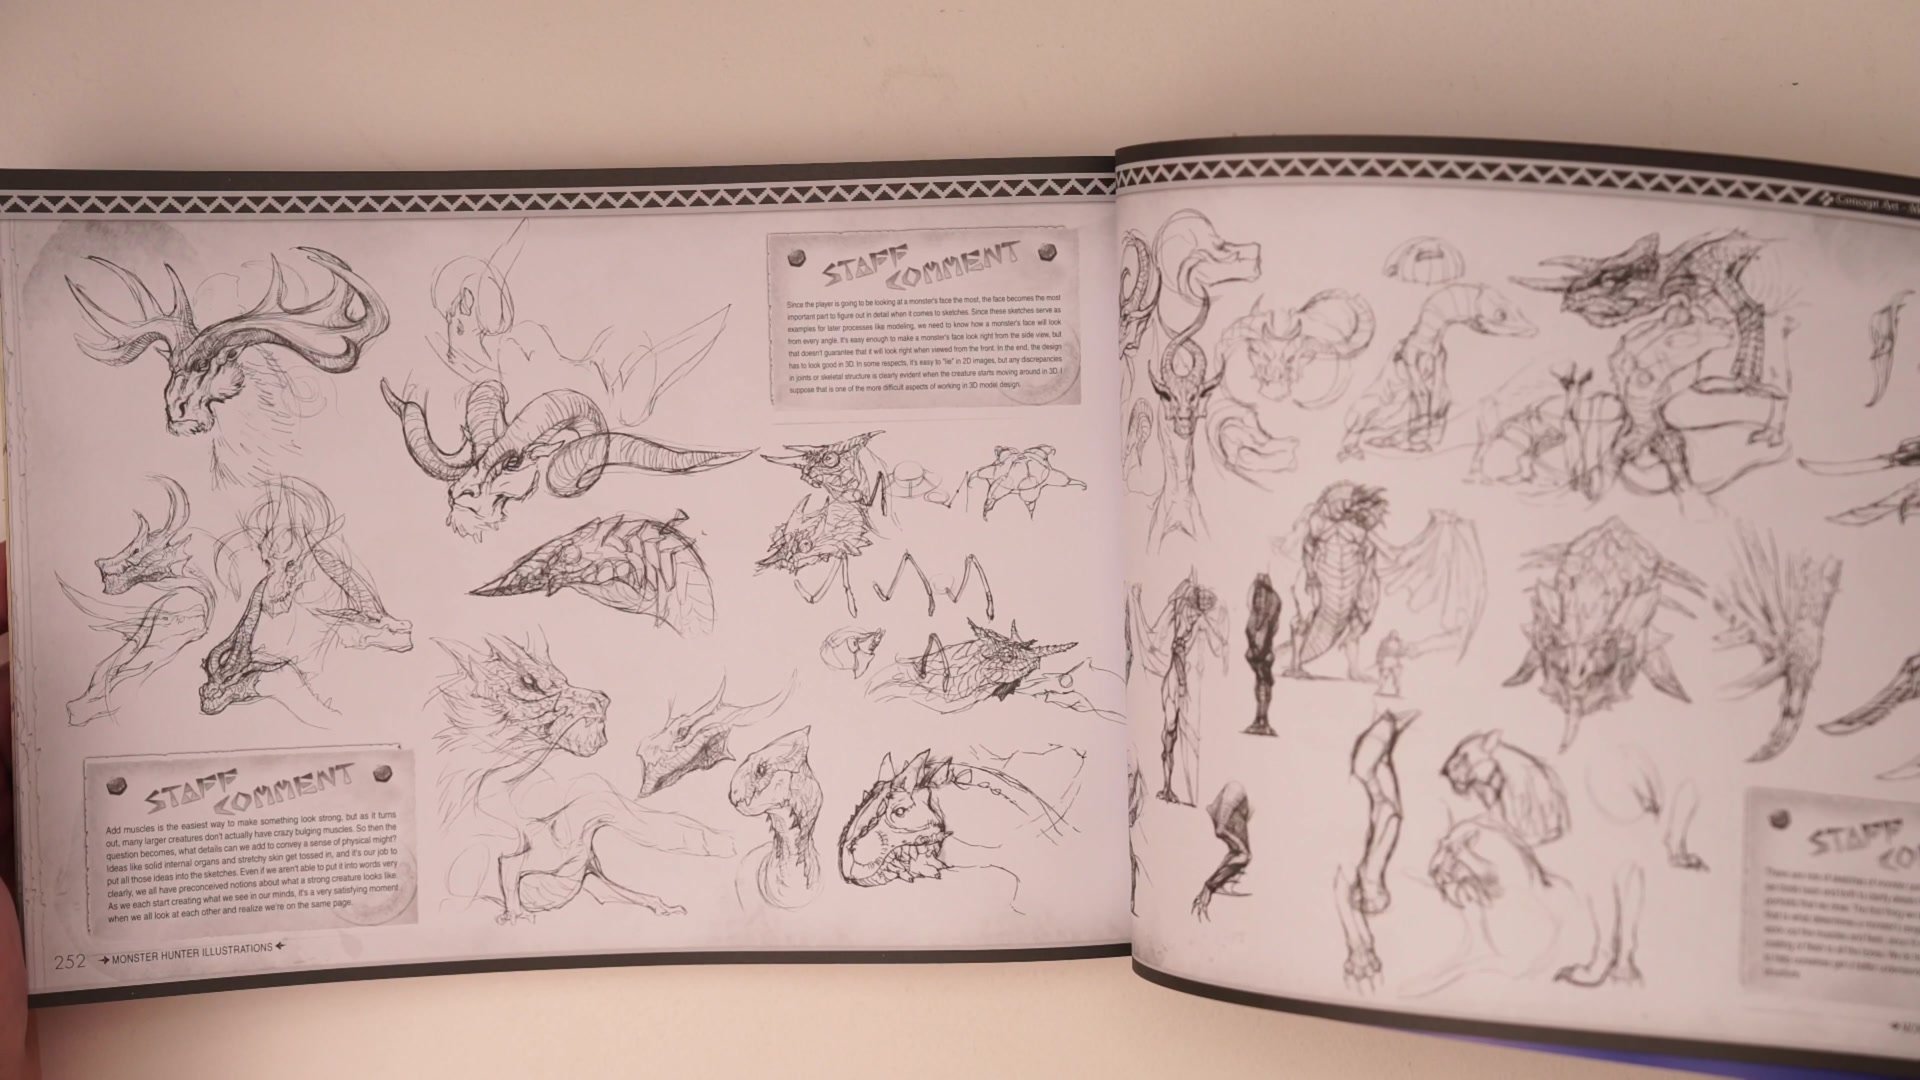
This session takes a collection of messy, rough pencil sketches from a previous sketchbook session and transforms them into a presentable colored concept design sheet. The entire process happens in real time inside Photoshop, using nothing more than basic selection tools, flat color fills, and a simple sepia line template. The session opens with a look through the Monster Hunter Illustrations art book, examining how professional game designers use simple line and color techniques to generate massive variety in creature and equipment designs.
The core idea driving this session is completing a unit of design. Rather than leaving random sketchbook ideas scattered across pages, the goal is to collect, clean up, and present those sketches together as a single deliverable that can be evaluated, shared with an art director, or used as a foundation for the next round of iteration.
Reference and Setup
From Photo to Sepia Lines
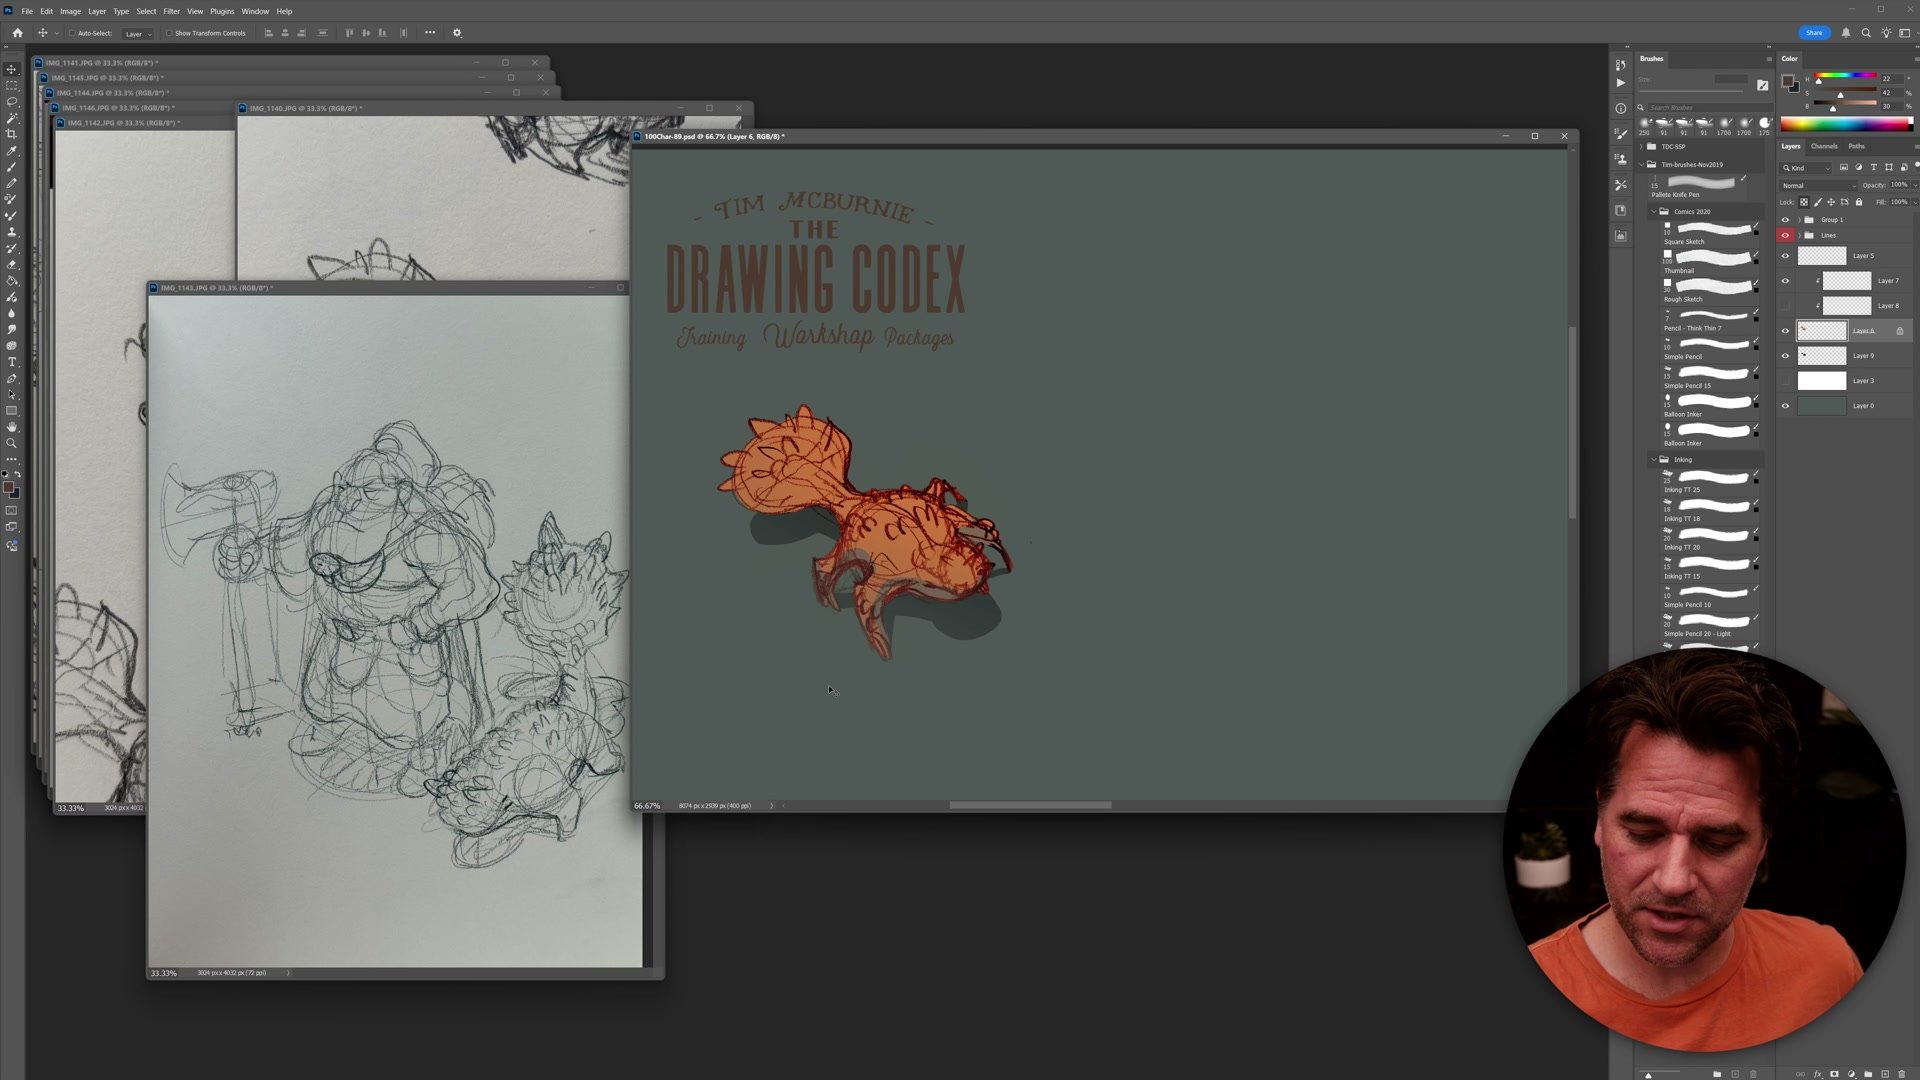
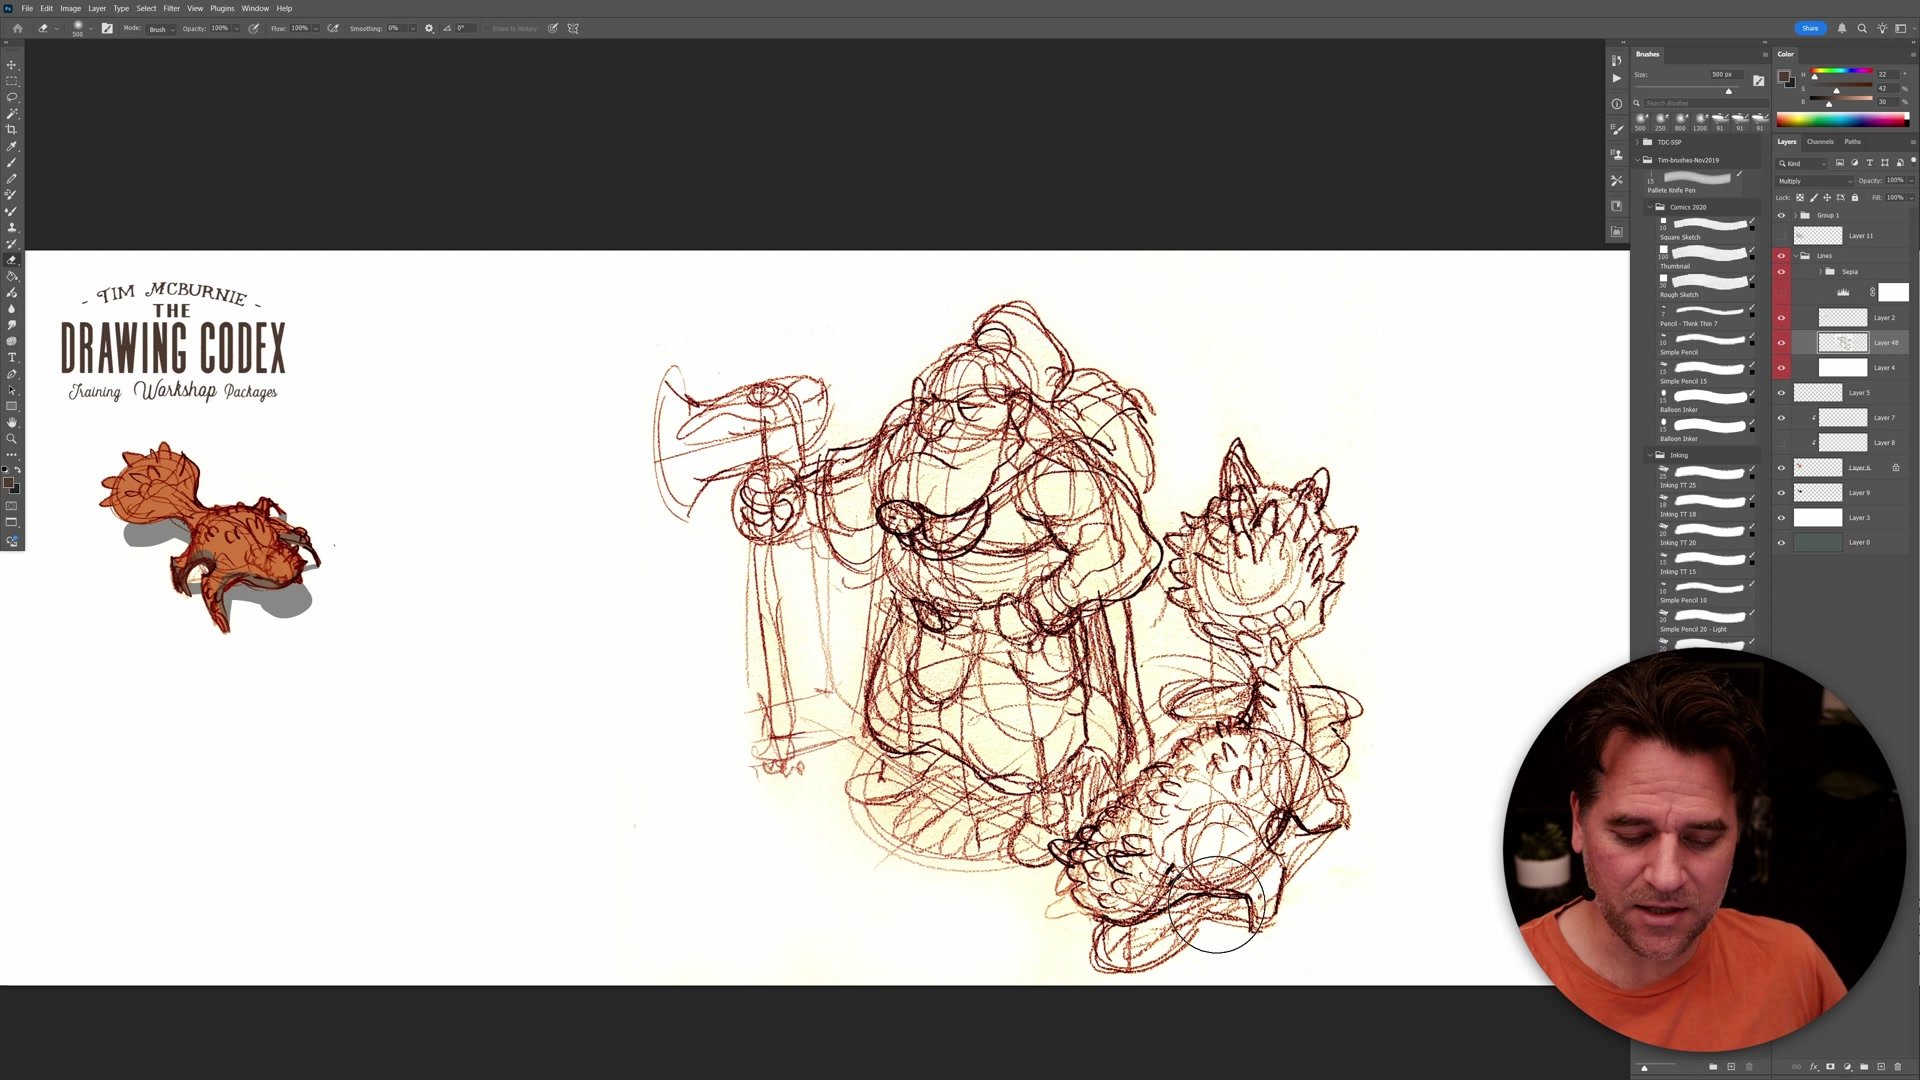
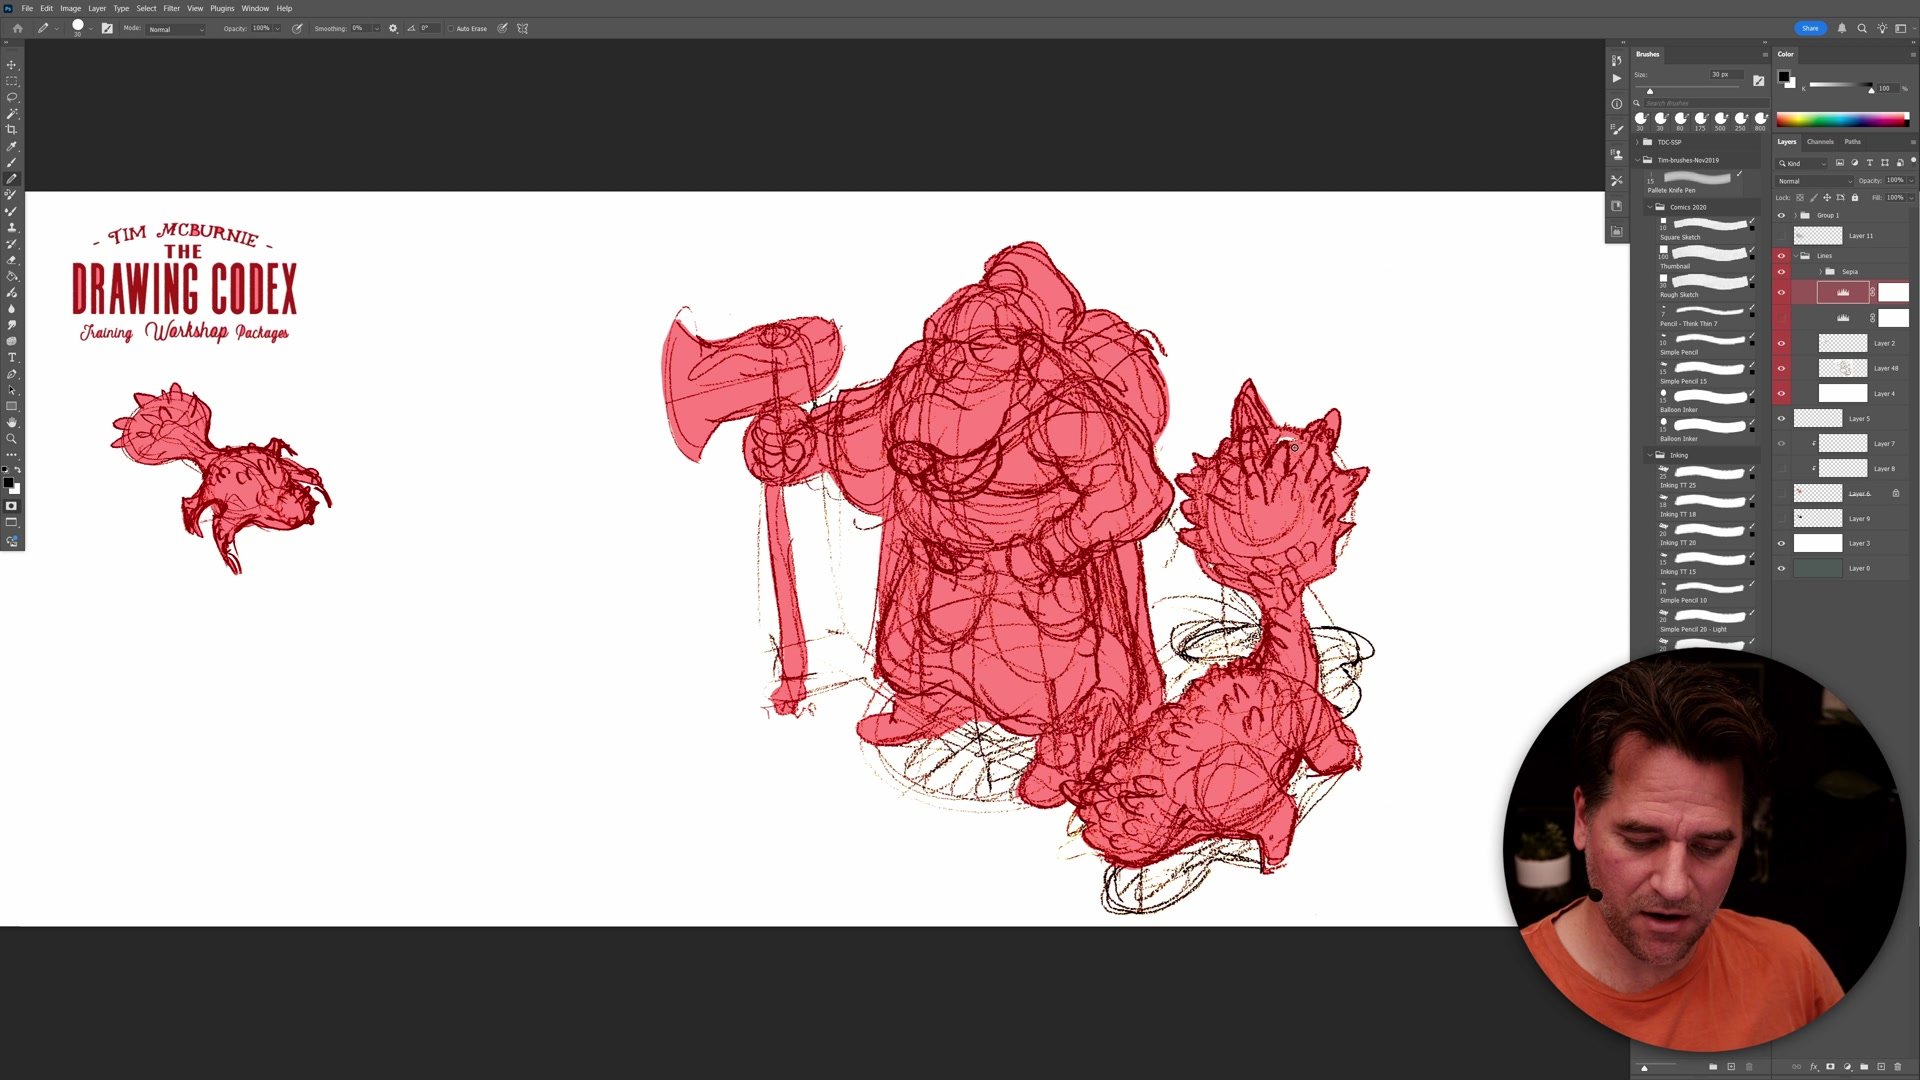
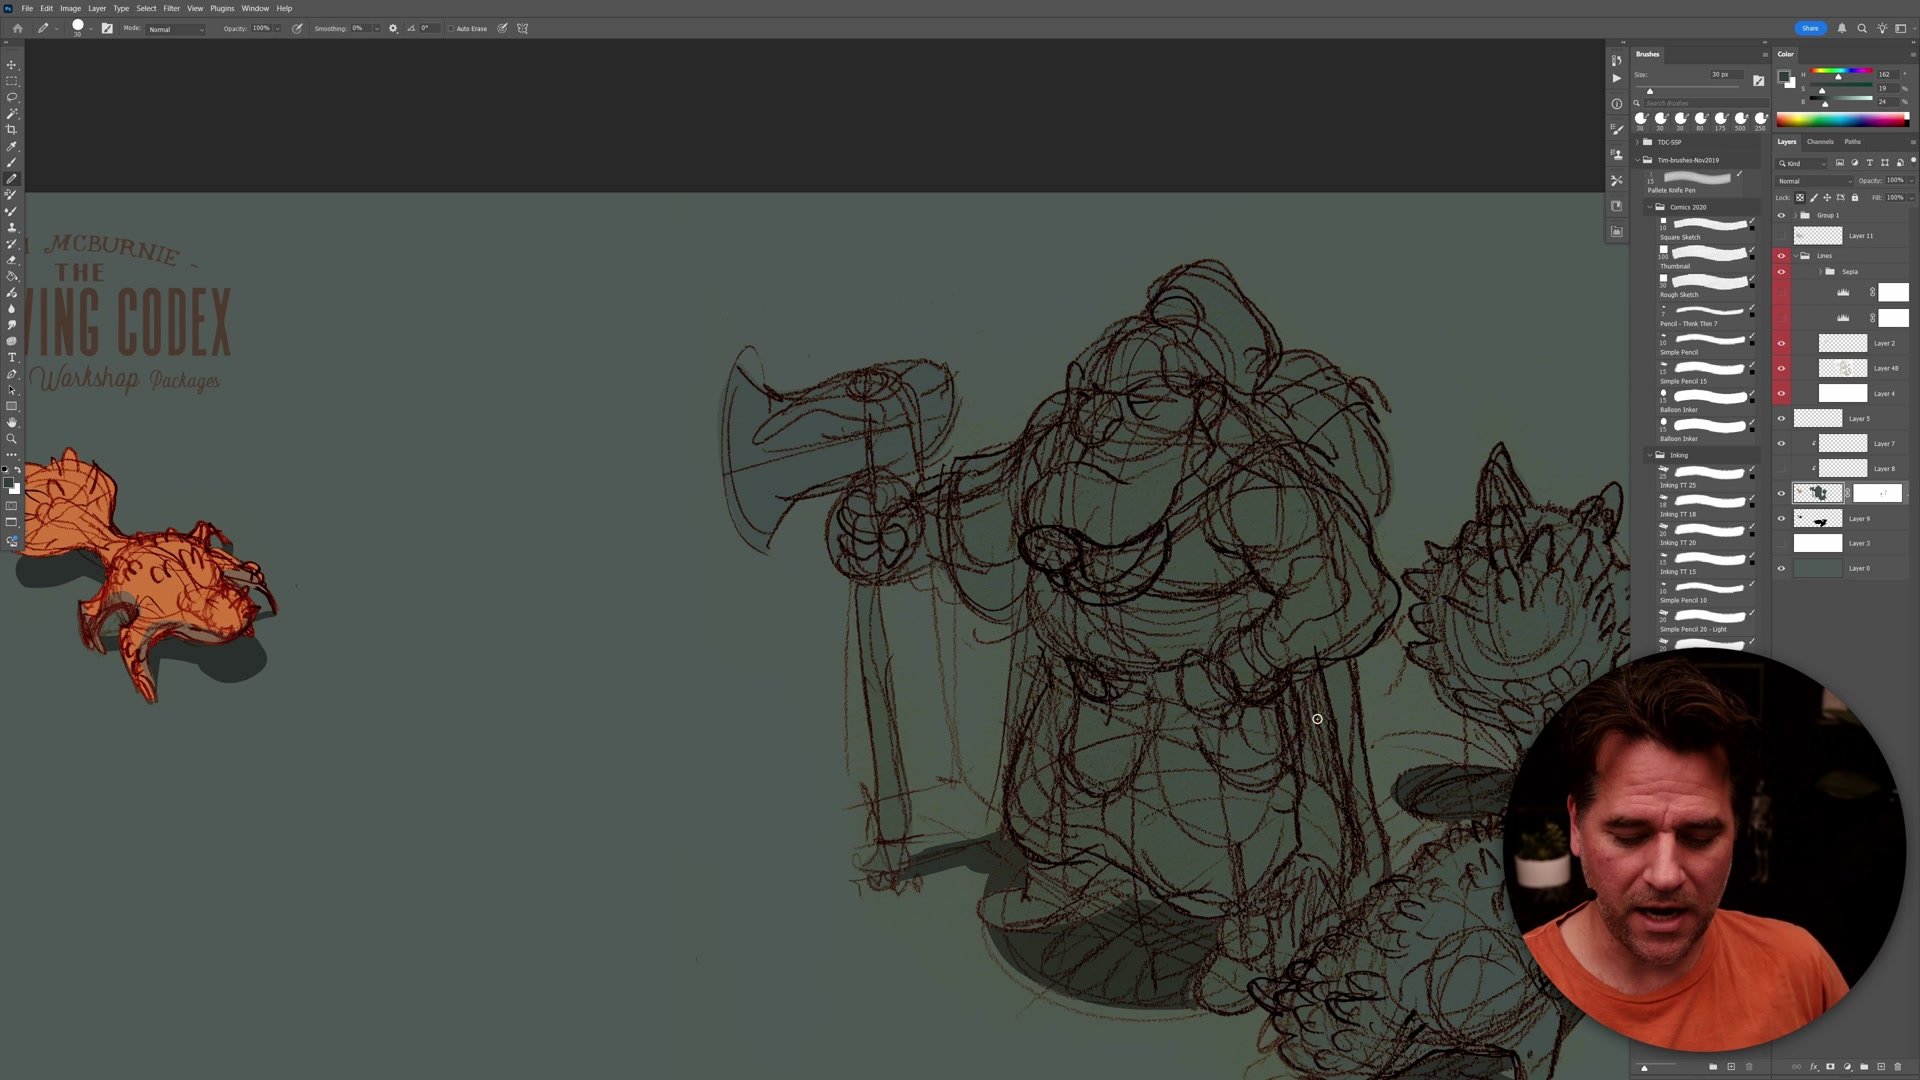
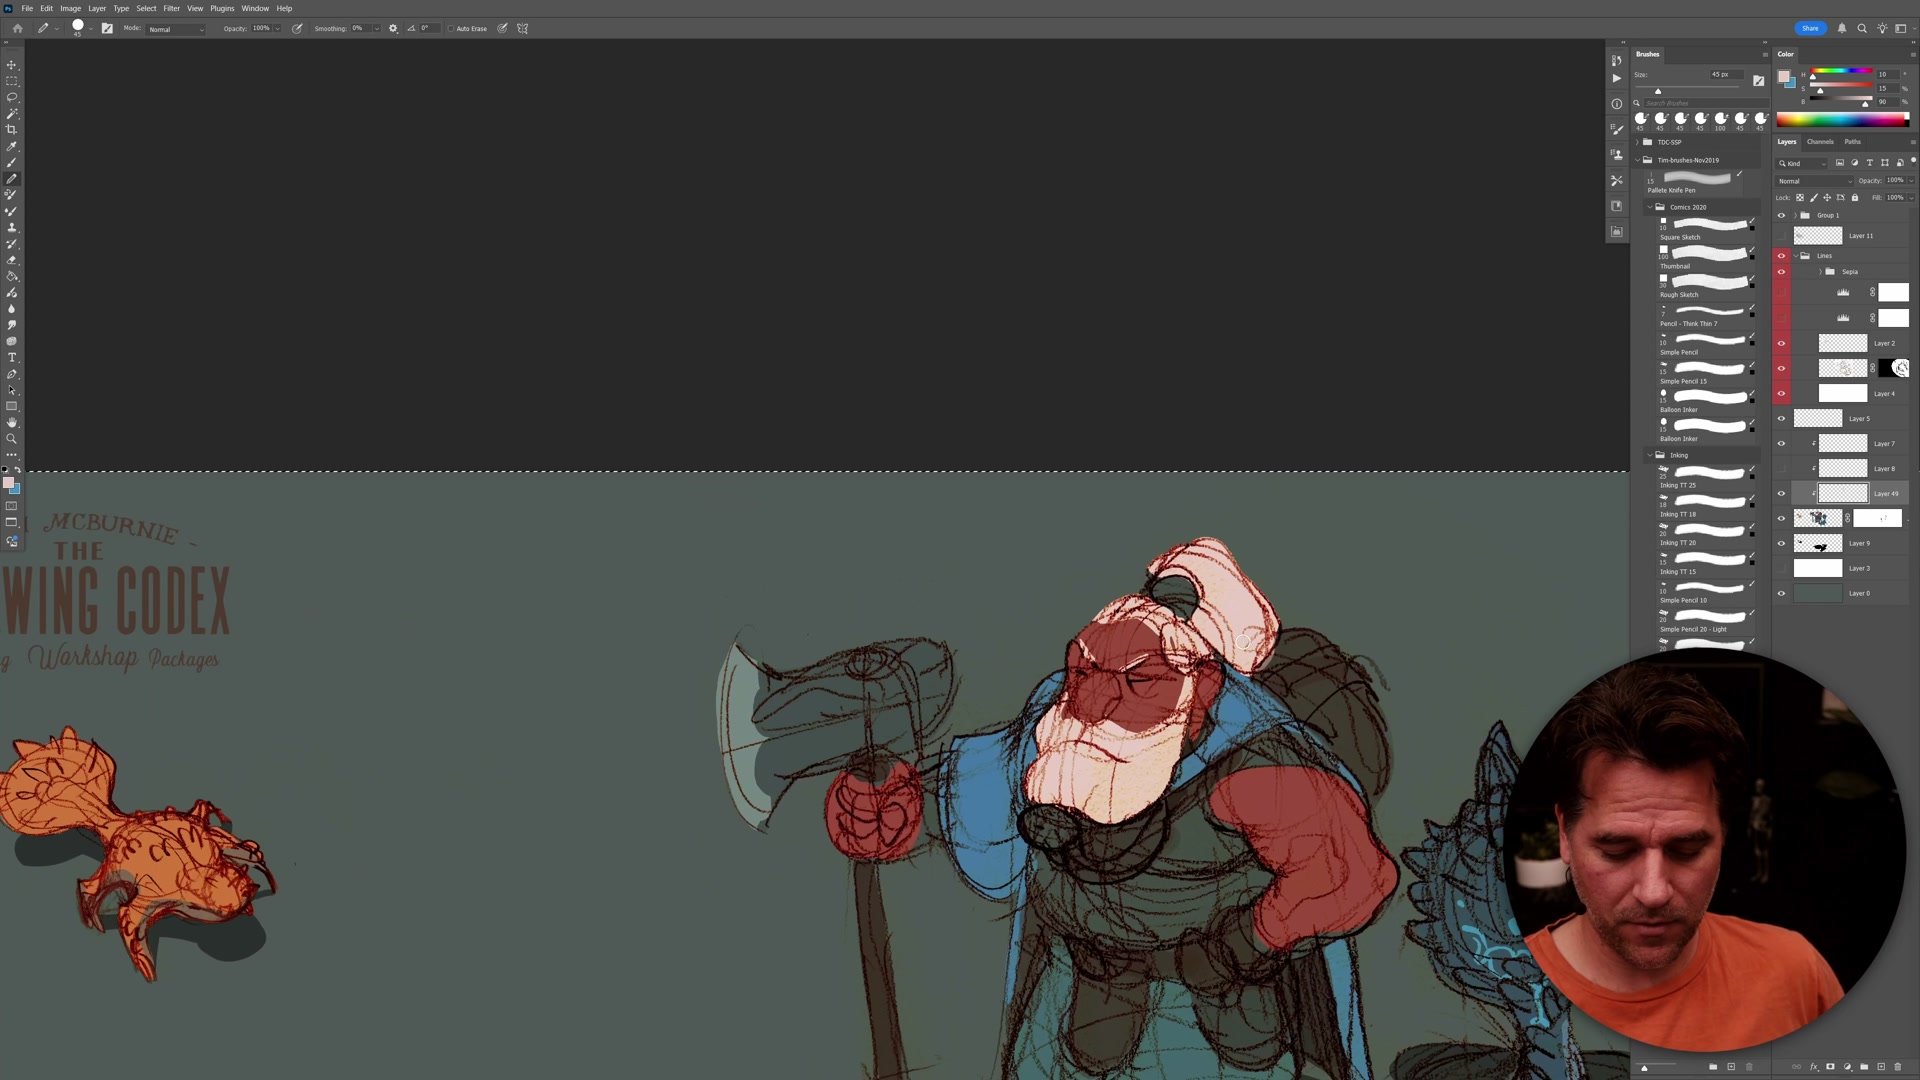
The technical process starts with phone photos of rough sketchbook pages dragged directly into Photoshop. Auto levels normalizes the contrast, and setting the layer to multiply mode drops the white paper away. A pre-built sepia line template provides the tonal base, and further levels adjustments push the pencil texture toward clean linework. The result is still rough, but the lines sit naturally on the template background without any of the paper grain showing through.
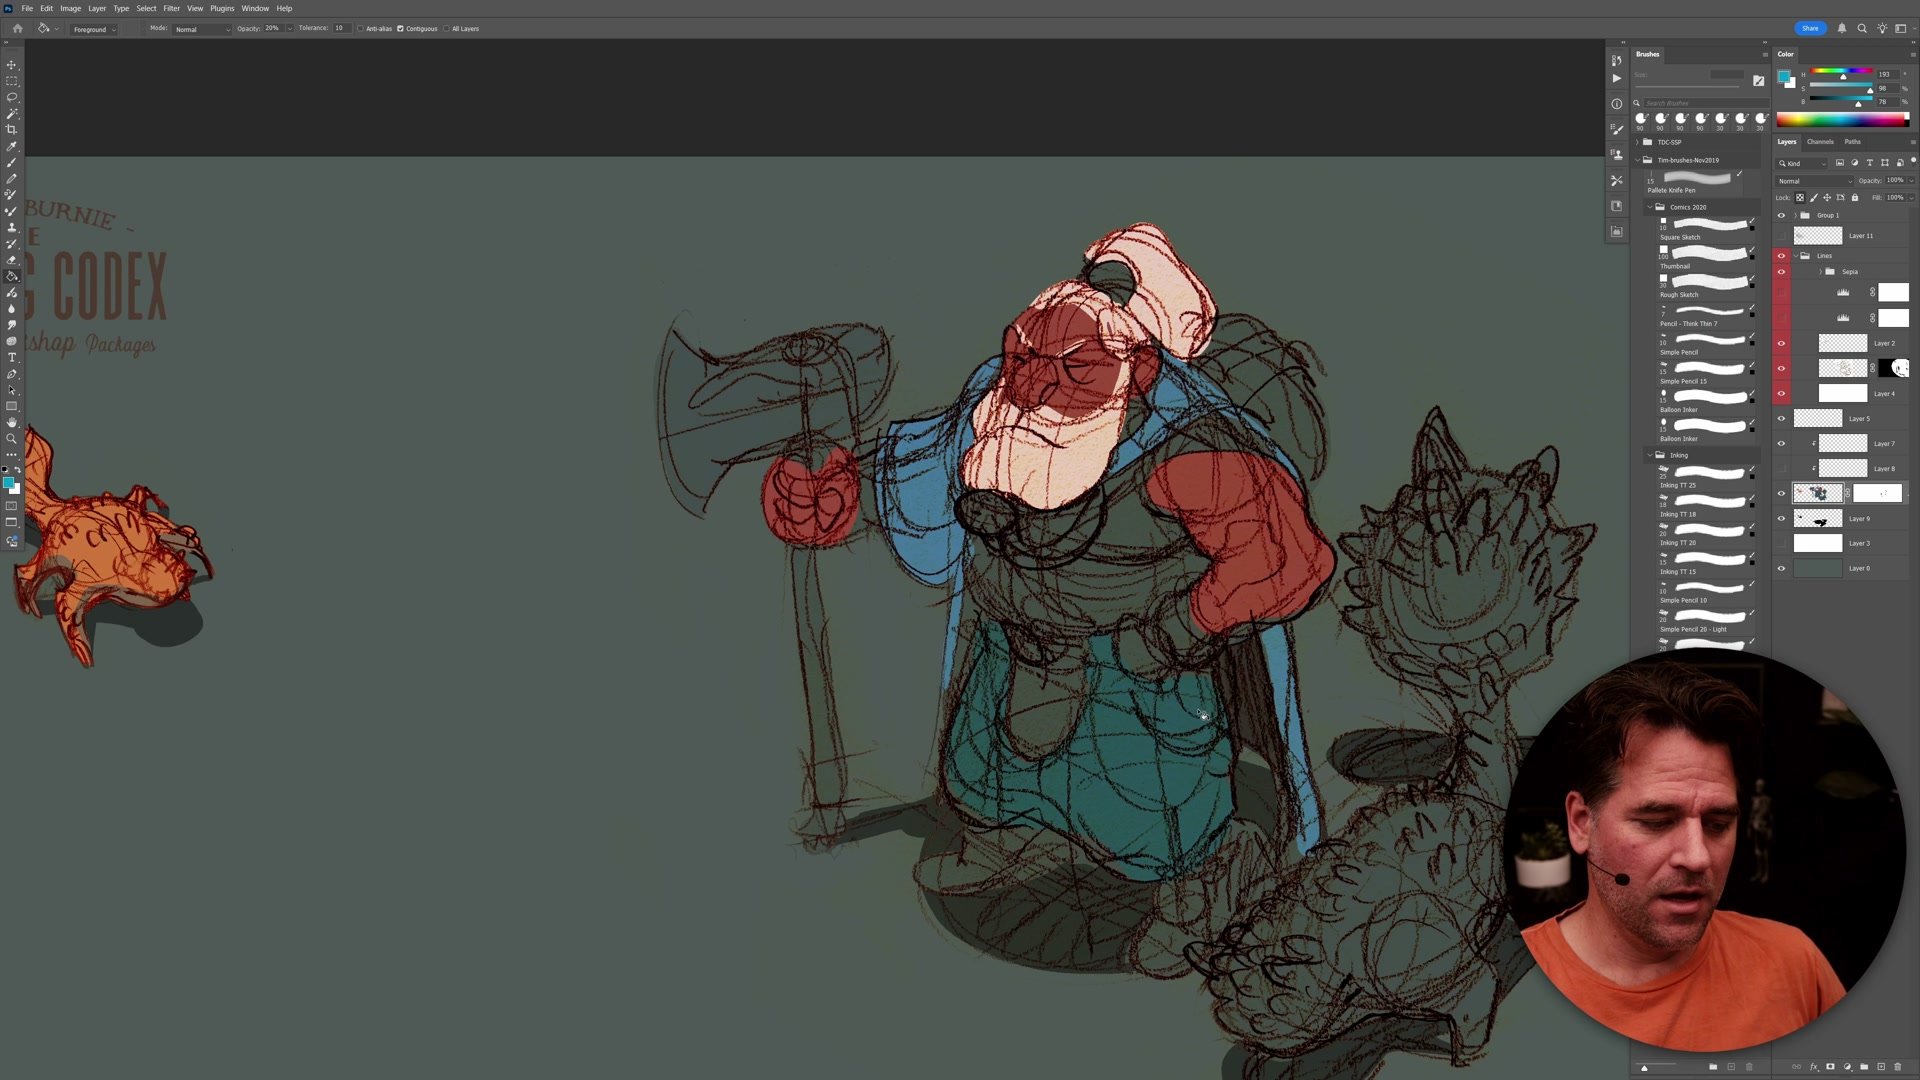
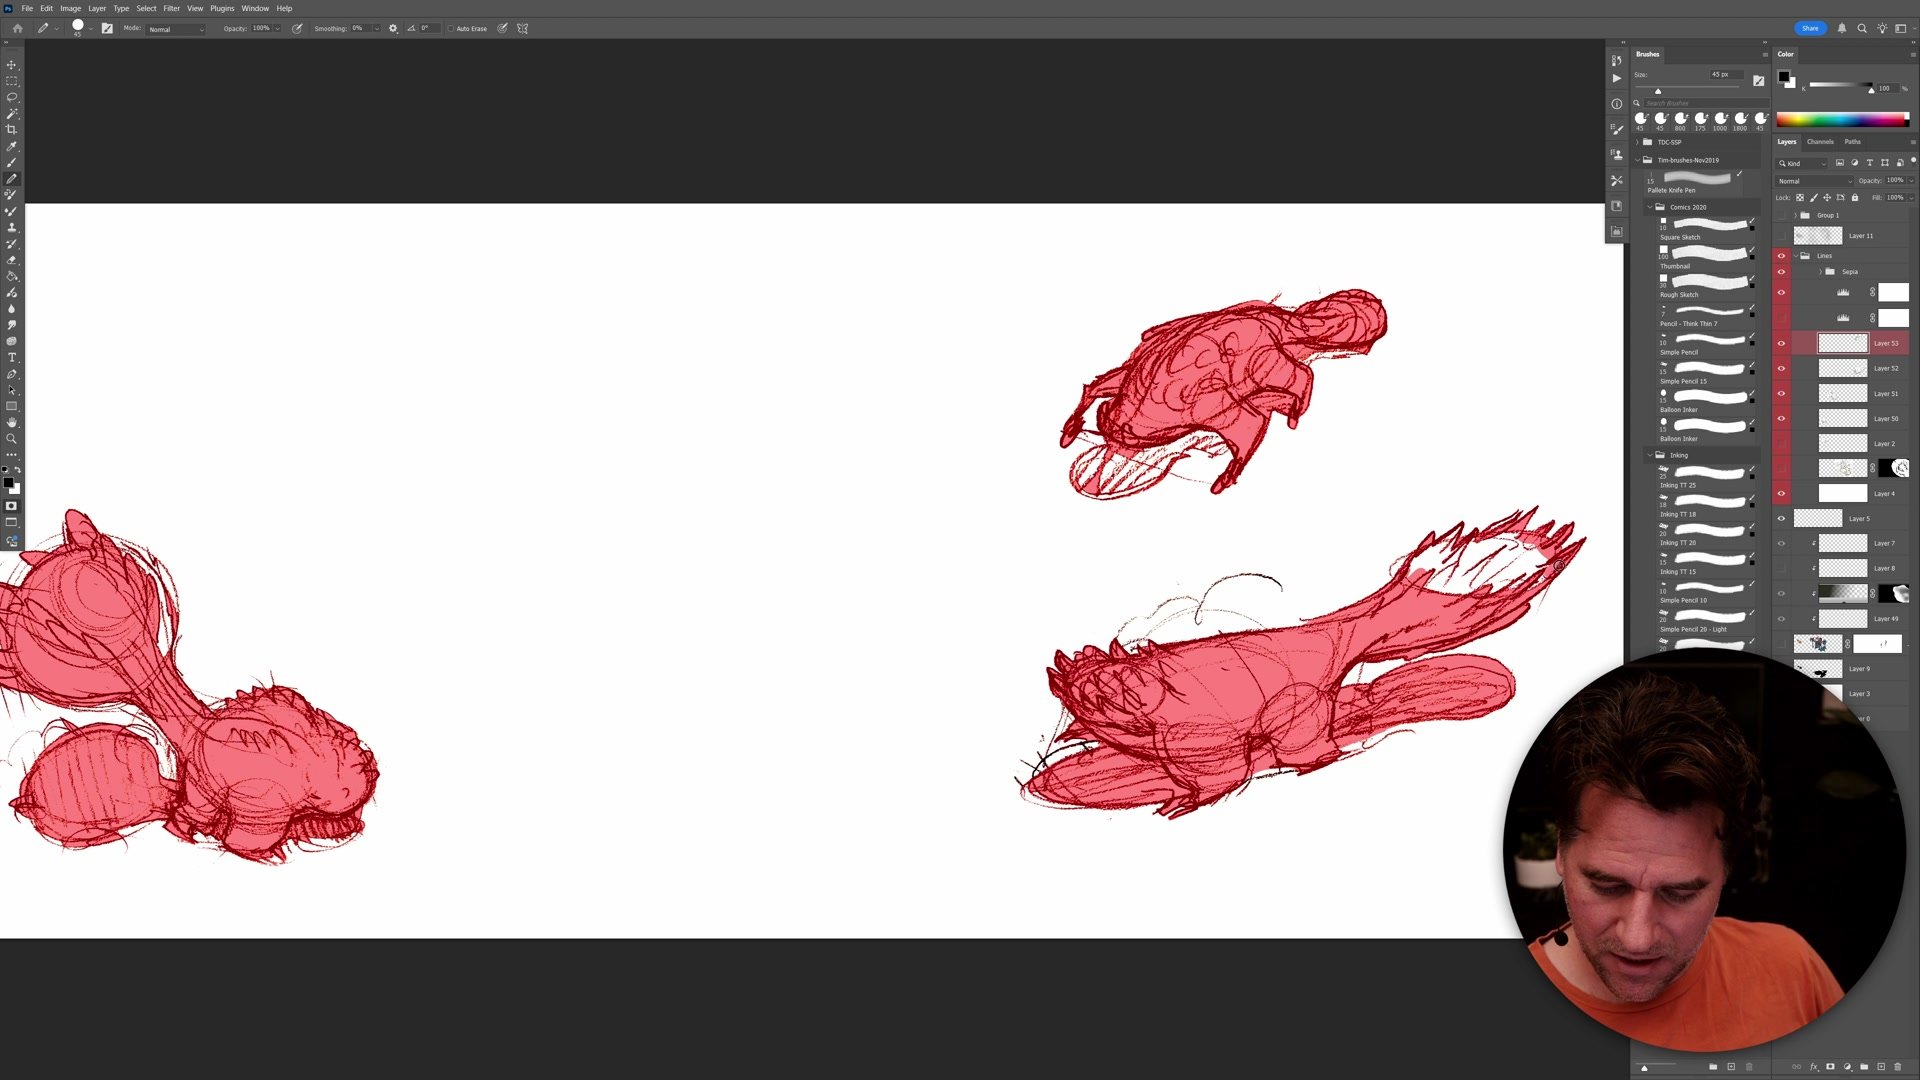
From there, the magic wand tool at tolerance 10 with contiguous selection grabs the rough silhouette shapes. Quick mask mode allows painting in the selection to close open loops in the sketchy linework. Once the selection is solid enough, a simple fill creates the flat color base. The key trick is to start with a fill color close to the background tone, which hides all the fringing and halos from imperfect selections before adding the actual character colors on top.
Building the Flat Colors
Simple Color and Shadows
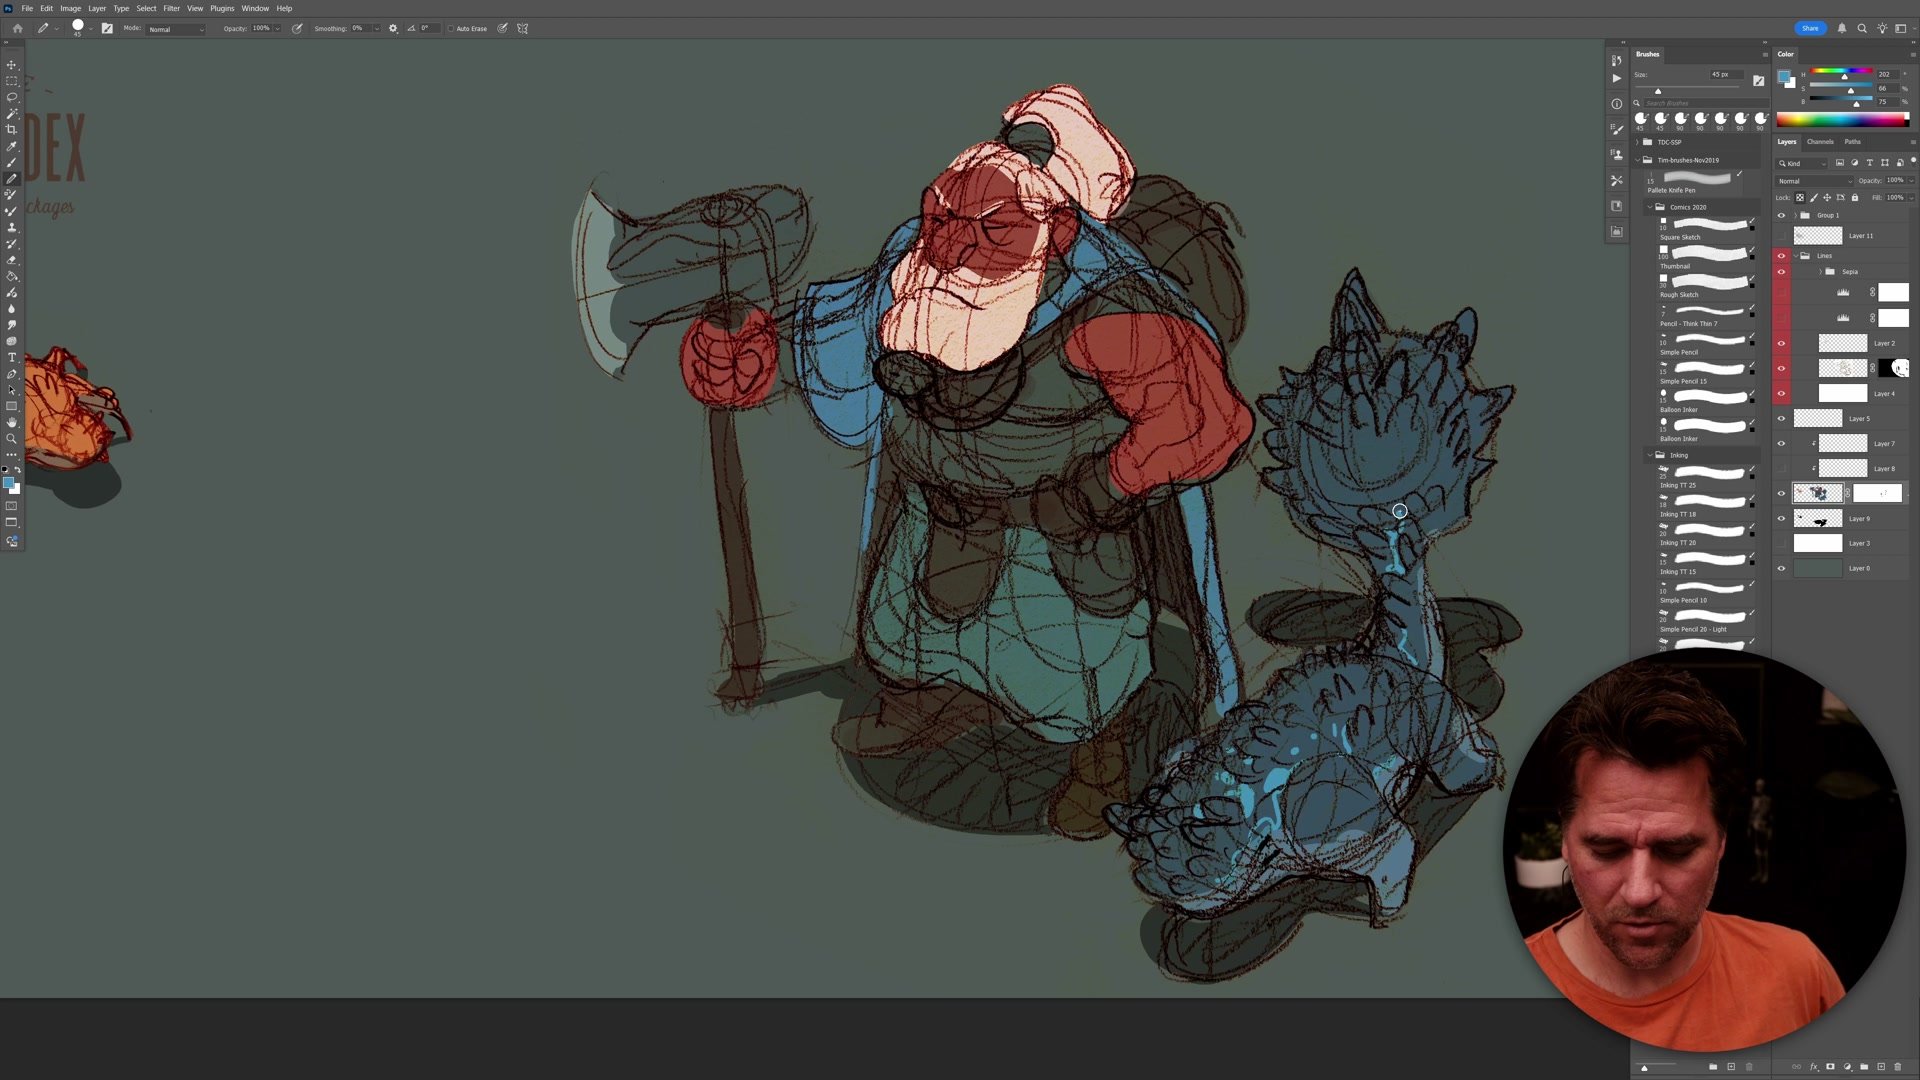
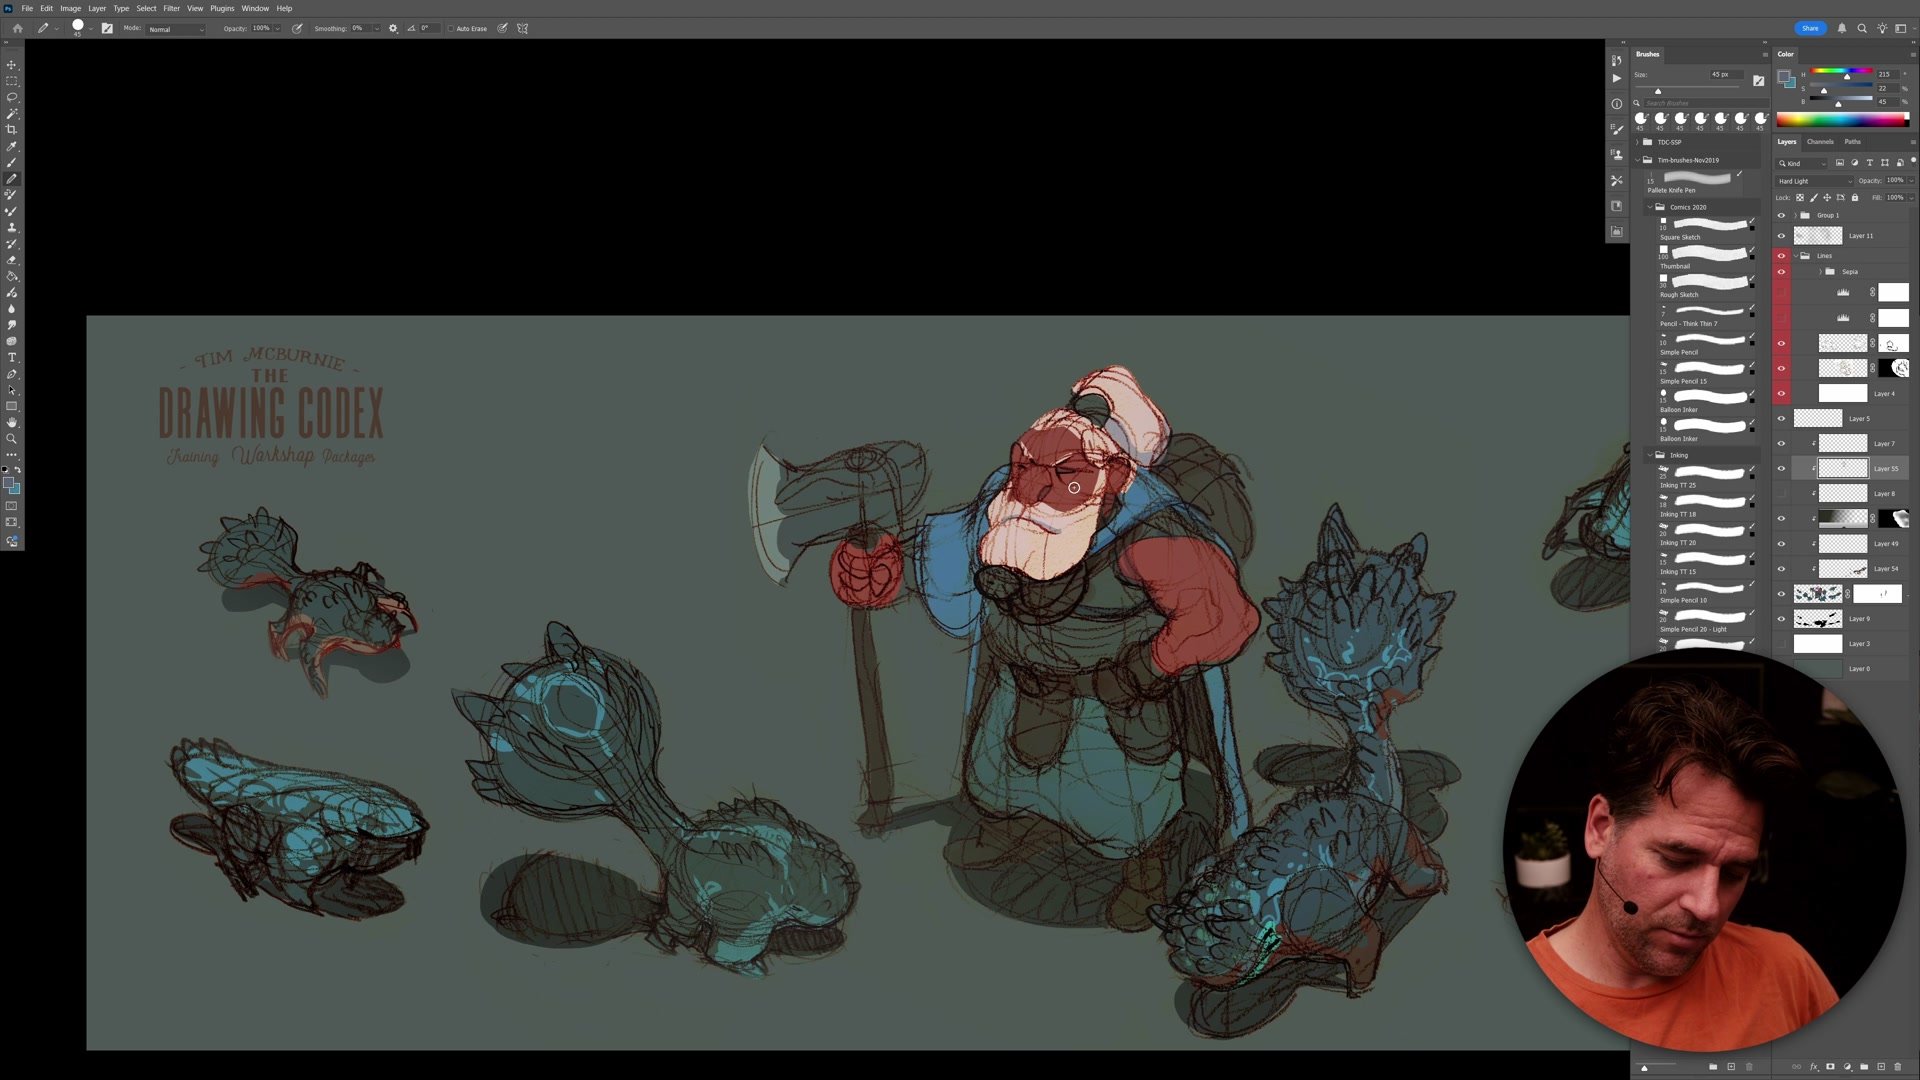
With the silhouette established, flat colors go in using the pencil tool to draw shapes and the paint bucket to fill them. Opacity control is crucial here. Setting the paint bucket to twenty percent and gradually building up color allows creeping toward the right value without committing too early. The color choices stay deliberately restrained, using mostly neutrals and earth tones with a few brighter accents to establish the primary character read.
Shadows use an elegantly simple approach: a dedicated layer set to fifty percent opacity, painted with pure black. Because it is set to a fixed opacity, the shadow tone automatically works across every color underneath without any per-element adjustment. A line mask on the sketch layer allows selective cleanup, erasing the roughest construction lines while preserving the ones that contribute to the design read. These two tools, the shadow layer and the line mask, handle most of the refinement work.
Refining the Design Sheet
Completing the Design Cycle
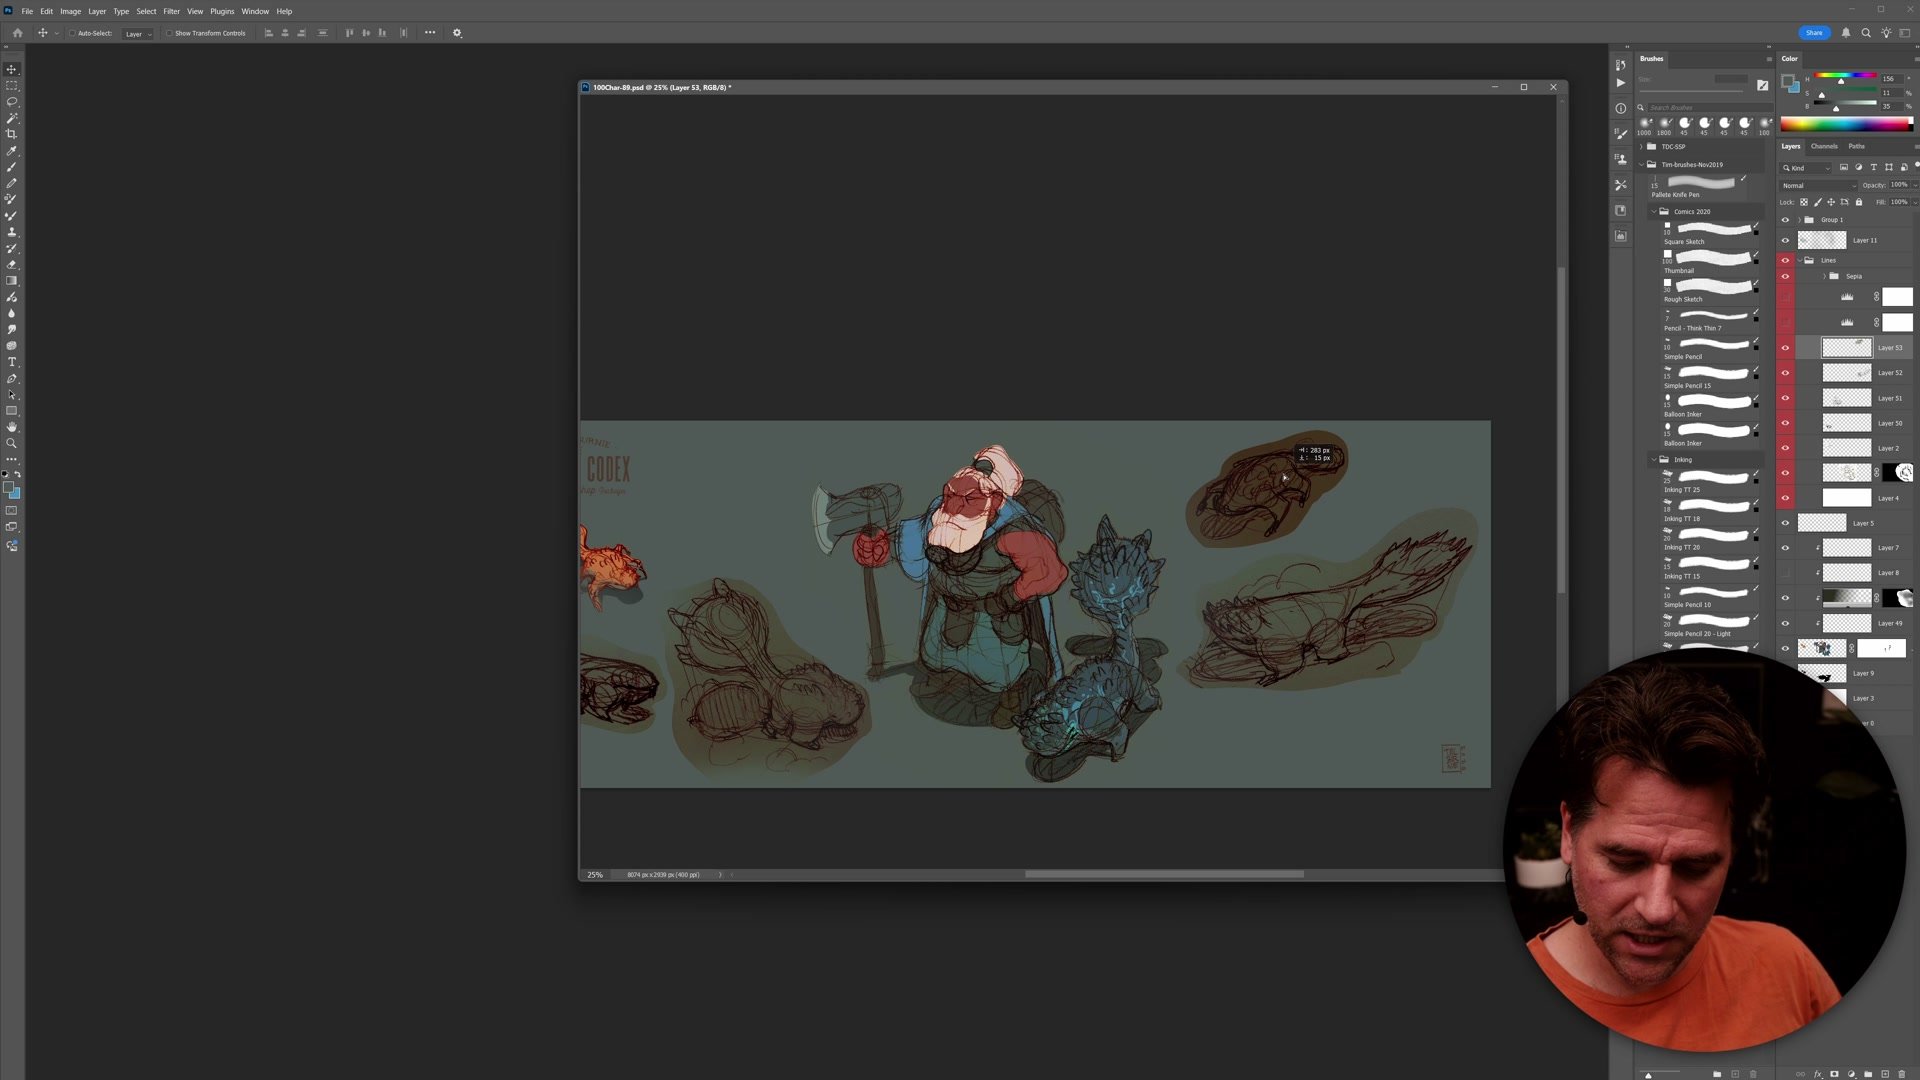
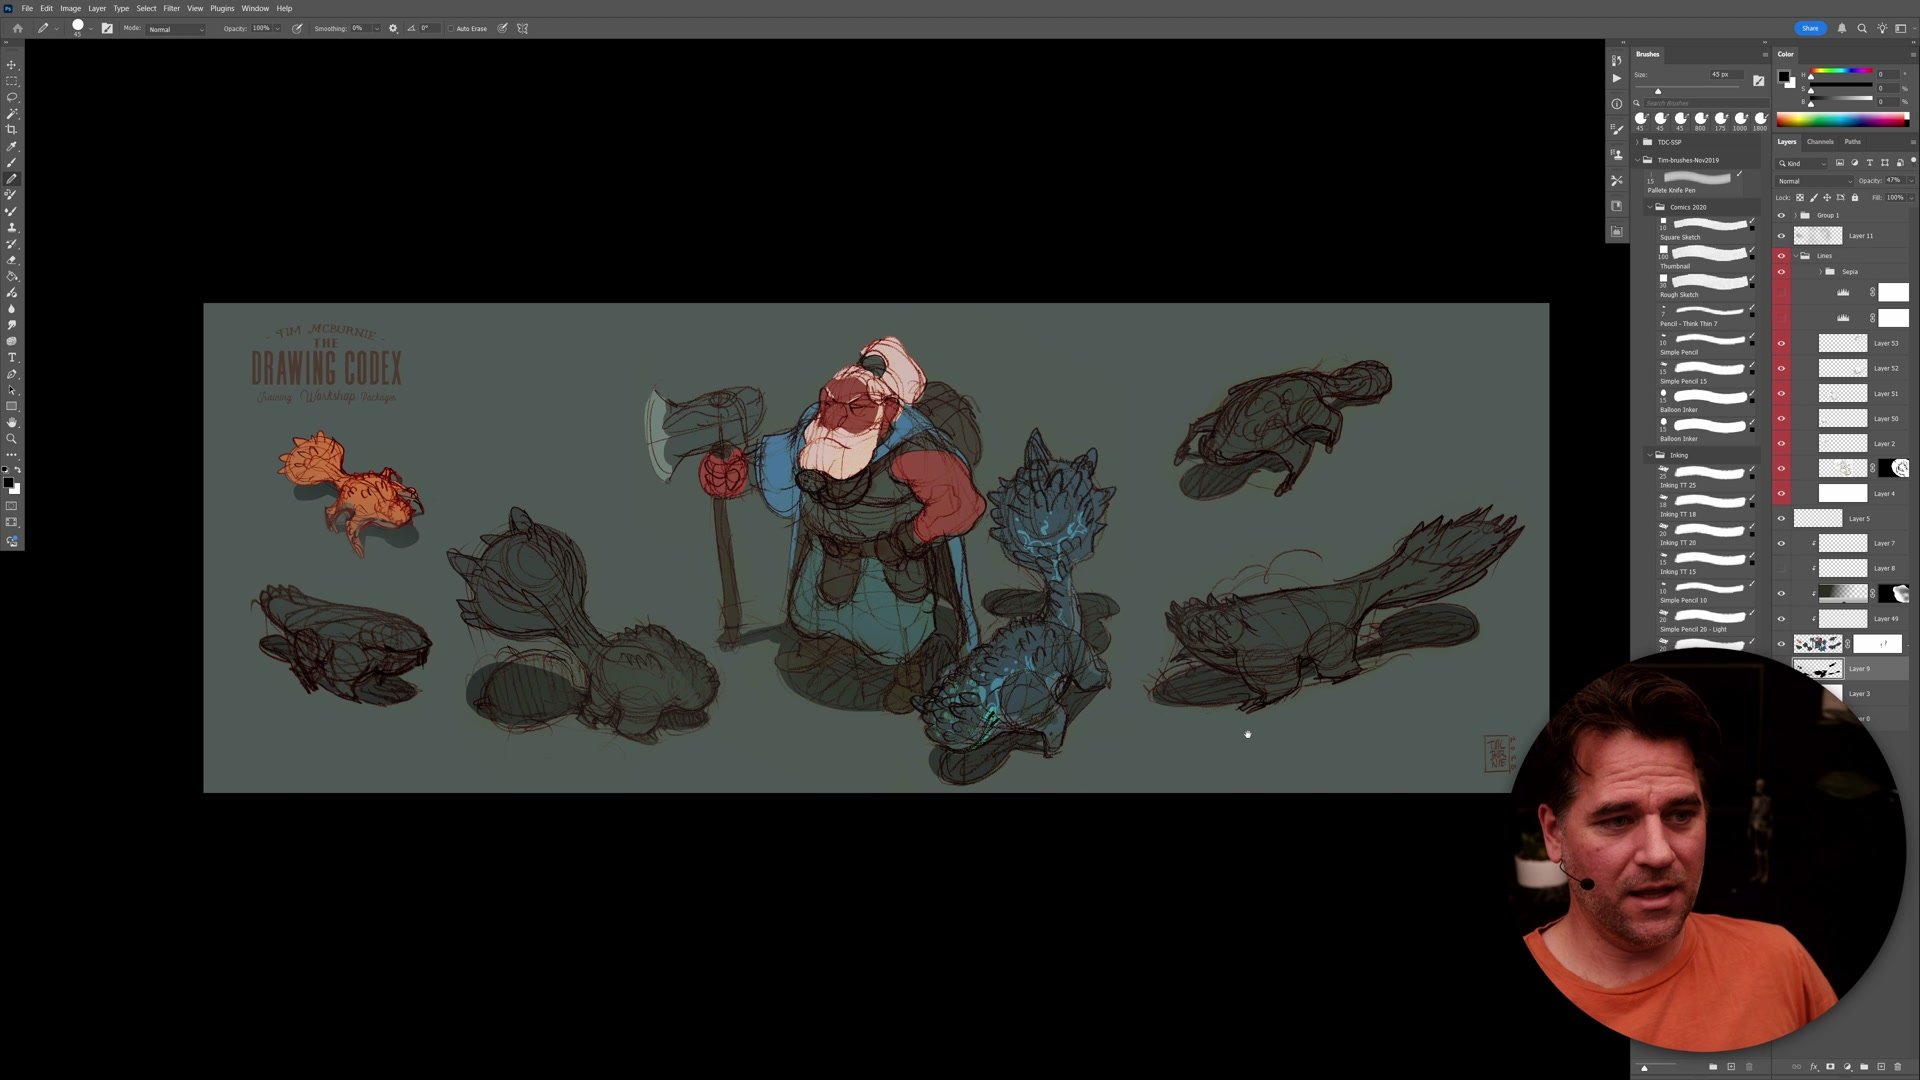
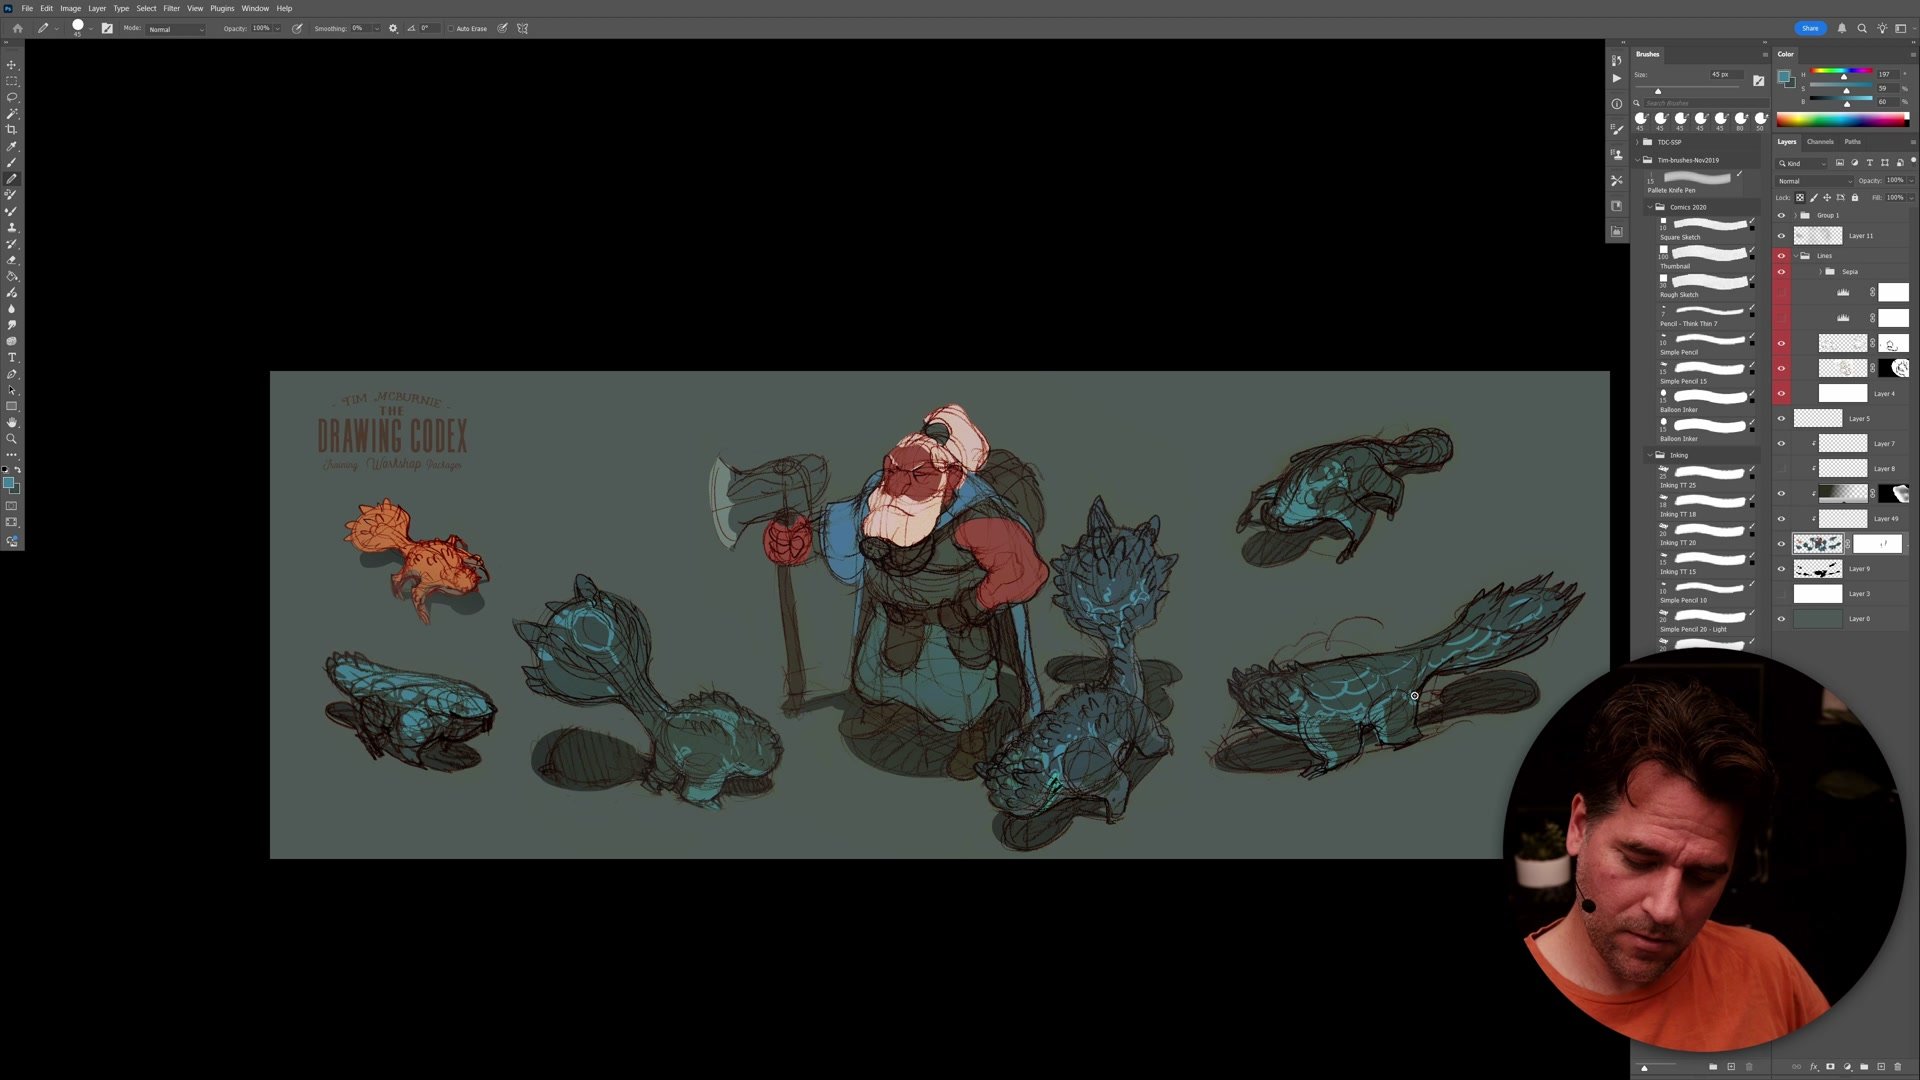
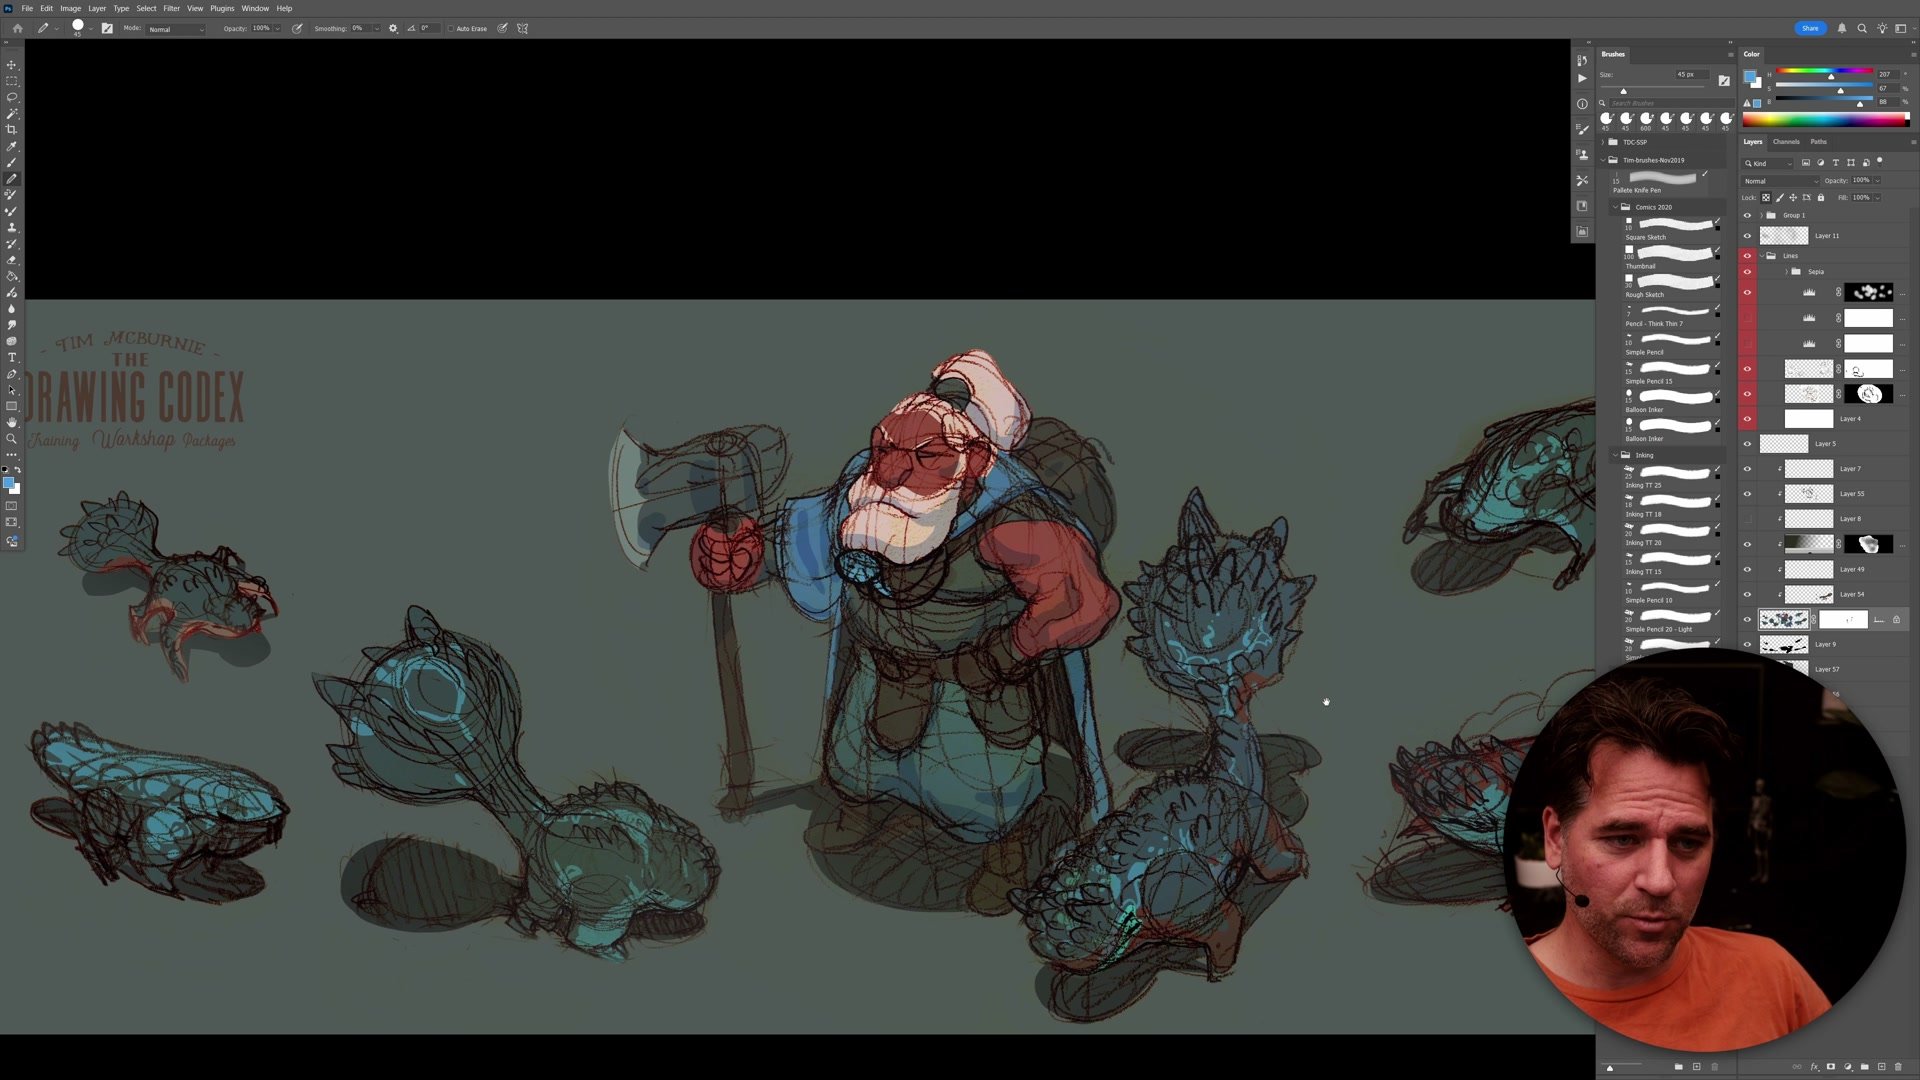
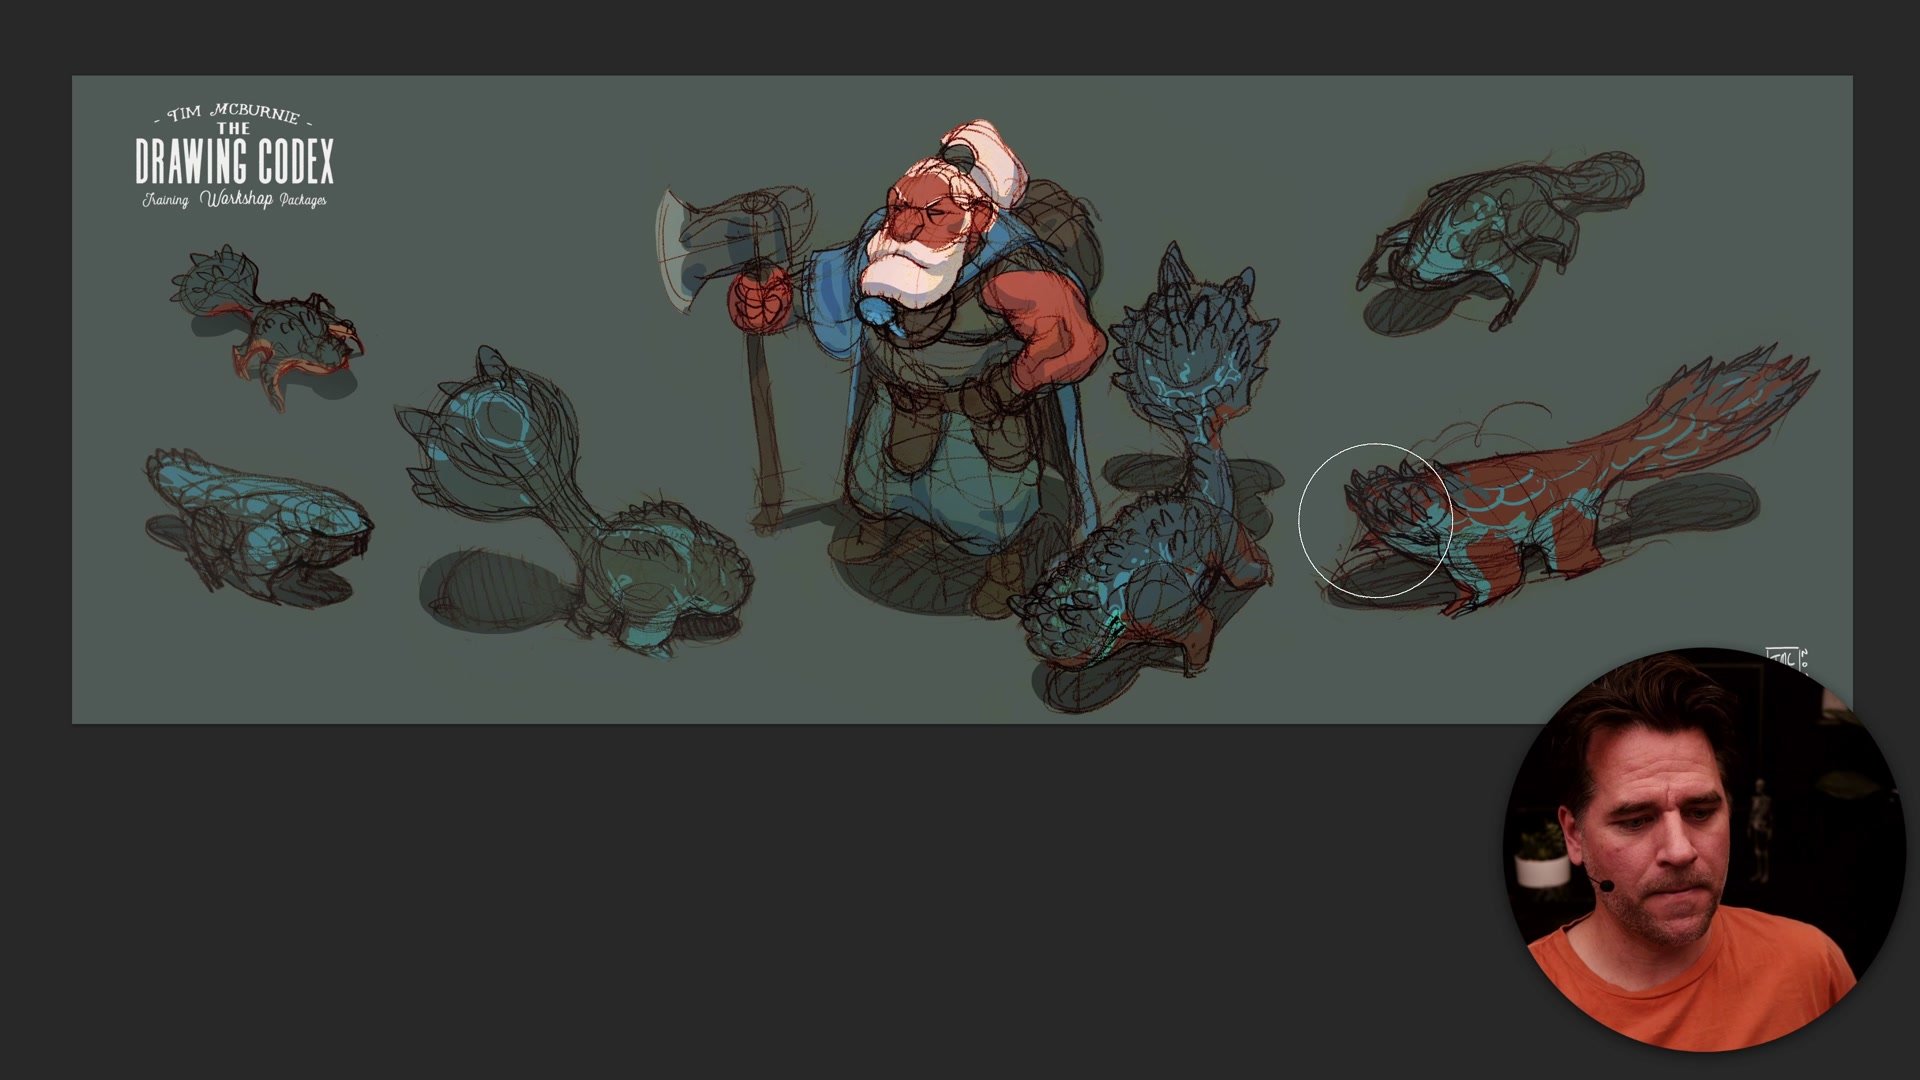
The remaining creature sketches follow the same process: import, levels, selection, flat color, shadow. Arranging them all on a single sheet reveals relationships between the designs that were invisible when they were scattered across sketchbook pages. Additional polish comes from gradient overlays for atmospheric depth, a hard light layer for subtle form shadows, and airbrushing the background color over edges to blend everything together. Color Range adjustments allow global color tweaks across the whole sheet at once.
The real value of this process is what it represents for the design workflow. Two sessions totaling roughly two and a half hours, from initial pencil sketching to a presentable colored concept sheet, produces a deliverable. The sheet can be sent to an art director, compared against alternative directions, or simply filed as a reference point for the next iteration. Completing that cycle, rather than leaving ideas as scattered sketchbook doodles, is what turns exploration into progress.
Finished Design Sheet
Key Techniques
Background-Matching Fill: Starting with a fill color close to the background hides selection fringing and halos before adding actual character colors on top.
Fifty Percent Shadow Layer: A single layer set to fifty percent opacity, painted with black, creates consistent shadows across every color underneath without manual adjustment.
Opacity Stacking: Using the paint bucket at twenty percent opacity and building up gradually allows precise color control without overcommitting.
Complete the Design Cycle: Collecting rough sketches into a single presentable sheet transforms scattered ideas into a usable deliverable that can be evaluated and iterated upon.
Try This Process
Sketch First: Fill a sketchbook page with rough creature, character, or object ideas. Keep them loose and exploratory. Photograph each page with a phone camera.
Build the Sheet: Import the photos into Photoshop, use auto levels and multiply mode to create sepia lines, then use selection tools and quick mask to build flat color silhouettes for each sketch.
Present and Evaluate: Arrange everything on a single sheet, add simple shadows with a fifty percent black layer, and step back to evaluate which designs have potential for the next round of iteration.


