How Many Teeth Should You Draw
Summary
Drawing Teeth Through Anatomy
Teeth are one of those areas of the face that can easily go wrong. Draw too many and the character looks like they have food stuck everywhere. Draw too few and the expression falls flat. The real challenge is understanding the basic anatomy well enough to know what to suggest and what to leave out, and that changes depending on style.
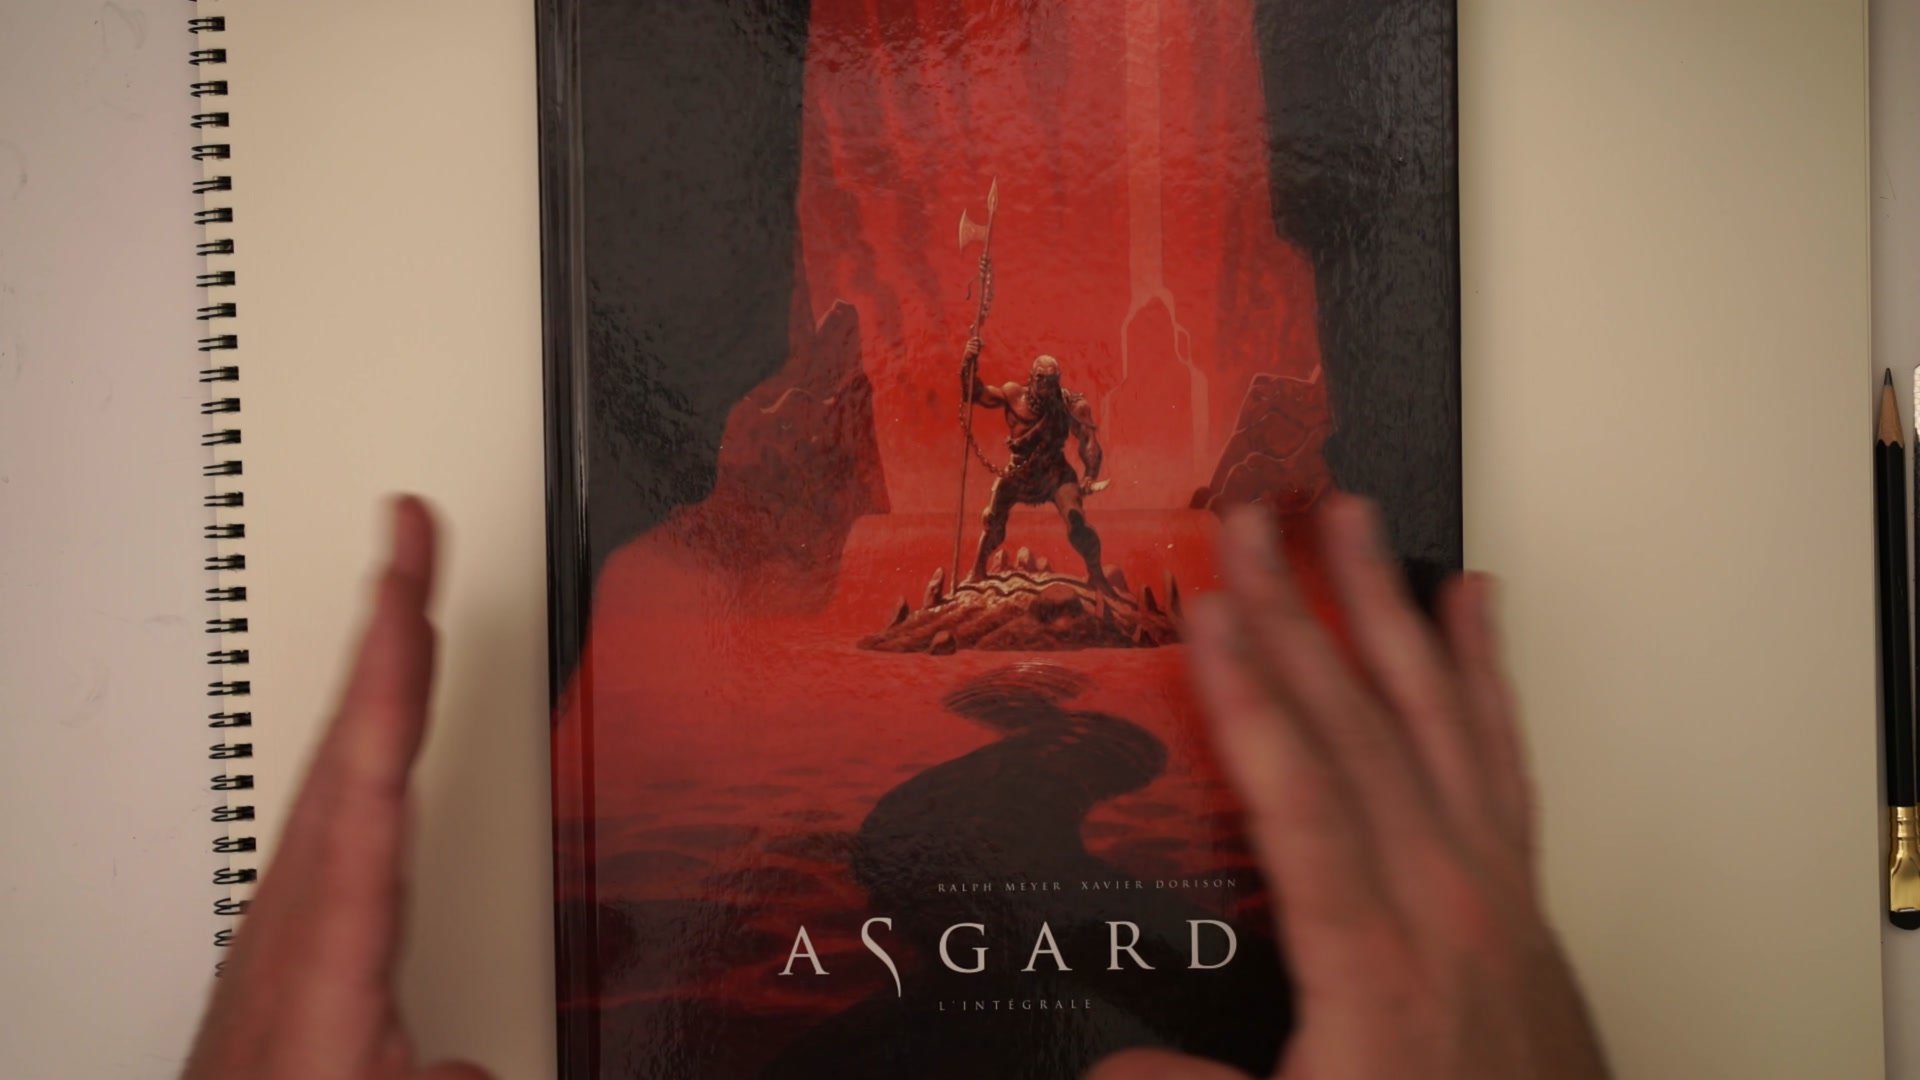
This video breaks down the fundamental tooth anatomy through active drawing, starting with the horseshoe shape of the jaw and building up to full character demonstrations. By examining how artists like Miyazaki, Eiichiro Oda, and Ralph Mayer handle teeth in wildly different styles, the underlying structural patterns become clear enough to apply to any approach.
Reference and Foundation
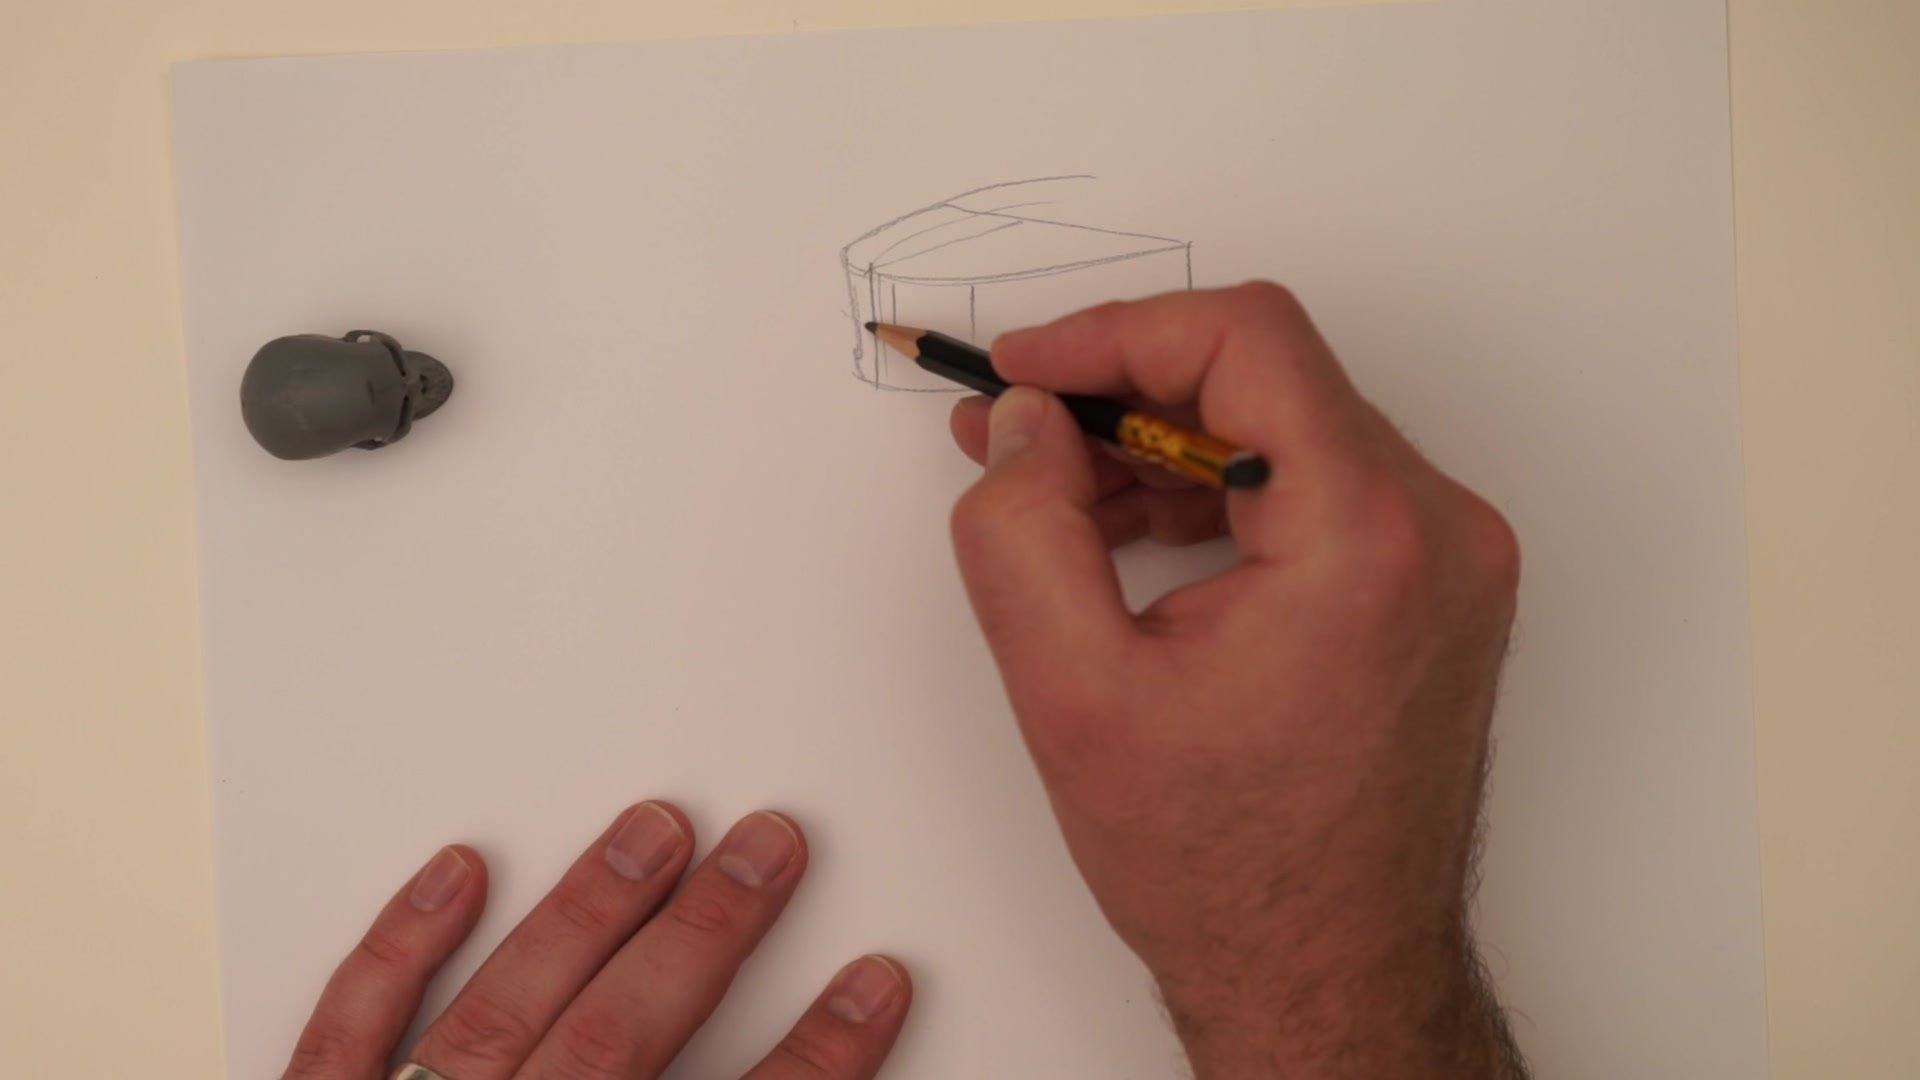
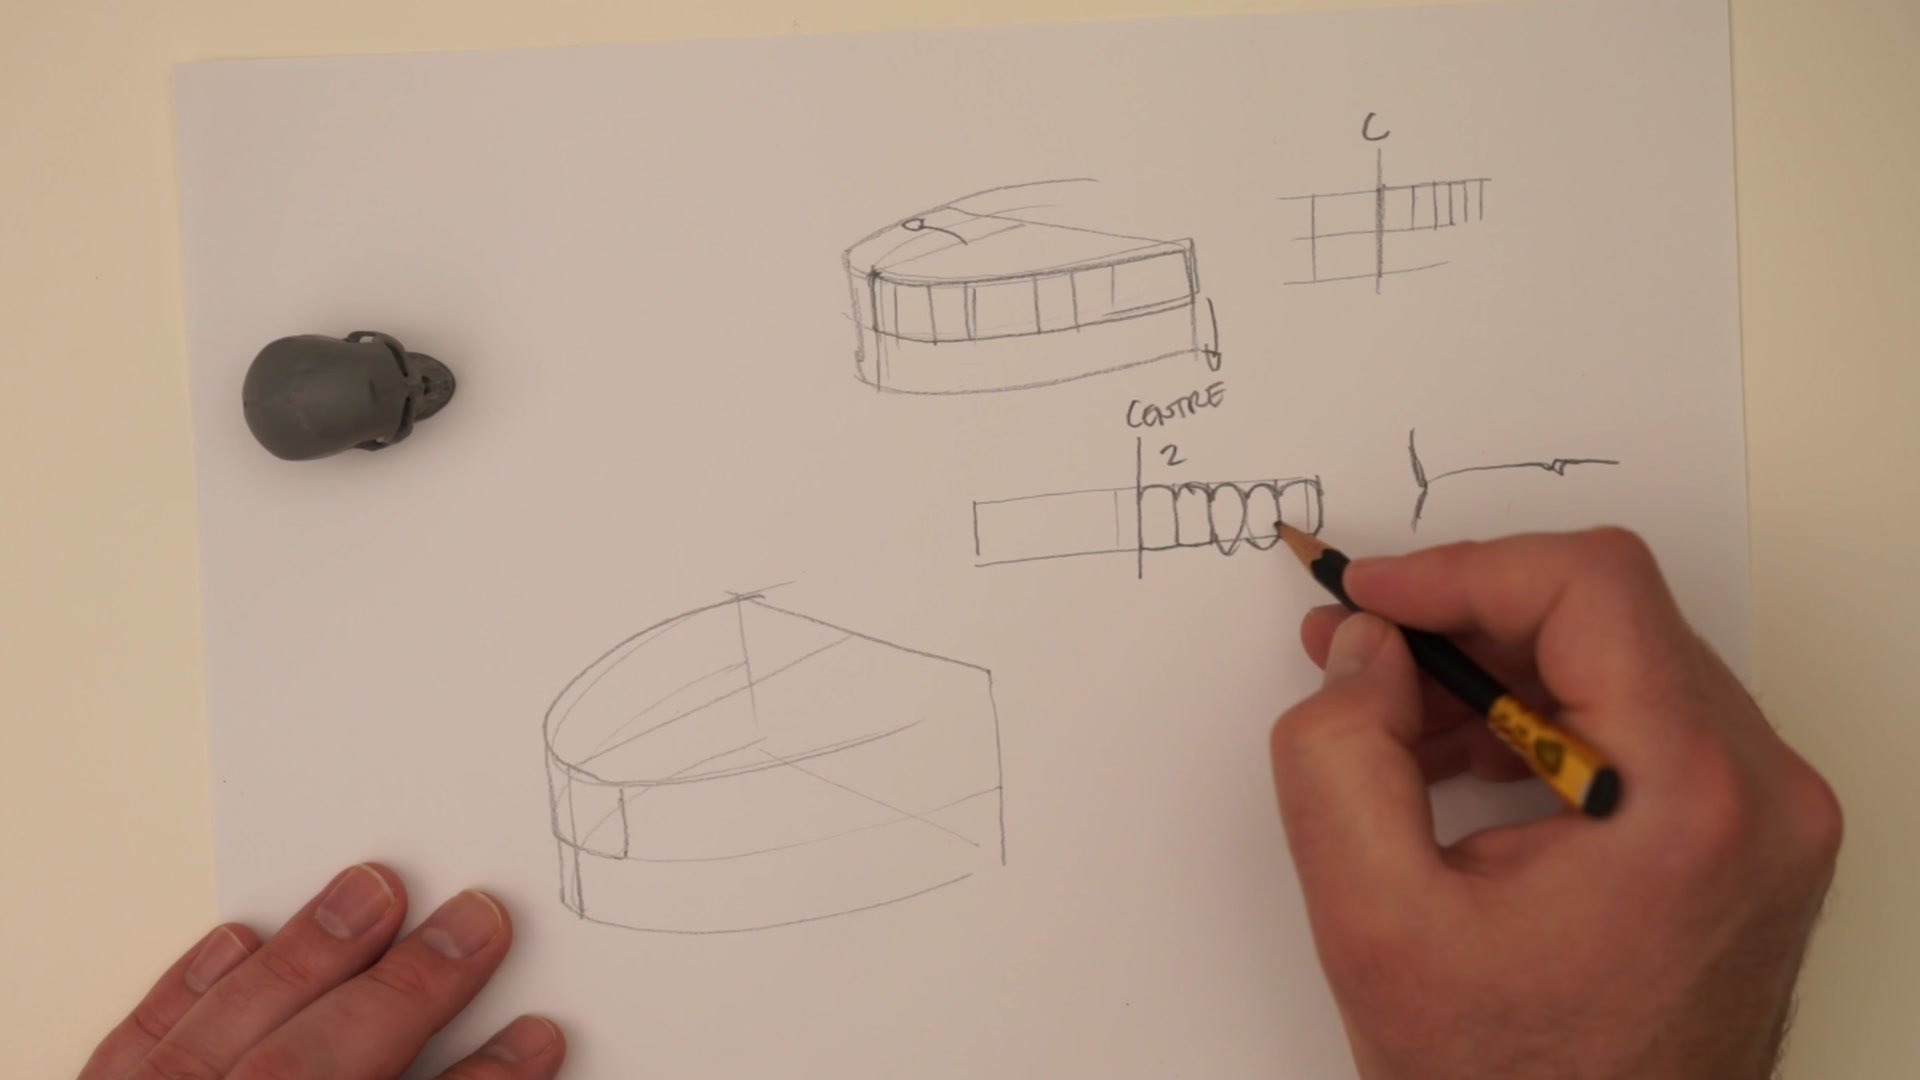
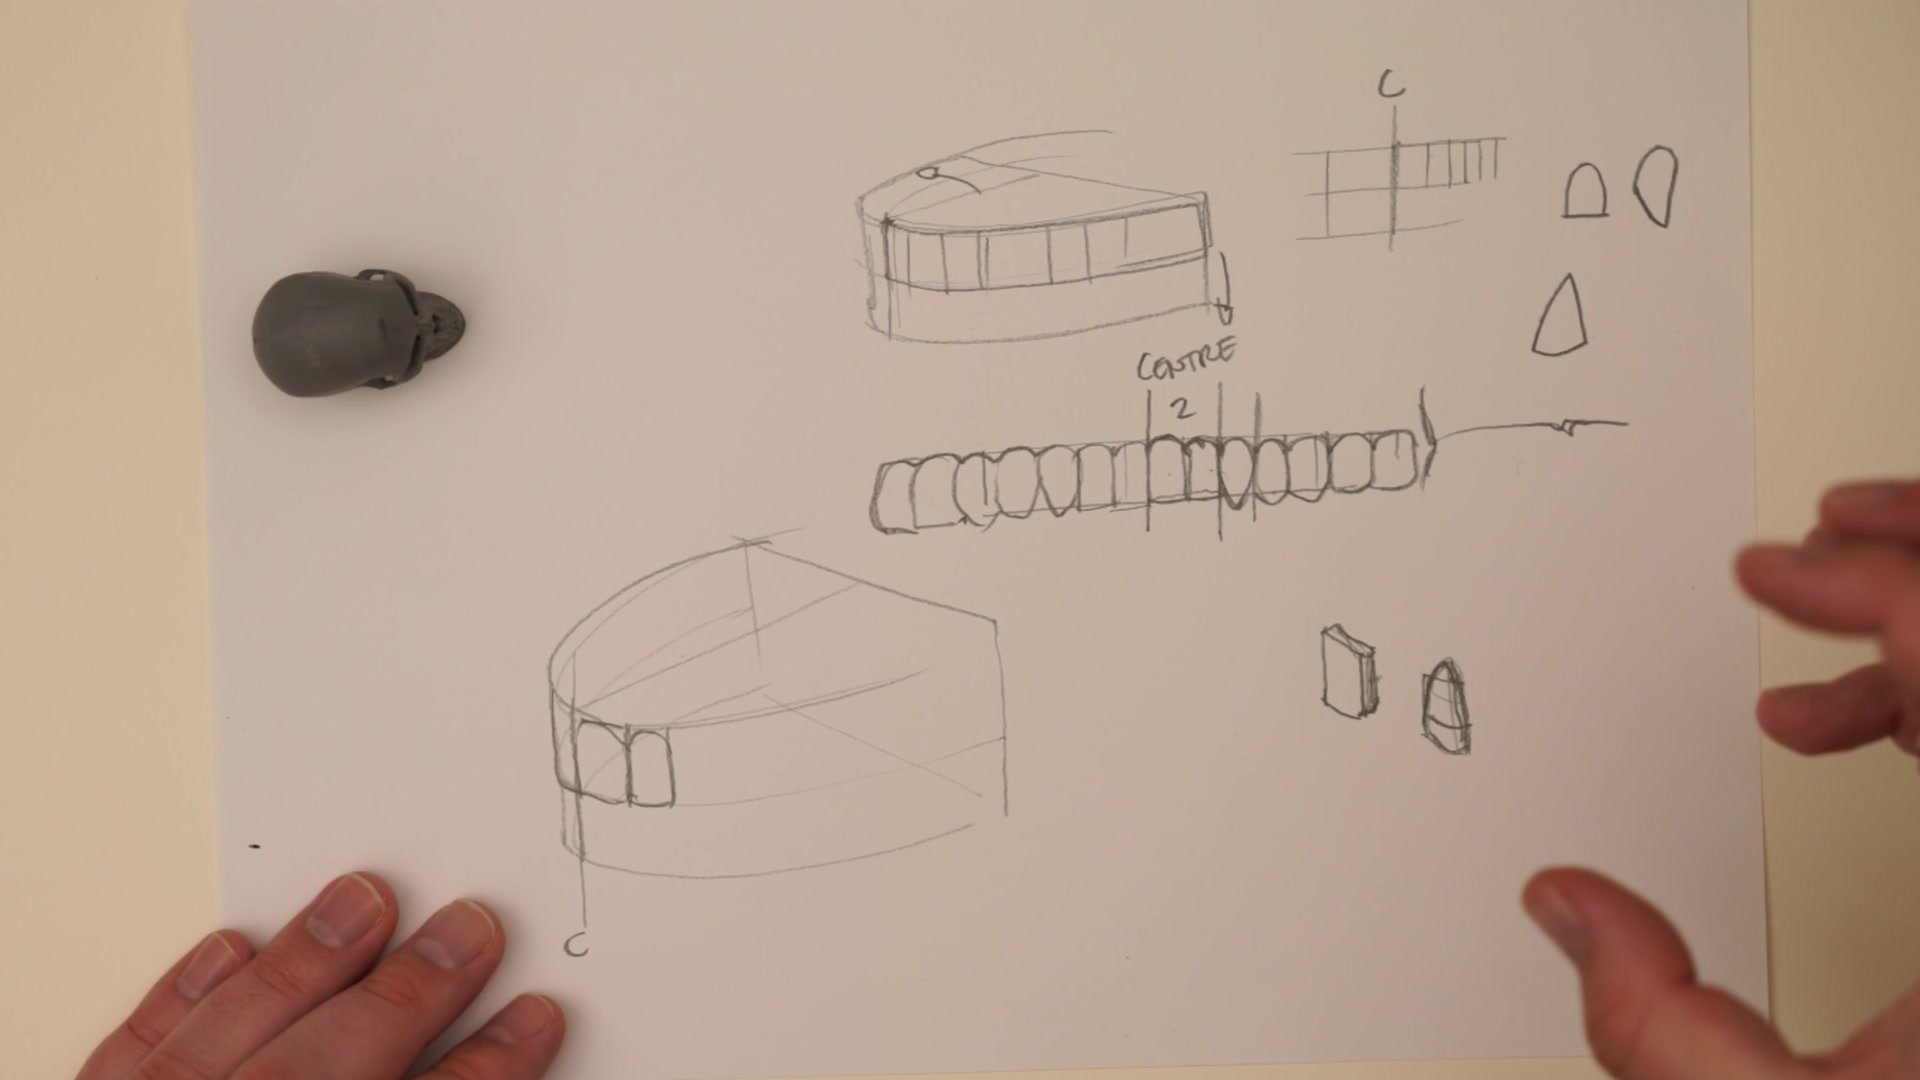
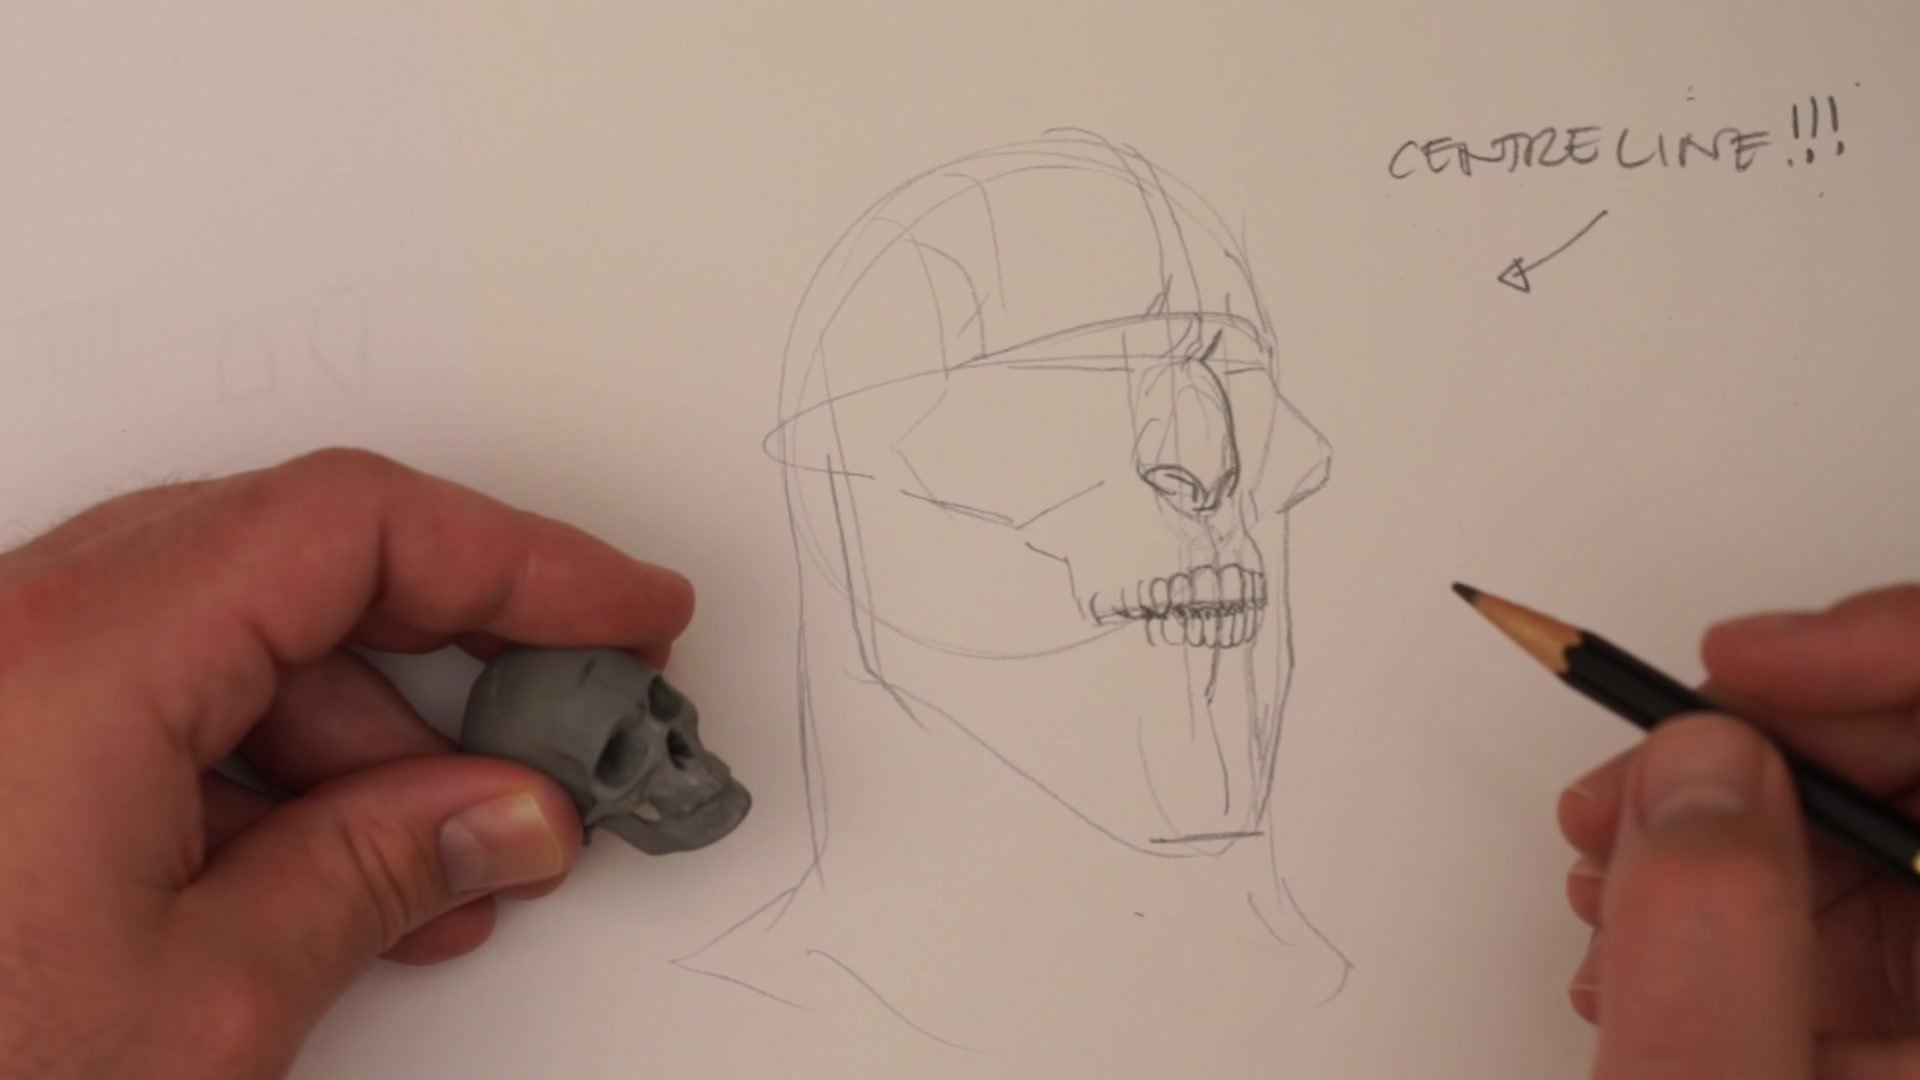
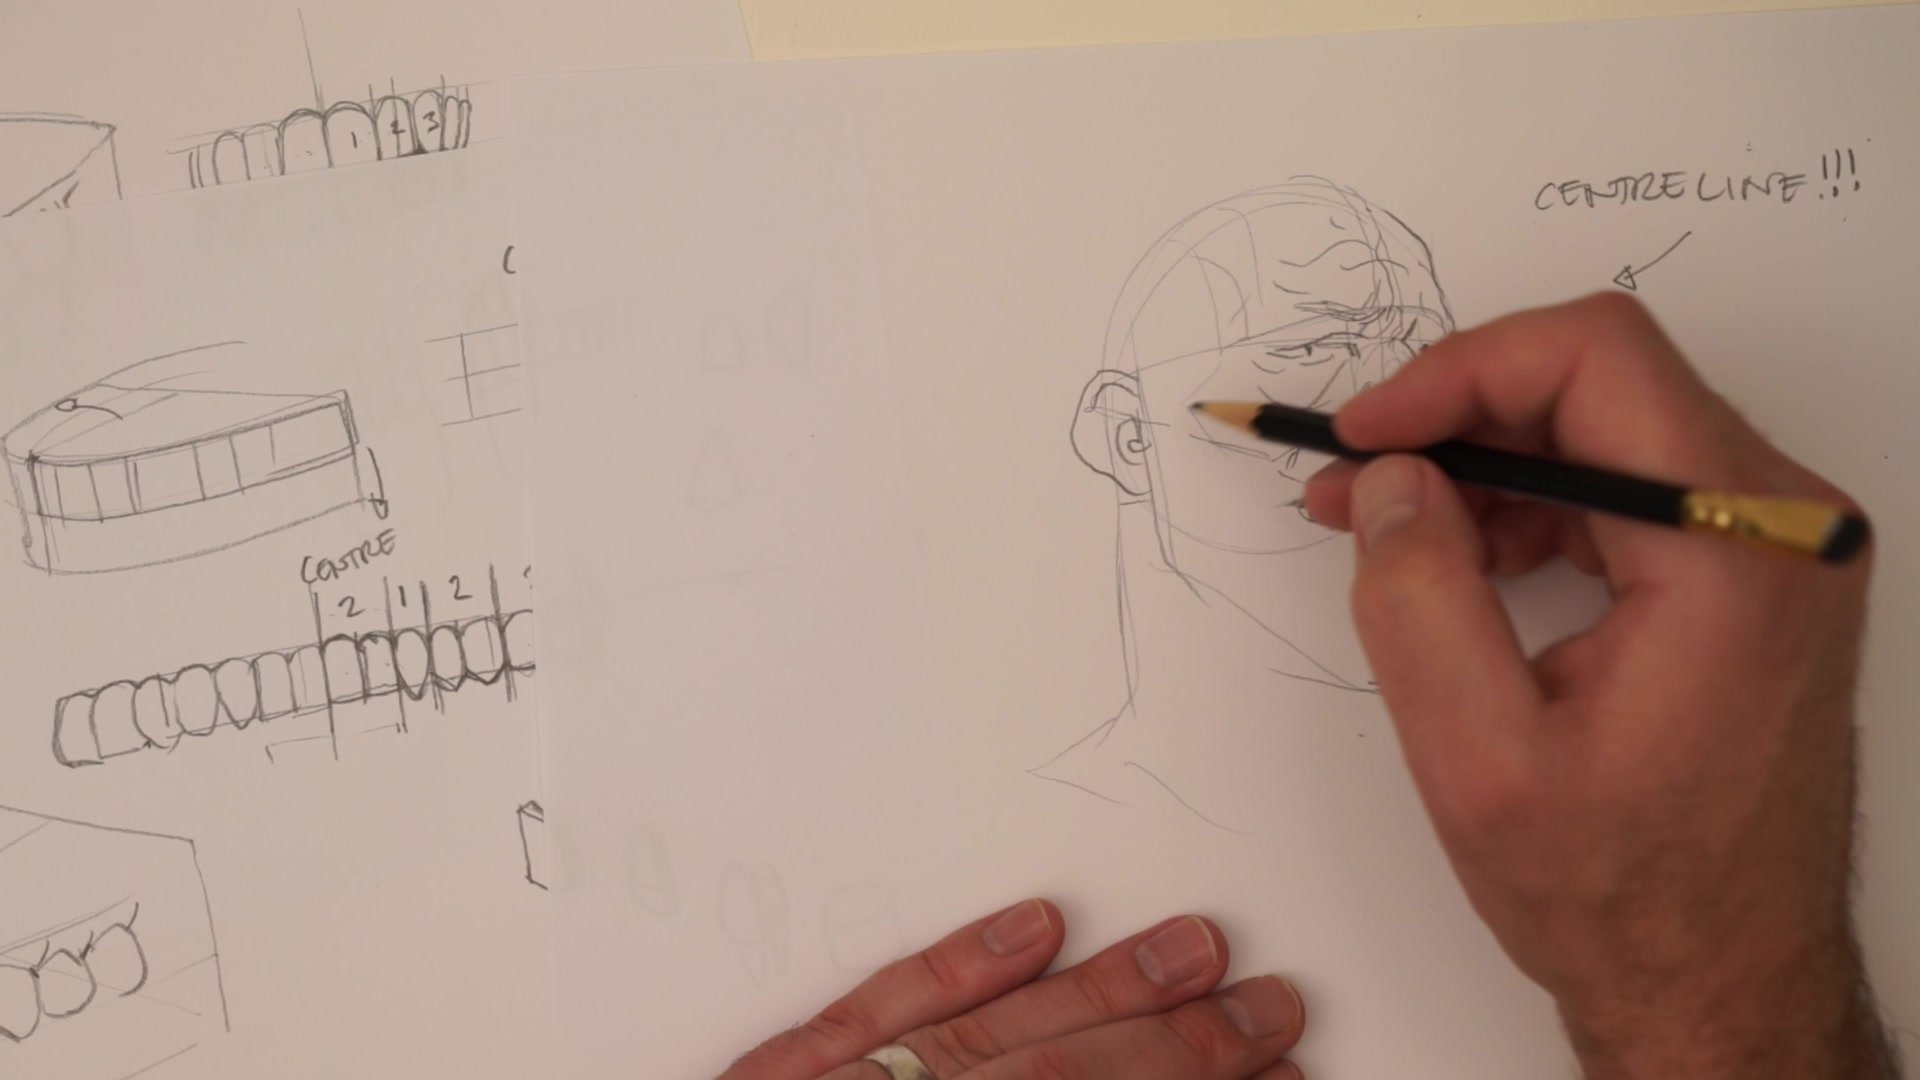
The Tooth Count Framework
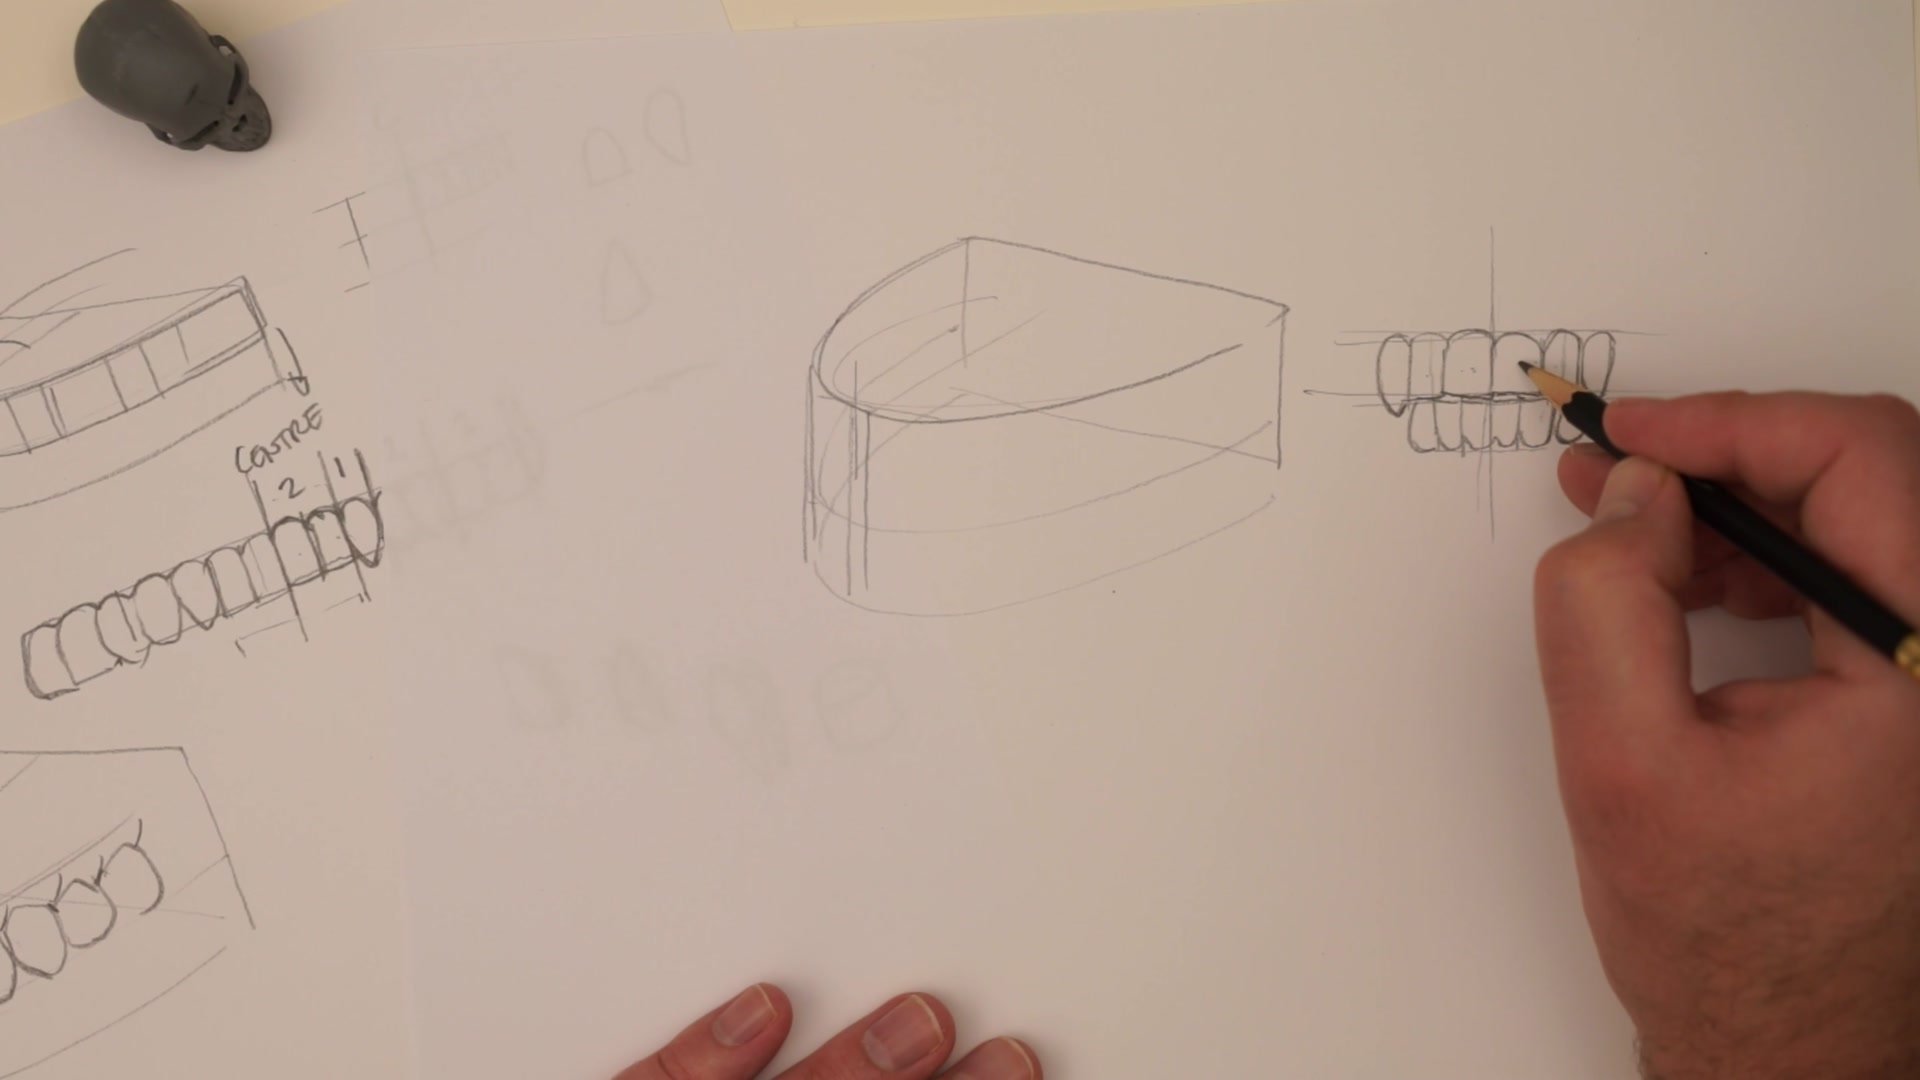
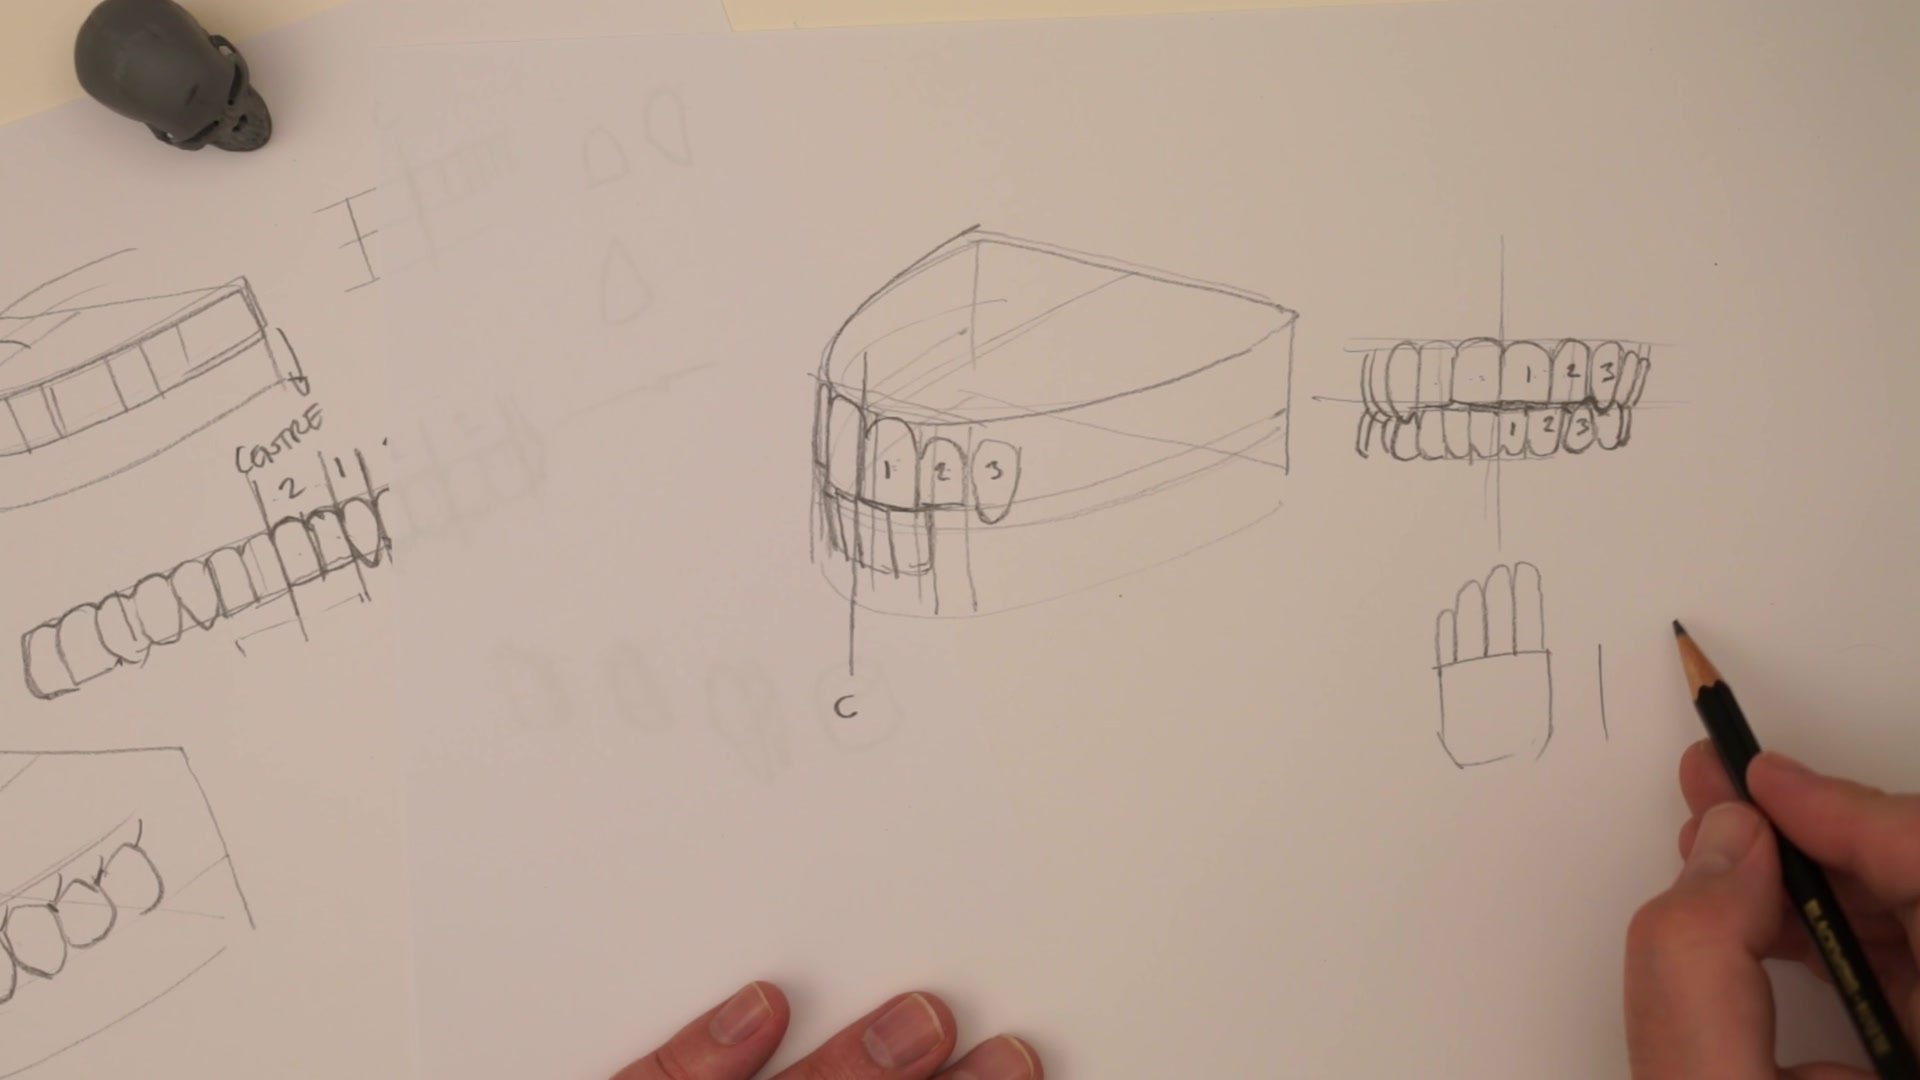
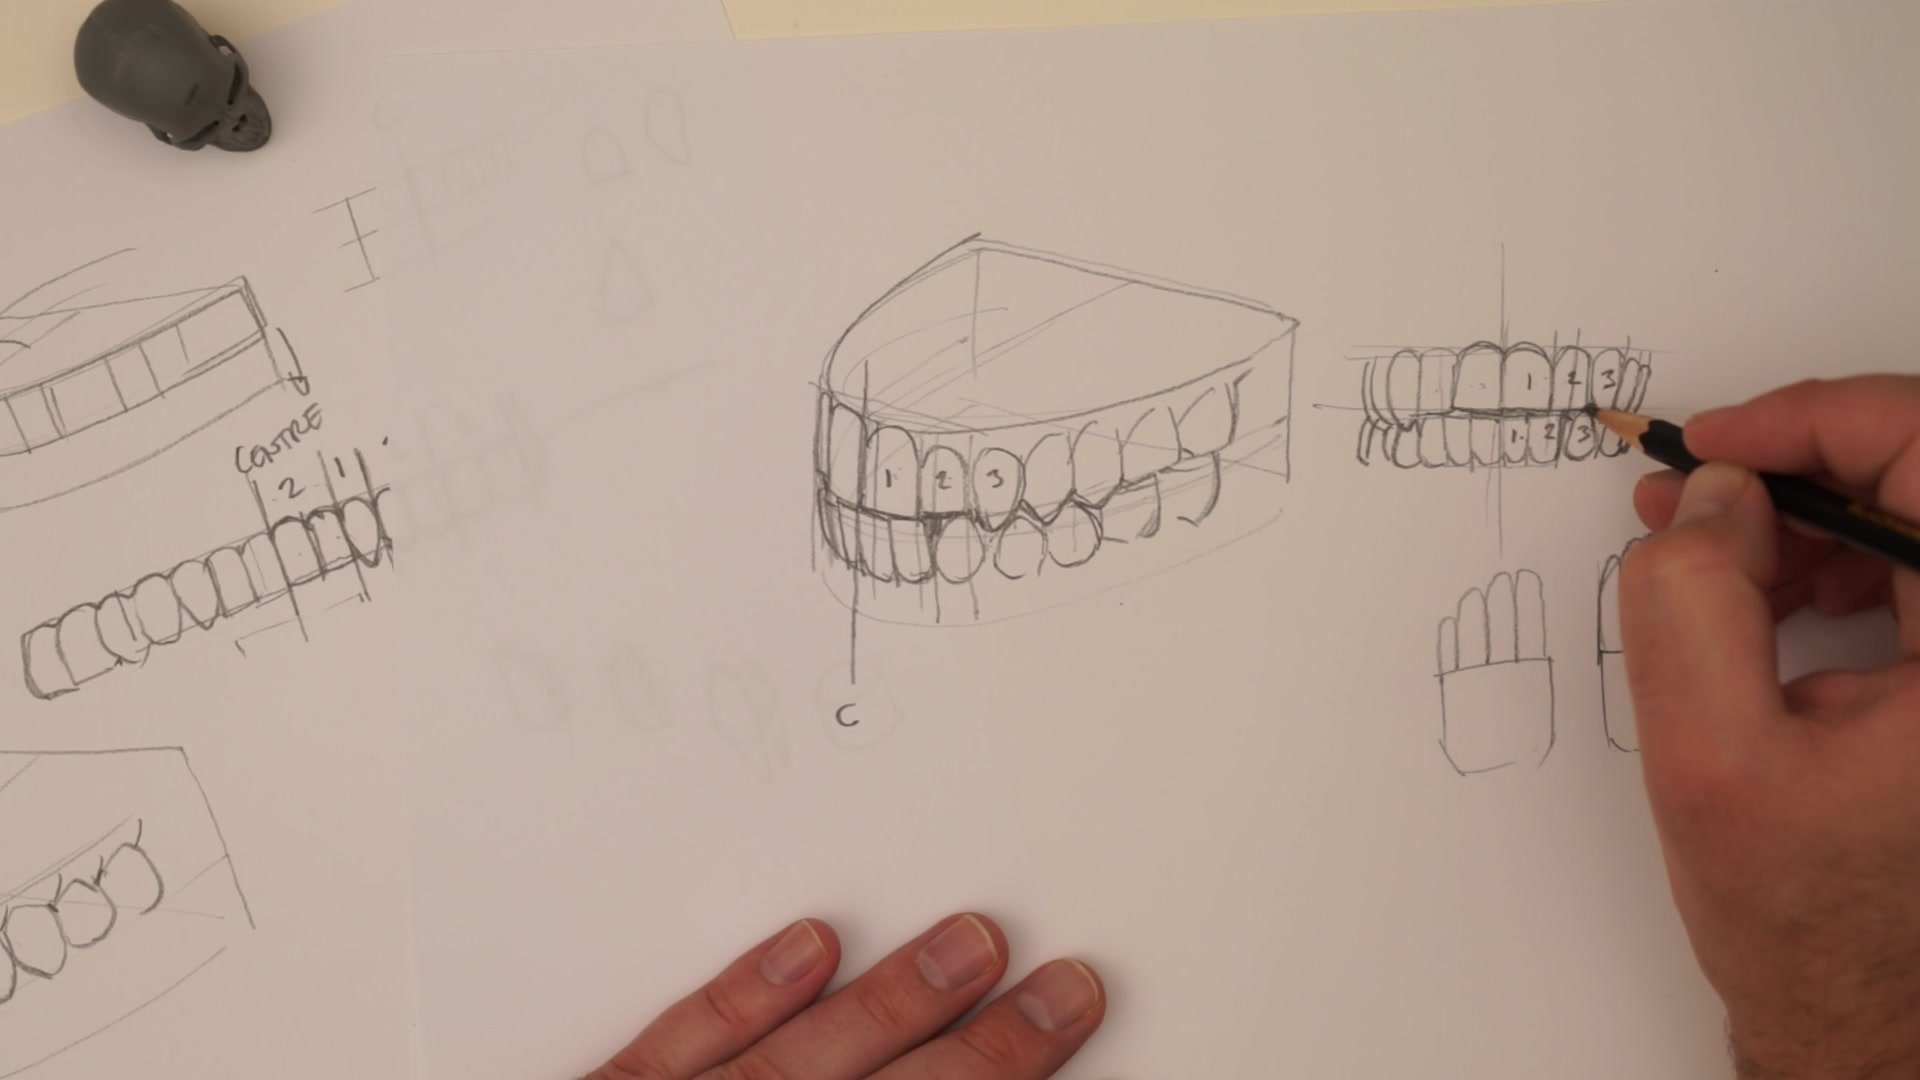
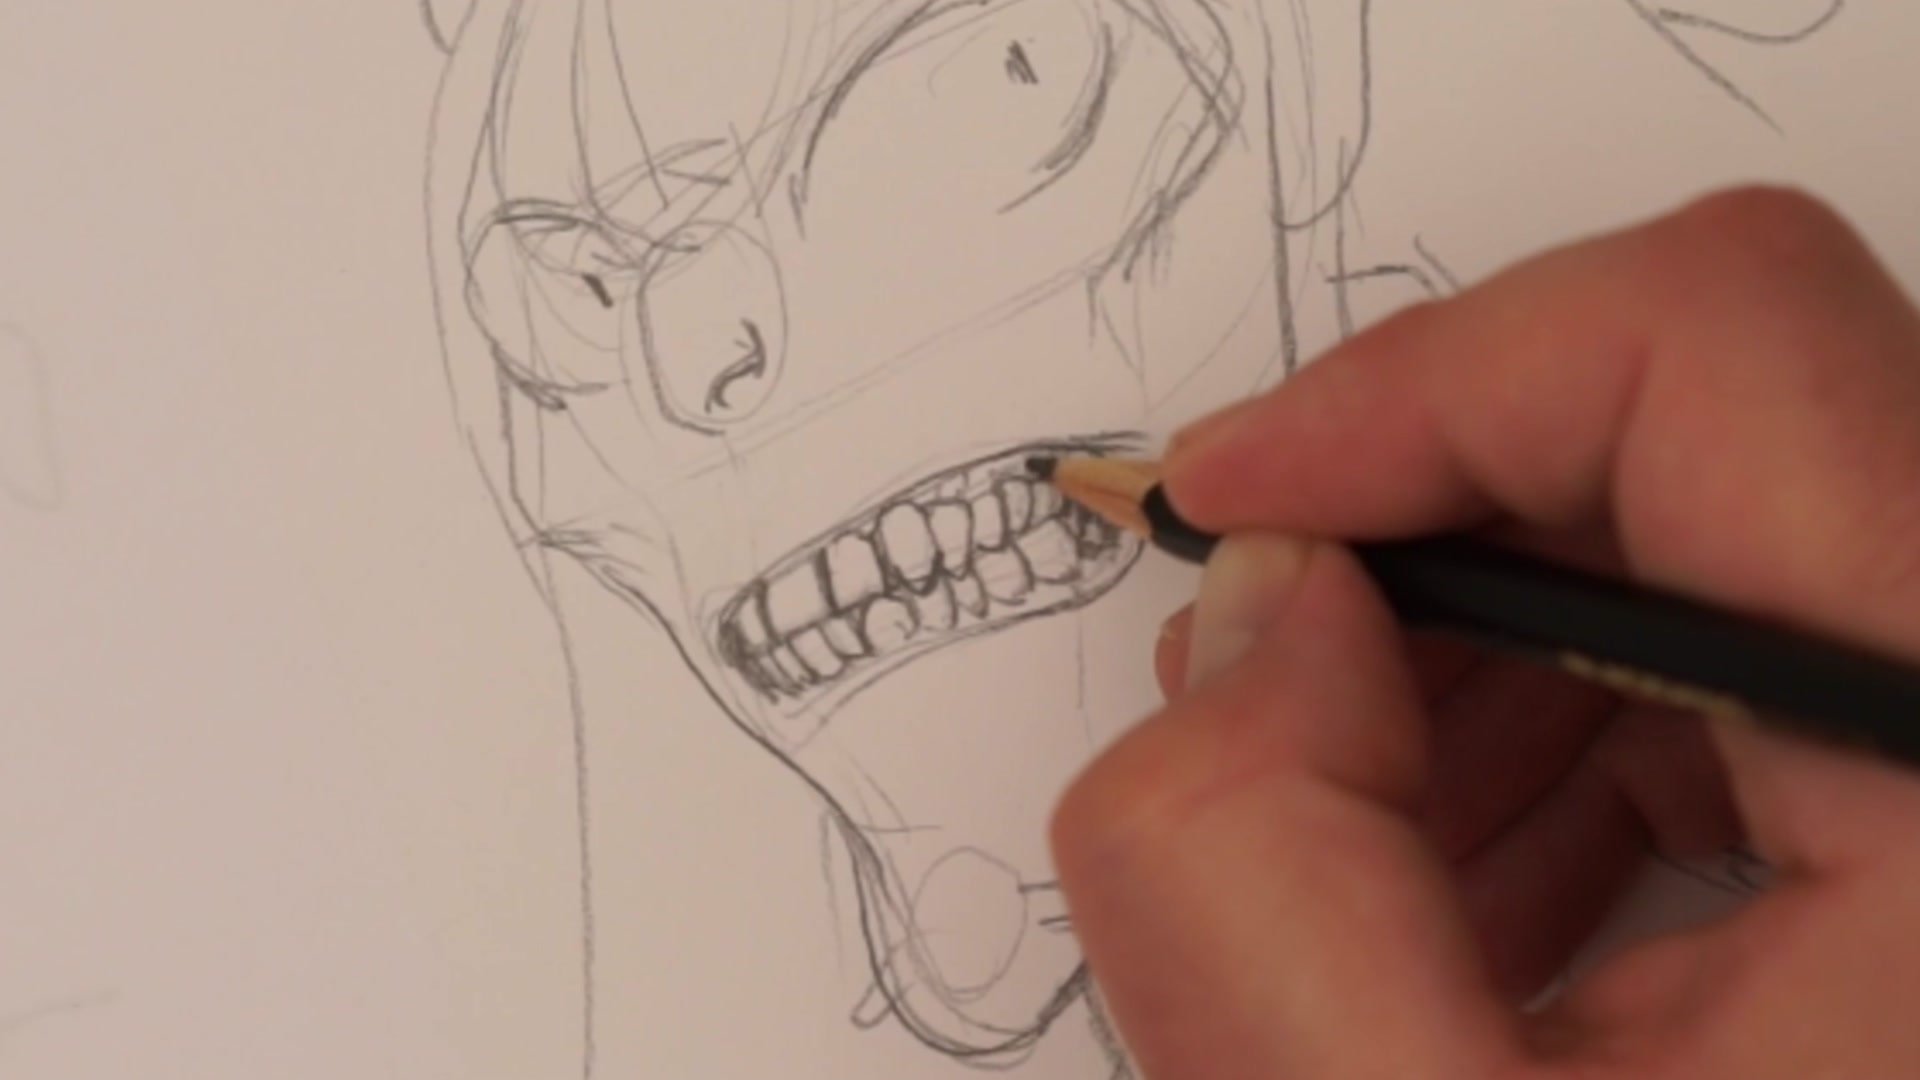
The center line is everything. On either side of it sits a symmetrical arrangement: two incisors at the front for chomping, one canine tooth for gripping and tearing, two premolars that are thicker and slightly sharp, and two molars at the back shaped more like pegs. Memorizing this pattern from the center line outward means the same logic mirrors to both sides and applies to both top and bottom rows.
Understanding the functional differences between tooth types gives each one a distinct primary form. Incisors are flat planes, canines are pointed and animalistic, premolars have more depth, and molars are blunt. These shapes matter when deciding which teeth to actually draw and which to suggest. The top teeth tend to be larger and overhang the bottom row, with the four bottom incisors compressing to fit beneath the two front teeth above. The bottom canine tucks in front of the top canine, creating a specific overlapping pattern that reads as believable when drawn correctly.
Anatomy Breakdown

Teeth First vs Mouth First
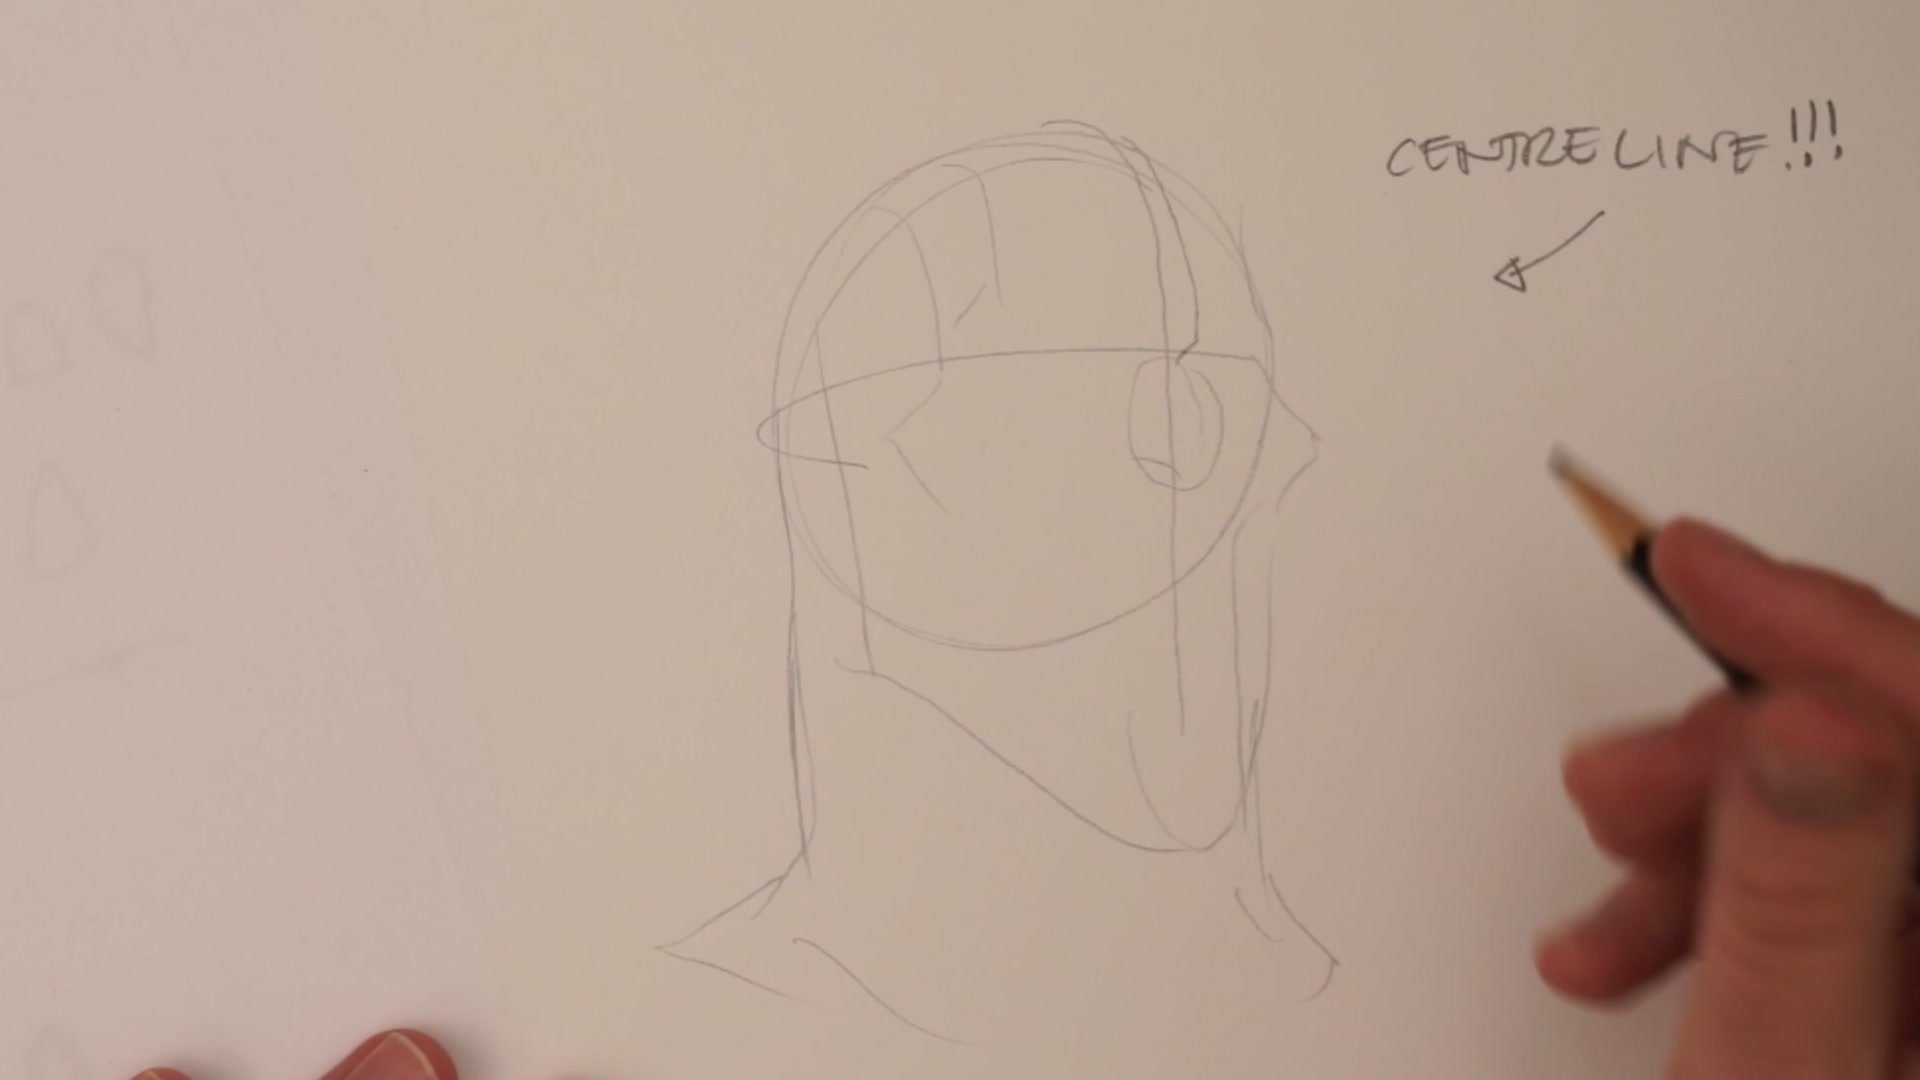
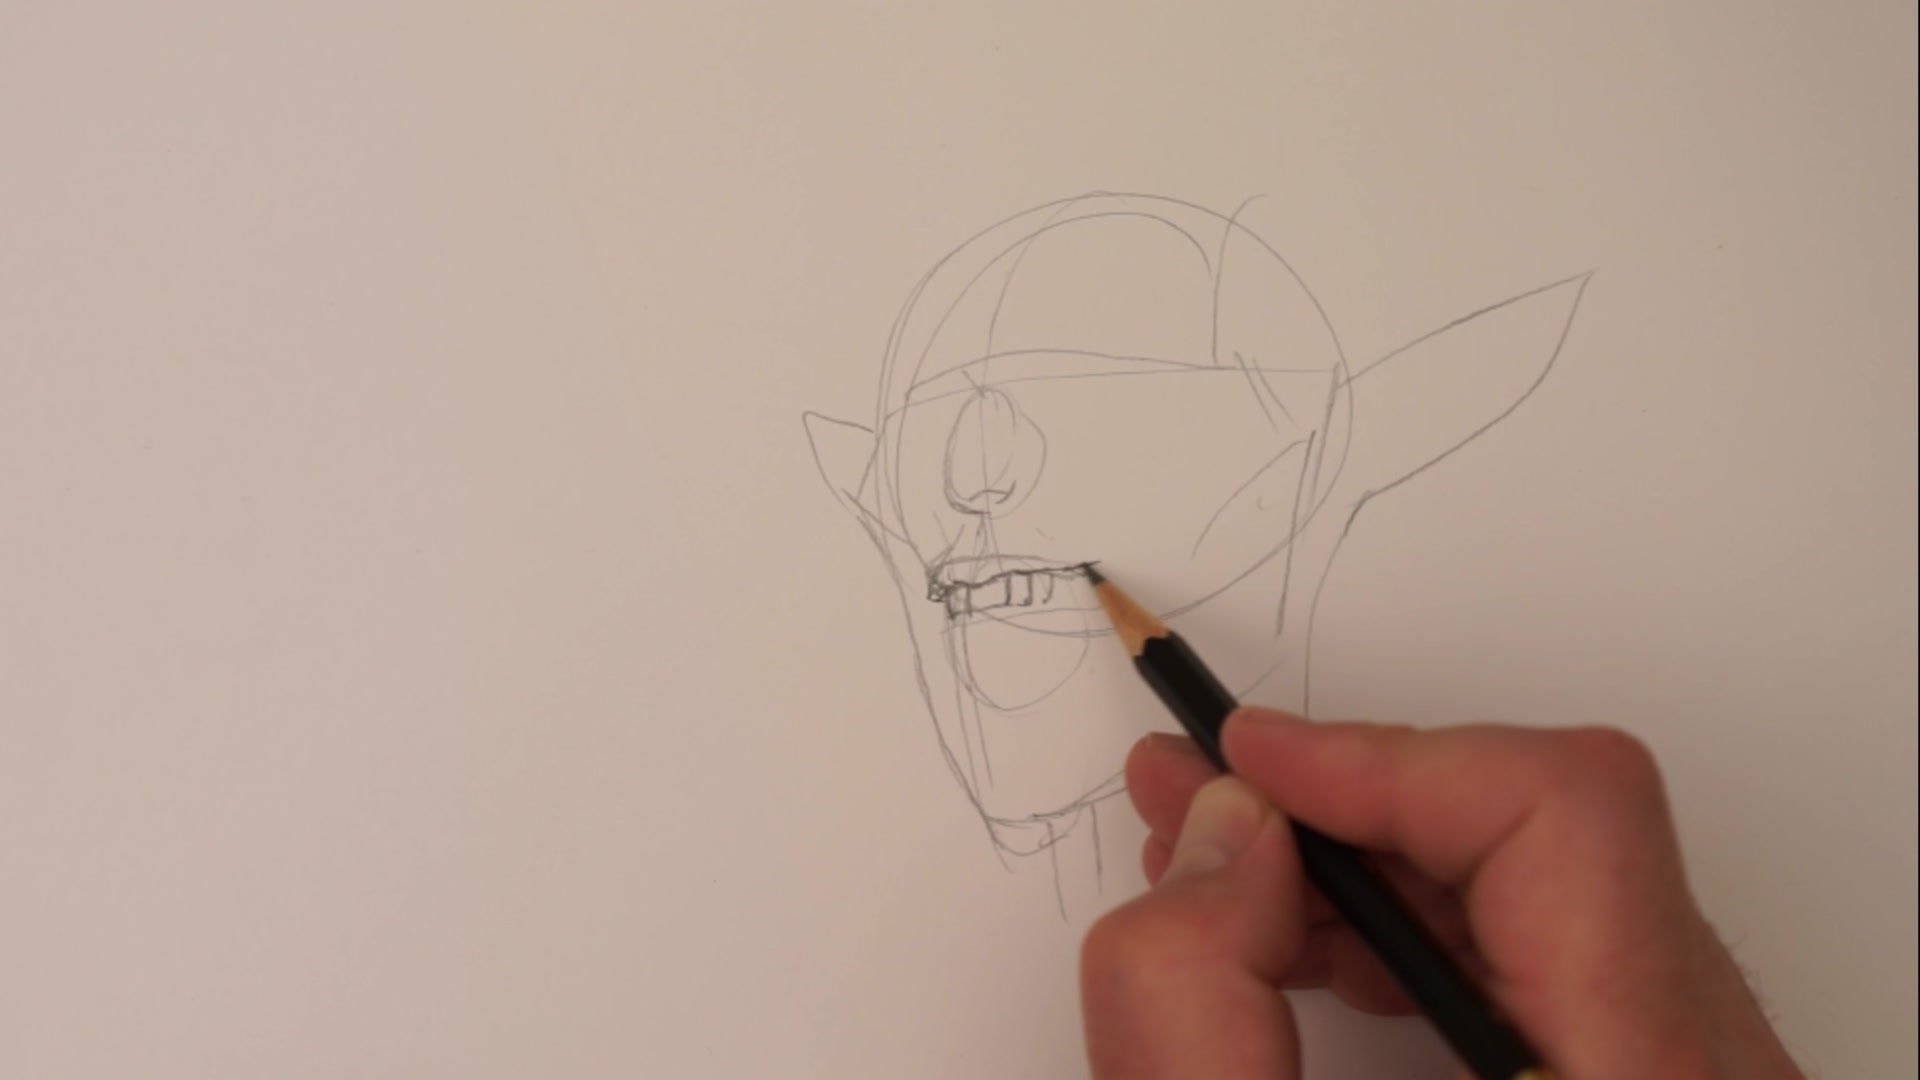
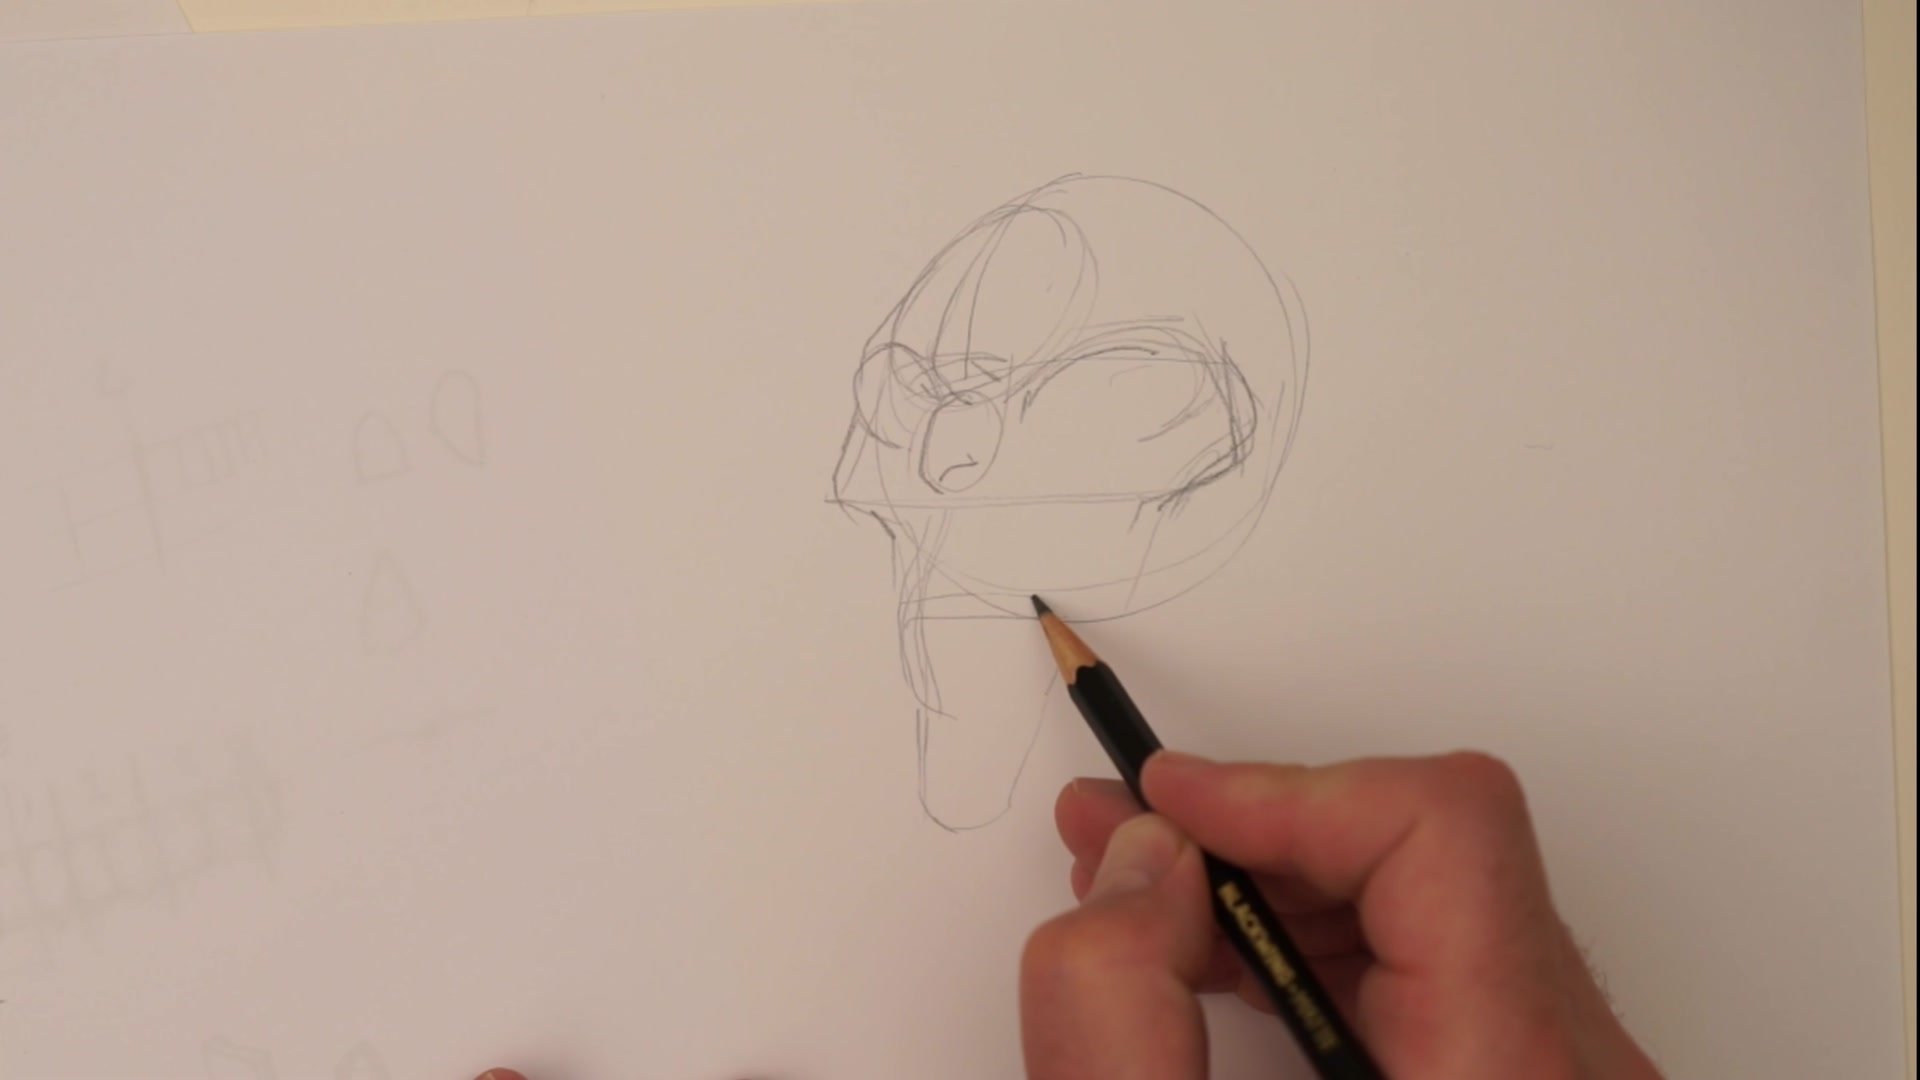
Two approaches work for placing teeth in a face, and both start from the center line. Drawing the teeth first and wrapping the mouth around them works well for exaggerated characters, zombies, or creatures where the teeth are a defining feature. Sketching in all the teeth on the skull structure and then adding lips over the top gives maximum control over where everything sits before deciding what actually shows.
Drawing the mouth shape first and placing teeth within it is more common in everyday character work. The mouth defines the expression, and then only the visible teeth need placement. Either way, the center line does the heavy lifting. Finding where the center falls and using it to divide the teeth symmetrically, the same fundamental drawing trick used for hands and fingers, prevents the common problem of teeth that trail off awkwardly to one side.
Character Application
Structure vs Suggestion
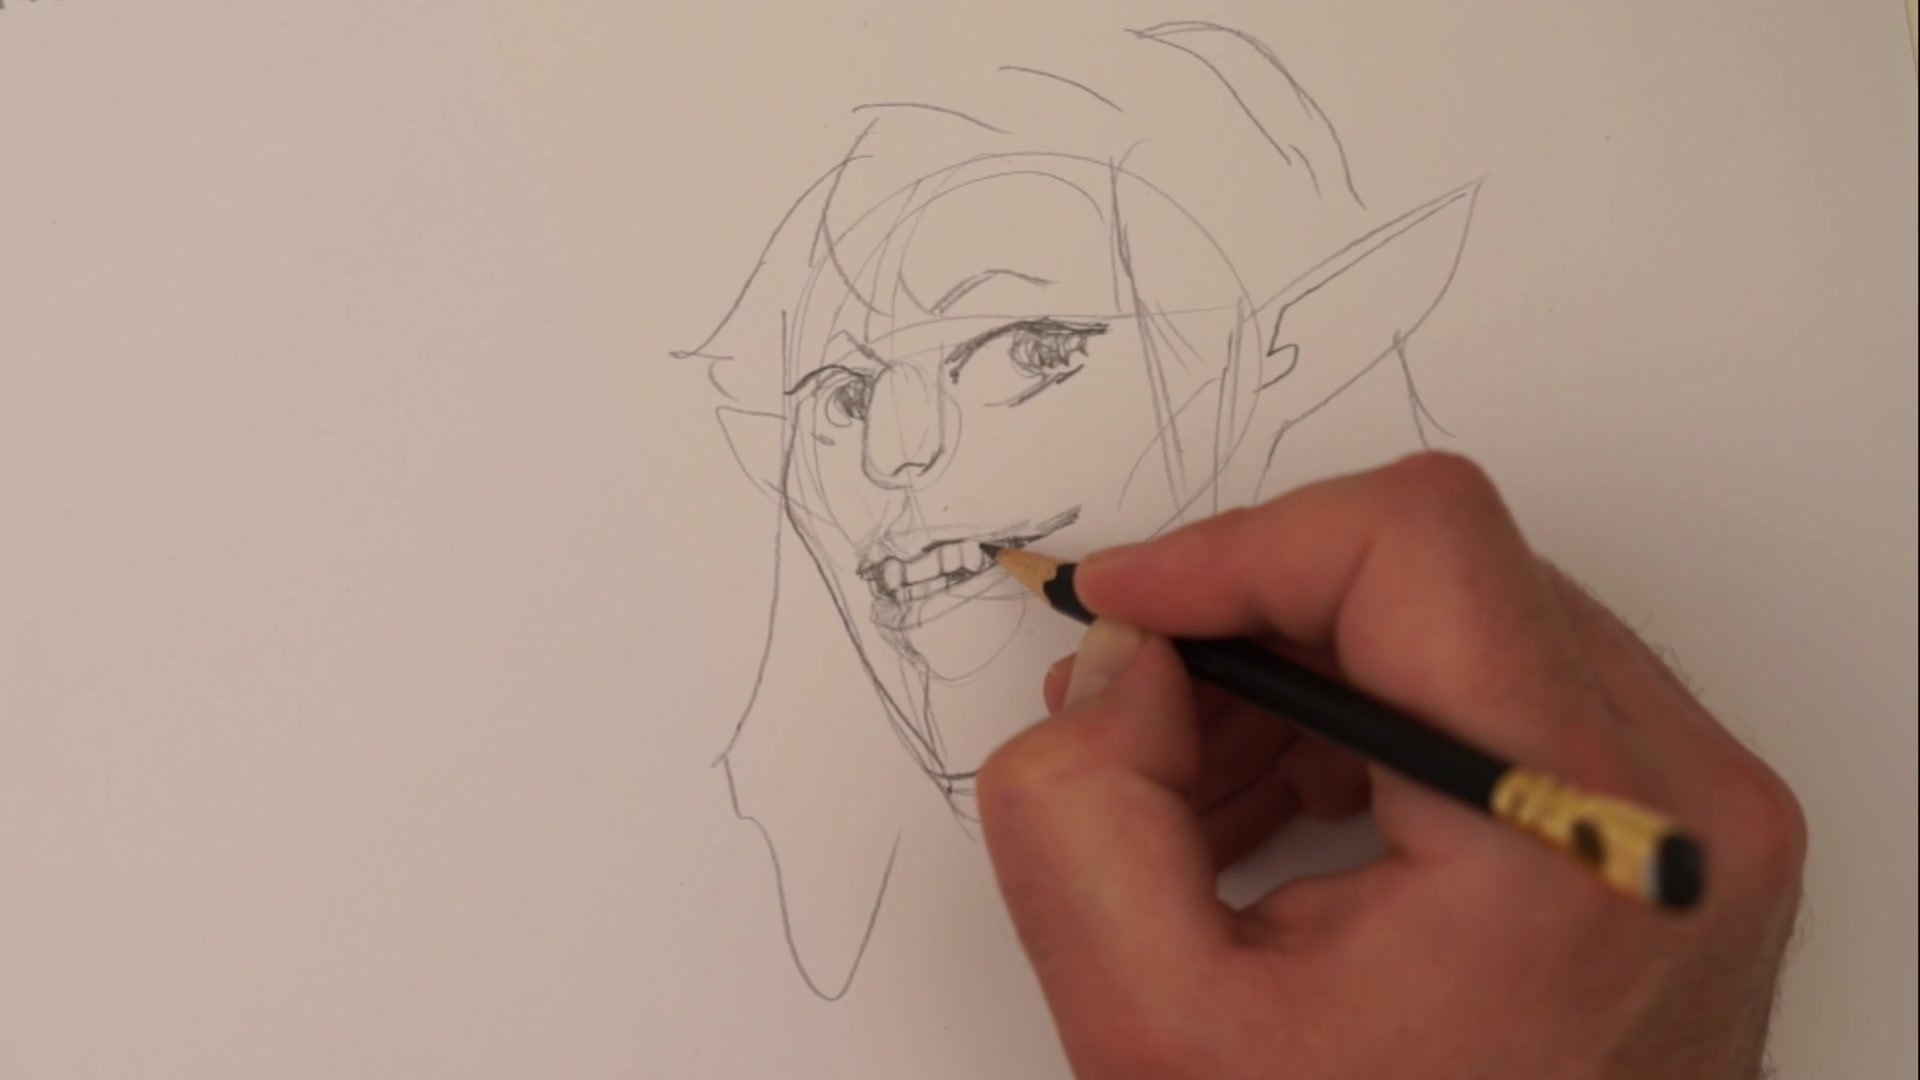
The real lesson with teeth is knowing when to stop drawing them. Looking at Miyazaki's sketches, most mouths are just a white void defined by the mouth shape. Ralph Mayer's more realistic comic work still relies on suggestion for the majority of shots, only drawing individual teeth when the panel demands it. Even One Piece, with its famously exaggerated grins, uses a mix of fully rendered teeth and iconic shorthand.
The more teeth that get drawn in detail, the worse things tend to look unless the style specifically calls for it. The sketch-then-refine approach applies directly here: block in all the teeth for structural understanding, then pull back with a kneaded eraser and only commit to the lines that actually tell the story. Which teeth are visible determines whether a character reads as smiling, grimacing, or angry. Top teeth visible means a smile. Bottom teeth or all teeth showing signals aggression or fear. That simple iconographic signal matters more than anatomical accuracy.
Expression and Refinement

Key Principles
Center Line Symmetry: The center line governs all tooth placement. Memorize the pattern from center outward (two incisors, one canine, two premolars, two molars) and mirror it to both sides for consistent structure.
Top-Bottom Overlap Pattern: The four bottom incisors compress to fit beneath the two large top front teeth. The bottom canine tucks between the top canine and second incisor. This overlap pattern is what makes teeth look believable.
Suggest More Than You Draw: Most professional artists draw far fewer teeth than actually exist. Understanding the full anatomy allows confident suggestion of structure without rendering every tooth, which almost always looks worse.
Expression Through Visibility: Which teeth are visible defines the expression. Top teeth signal a smile. Bottom teeth or full display signals aggression. This iconic reading matters more than anatomical completeness.
Practice This
Draw the Skeleton First: Sketch a set of teeth from the front view using the center line framework. Place two incisors, one canine, two premolars, and two molars on each side. Then draw a mouth shape around them and erase back to only the teeth that would actually show.
Try Both Approaches: Draw one face starting with teeth first and wrapping the mouth around them. Draw another starting with the mouth shape and placing teeth within. Compare which approach gives better results for different expressions.
Study Three Styles: Pick one page each from Miyazaki, a manga artist, and a realistic comic artist. Note how many actual teeth are drawn versus suggested in each style, and try applying each level of suggestion to a character of your own.


