Draw Your Character From Any Angle
Summary
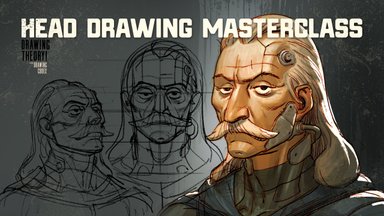
Constructive Head Anatomy
Constructive anatomy is one of the most taught subjects in drawing education. The Loomis method, Bridgman's constructive anatomy, and the atelier traditions of Europe have given artists centuries of reliable proportional systems. The problem is that most instruction stops at the construction phase, leaving artists with technically correct but lifeless, static heads that all look the same.
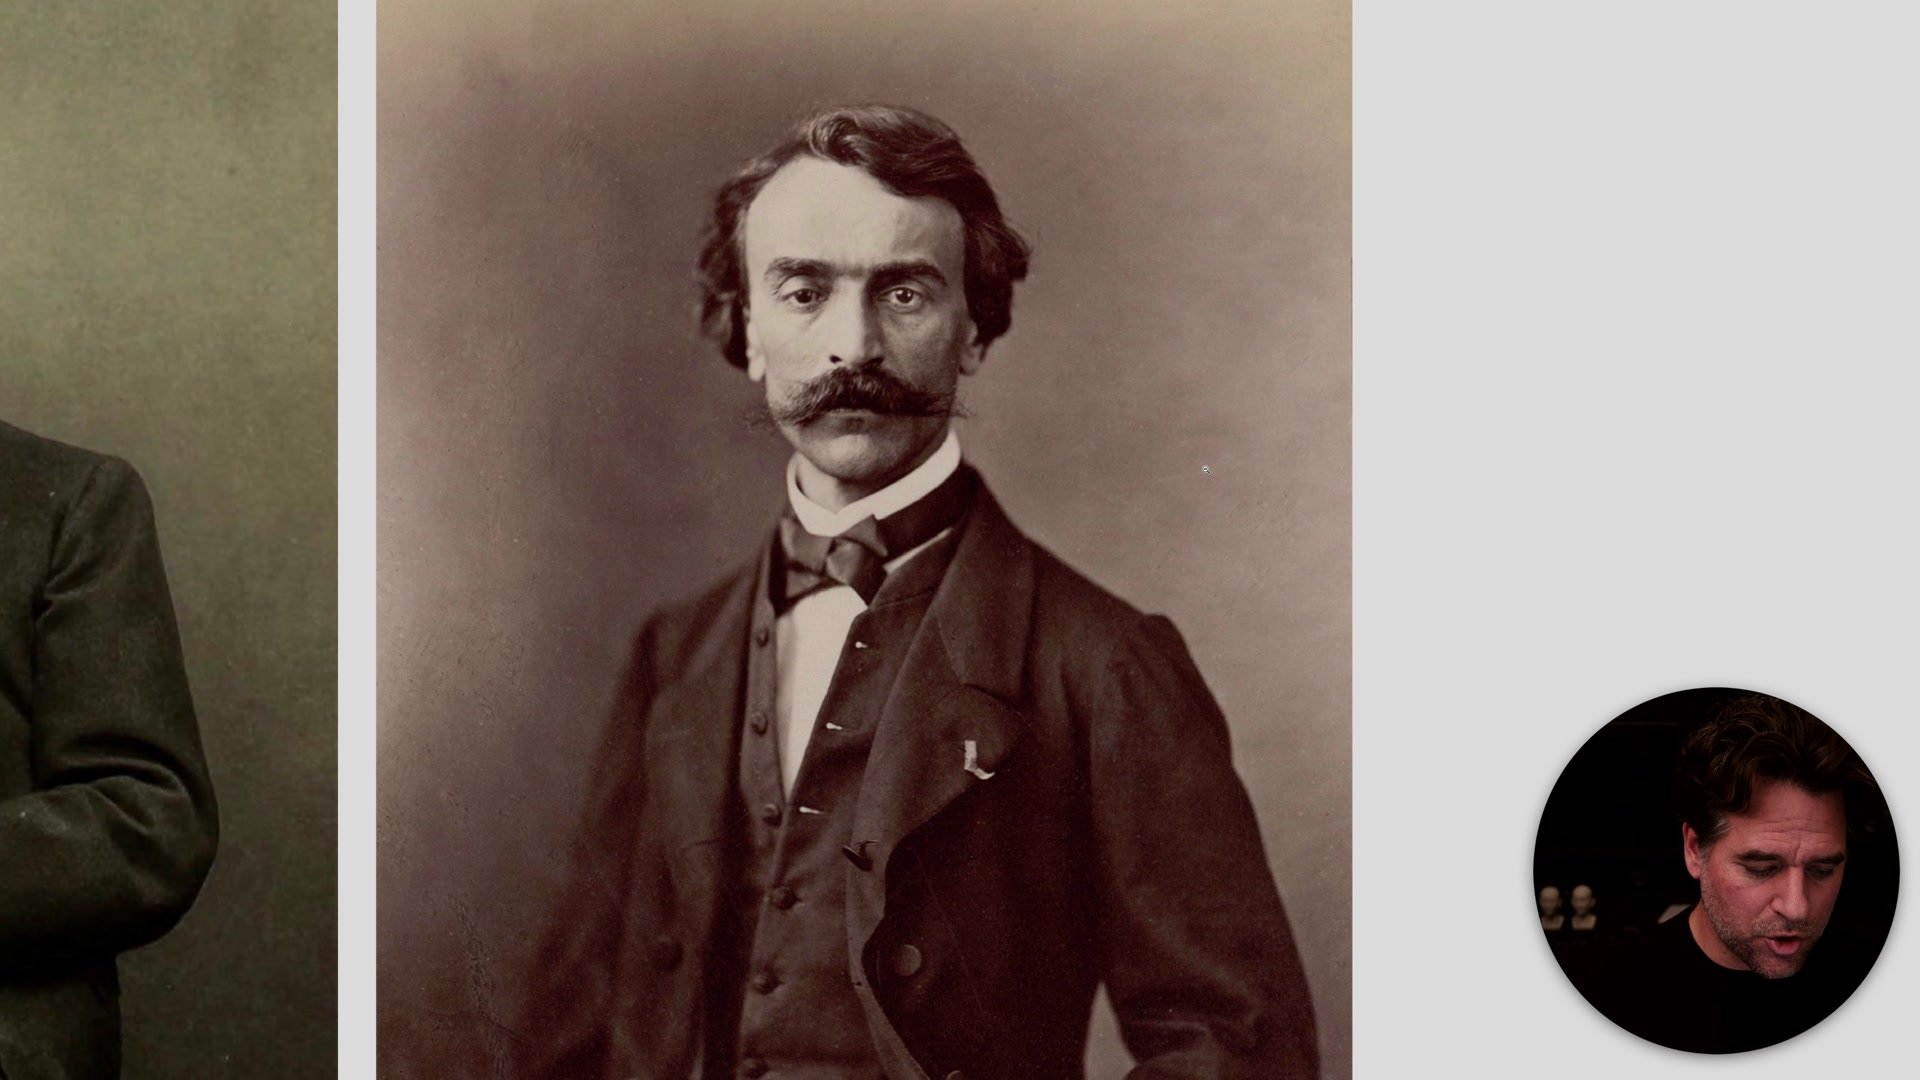
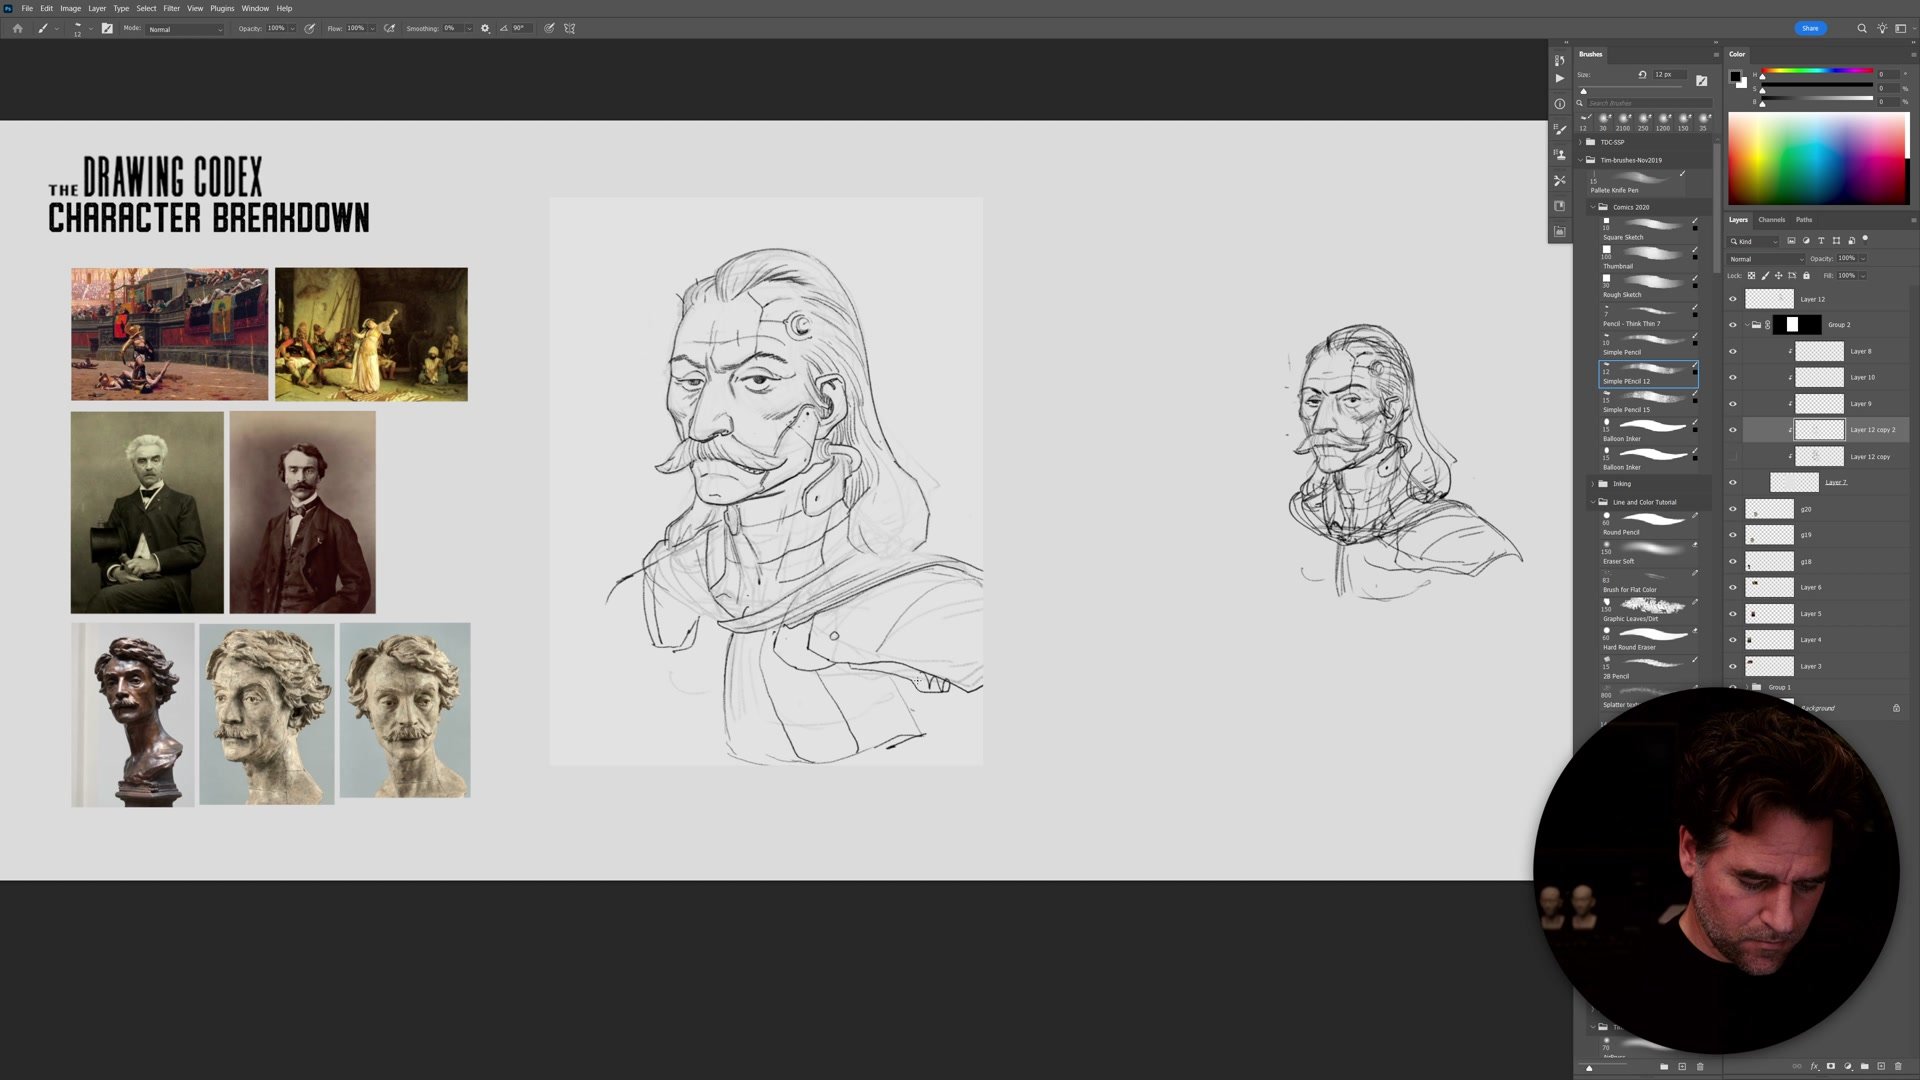
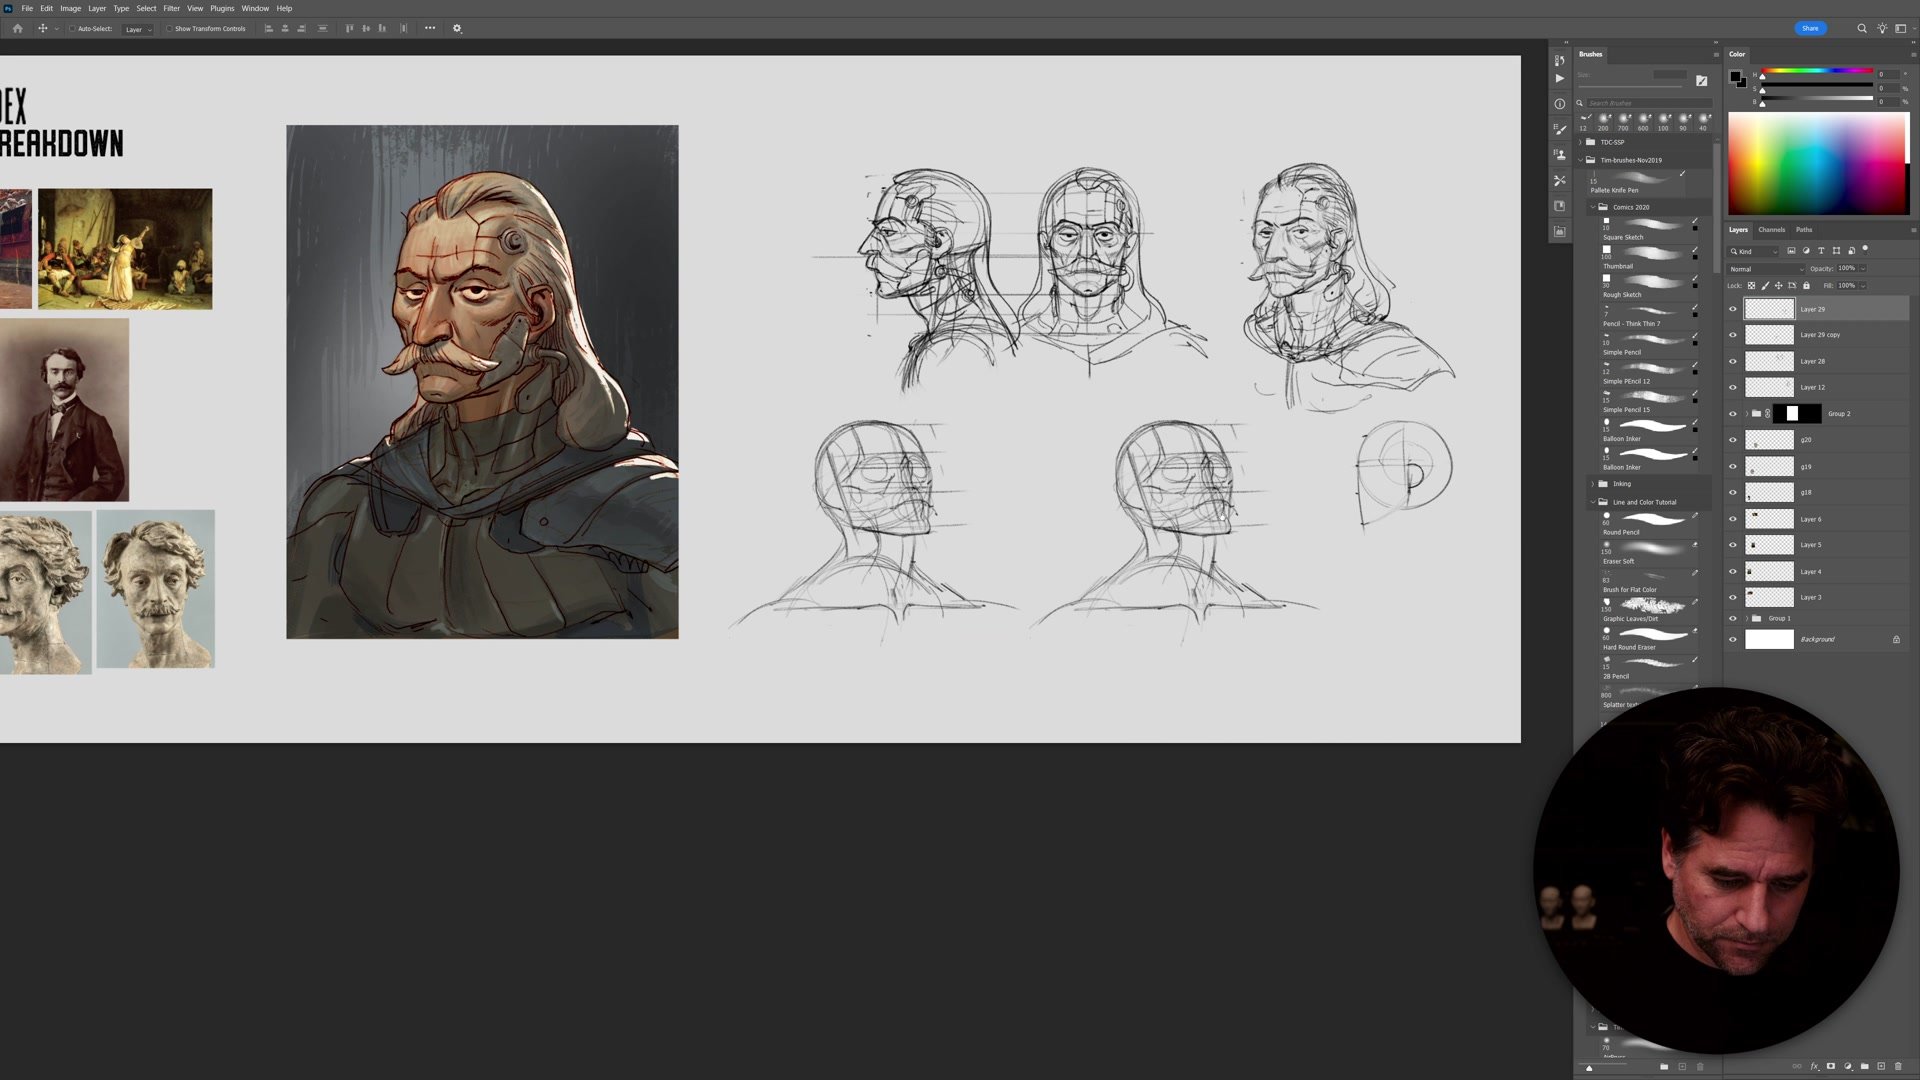
This two-hour workshop takes a different approach. Starting from a real historical figure (Jean-Leon Gerome, the French academic painter who taught the teachers who taught Loomis), the process moves through character design, form rendering, and full head turnaround. The goal is not just to construct a head, but to create a specific, recognizable character and then draw that character from multiple angles.
Character Before Construction
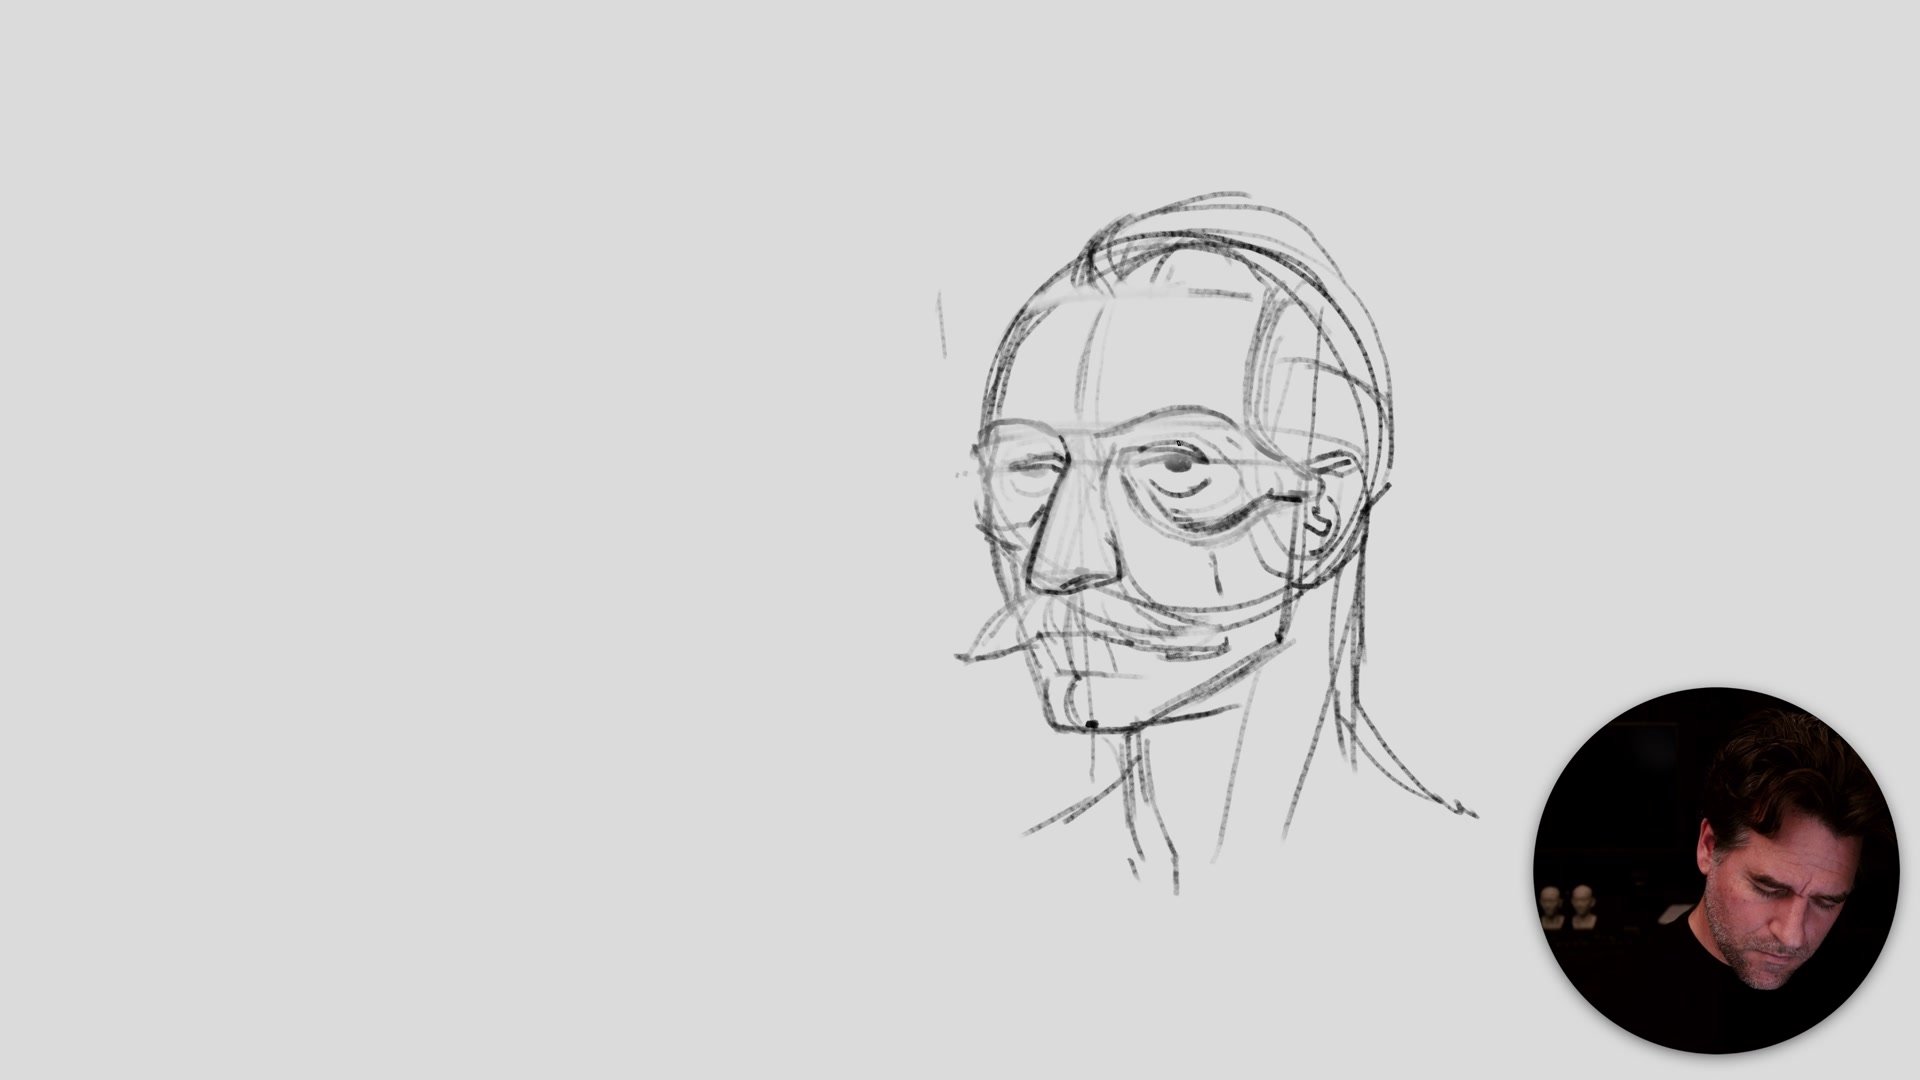
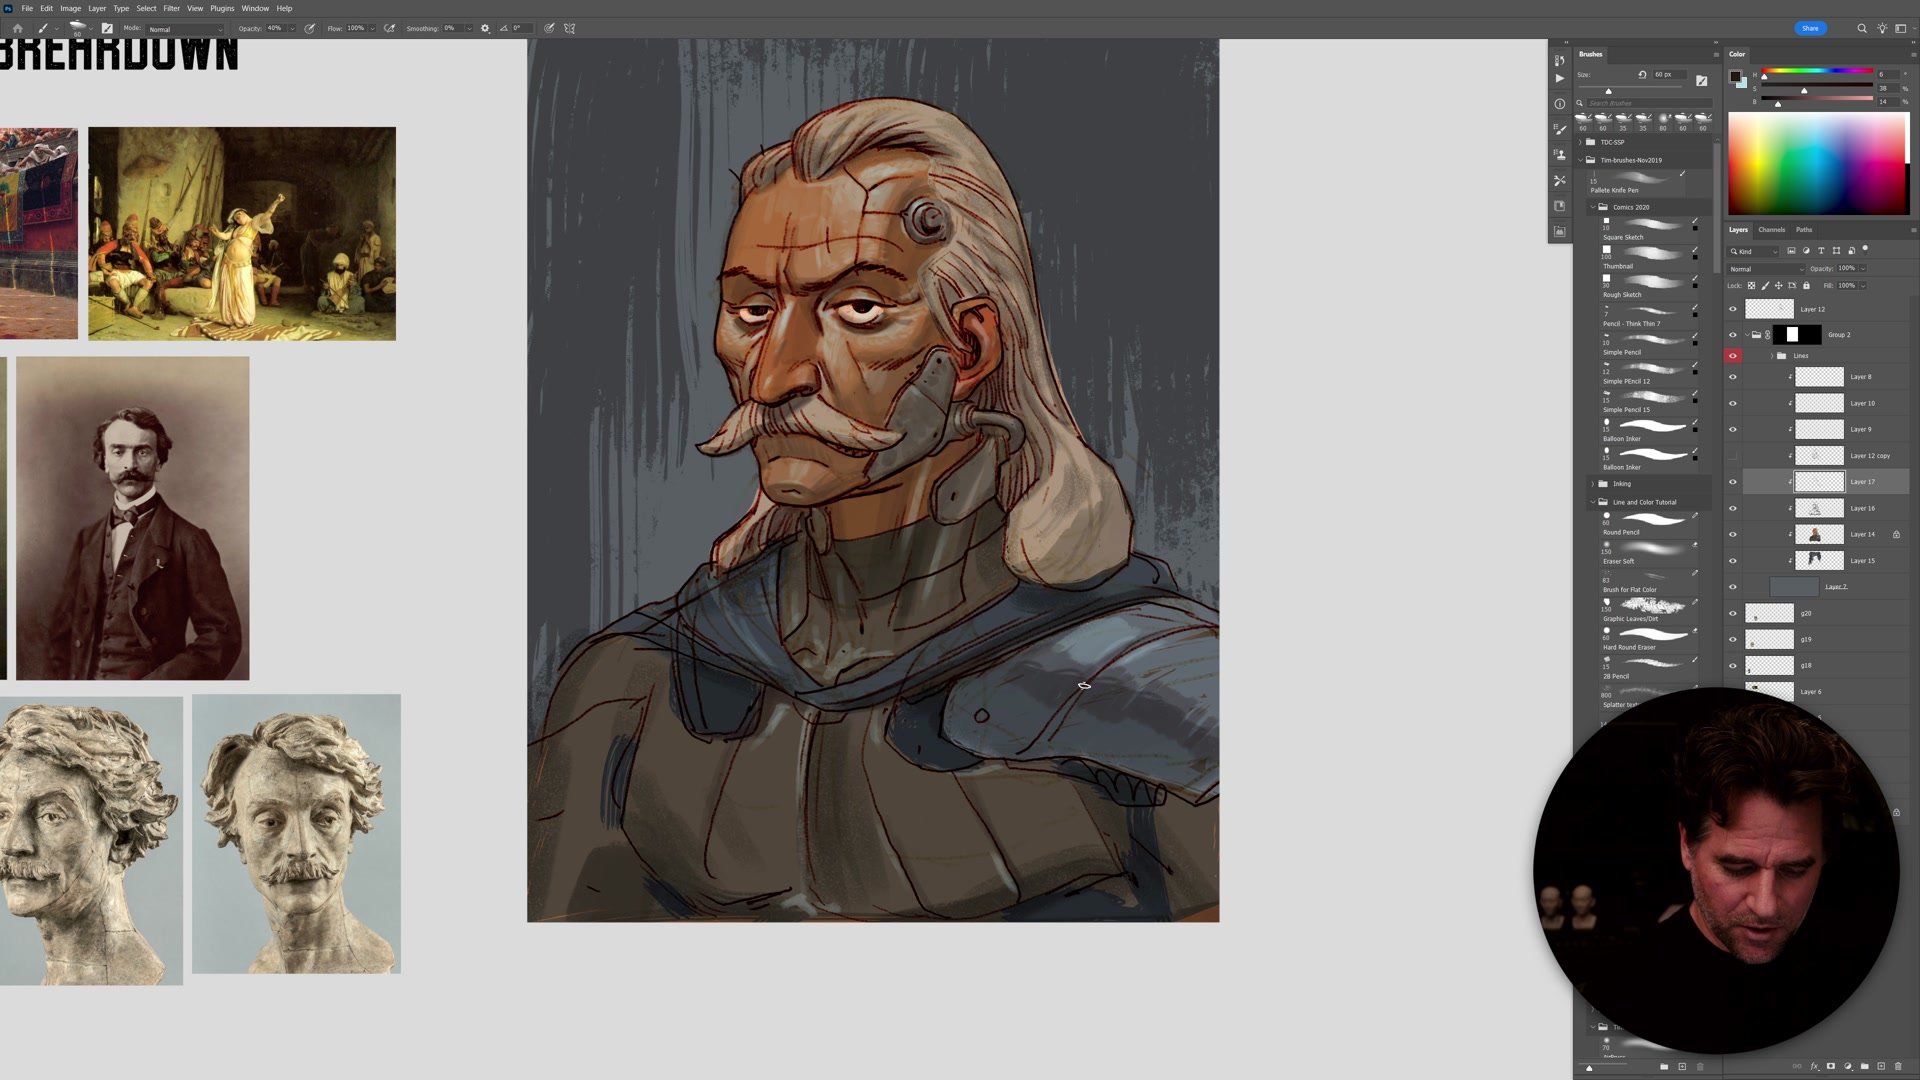
The typical anatomy workflow starts with proportional markers, center lines, and a standard Loomis sphere. That approach produces anatomically plausible heads with no personality. This demo reverses the order. The character comes first: identifying distinctive features (a strong nose, lidded eyes, prominent cheekbones, an iconic mustache), then using construction to organize and refine those features rather than to generate them.
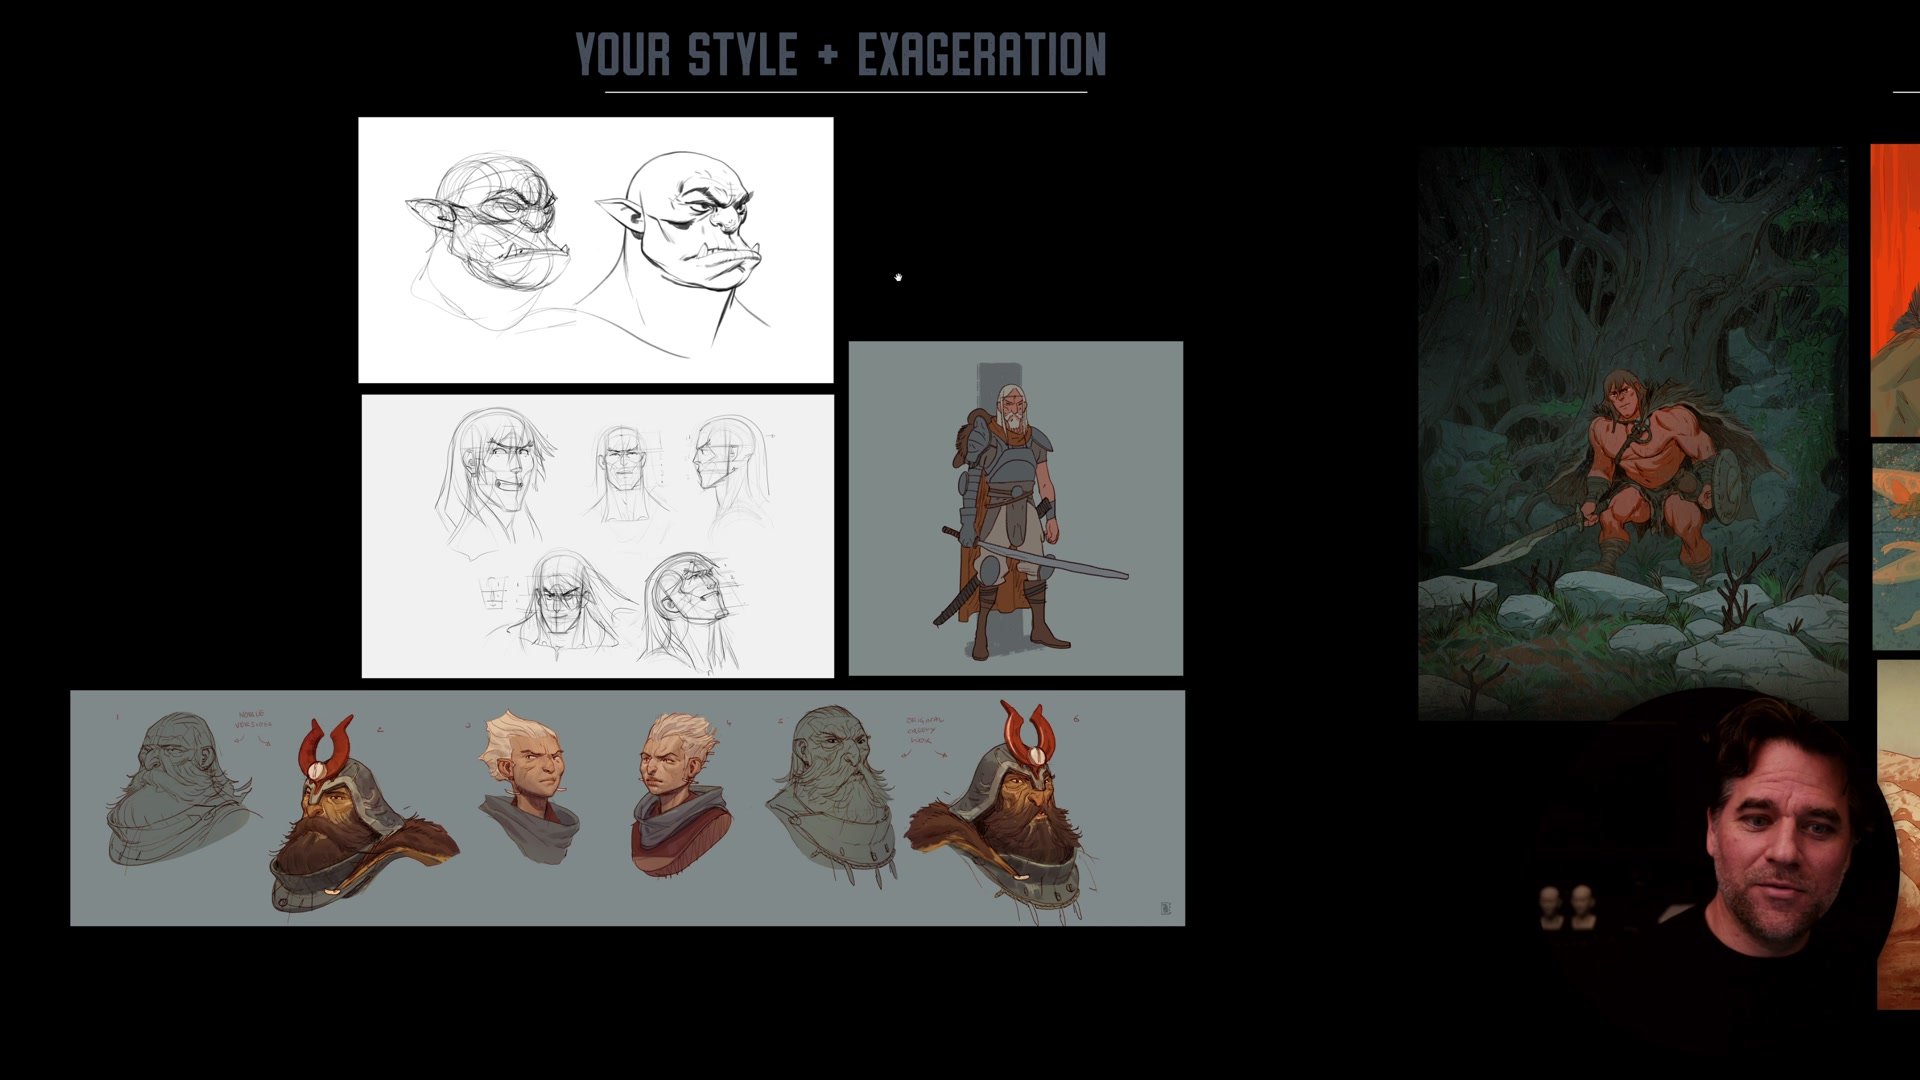
The key insight is that exaggeration is what creates character. Standard idealized proportions are a baseline for measurement and control, not a destination. Once those proportions are understood, the real work is pushing specific features to make a face distinctive and recognizable. Without exaggeration, every head ends up looking like the same generic construction exercise.
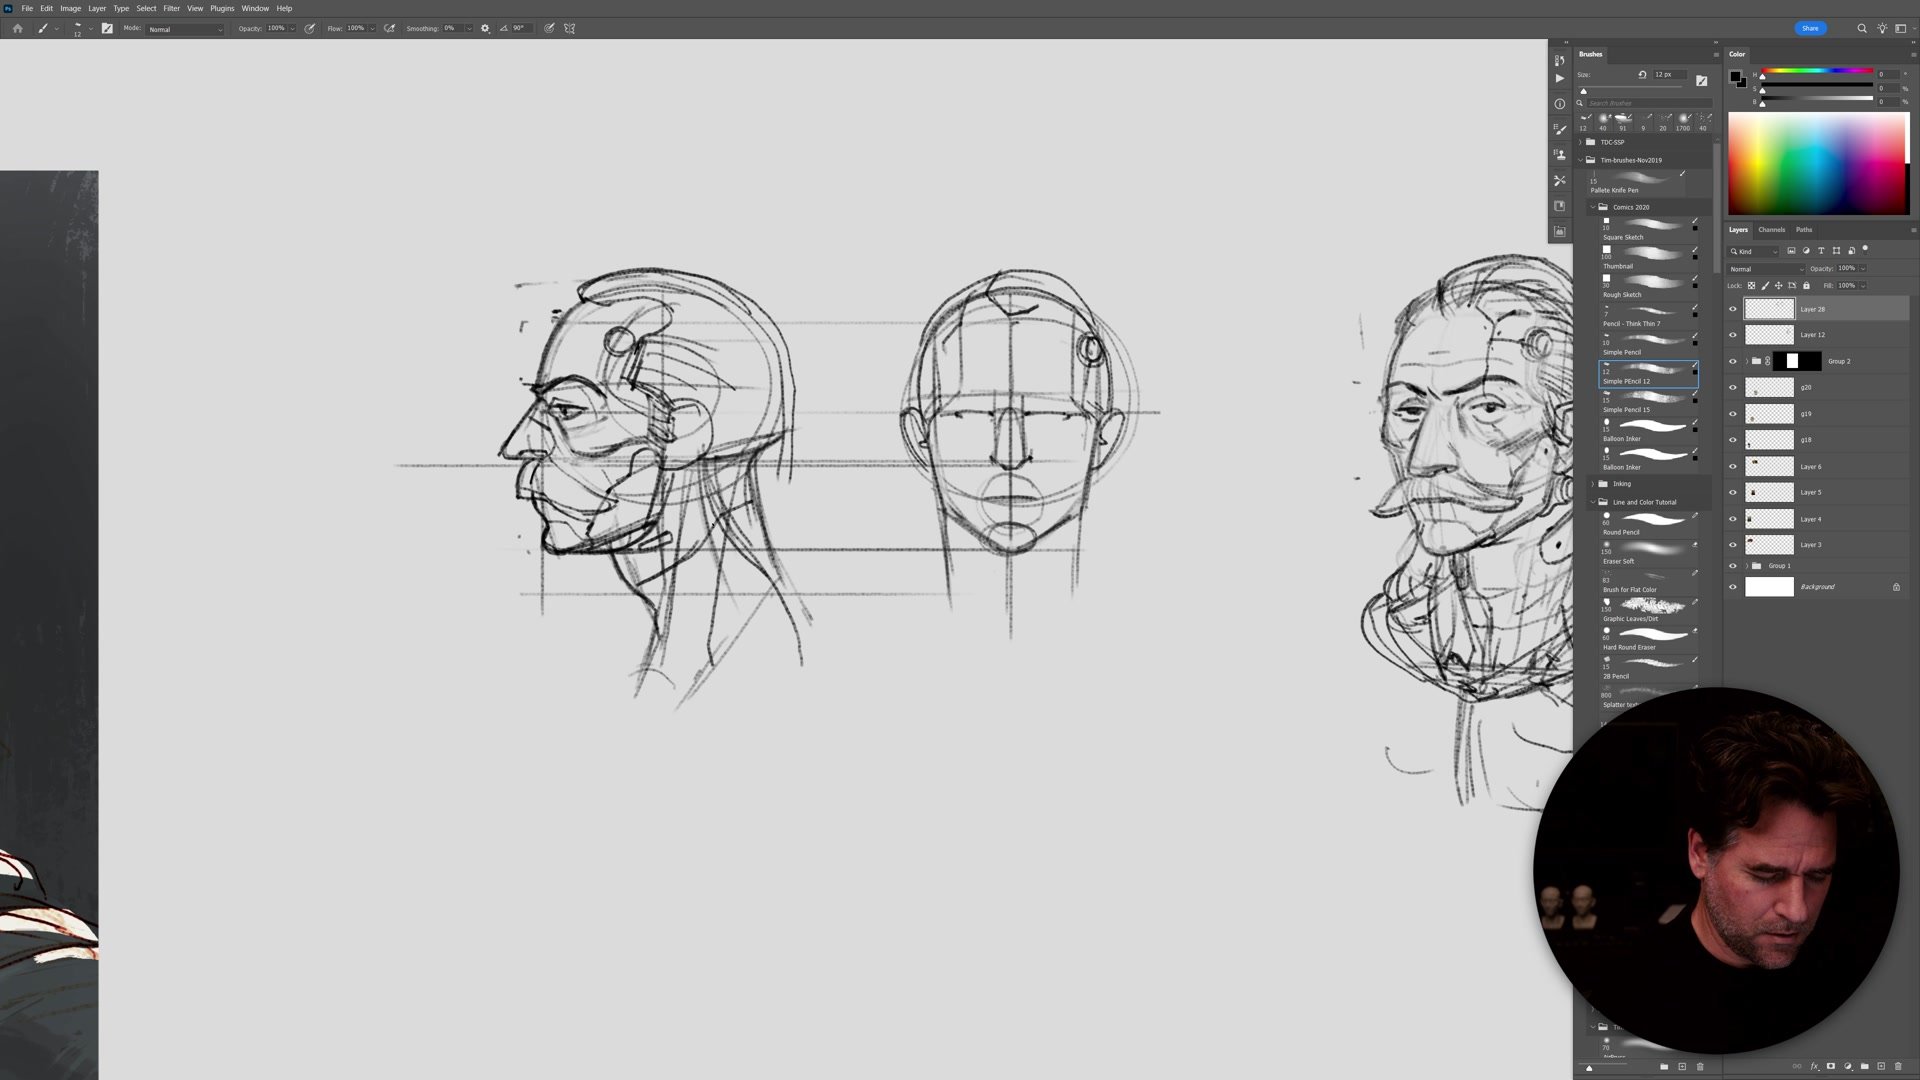
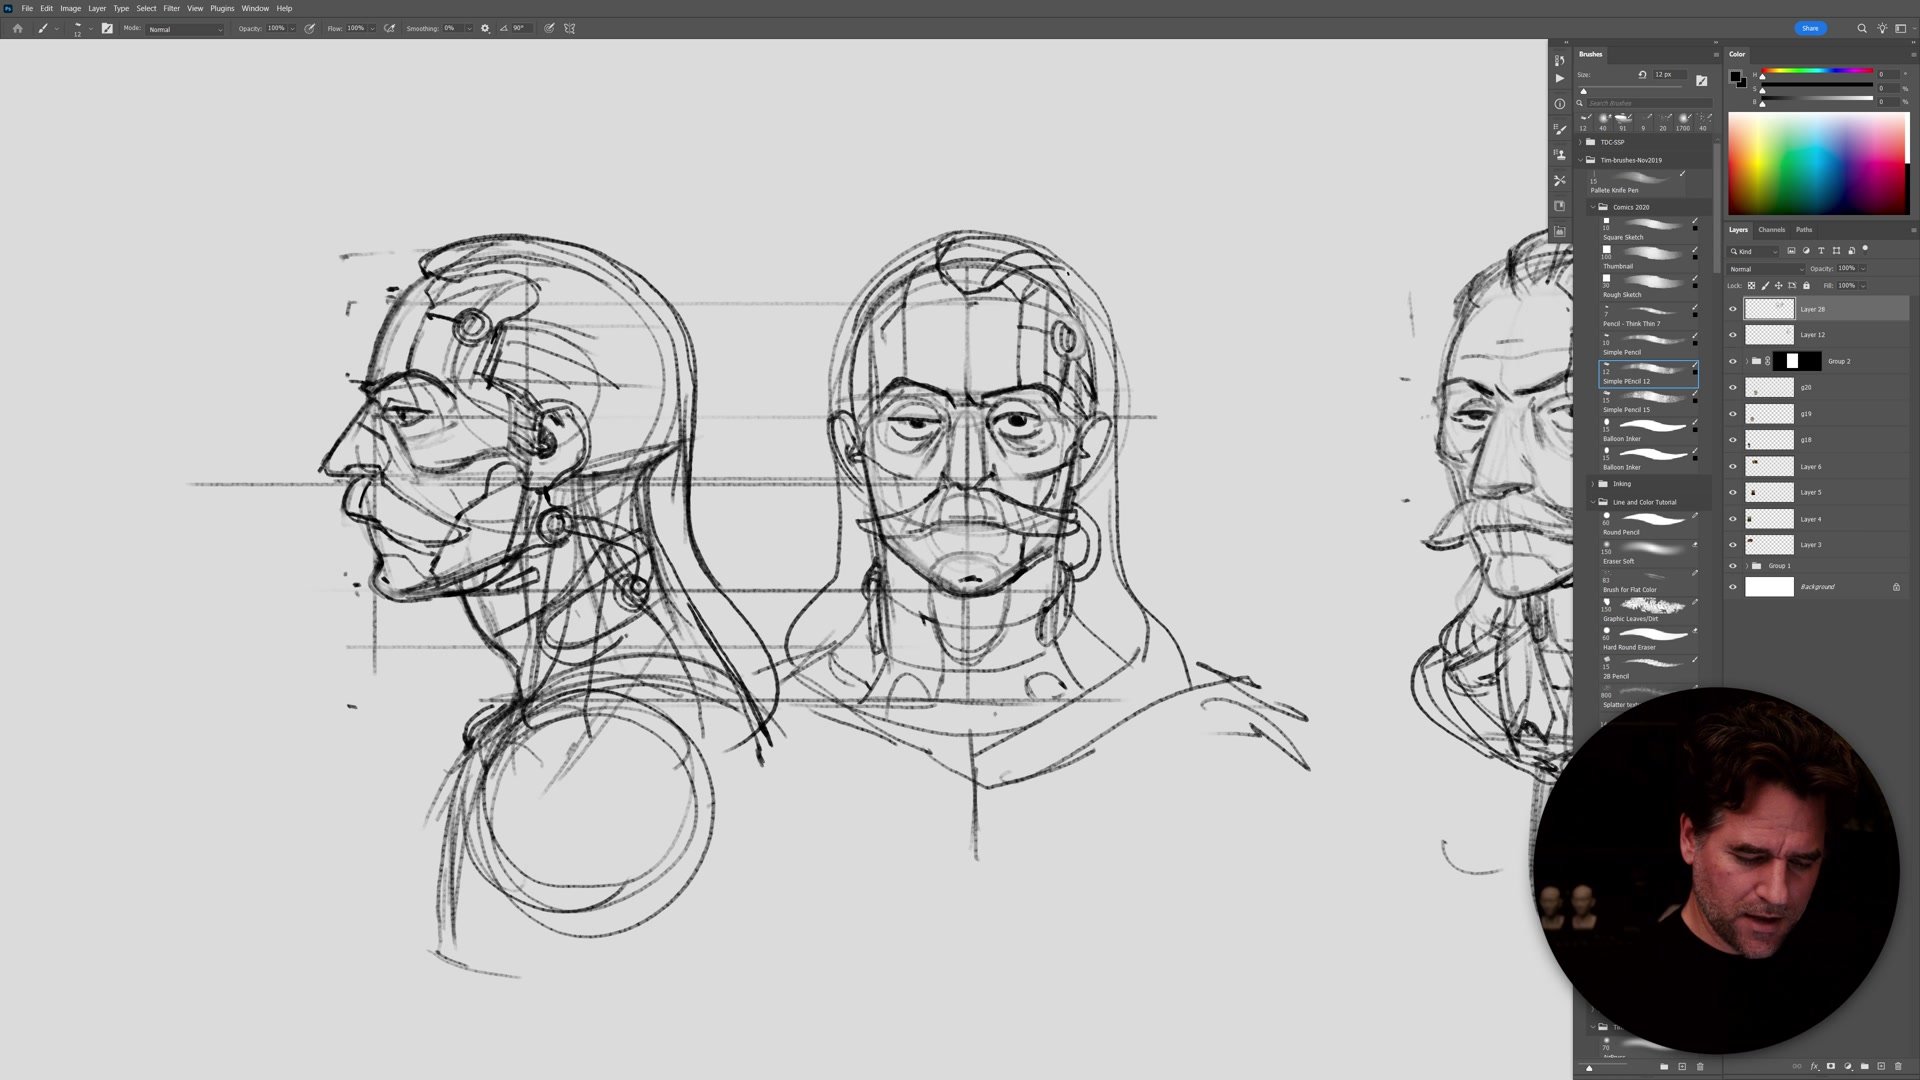
Form Makes Rotation Possible
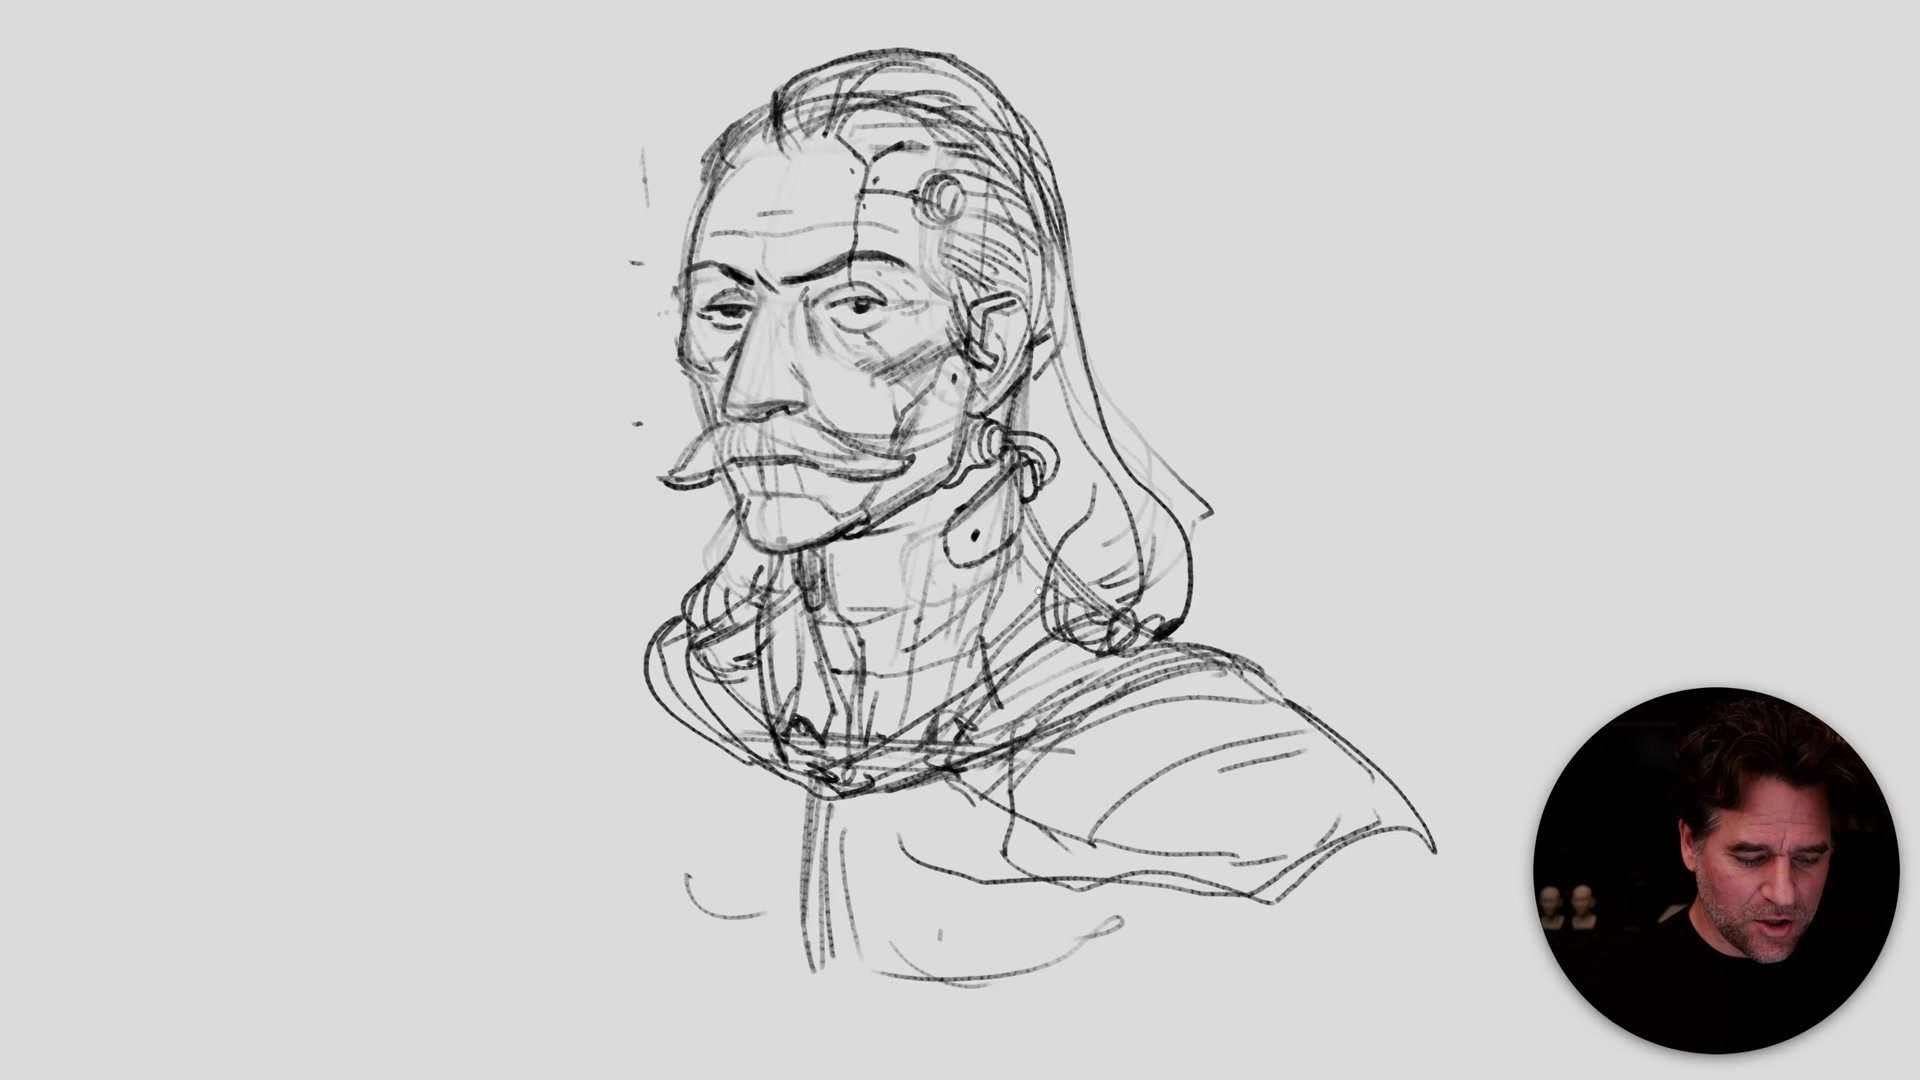
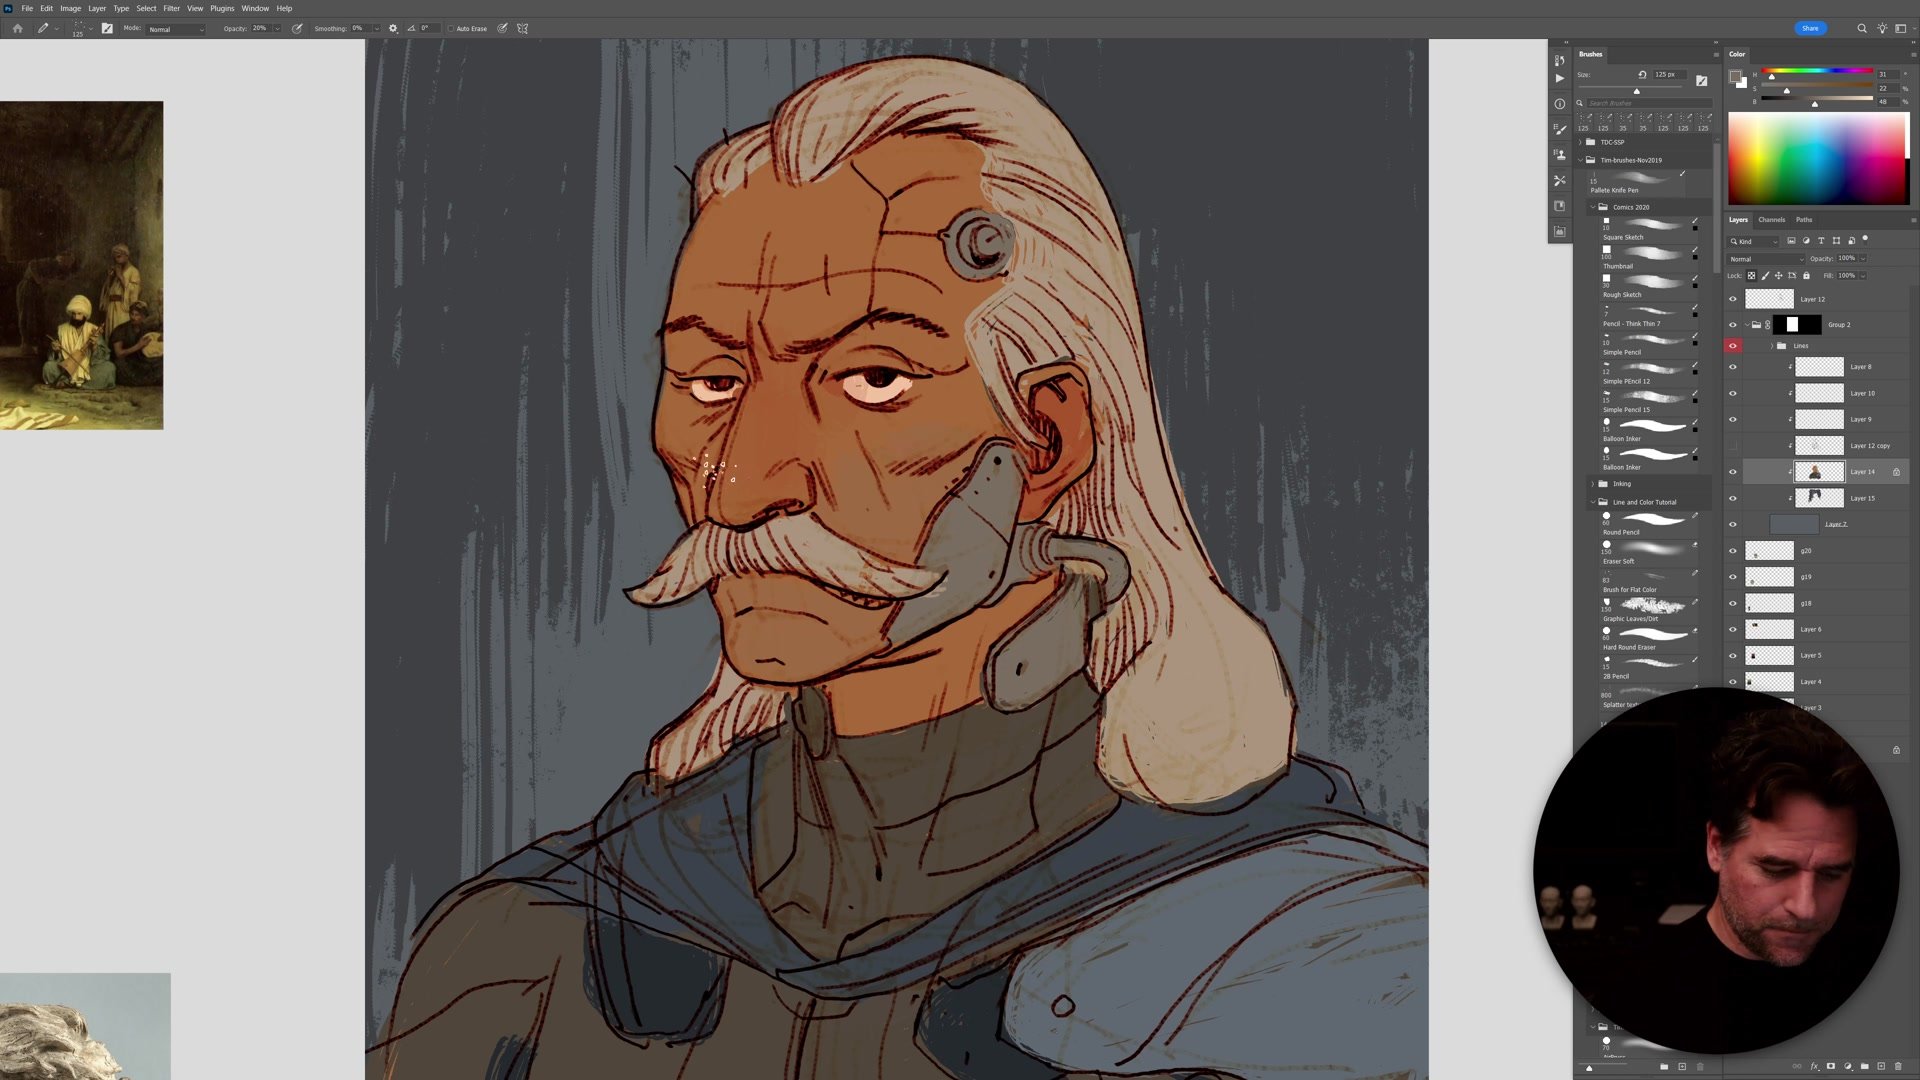
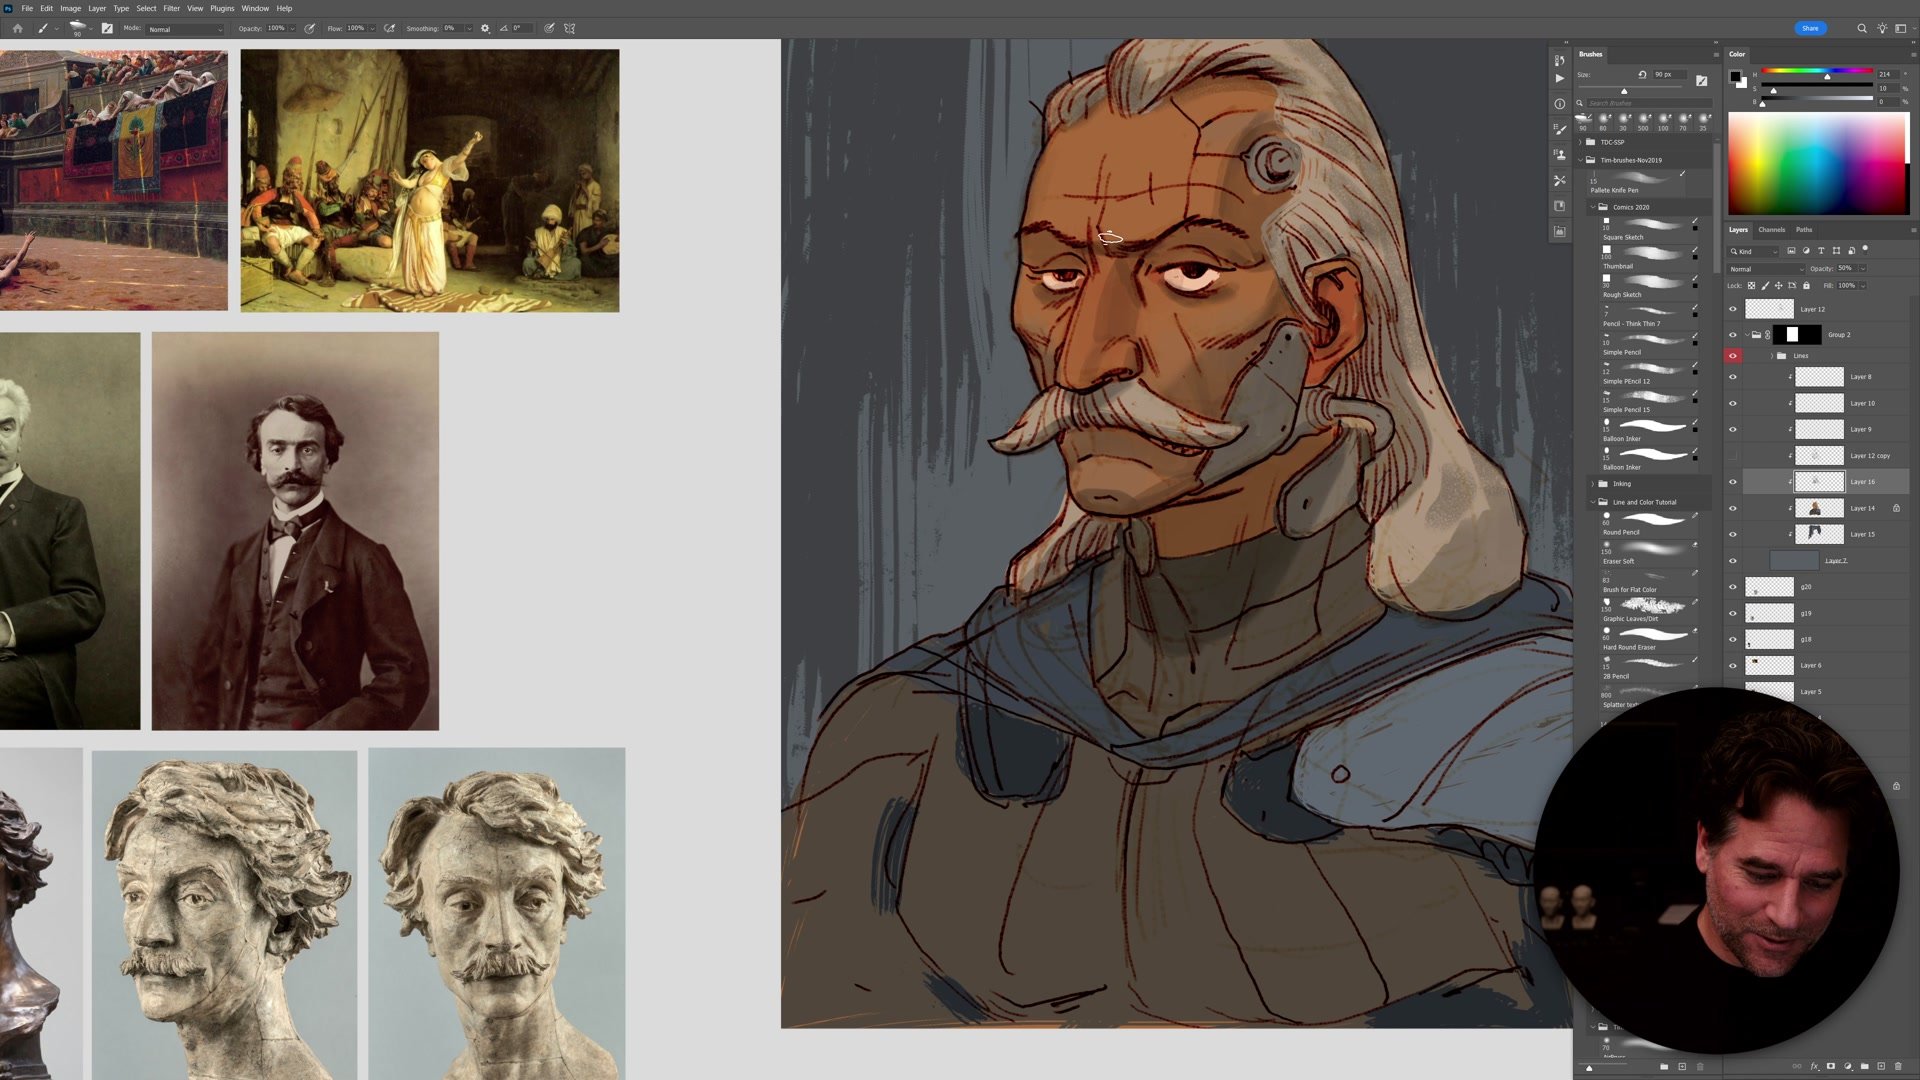
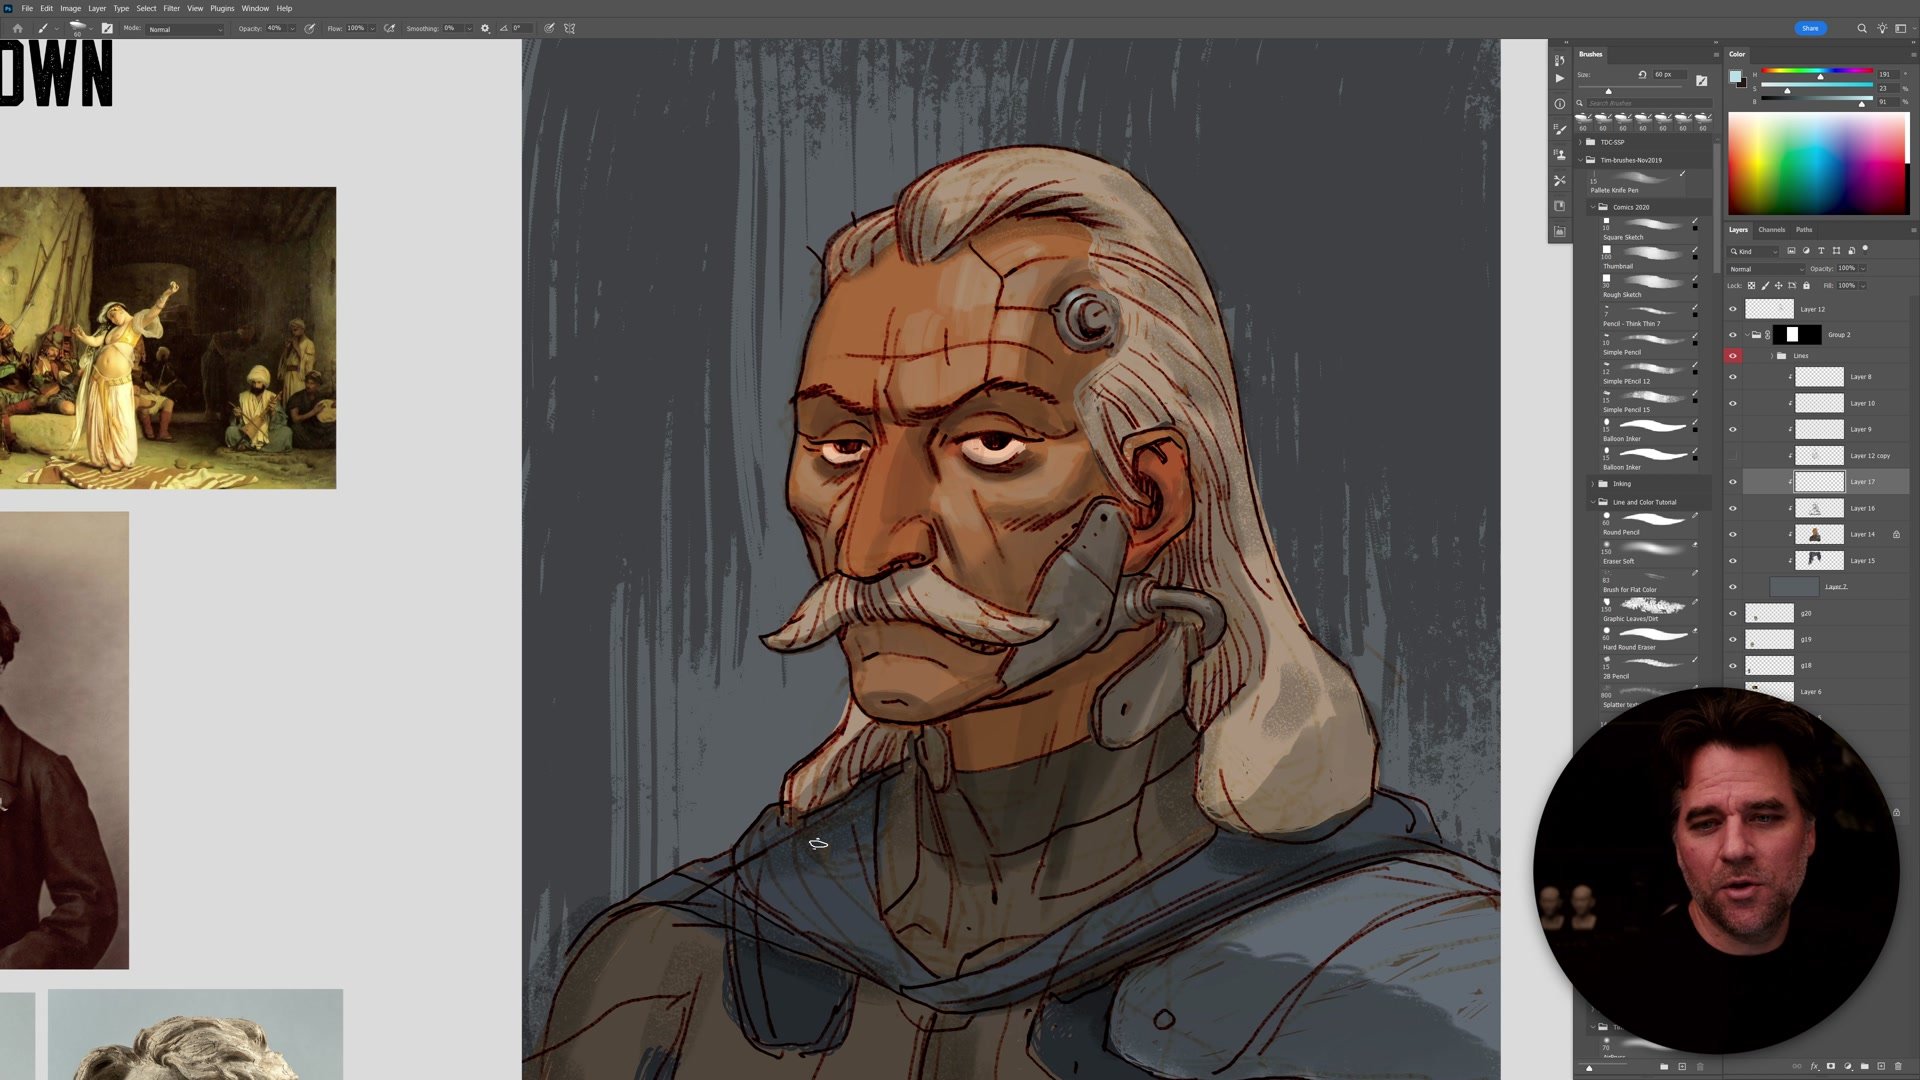
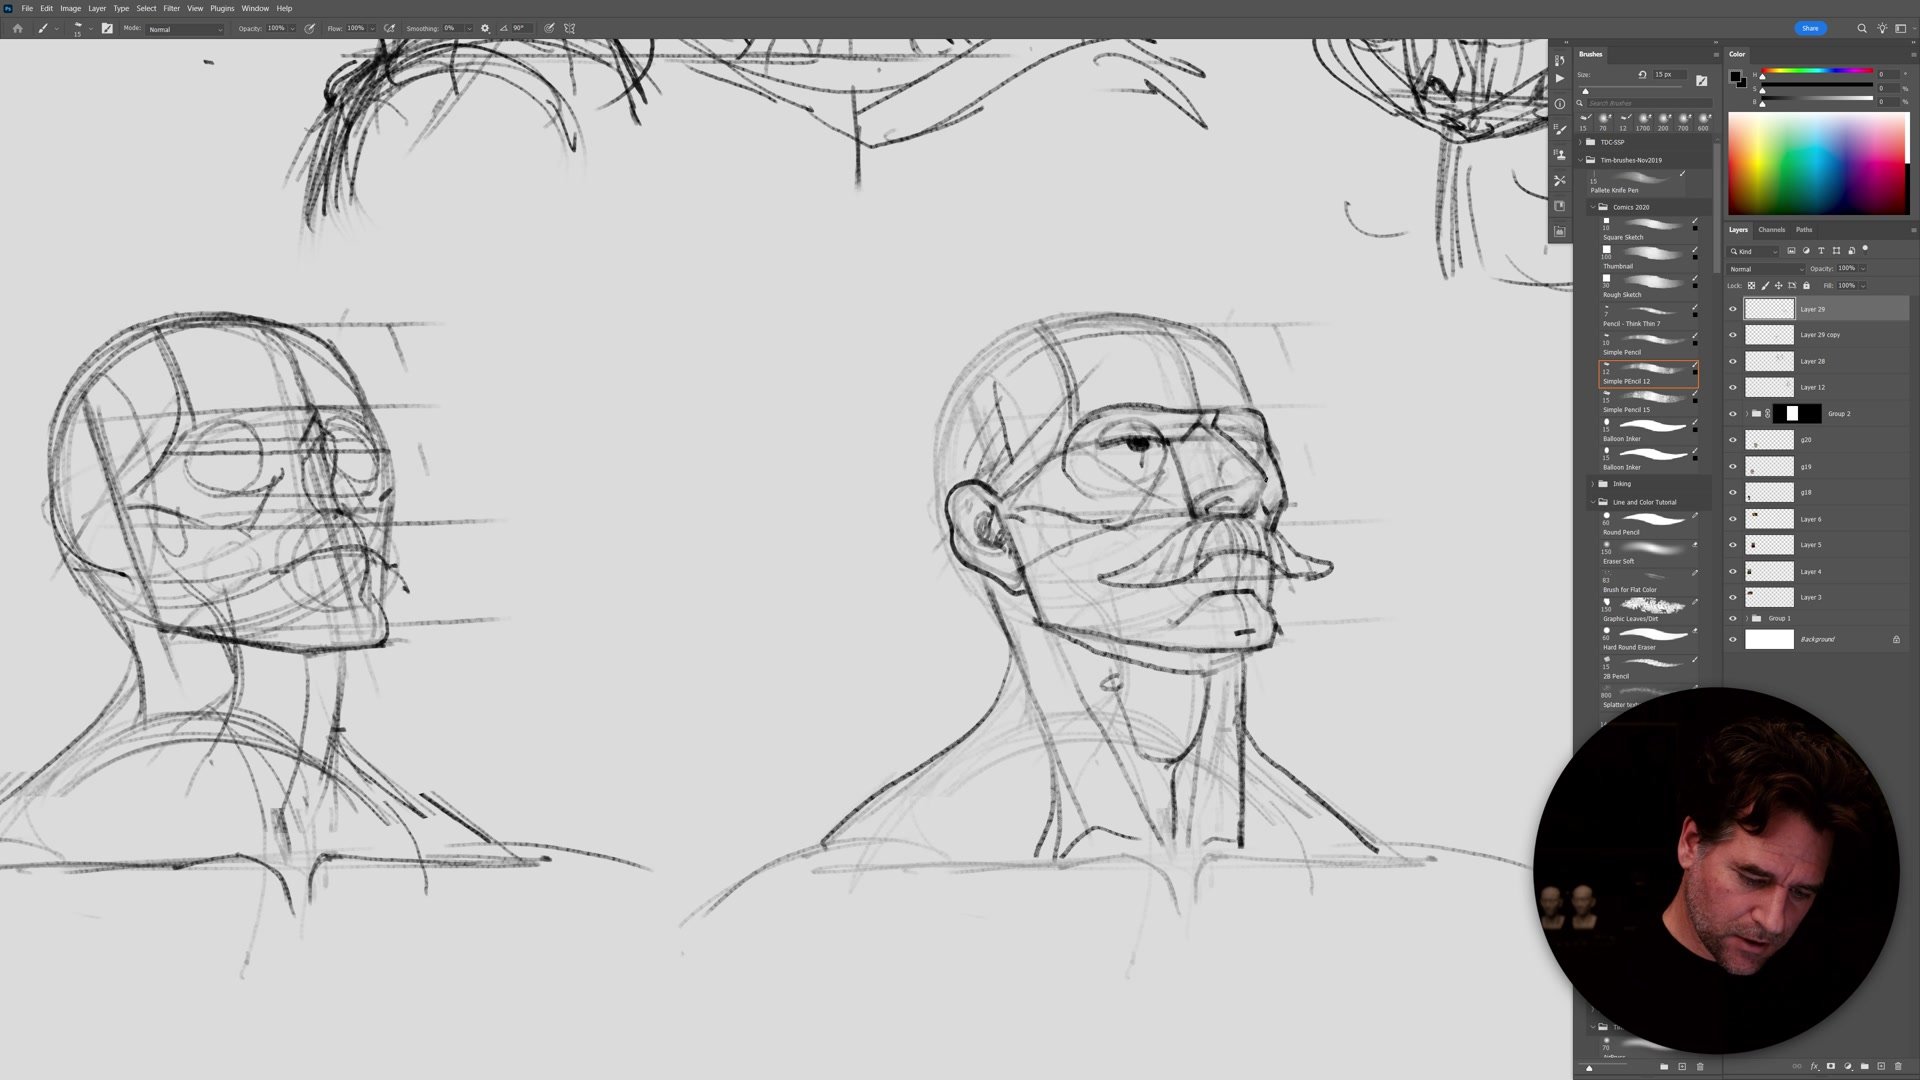
The reason artists study constructive anatomy is not just to draw a single view. The real payoff is being able to draw the same character from different angles while keeping them recognizable. This requires understanding form, not just proportion.
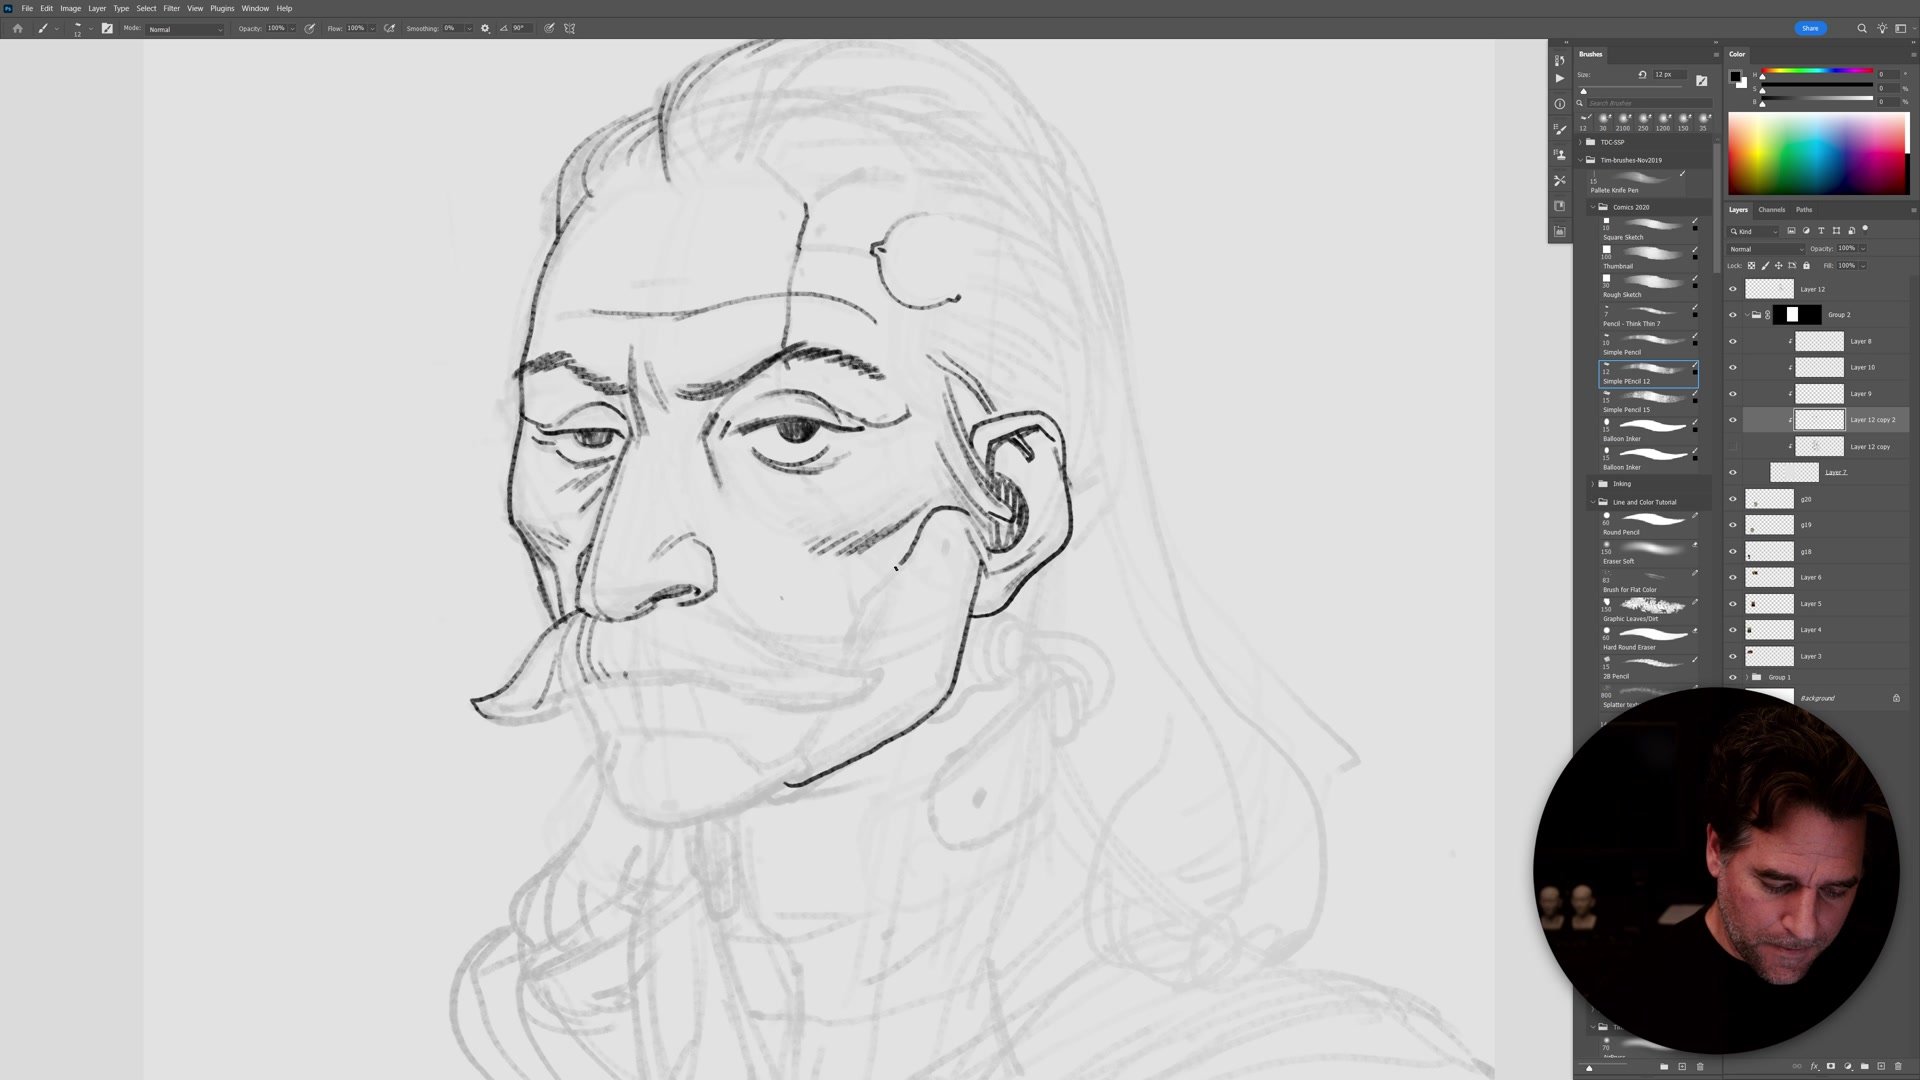
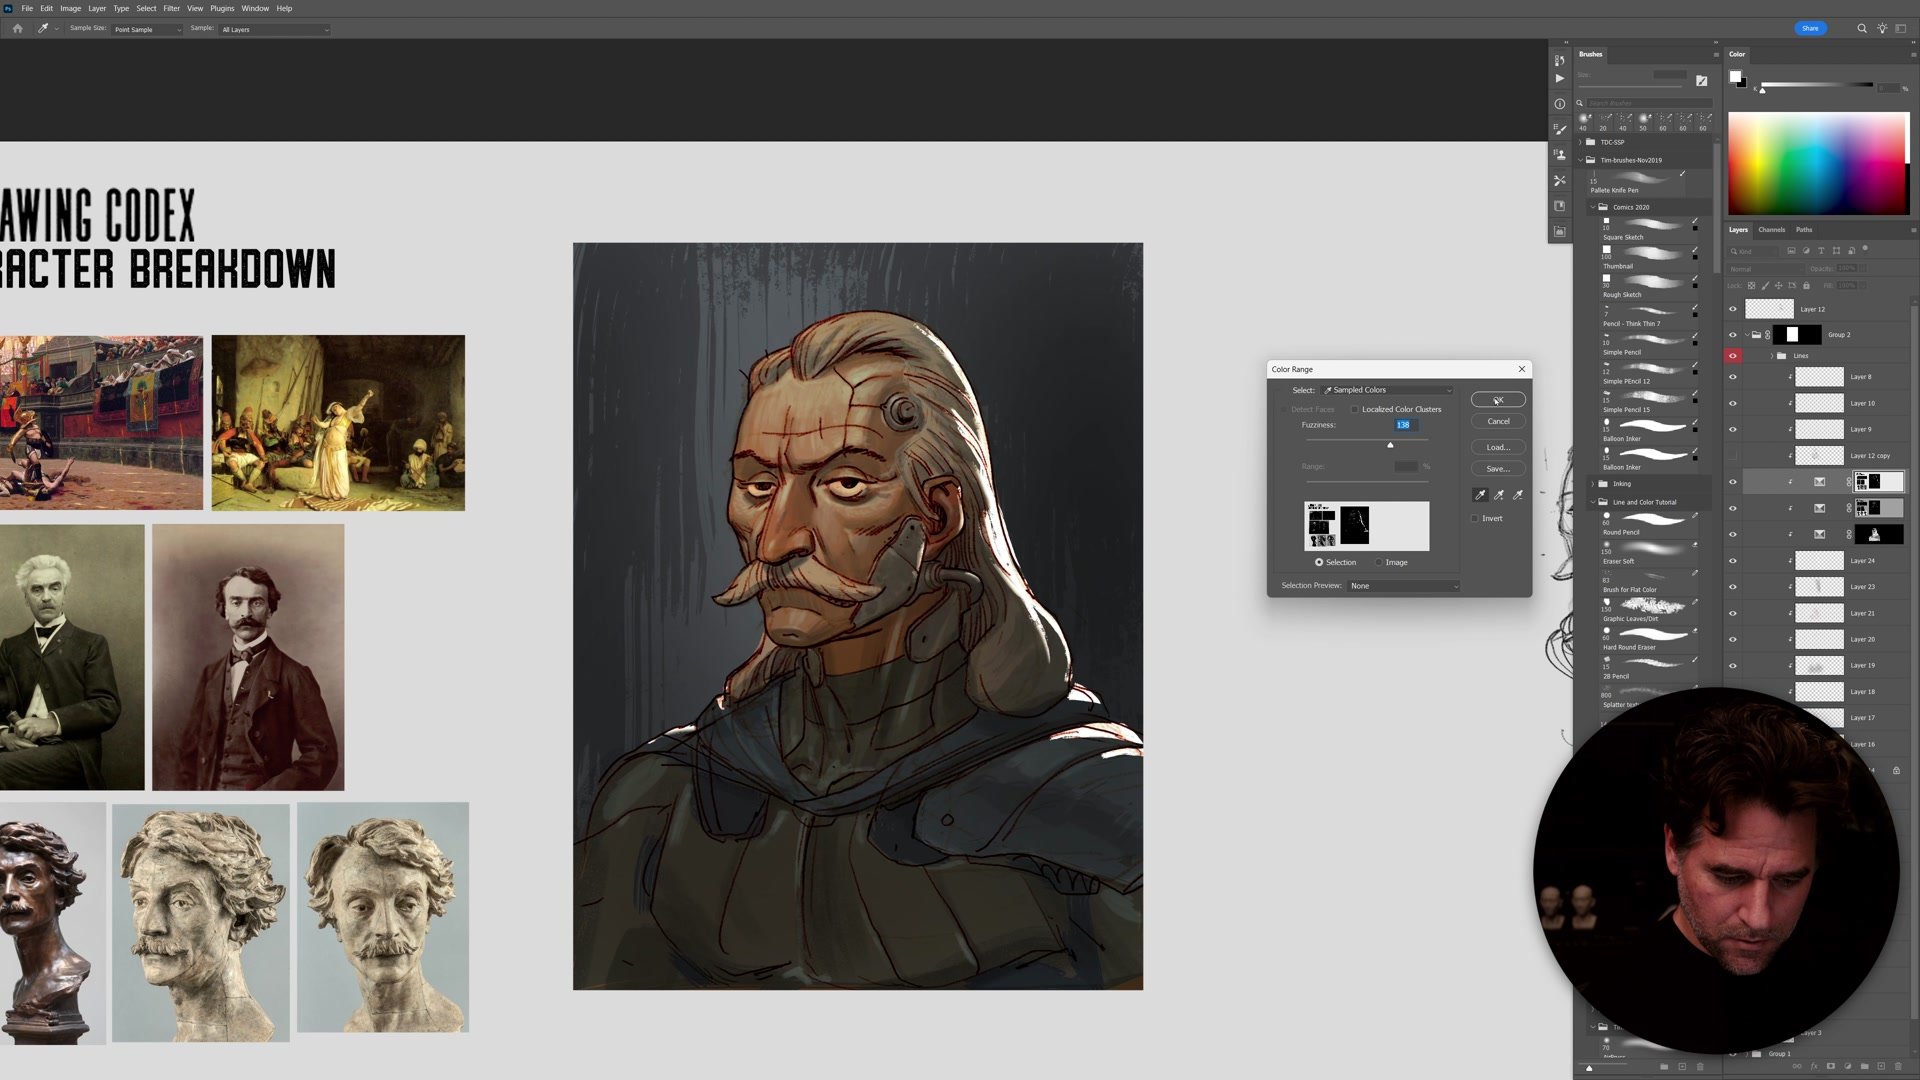
Adding flat color and then blocking in primary shadows reveals the three-dimensional structure underneath the line work. Understanding where the skull sits, where the cheekbones create shadow, where the bridge of the nose catches light: these are the structural realities that stay consistent regardless of viewing angle. When the Loomis sphere gets rotated to a front view, side view, or tilted three-quarter view, the proportional markers transfer directly. But the character only emerges when distinctive features are placed consistently within that structure.

Application Over Repetition
One of the strongest arguments in this demo is against the anatomy treadmill: the cycle of endlessly practicing Loomis heads, ecorche studies, and proportional exercises without ever applying them to real illustration. Studying with charcoal or grayscale tonal exercises uses different tools and techniques than what most artists actually use in their work. The skills often fail to transfer.
The alternative is to practice anatomy through actual character work. Design a character with distinct features, render them with your own tools and process, and then attempt the turnaround. This creates immediate feedback on whether the anatomy knowledge is actually functional. If the character does not look the same from the side as from the three-quarter view, the gap in understanding becomes specific and fixable rather than abstract.
Key Principles
Exaggeration Over Accuracy: Standard proportions are a measuring tool, not an end goal. Characters become interesting when specific features are pushed beyond the idealized baseline.
Form Before Rotation: Understanding where shadows fall and how planes of the face work in three dimensions is what allows consistent character drawing from different angles. Flat construction lines alone are not enough.
Practice Through Application: Anatomy studies transfer to real work only when practiced with the same tools, style, and goals used in actual illustration. Design a character first, then apply construction methods to refine and rotate them.
Character Is Everything: A technically perfect Loomis head with no hair, no expression, and no distinctive features will always look boring. Iconic features, styling, and personality are what make anatomy worth learning.
Try This
Step 1: Pick a real person with distinctive features and sketch a character inspired by them. Focus on identifying three to four features that make their face unique.
Step 2: Apply Loomis construction to your sketch as a refinement tool. Check proportions and correct structure without losing the character you established.
Step 3: Attempt a front view and side view of the same character, keeping the distinctive features consistent across angles.