Fantasy Warrior Girl Sketch - Real Time Narrated
Summary
Sketching a Fantasy Warrior
This real-time, fully narrated sketching session walks through the complete process of creating a fantasy warrior girl character from a blank page. Starting with a warm-up sketch on a smaller piece of paper, the session progresses into a full character construction with horns, flowing hair, an oversized battle hammer, a cape, fantasy boots, and a curved sword.
The narration covers the reality of warming up, getting into drawing mode, managing pencil sharpness, and the back-and-forth of construction and refinement that defines actual sketchbook work. At 51 minutes, this session captures the honest pace of a real sketching session where not everything goes perfectly, but the drawing still comes together.
Warm-Up and Block-In
The Warm-Up Phase
The session opens with a deliberate warm-up on a small A5 sheet of paper. The approach is to draw something already comfortable with, removing the pressure of the blank page and letting the hand and mind ease into drawing mode. There is no rush to jump into the main piece. This is about getting used to the pencil, finding the right posture, noticing tension, and letting the sketchy marks just exist without judgment.
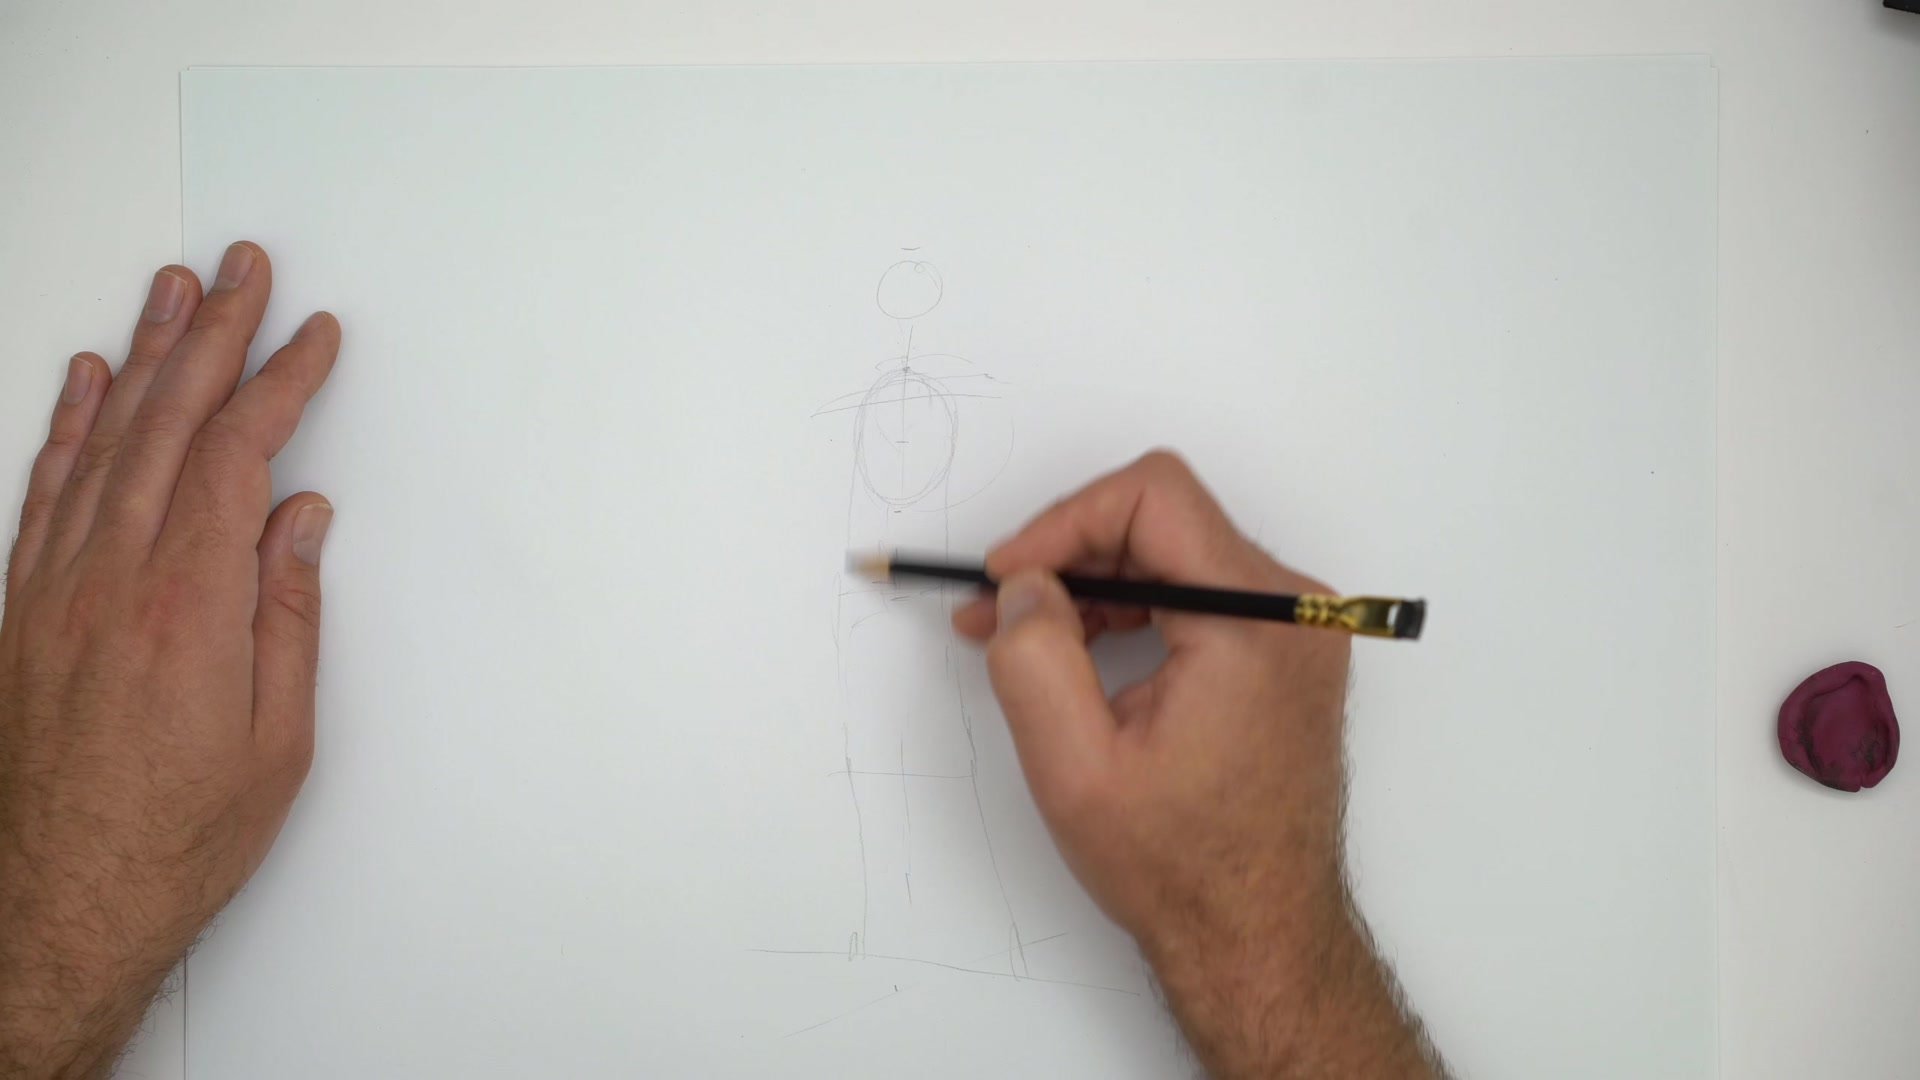
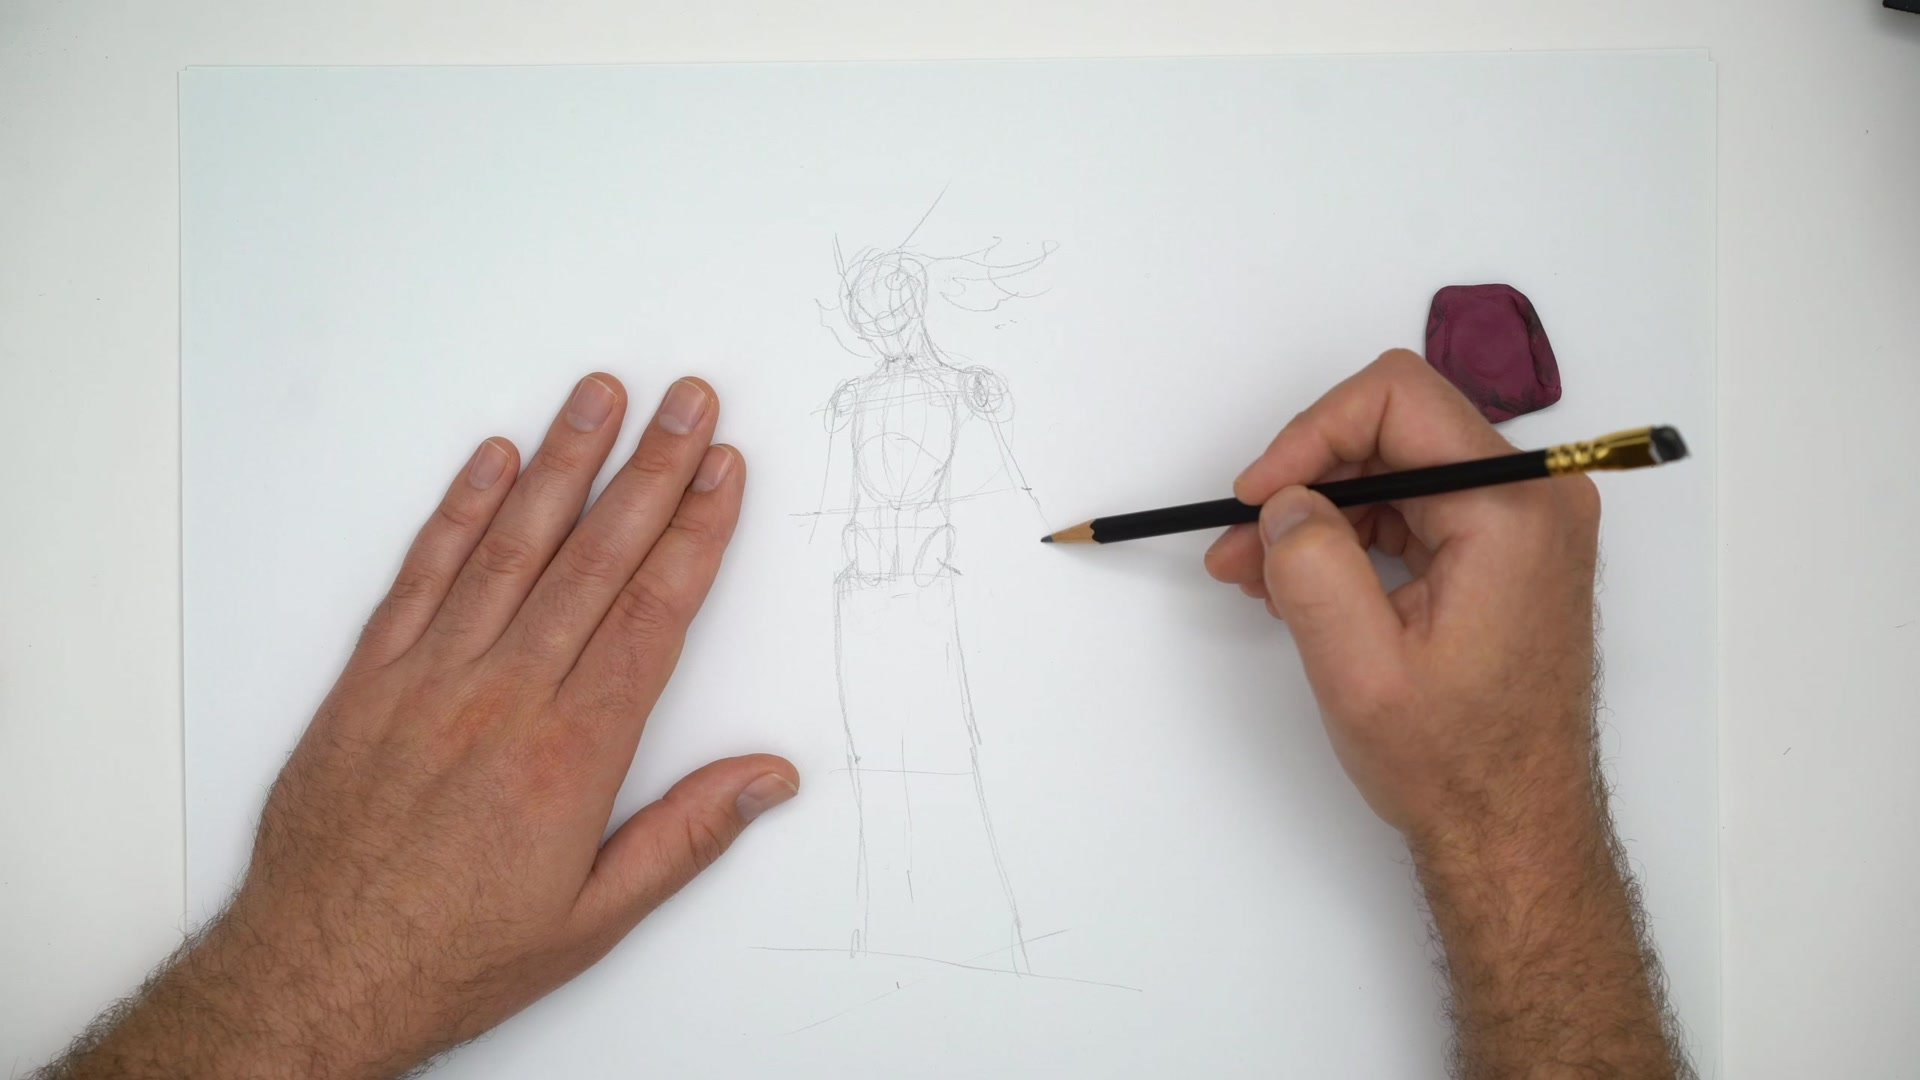
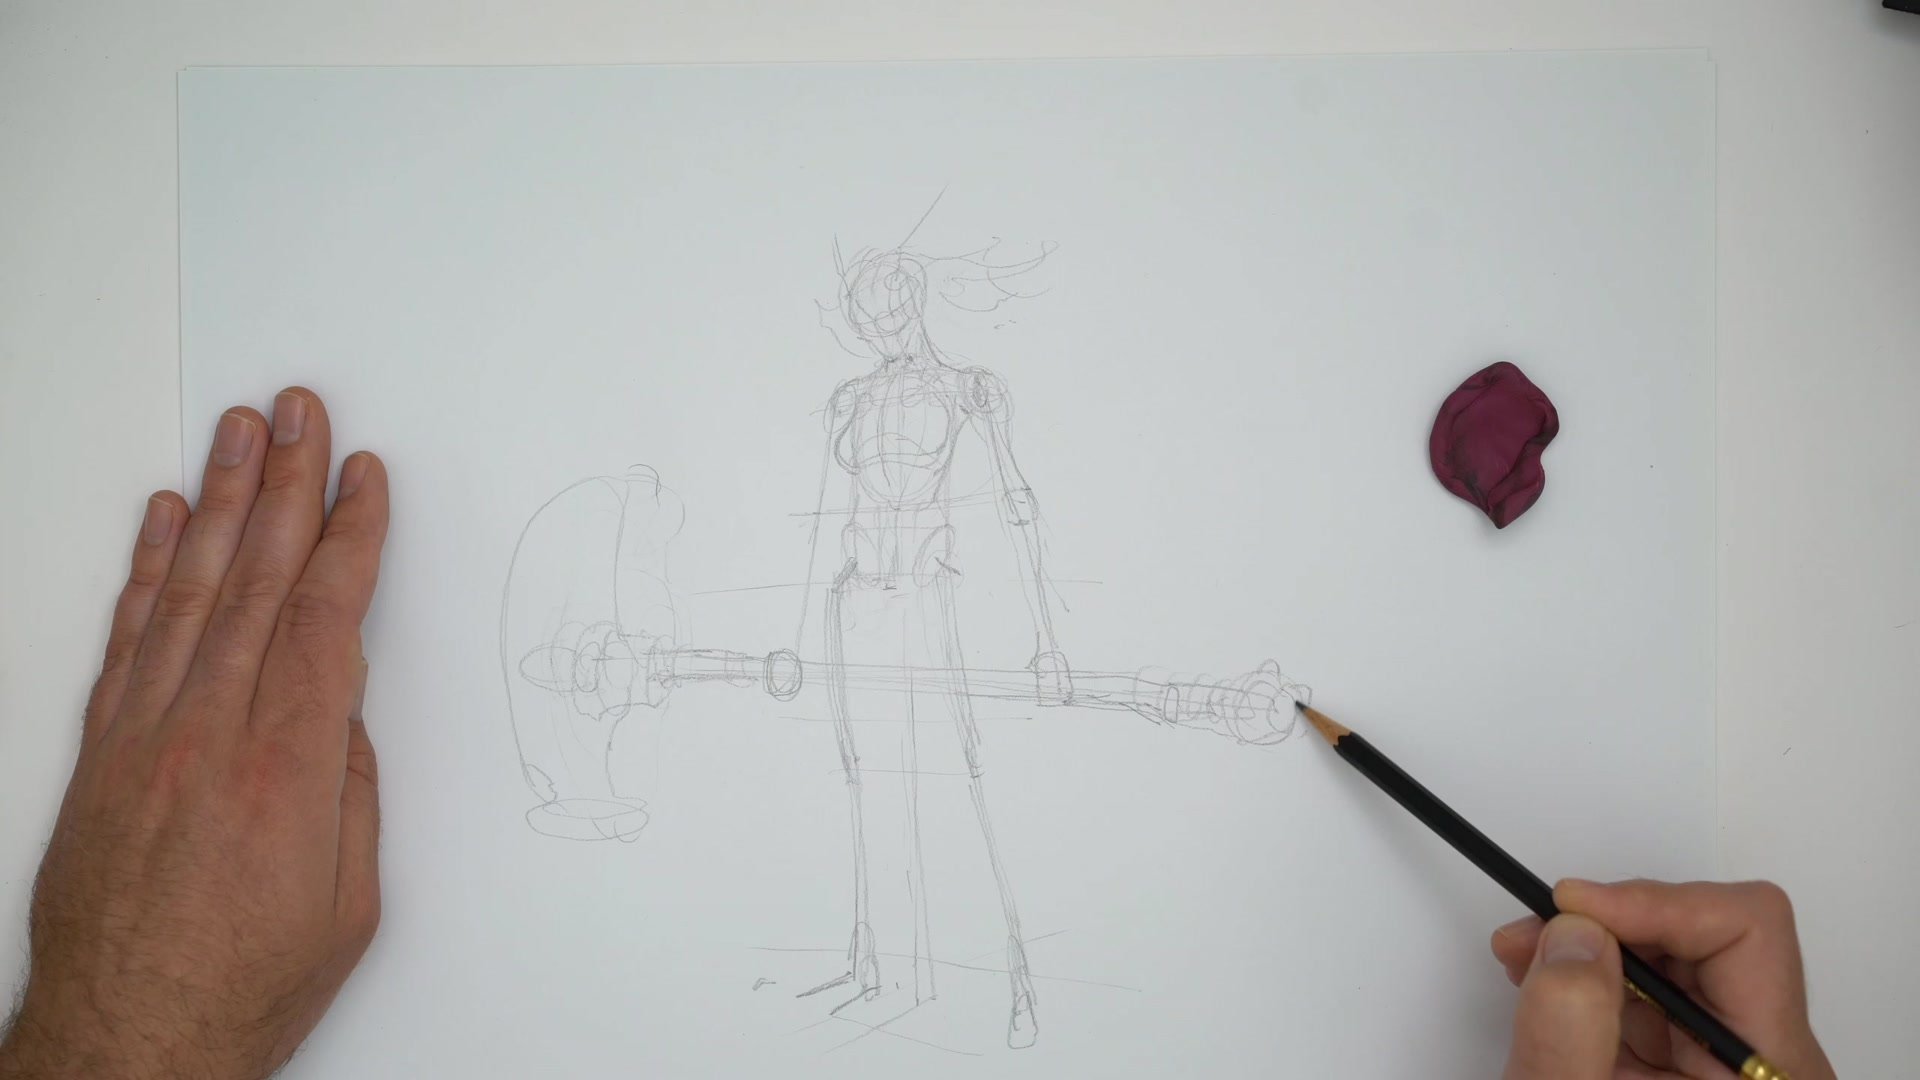
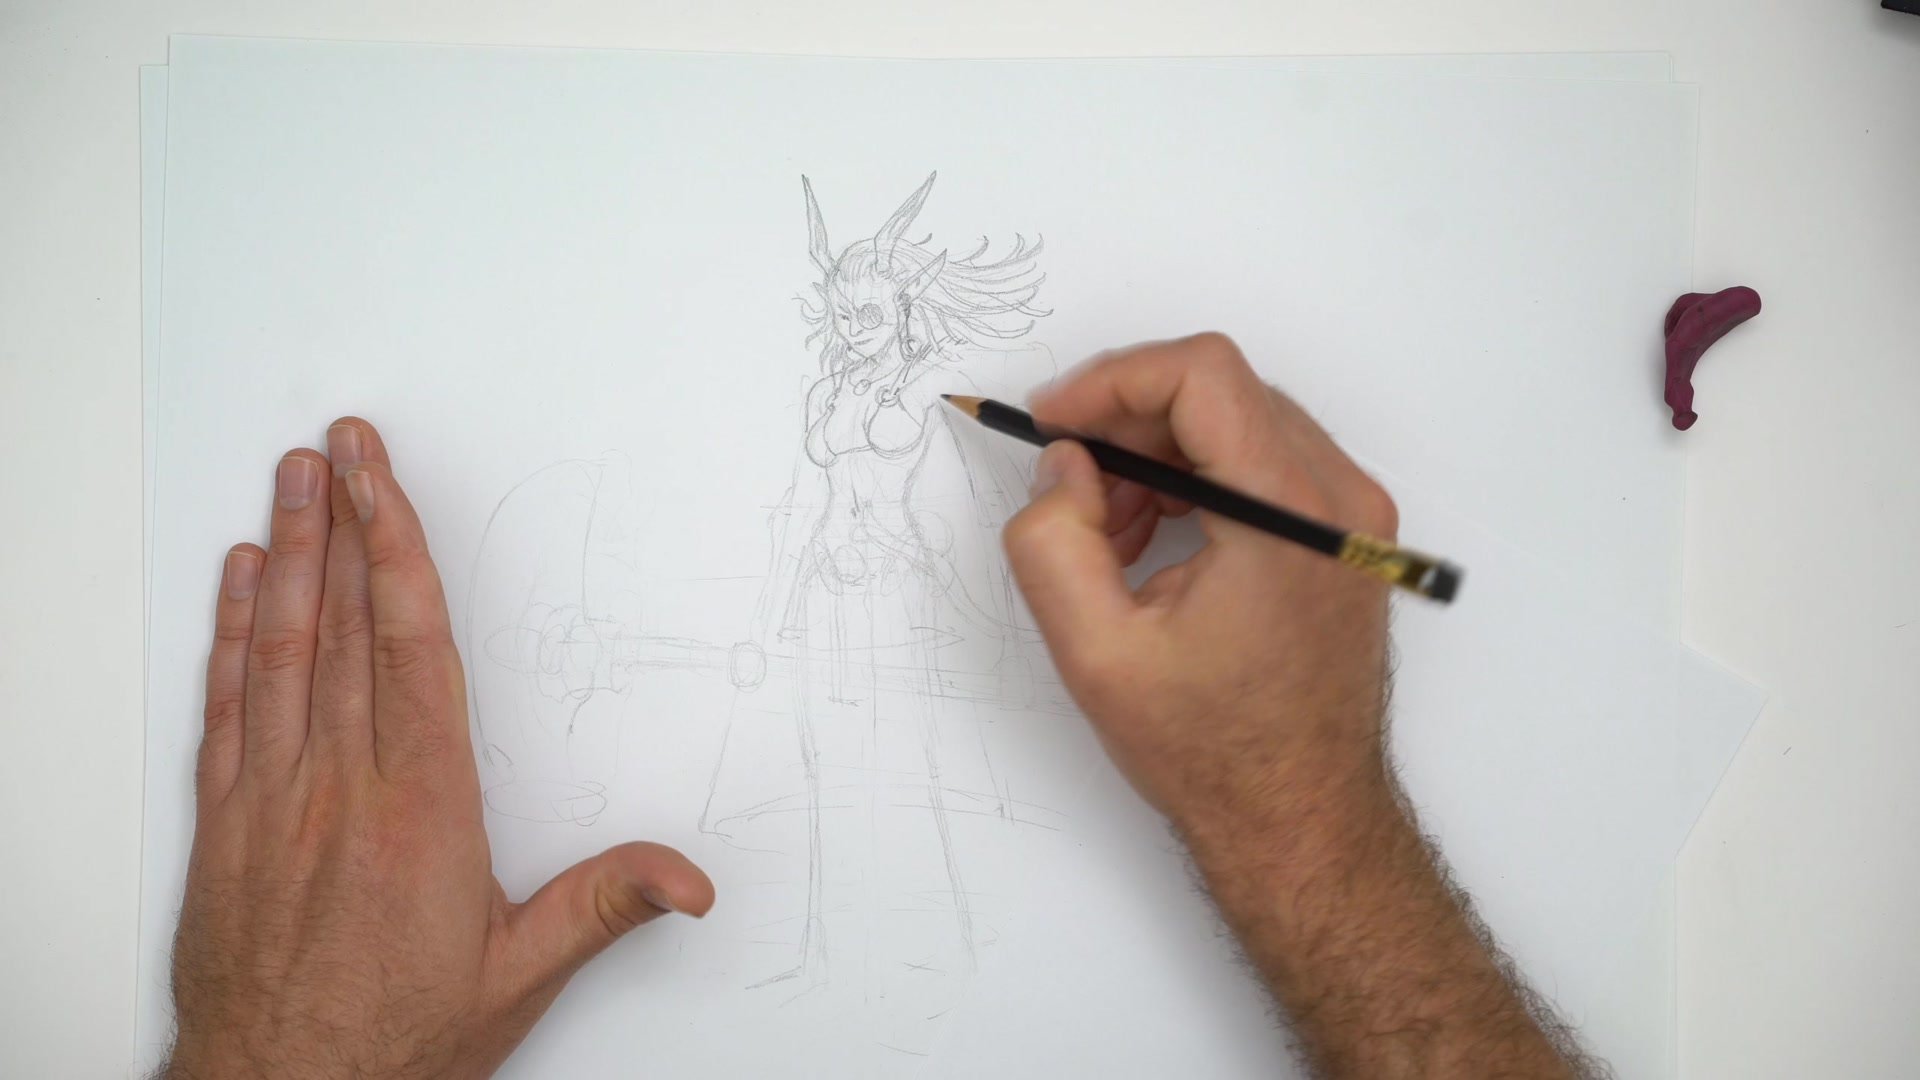
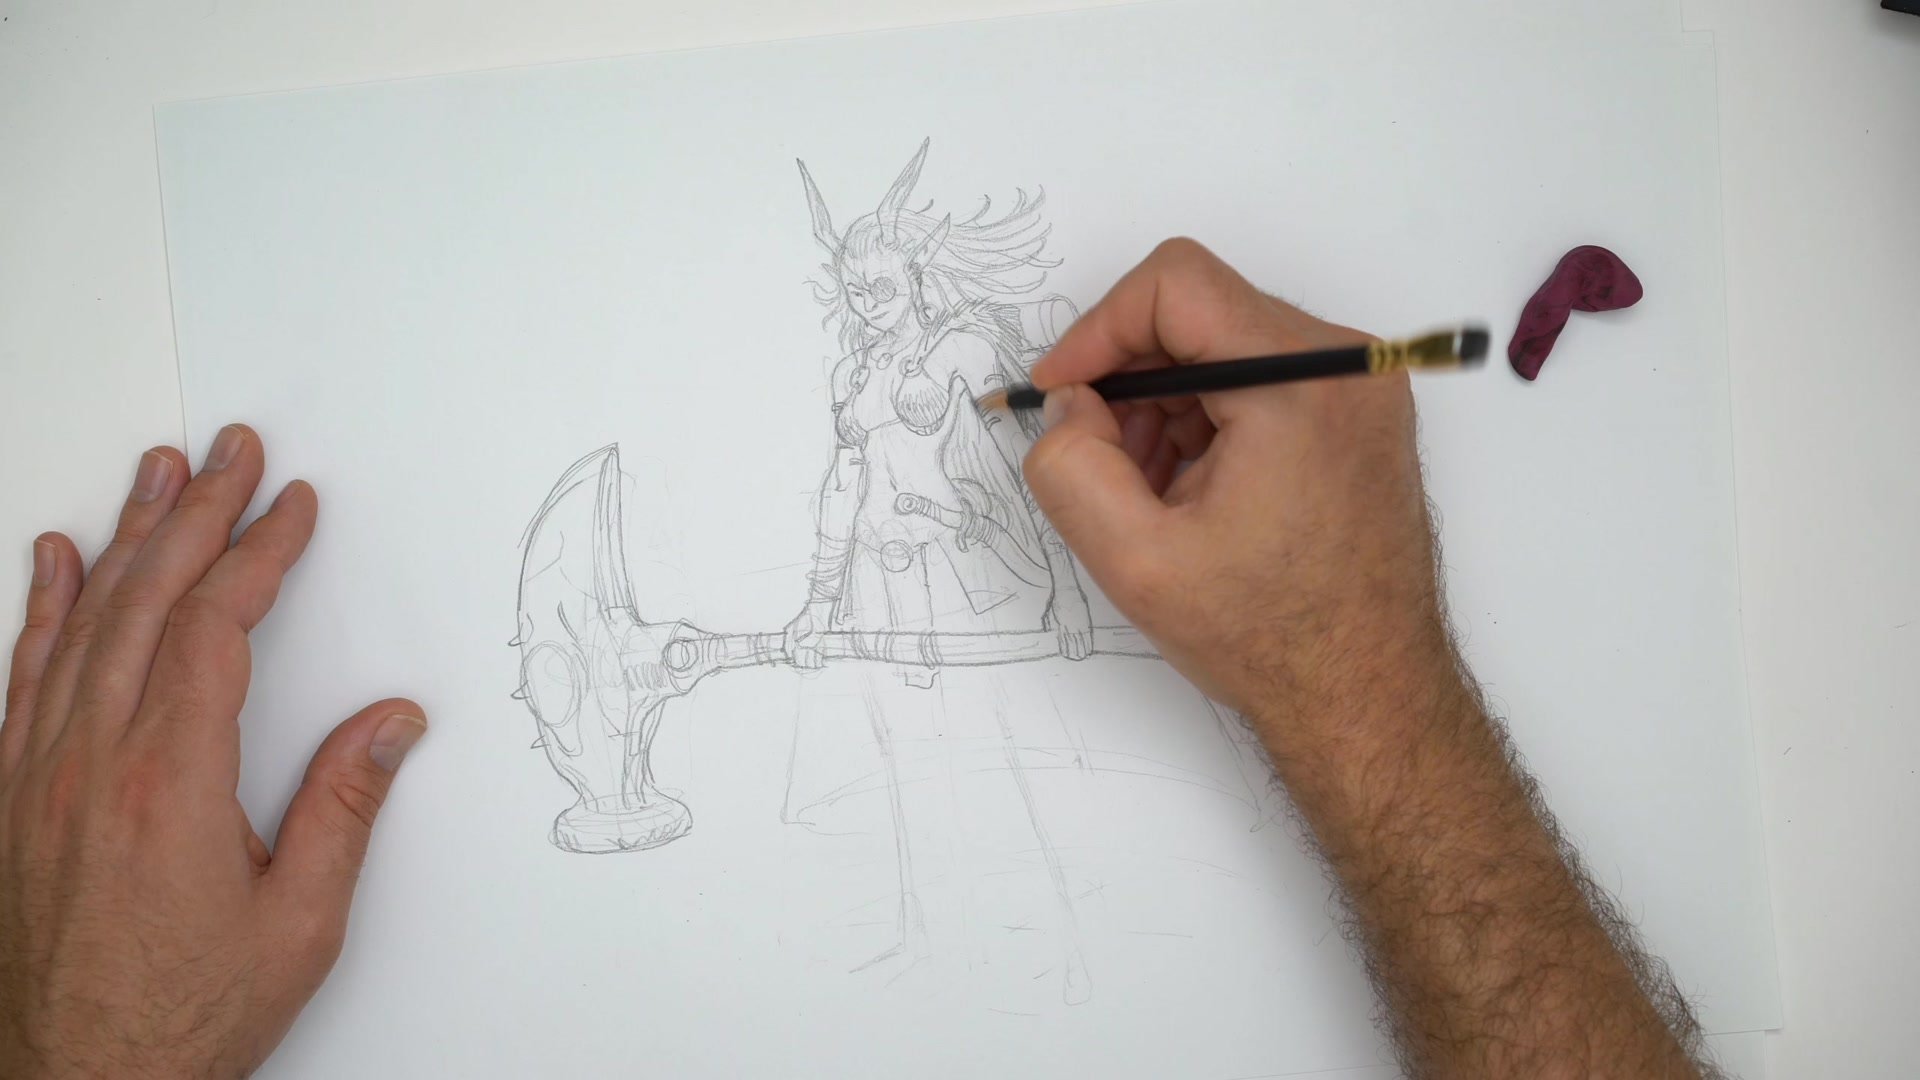
Once the warm-up is finished, the main drawing begins with a loose gesture pass. The head, rib cage, pelvis, and limbs are roughed in using basic construction. Proportions get checked early, with the center line and horizon line established to anchor the standing pose. The character starts holding an oversized hammer, and the overall silhouette begins to take shape through rough, exploratory marks.
Building the Figure
Construction and Refinement
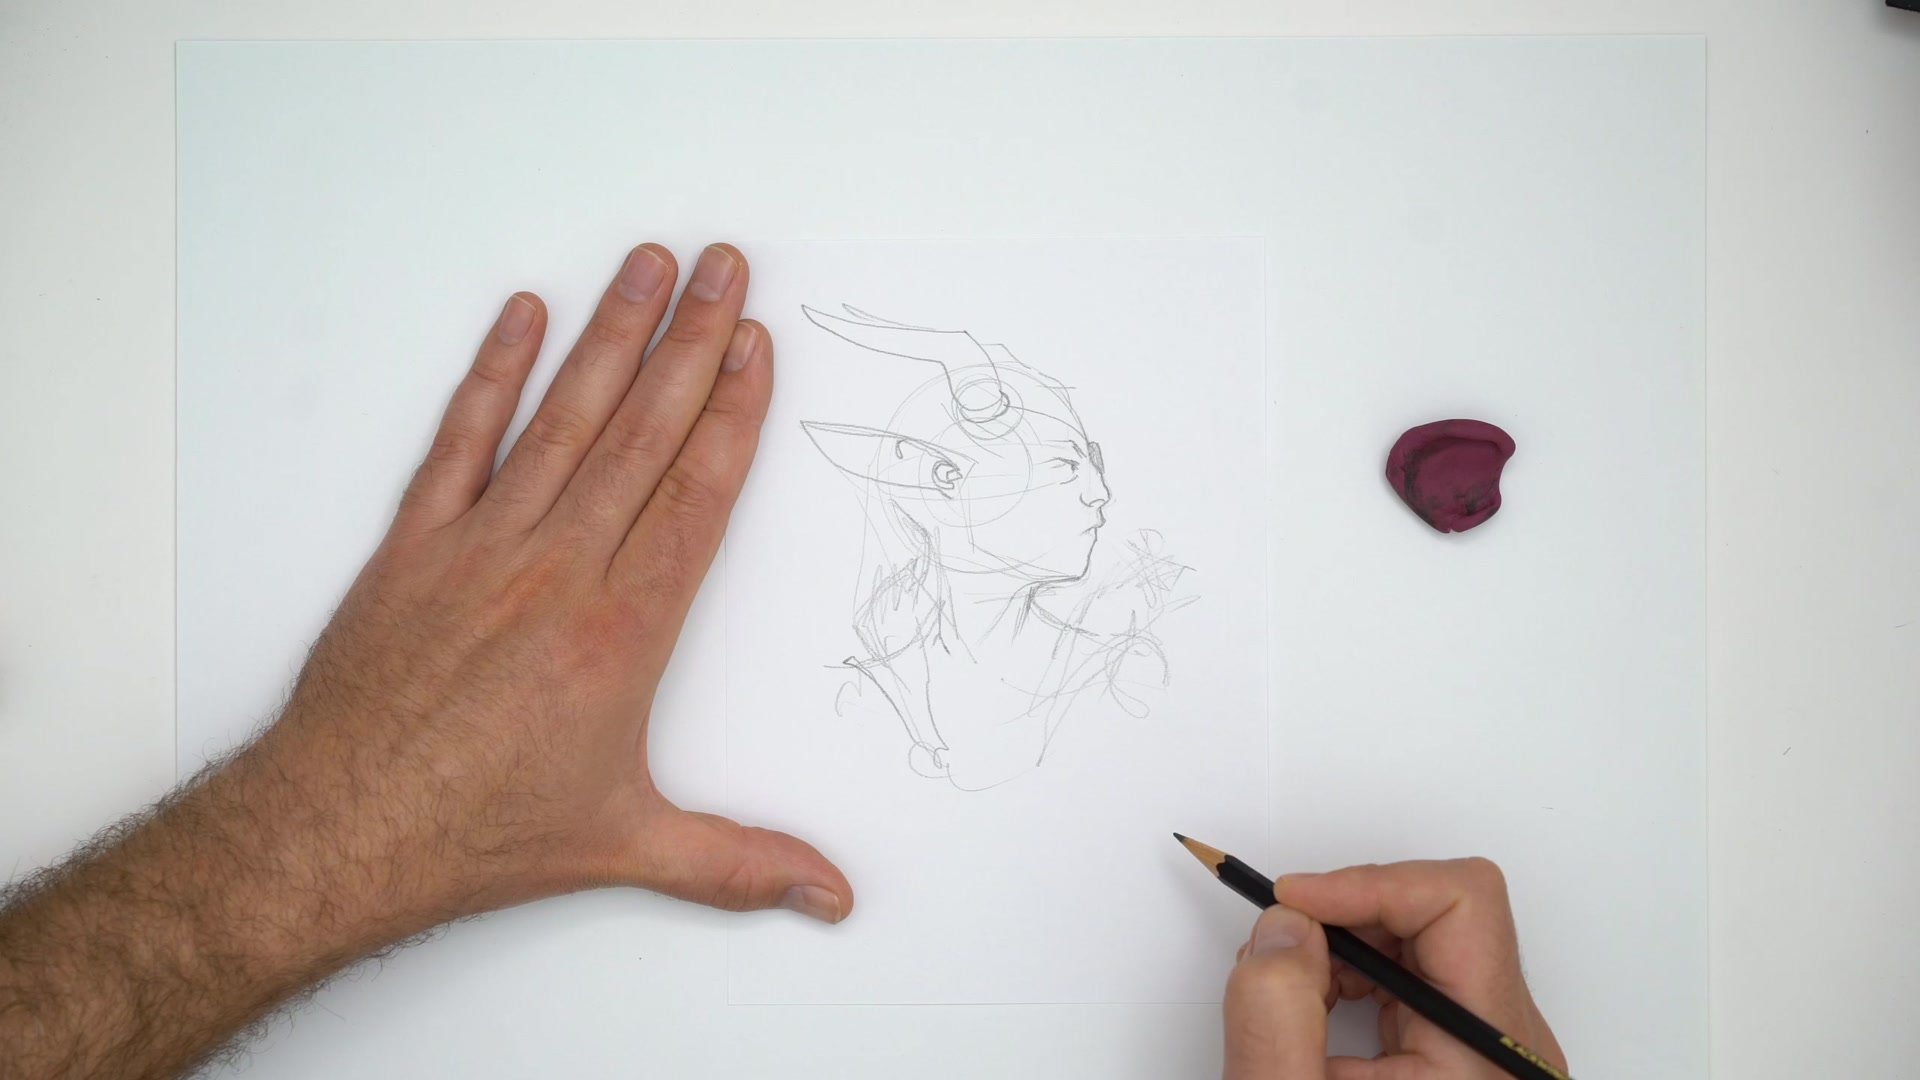
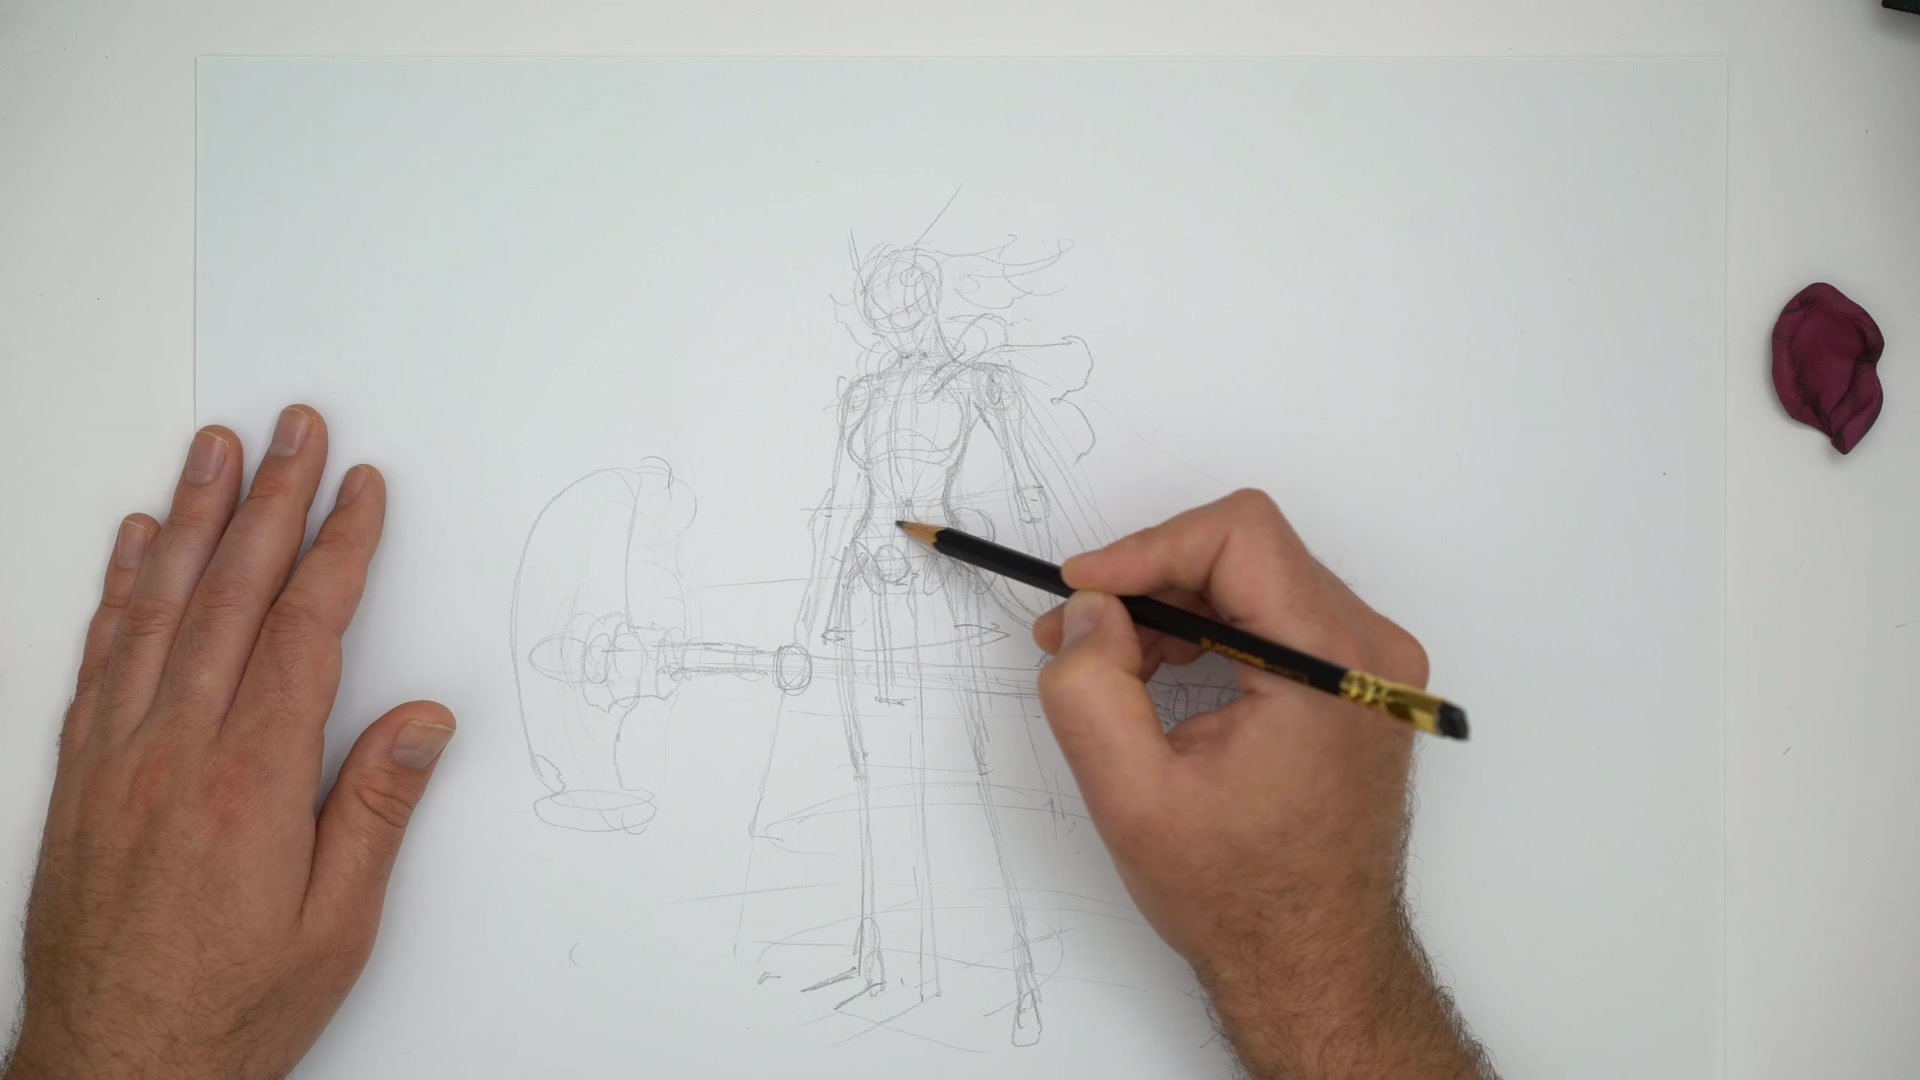
With the rough block-in established, the drawing moves into a refinement pass. A fresh sharpened Blackwing pencil replaces the worn-out one, and immediately the marks become more deliberate. The head gets rebuilt with horns, pointed ears, and flowing art nouveau-style hair. Shoulders, traps, and the upper body structure are traced over the construction lines.
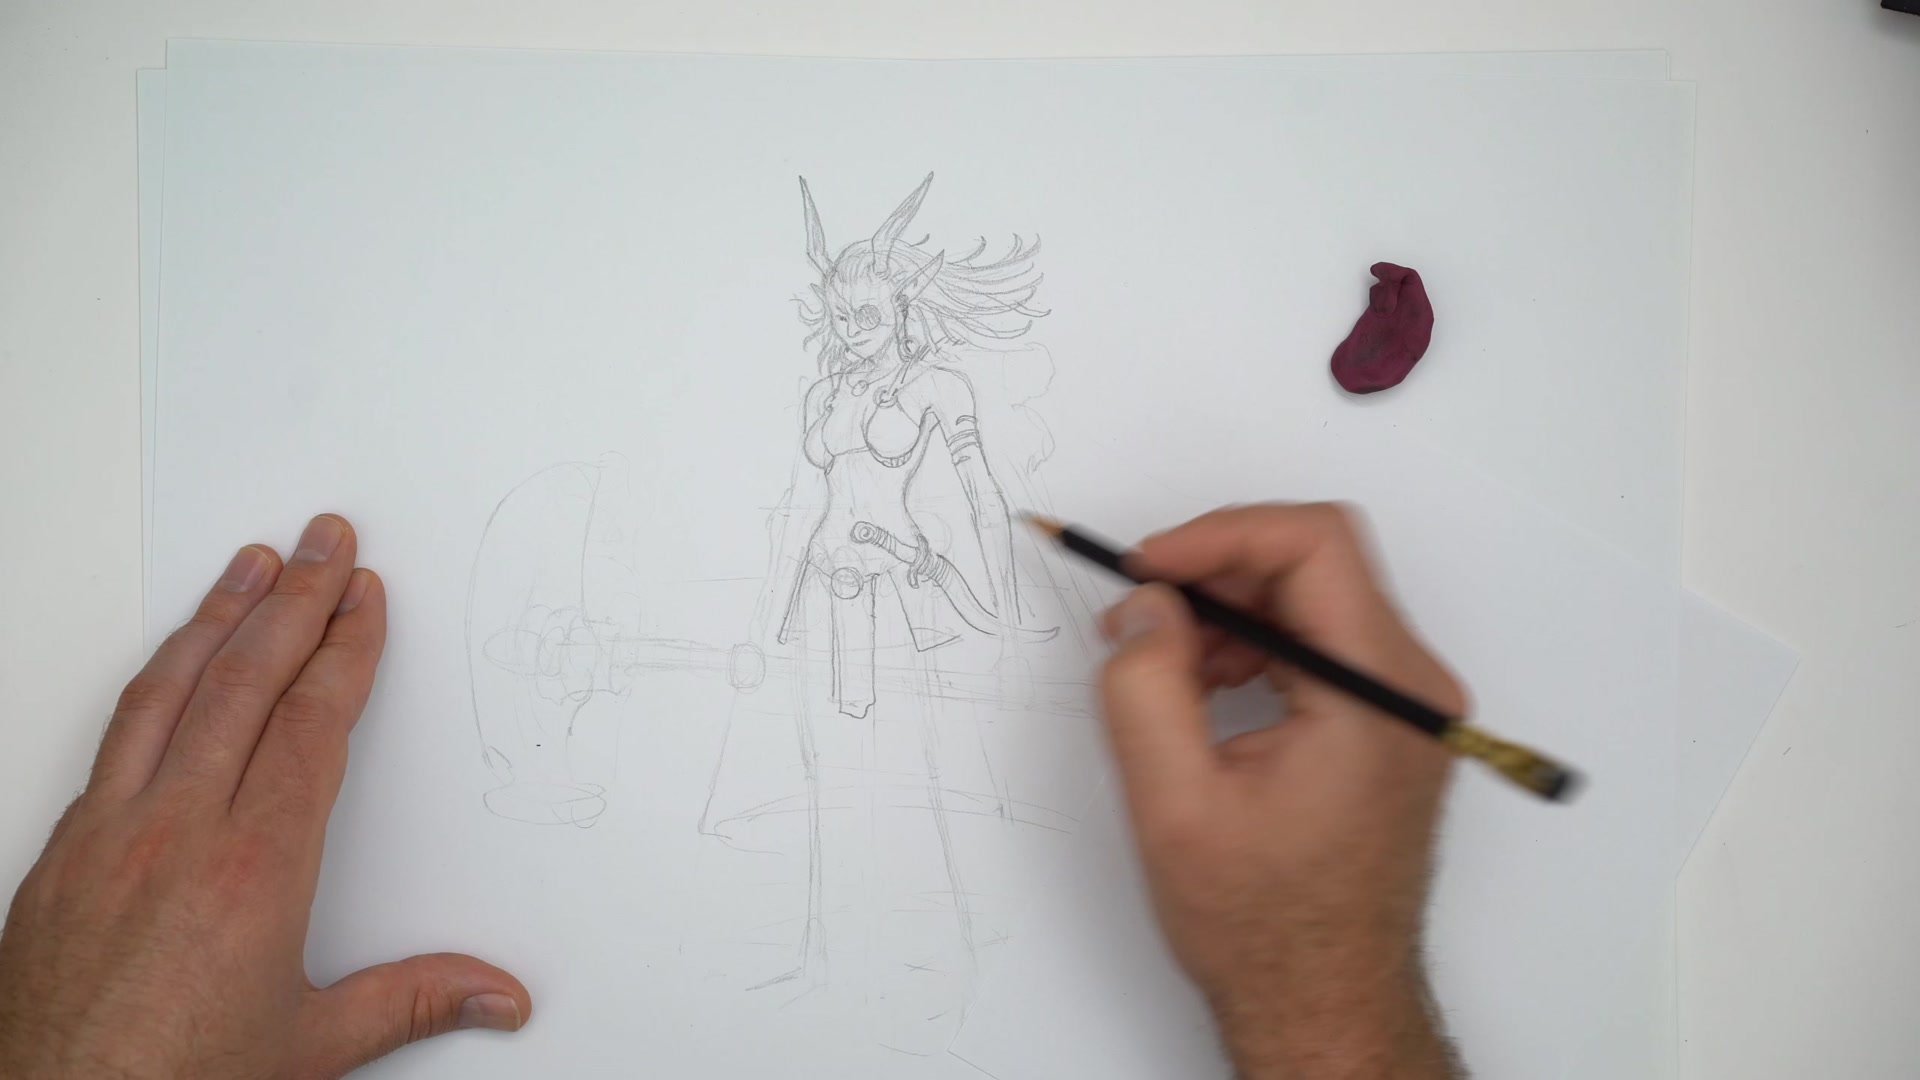
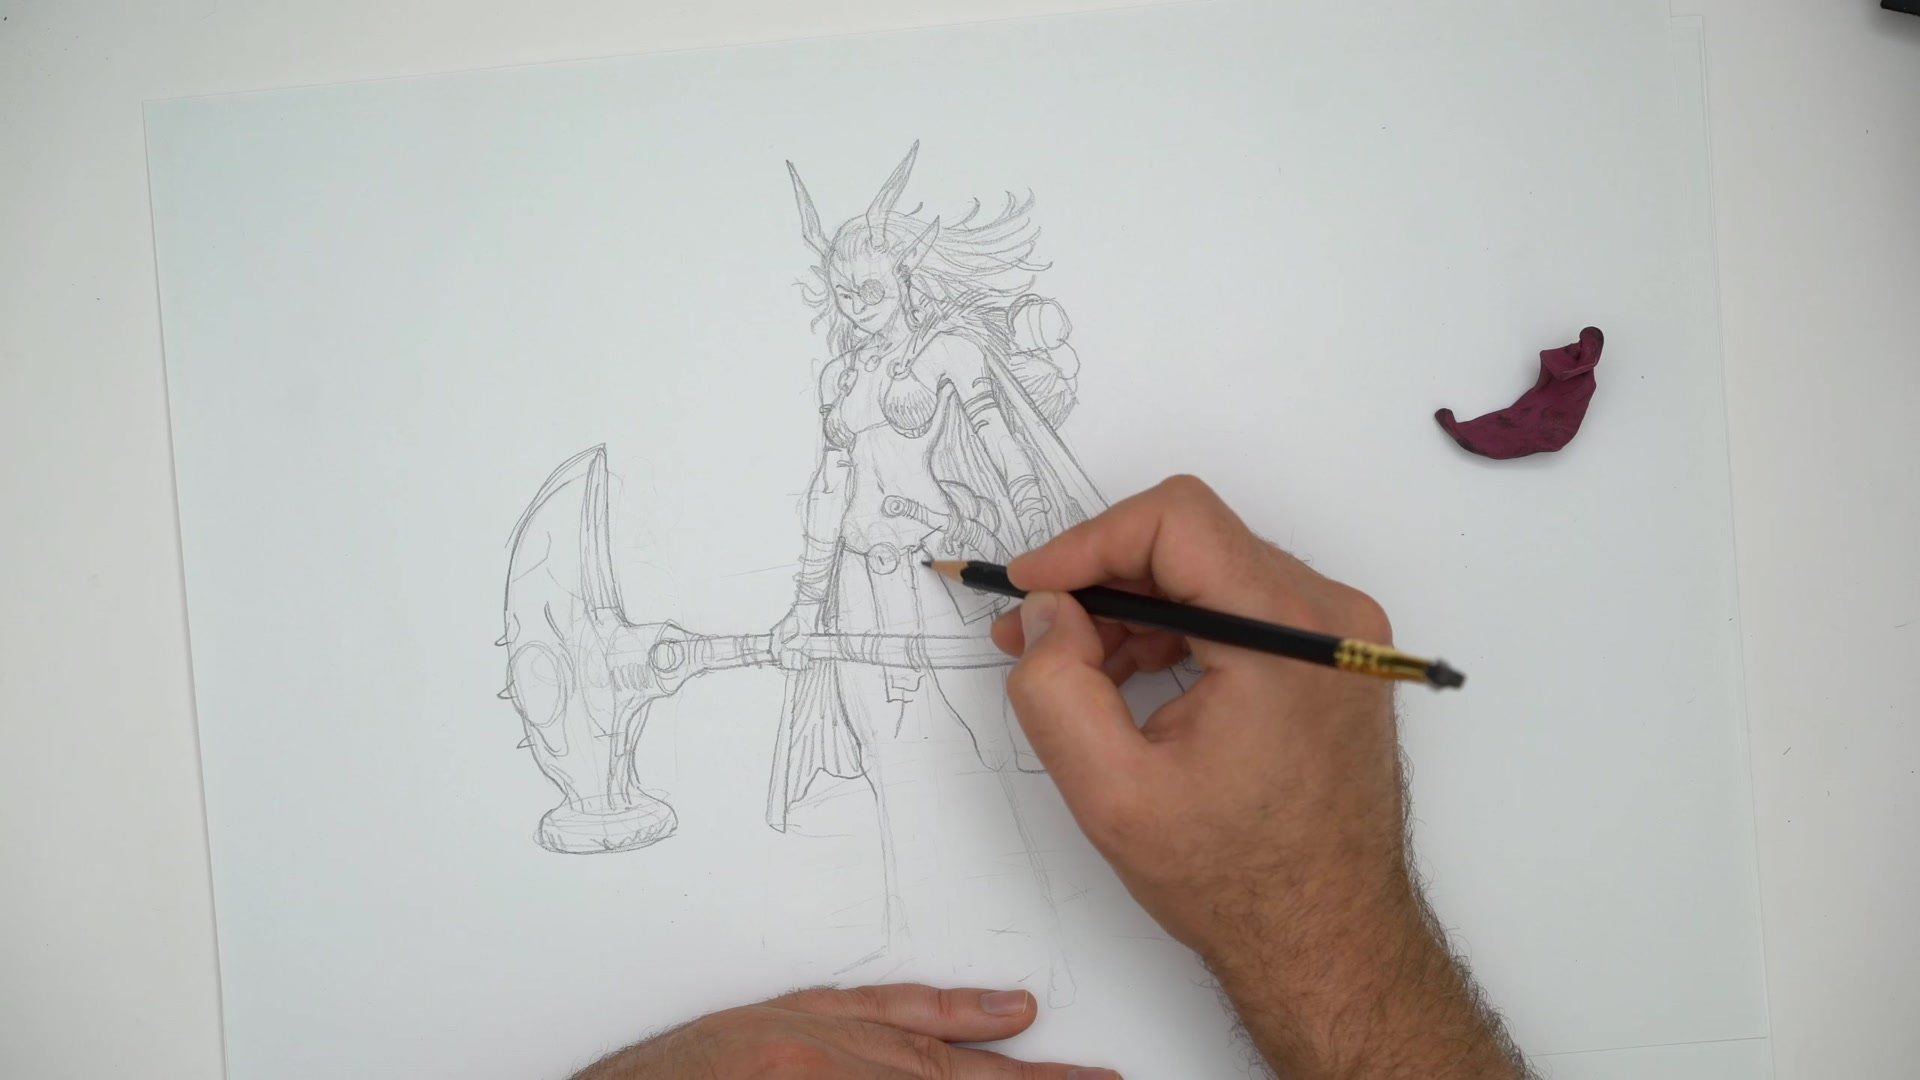
A key challenge throughout this phase is managing pencil sharpness. Wooden pencils lose their point quickly compared to the 0.5 mechanical pencil typically used for professional work, and several pauses for sharpening are needed. The hatching approach prioritizes individual line marks over heavy shading, creating a line quality that keeps the sketch feeling energetic rather than overworked.
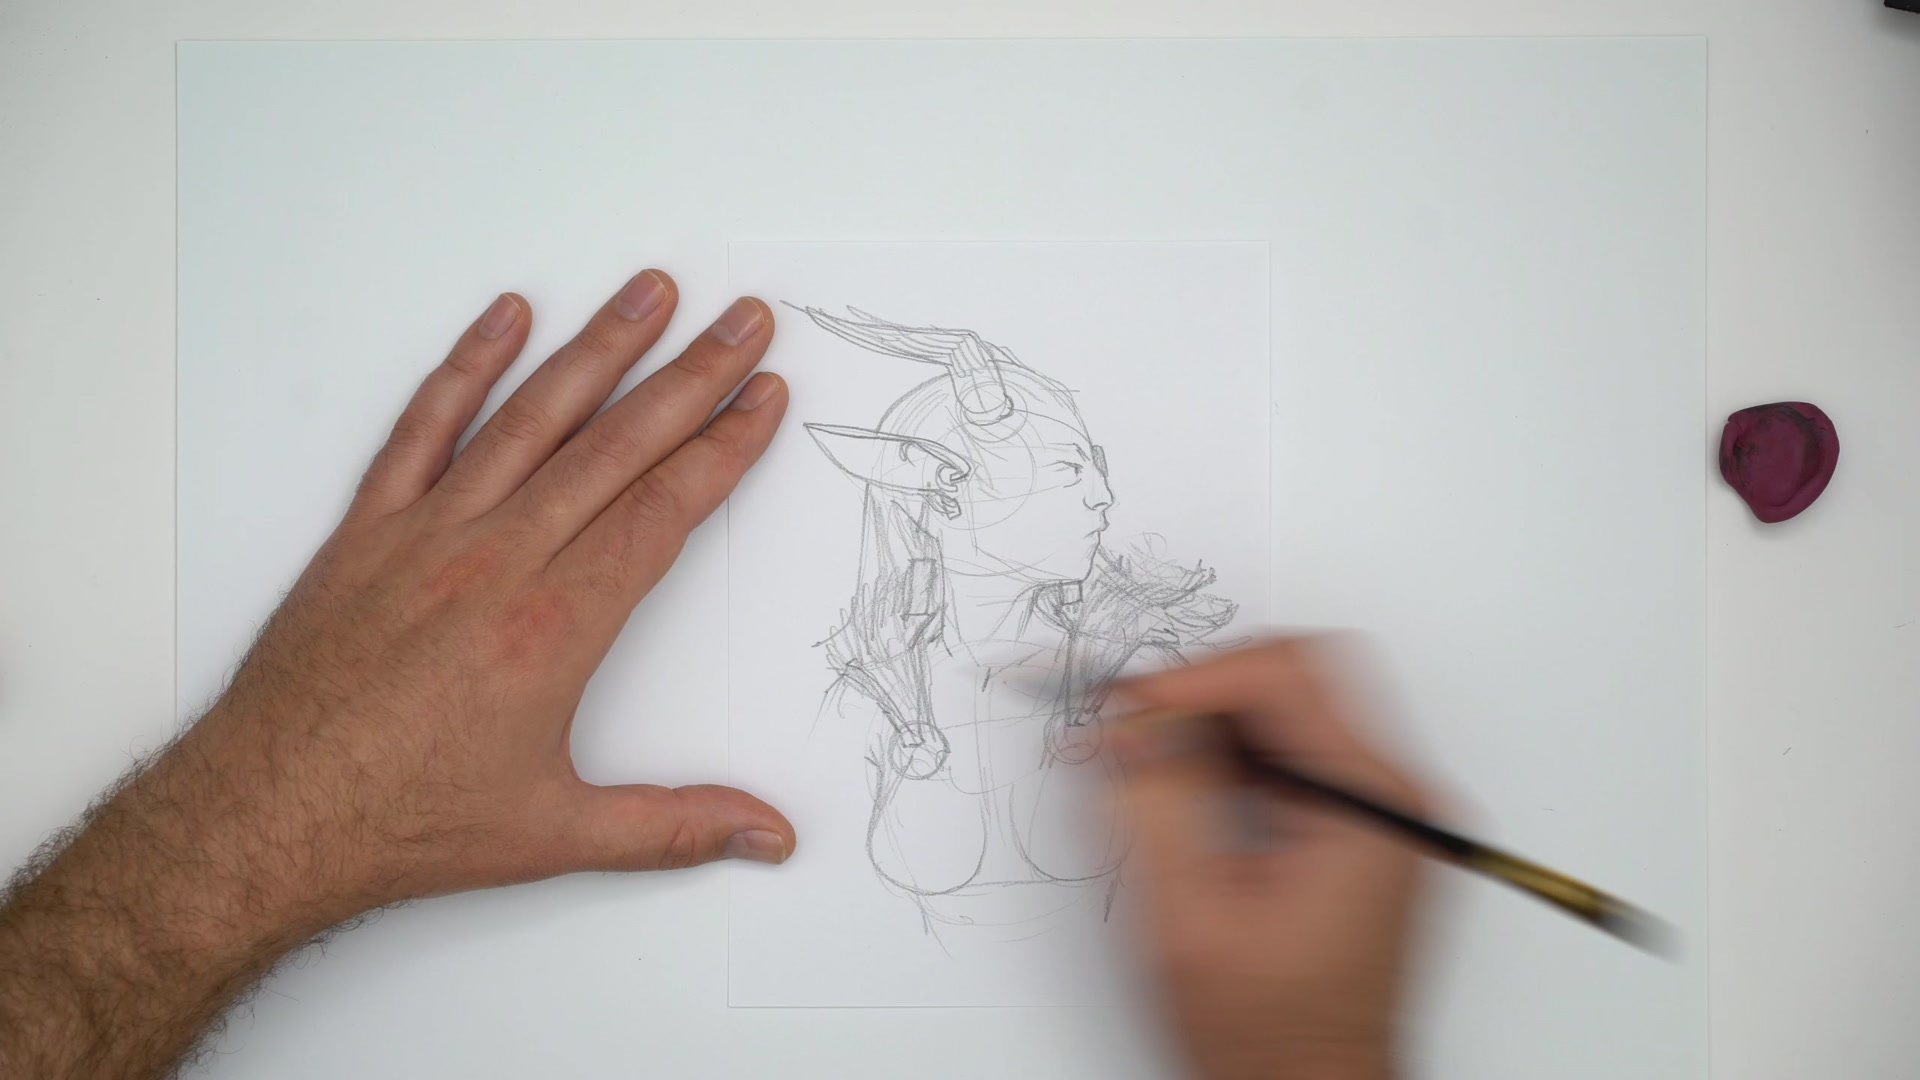
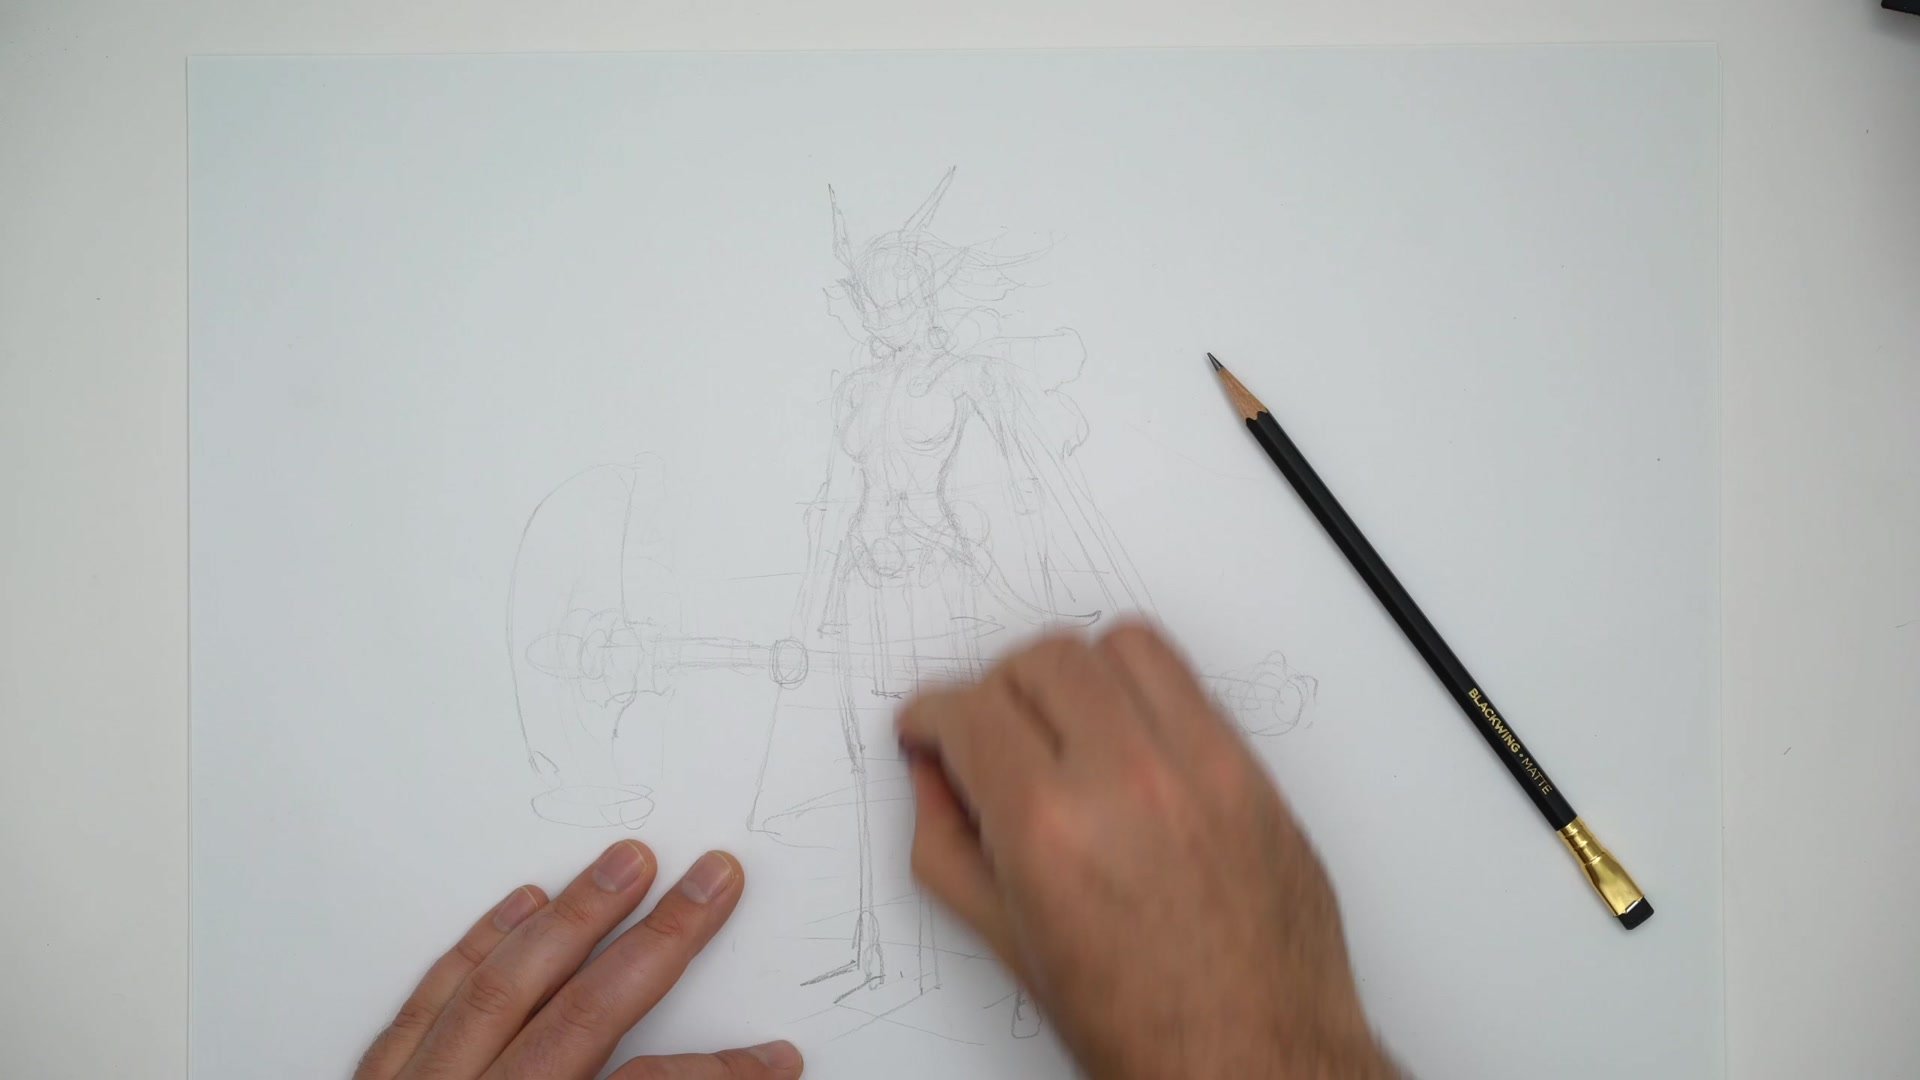
Details and Props
Props, Costume, and Finishing
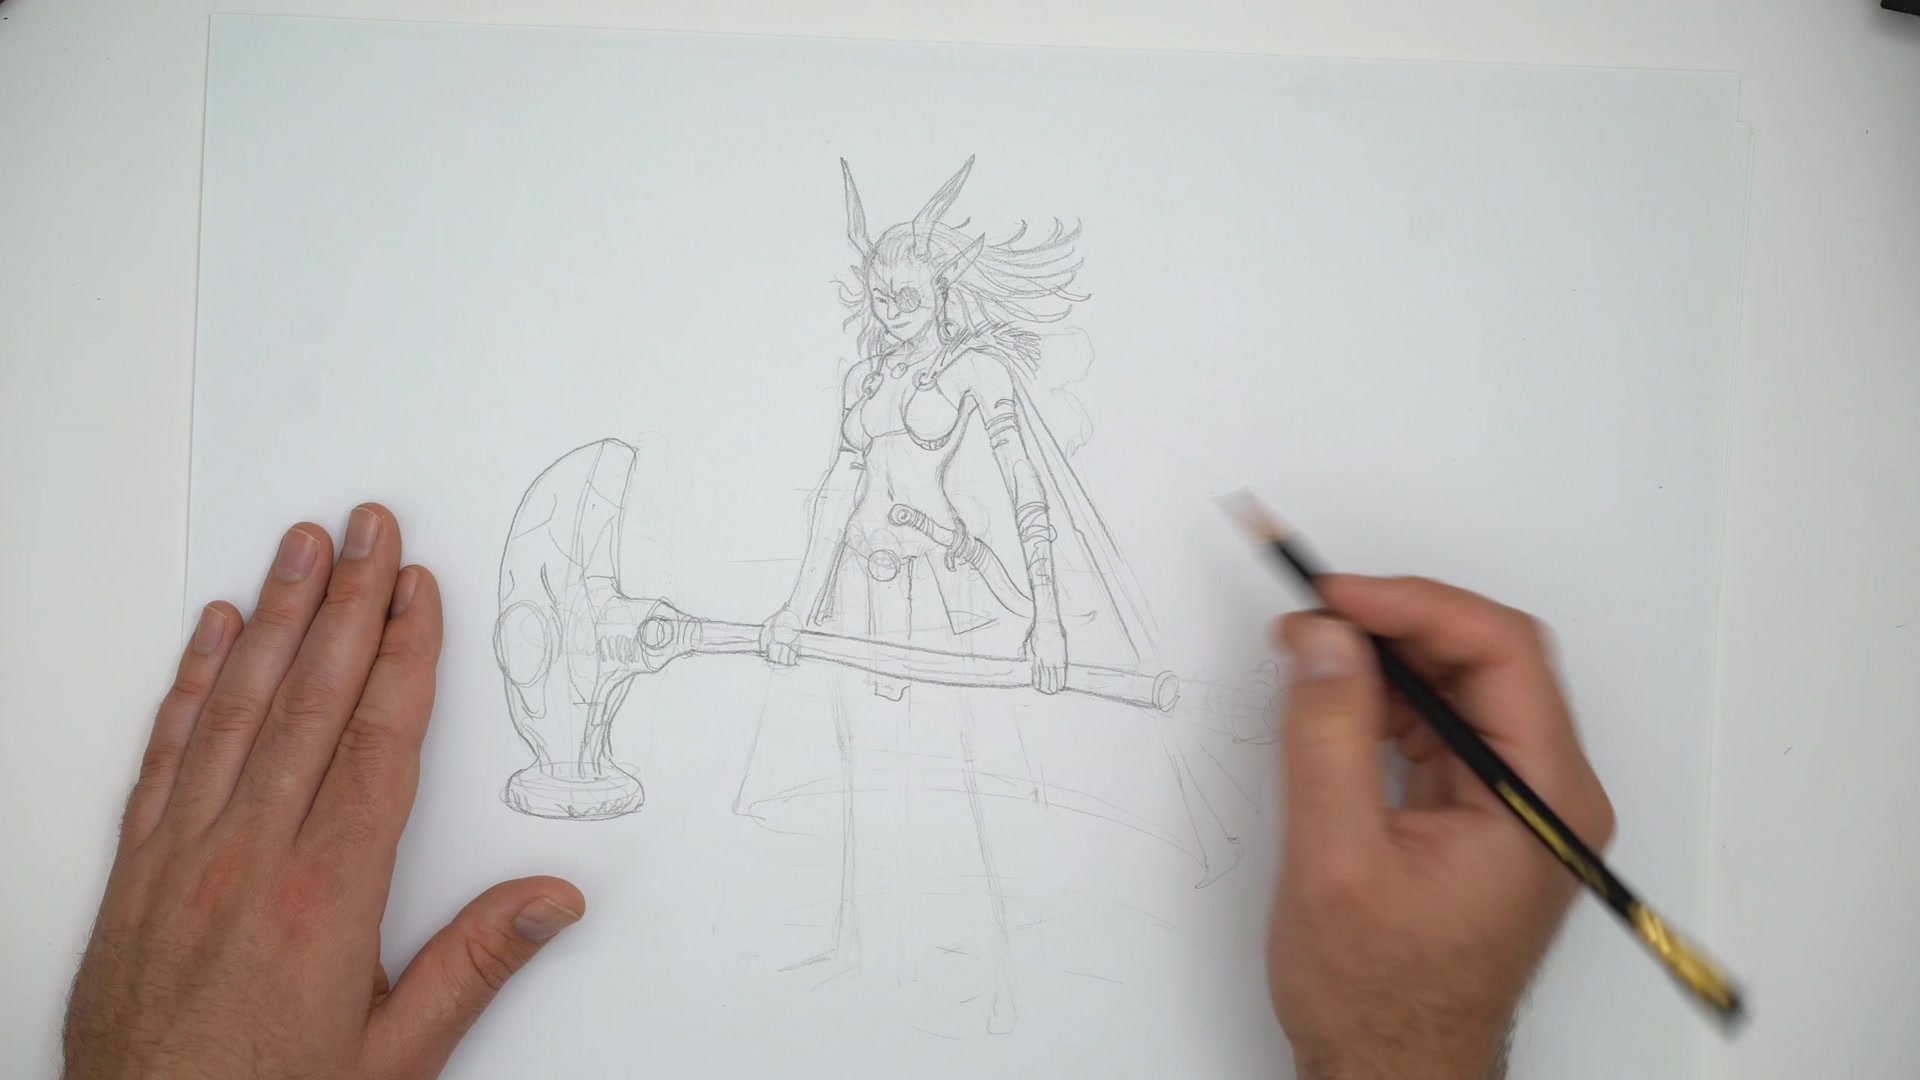
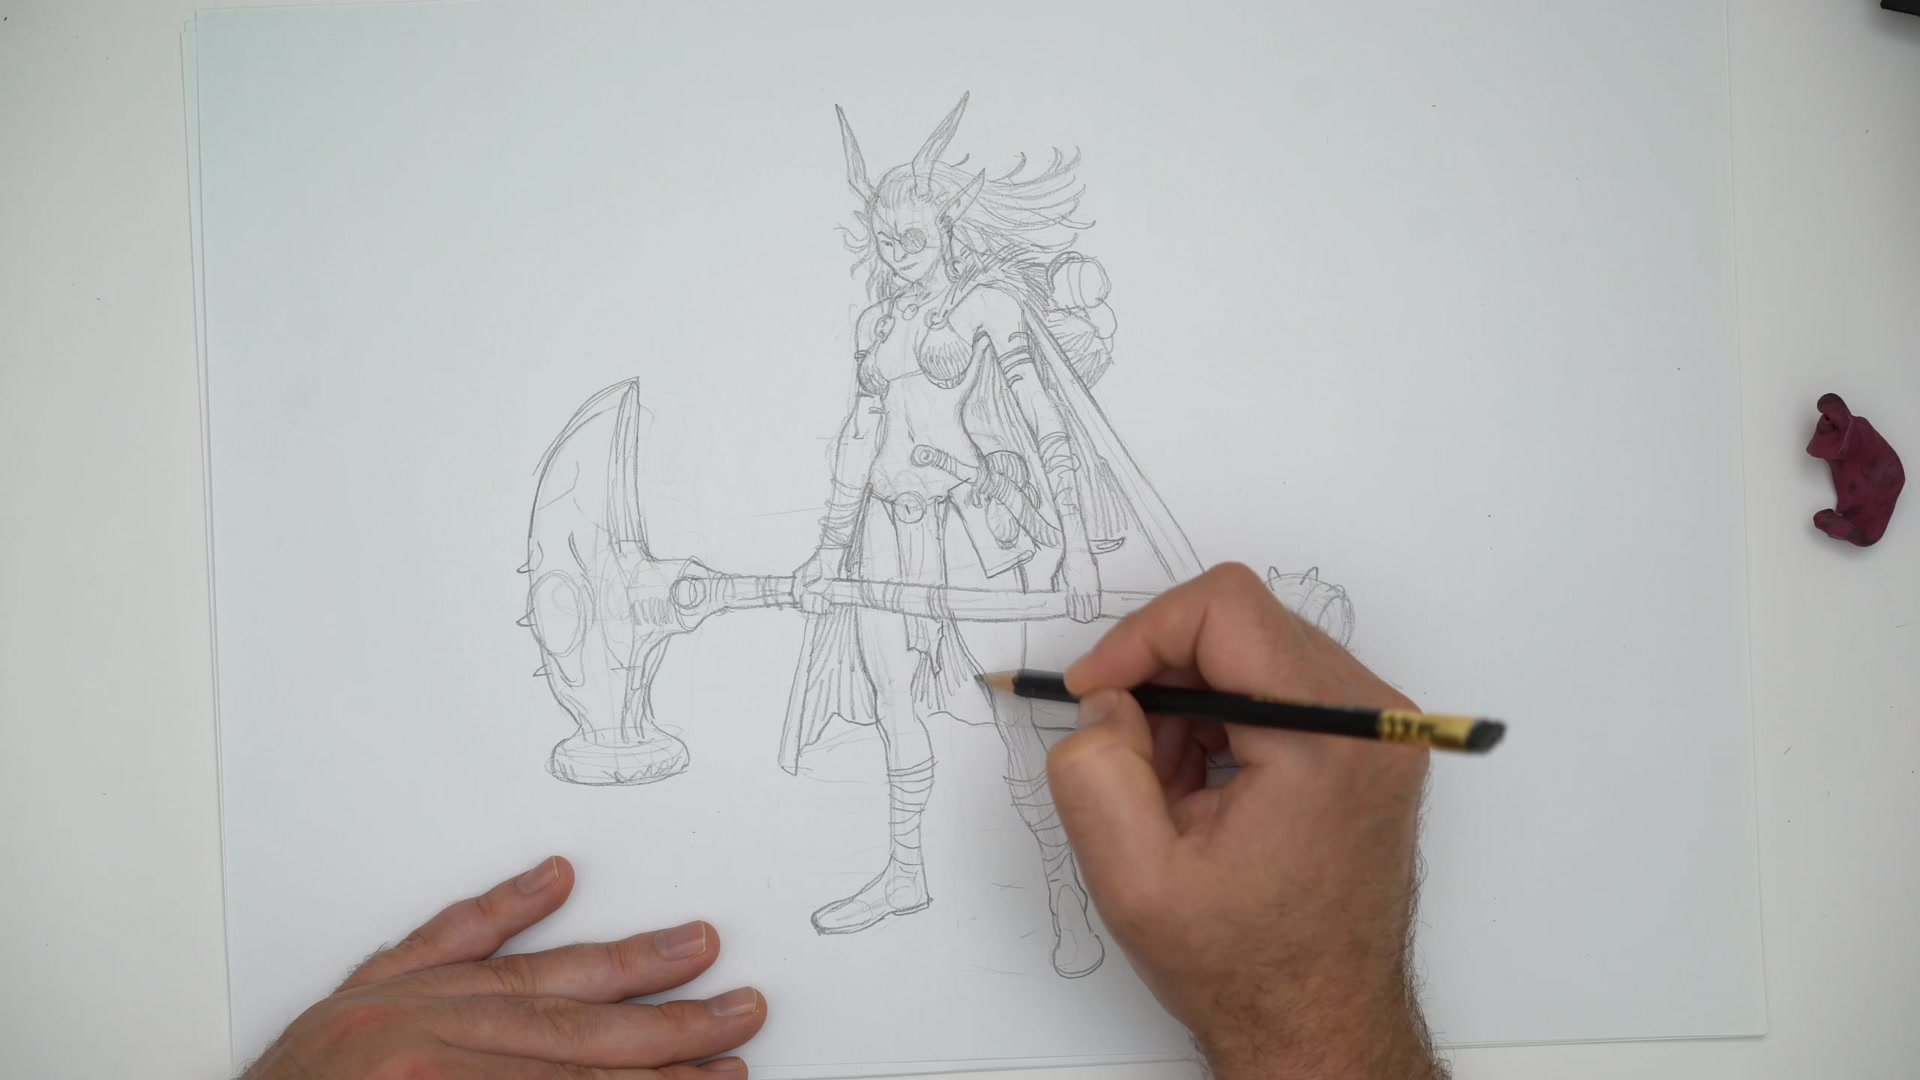
The hammer design evolves throughout the session. The intent is for it to feel implausibly large, like something meant for a giant rather than the character holding it. A counterweight gets added to the opposite end to make it feel more designed. The curved sword, cape, and various fantasy costume elements like strapped leather boots and a belt all receive their own refinement passes.
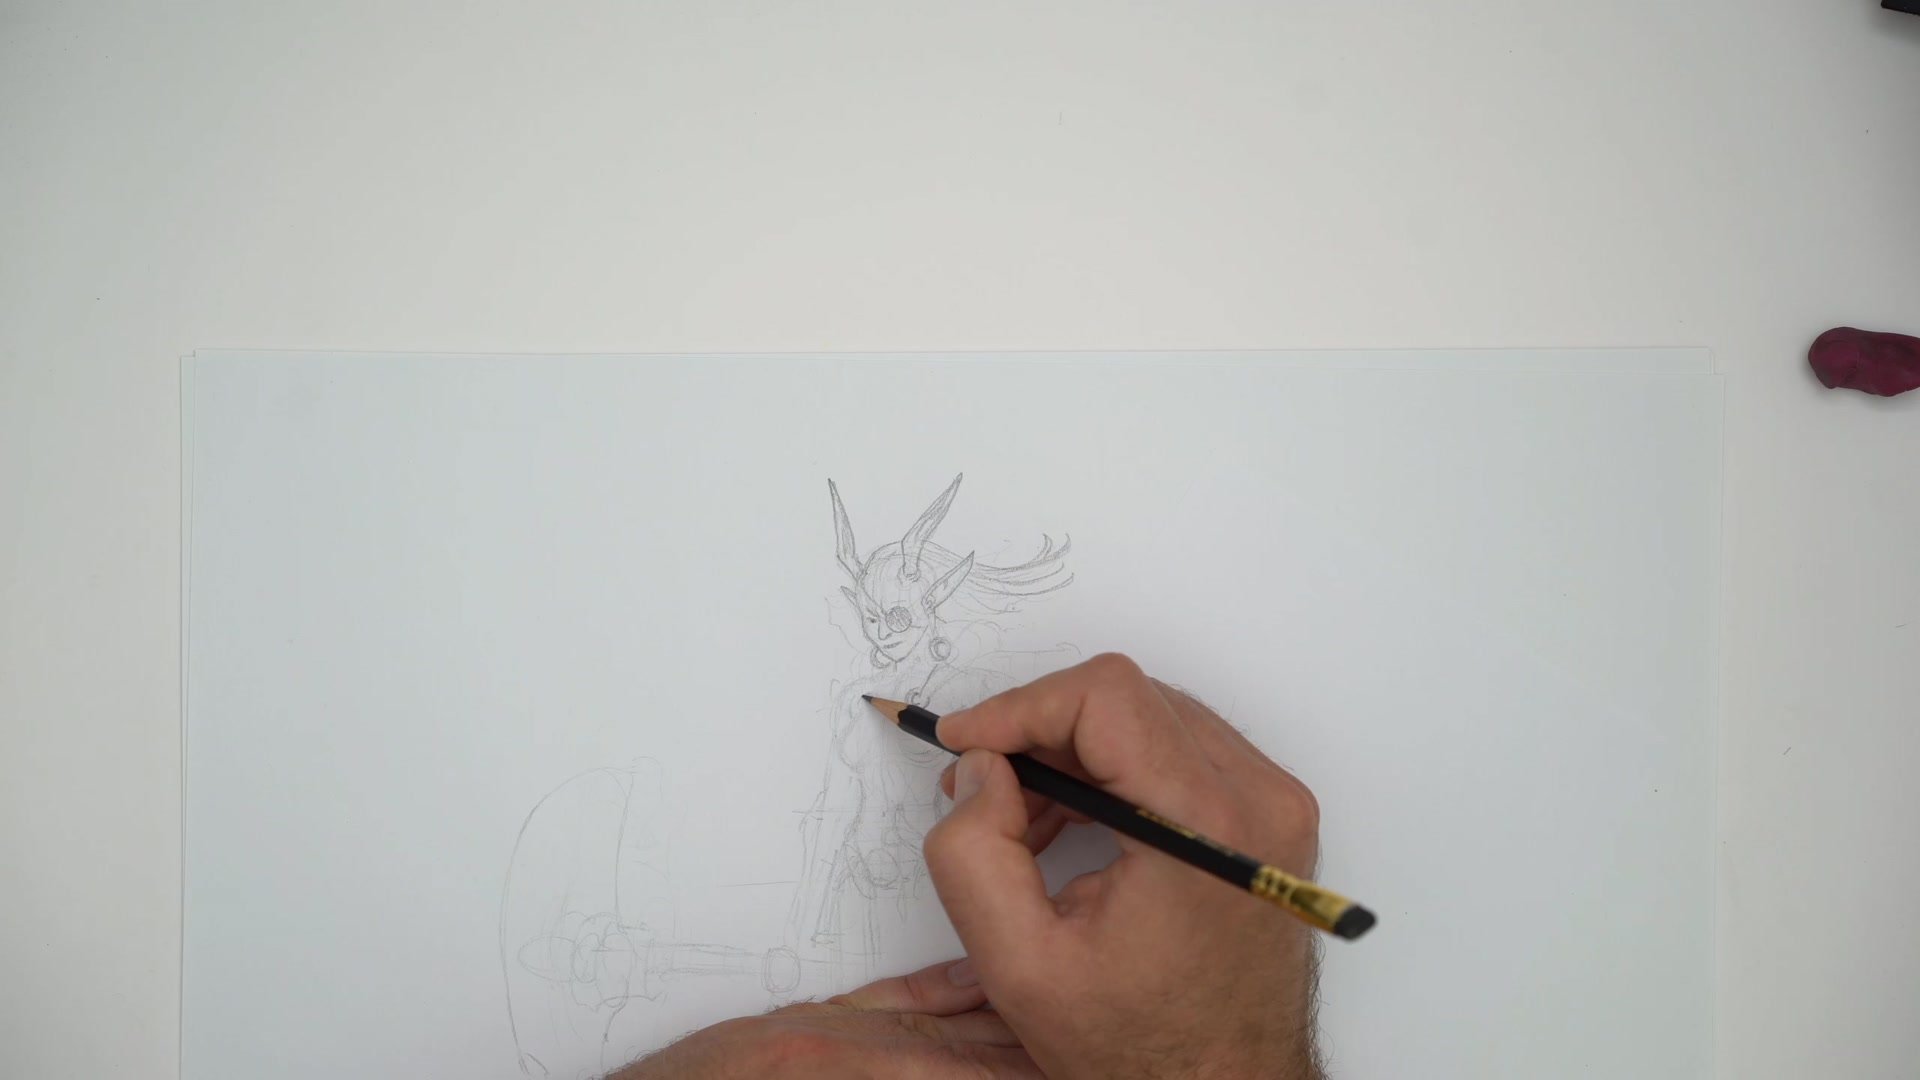
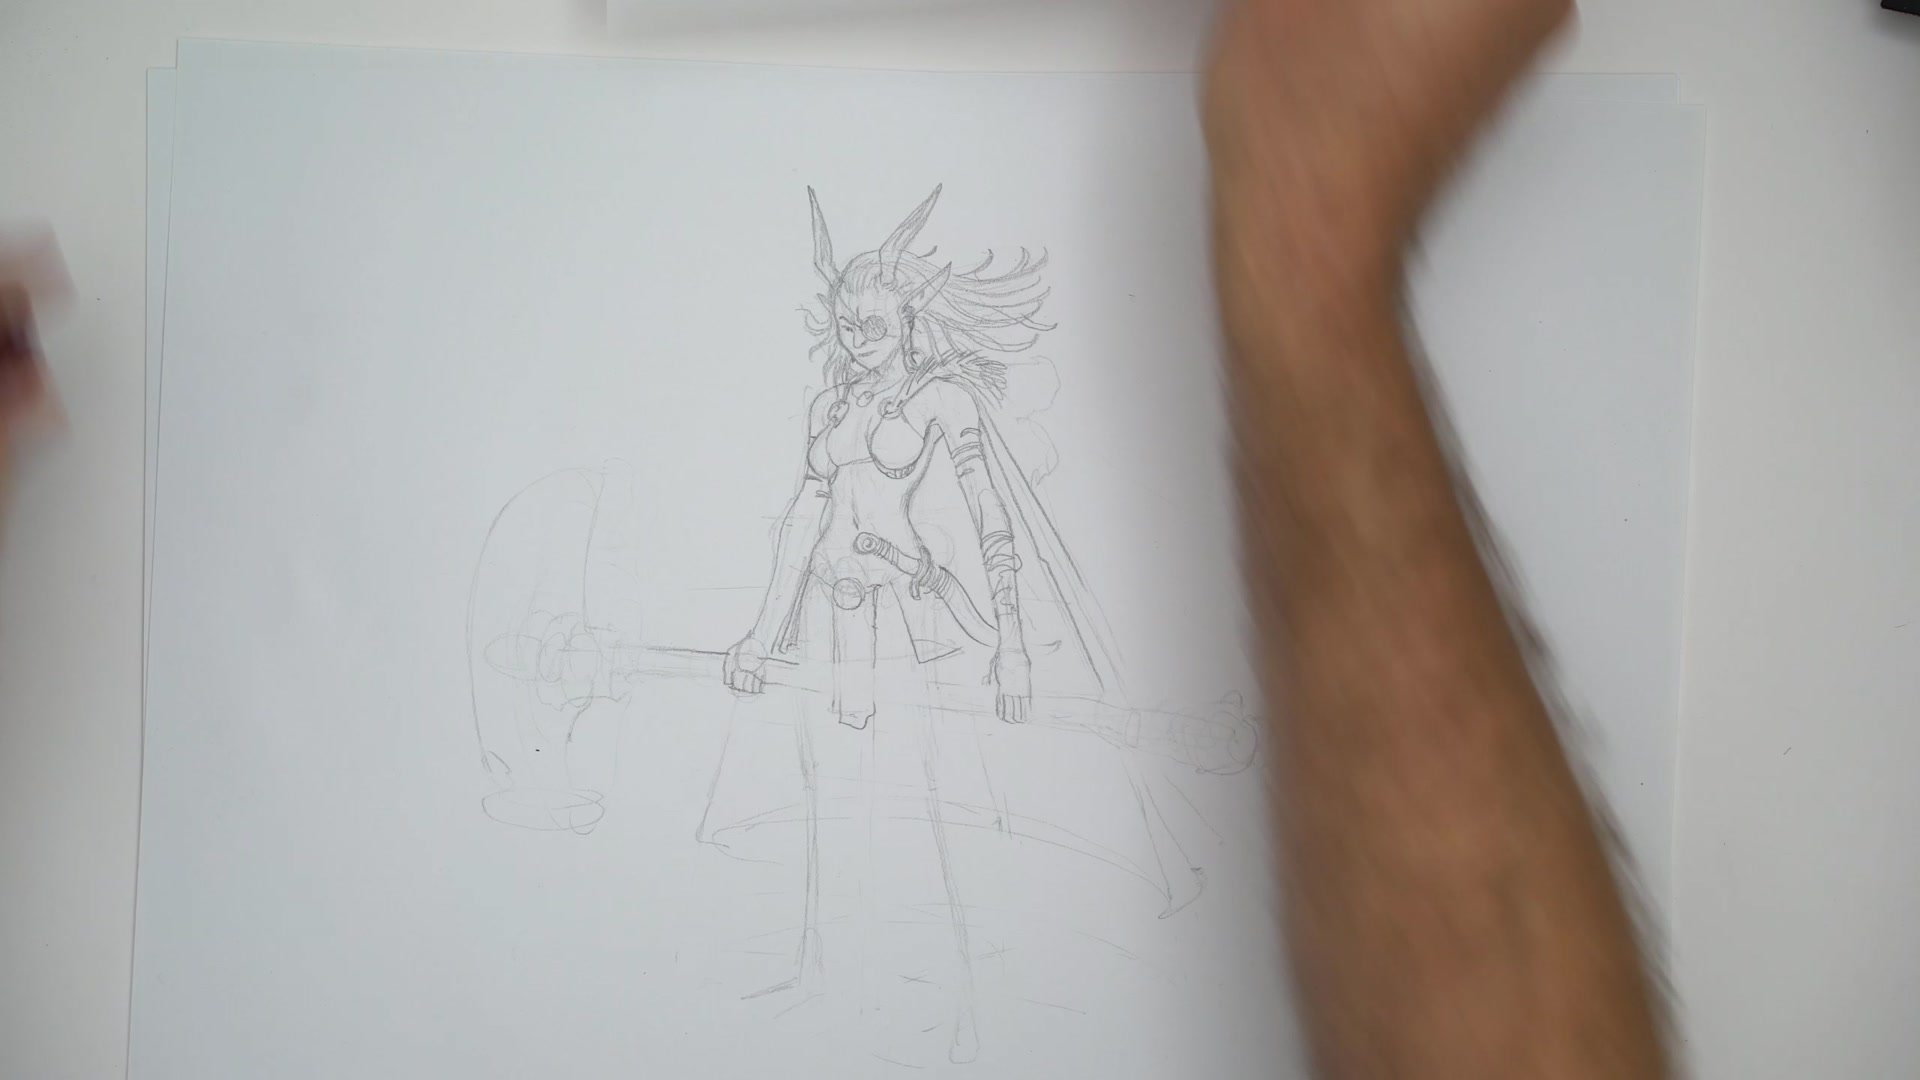
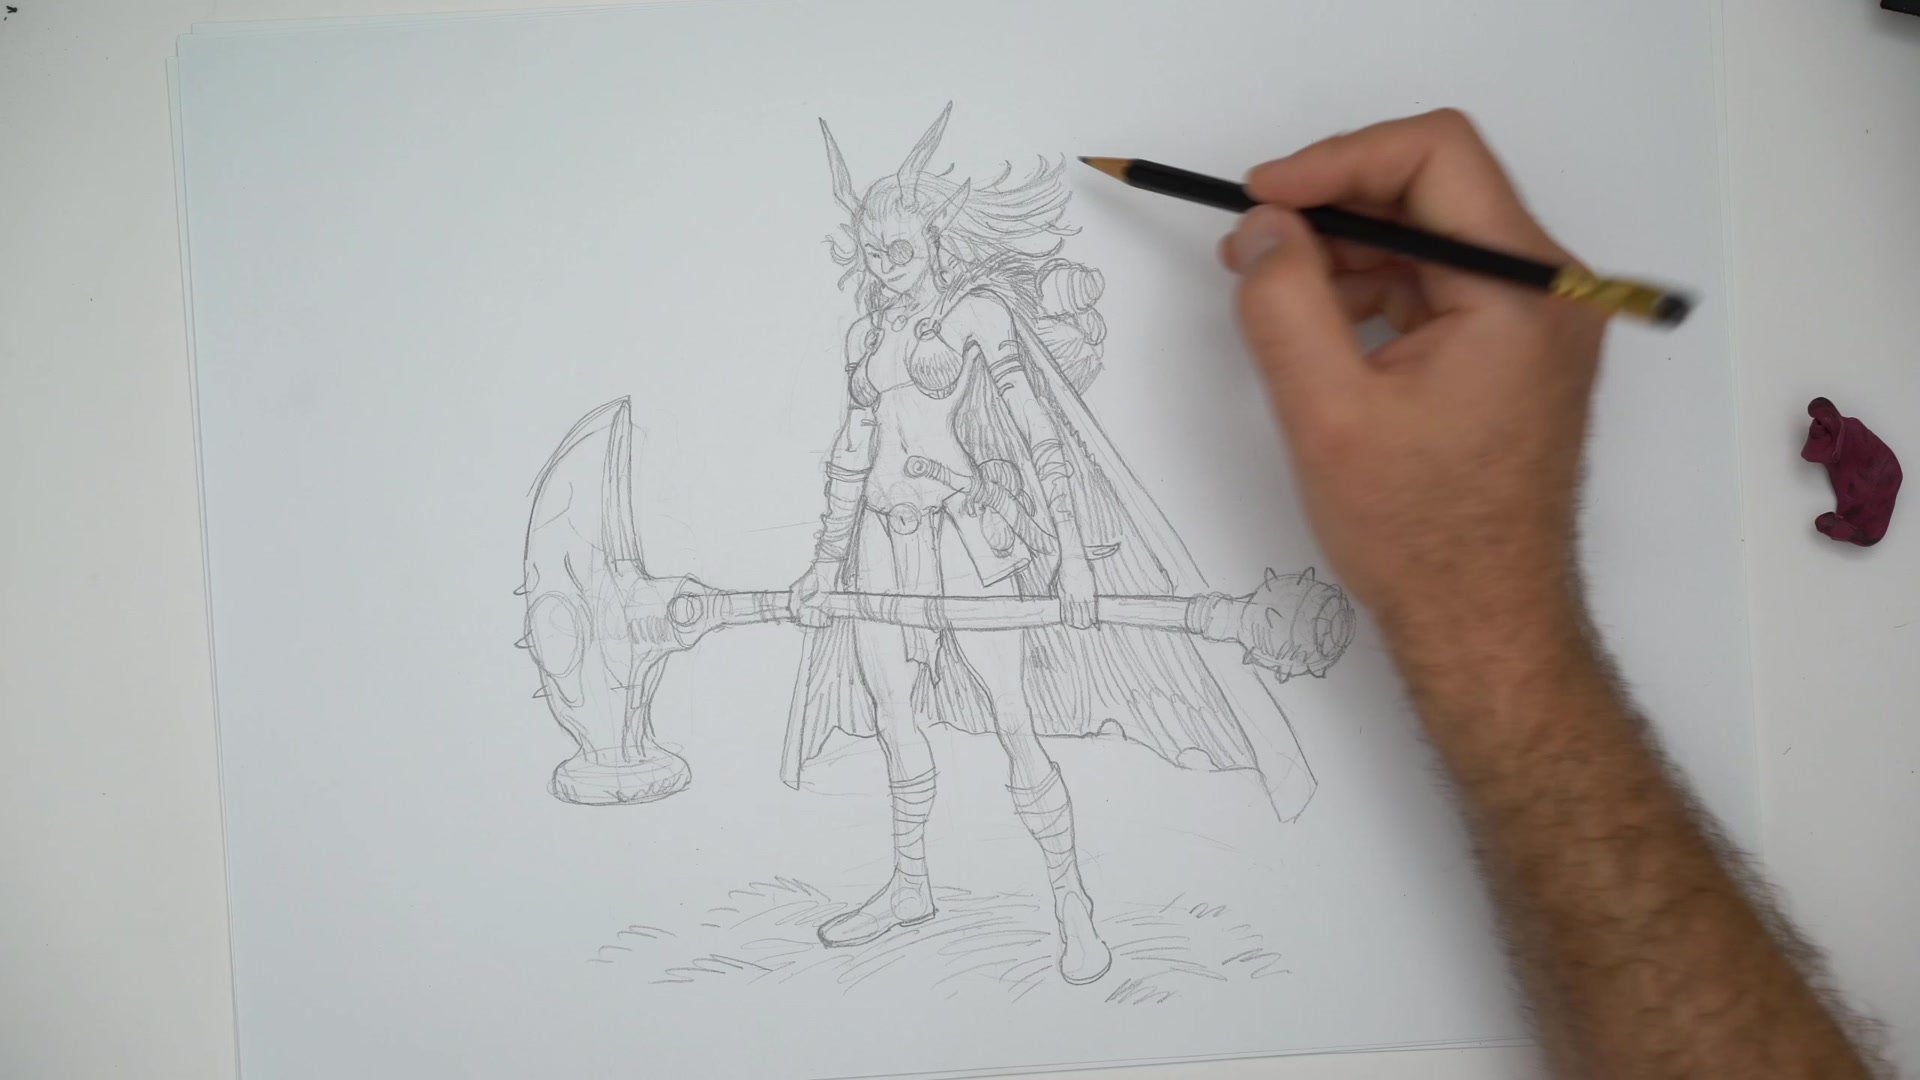
The legs are drawn last, which is acknowledged as somewhat backwards. A ground plane shadow gets roughed in to help sell the feet placement and make the whole composition feel more cohesive. The session wraps with some final tightening of the cape, adjustments to proportions, and a few passes on the face. The key takeaway is that clear intent matters, and this sketch was always meant to stay sketchy.
Finished Sketch
Key Techniques
Warm-Up First: Starting with a small comfortable sketch removes fear and tension before tackling the main drawing. Drawing something already familiar gets the hand and mind into the right mode.
Rough In the Whole Idea: Blocking in the full figure gesture before committing to details prevents getting trapped refining one area while the overall proportions are still wrong.
Manage Your Tools: Wooden pencils change behavior as they dull. Keeping several sharpened and switching when needed prevents frustration and maintains consistent line quality.
Clear Intent: Knowing whether a drawing is meant to be a rough sketch or a finished piece before starting solves most decision-making problems during the process.
Try This
Draw Something Comfortable: Start your next session with a small warm-up sketch of something you already know how to draw. Use a small piece of paper so there is no pressure.
Block In Before Refining: On your main drawing, rough in the entire figure including pose, proportions, and major props before zooming into any single area.
Set Your Intent: Before starting, decide whether this is a loose sketch or a finished piece. Let that decision guide how much time you spend refining.


