Elf Magic Color in Photoshop
Summary
Coloring an Elf Character
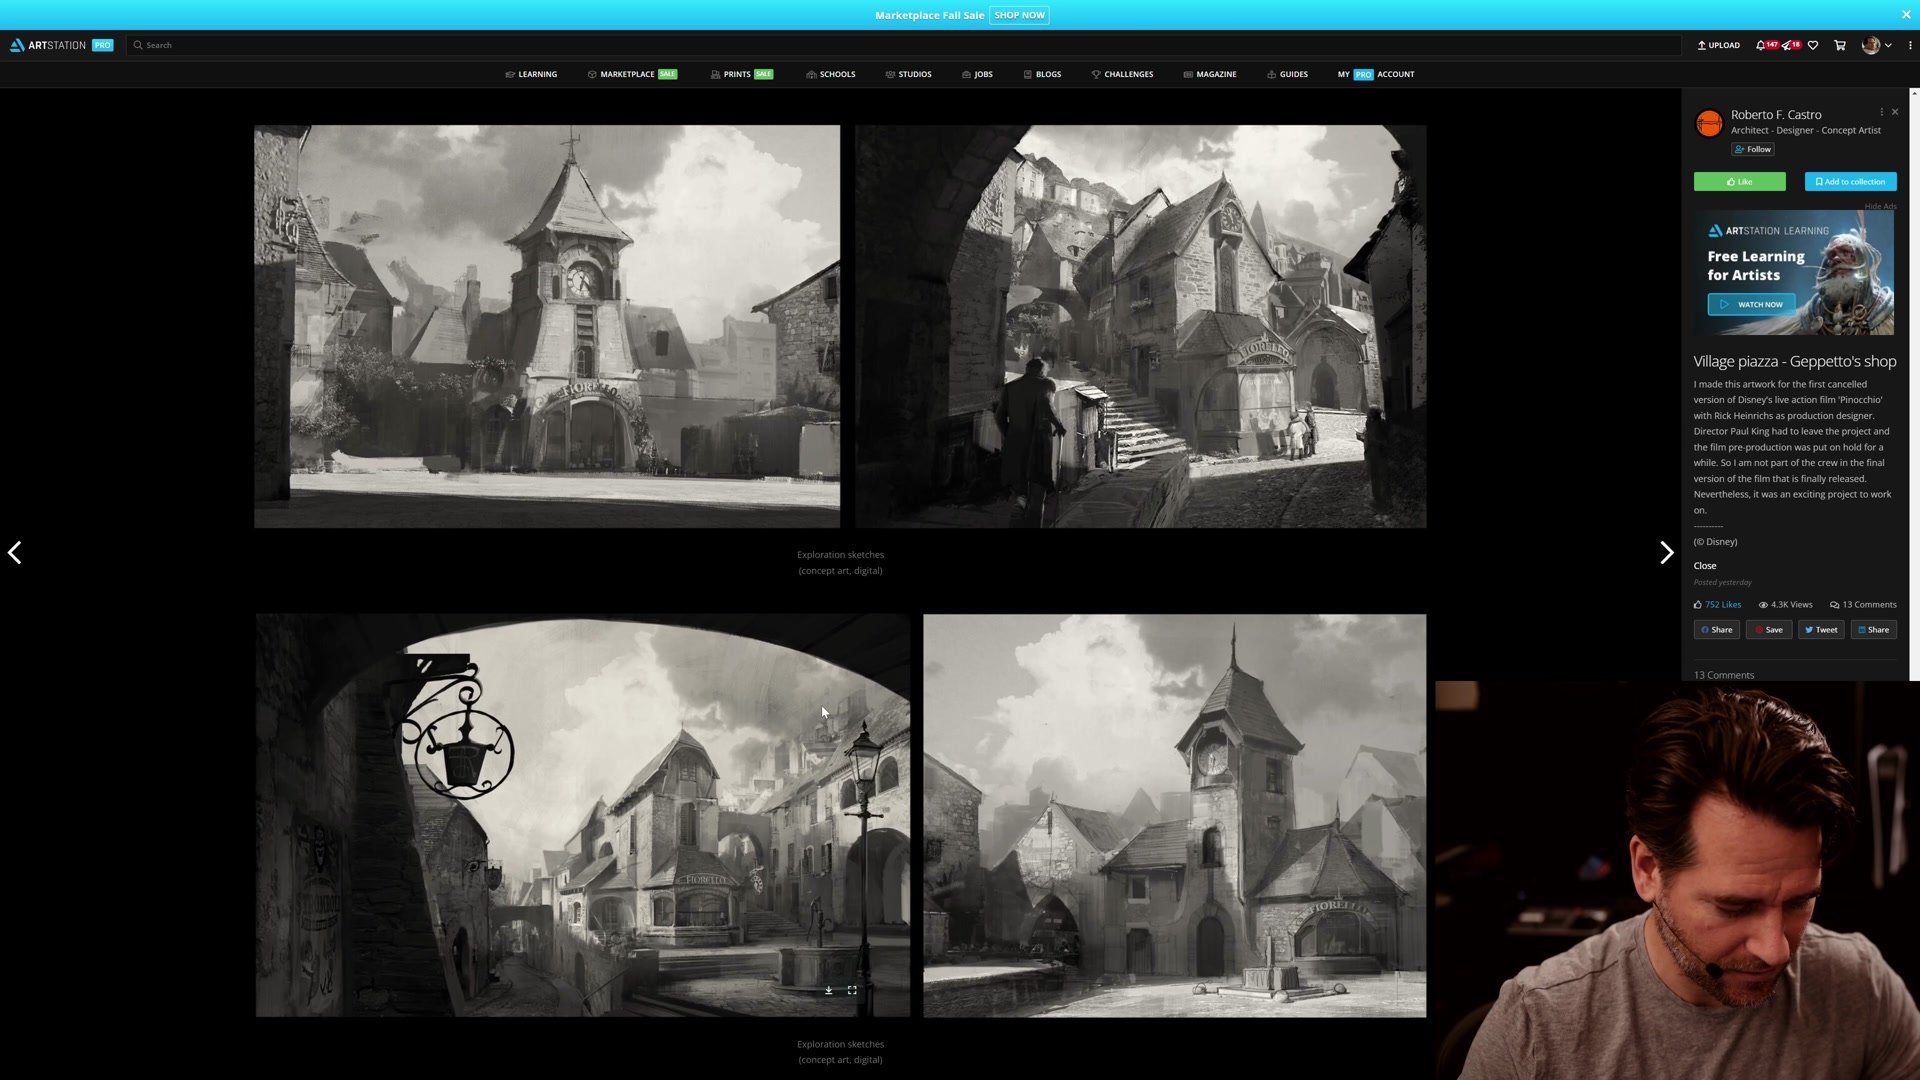
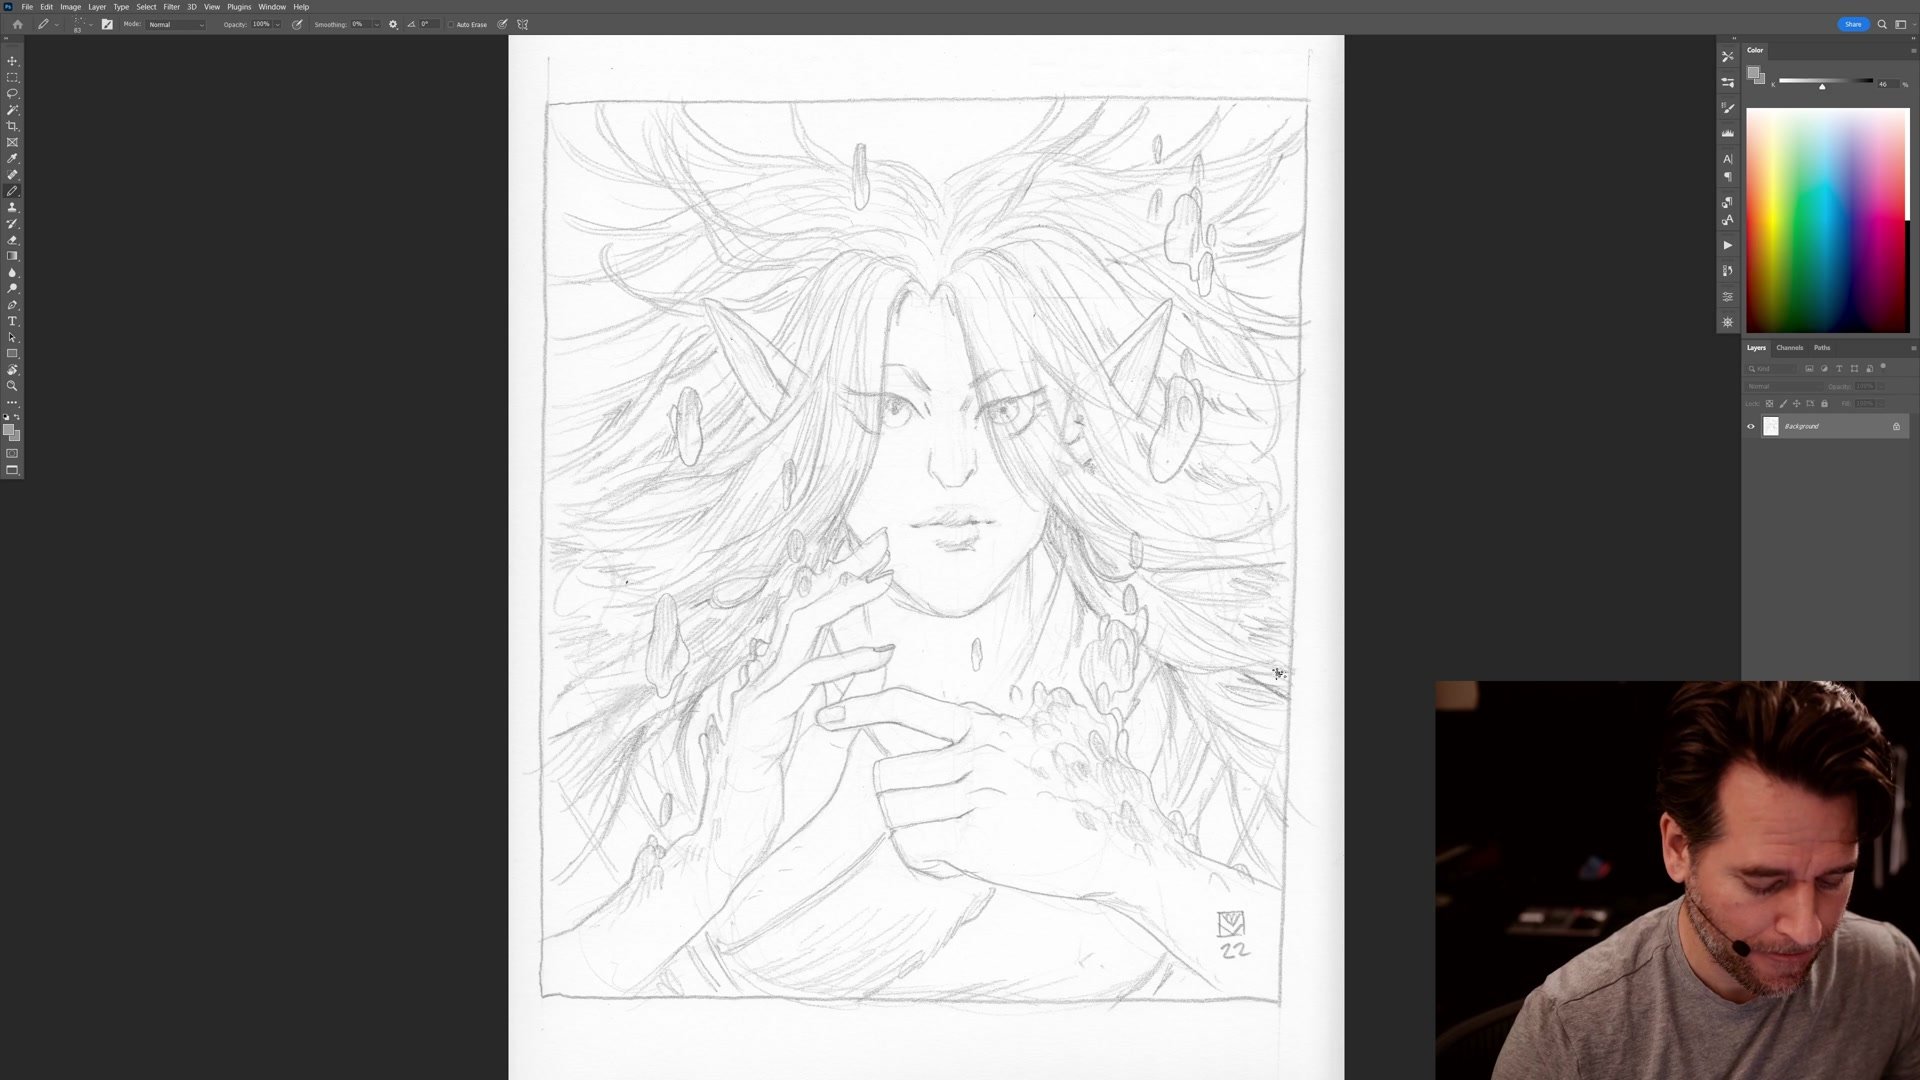
This hour-long session follows the complete digital coloring process for a scanned pencil drawing of an elf character with flowing hair and magical elements. Starting from a raw scan imported into Photoshop, the work progresses through line preparation, flat color blocking, shadow layering, color experimentation, and texture finishing. The session begins with a brief look at inspiring artwork on ArtStation before moving into the coloring workflow.
The approach here centers on building a line and color illustration where the pencil lines carry the structural weight of the drawing, freeing up the color work to focus on graphic impact and visual interest rather than realistic rendering. Color choices are driven by what looks visually compelling rather than what makes logical sense, embracing the creative freedom that comes with personal work.
From Scan to Flat Color
Blocking In with Purpose
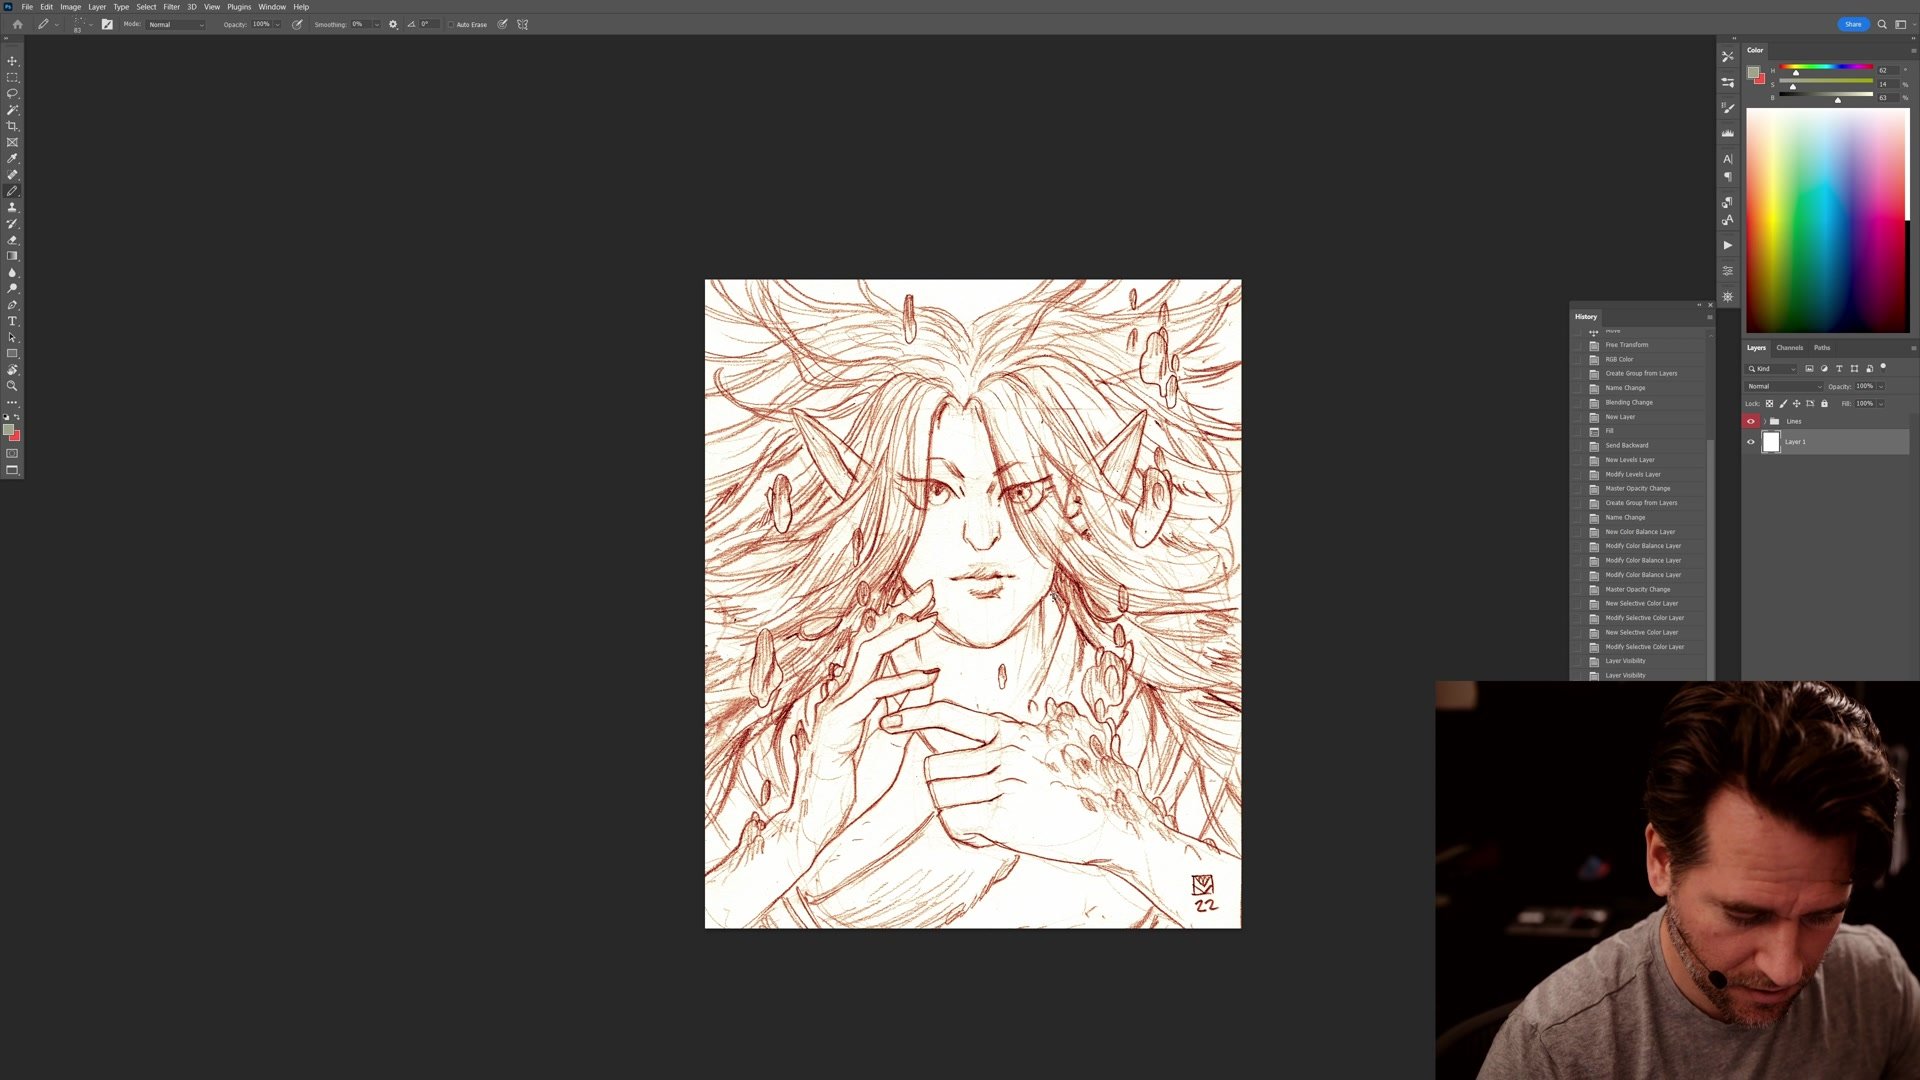
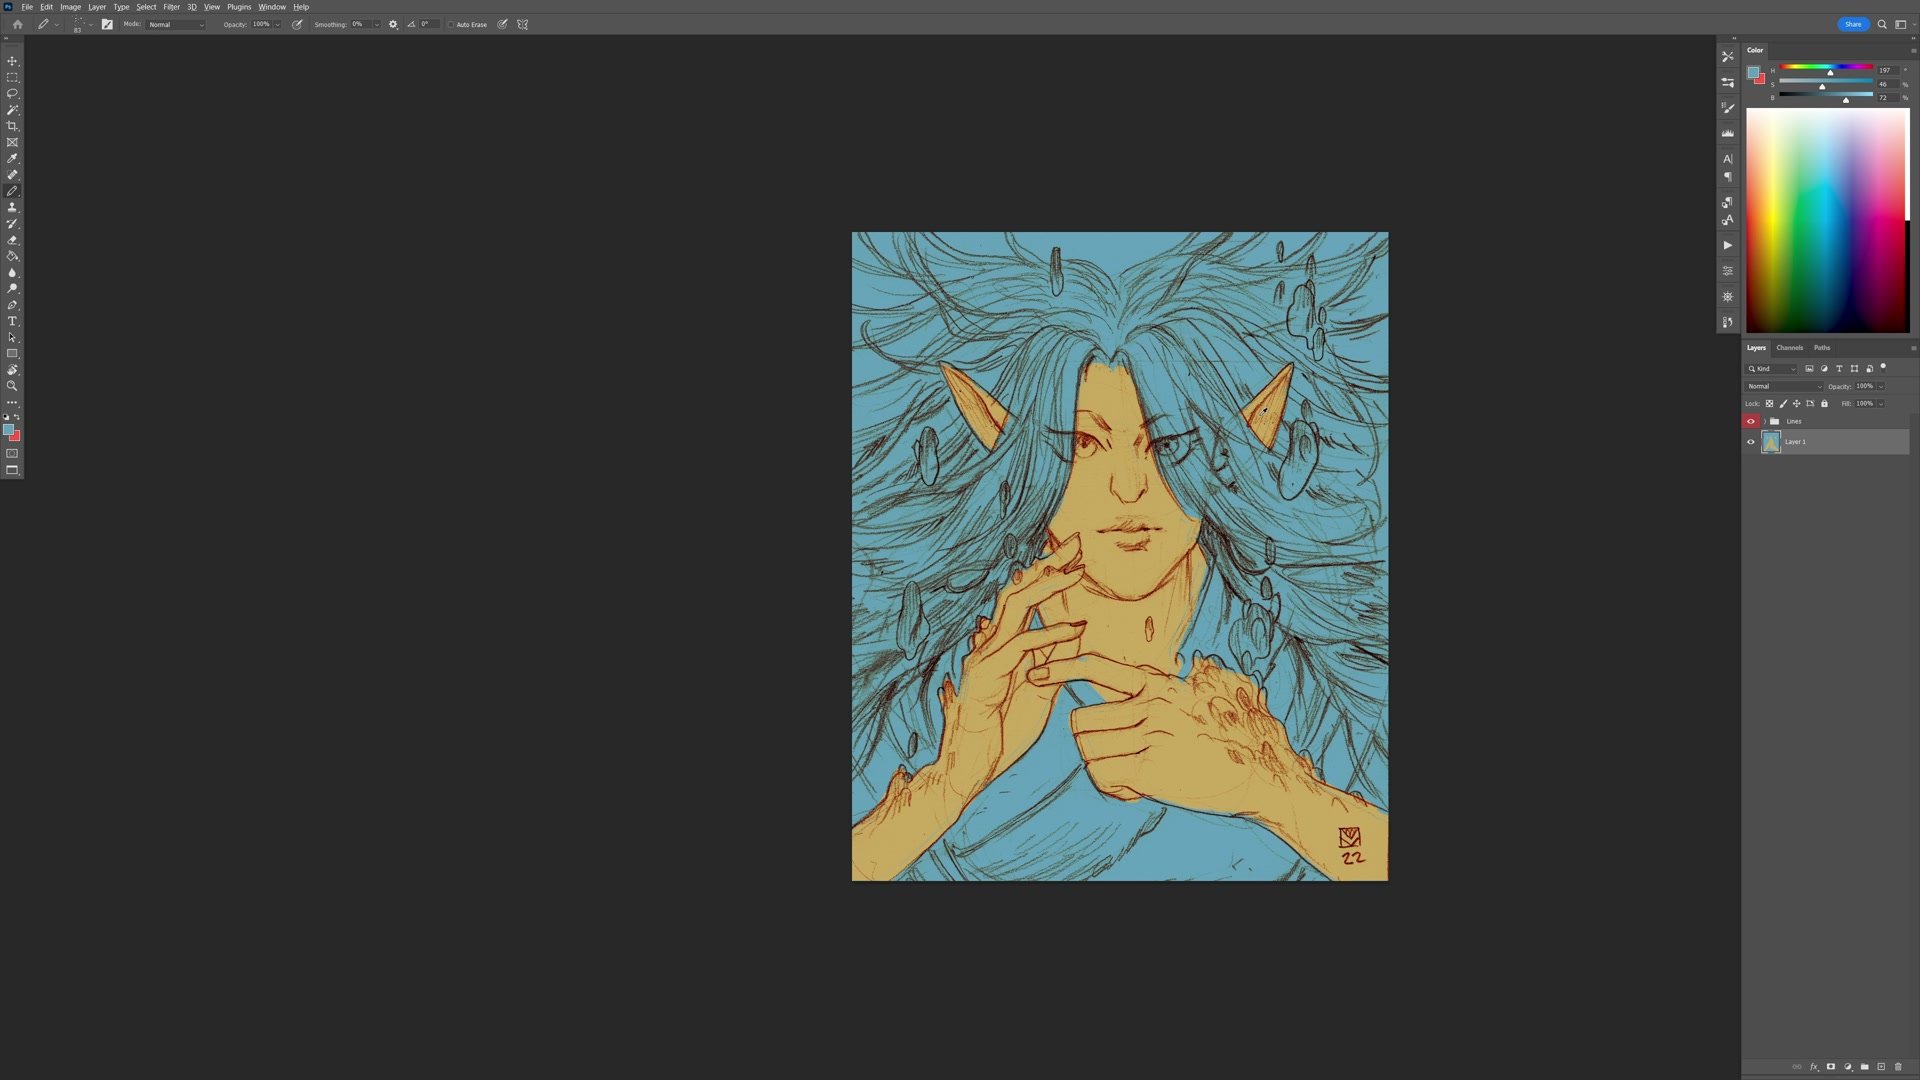
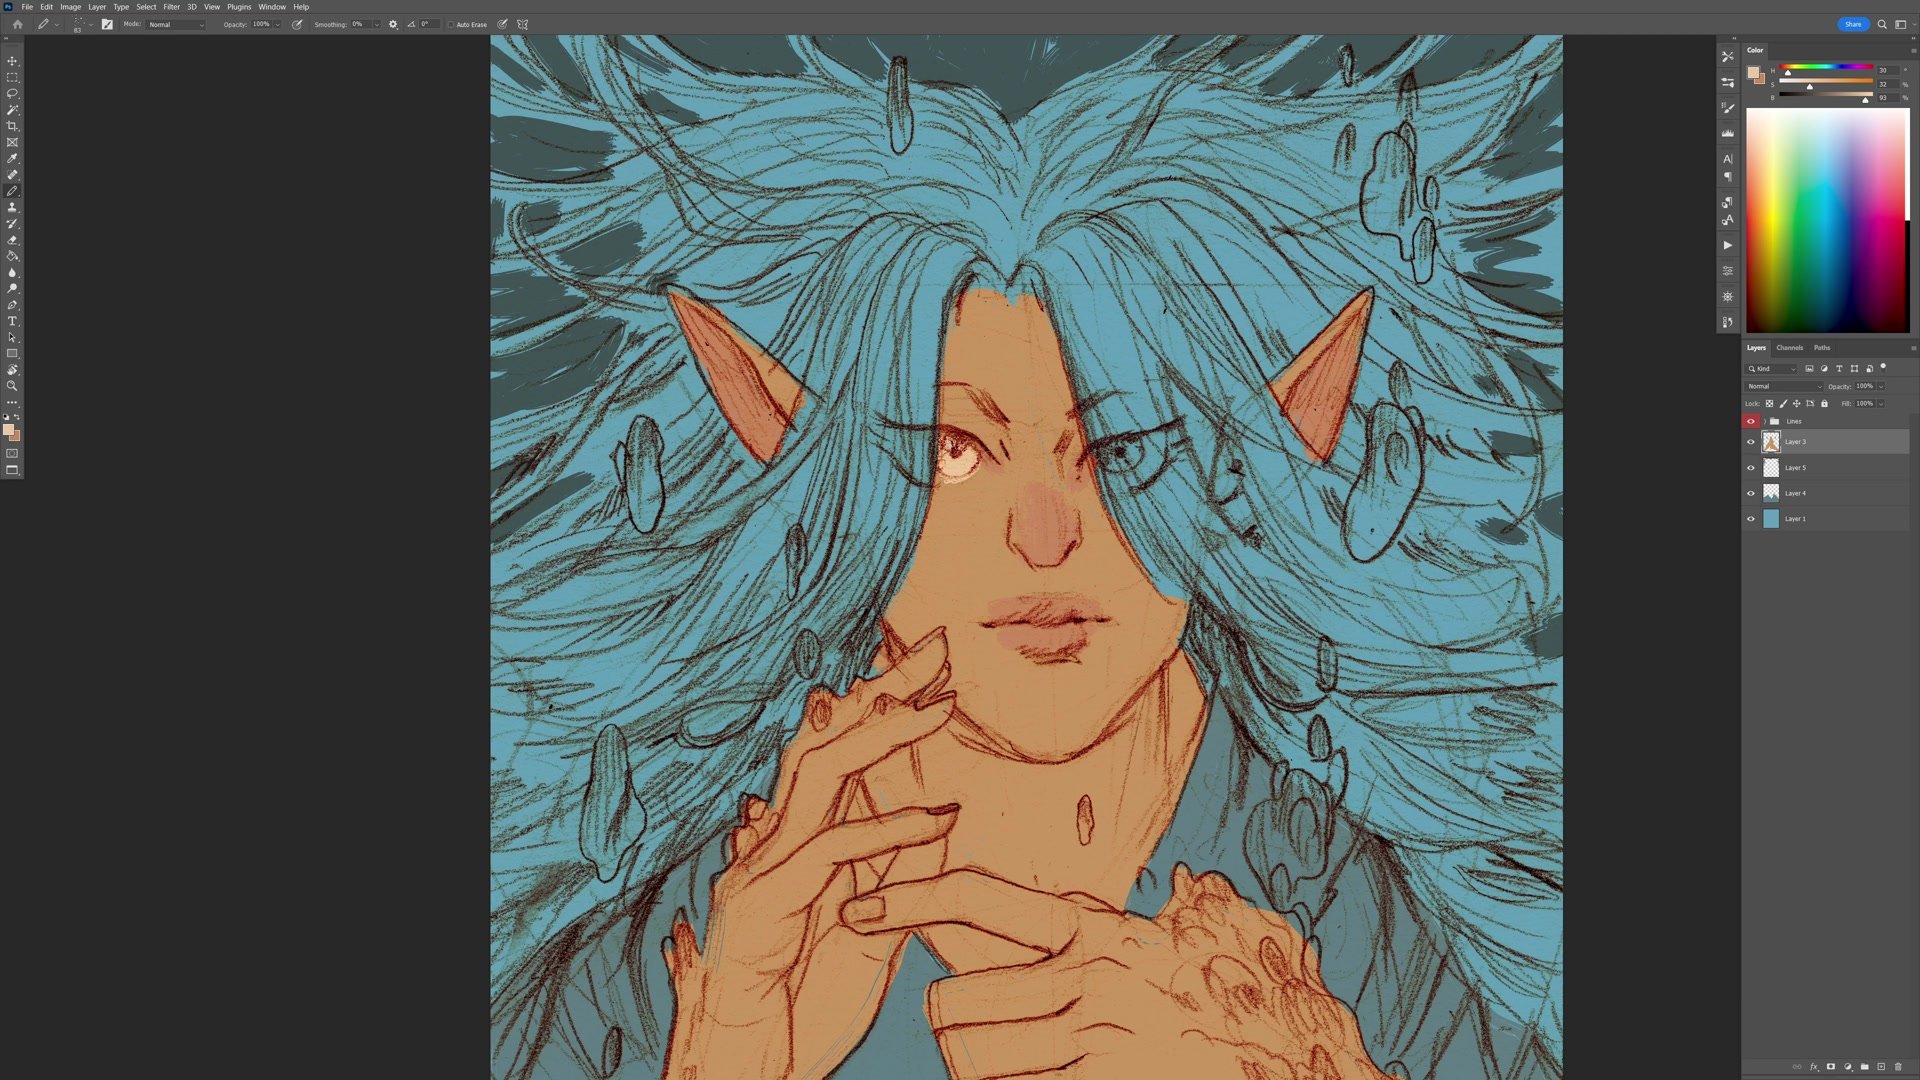
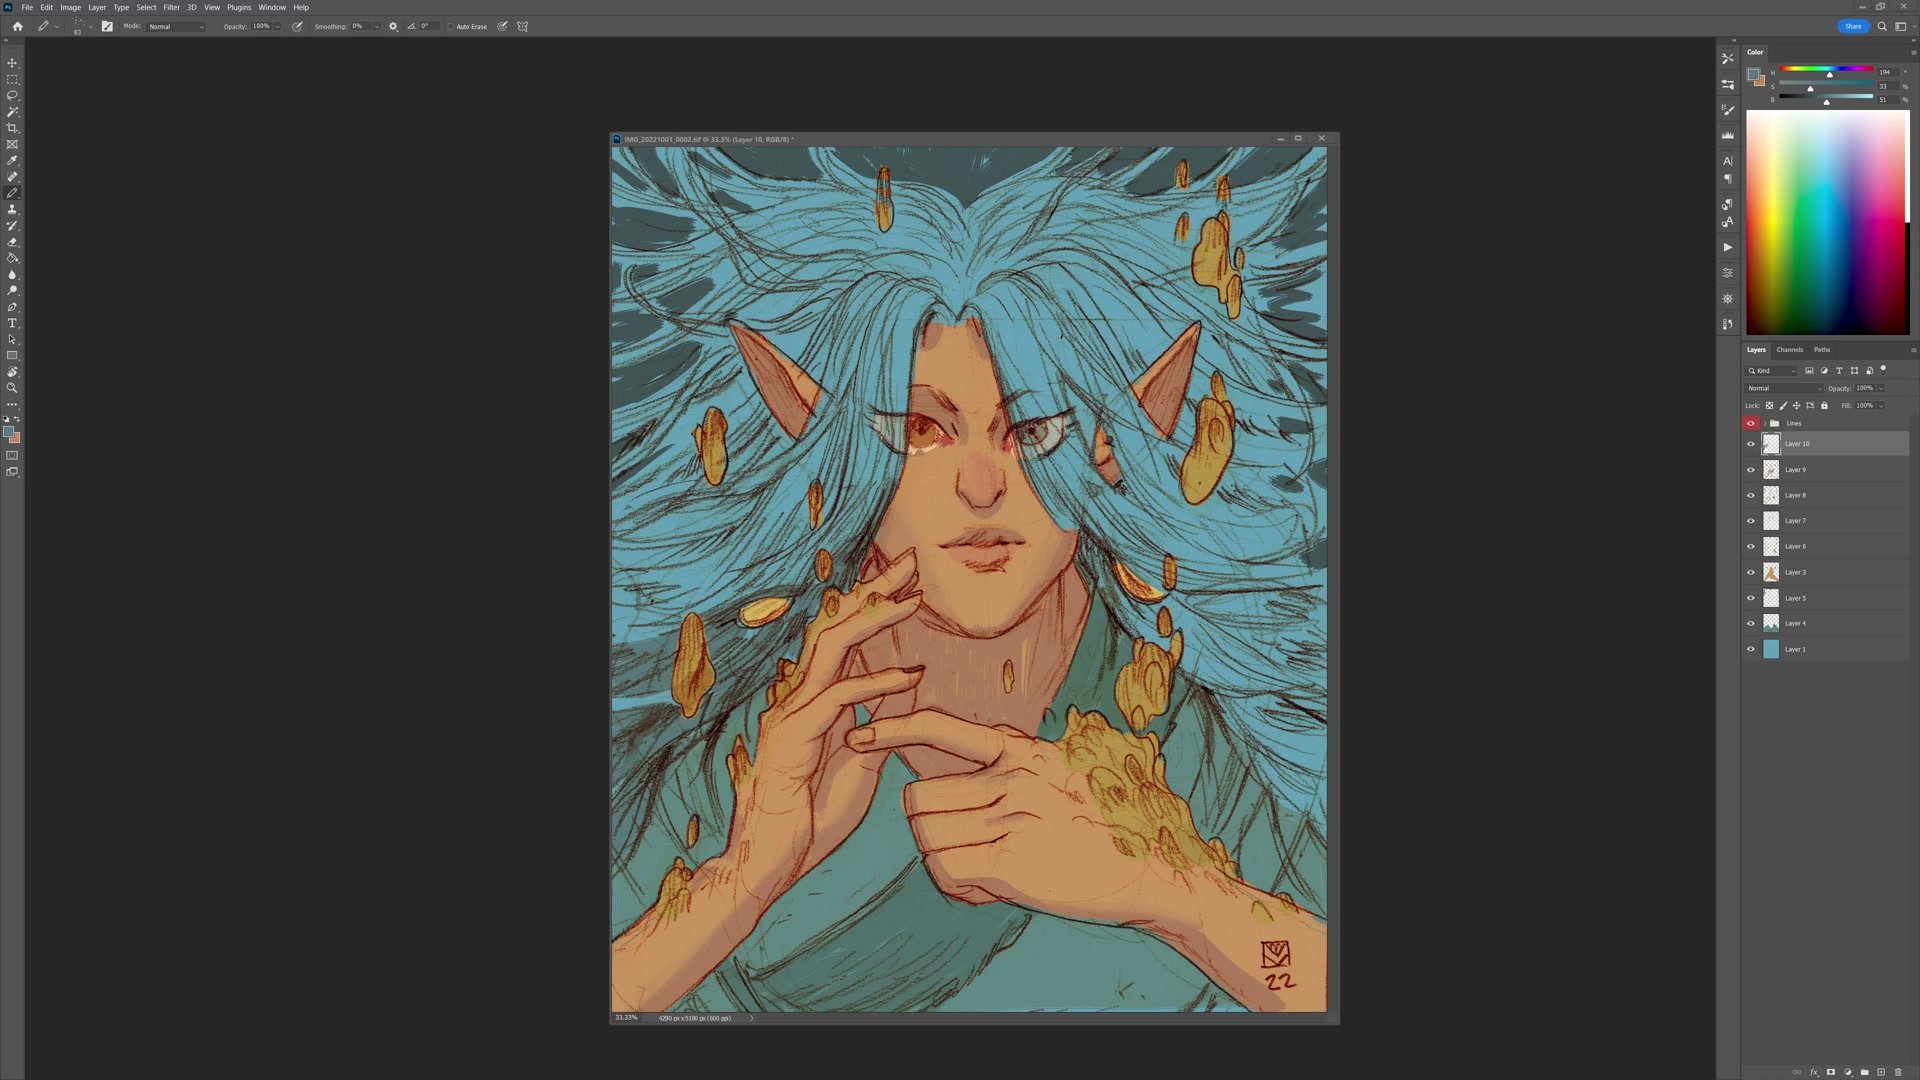
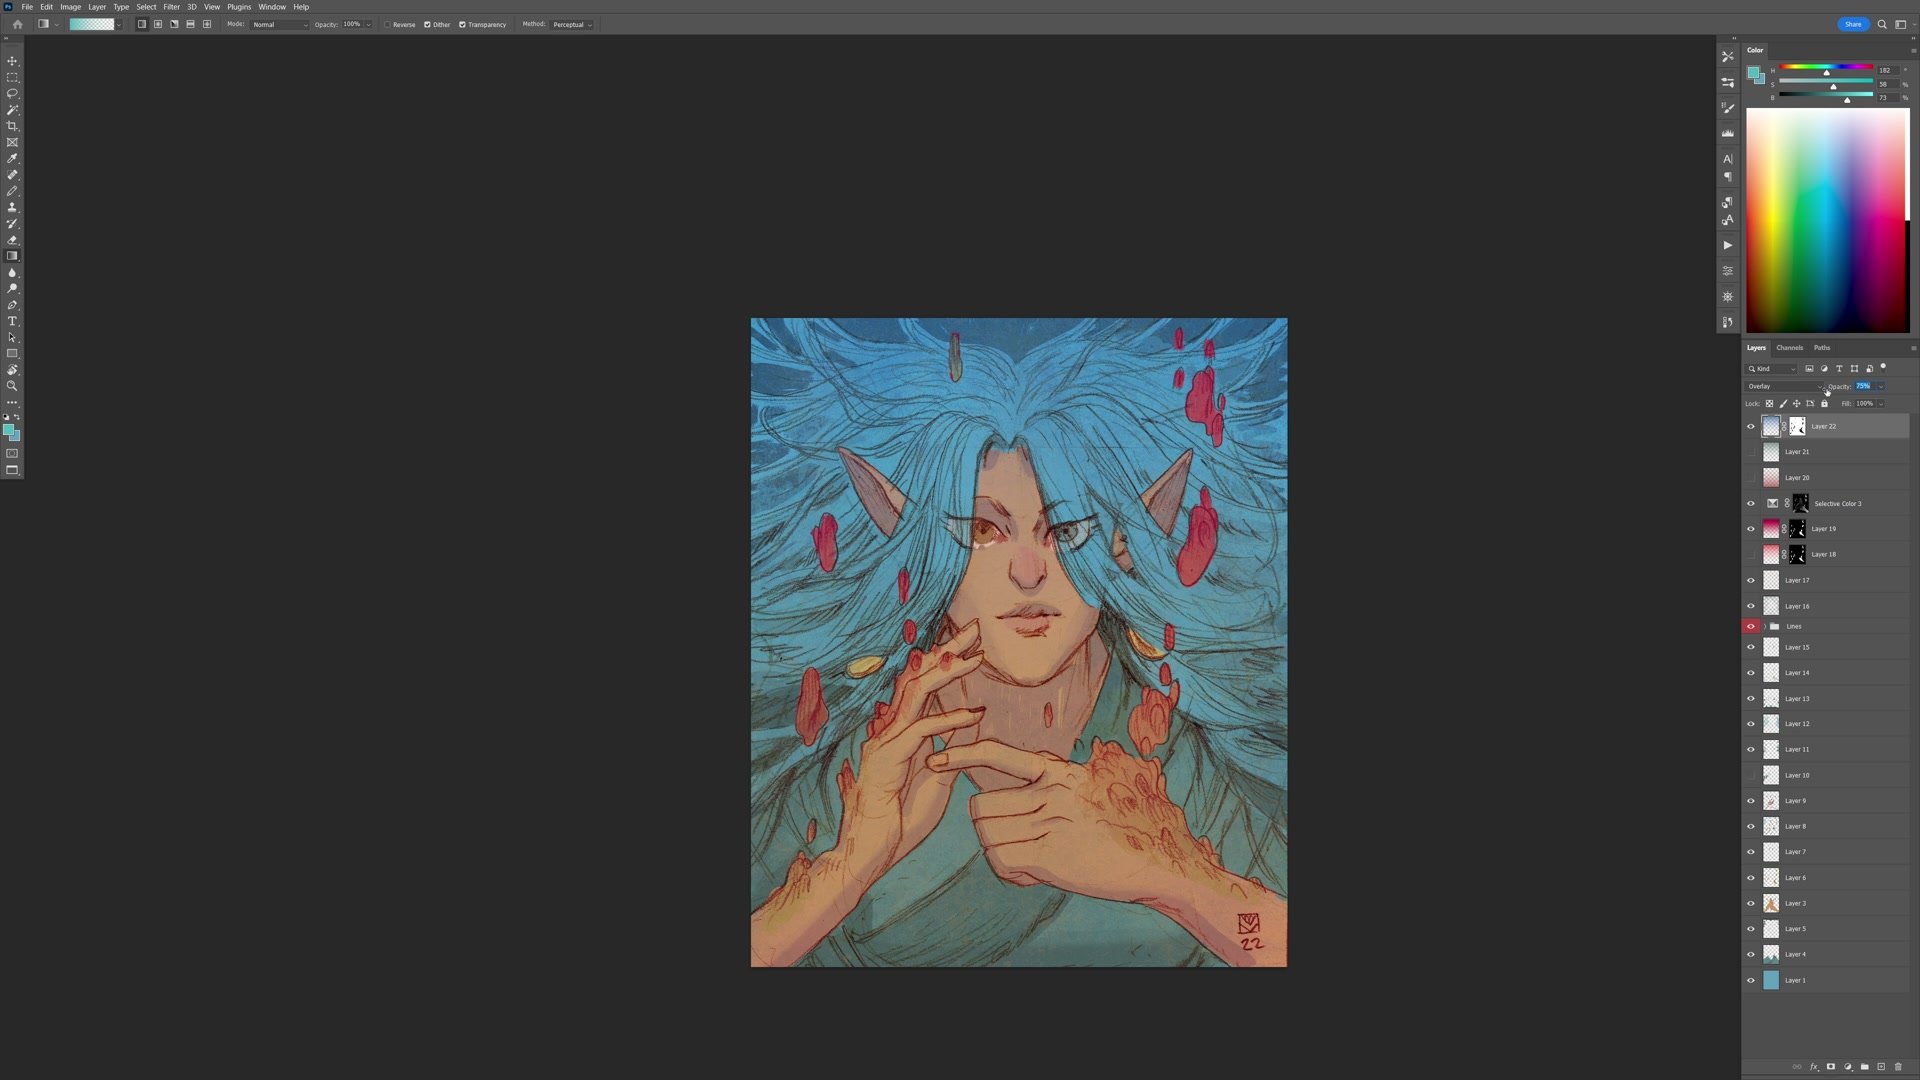
The coloring process begins with preparing the scanned pencil drawing, running a set of Photoshop actions to convert the grayscale scan into workable lines on a separate layer. From there, the approach is to block in the major color areas on individual layers, starting with the most obvious color requirement: blue for the hair and background, since the character has a water magic theme.
A key principle guides the flat color stage: keeping colors above the 50% value range. When colors stay brighter and compete less with the dark line work, the illustration maintains its line and color identity. If the flats get too dark, they start fighting the lines for dominance. Skin tones are blocked in using a warm complement to the blue, creating immediate color contrast. Each major element, including hair, skin, clothing, earrings, and the magical elements, gets separated onto its own layer for easier adjustment later.
Building Color Relationships

Shadow and Depth Strategy
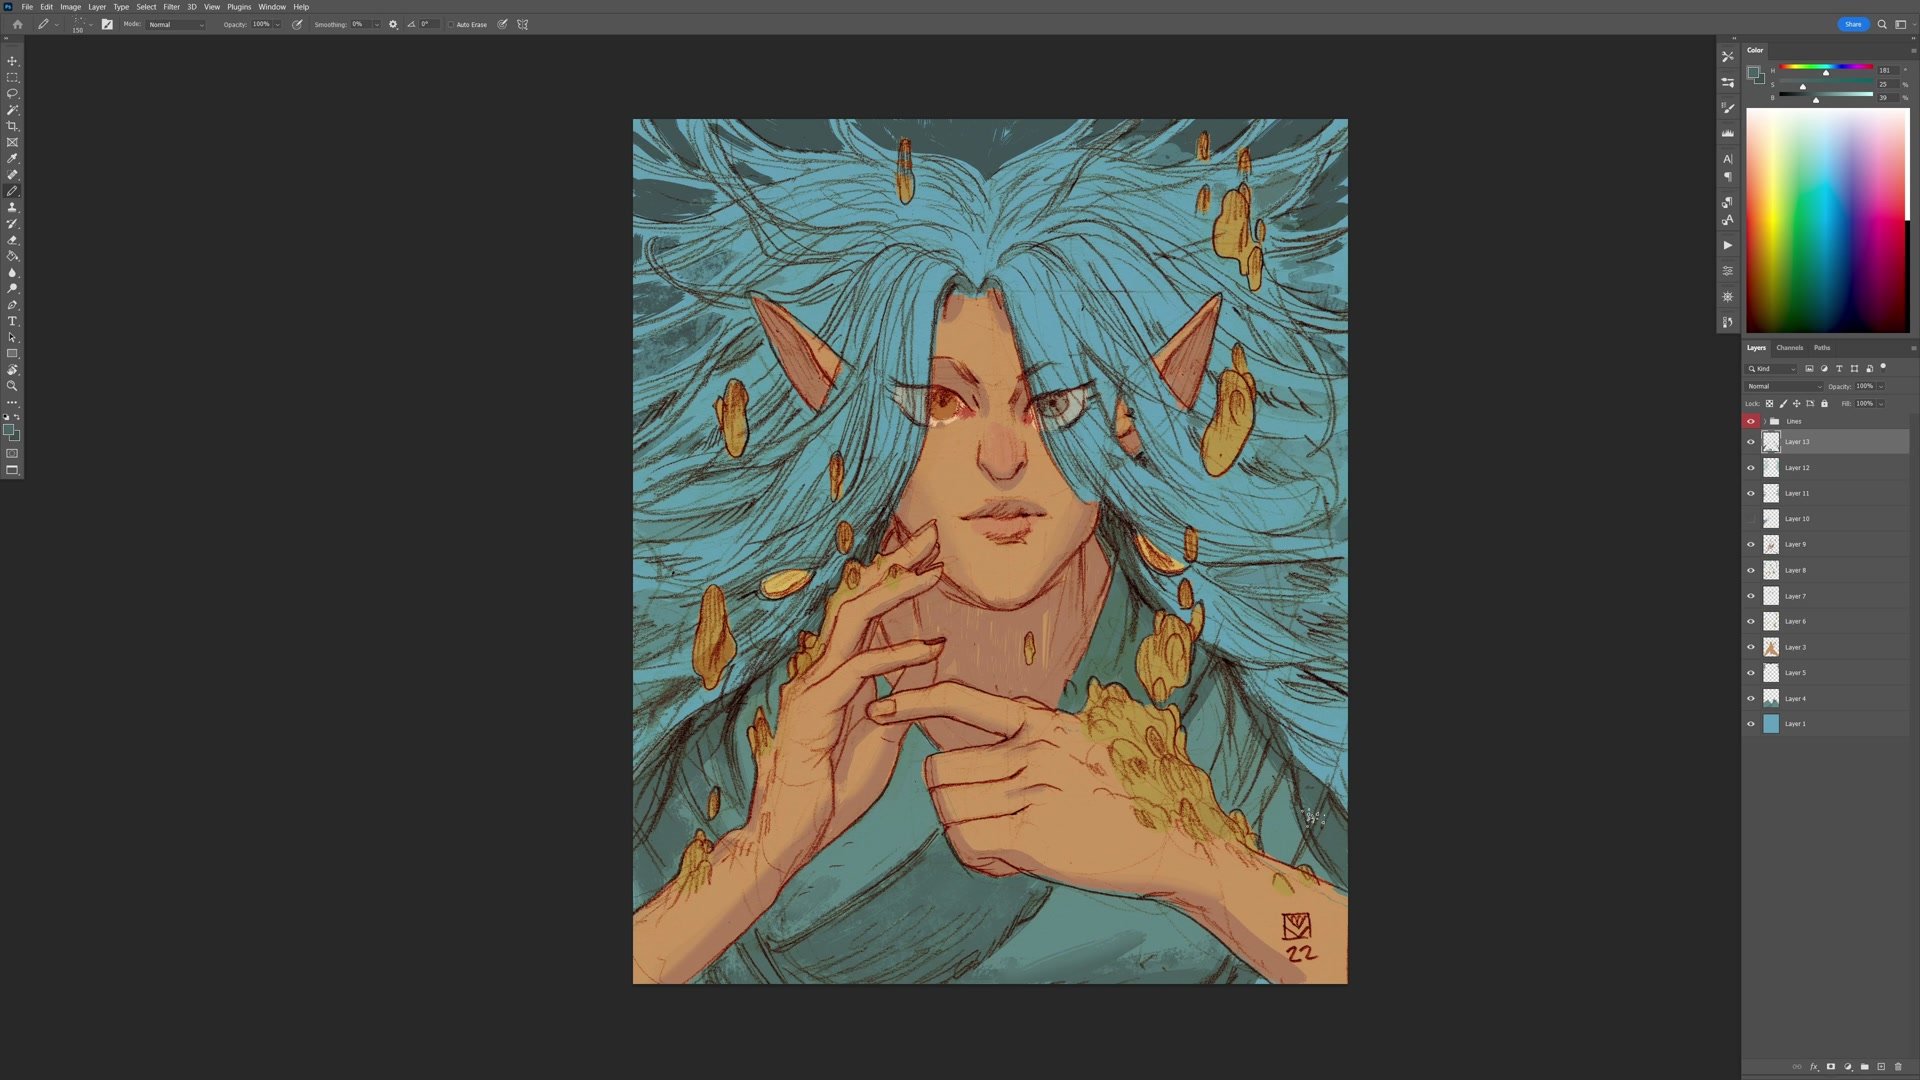
Rather than thinking about realistic lighting, the shadow work here is more about creating visual separation and depth between elements. The technique involves blocking in shadows with a hard brush and then softening edges with the eraser, which naturally produces the distinction between cast shadows with hard edges and form shadows with soft transitions.
Shadow colors are pushed slightly cooler and less saturated than the base colors, which adds a sense of atmosphere without requiring a specific light source. The shadows on the skin help push the hands forward from the neck area, and the hair shadows create separation between individual masses. Multiple layers stack up as each element gets its own shadow pass, with opacity adjustments keeping everything feeling cohesive rather than overworked.
Texture and Color Adjustment
Texture and Final Polish
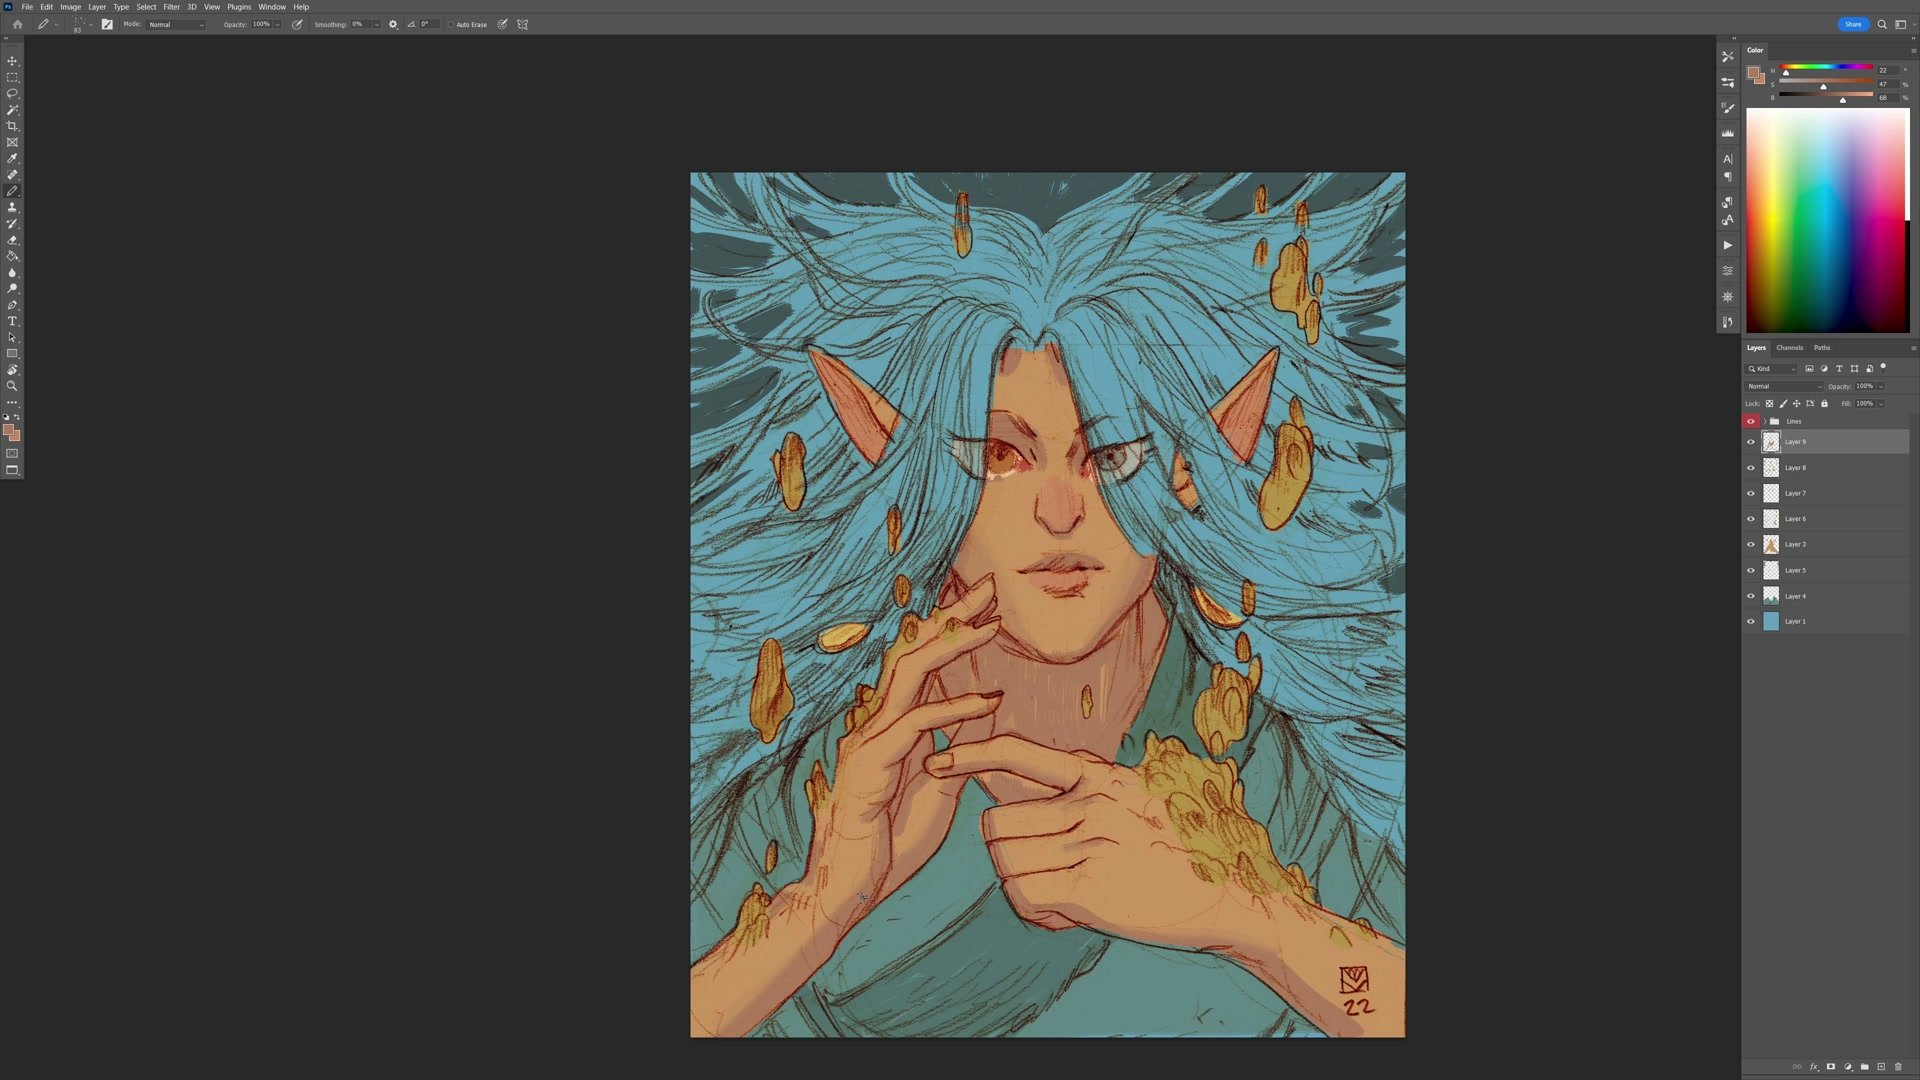
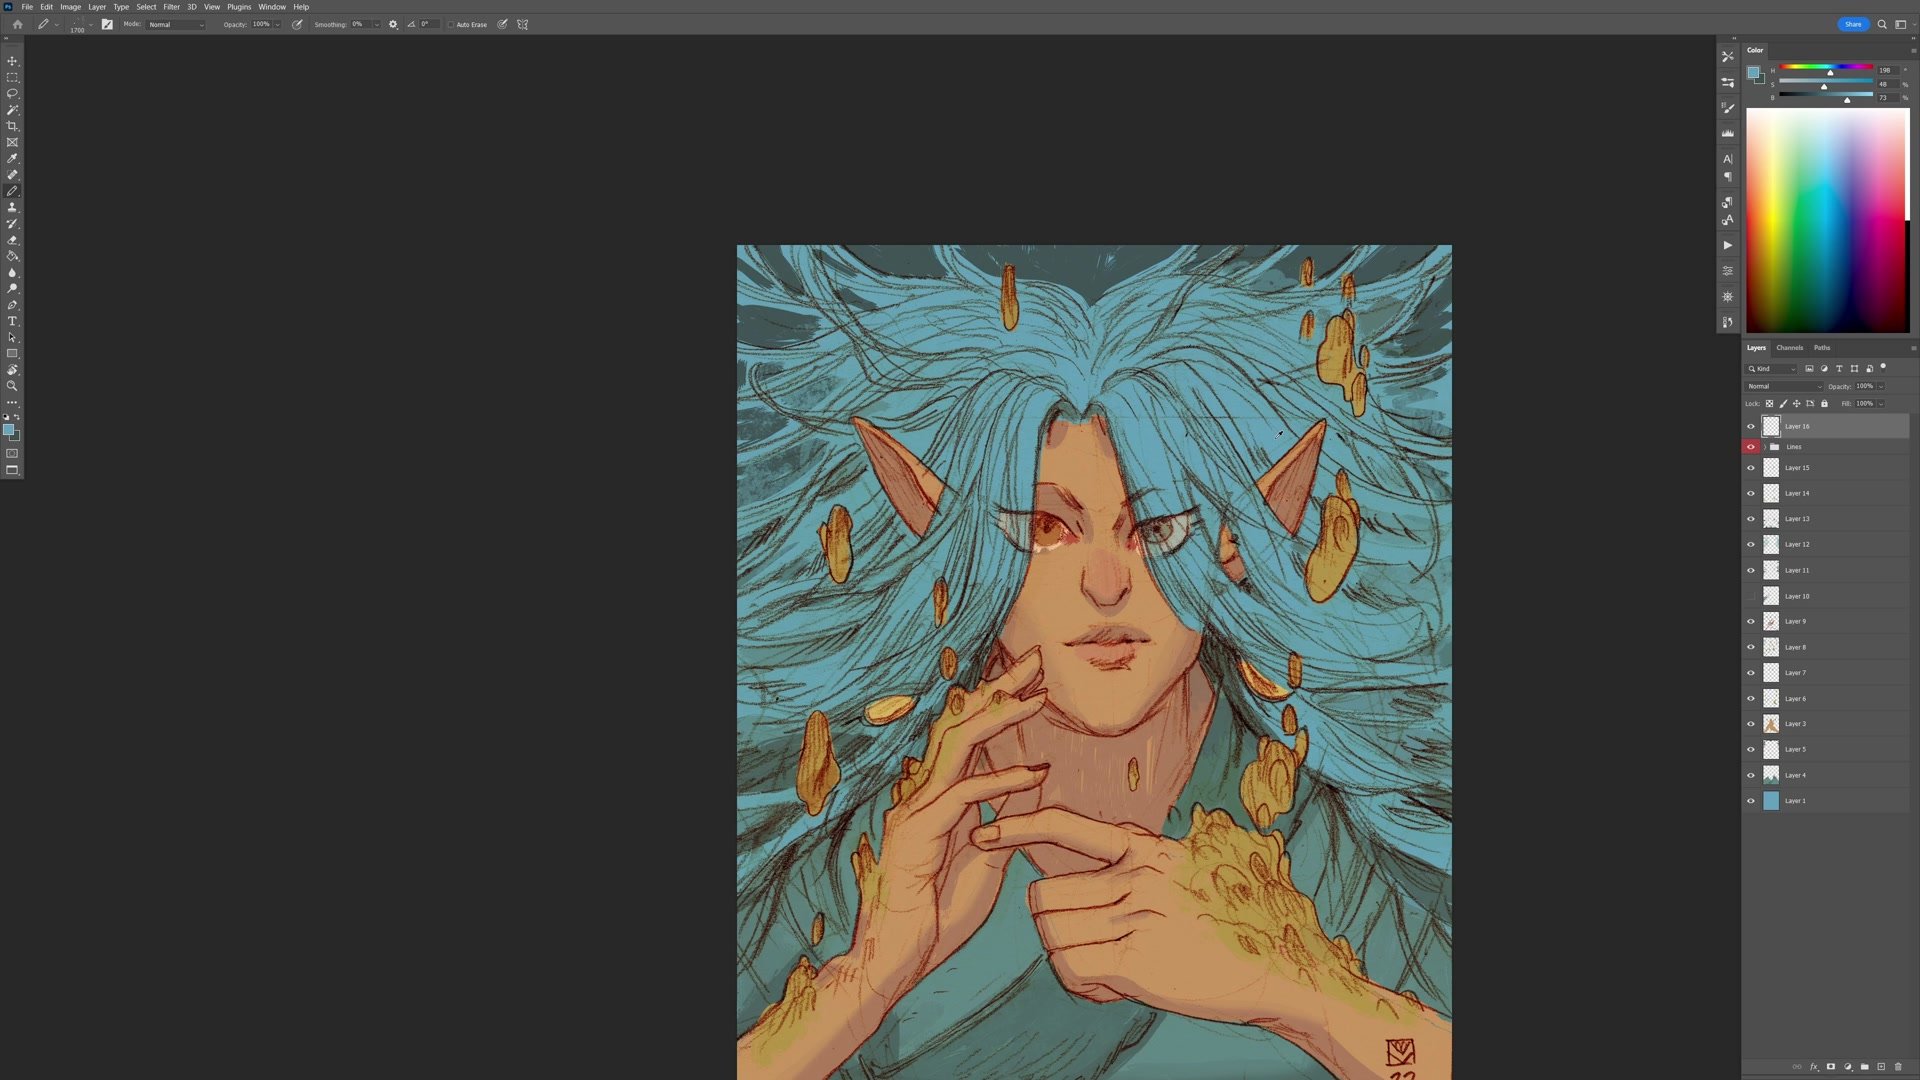
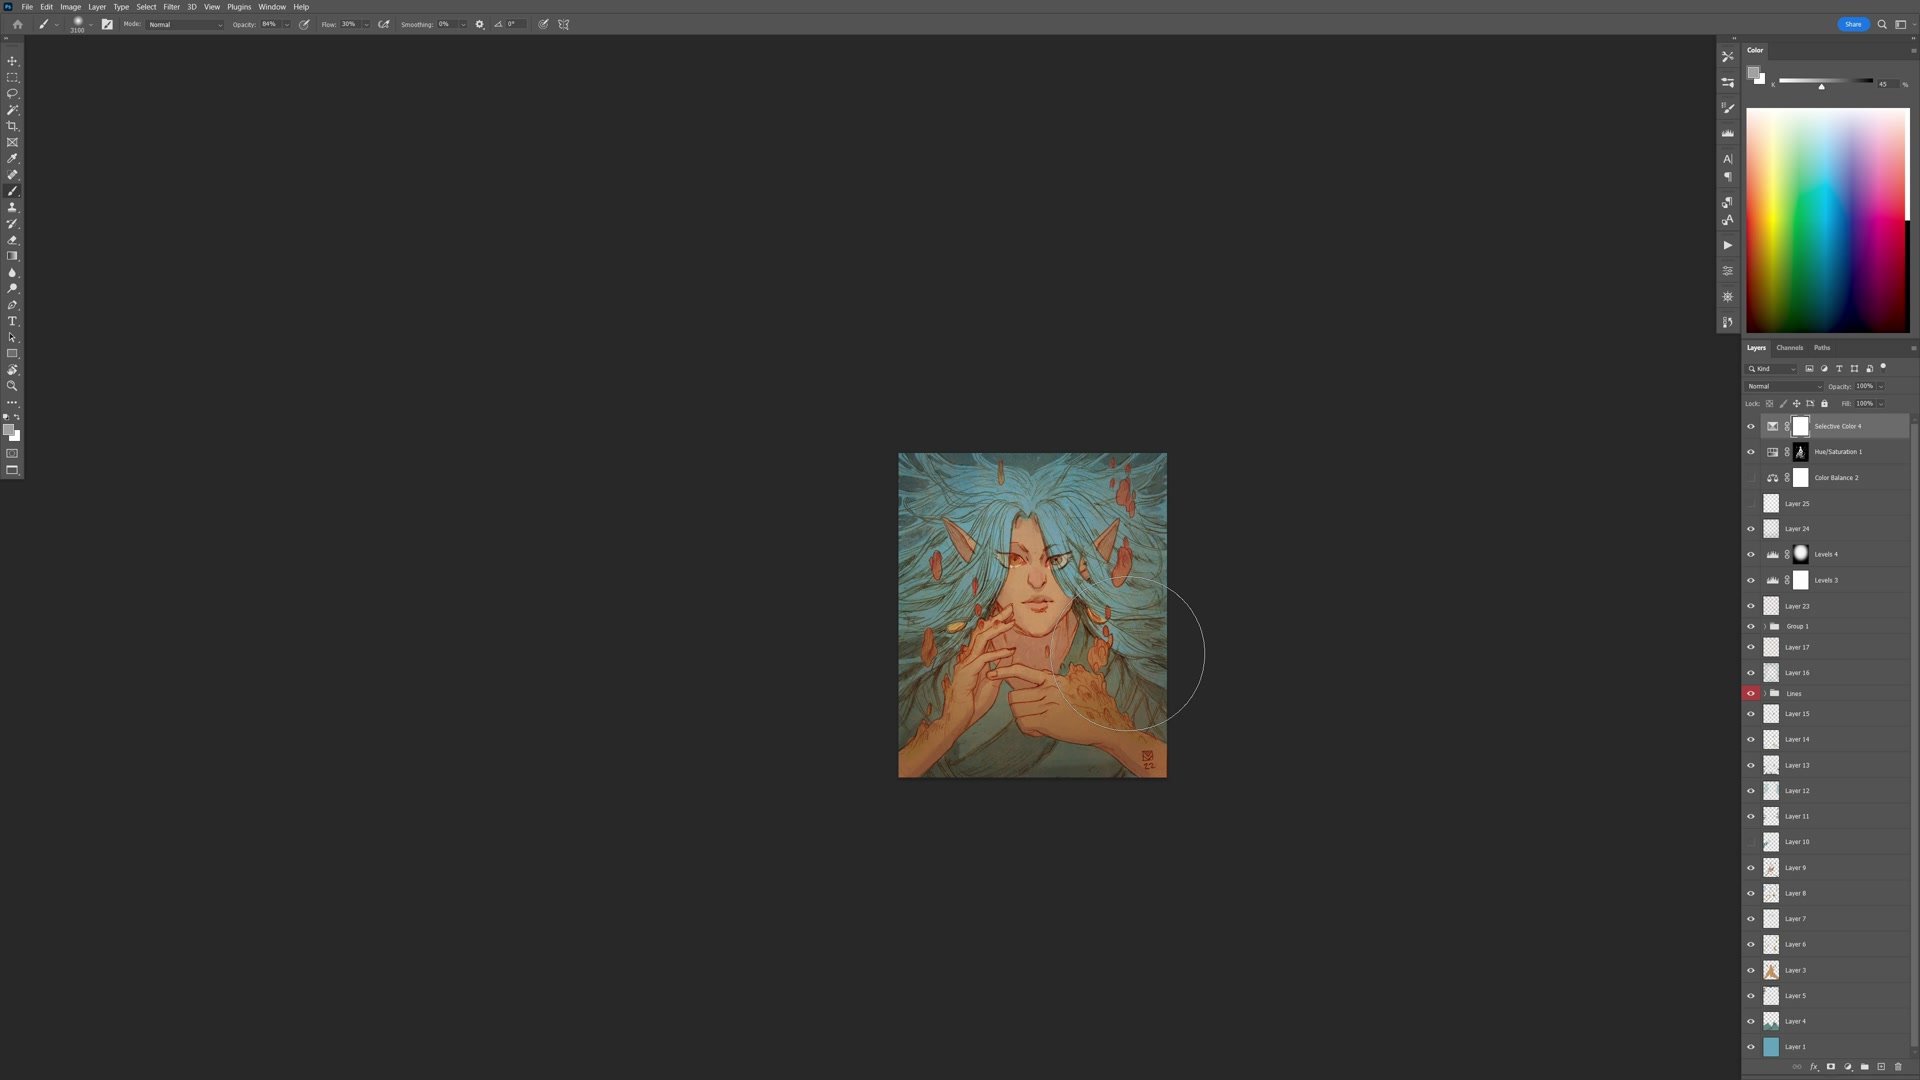
The finishing stage involves layering techniques that bring the piece together. A splatter texture brush at low opacity is used across the image, bleeding some of the background color into the foreground and vice versa. This creates subtle color interplay that mimics the happy accidents of traditional media, where paint bleeds and mixes at the boundaries between elements.
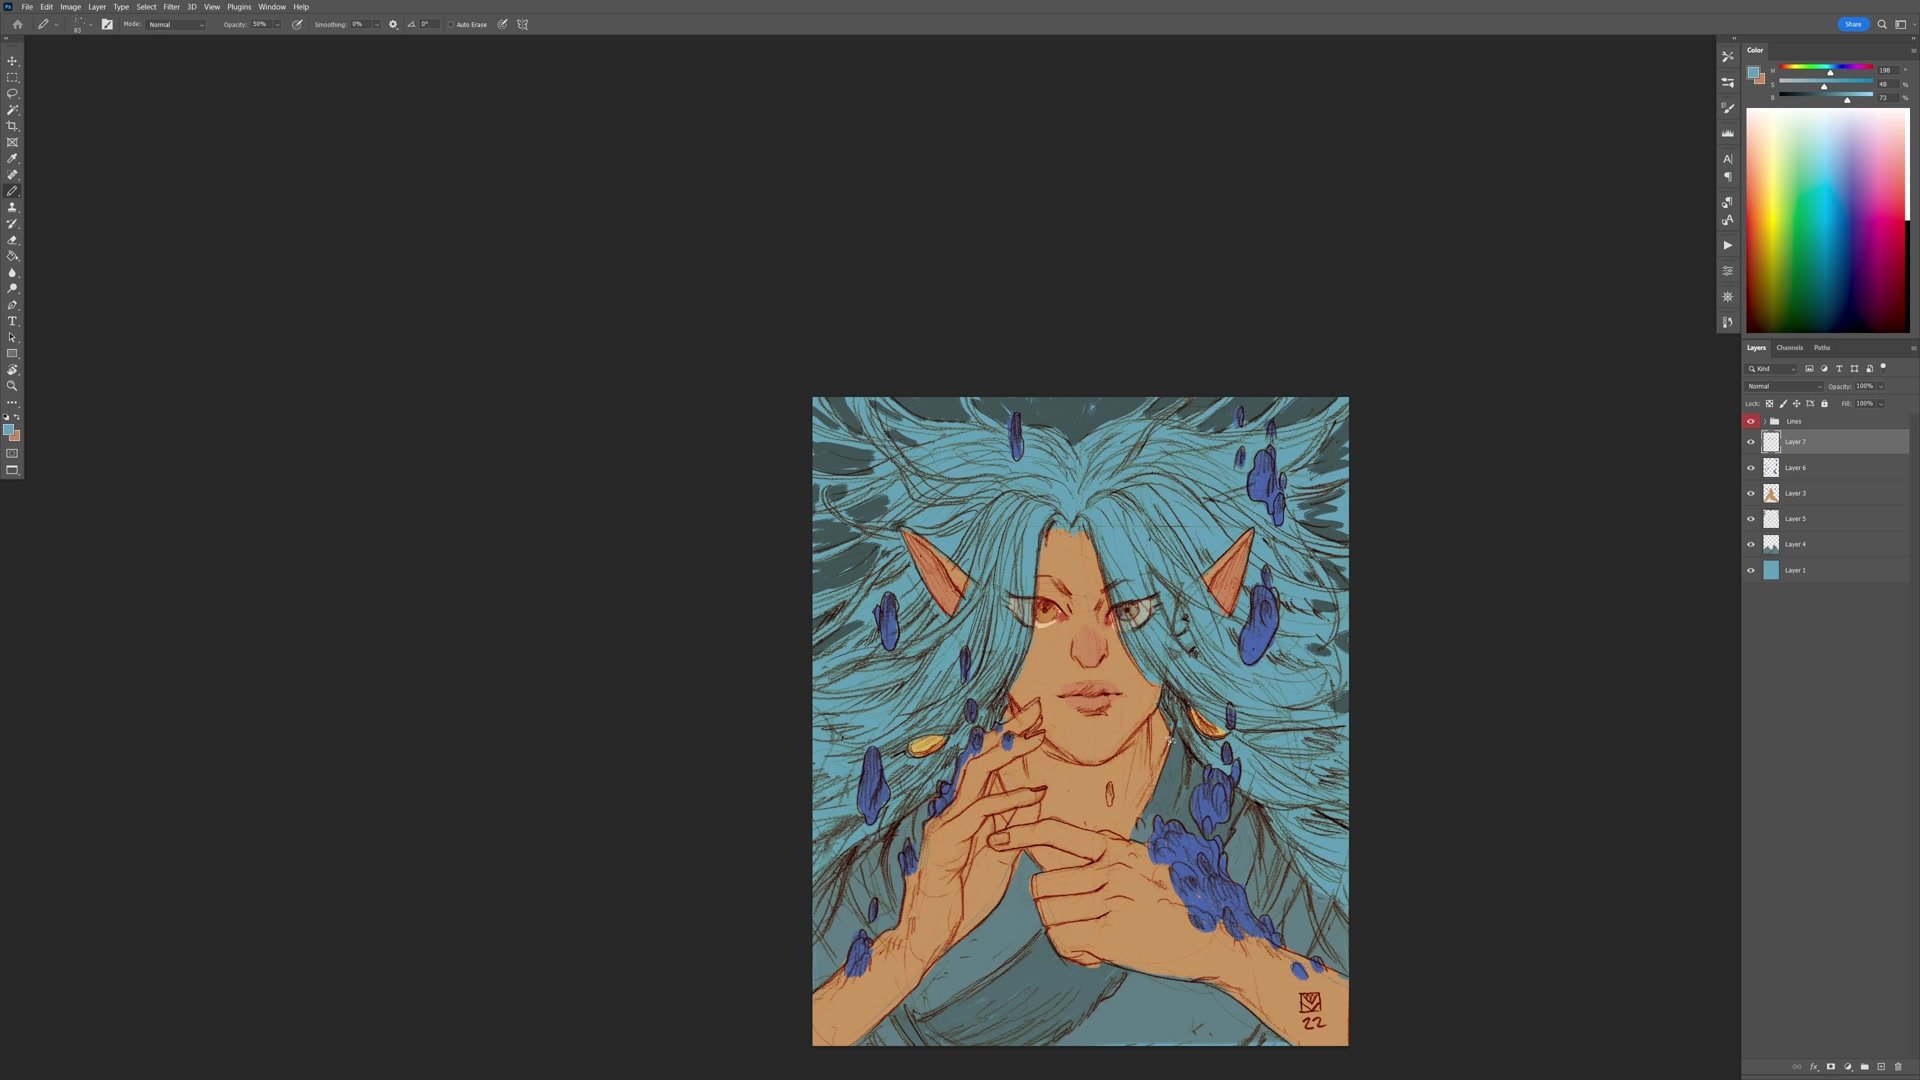
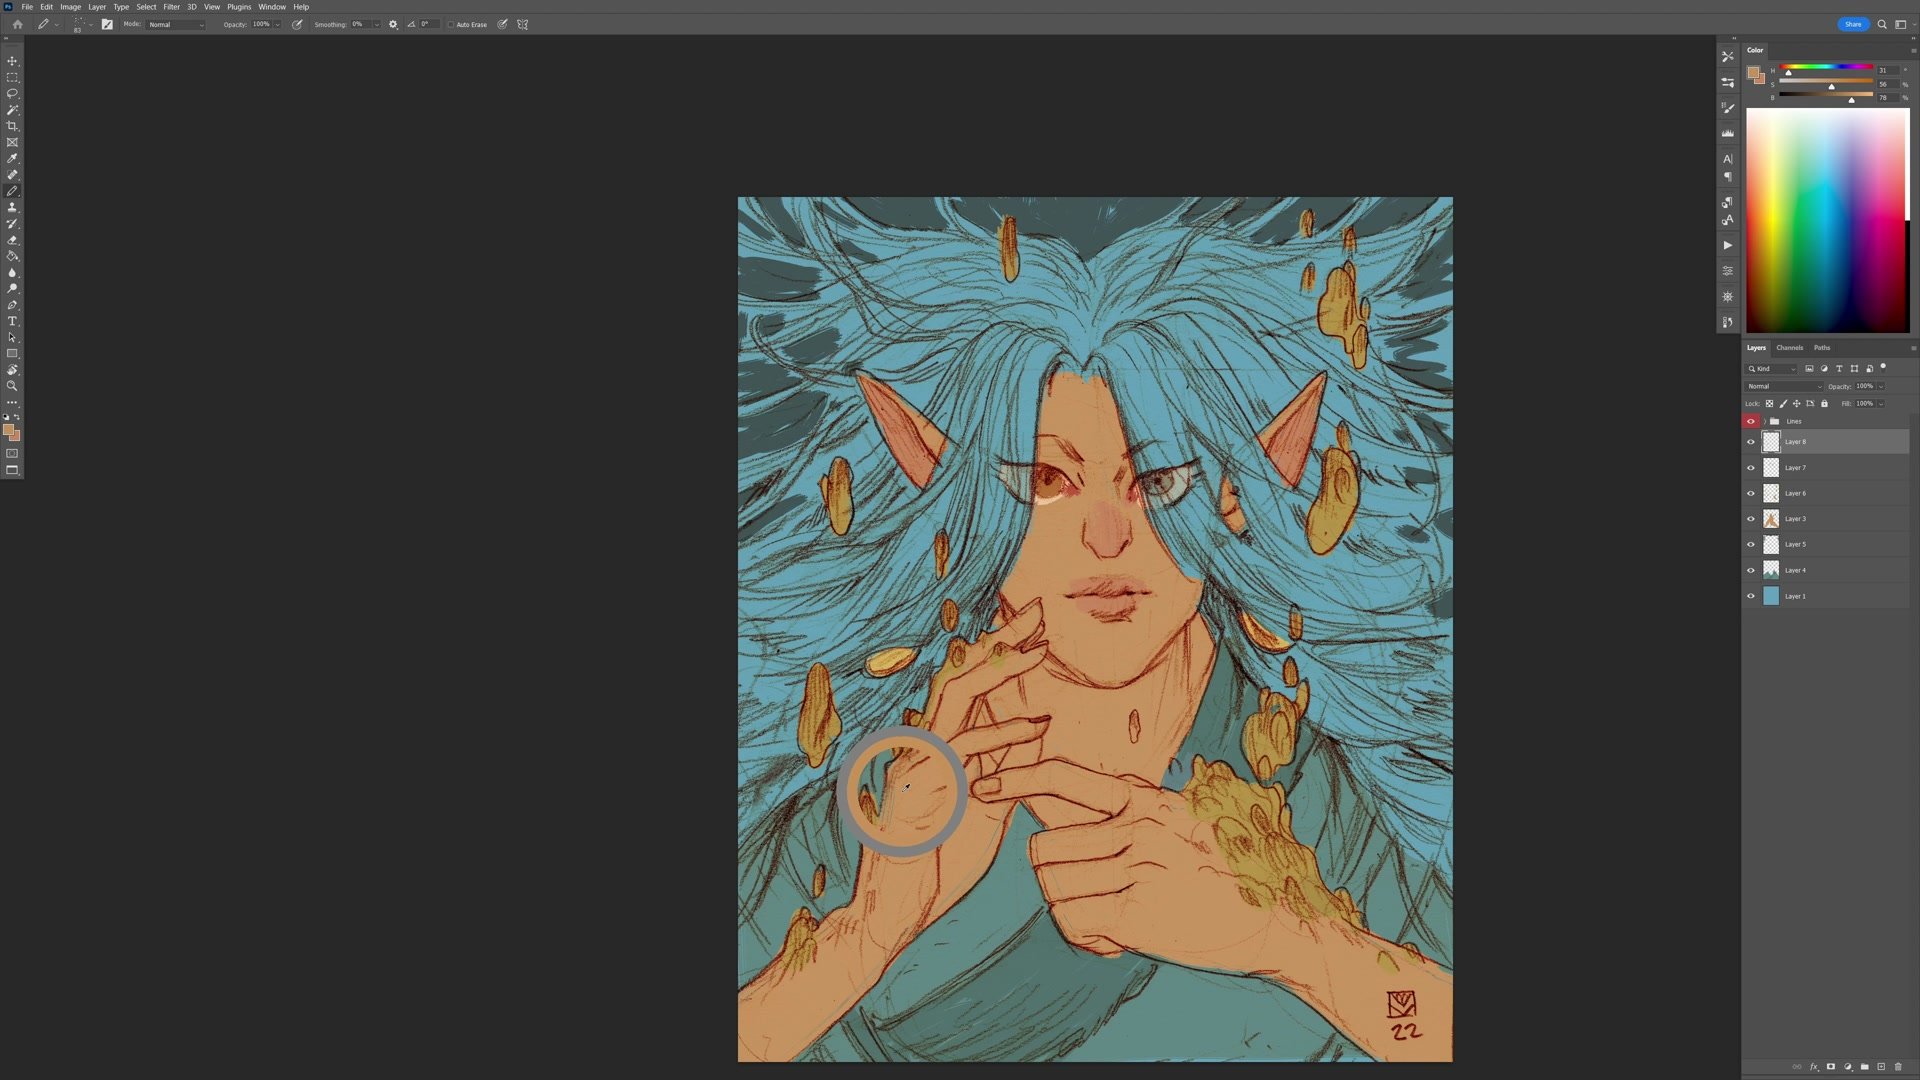
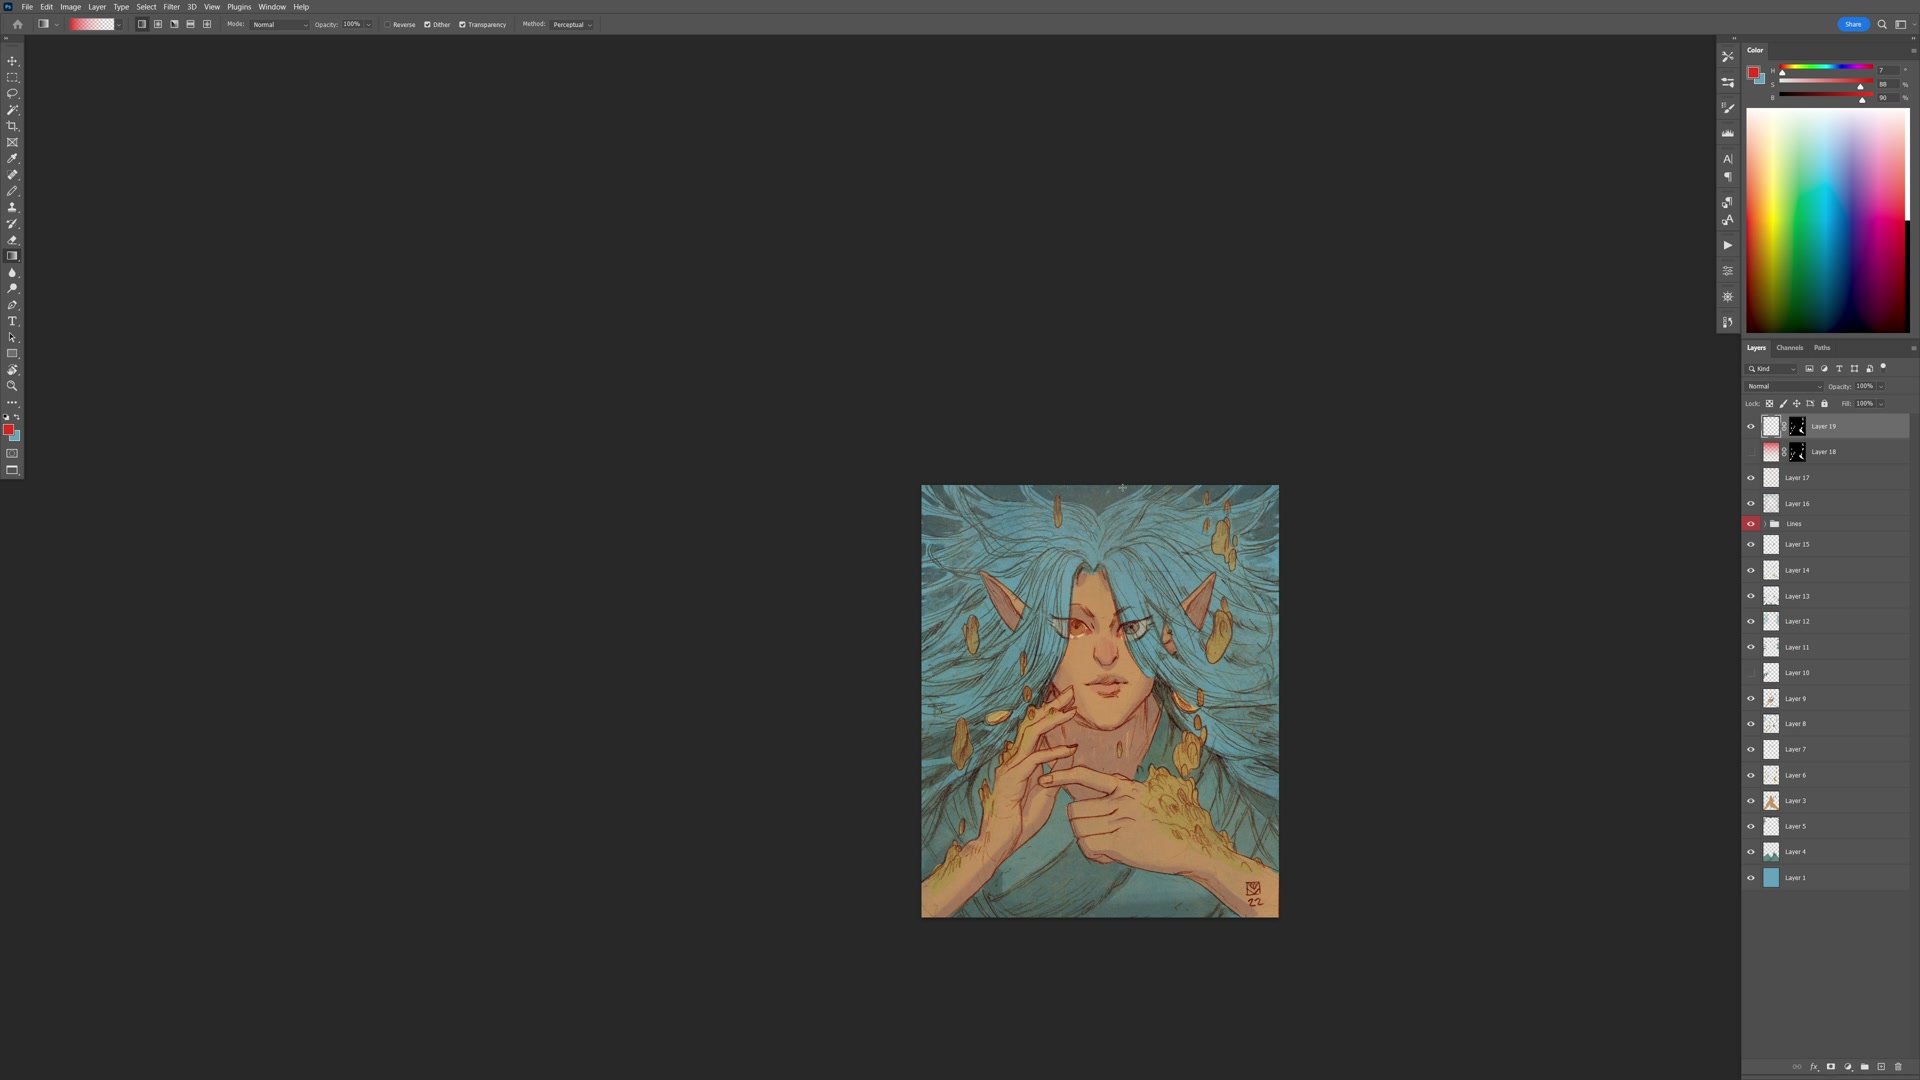
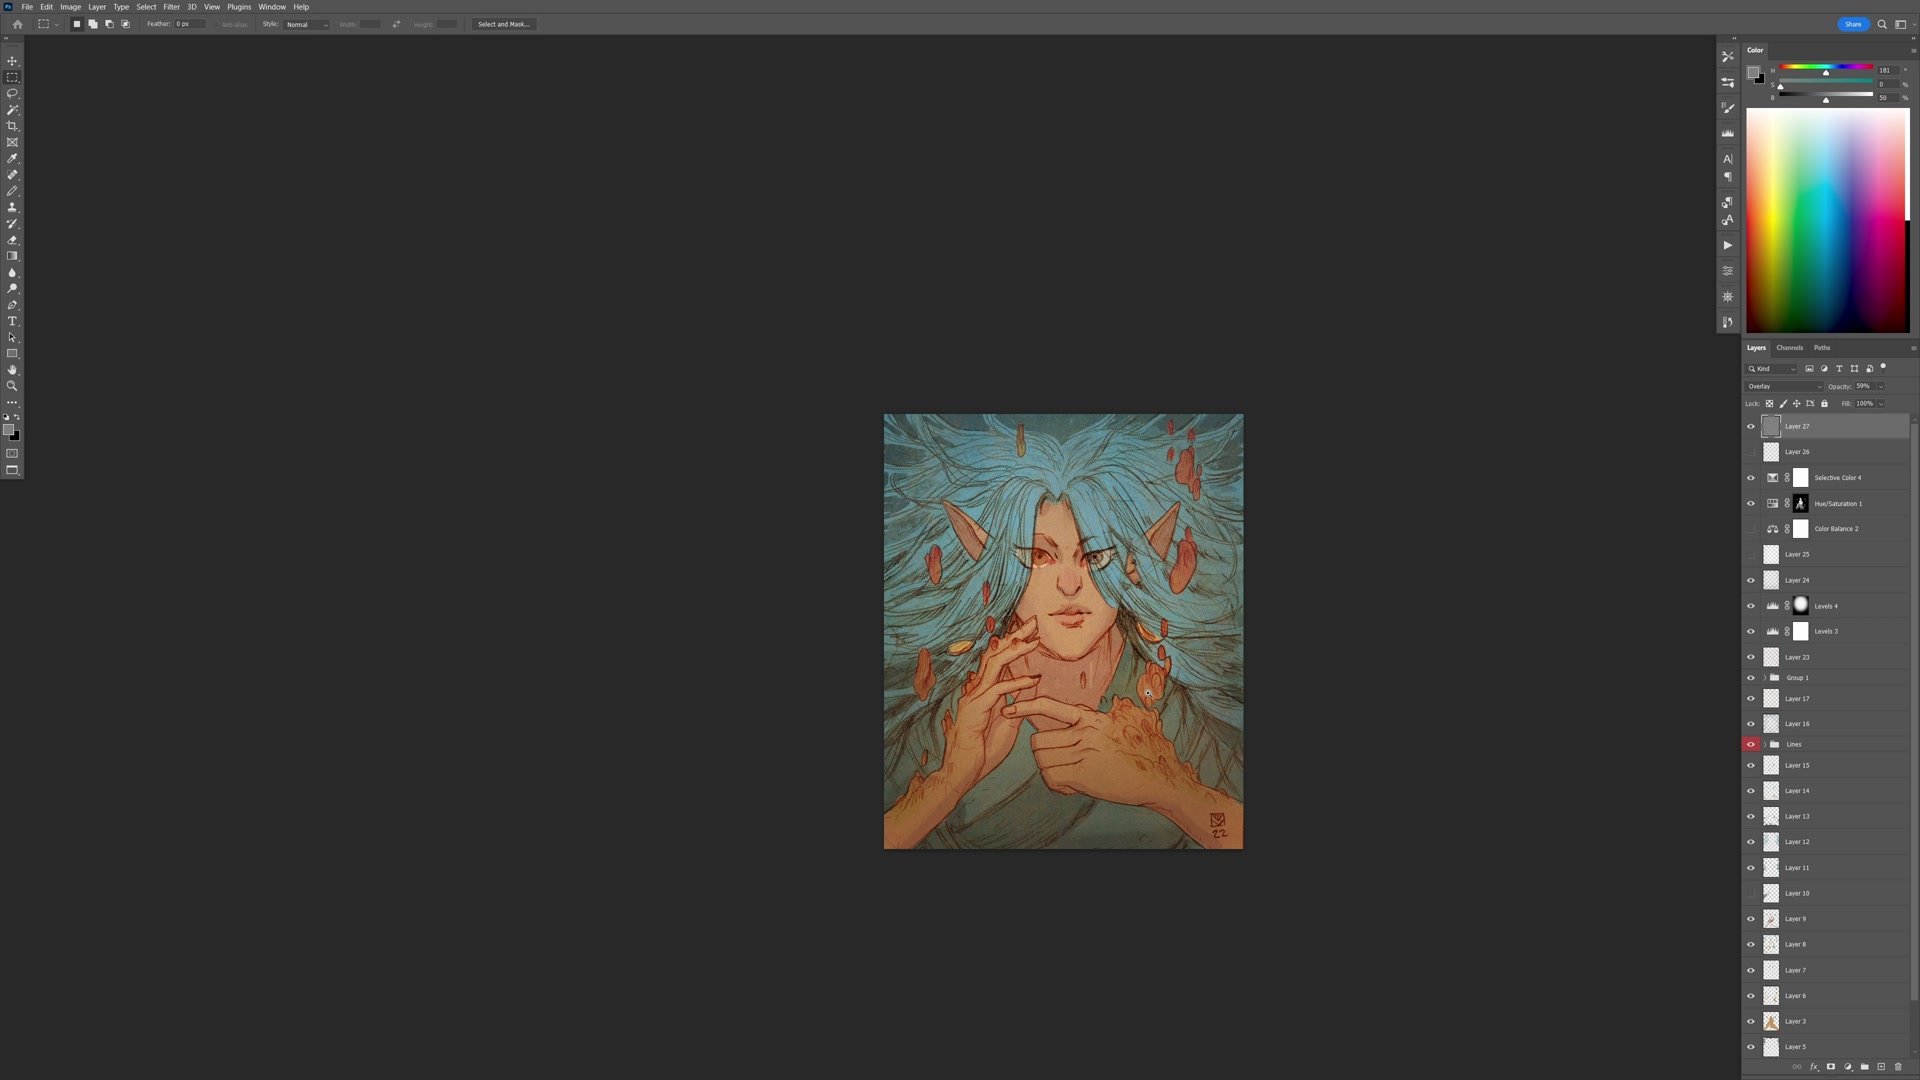
Color experimentation happens freely at this stage. Hue/Saturation adjustments transform the magic elements from purple to blue to golden to red, testing what creates the most visual interest. Gradients on overlay and hard light layers push warm-to-cool shifts across the composition. Selective color adjustments fine-tune specific hue ranges. A noise layer at the very end adds an analog texture that unifies everything. Throughout all of this, the approach is to push adjustments too far and then pull them back, which often reveals better results than cautiously adding small amounts.
Final Result
Key Techniques
Separate Layers Per Element: Blocking each color area on its own layer allows independent hue/saturation adjustments and selective shadow work without affecting neighboring elements.
Keep Flats Above 50% Value: Maintaining brighter flat colors preserves the line and color aesthetic, letting the pencil lines carry the structural drawing while color handles graphic impact.
Hard Brush to Eraser Shadows: Blocking in shadows with a hard brush then softening with the eraser naturally produces cast and form shadow distinctions without complex rendering.
Push Then Pull Back: Applying color adjustments, gradients, and textures too aggressively and then reducing opacity often yields more interesting results than cautious incremental changes.
Try This Approach
Start With One Color: Pick the most obvious color from the subject and block in everything with that single hue. Let it define the overall temperature before introducing complements.
Build Contrast from Complement: Choose the complement of the dominant color for skin or focal areas, creating immediate graphic contrast with just two color families.
Experiment Freely: Use hue/saturation on individual layers to rapidly test alternate color schemes. Personal work has no brief, so let visual interest drive the decisions rather than logic.


