Draw With Me - Sketching in Procreate
Summary
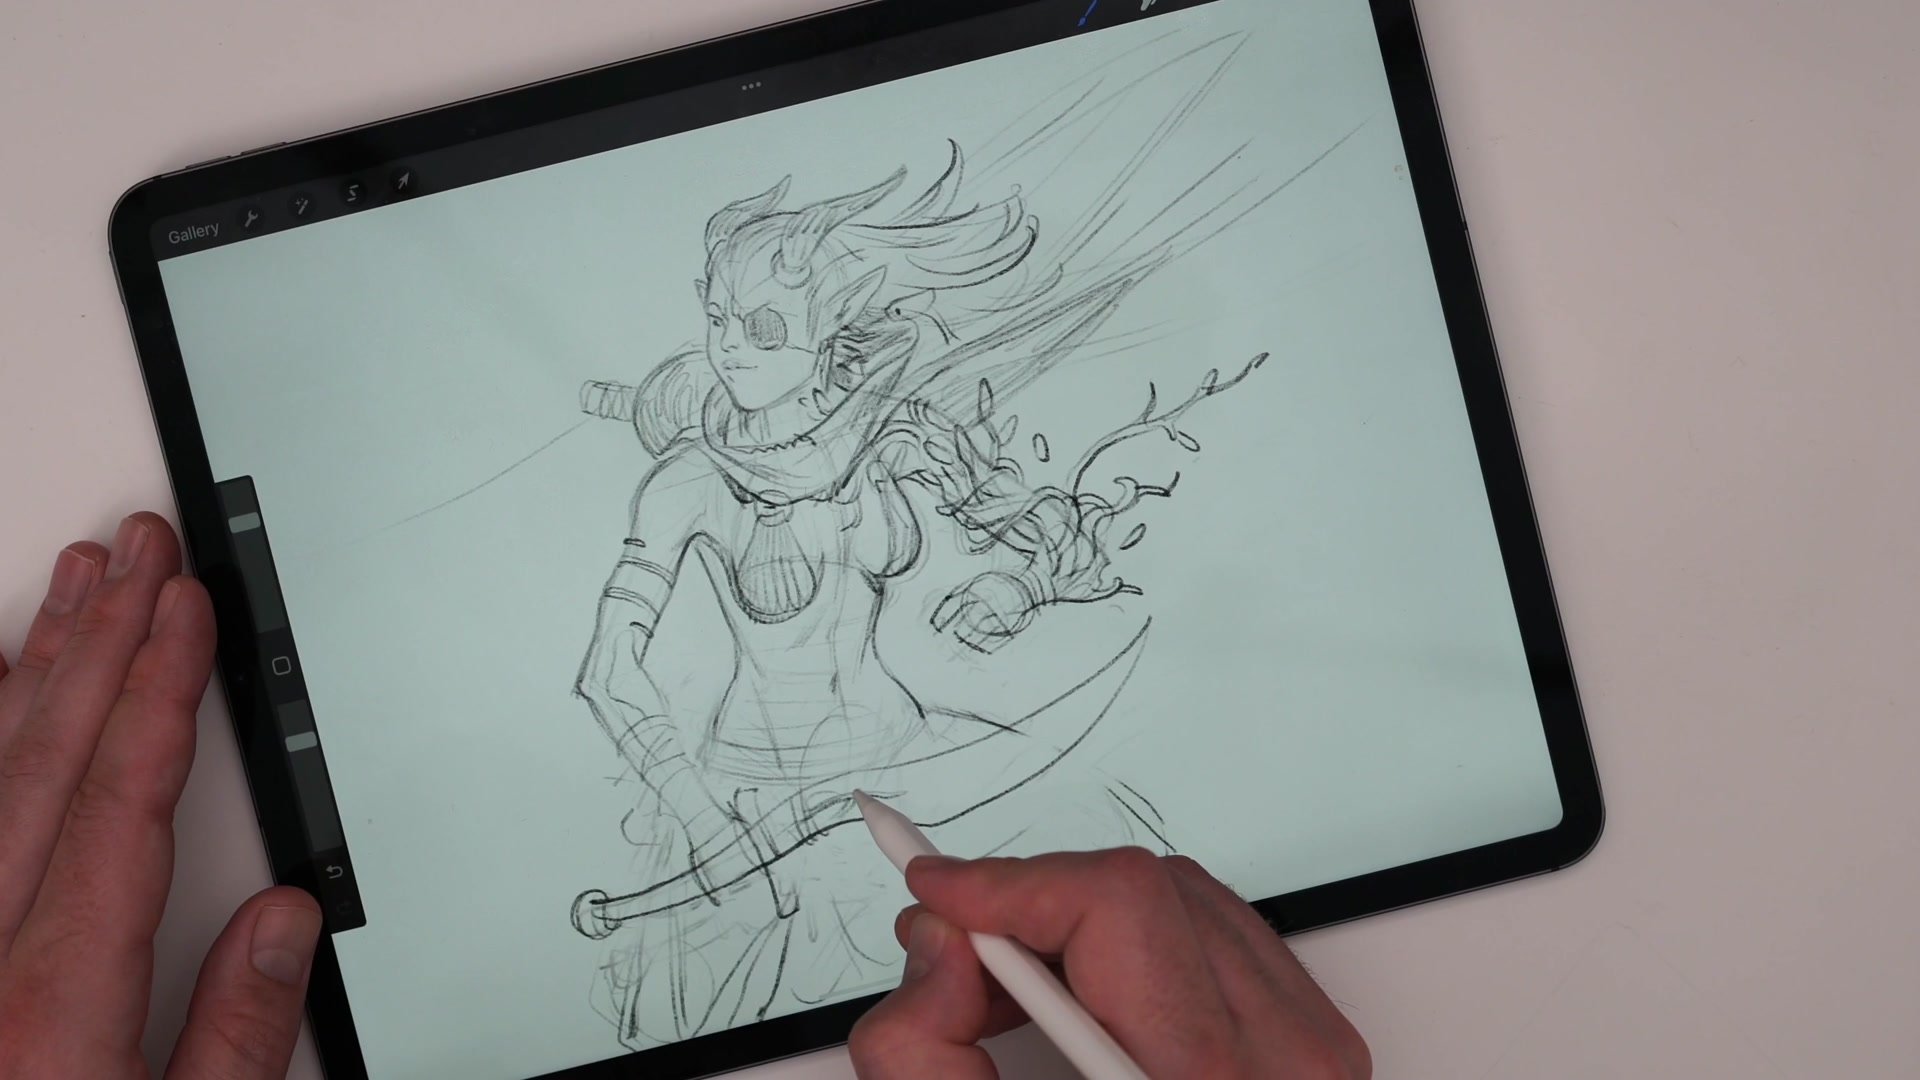
Sketching a Fantasy Character in Procreate
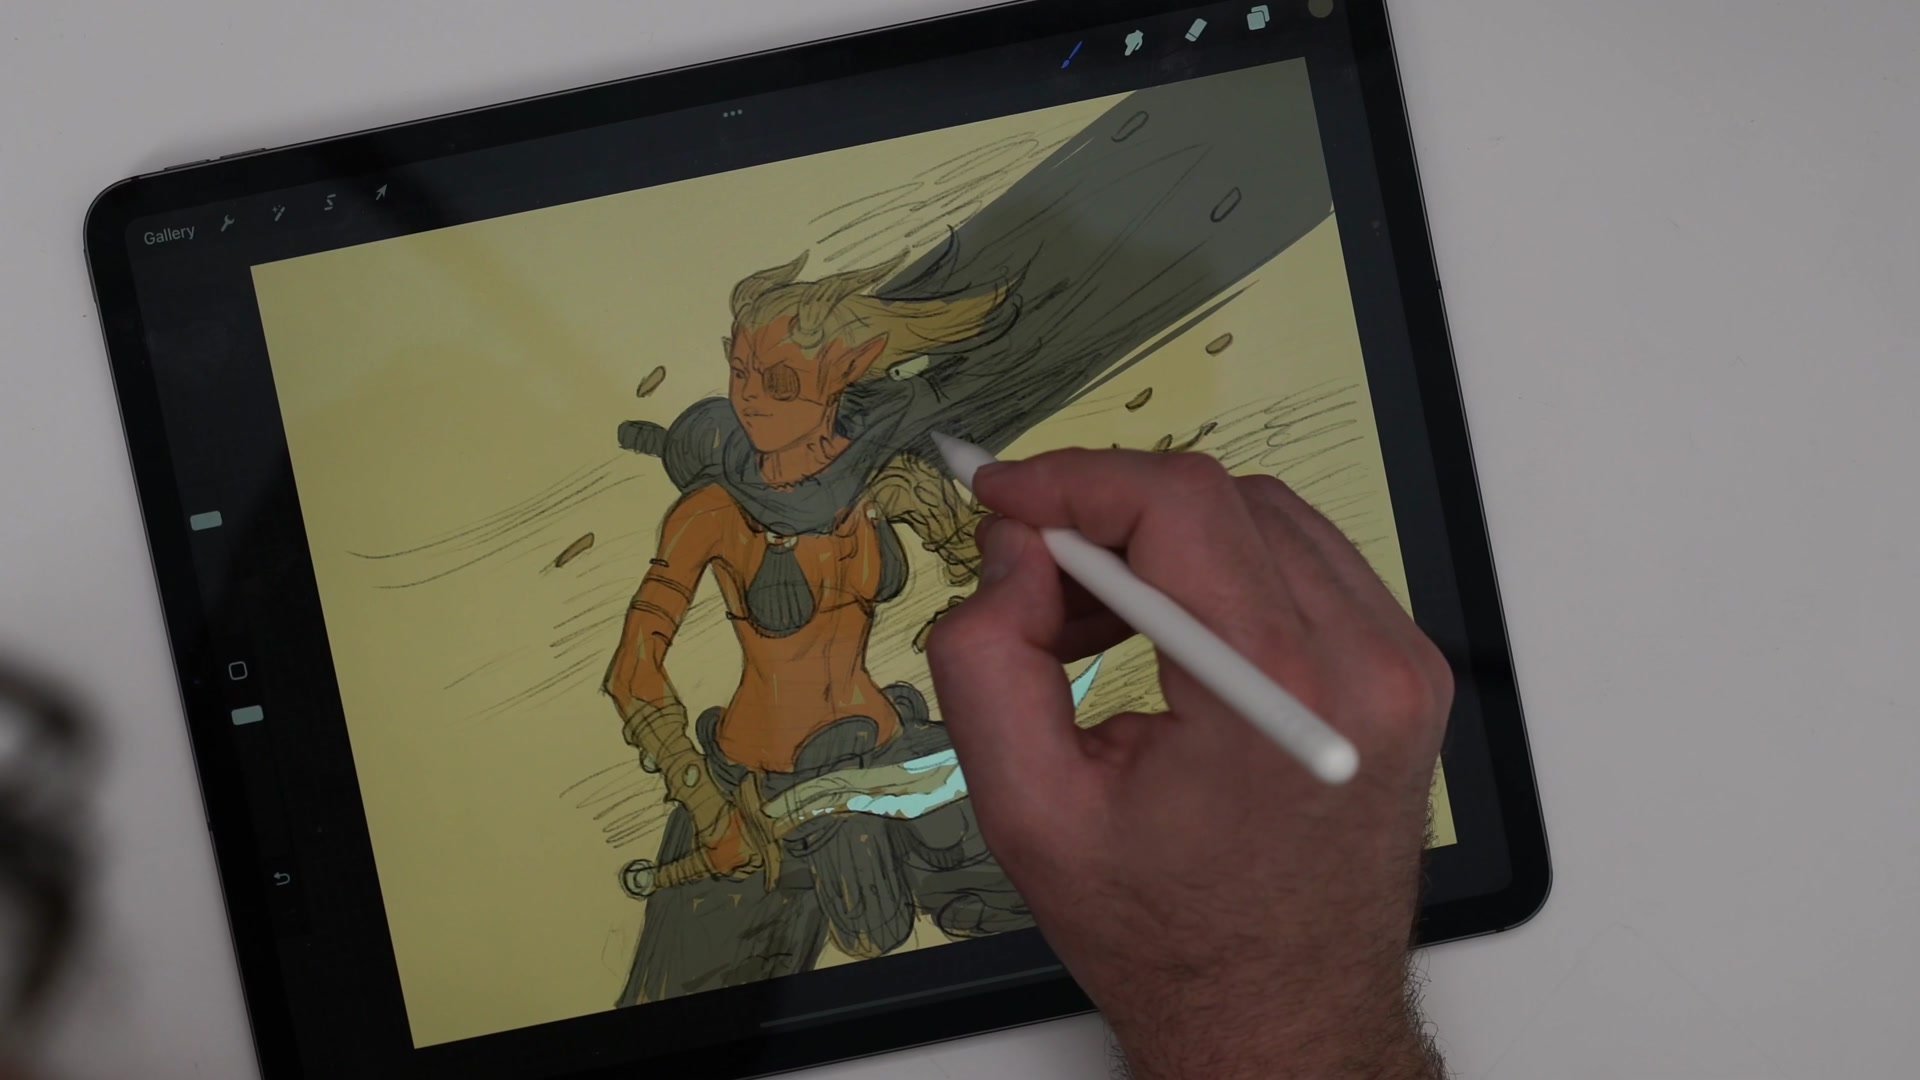
This session covers a full character sketch built from scratch on an iPad Pro using Procreate and an Apple Pencil. The subject is a fantasy swordswoman with tree magic elements, constructed from initial thumbnail concepts through anatomical blocking, detailed line refinement, and a complete color pass. The session runs roughly ninety minutes and captures the full reality of working in Procreate, including navigating the interface, adapting familiar processes to a different tool, and solving drawing problems in real time.
The core philosophy throughout is that a simple, reliable process transfers across any software. The same sketch-to-line-to-color approach that works in Photoshop applies directly in Procreate, with only the tool-specific details changing.
Thumbnails and Construction
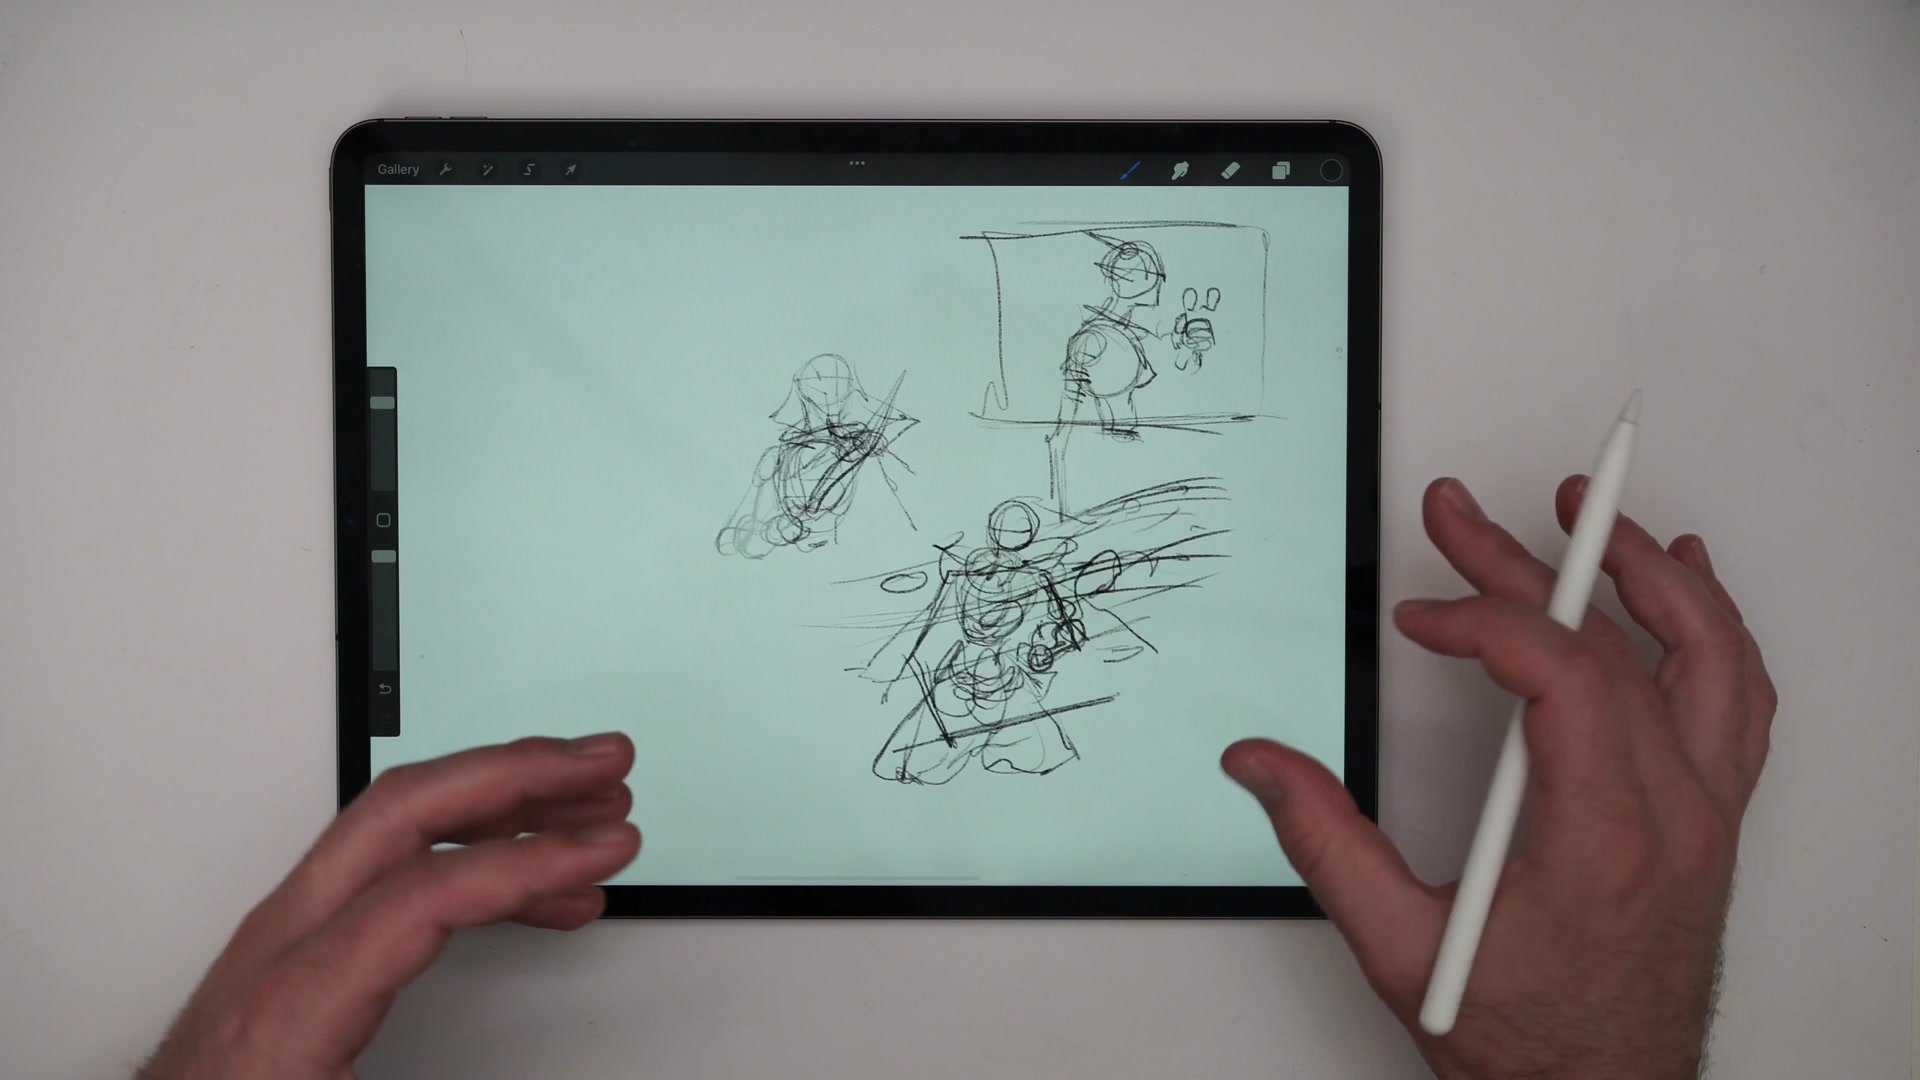
Simple Process, Any Tool
The session demonstrates a foundational principle: having a simple, reliable process matters more than the software. The workflow follows a consistent pattern across any digital tool. First, rough thumbnails establish the composition. Then a construction sketch builds the figure using Loomis method heads, cylinder-based hip structures, and center line anatomy. Finally, refined lines and color layers are added underneath.
Rather than learning every feature of Procreate before starting, the approach is to get drawing immediately with just one or two brushes. A 6B pencil variant handles all the construction and sketching work, while a flat inking brush covers the color blocking. When something is unclear in the interface, the manual gets consulted in the moment. The goal is staying in the drawing, not the software.
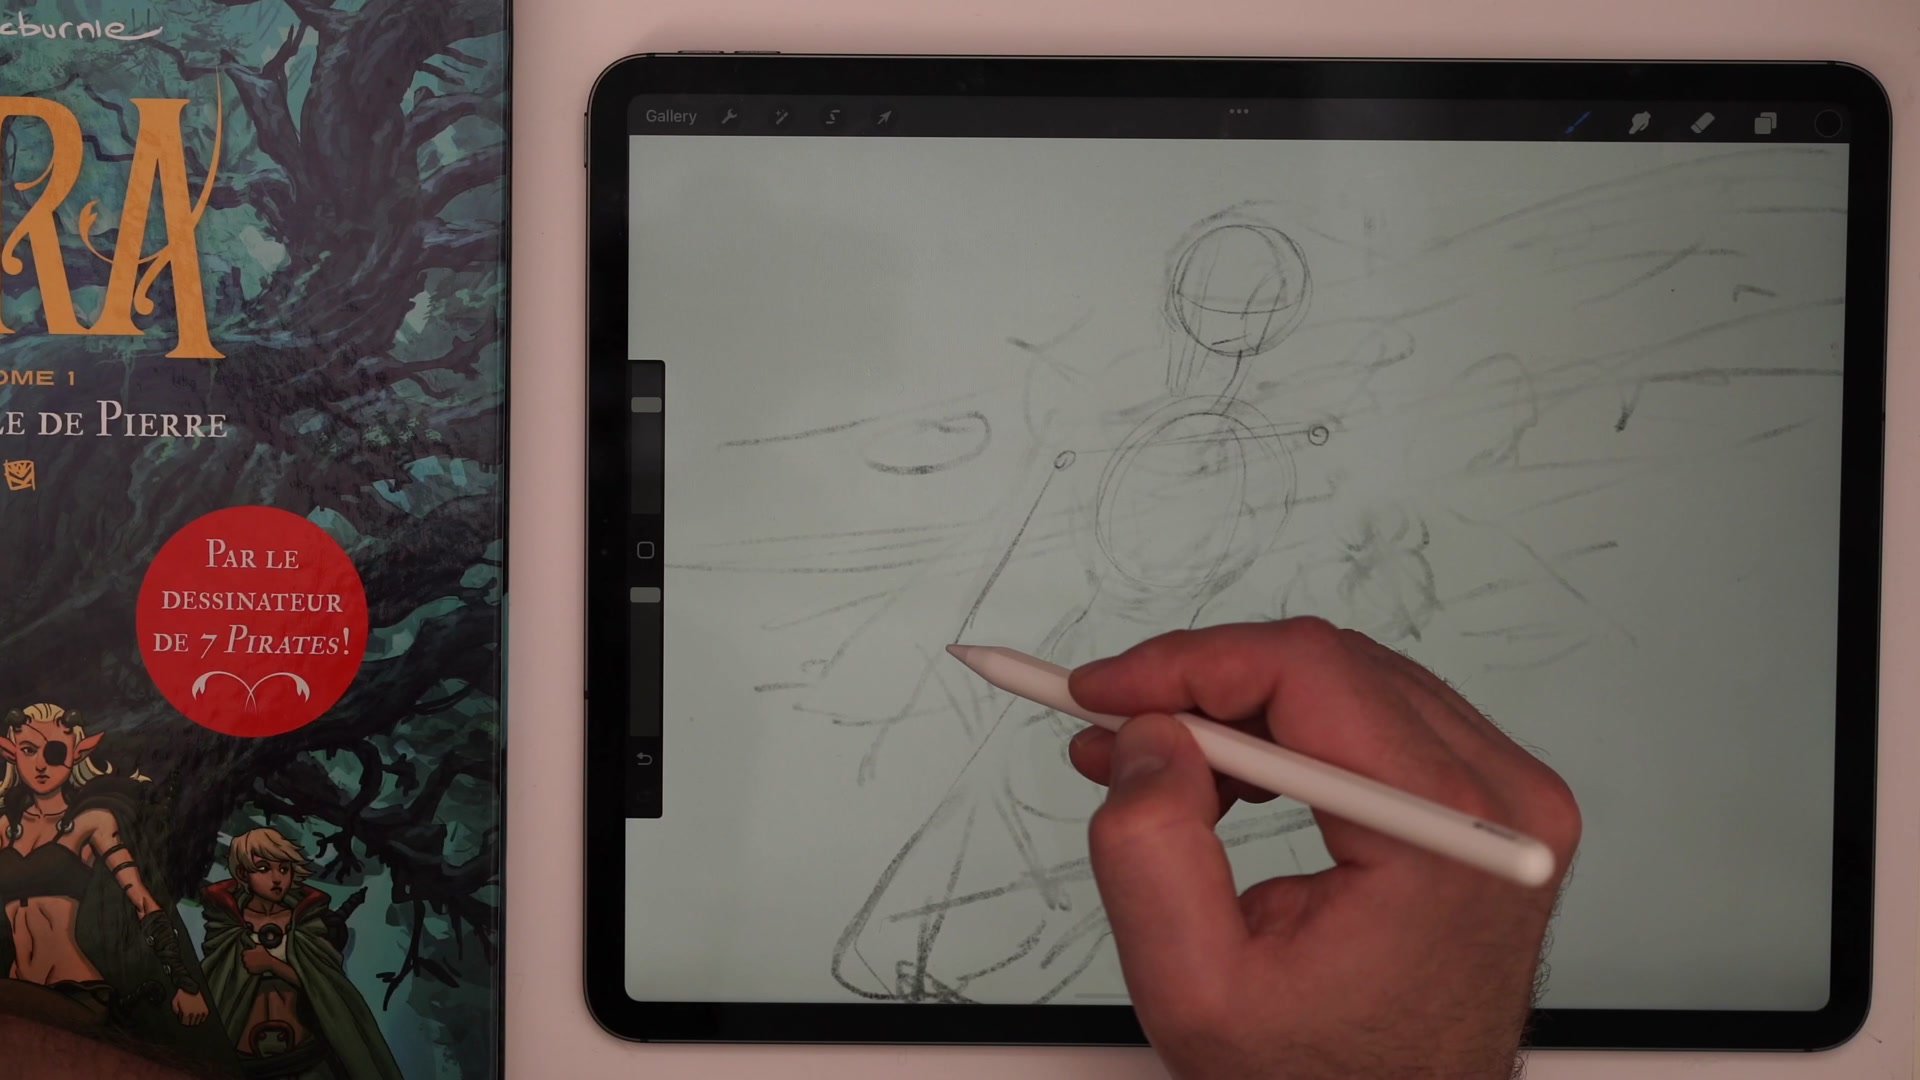
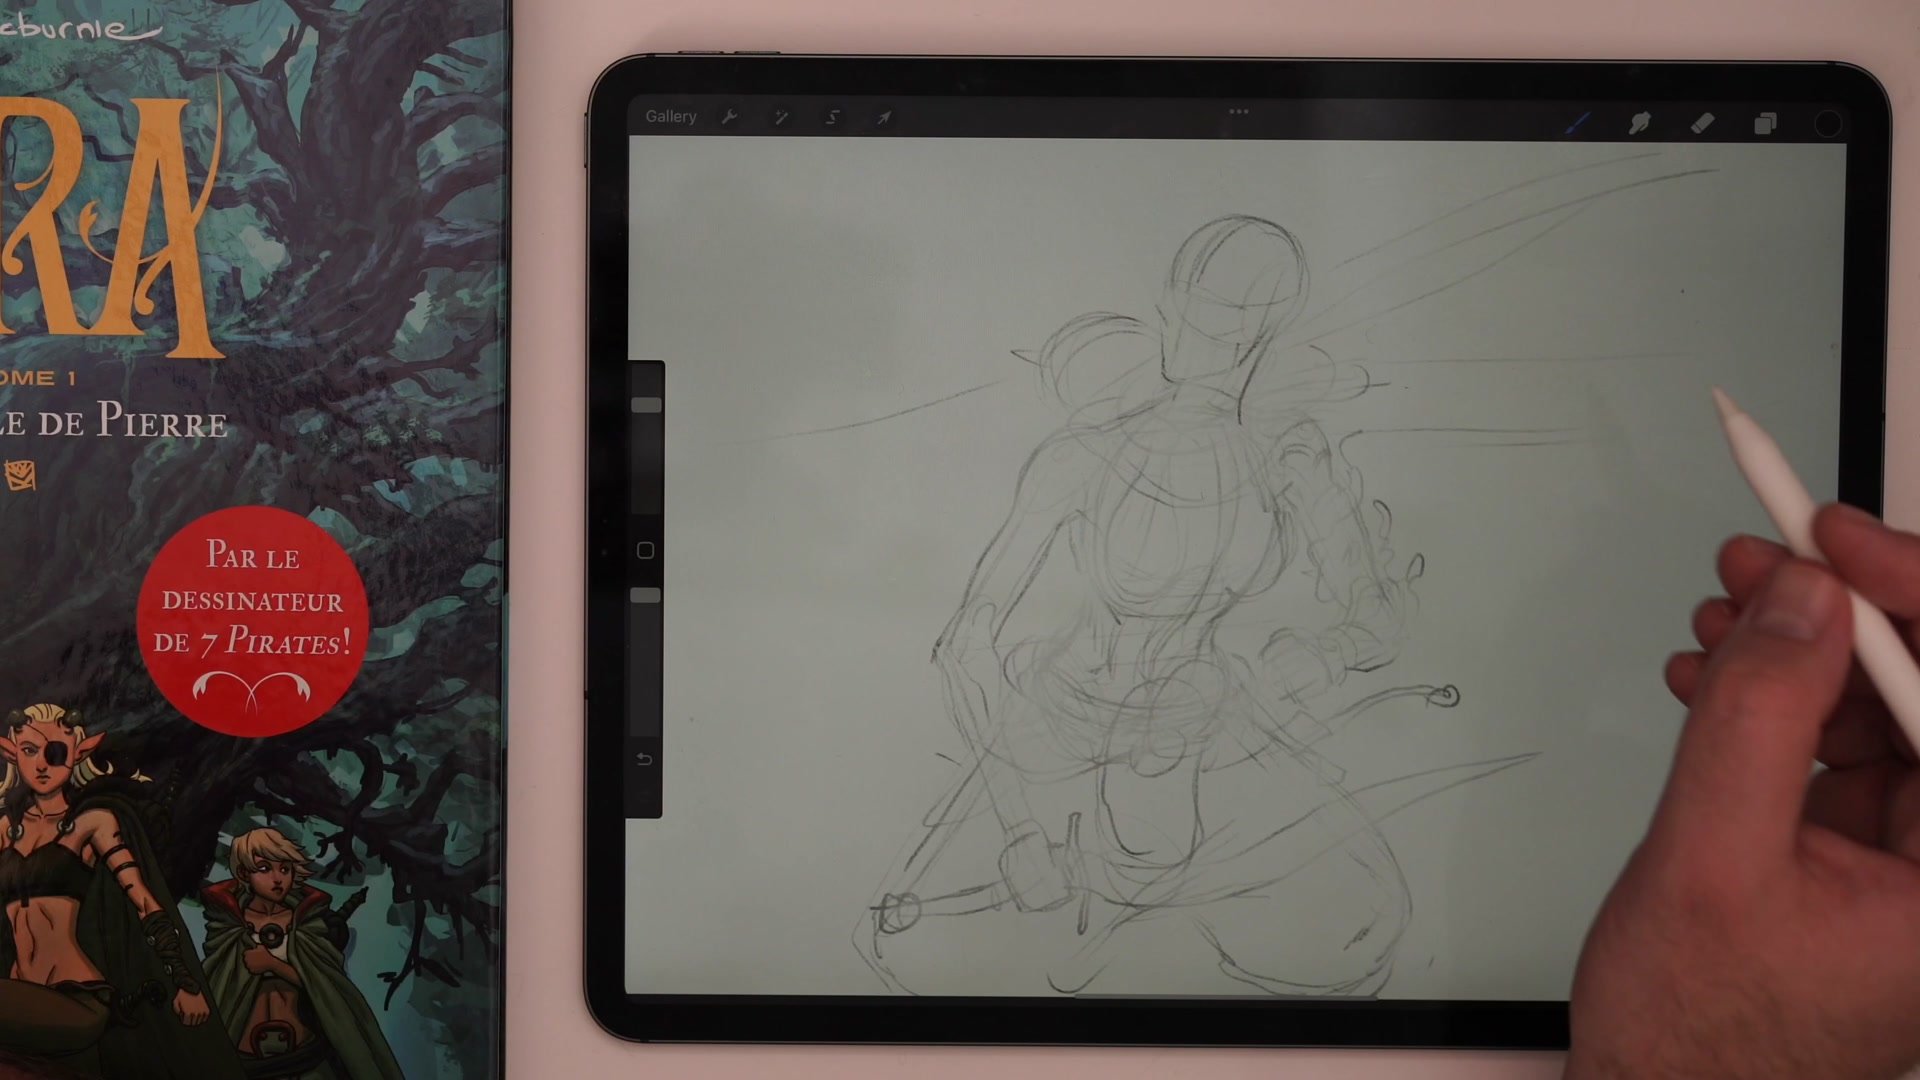
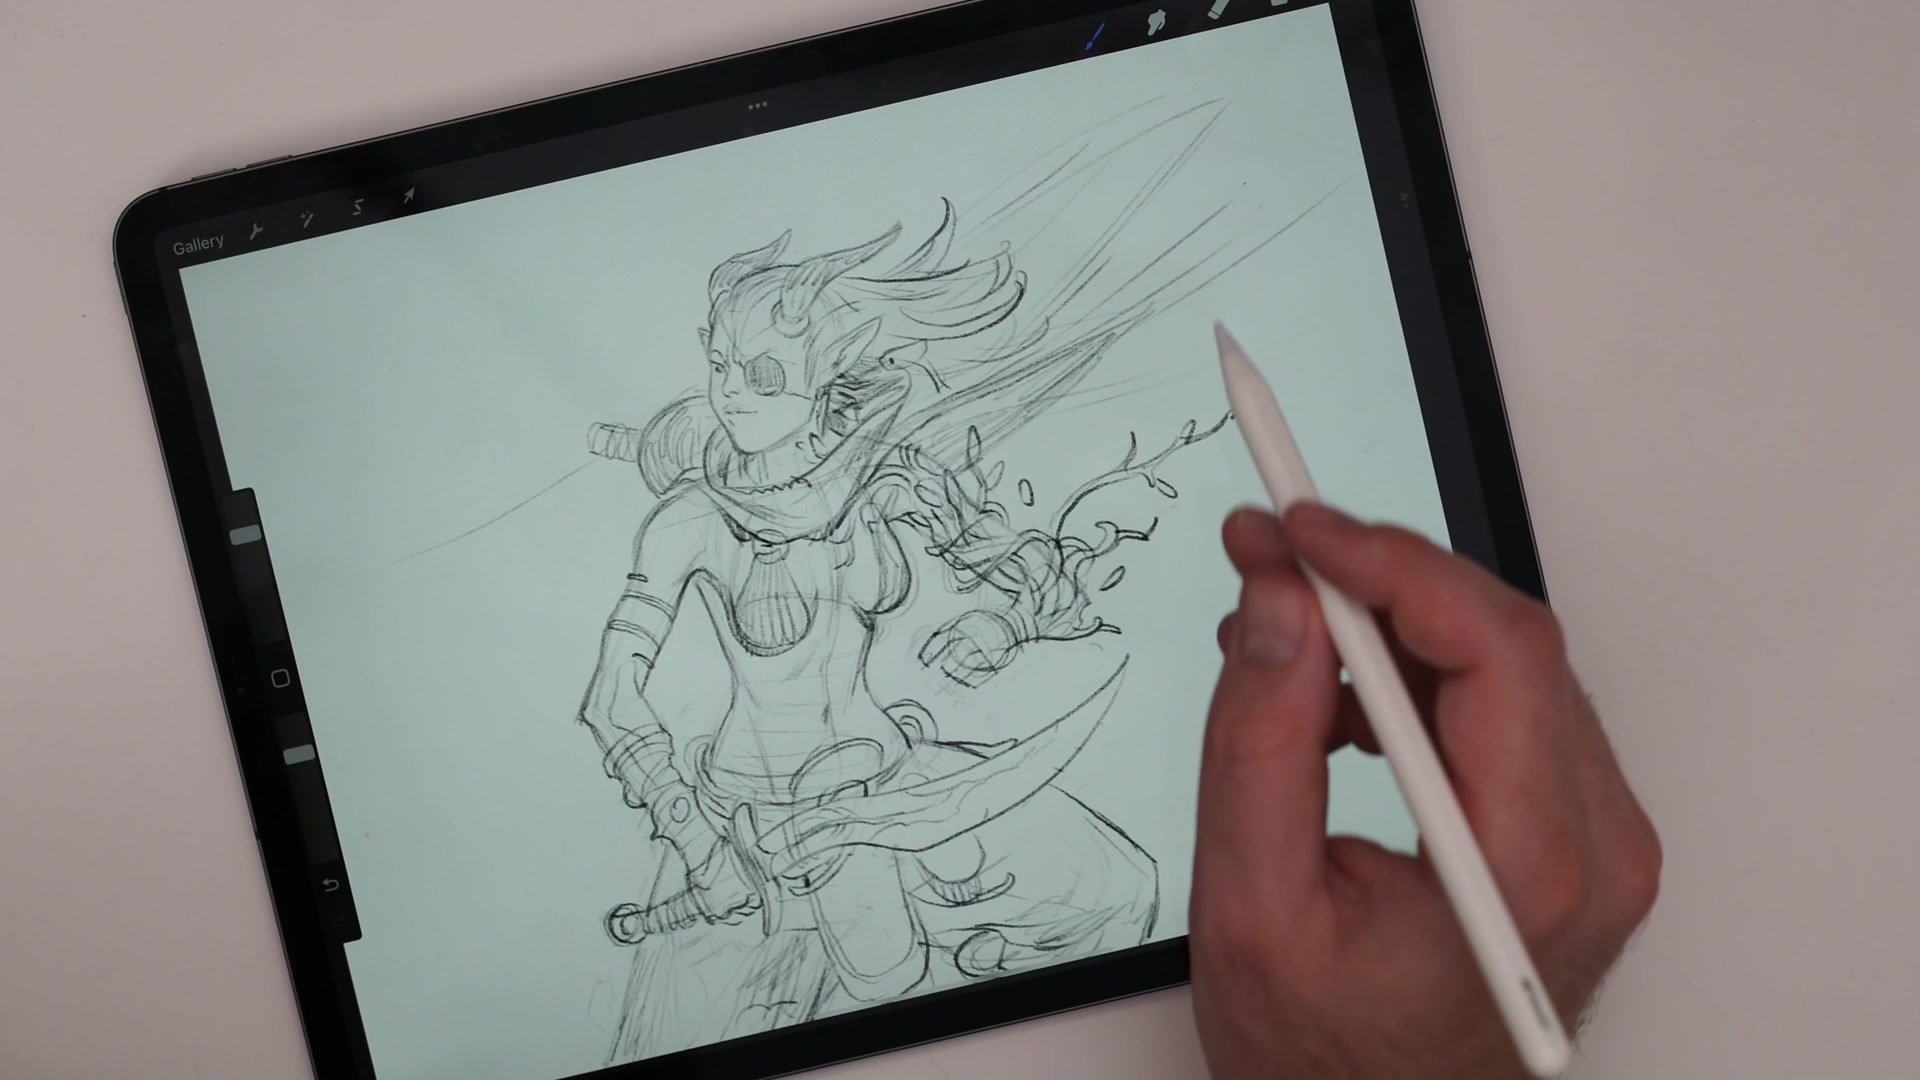
Anatomy and Refinement
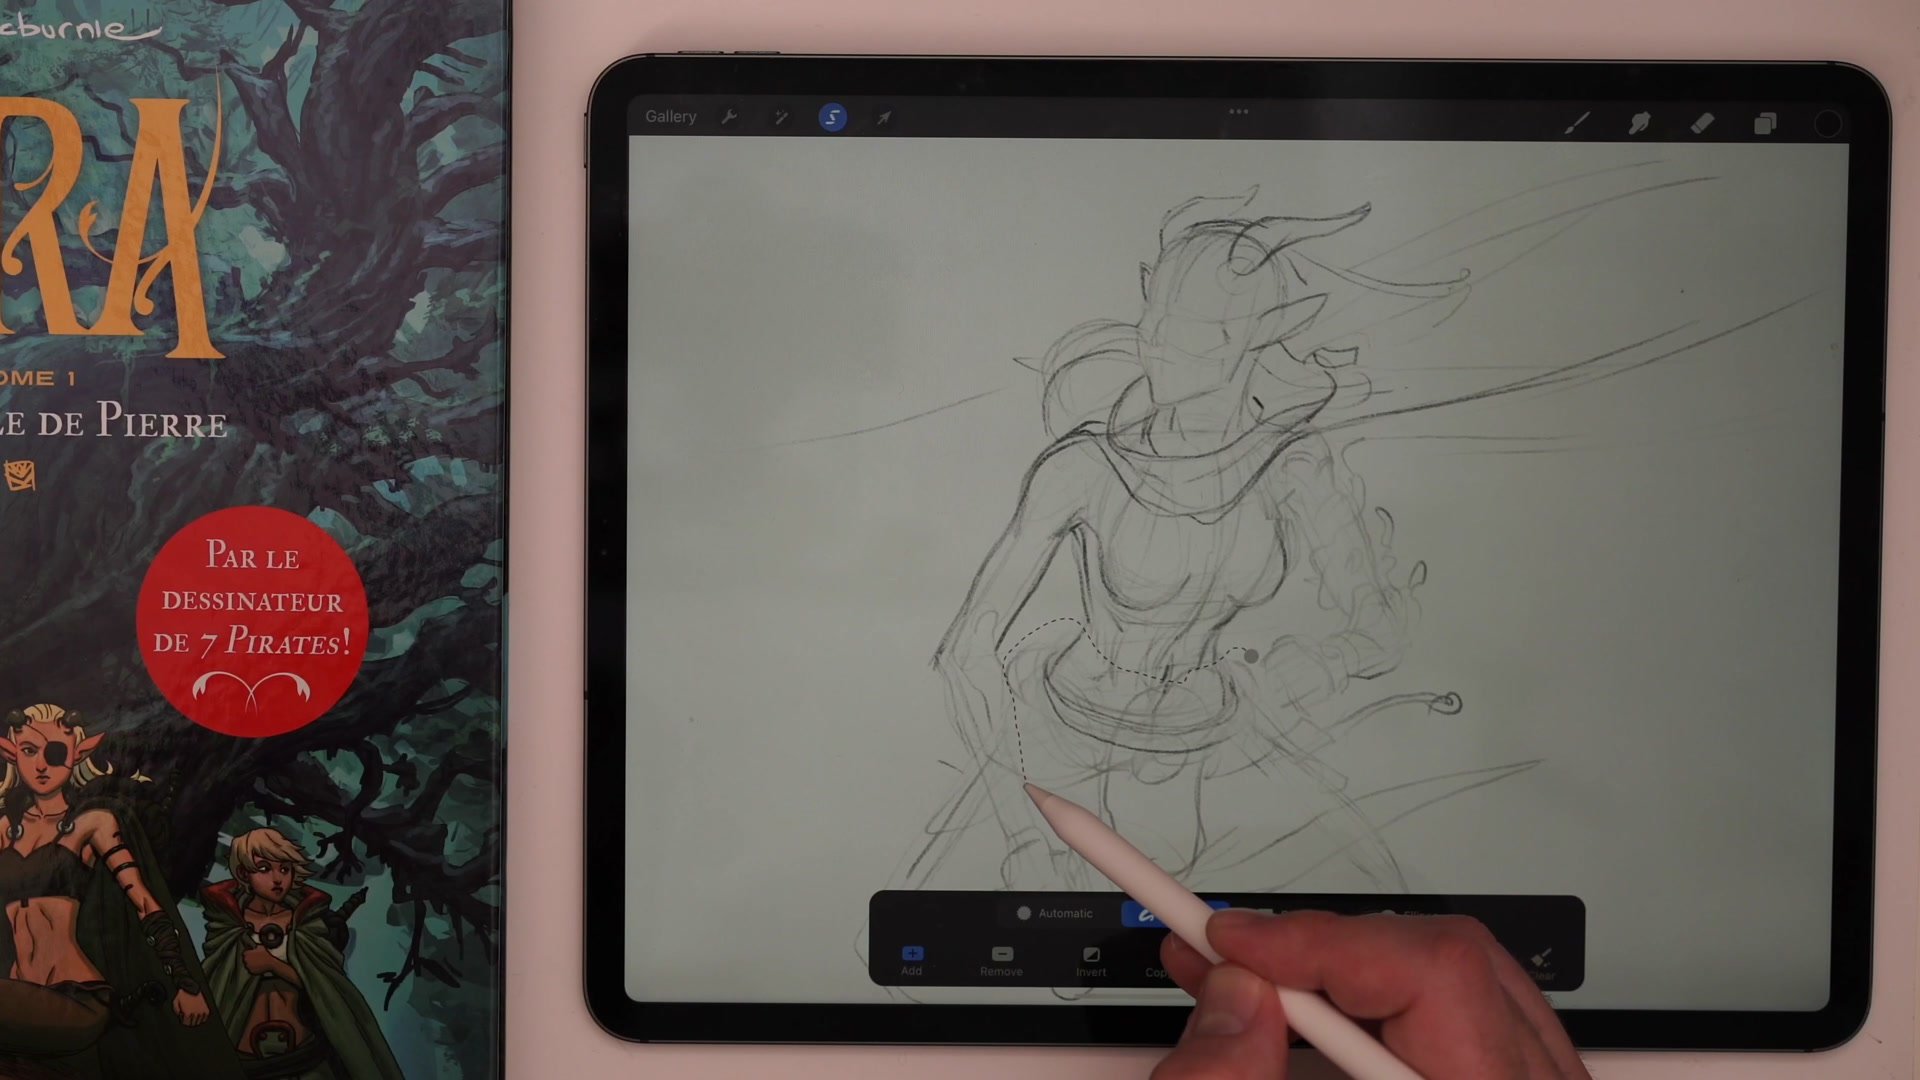
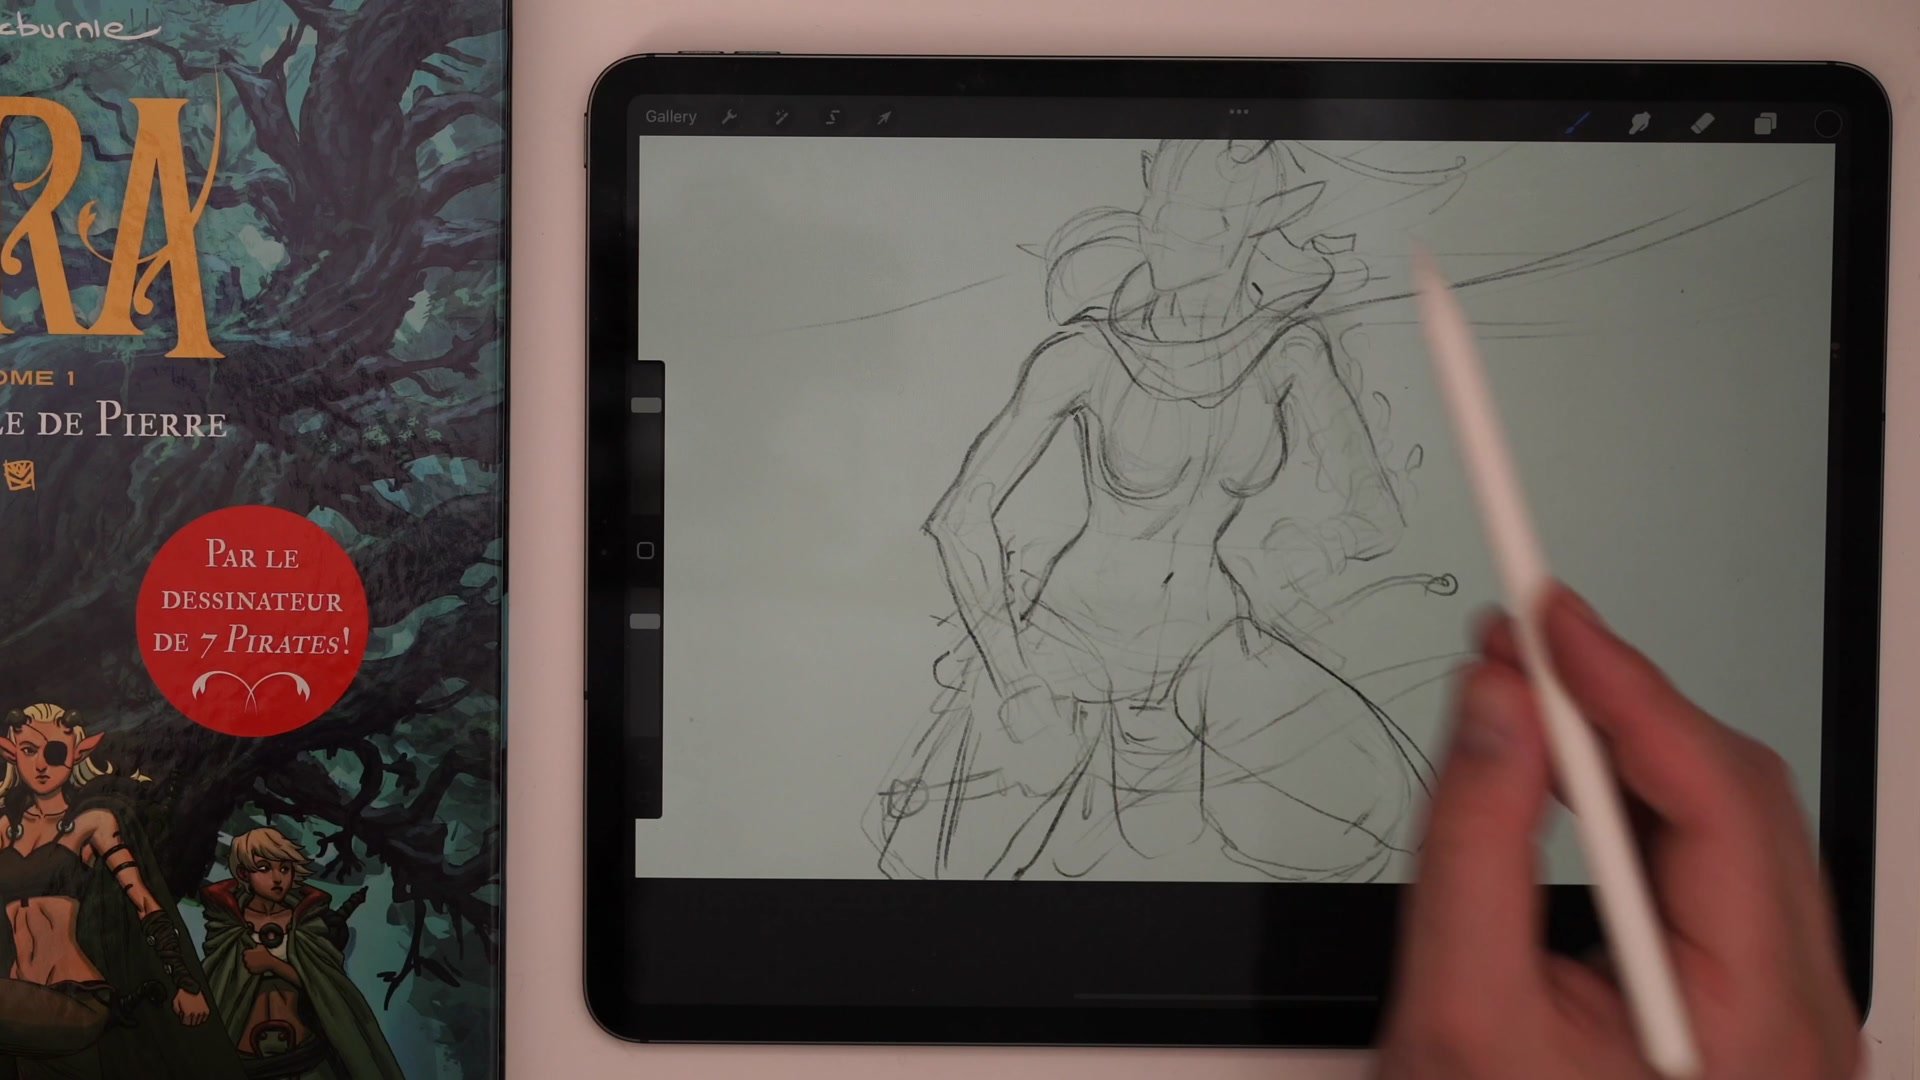
Construction and Problem Solving
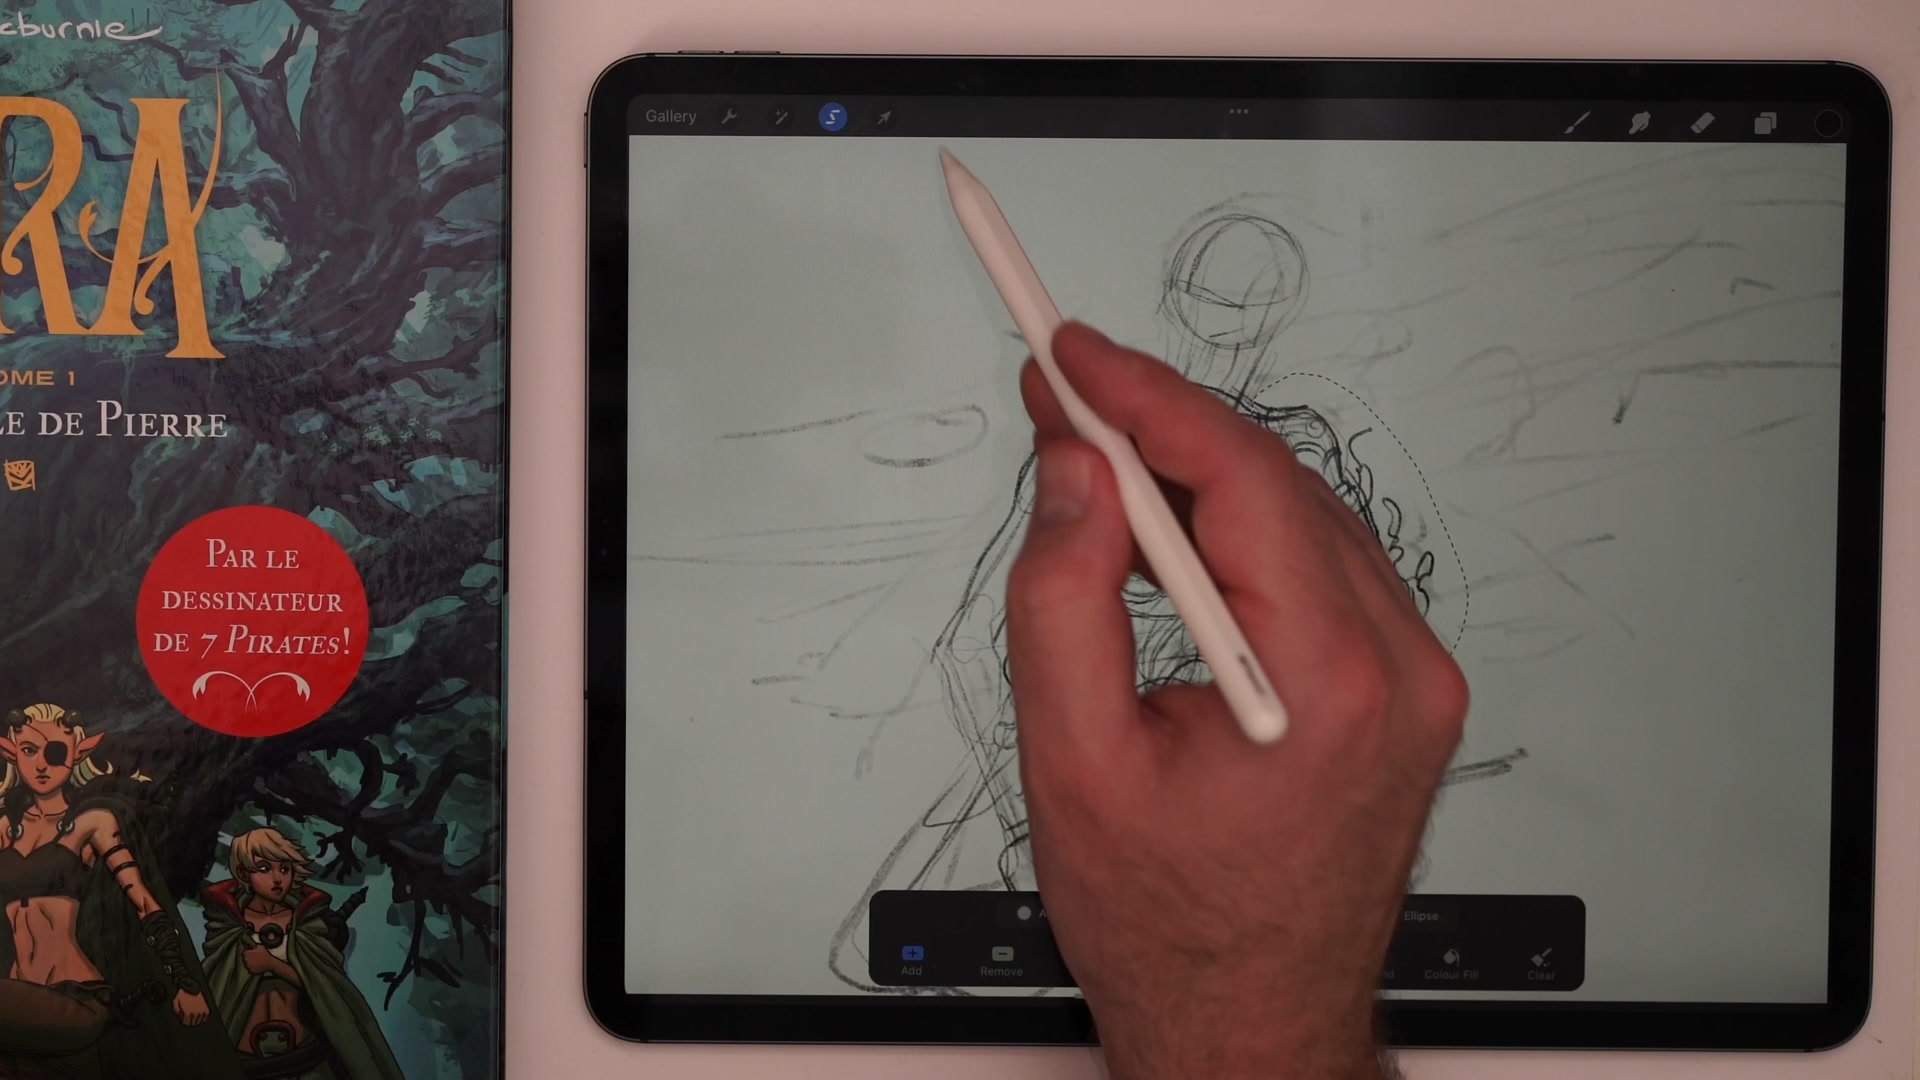
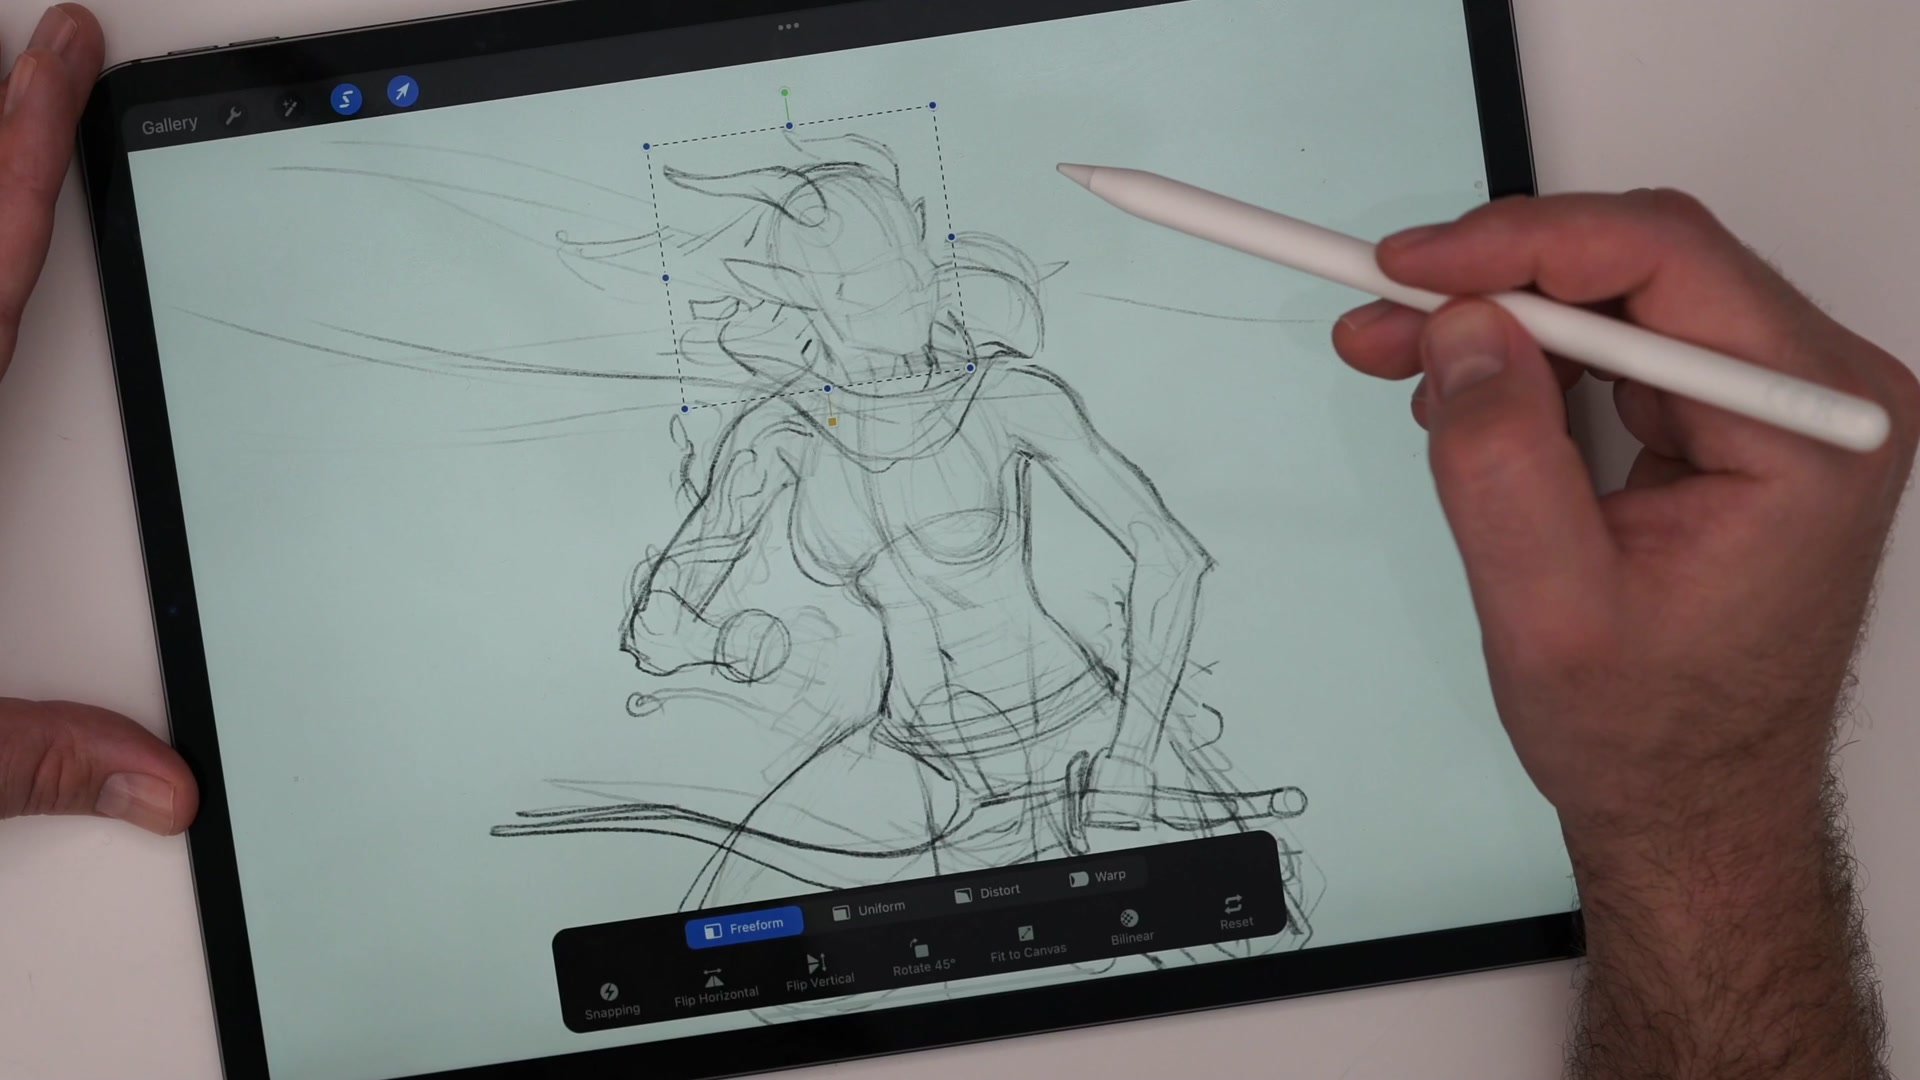
A significant portion of the session focuses on solving anatomical and proportional problems through construction. The torso gets built using rib cage and pelvis as independent masses, connected by center lines that define the twist and tilt of the pose. When proportions drift, the digital tools come into play. Freeform transform adjusts limb lengths without starting over, and flipping the canvas horizontally catches asymmetry that the eye misses.
These digital correction tools are presented as genuine advantages of working on a tablet. Proportion checking, quick adjustments, and canvas flipping all happen faster than traditional equivalents. At the same time, the session acknowledges that construction drawing often looks uglier digitally than on paper, and that pencil pressure control tends to feel more natural with traditional tools.
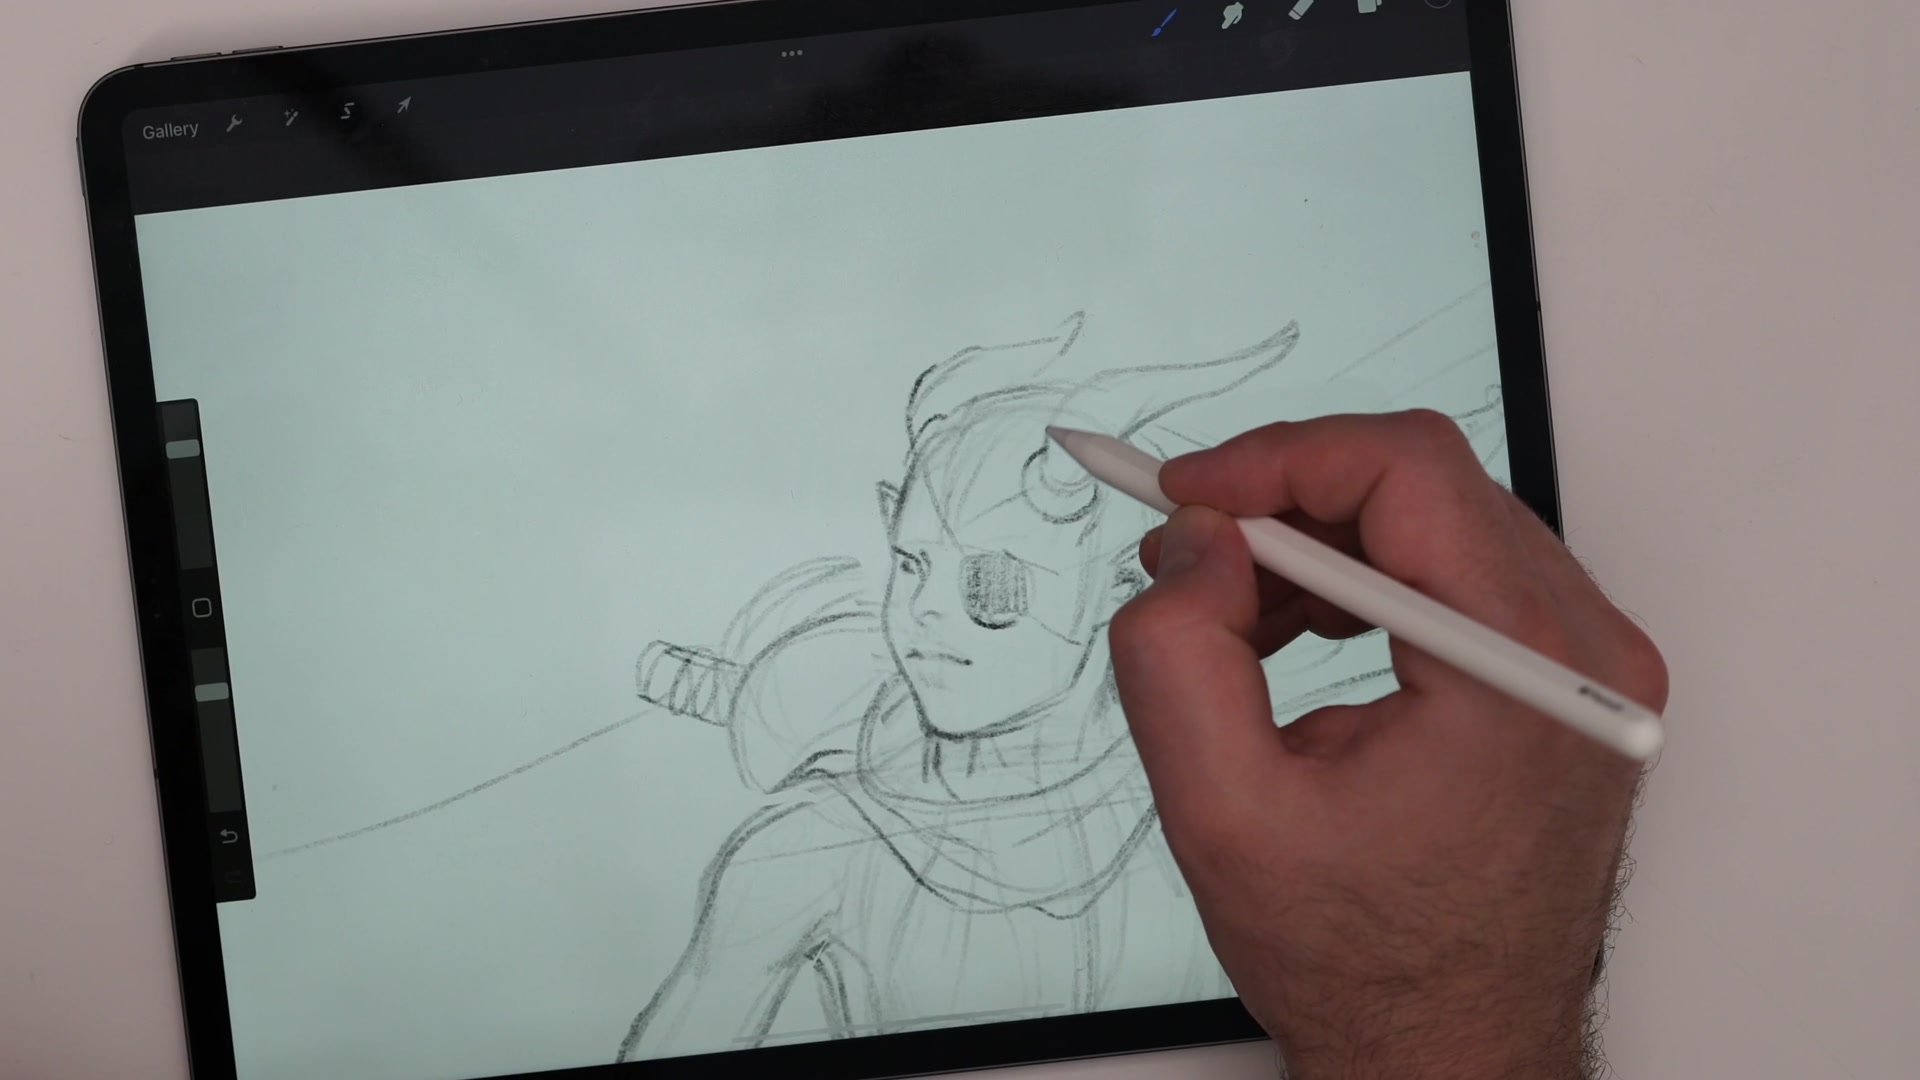
Detail and Line Work

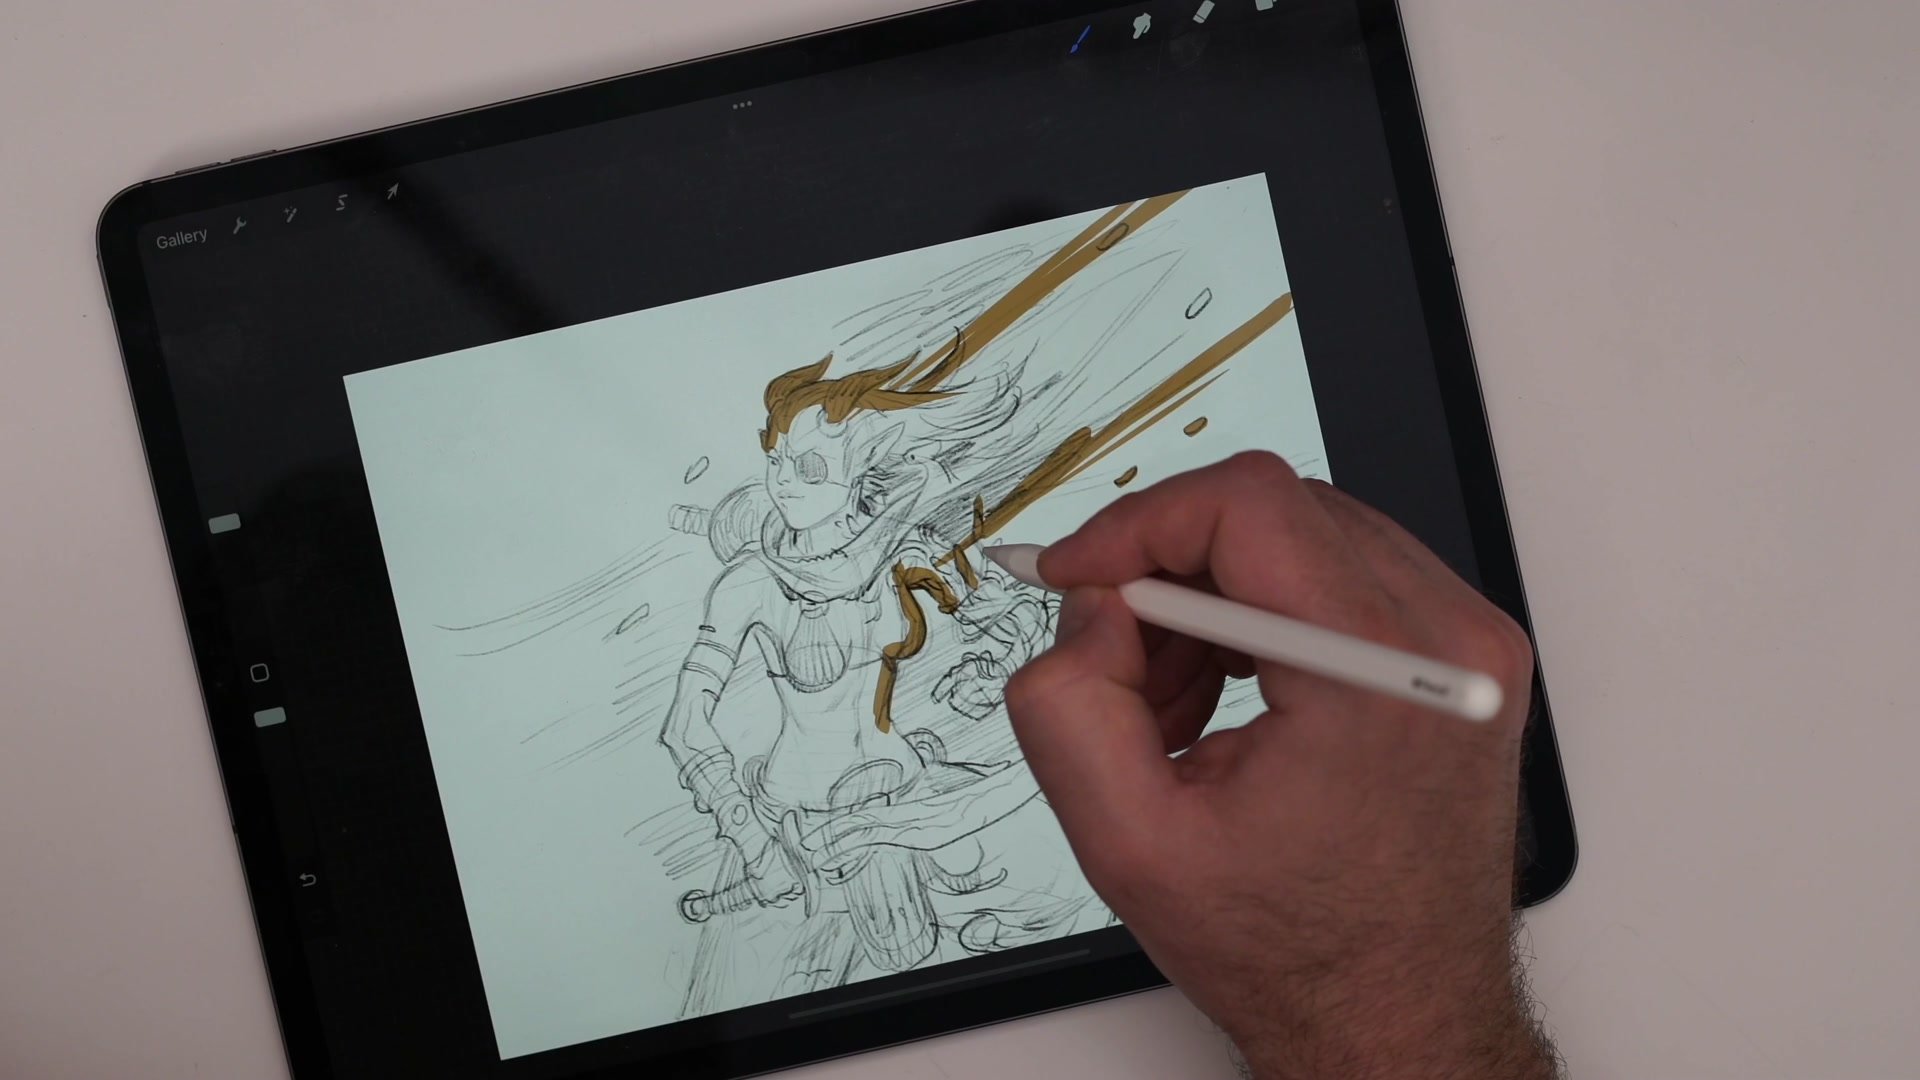
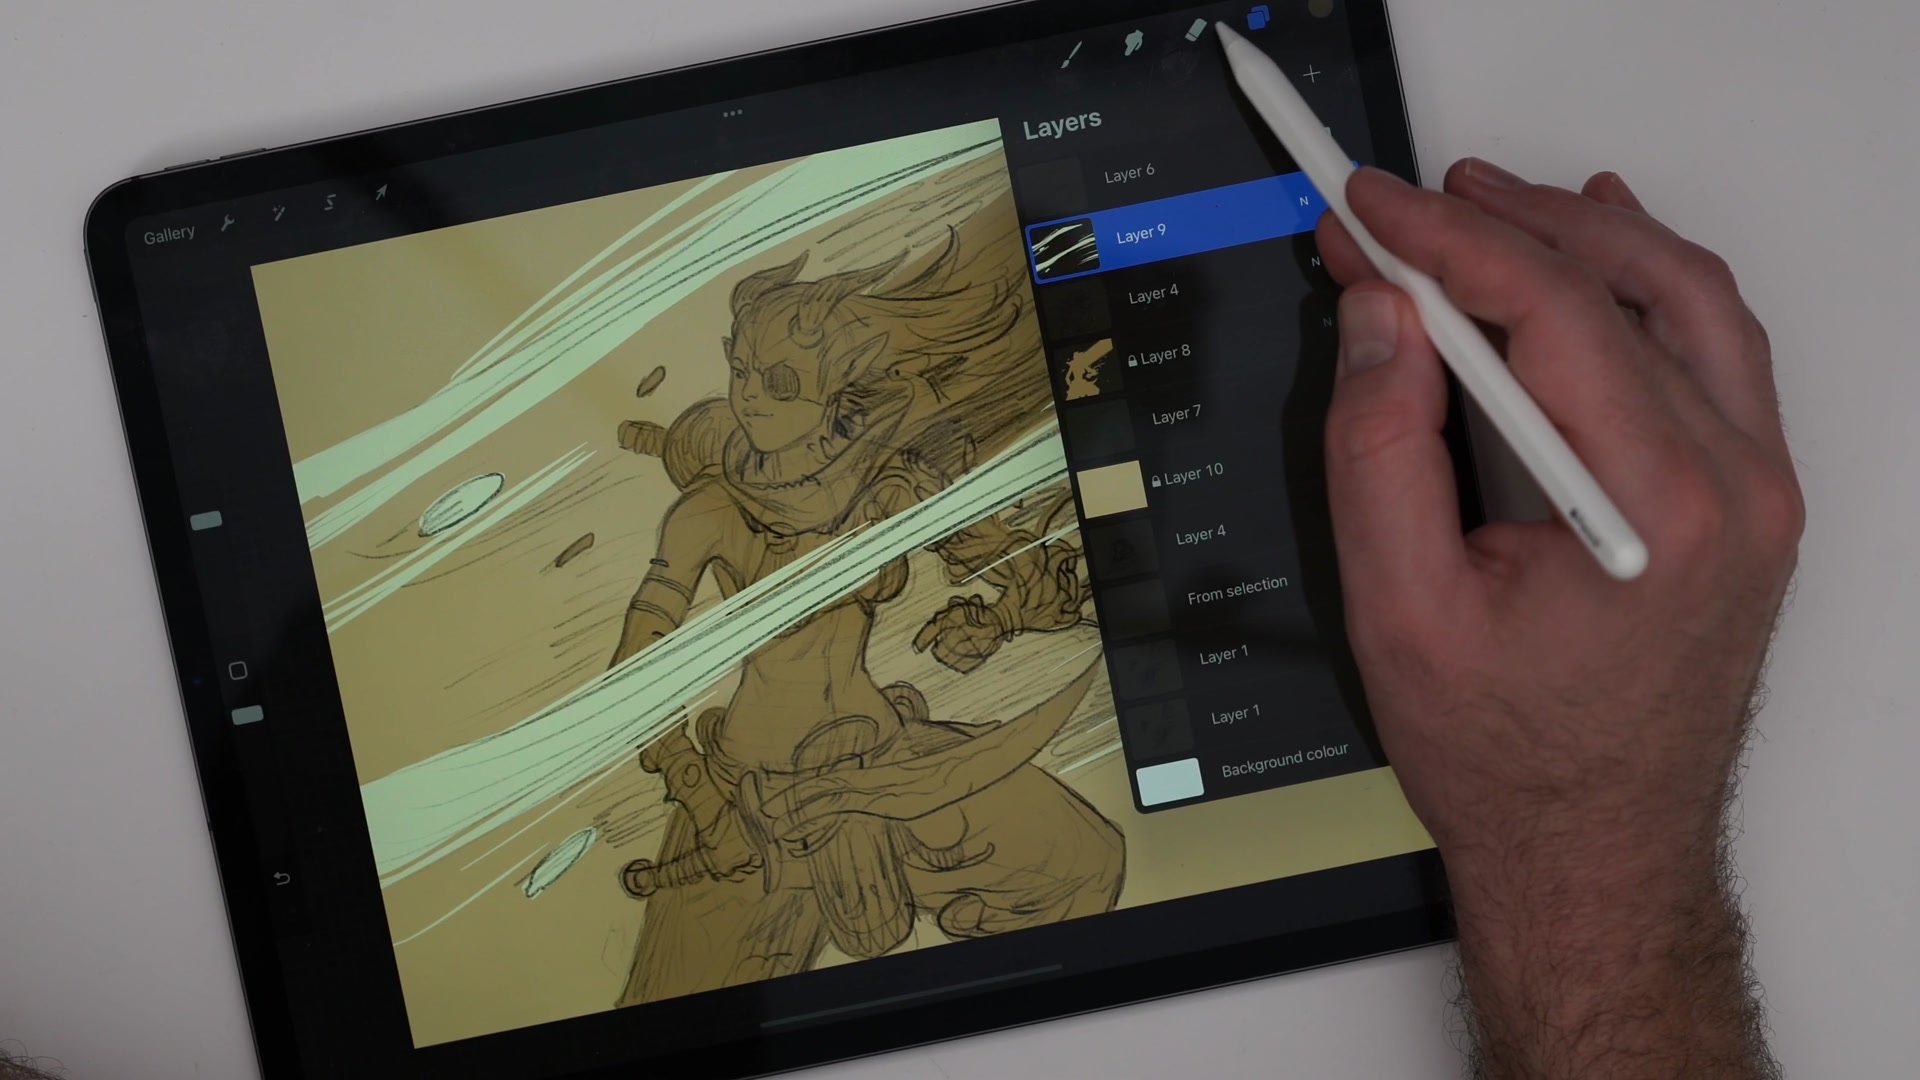
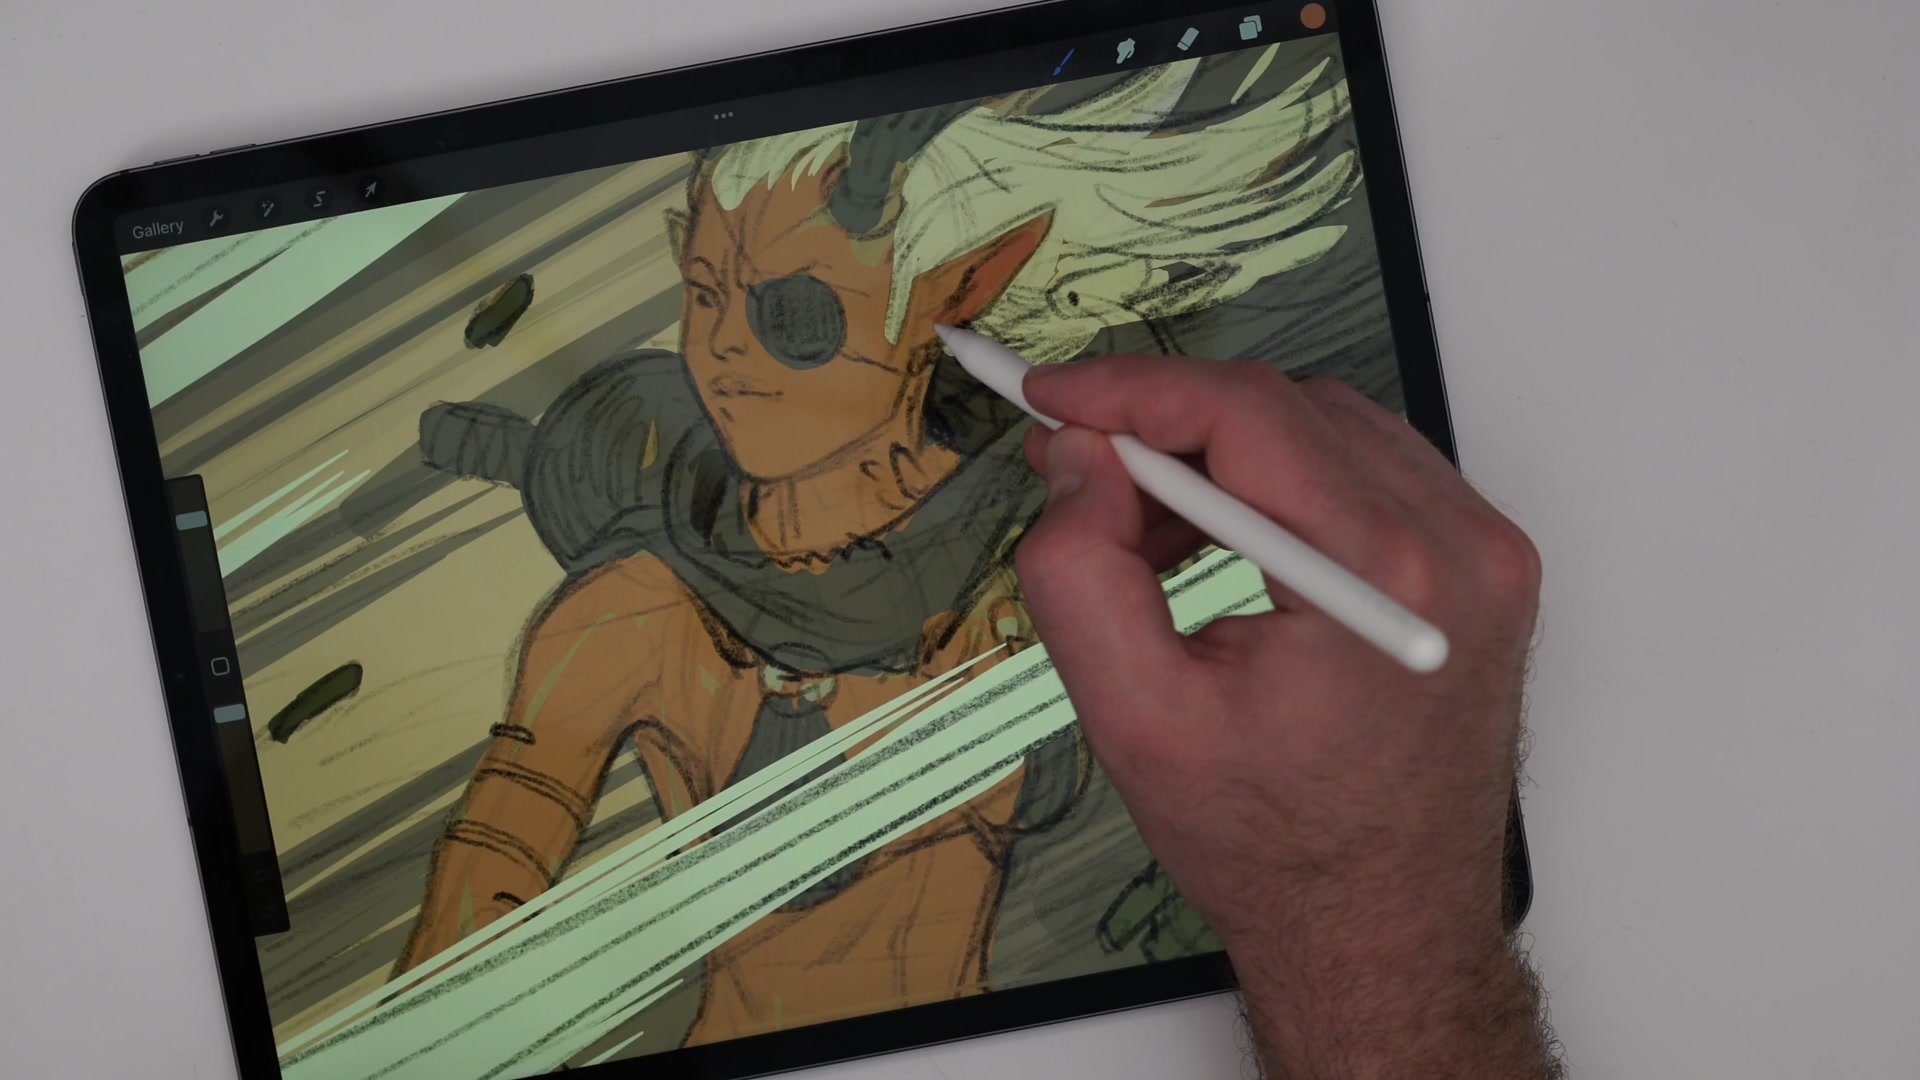
From Sketch to Color
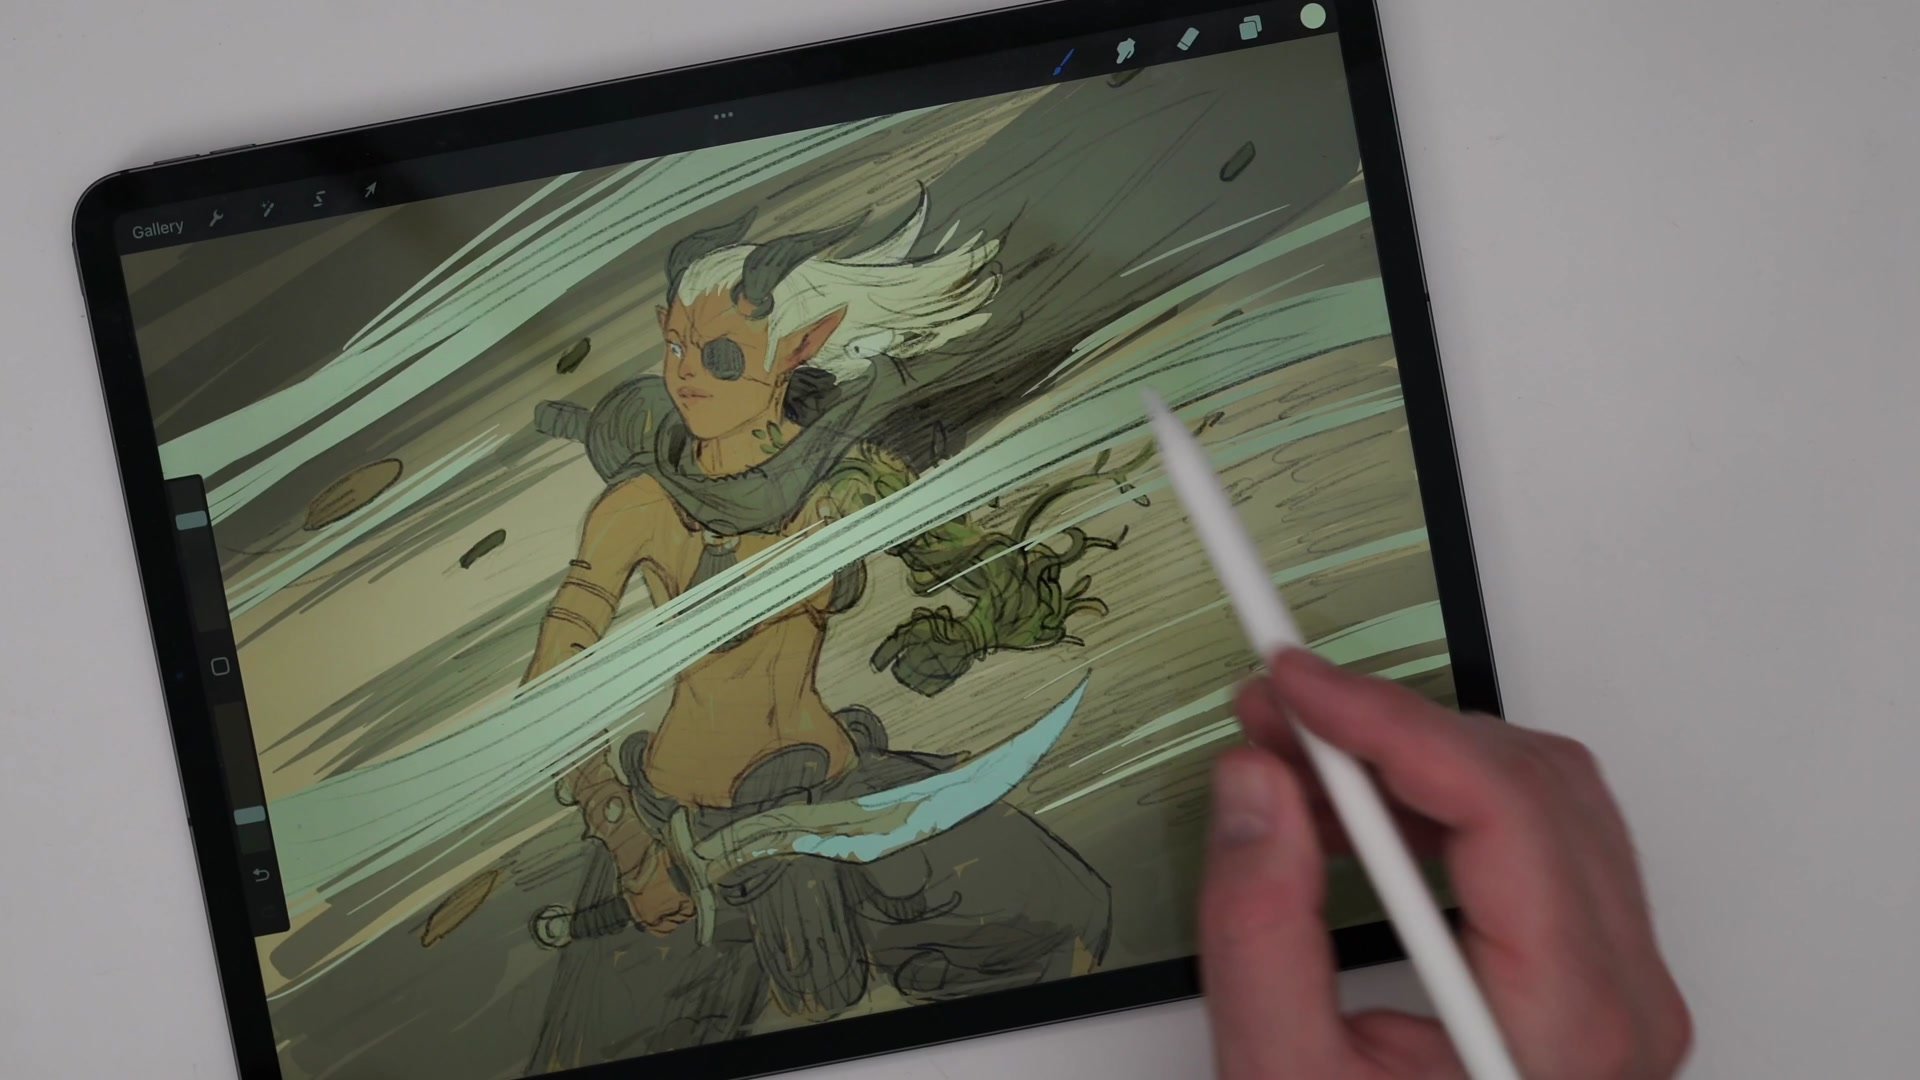
The color phase begins by filling the character silhouette with flat base tones using Procreate's automatic fill tool, which handles shape filling more intuitively than Photoshop. The color strategy stays deliberately simple: a warm overall palette with limited hues. Skin gets a warm base, hair shifts lighter and more yellow, foliage elements go green, and clothing stays neutral. Alpha lock on each layer keeps color contained to the existing shapes without bleeding.
The finishing pass uses large, soft airbrushes on clipping mask layers to push value contrast, directing attention toward the character's head. Overlay blending modes add a final warmth and brightness. The session closes with an honest assessment that Procreate's color correction tools are more limited than Photoshop's, and that a final color grade pass in Photoshop would bring the piece to a more polished state.
Color and Finish
Key Techniques
Simple Reliable Process: Sketch on one layer, finished lines on another, color underneath. This core workflow transfers directly between Photoshop and Procreate with minimal adaptation.
Construction First: Loomis method heads, cylinder hips, and center lines provide structural confidence before committing to details. Skipping this step leads to getting stuck on suggestive marks.
Minimal Tool Selection: One pencil brush for sketching, one flat brush for color. Learning a tool means getting in and drawing immediately, not mastering every feature first.
Digital Correction Advantage: Freeform transform for proportion fixes and canvas flip for symmetry checking are among the strongest reasons to work digitally, catching errors that are difficult to spot otherwise.
Try This
Pick One Character: Choose a character design that is already familiar. The goal is adapting process to a new tool, not designing from scratch at the same time.
Limit to Two Brushes: Select one pencil-type brush for sketching and one flat brush for color blocking. Resist the temptation to explore the full brush library during the session.
Follow the Three Layers: Build the piece using the sketch-line-color layer structure. Keep it sketchy and focus on completing the full process rather than polishing any single phase.


