Quick Character Design Sketching Session
Summary
Character Design Sketching Process
This session captures a full character design warm-up, working through fantasy character concepts with Blackwing pencils on Strathmore 400 series drawing paper. The process moves from quick gesture block-ins through anatomy roughing and into costume design, exploring two distinct characters side by side over roughly 45 minutes of real-time sketching.
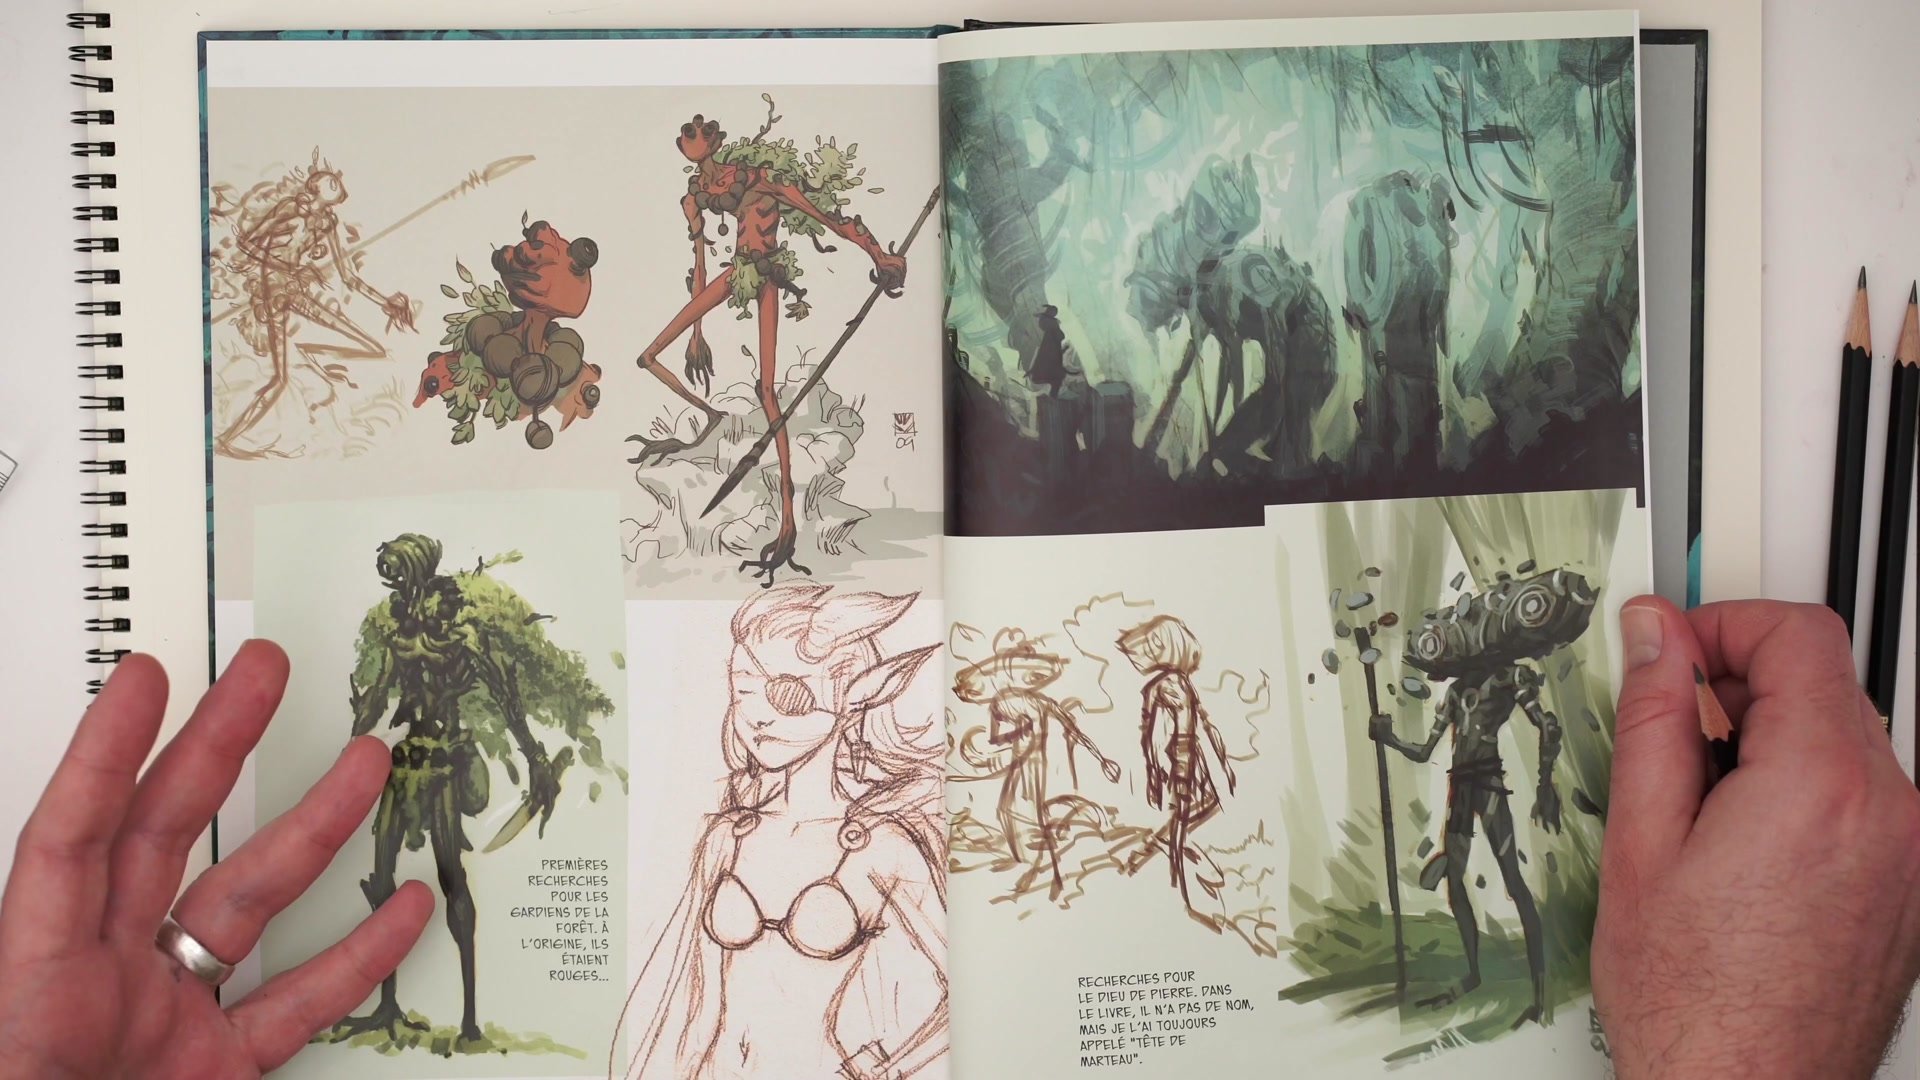
The session opens with a review of inspiring work from ArtStation before transitioning to the drawing table. What follows is an honest look at how character design iteration works in practice, including the moments where ideas feel too generic and the decisions about when to push further or move on to the next sketch.
Reference and Early Block-In
Structure Before Costume
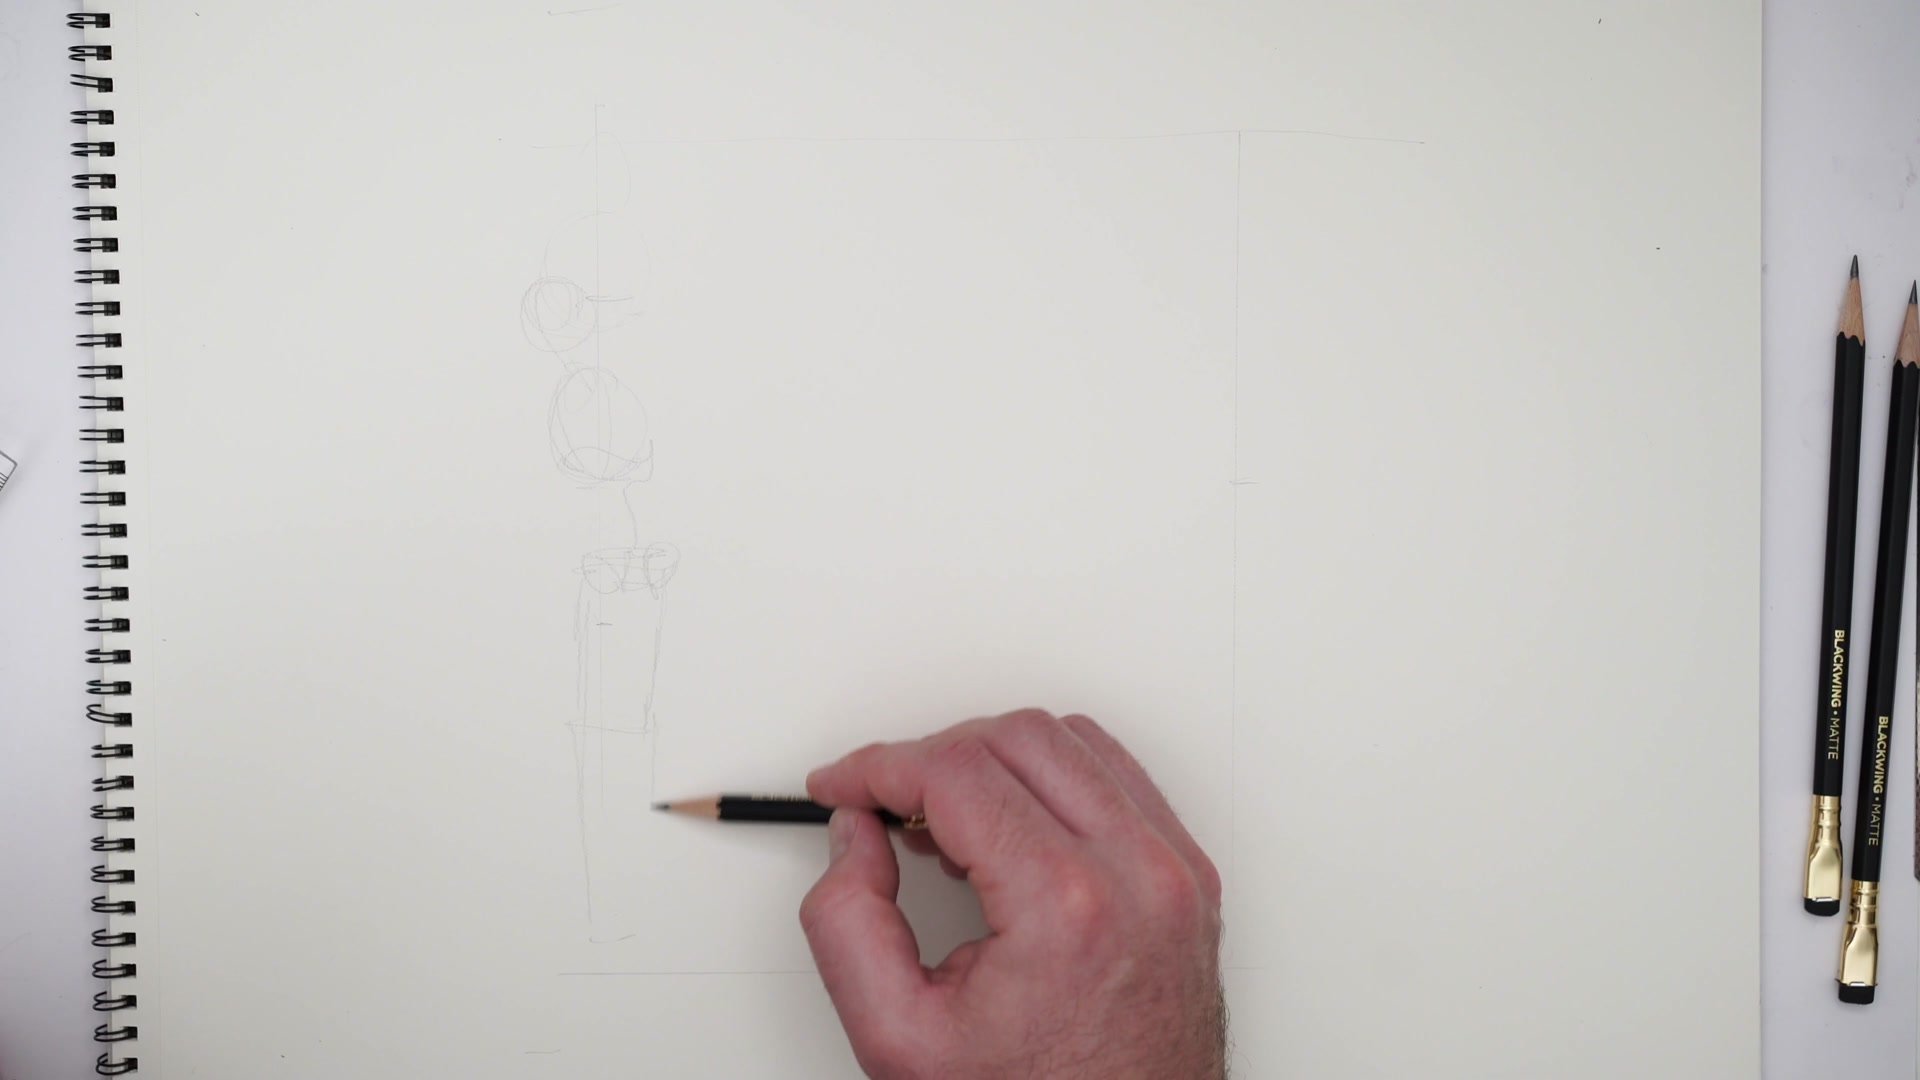
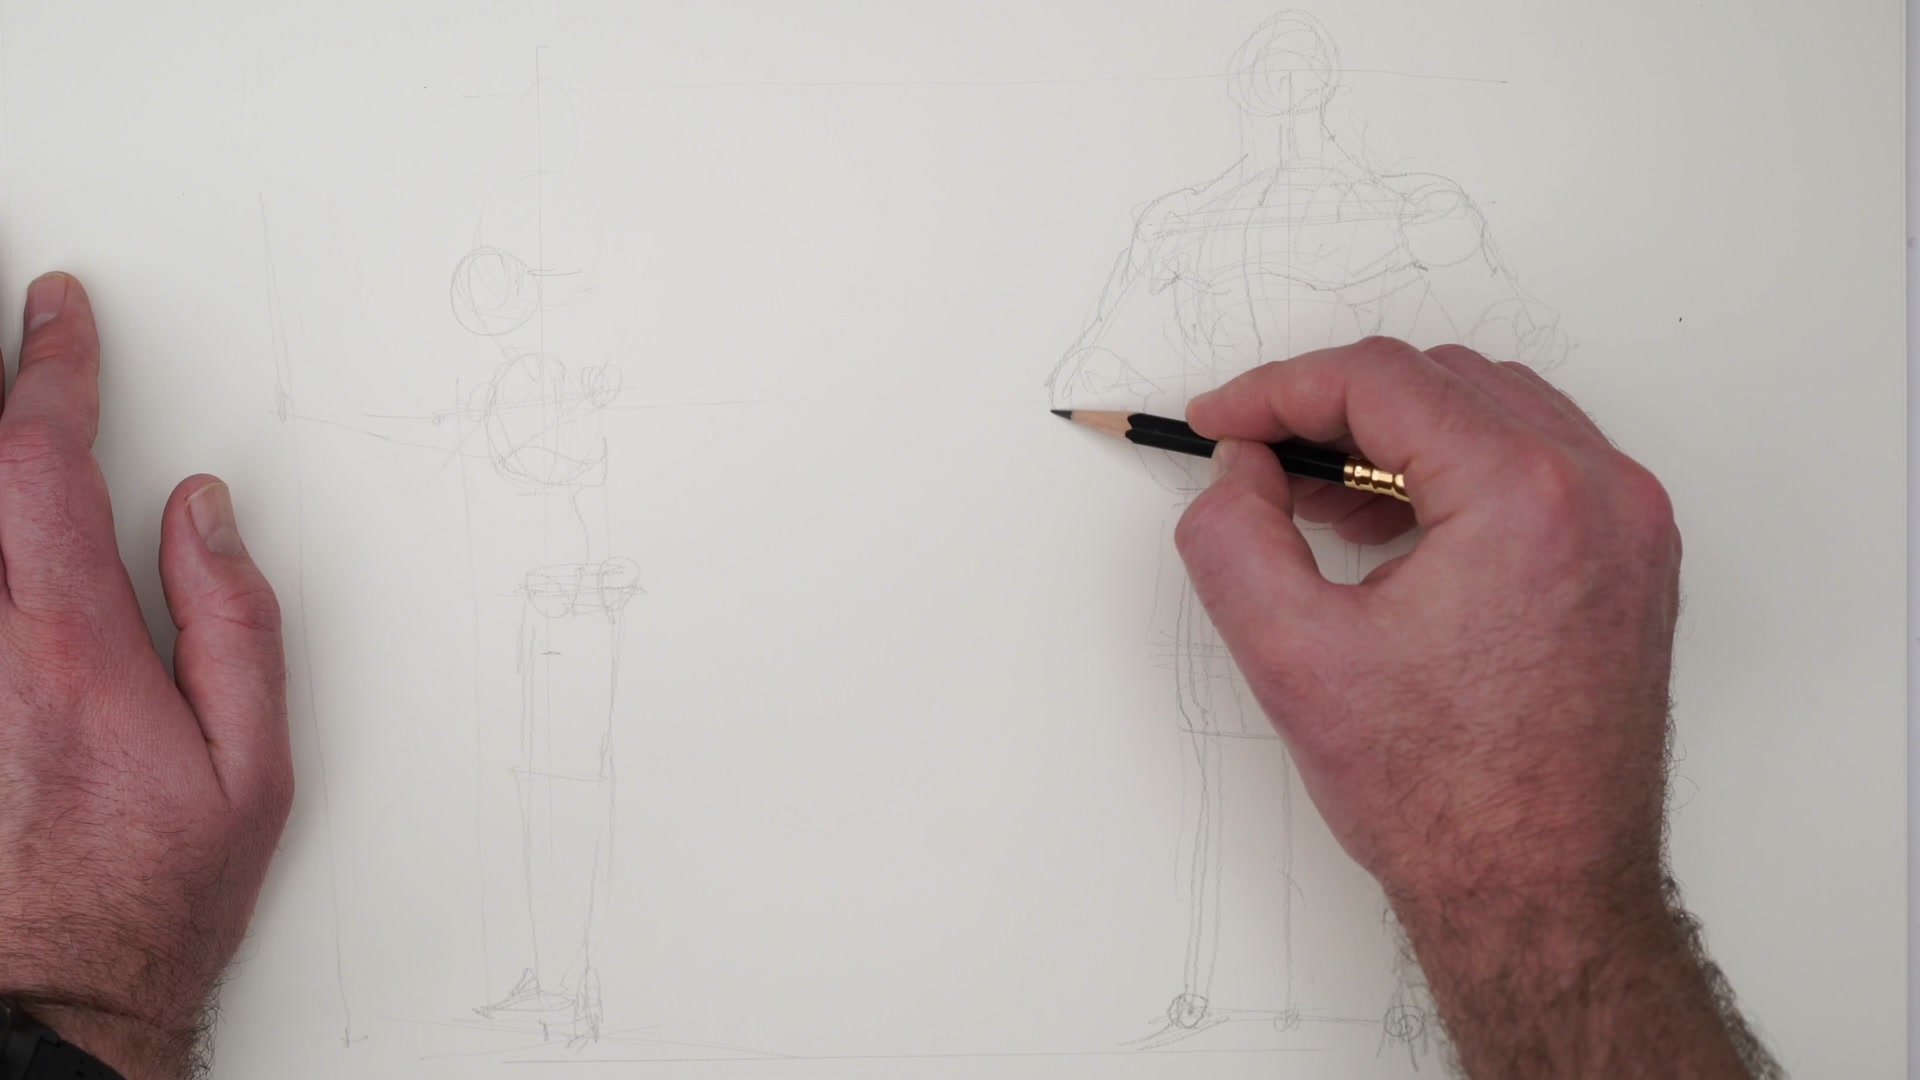
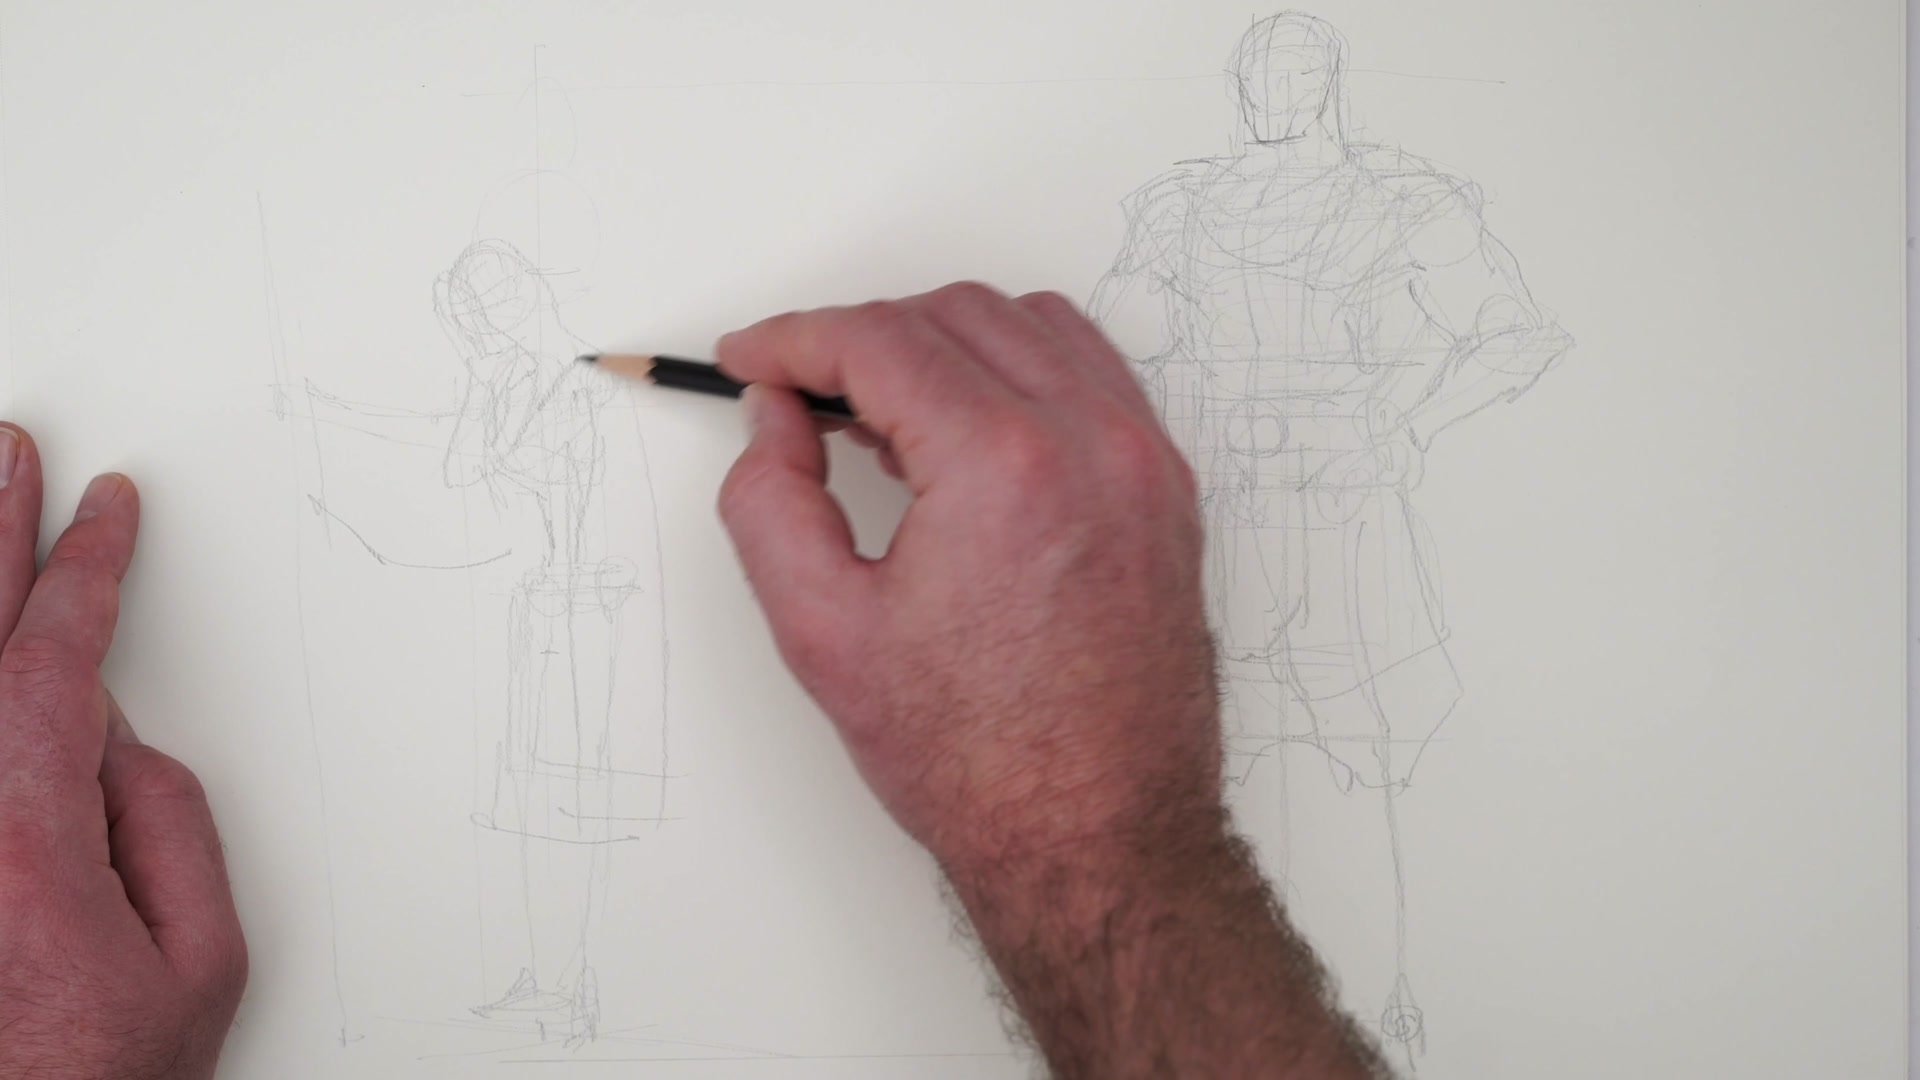
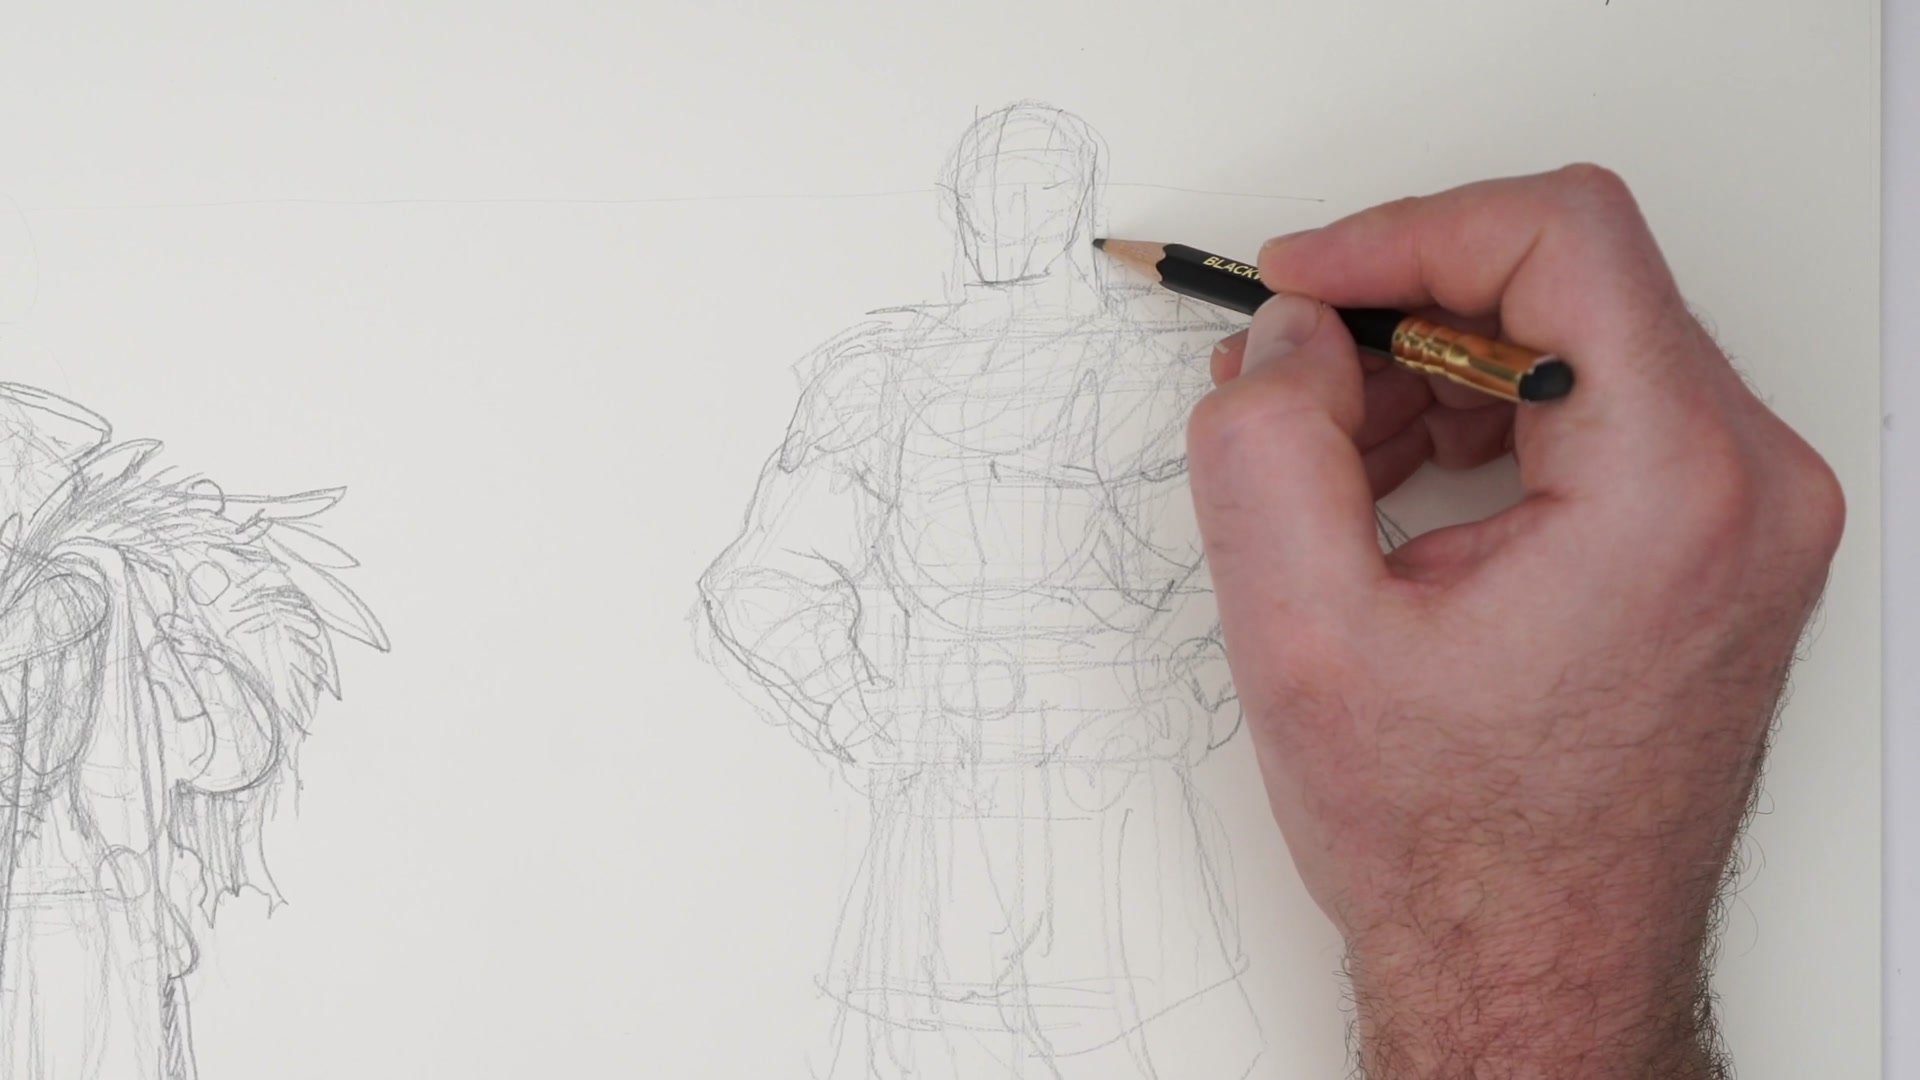
The process begins with simple vertical guidelines to establish character placement and proportion on the page. Rather than jumping straight into costume details, the initial pass focuses on gesture and skeletal structure. Simple centerlines, proportion checks, and basic anatomy blocking happen first because they provide the foundation that costume design sits on top of.
The temptation to skip anatomy and go straight to designing cool costumes is real, but the cost becomes apparent quickly. Without that structural pass, costume decisions get tangled up with drawing decisions, and it becomes difficult to tell whether something looks wrong because of the anatomy or the design. Laying in the anatomy first separates those two problems so each can be addressed independently.
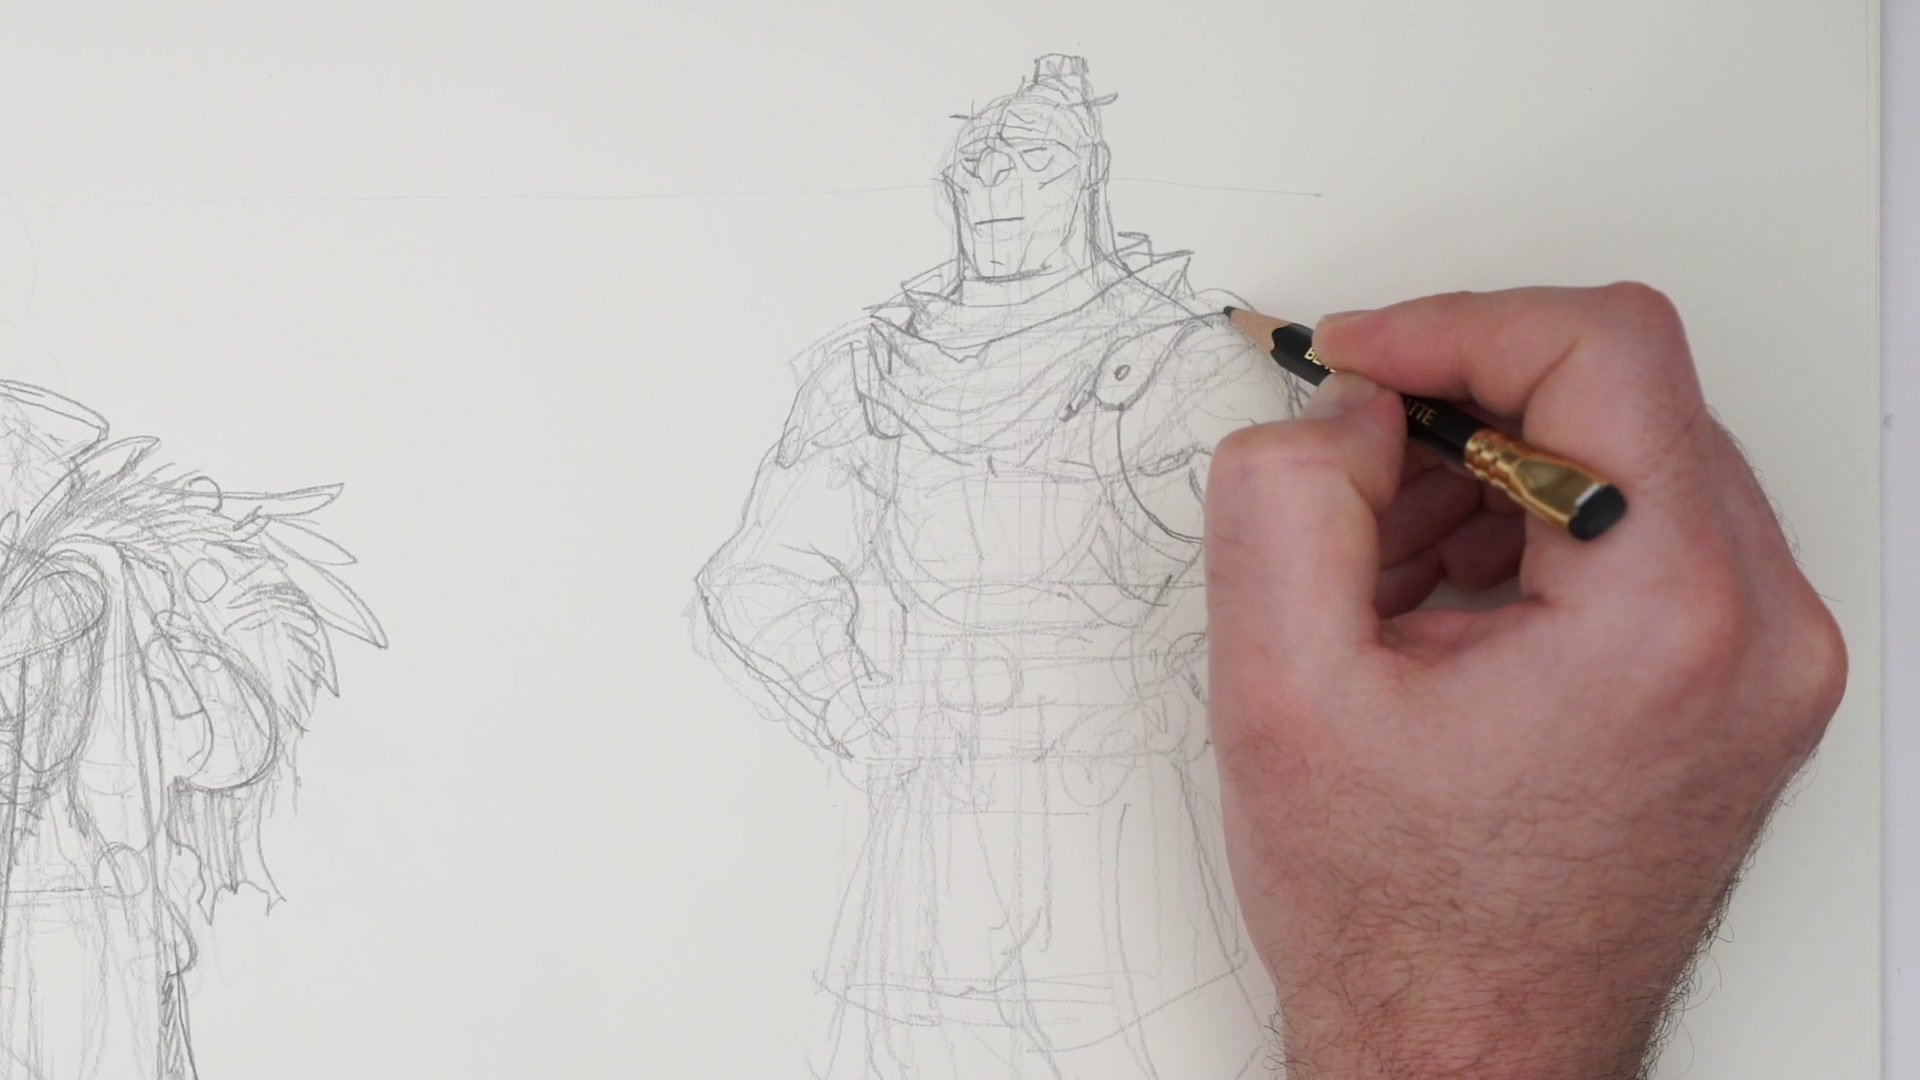
Anatomy and Construction

Iterative Design Thinking
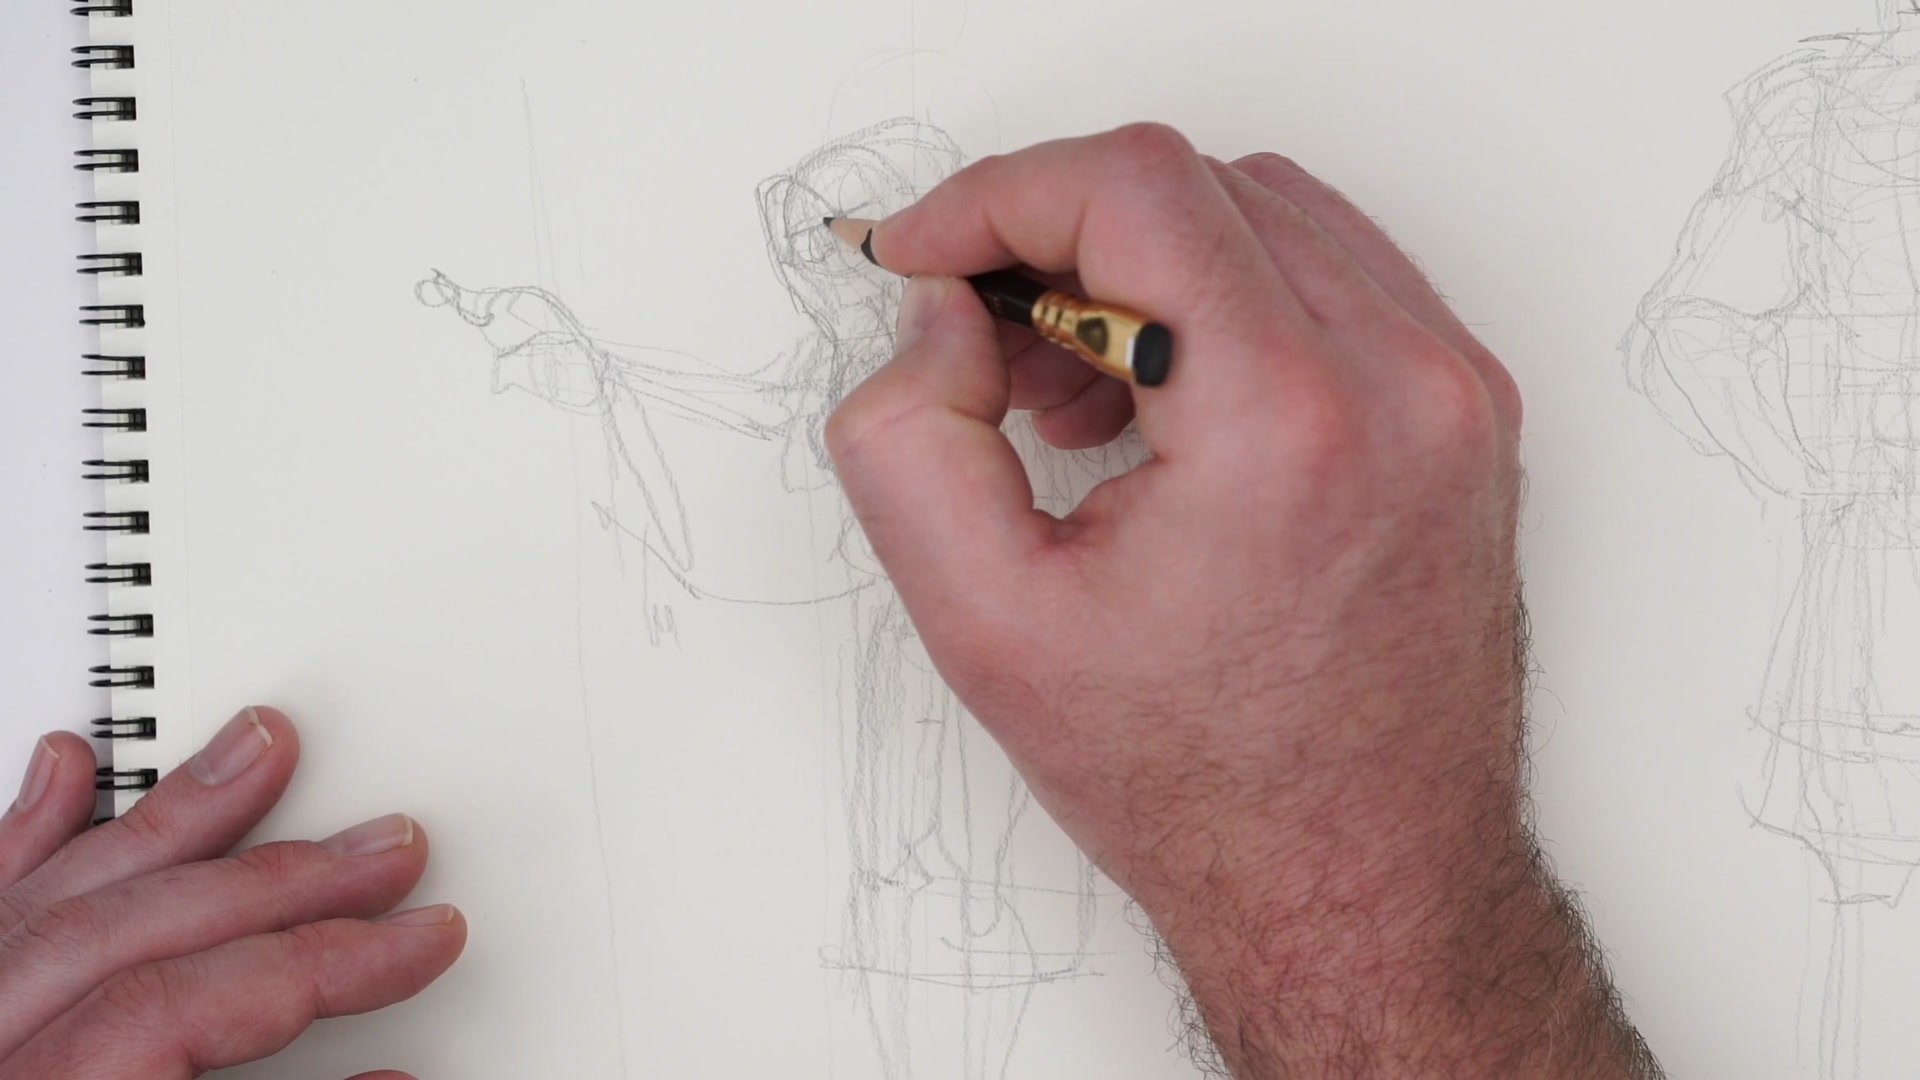
Character design at this sketch phase is less about achieving a polished result and more about finding the character. The approach favors speed and breadth over finish and polish. Multiple quick passes allow ideas to develop naturally rather than getting locked into the first concept that appears on the page.
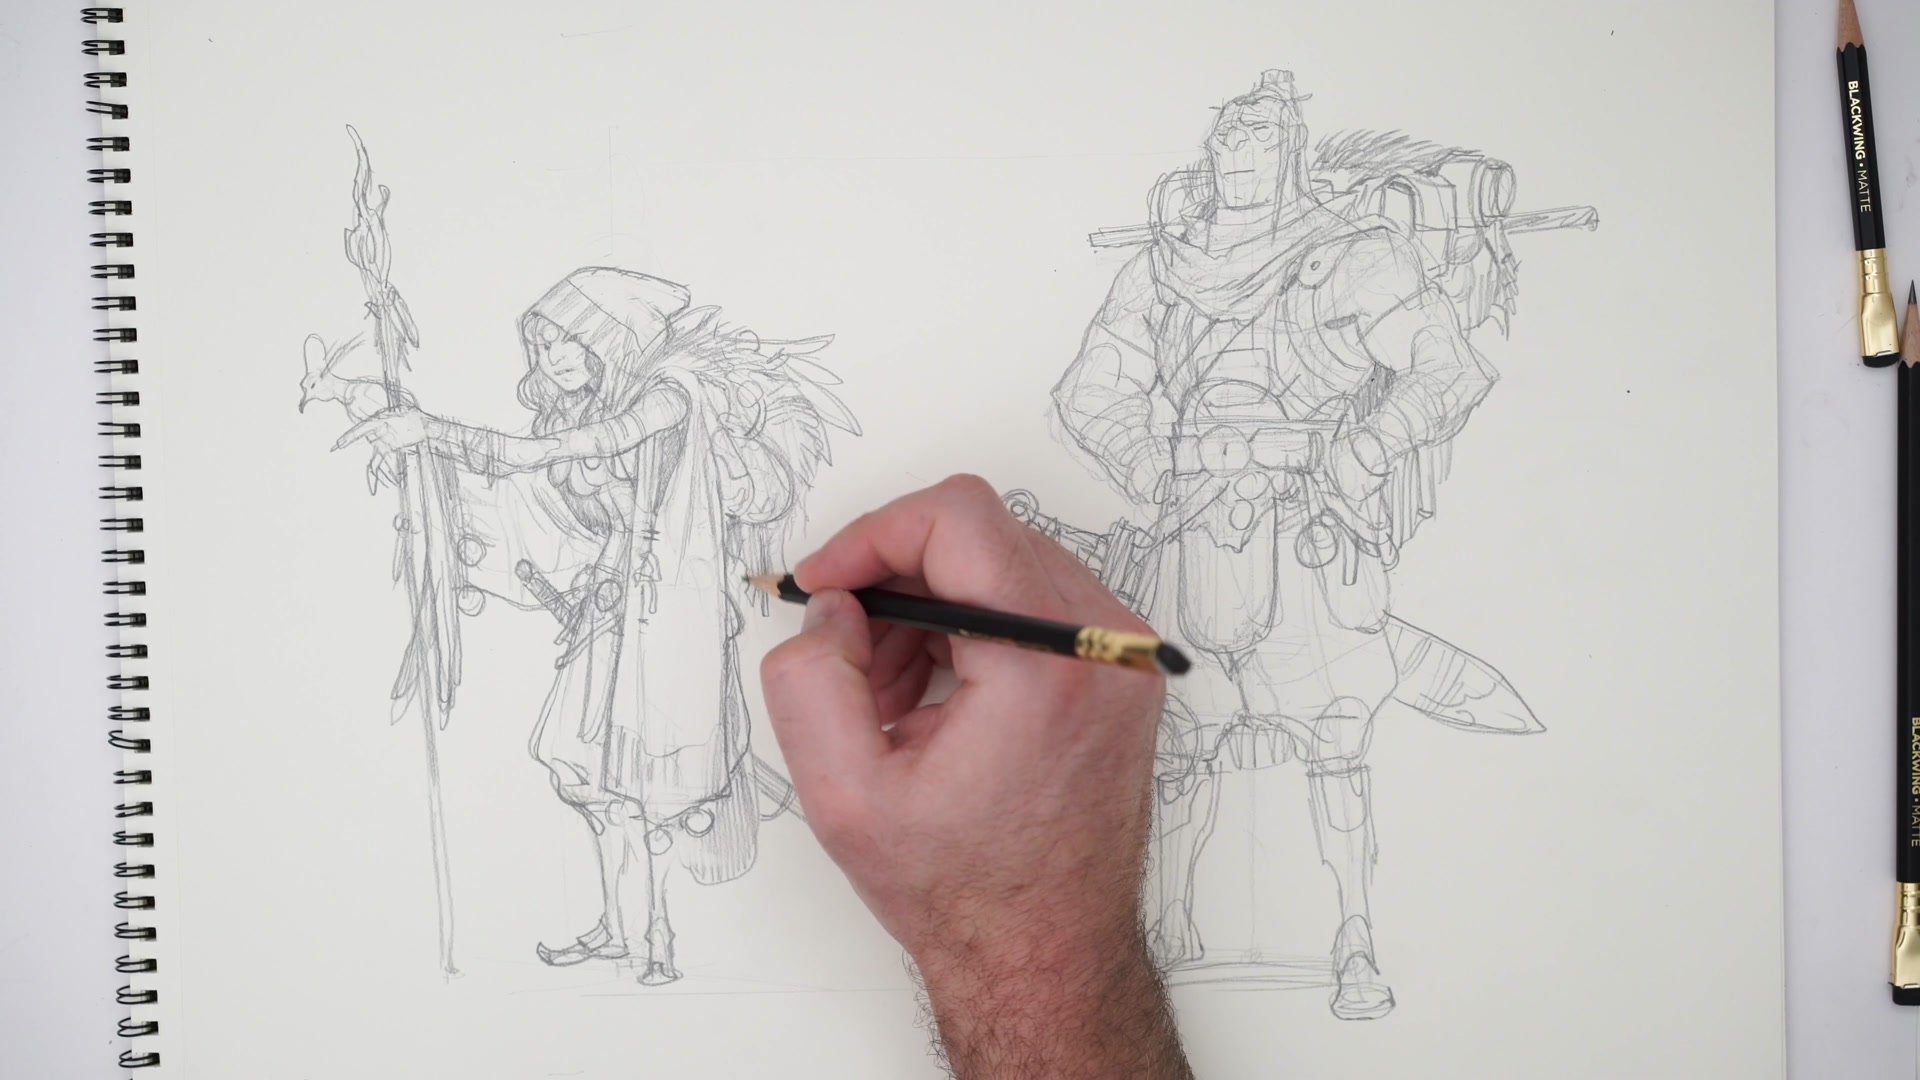
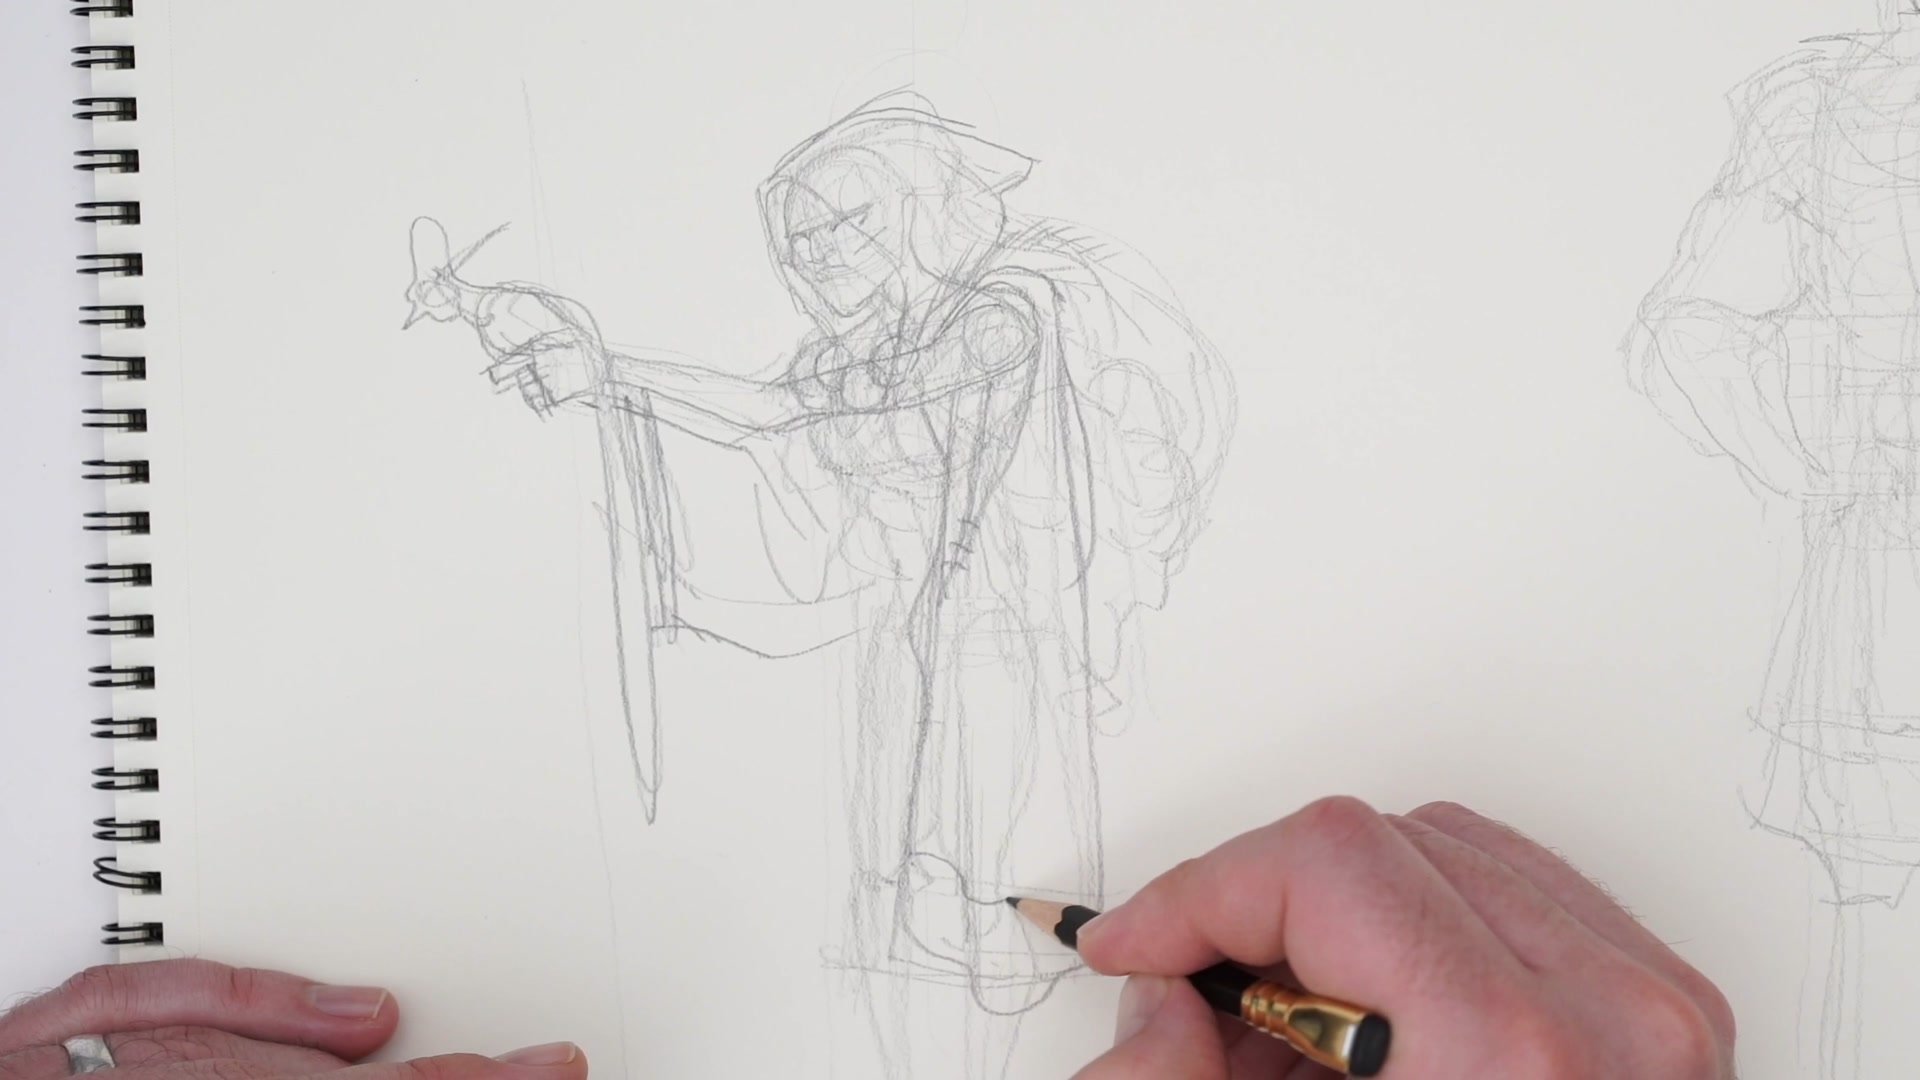
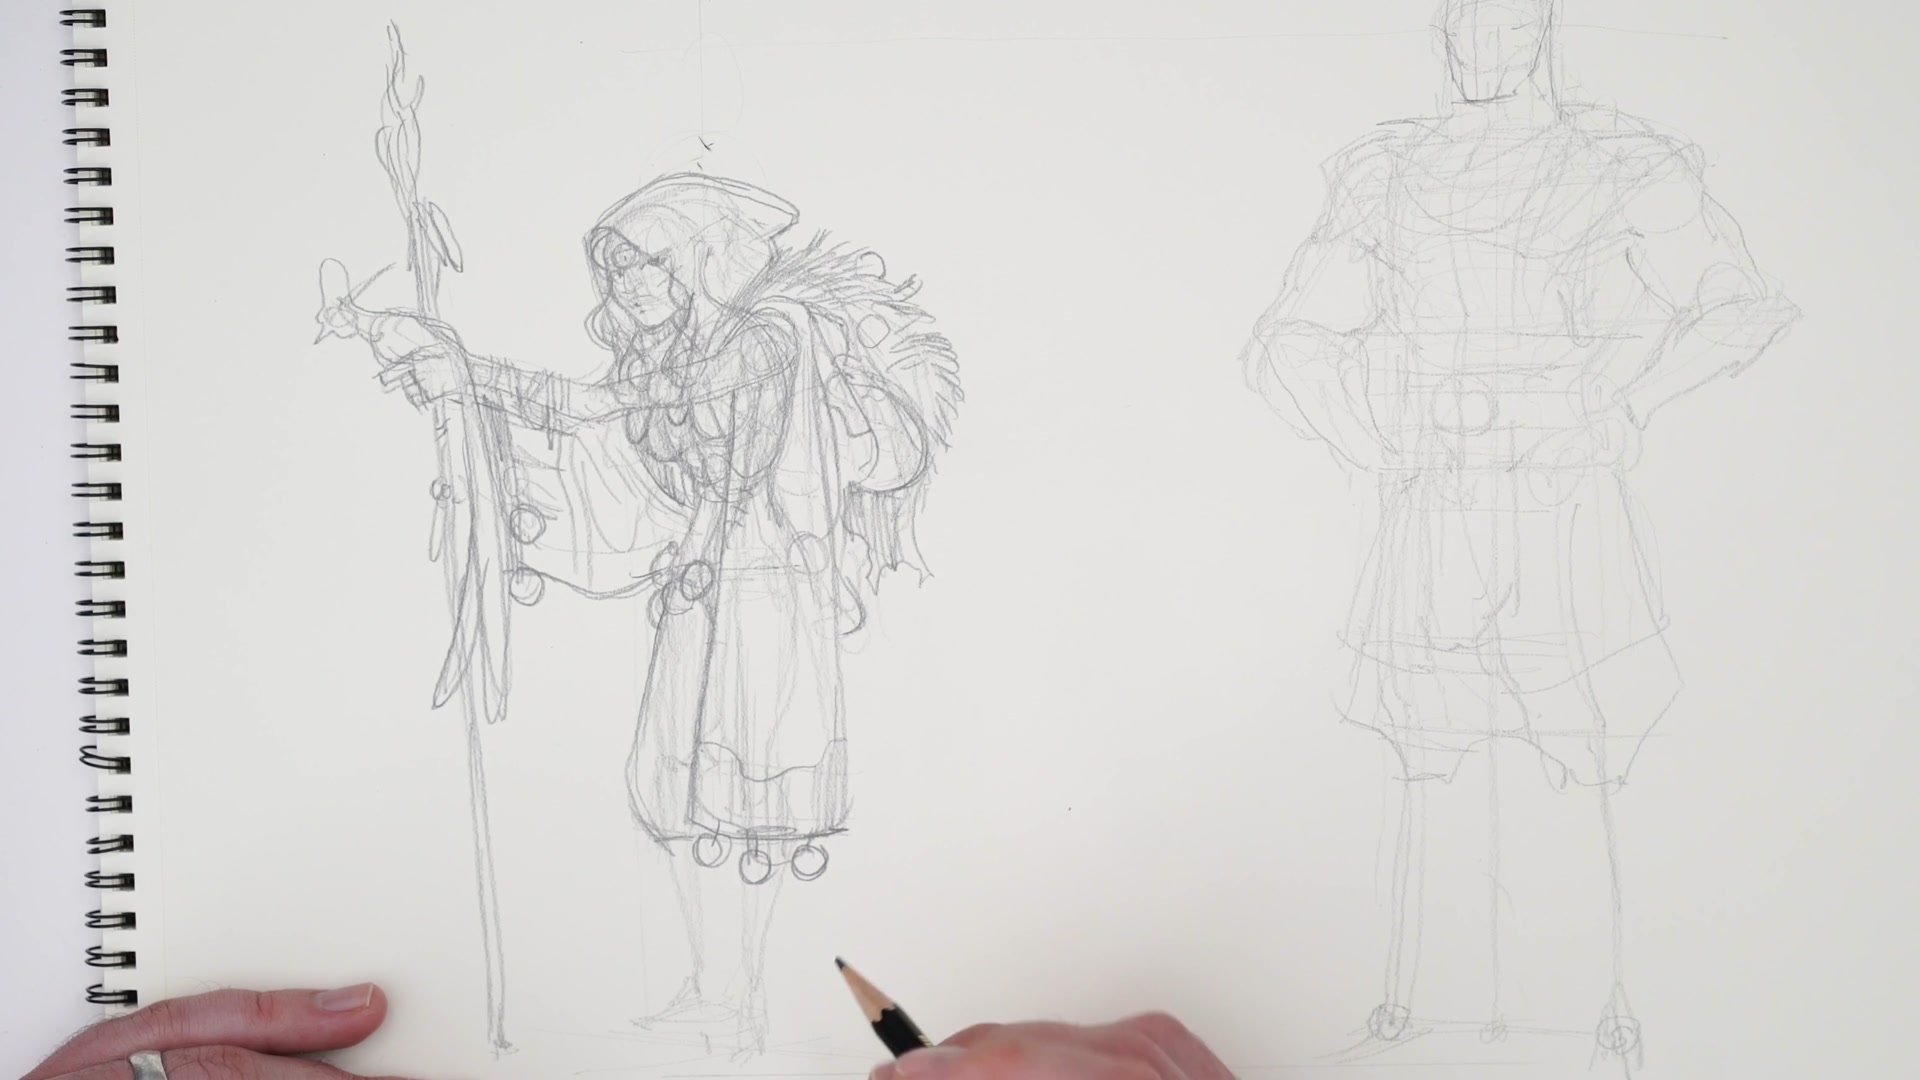
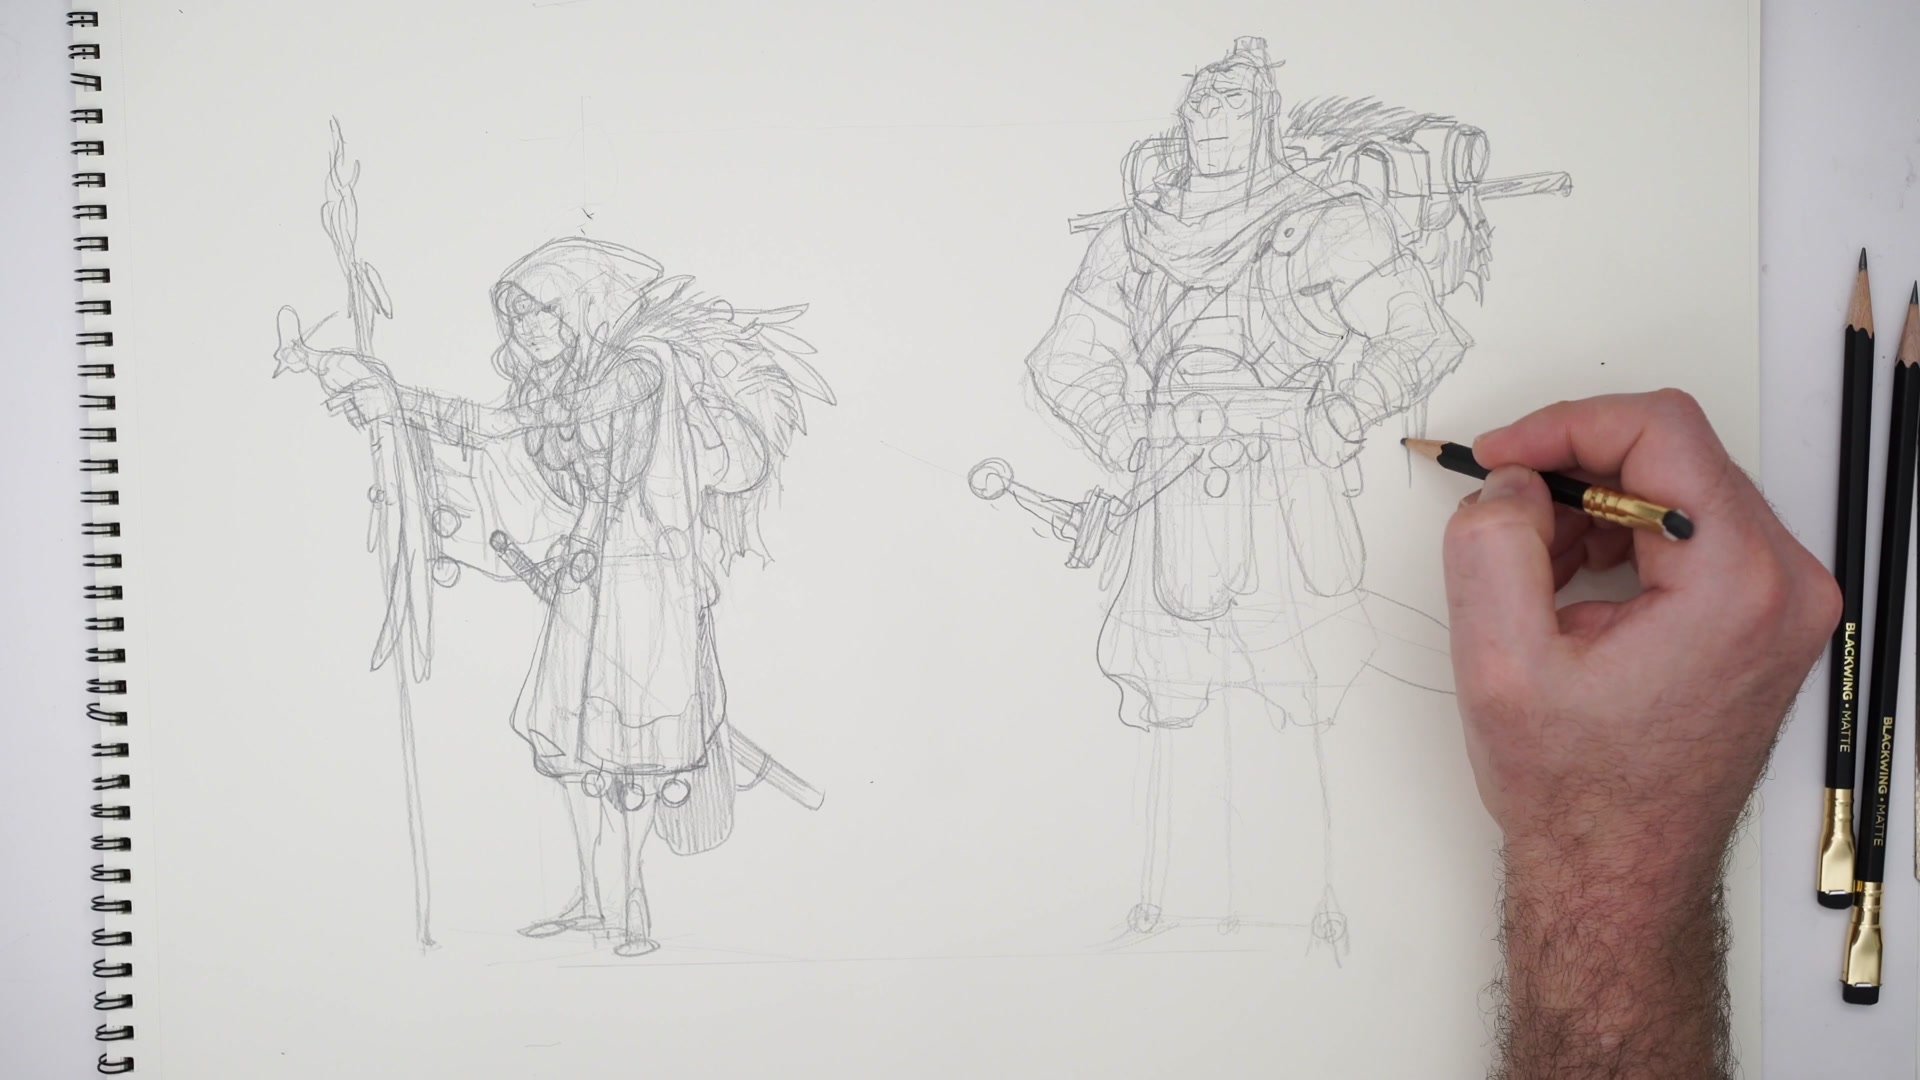
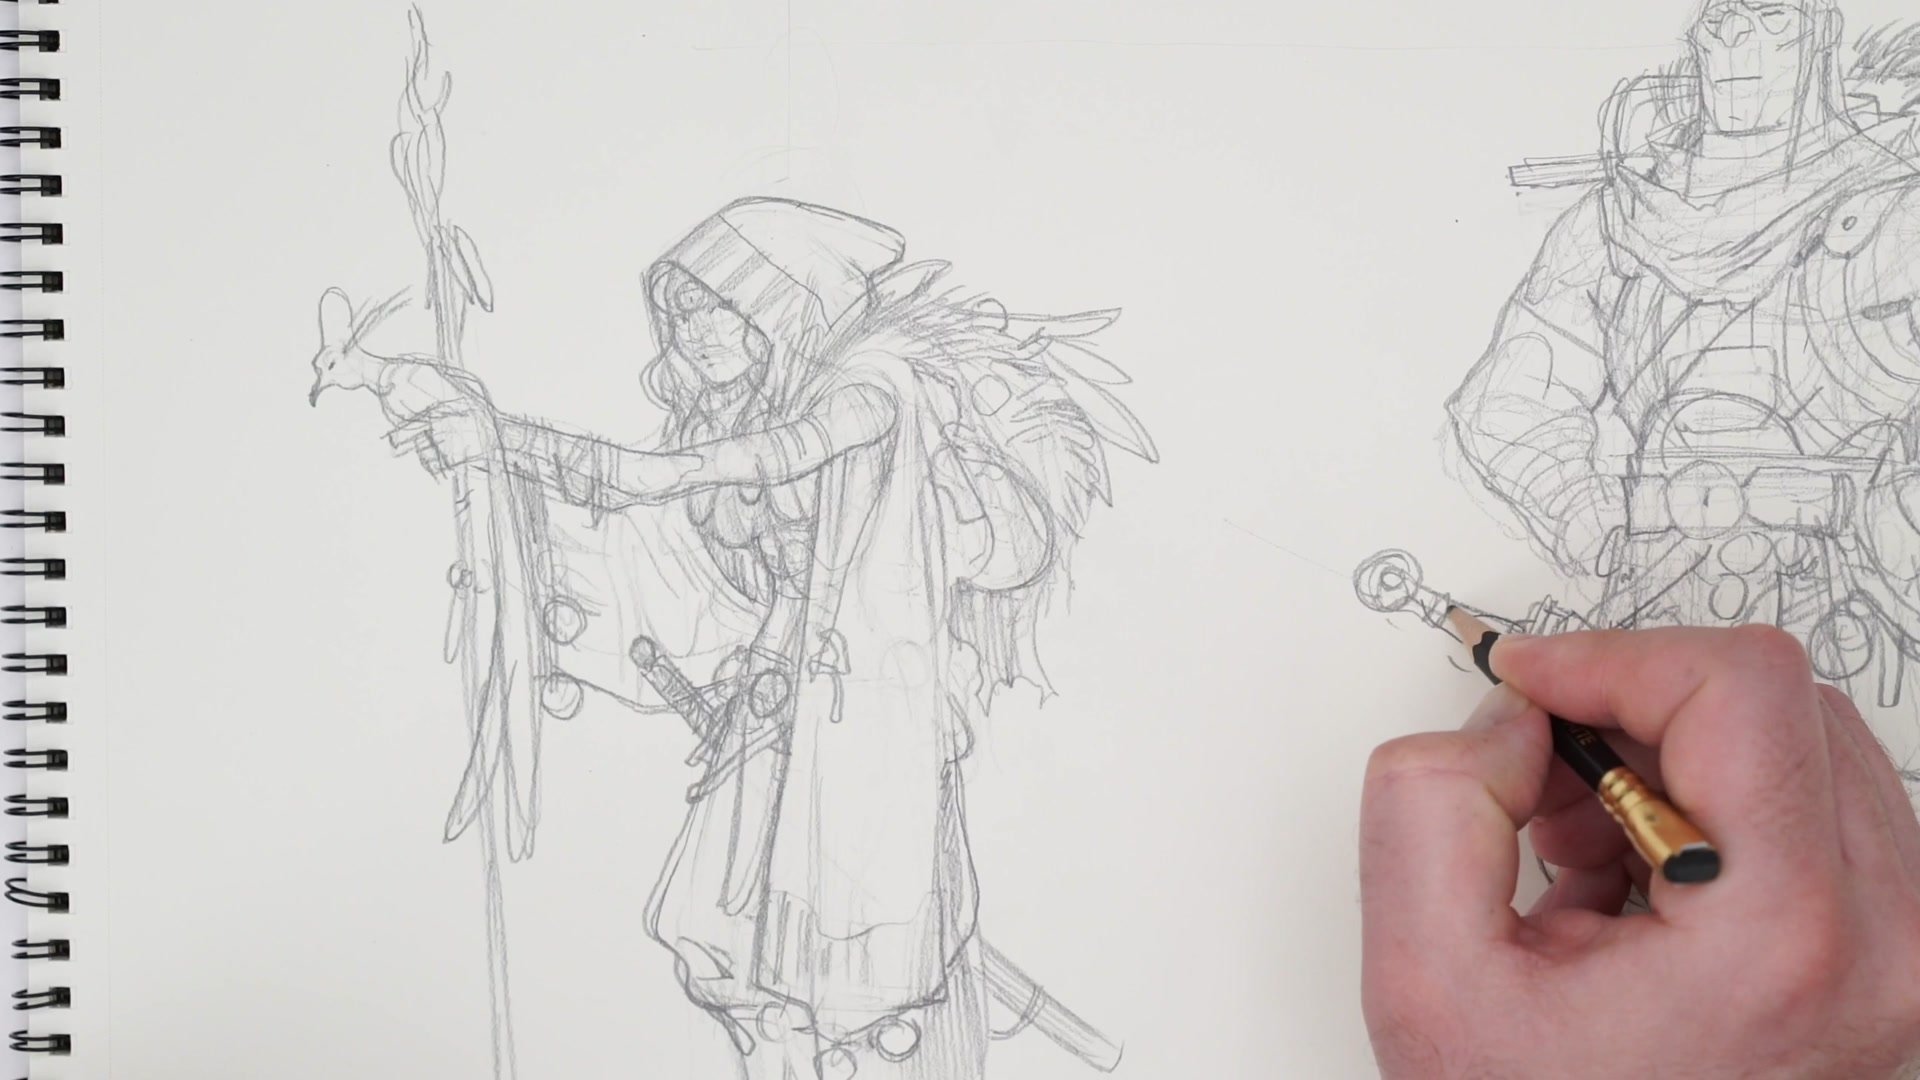
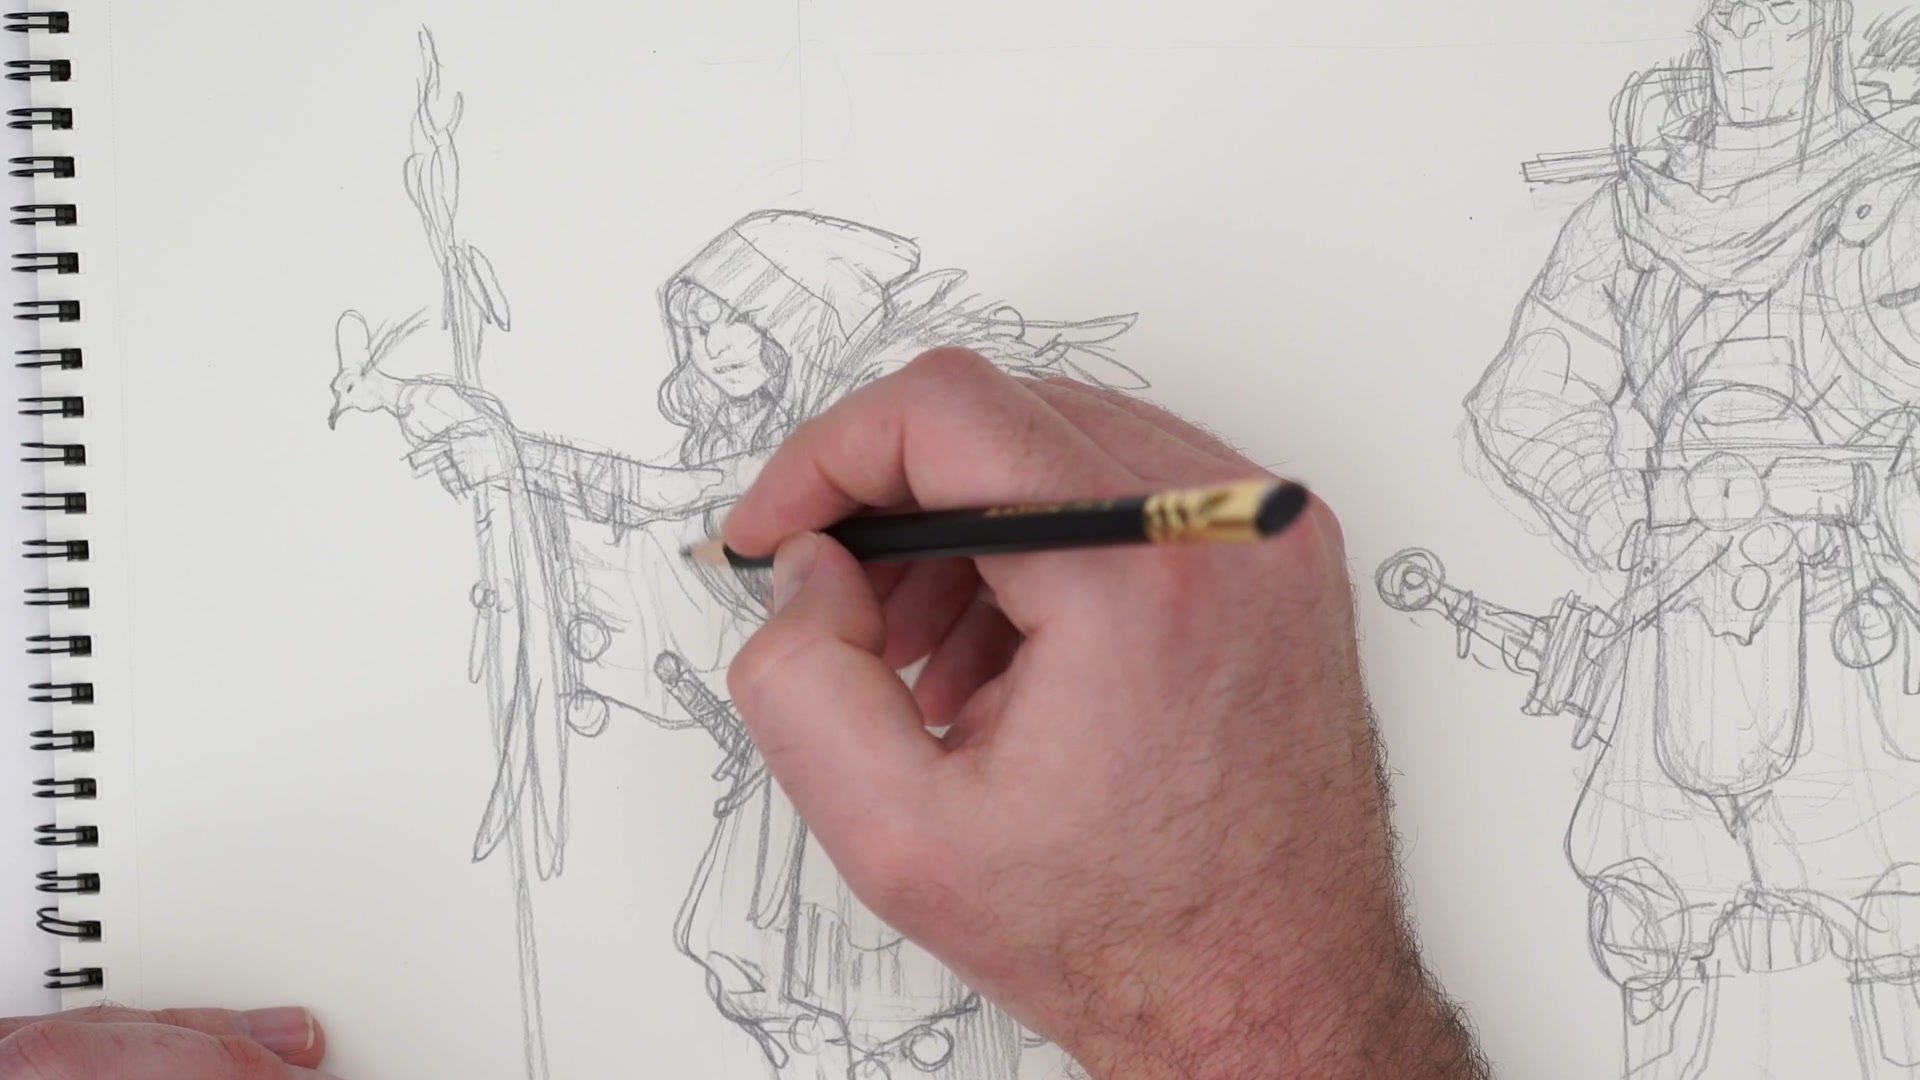
One character develops into a hooded witch-like figure with feathers, a staff, and decorative elements. The other becomes a heavier armored figure. Both start generic and gradually develop personality through the layering of detail, overlapping costume elements, and silhouette adjustments. The key insight is that spending too long on any single detail before the overall design is working wastes time that could be spent iterating on the bigger idea.
Costume Development

Speed and Expectation
A significant theme throughout the session is matching drawing speed and effort to the current phase of the process. Early on, there is a tendency to fuss over details like toe placement or elbow position, but those concerns belong to a later, more refined pass. At this stage, the goal is to capture enough of the idea that it can be evaluated and iterated on.
The session also addresses the common experience of feeling that results are too generic. Rather than spiraling into frustration, the approach is to acknowledge it, bag the sketch, and keep moving. Each pass teaches something that feeds into the next attempt. The more formulaic the process becomes, the less creative flexibility it offers, so the emphasis stays on responding to what is actually happening on the page rather than following a rigid step-by-step method.
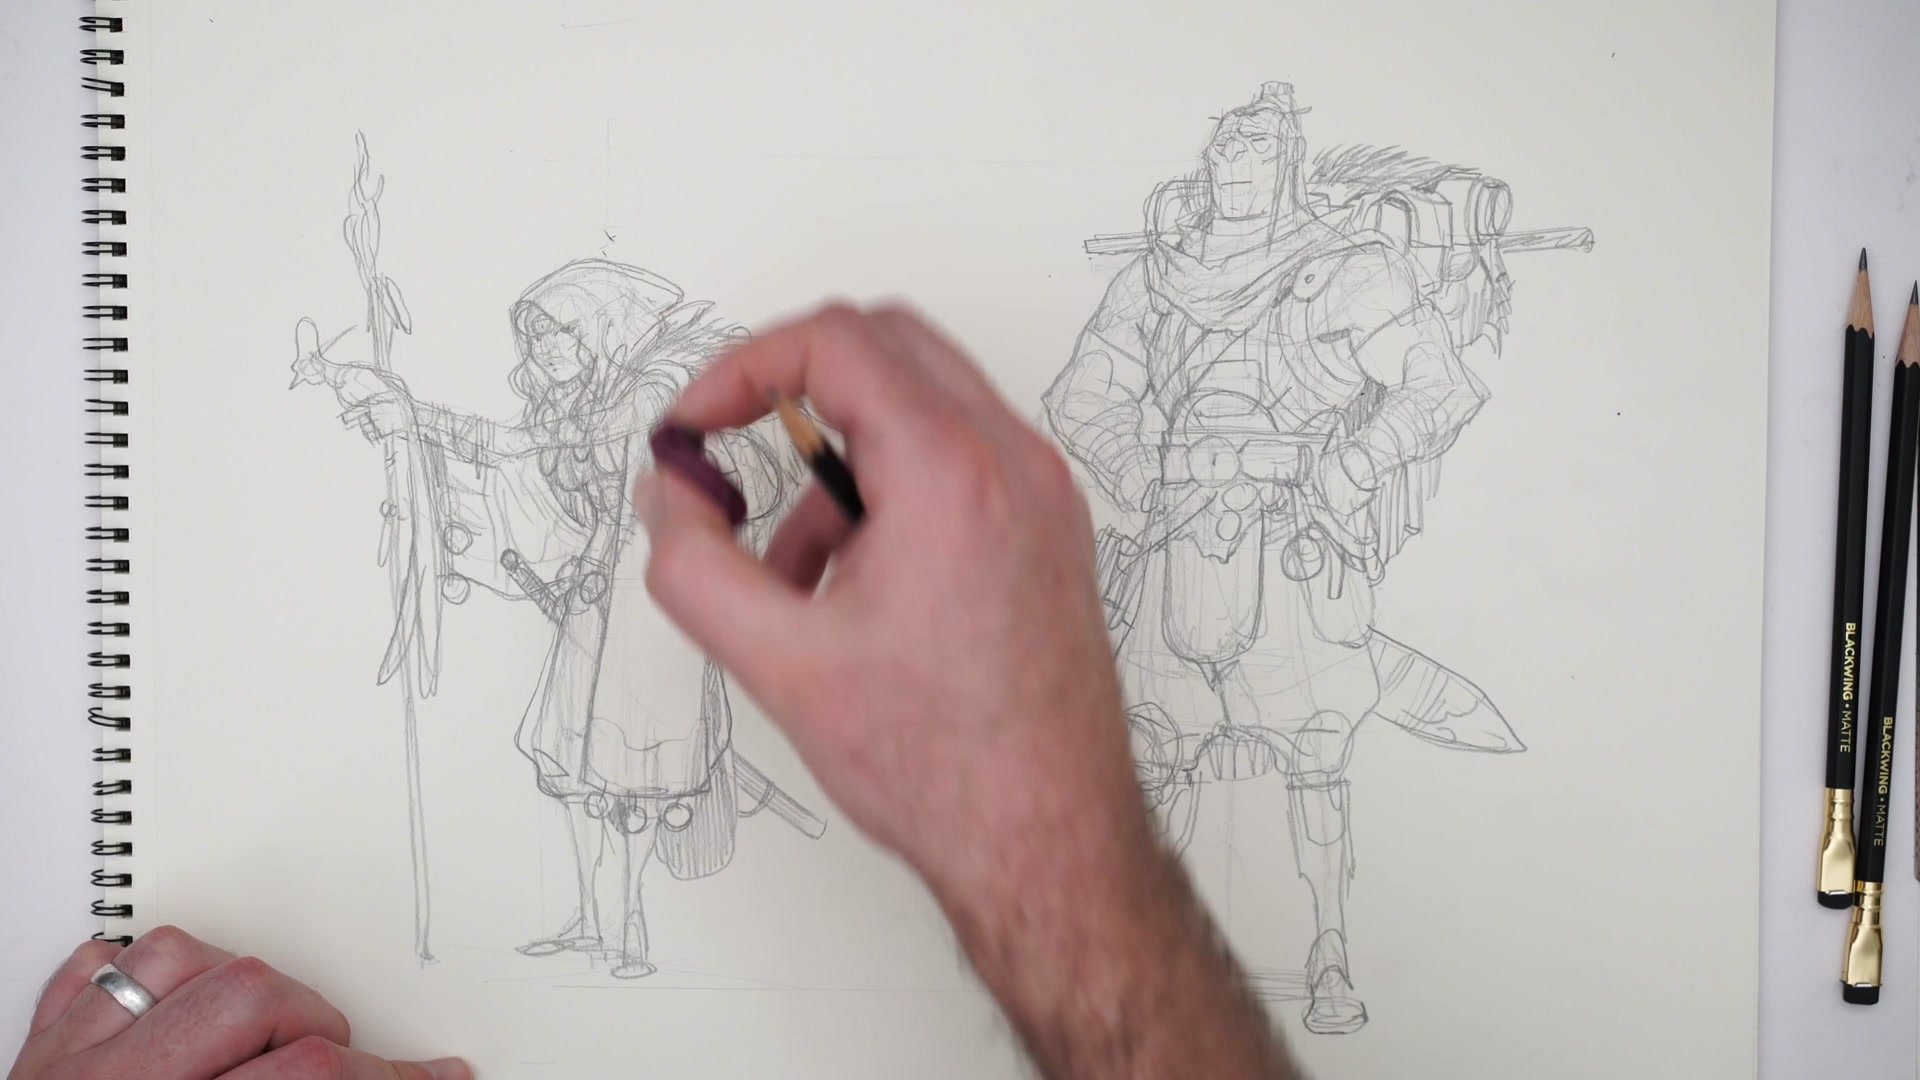
Final Character Designs
Key Techniques
Anatomy Before Costume: Blocking in structural anatomy first prevents costume design decisions from getting confused with drawing problems, keeping both processes cleaner.
Match Speed to Phase: The level of effort and detail should match the current stage of ideation. Spending time on polished details during rough exploration wastes time that could drive more iterations.
Embrace the Generic Pass: Early sketches that feel too safe or derivative are a normal part of the warm-up process. Acknowledging this and pushing through leads to stronger ideas on subsequent attempts.
Silhouette and Overlap: Effective character designs rely on clear silhouettes and a strong sense of overlapping elements to create visual complexity without requiring high-polish rendering.
Try This Exercise
Start With Verticals: Set up two or three vertical guidelines on a page to establish character placement and proportion before drawing anything.
Block Structure First: Rough in gesture, centerline, and basic anatomy for each character before touching any costume or design elements.
Iterate Quickly: Spend no more than 20 minutes per character at this stage. If the design feels generic, move on to a fresh attempt rather than overworking the current one.


