Draw With Me - Forest Elf Sketching Session
Summary
Forest Elf Sketching Process
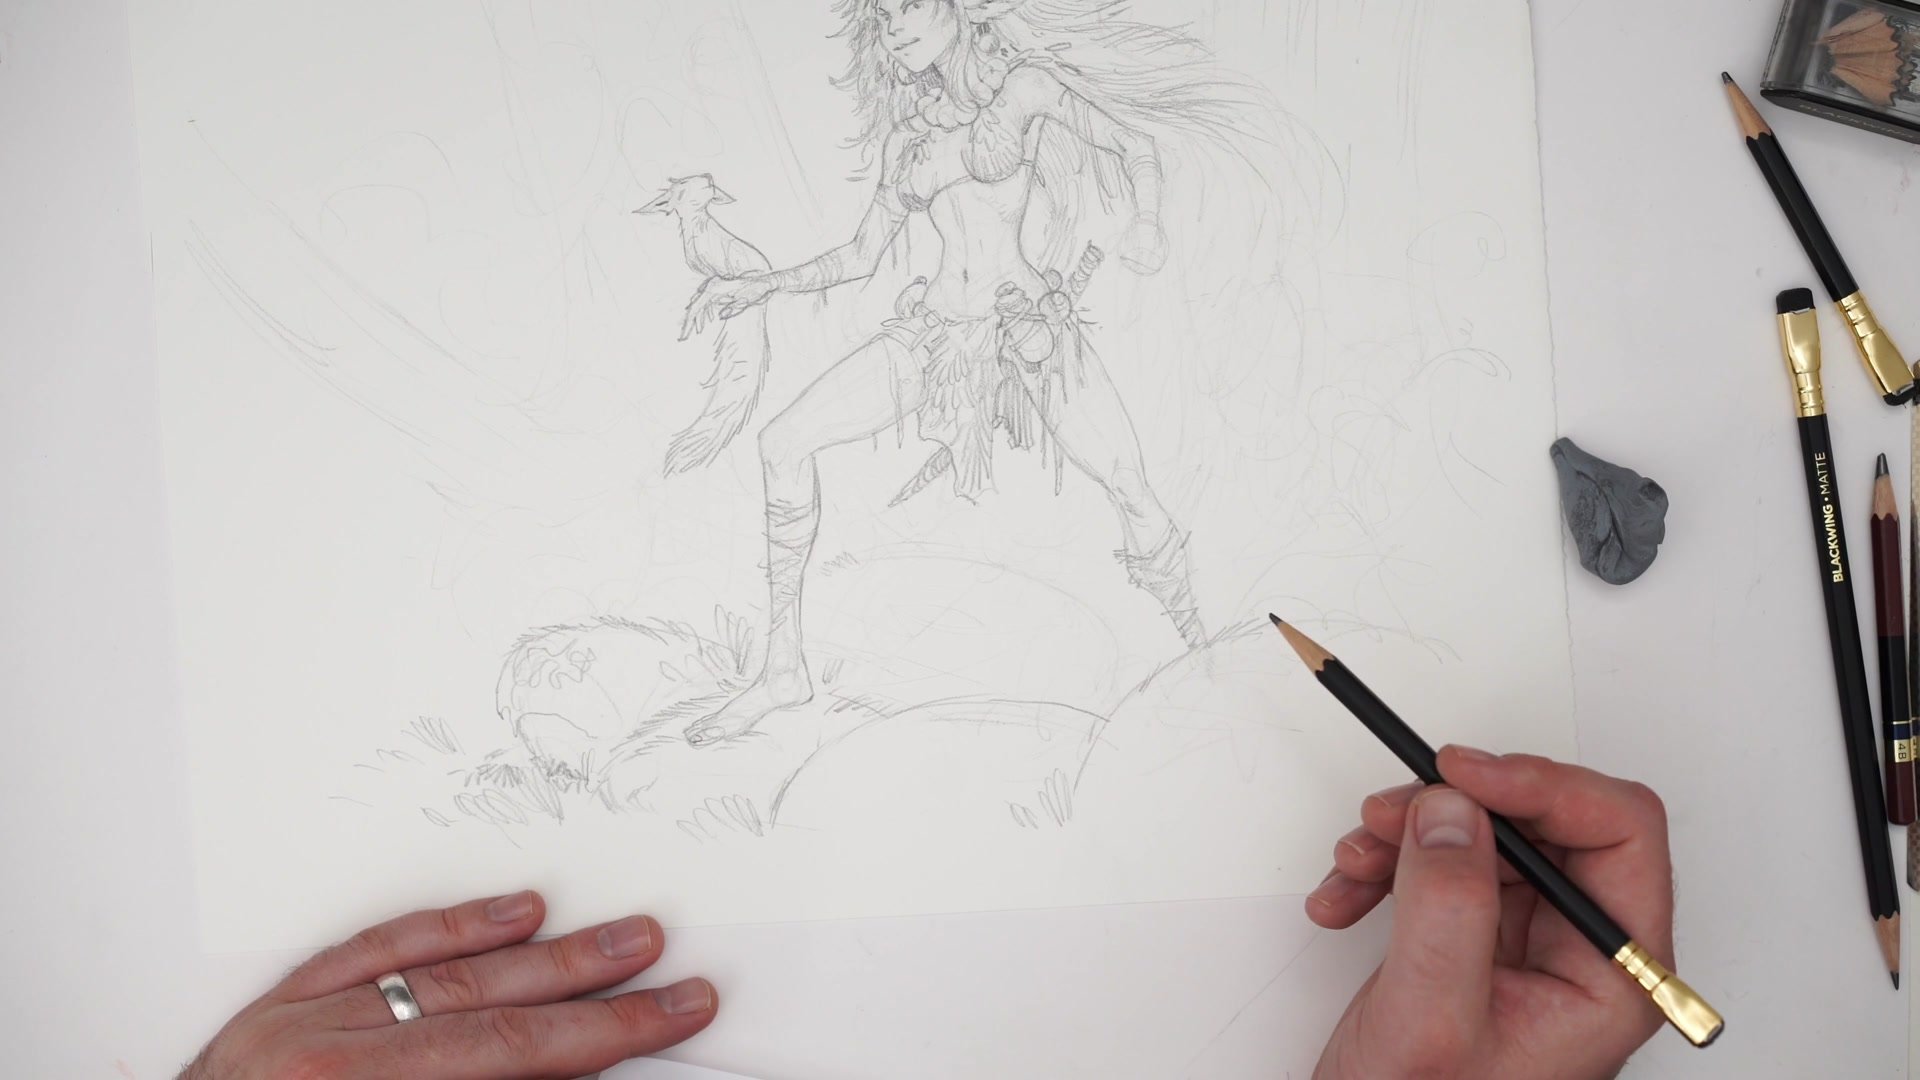
This session covers the full process of creating a fantasy illustration sketch from scratch using traditional pencils on Fabriano Artistico watercolor paper. The subject is a forest elf character inspired by old-school fairy illustration in the style of Arthur Rackham and Brian Froud rather than the typical Lord of the Rings fantasy aesthetic. The session begins with an art inspiration review on ArtStation, then moves to the drawing table where the character is built up from loose gesture marks through to a detailed pencil illustration over roughly an hour.
The tools used are Blackwing Matte pencils, a Mitsubishi 4B drawing pencil for darker accents, a kneadable eraser, and a two-stage pencil sharpener. The textured watercolor paper plays an important role in giving the pencil marks a natural, organic quality that suits the loose sketching style.
Initial Construction
Finding the Pose
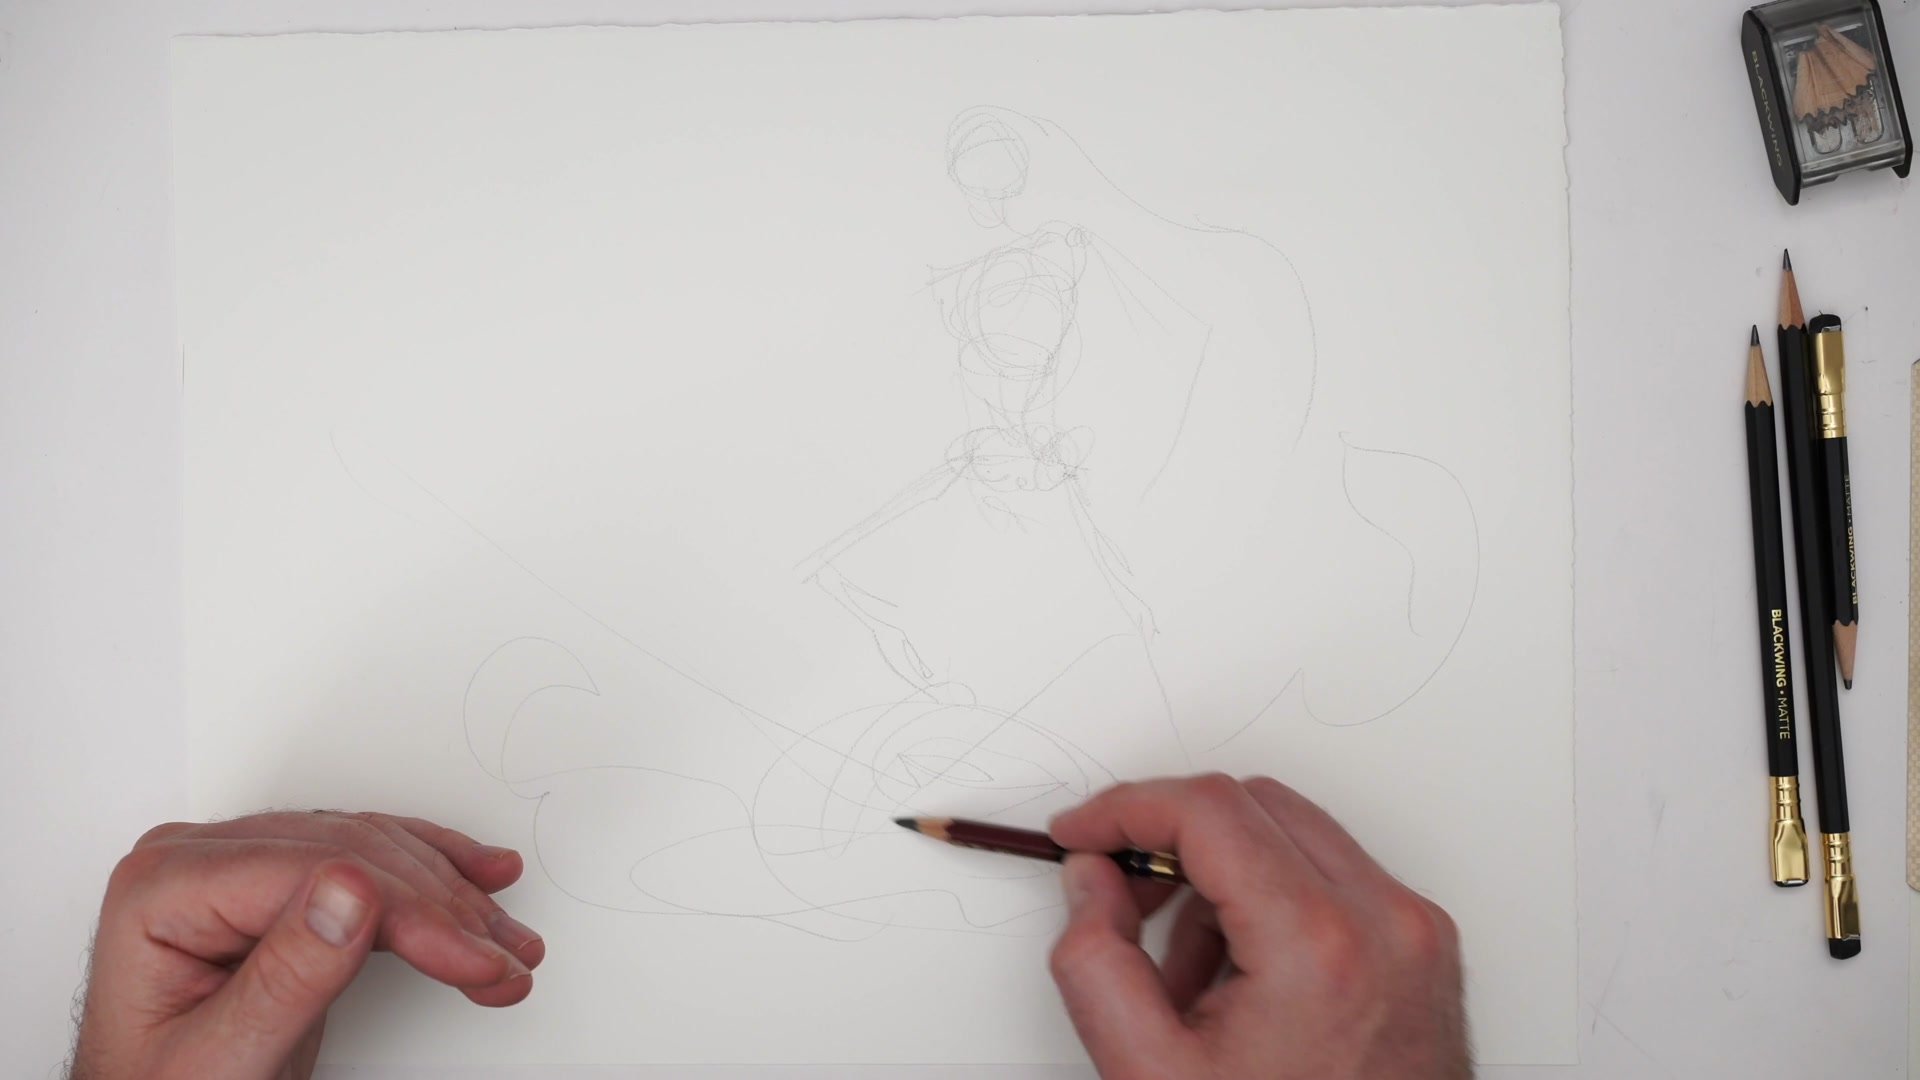
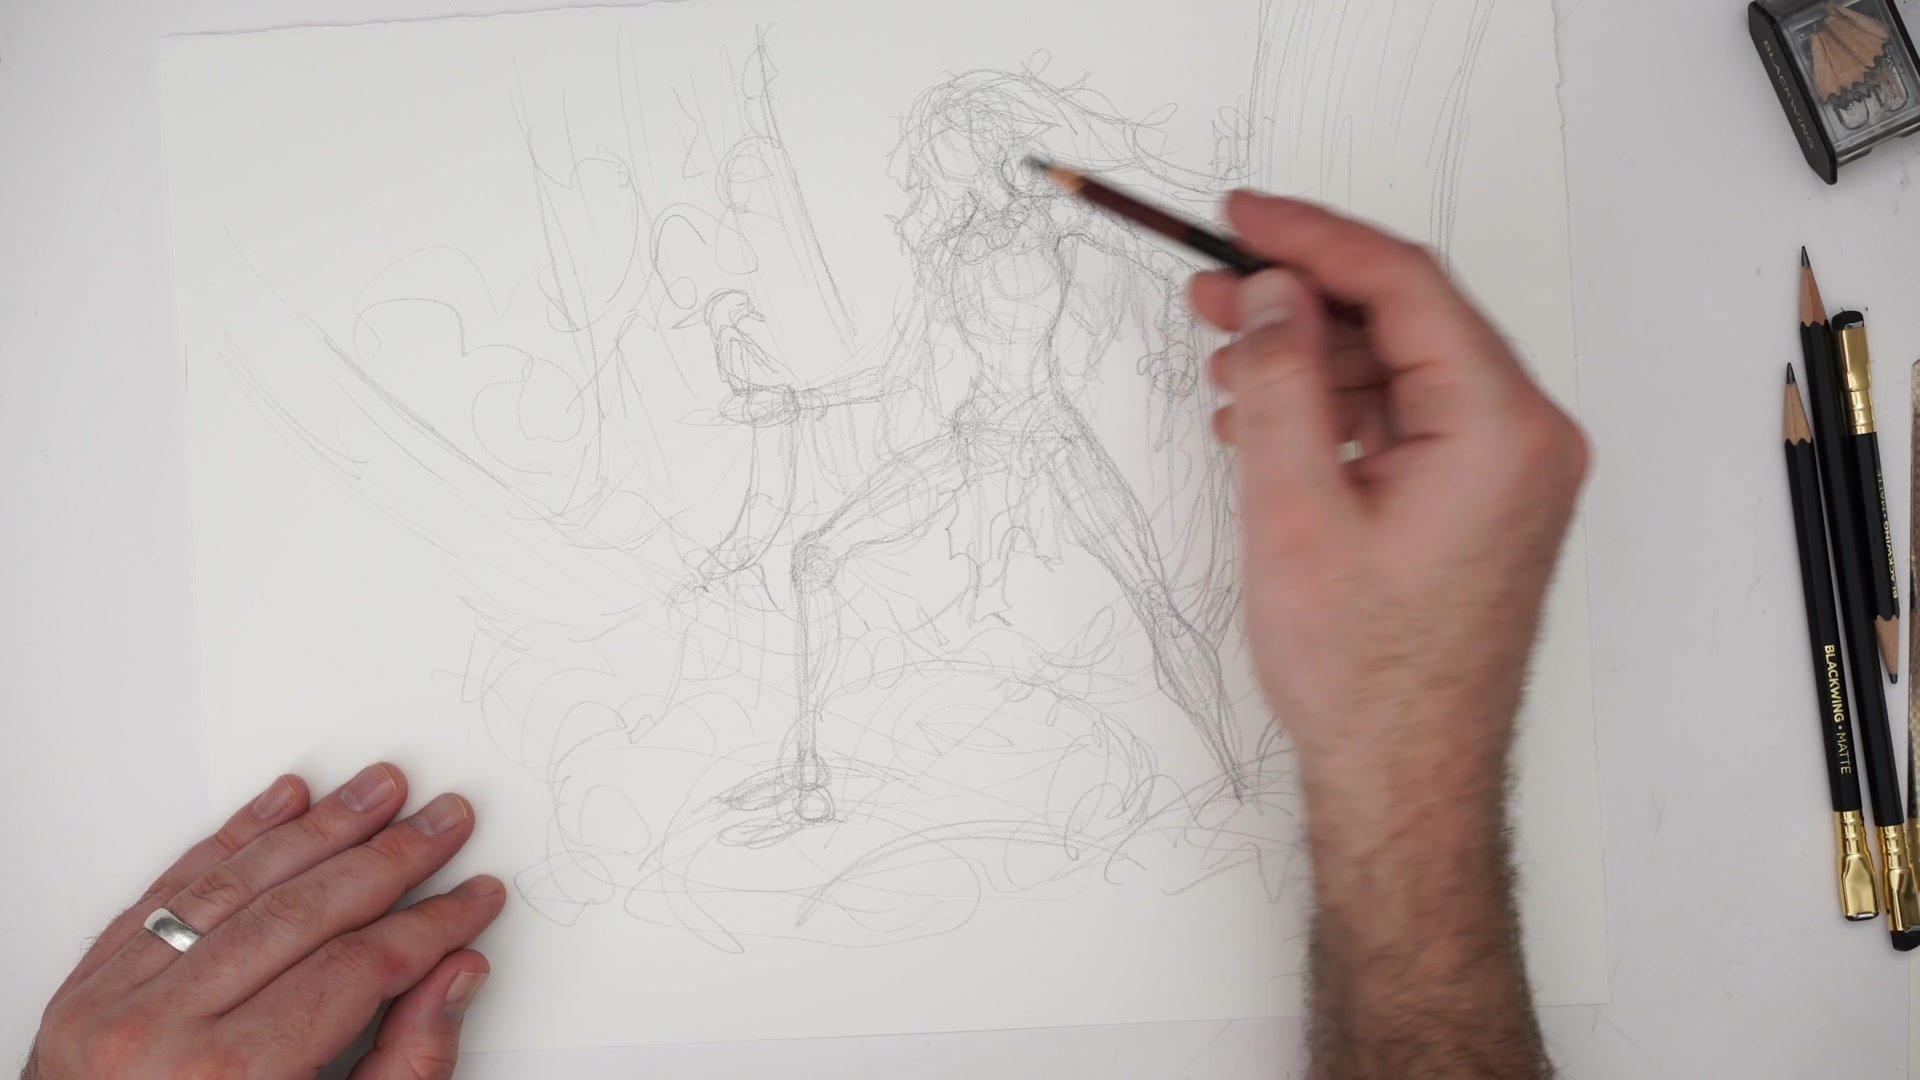
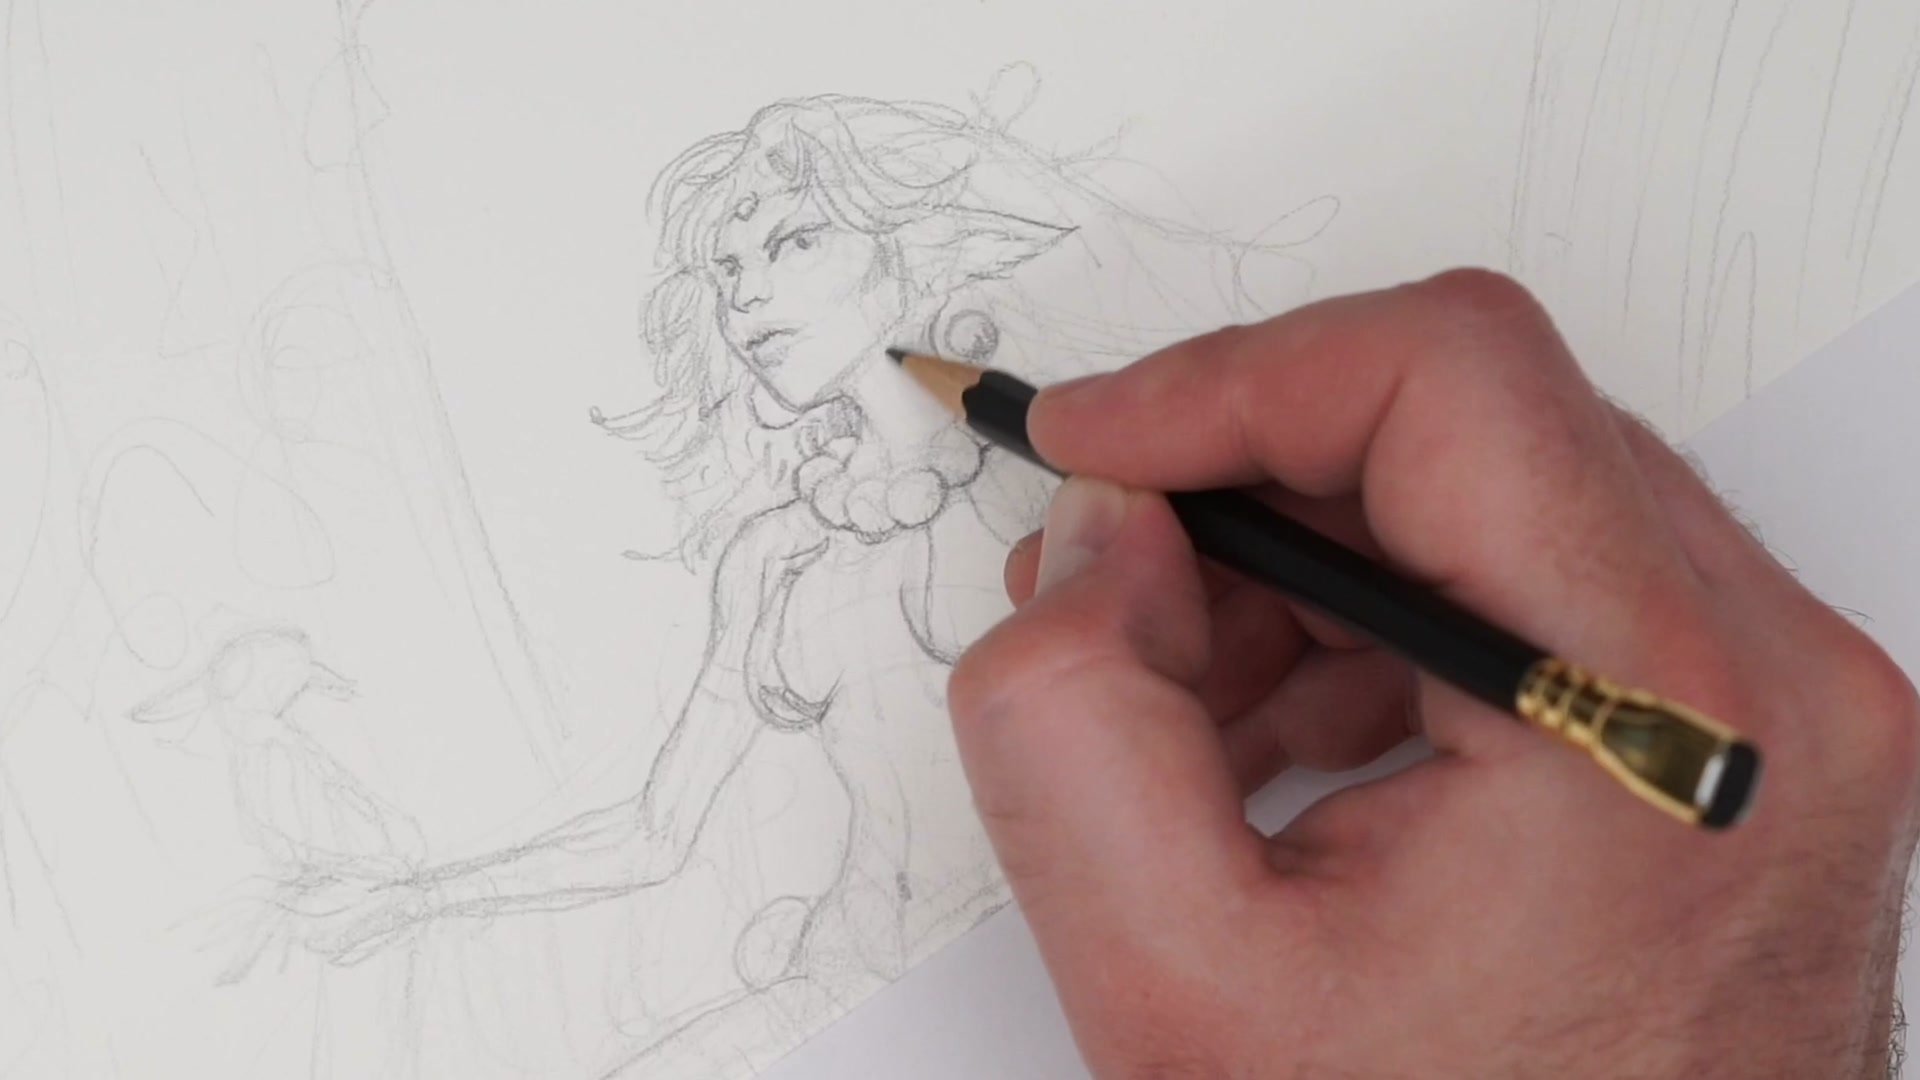
The drawing begins with extremely light, loose pencil marks exploring the figure's gesture and basic pose. There is no tight construction grid or Loomis method being applied here. Instead, the approach is purely exploratory, feeling out shapes and letting the character emerge from the page. The idea is to stay loose, avoid tightening up too early, and allow interesting shapes to happen naturally through the mark-making process.
As the pose develops, structural elements start to appear: the torso placement, the center line, the general proportions. The character is conceived as a more organic, unkempt forest dweller rather than something out of a polished fantasy world. Secondary elements begin to take shape around the figure, including a small creature companion and environmental suggestions like tree forms and roots. The goal at this stage is to establish the overall composition and the major shapes before committing to any detail.
Building Structure
Anatomy Checks and Refinement
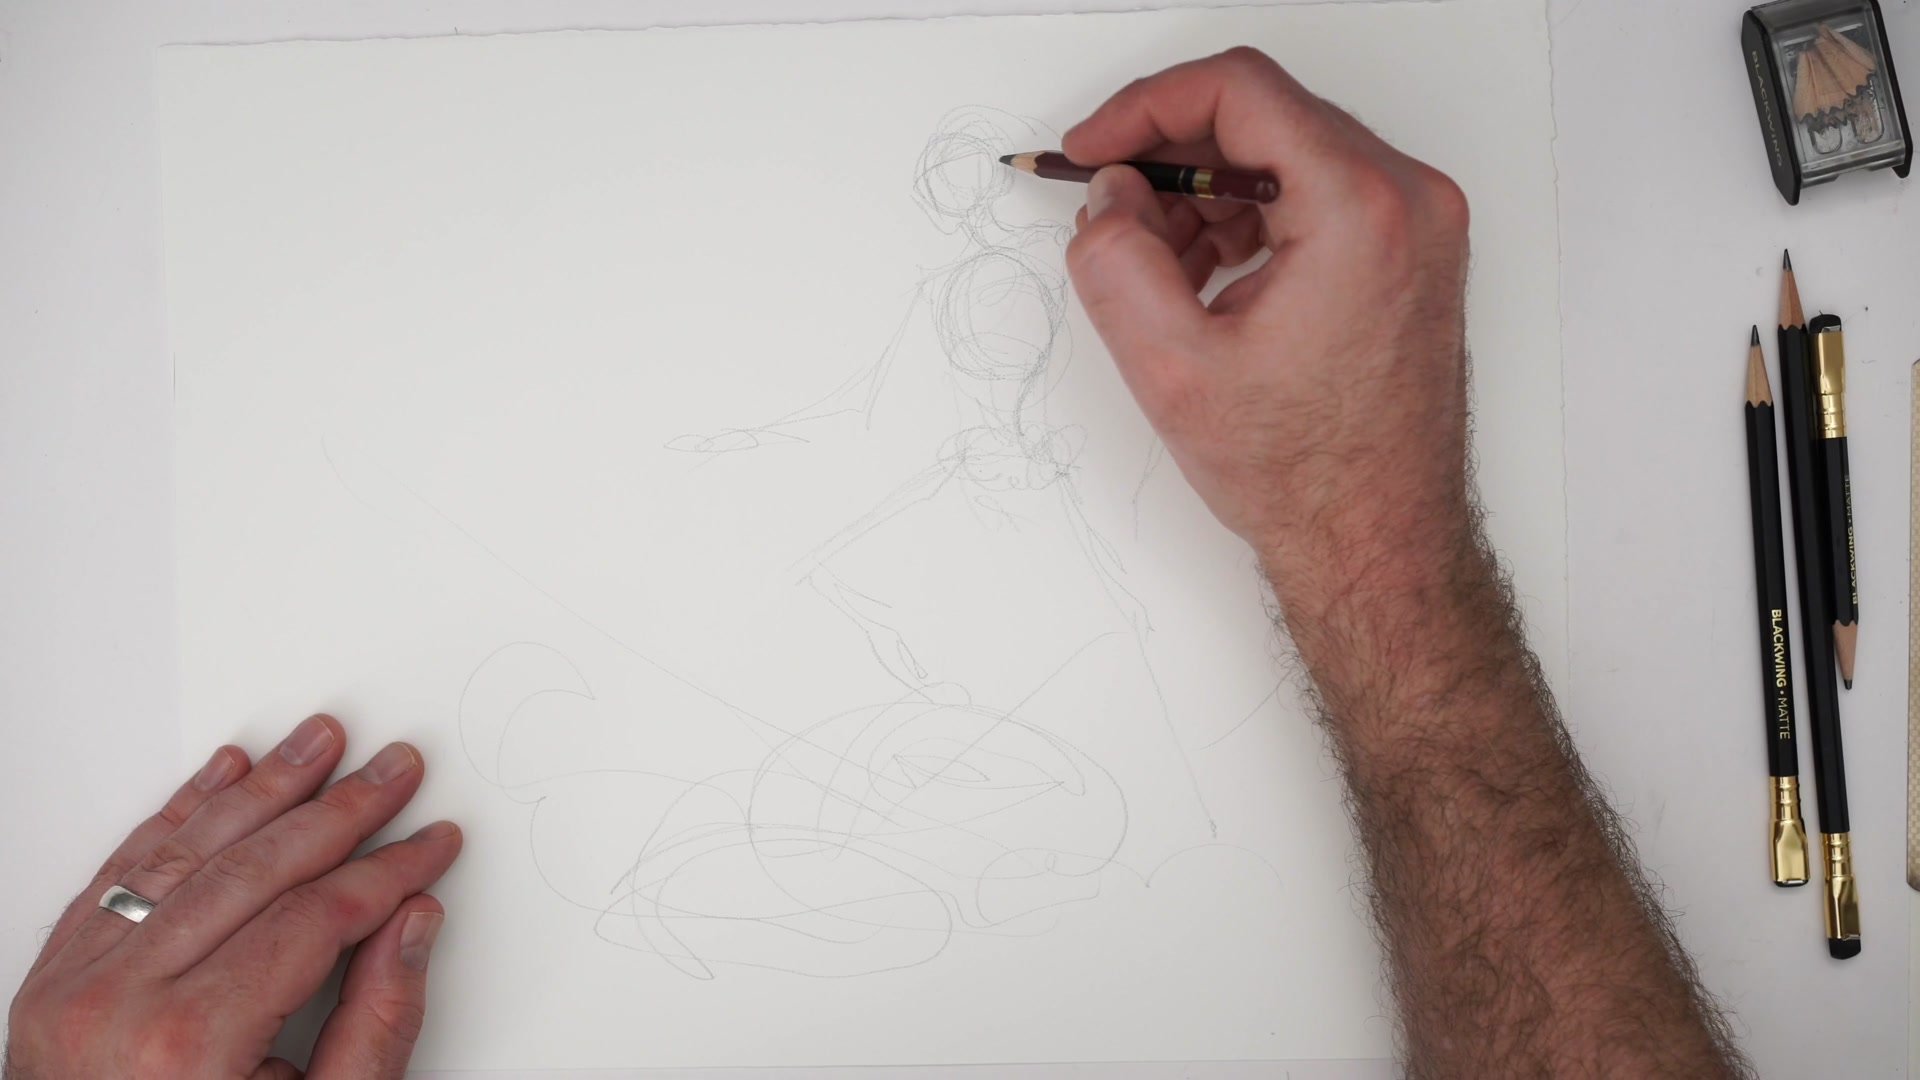
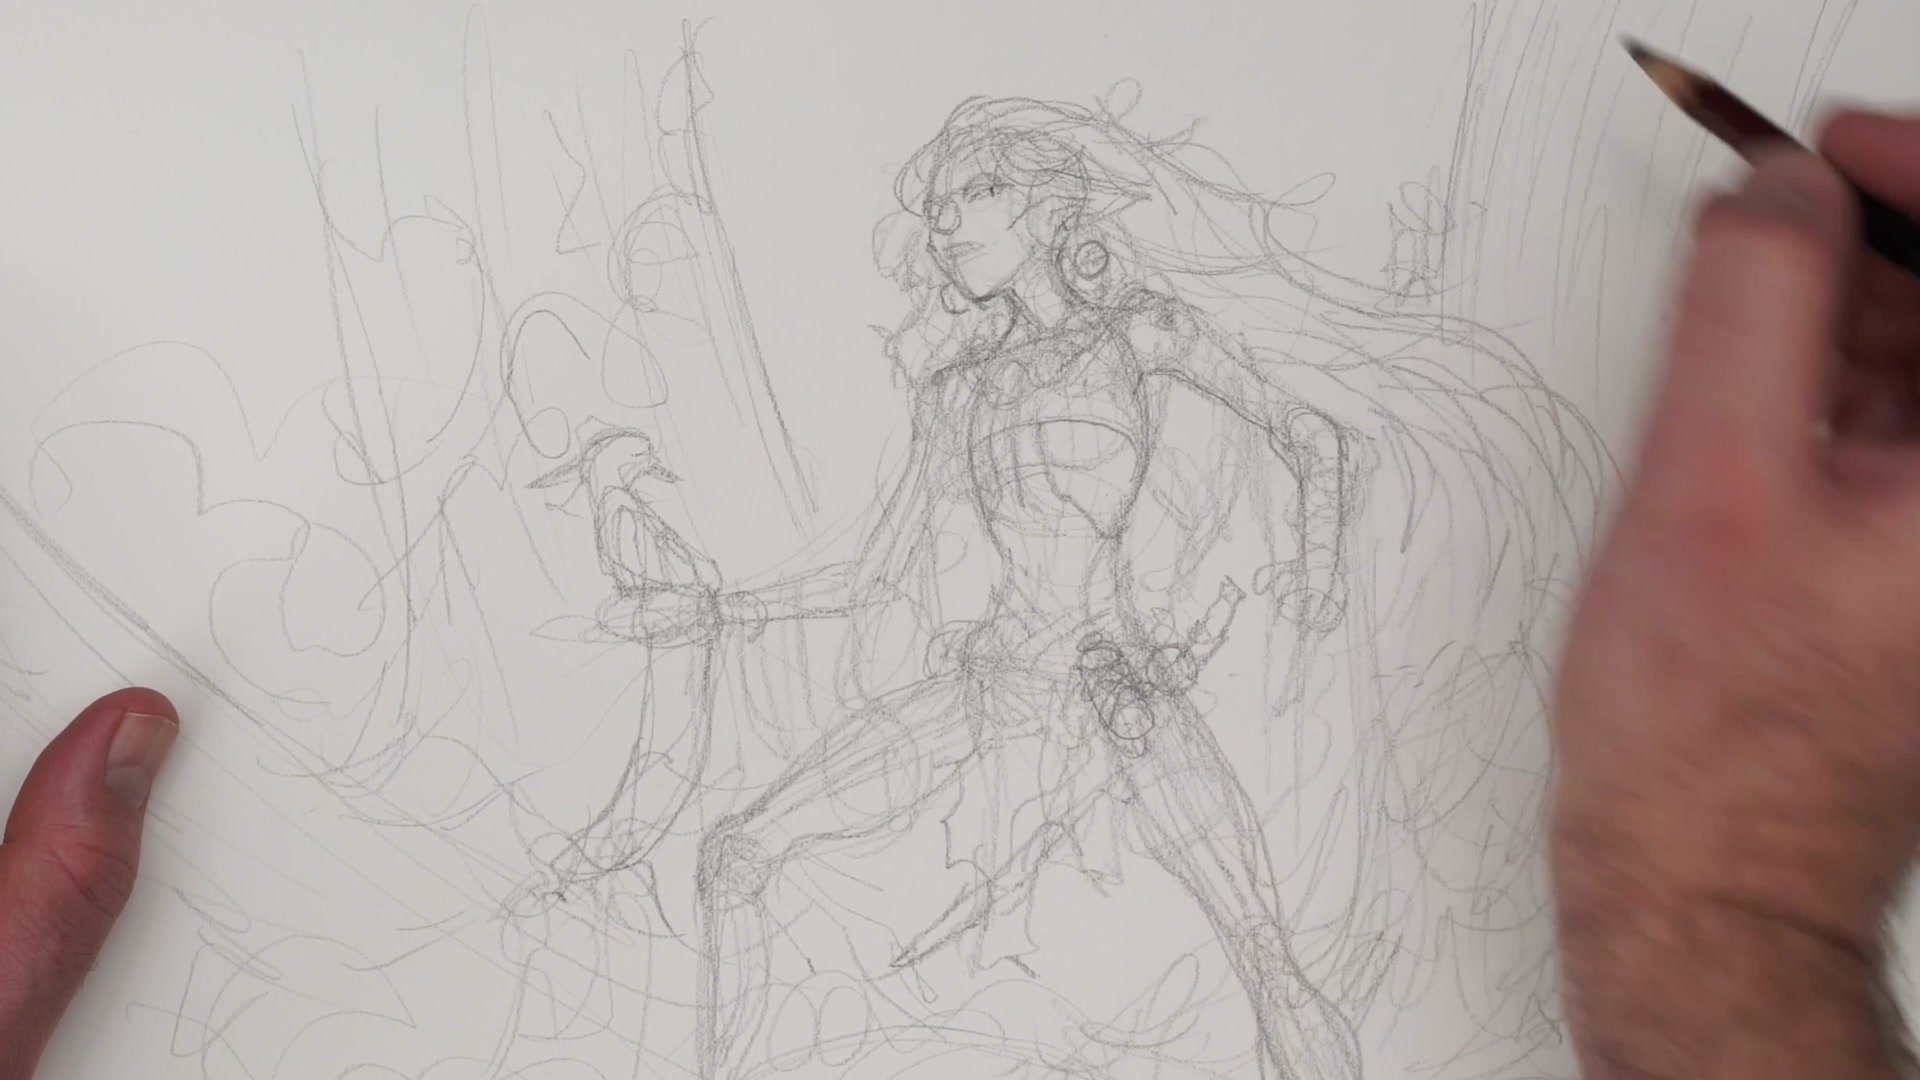
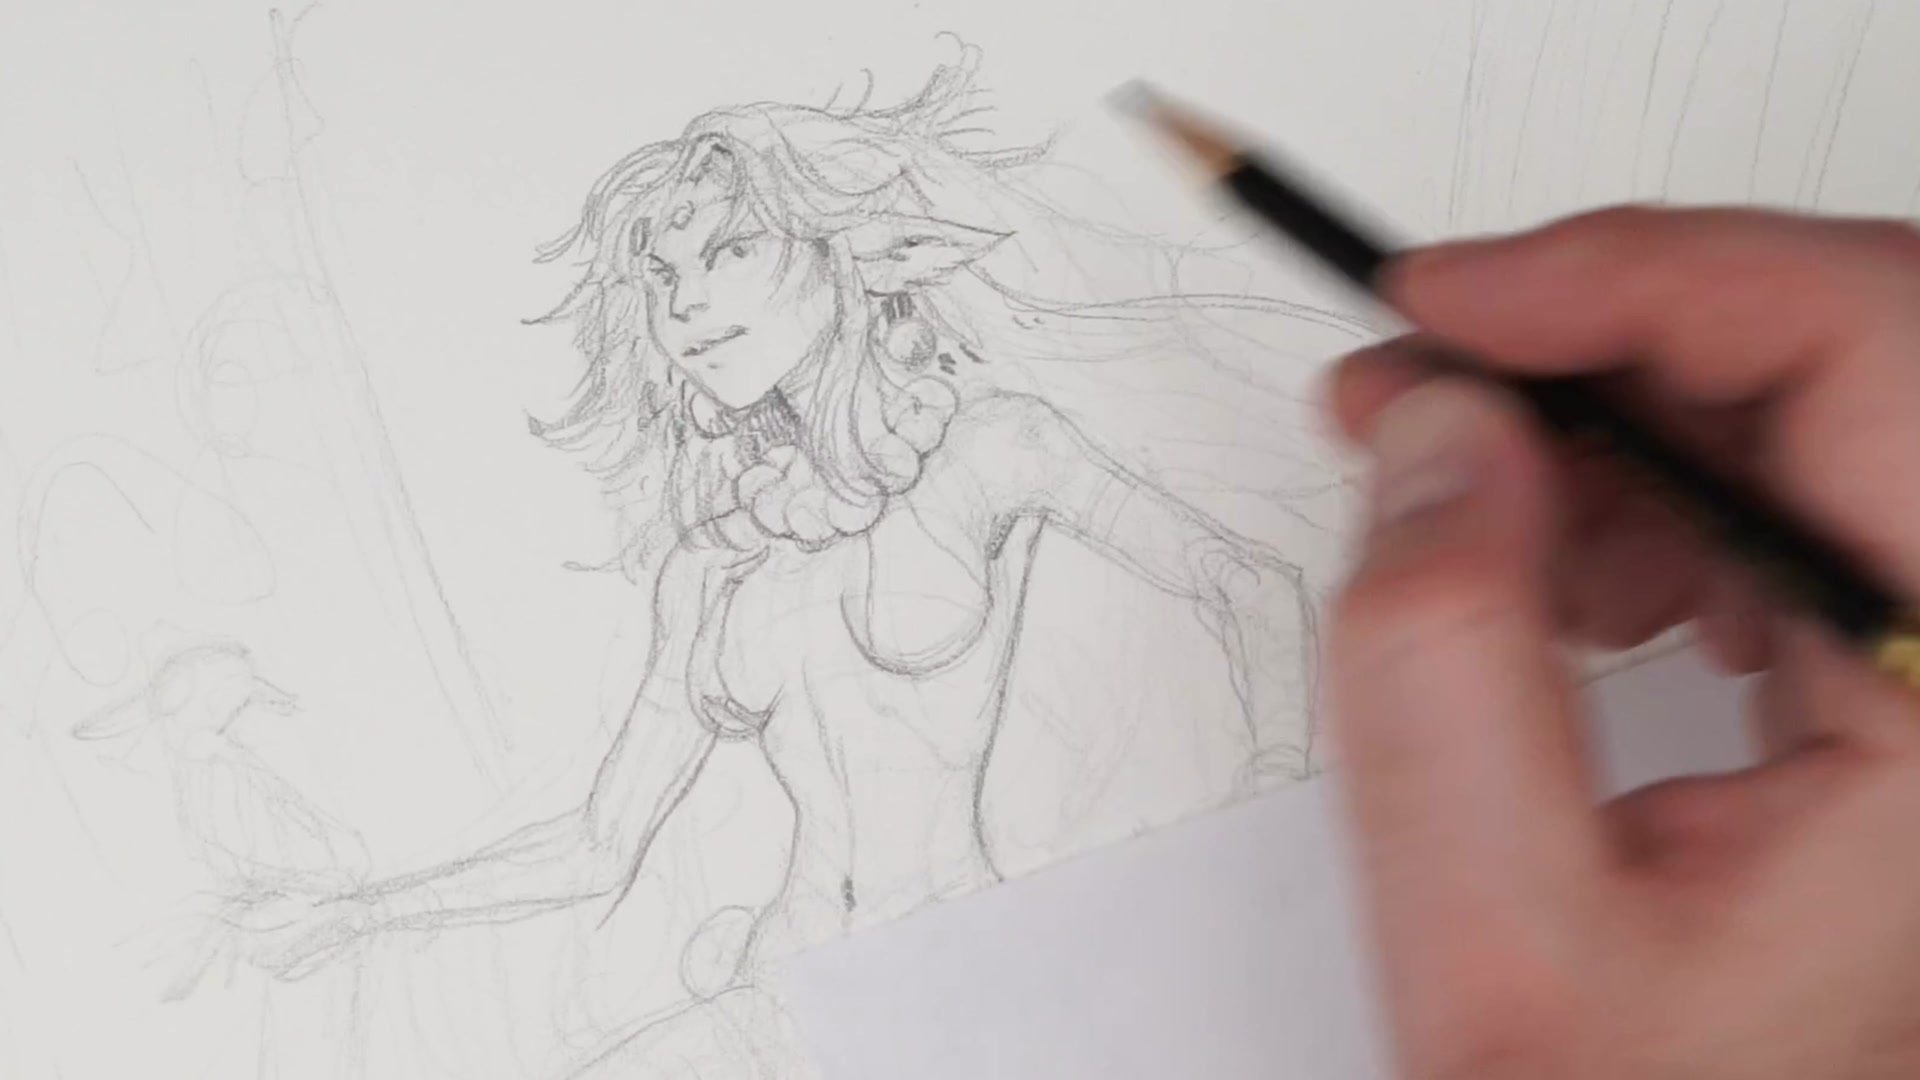
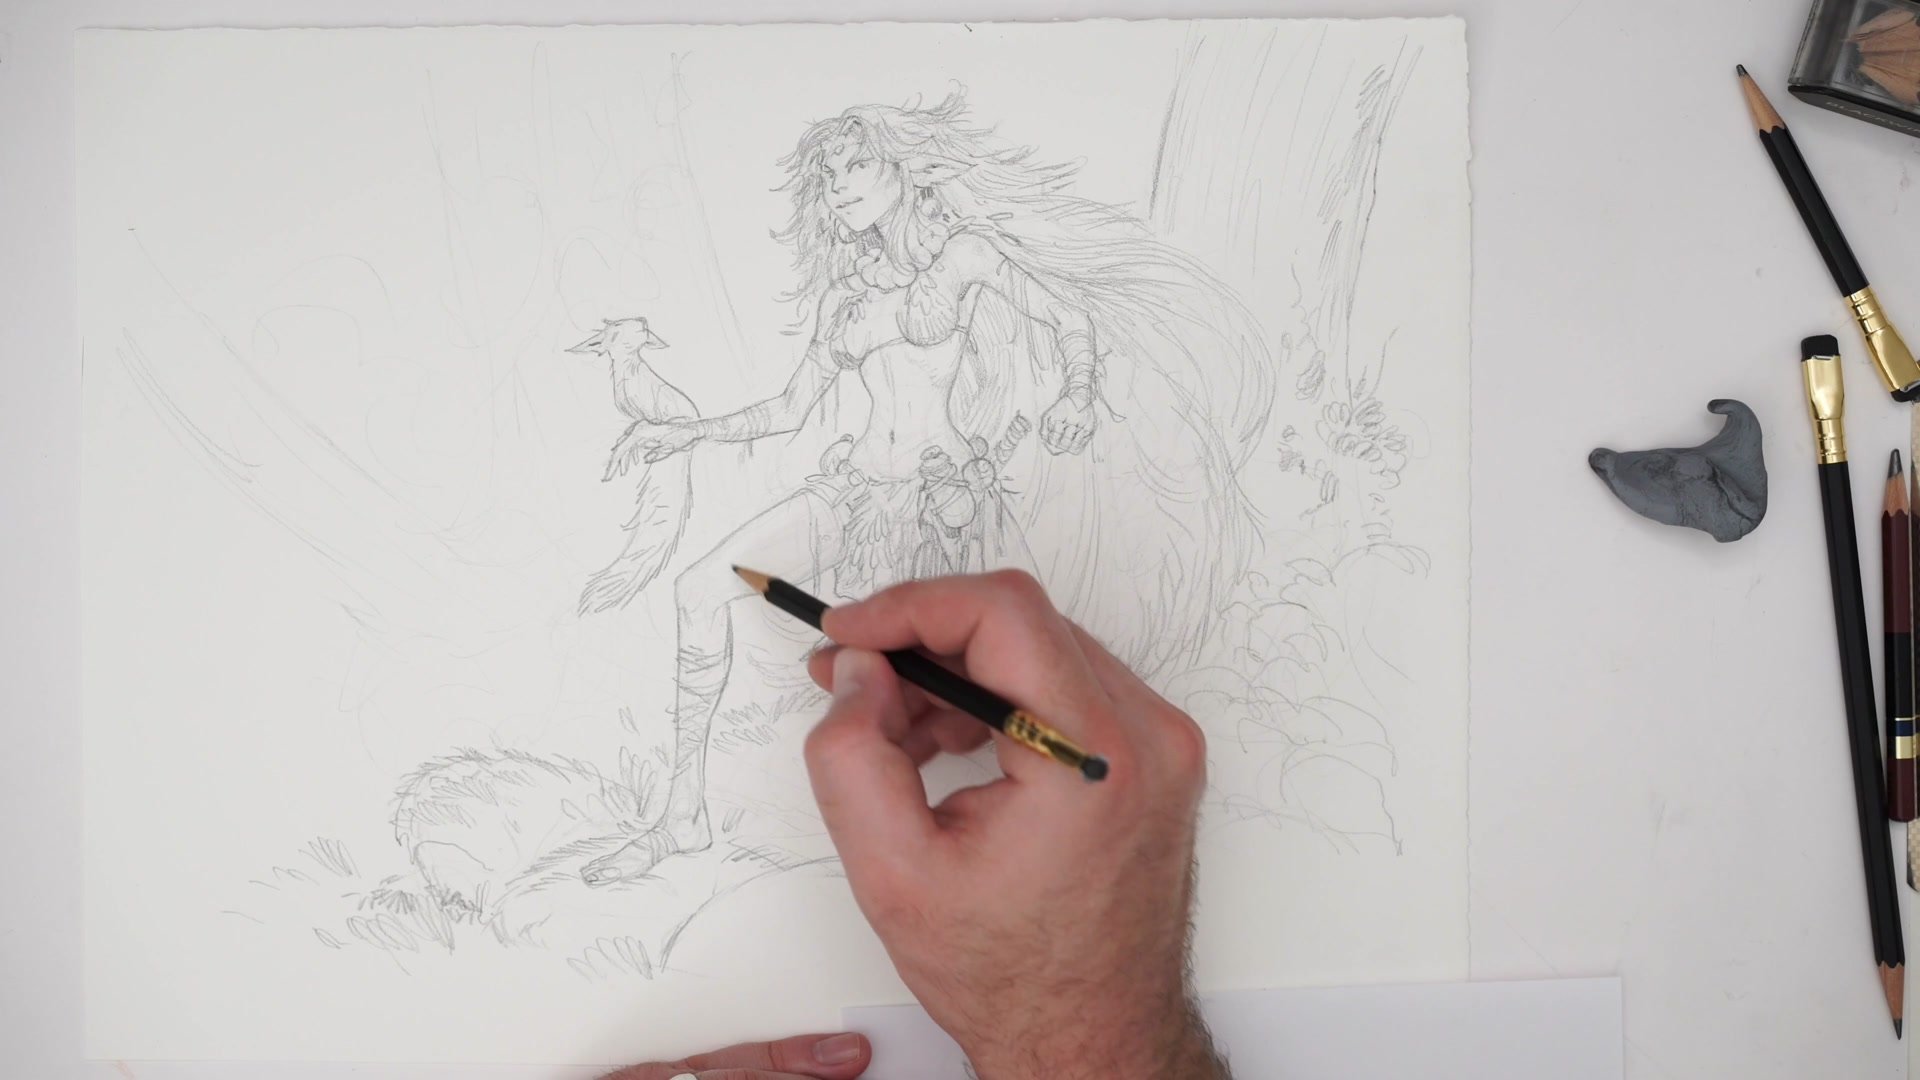
Once the basic pose is roughed in, the drawing is checked from a straight-on angle to verify proportions and anatomy. Center lines are established through the torso and face to ensure the structural foundations are sound before pushing into detail. The head size gets adjusted during this phase because viewing from above while drawing made it appear smaller than intended.
The kneadable eraser becomes a key tool during refinement. Rather than erasing lines completely, a rolling technique lifts the graphite evenly, like lowering opacity in Photoshop. A dabbing method offers more precise control over which marks stay and which fade. This allows the initial construction to remain as a subtle guide while cleaner, more confident lines are drawn on top. The process moves between the Mitsubishi 4B for dark accents and the Blackwing Matte for general drawing, each pencil serving a different purpose in building up value range.
Detail and Character
Hierarchy of Detail
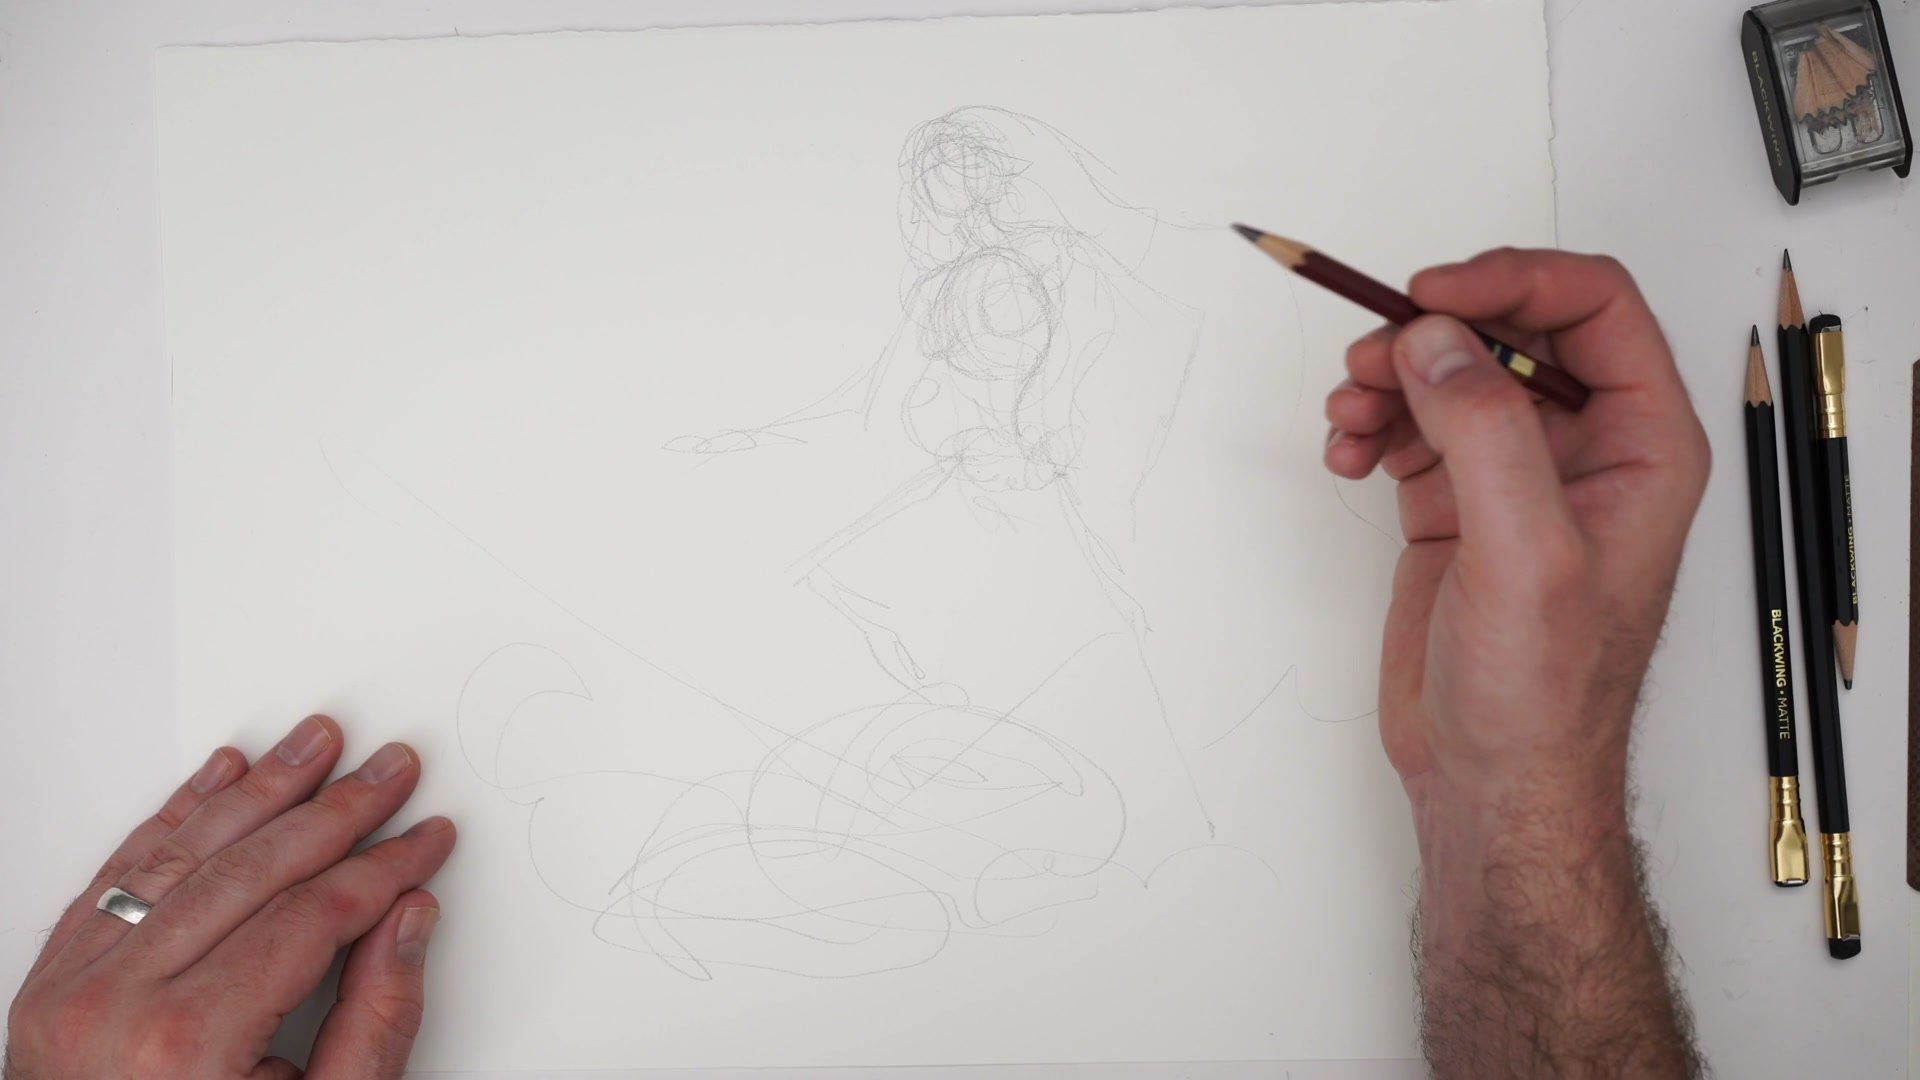
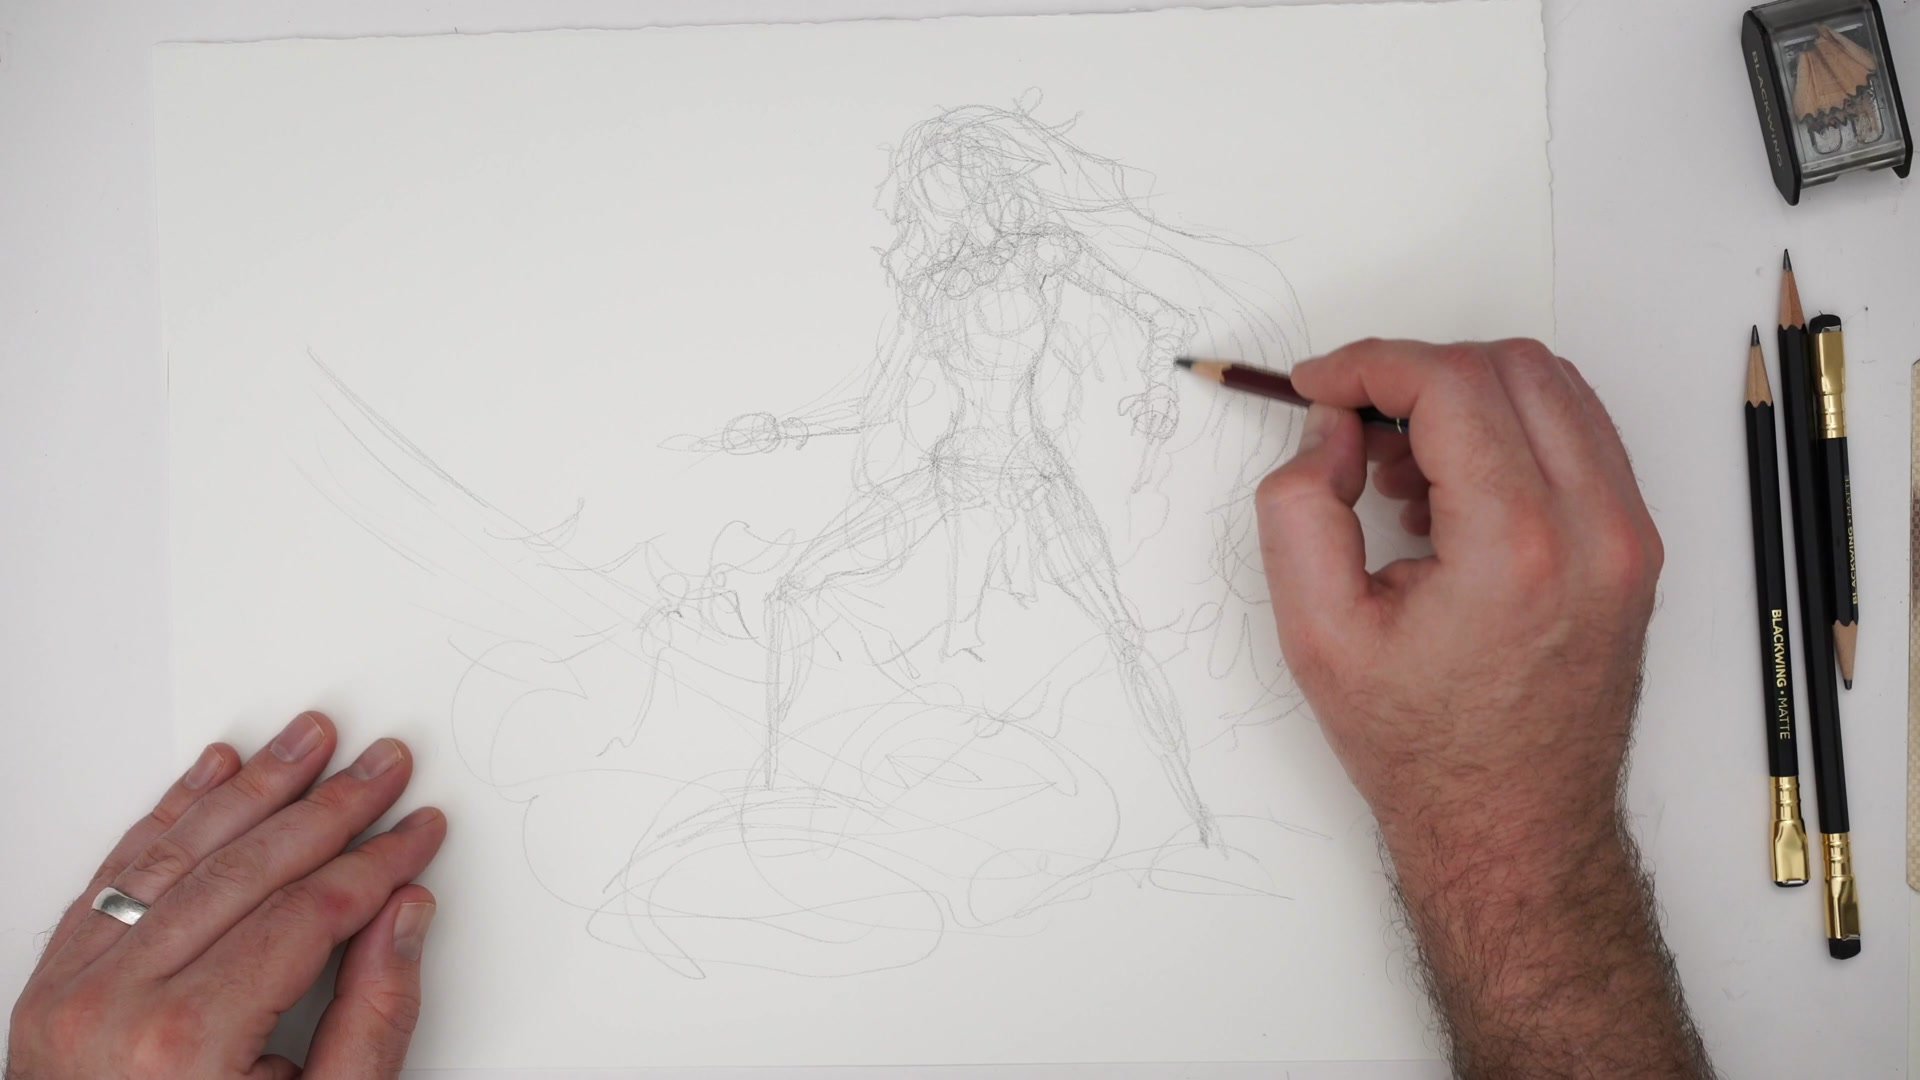
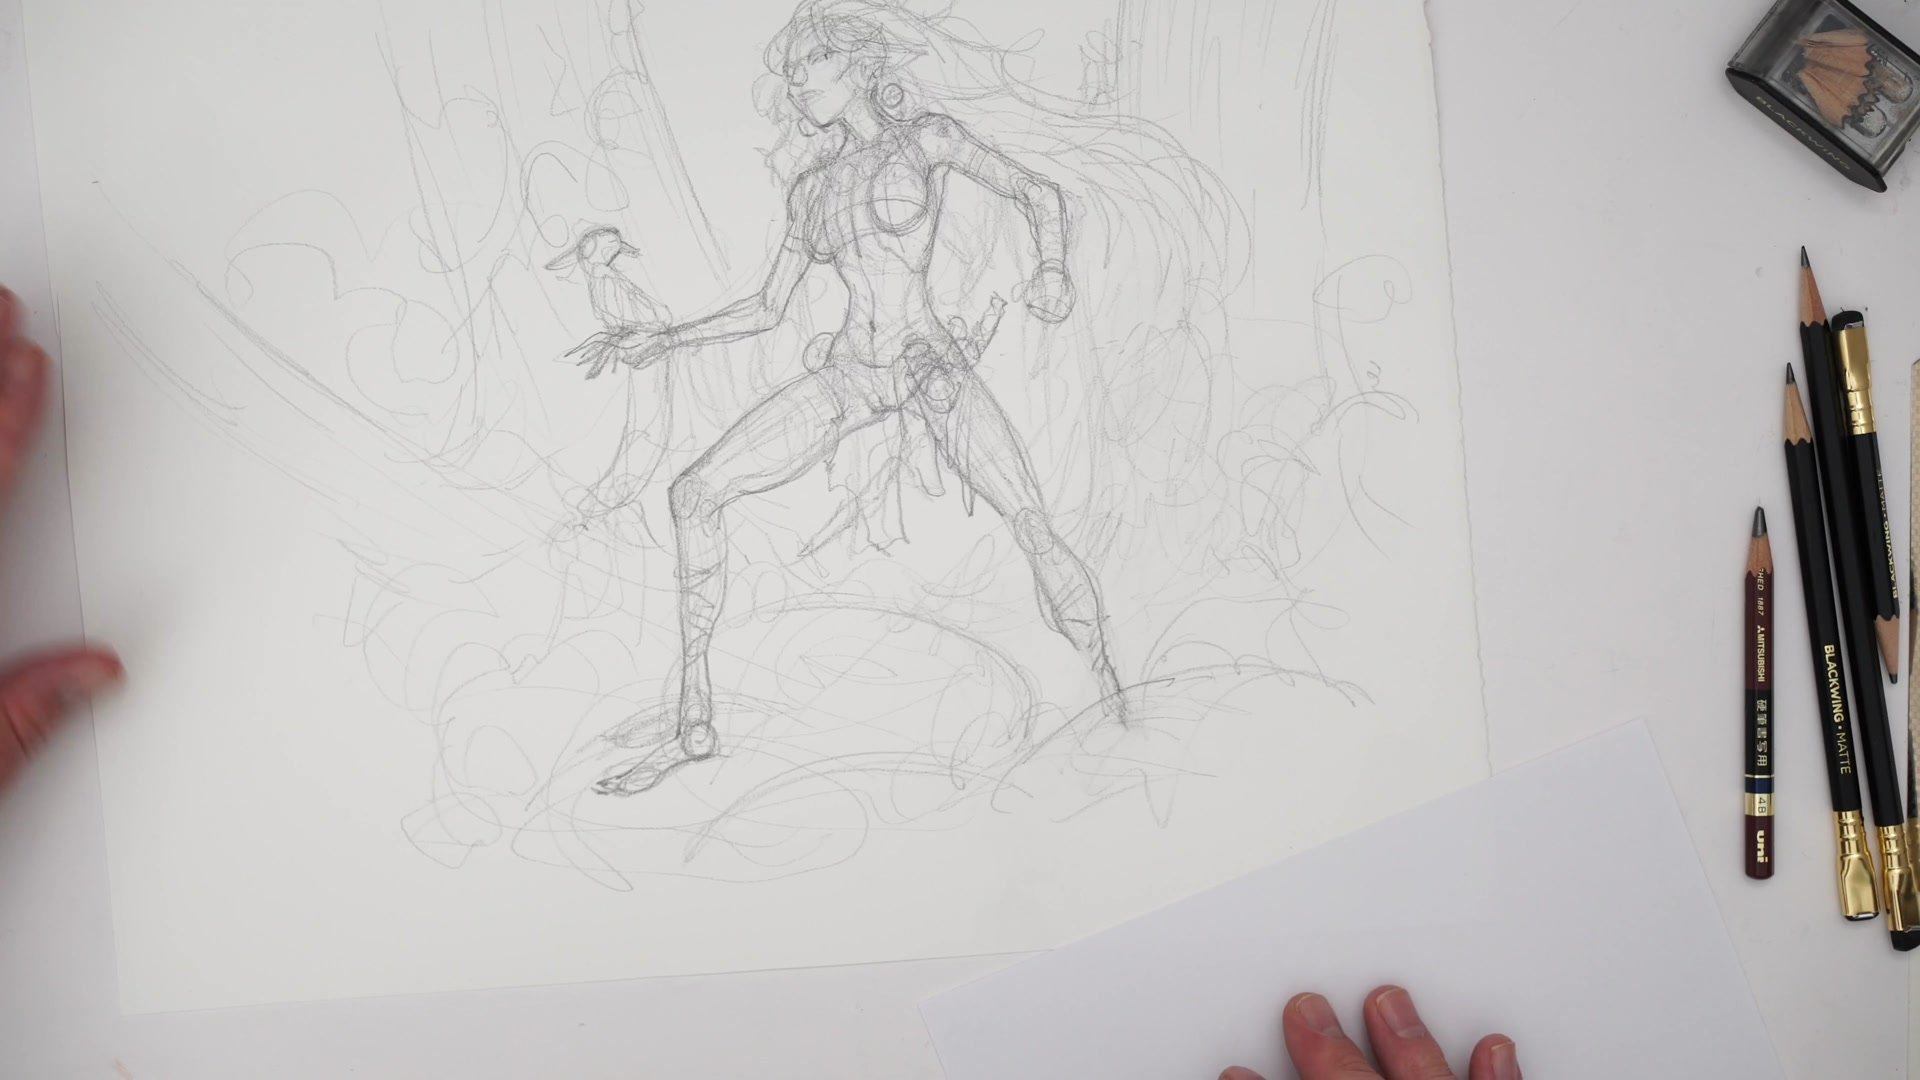
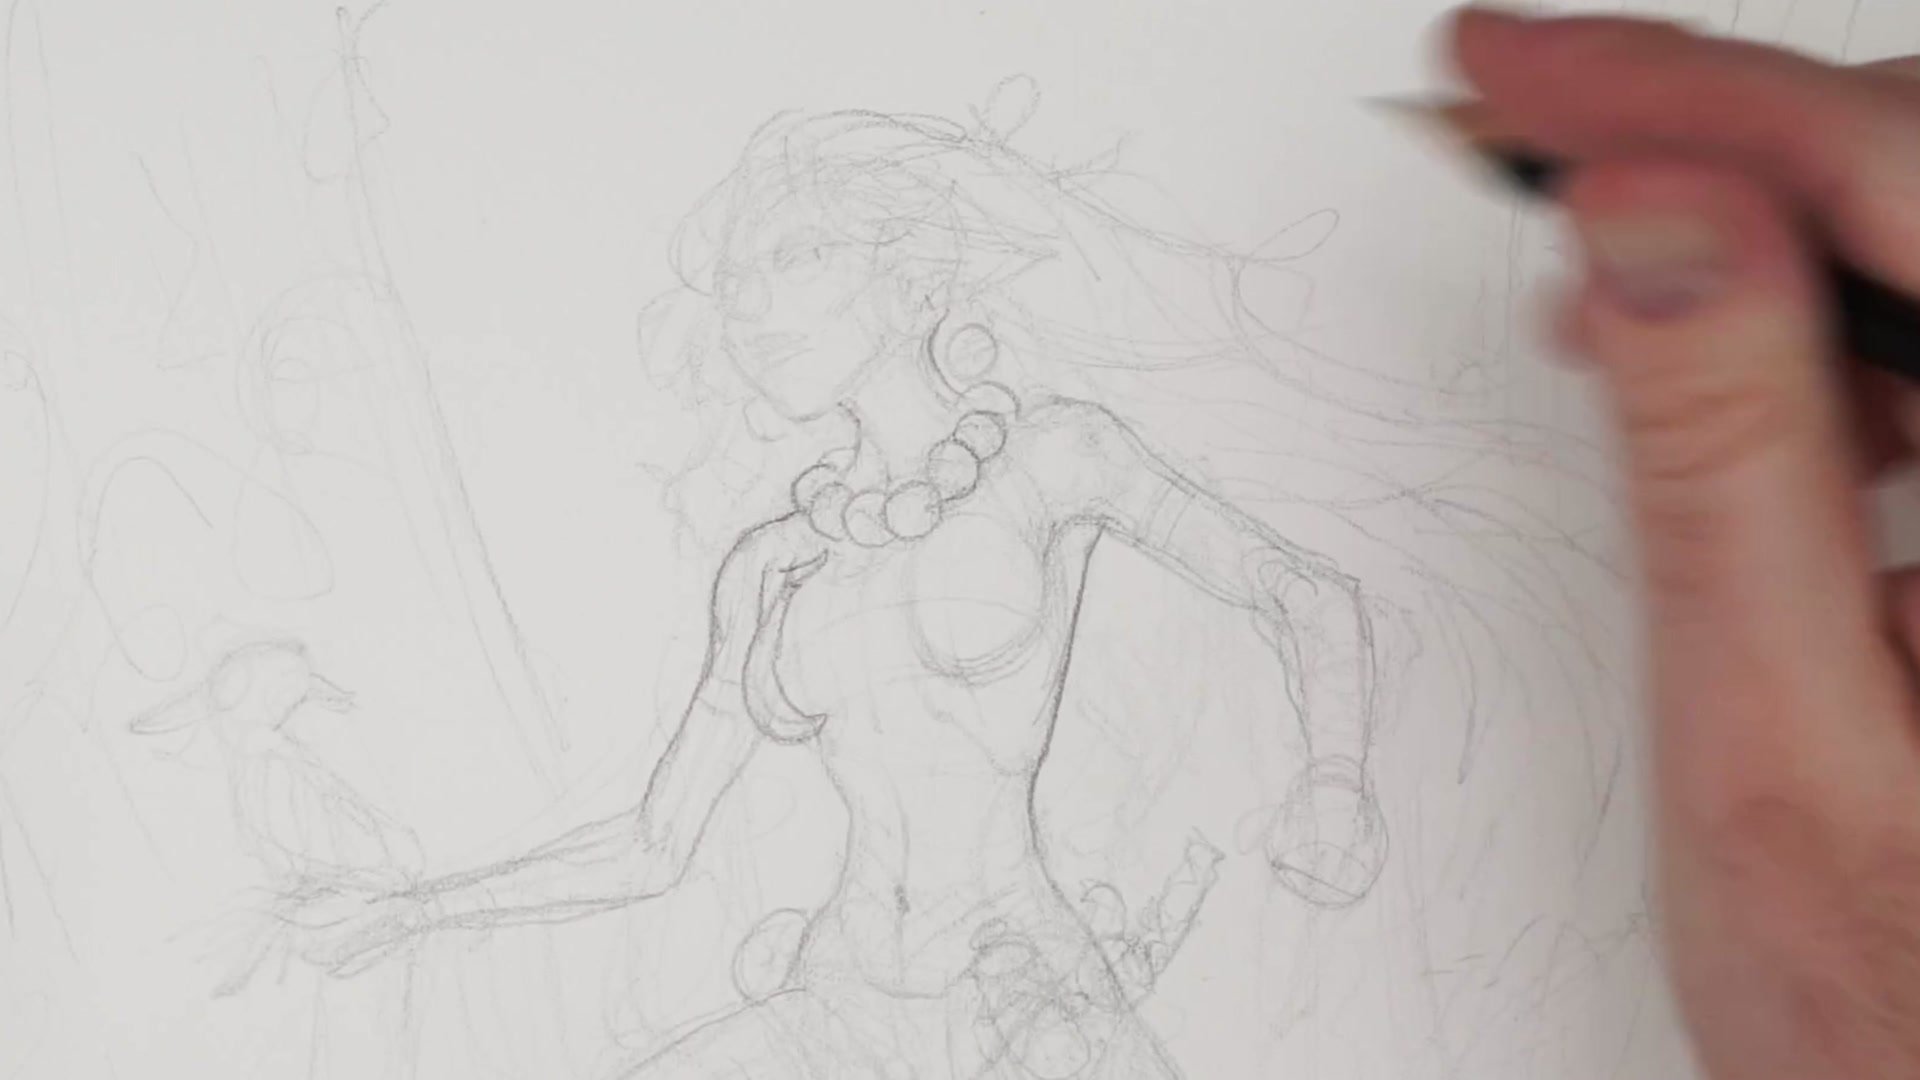
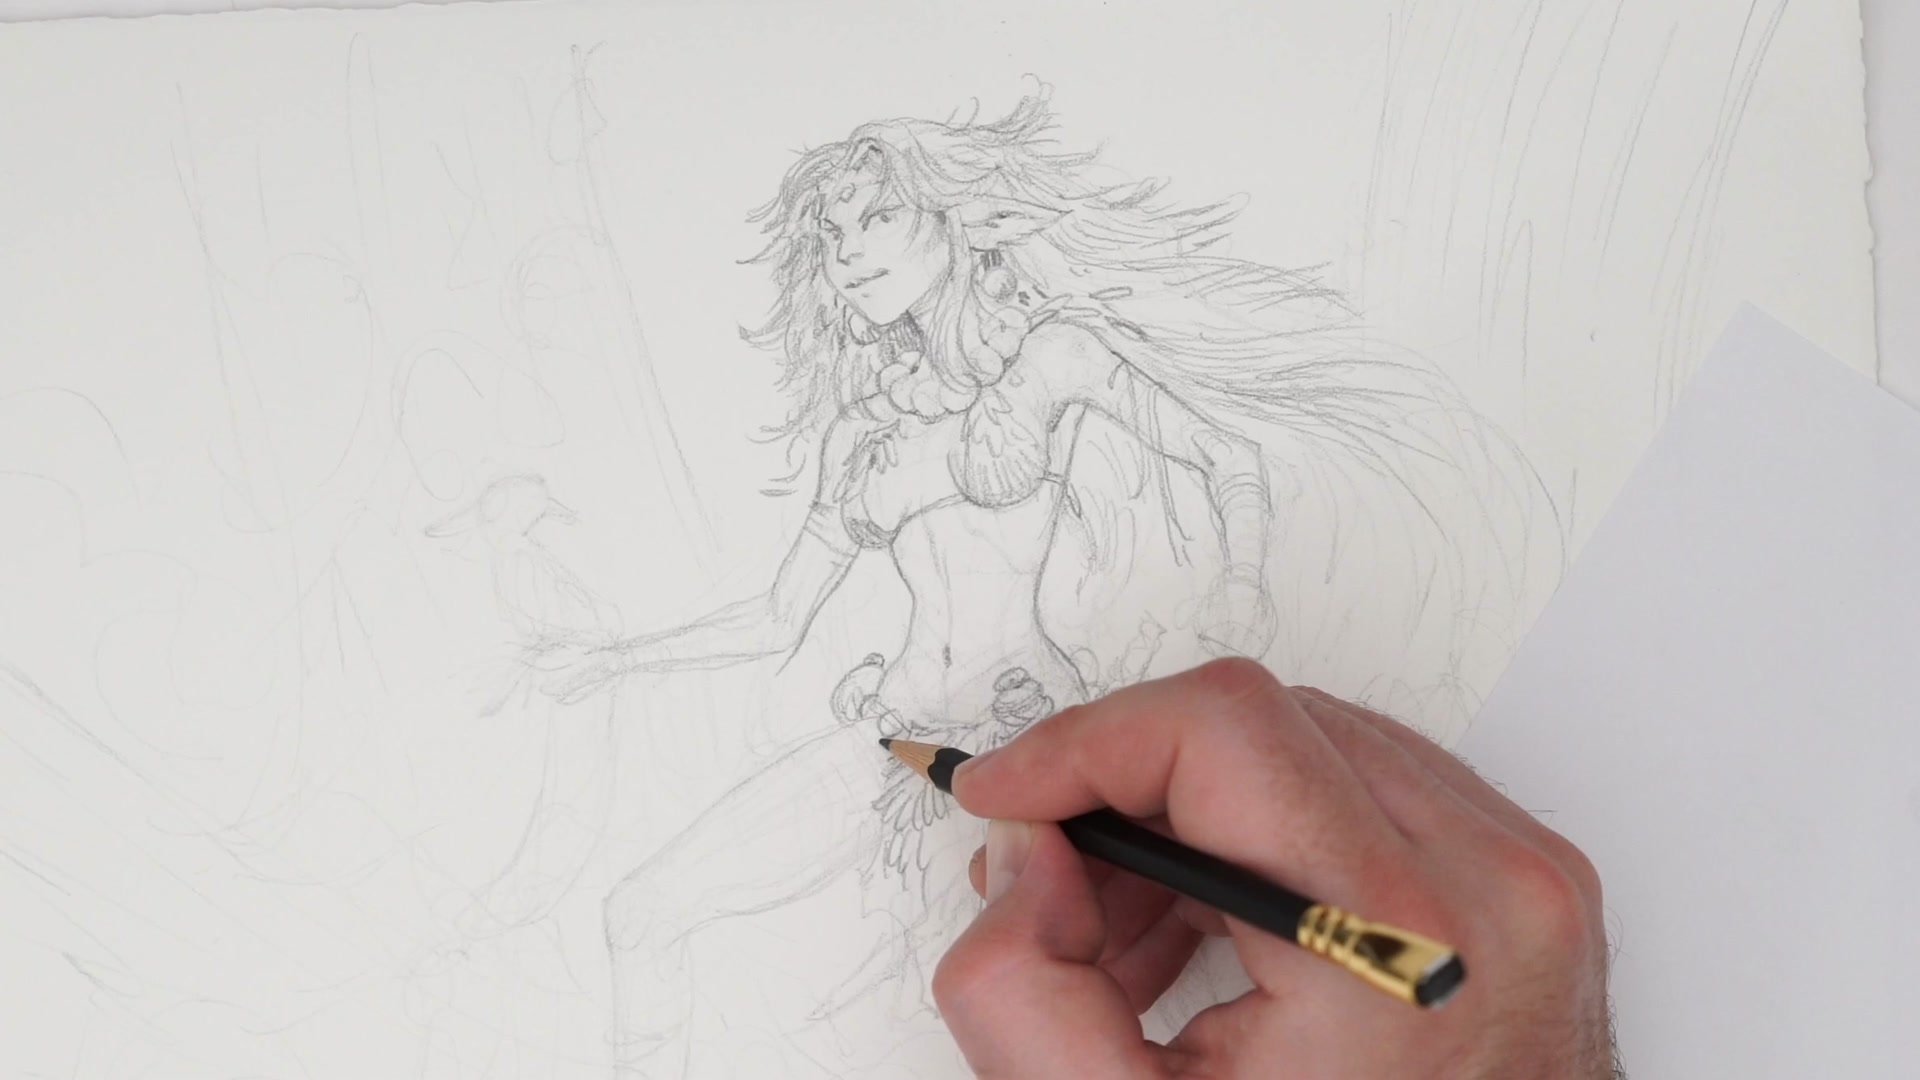
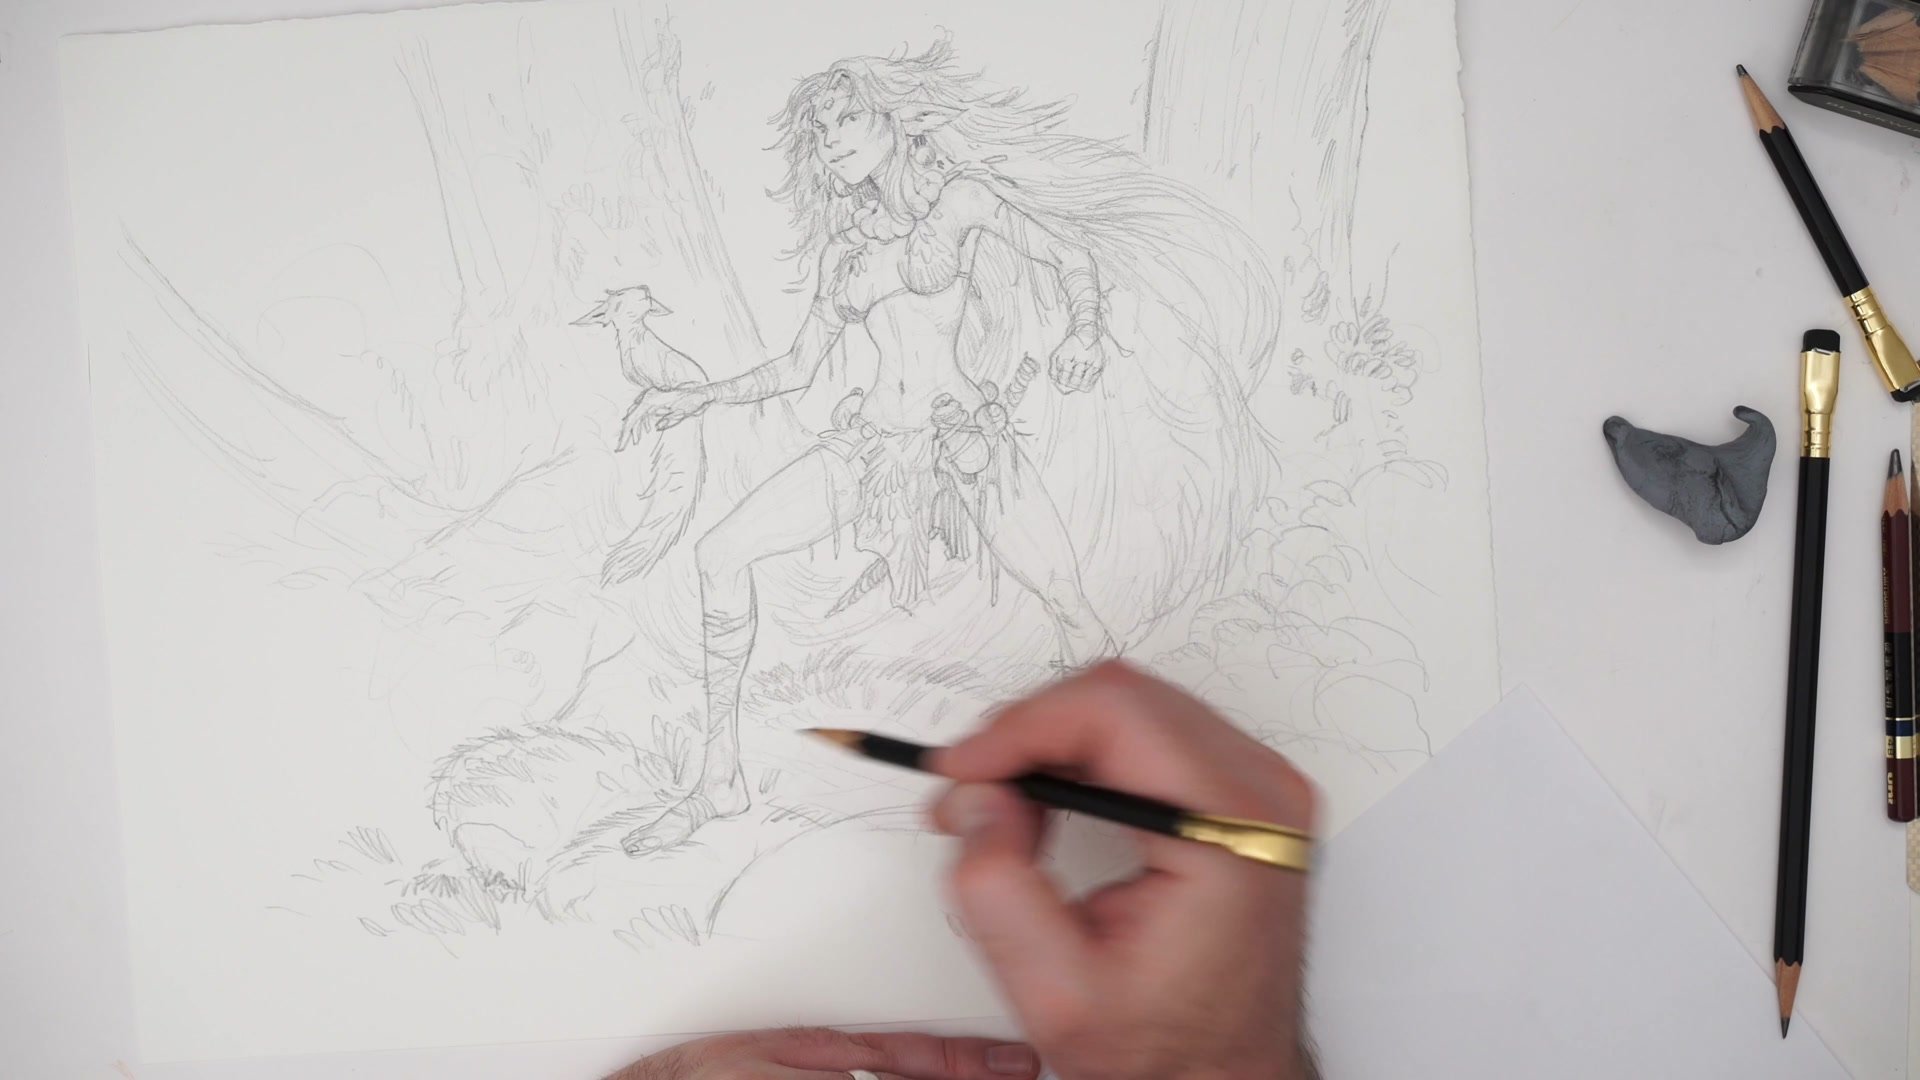
The most important concept running through this entire session is hierarchy of detail. The face is set as the primary focal point early on, receiving the most detail and the most careful treatment. Everything else in the image is intentionally kept less resolved so it does not compete with that primary read. This is the one-two-three read principle in action: the face draws the eye first, secondary elements support it, and background elements fade into suggestion.
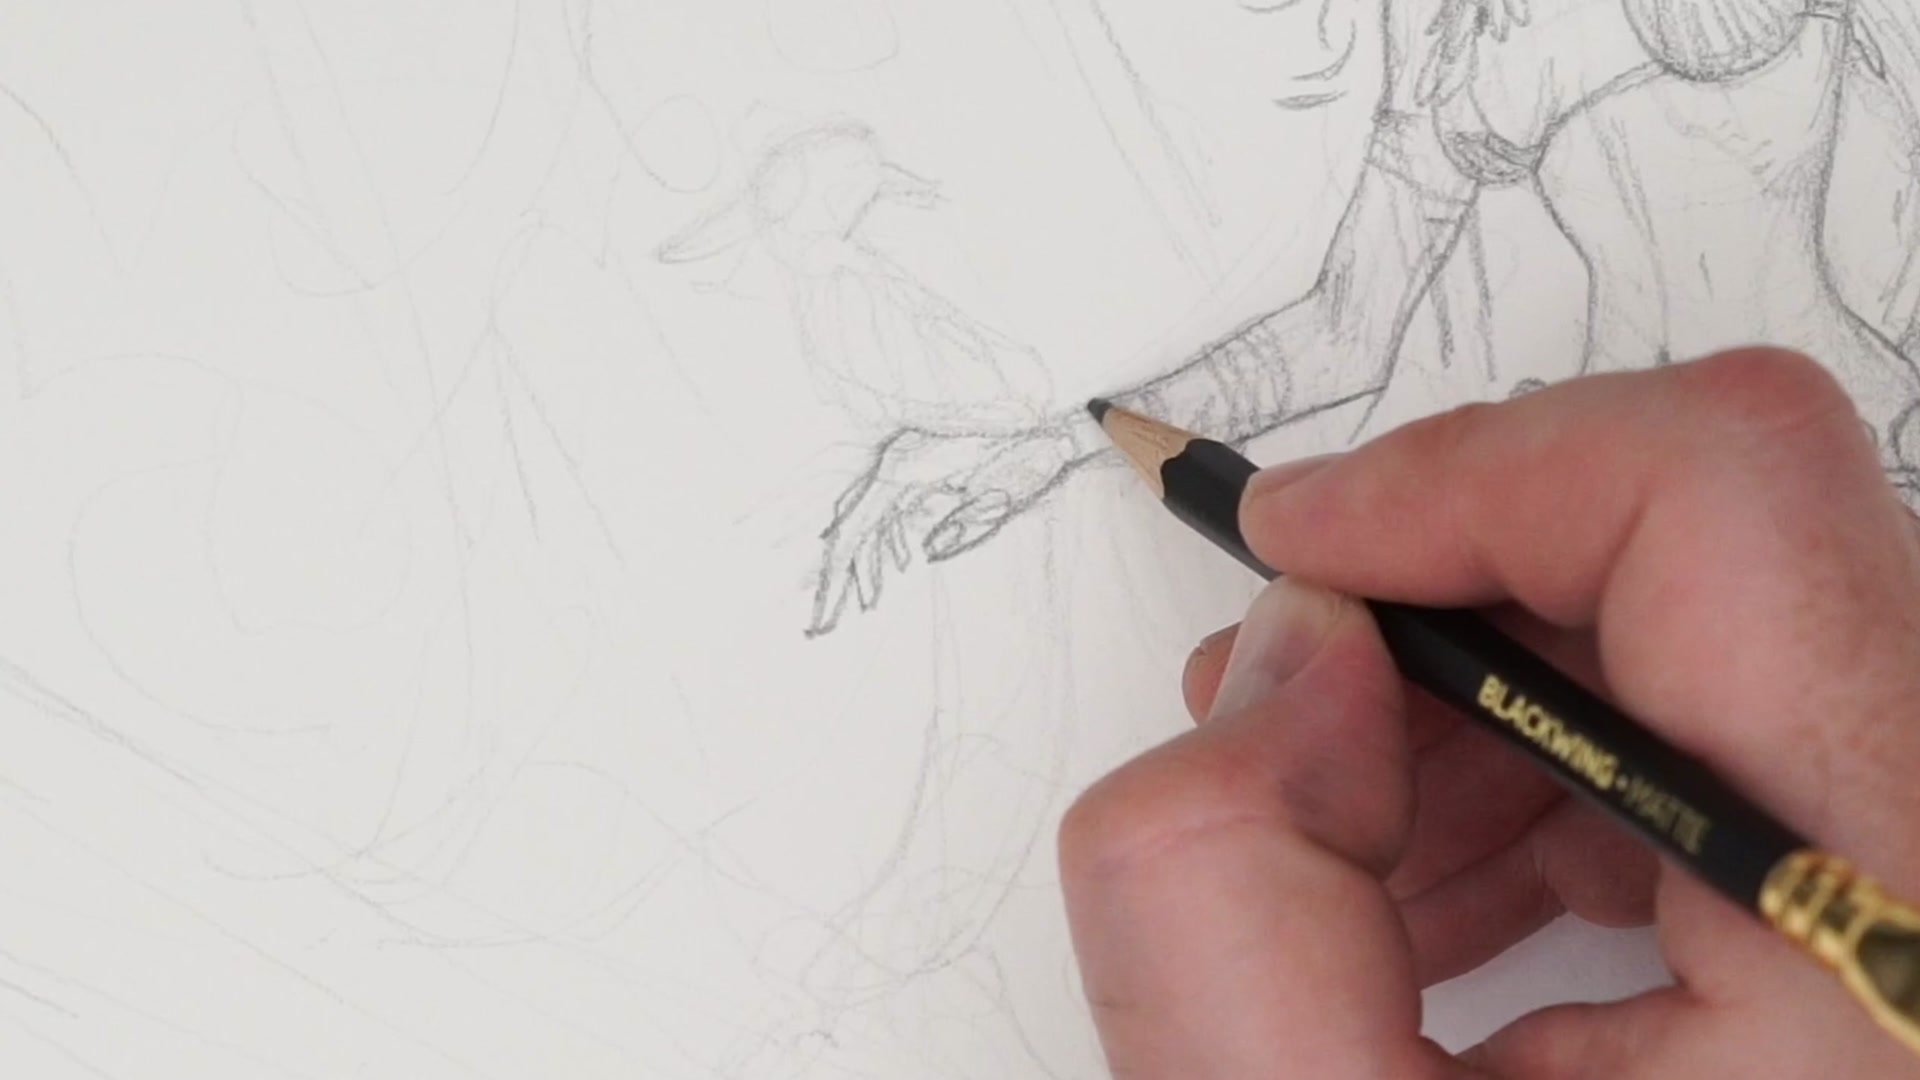
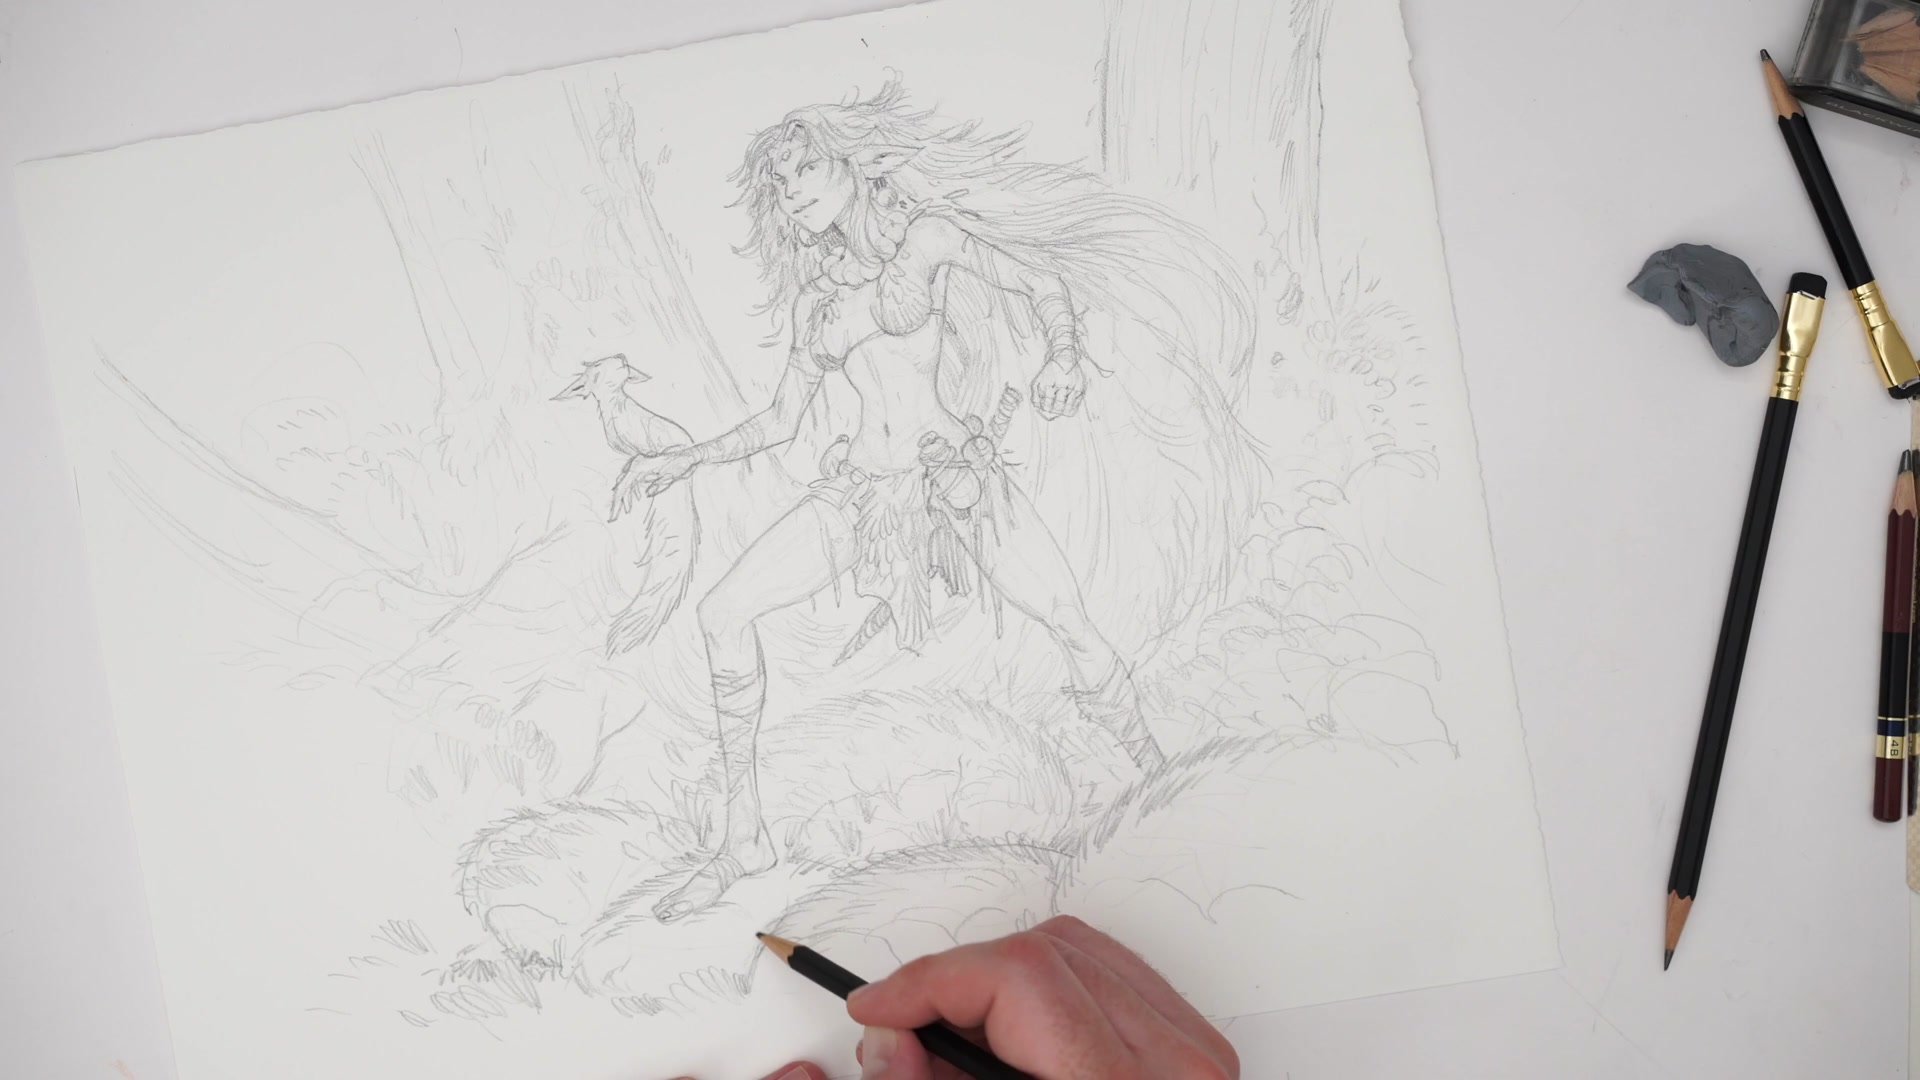
As detail is added to accessories, the necklace, the small bird, the companion creature, and the environment, every mark is weighed against the focal point. If background trees or foreground rocks start to accumulate too much contrast or detail, they risk pulling attention away from the character's face. Managing that balance, knowing when to stop pushing detail in supporting areas, is the core discipline of finishing an illustration sketch like this. The final stages focus on micro-composition, placing small marks and shadow accents that guide the eye through the image.
Finished Sketch
Key Techniques
Loose Construction First: Starting with extremely light, exploratory marks allows the character to emerge naturally rather than being forced into a rigid structure.
Kneadable Eraser as Opacity Tool: Rolling the eraser evenly across the surface lowers the overall value like reducing opacity, while dabbing offers more precise control over specific areas.
Hierarchy of Detail: The face receives the most detail and attention. Every other element is intentionally kept less resolved to preserve the primary read.
Silhouette Pops: Small design elements like costume details, hanging accessories, and hair shapes are added primarily to break up the silhouette and create visual interest at the edges.
Suggestion Over Specification: Background elements work best when they suggest recognizable forms like trees and rocks without being fully detailed, allowing the viewer's eye to pass through them quickly.
Try This Exercise
Set Up Traditional Tools: Grab some pencils and textured paper. The texture of watercolor paper helps create a naturally loose, organic look that suits exploratory sketching.
Sketch Without a Plan: Start with extremely light marks and explore the figure without committing to a tight construction. Let shapes happen and adjust proportions as the drawing develops.
Practice the One-Two-Three Read: As detail builds up, constantly check whether your focal point remains the strongest read. If secondary elements start competing, pull them back with the kneadable eraser or simply stop adding detail there.


