Draw With Me - Fantasy Warrior Sketching Session
Summary
Fantasy Warrior Sketching Process
This session covers the complete process of sketching a fantasy warrior character on paper, from the initial Loomis method construction through to a fully detailed pencil drawing. Working on Strathmore 400 series smooth drawing paper with Blackwing pencils and a kneadable eraser, the sketch builds from a simple ground point and center of balance into a full standing figure with armor, sword, cape, and manga-influenced facial features.
The video opens with a look at inspiring artwork found on ArtStation that morning, including vehicle design by John Fry, fantasy concepts by Claude Z, energetic character sketches by Mei Dao, and dragon challenge entries. Then the real work begins at the drawing table, where a character from a personal book project takes shape over roughly forty minutes of real-time pencil work.
Construction Phase
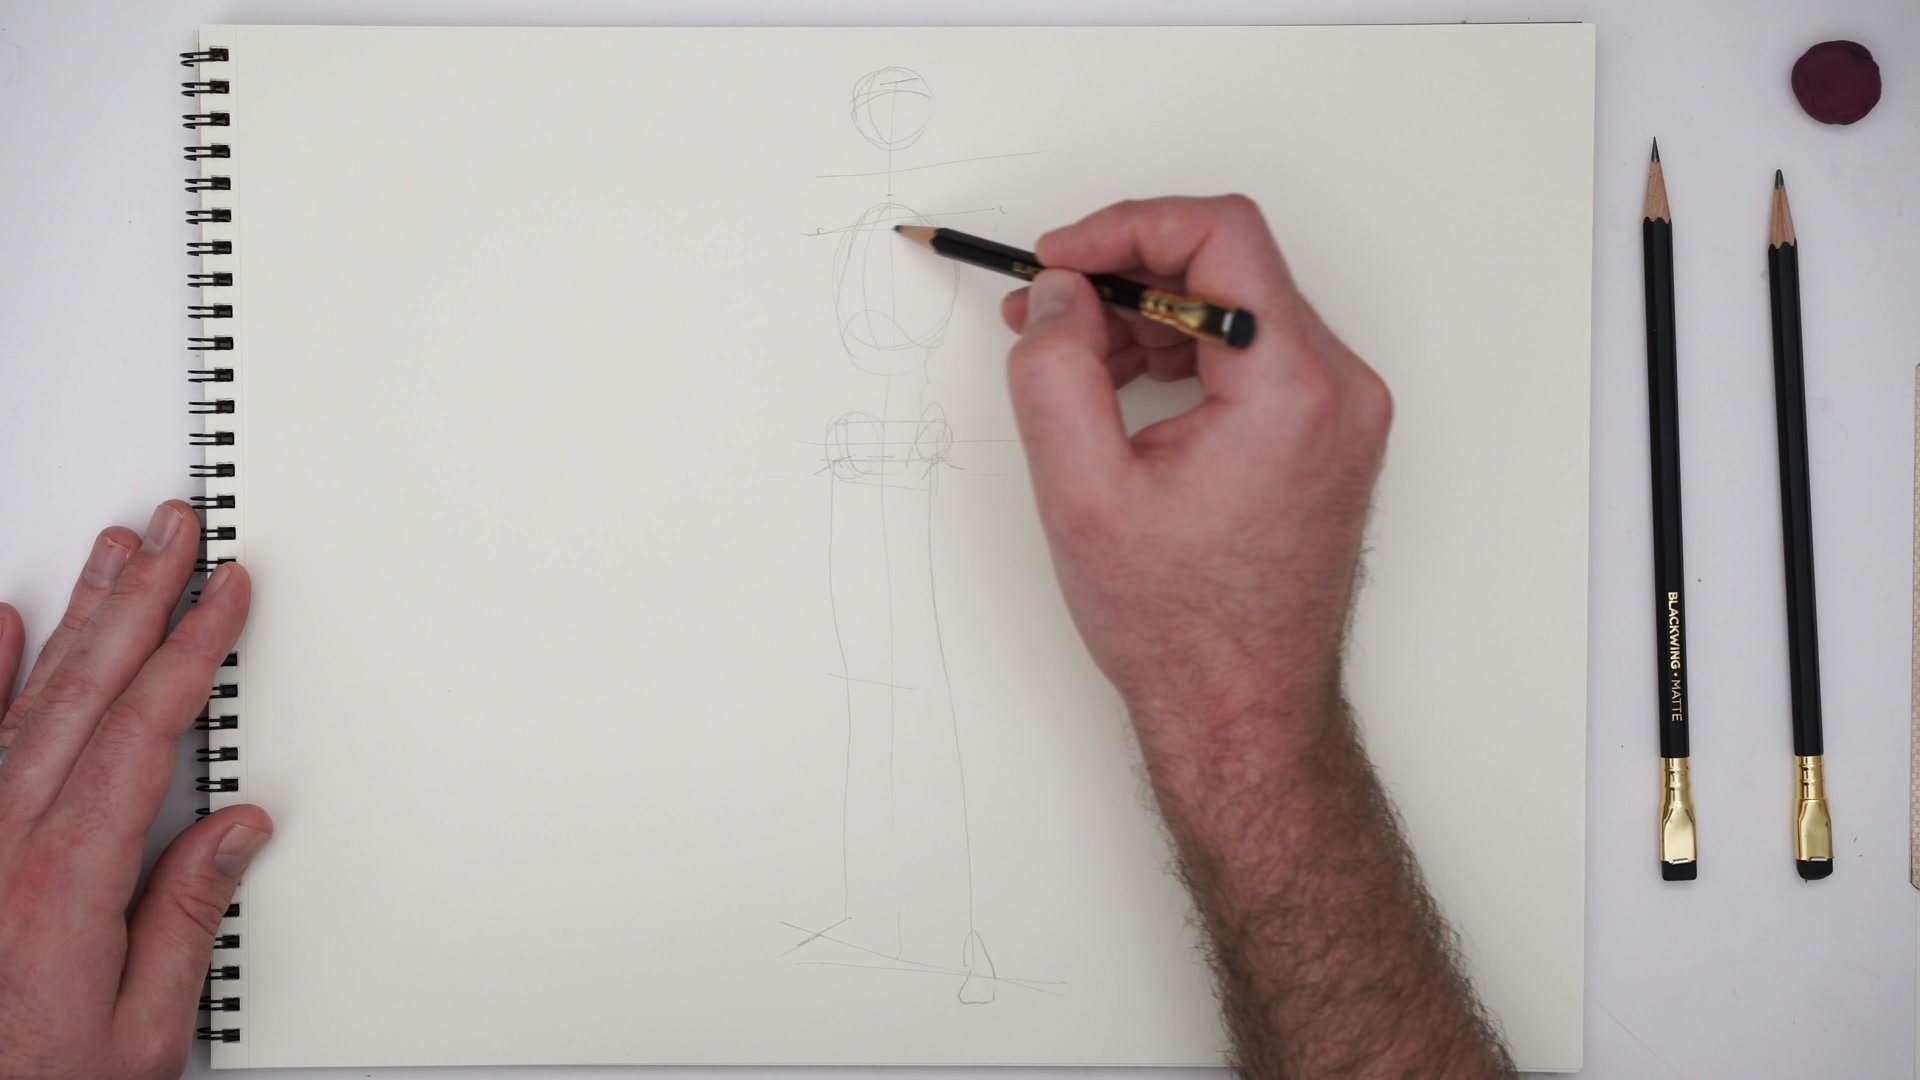

Loomis Method Foundation
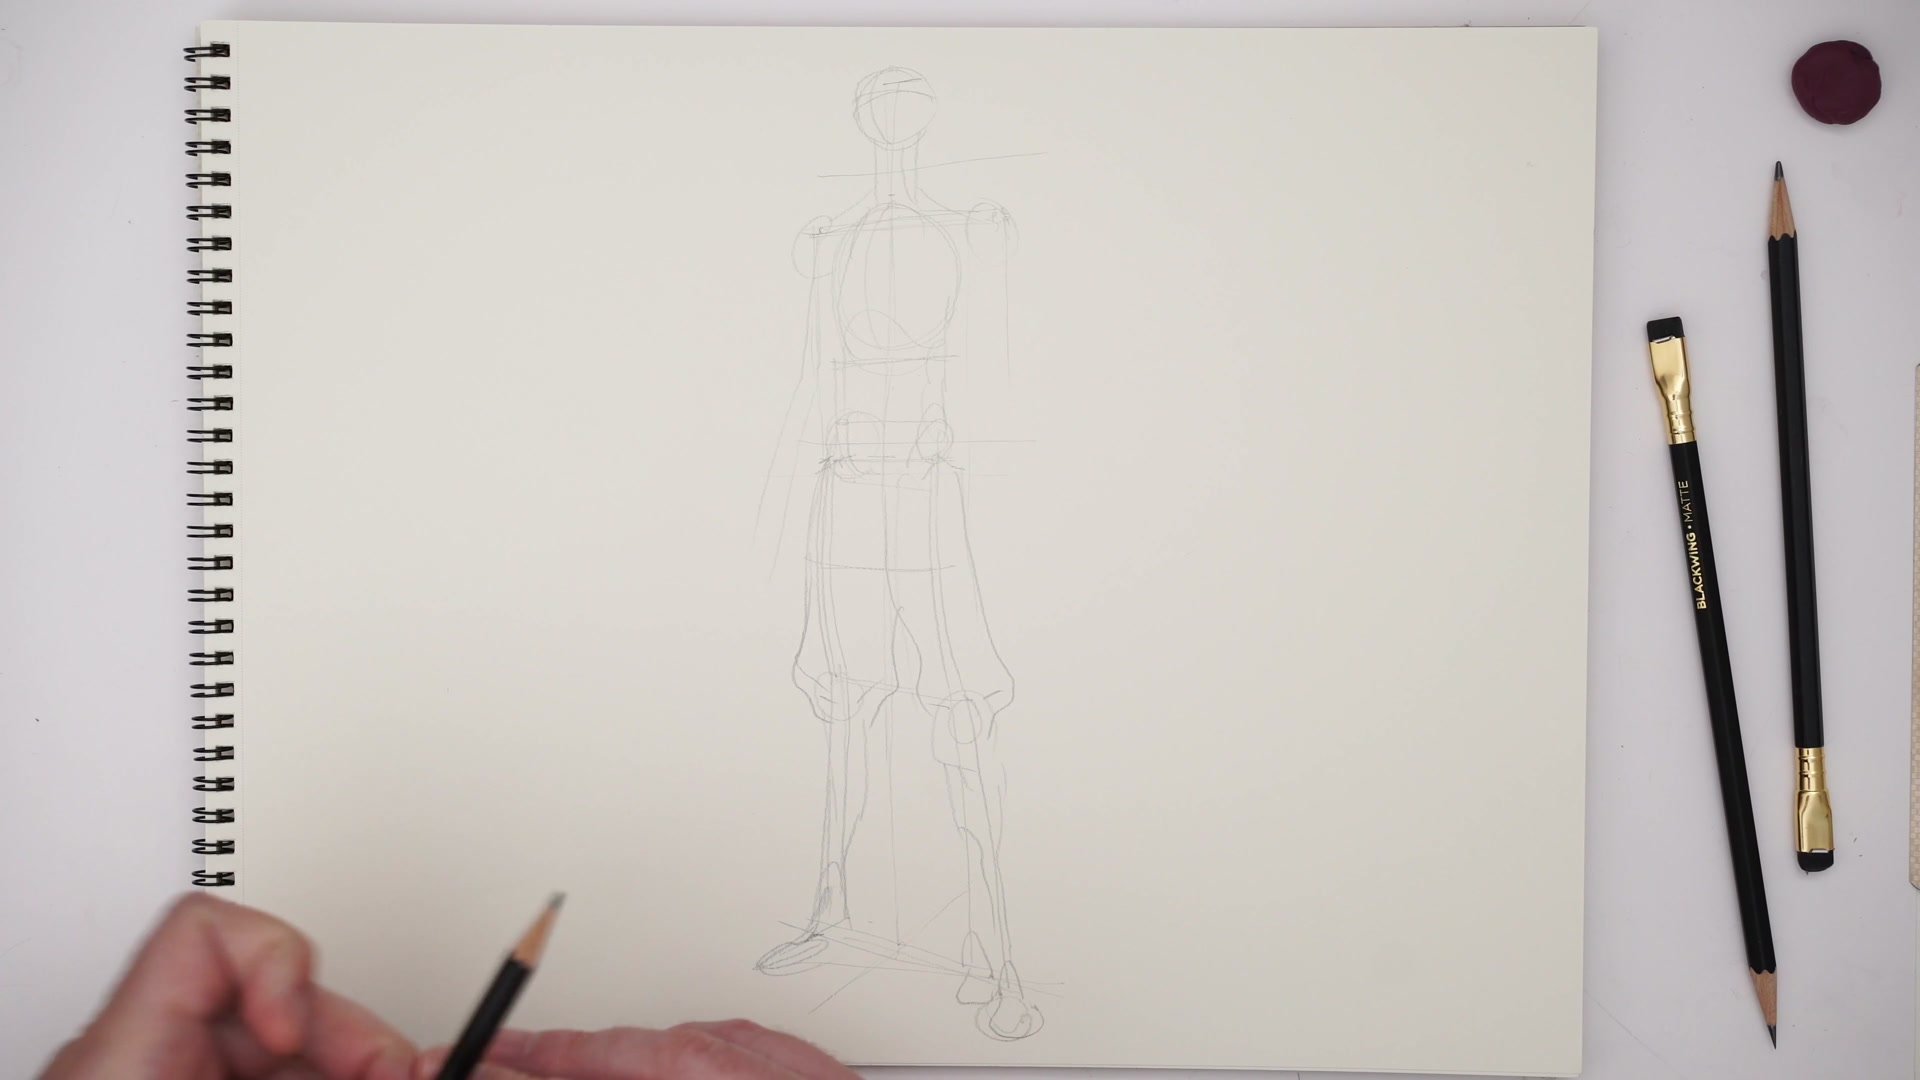
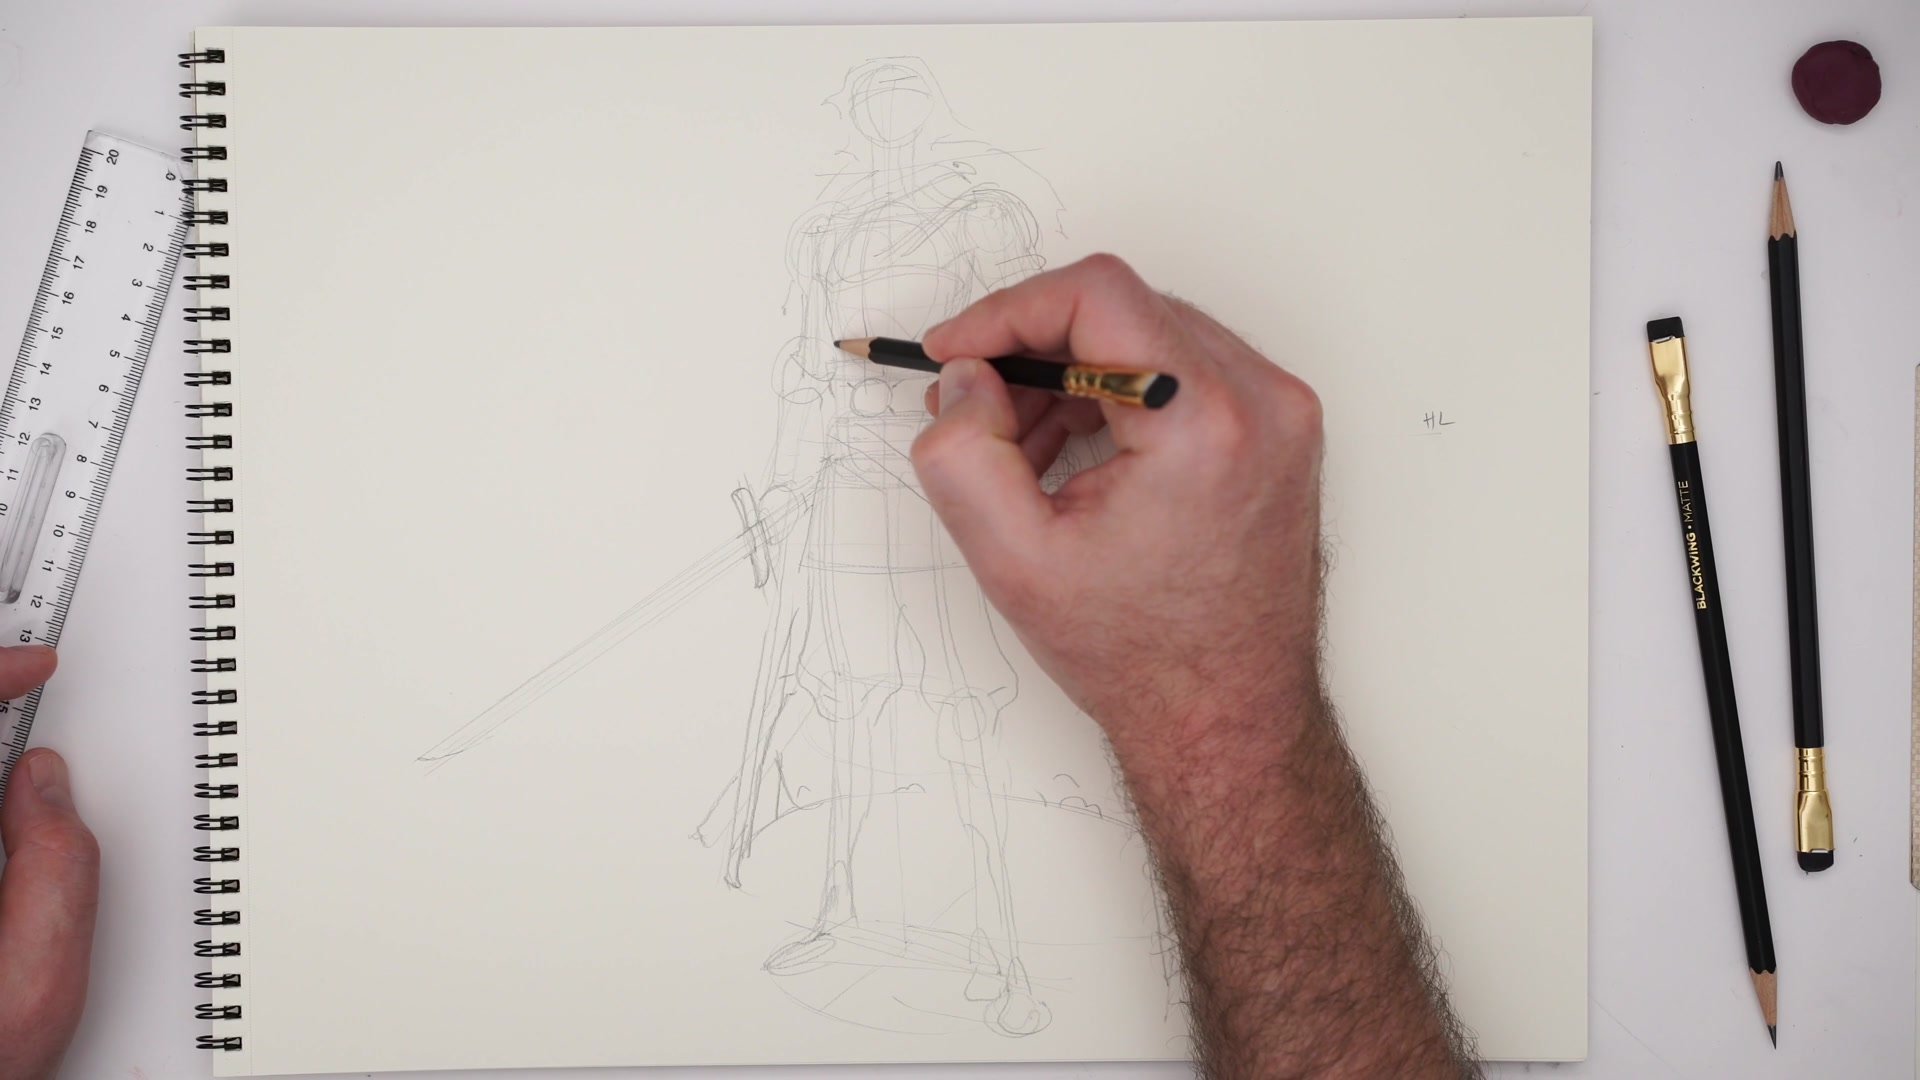
The drawing starts with the Loomis method, finding the ground point that represents the bottom of the center of balance. From there, the basic proportions are roughed in: the head, rib cage, pelvis, and limbs get placed using construction lines and simple forms. The knees, elbows, and key anatomical landmarks guide where everything sits on the page.
A key consideration early on is the horizon line. Marking it off to the side establishes that the viewer is looking slightly up at the character's face and slightly down at the feet. This subtle perspective affects every decision that follows, from the way the cape drapes to how the belt wraps around the torso. Even though this is a warm-up sketch, the foundational perspective work ensures the figure reads correctly before any detail gets added.
Building the Character
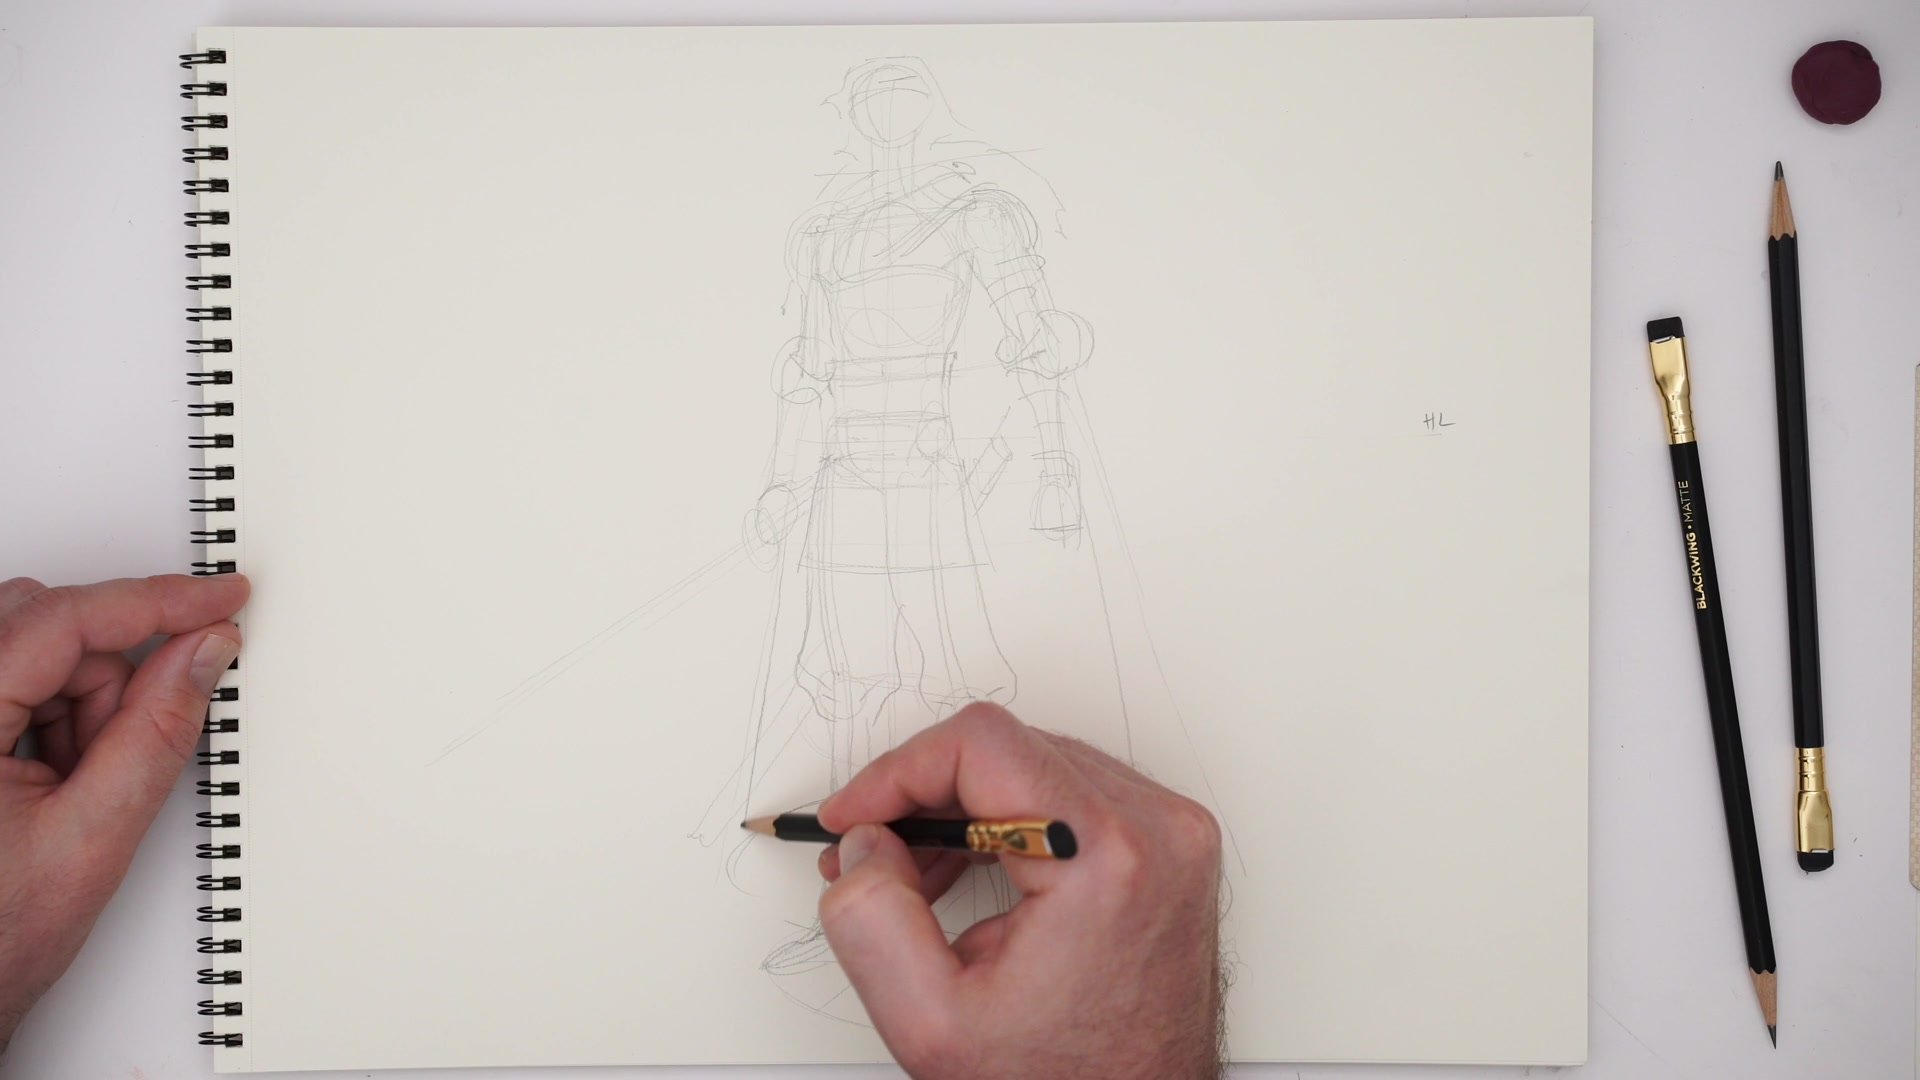
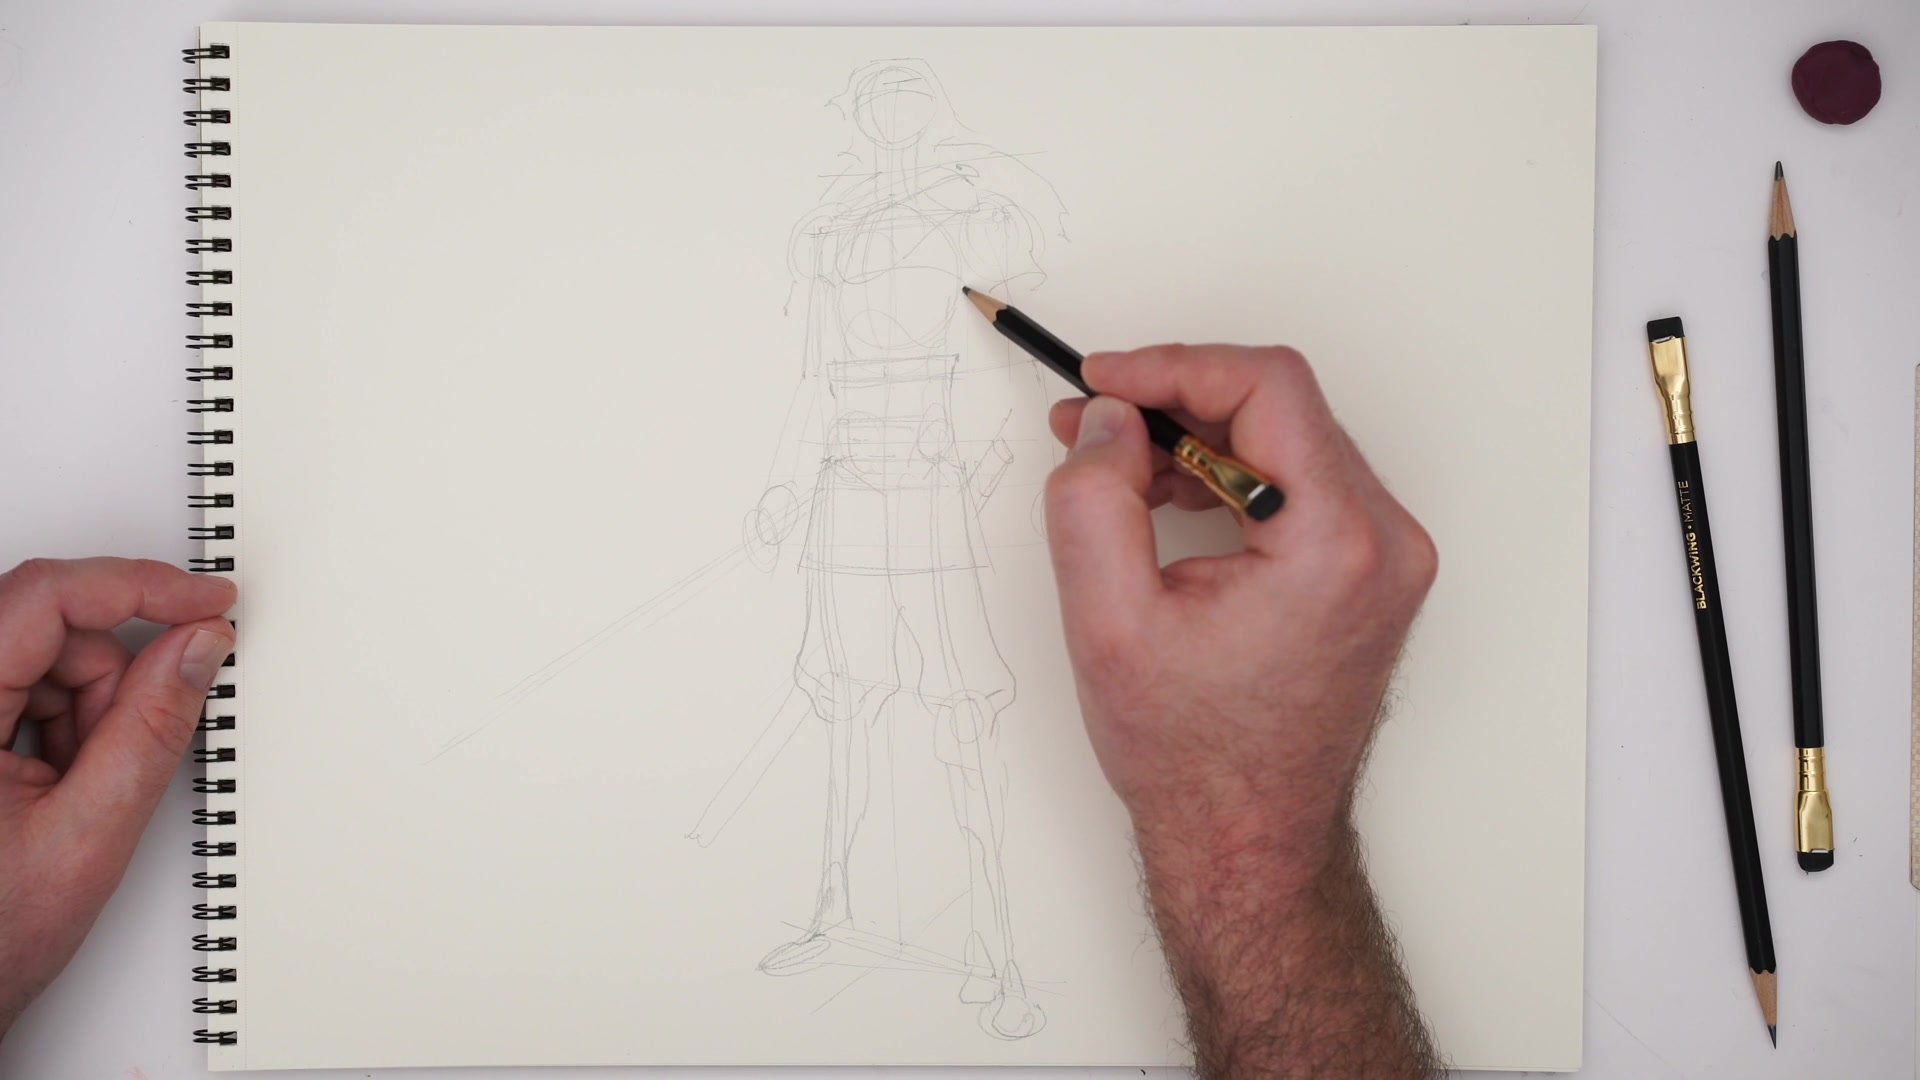
Iterative Construction Passes
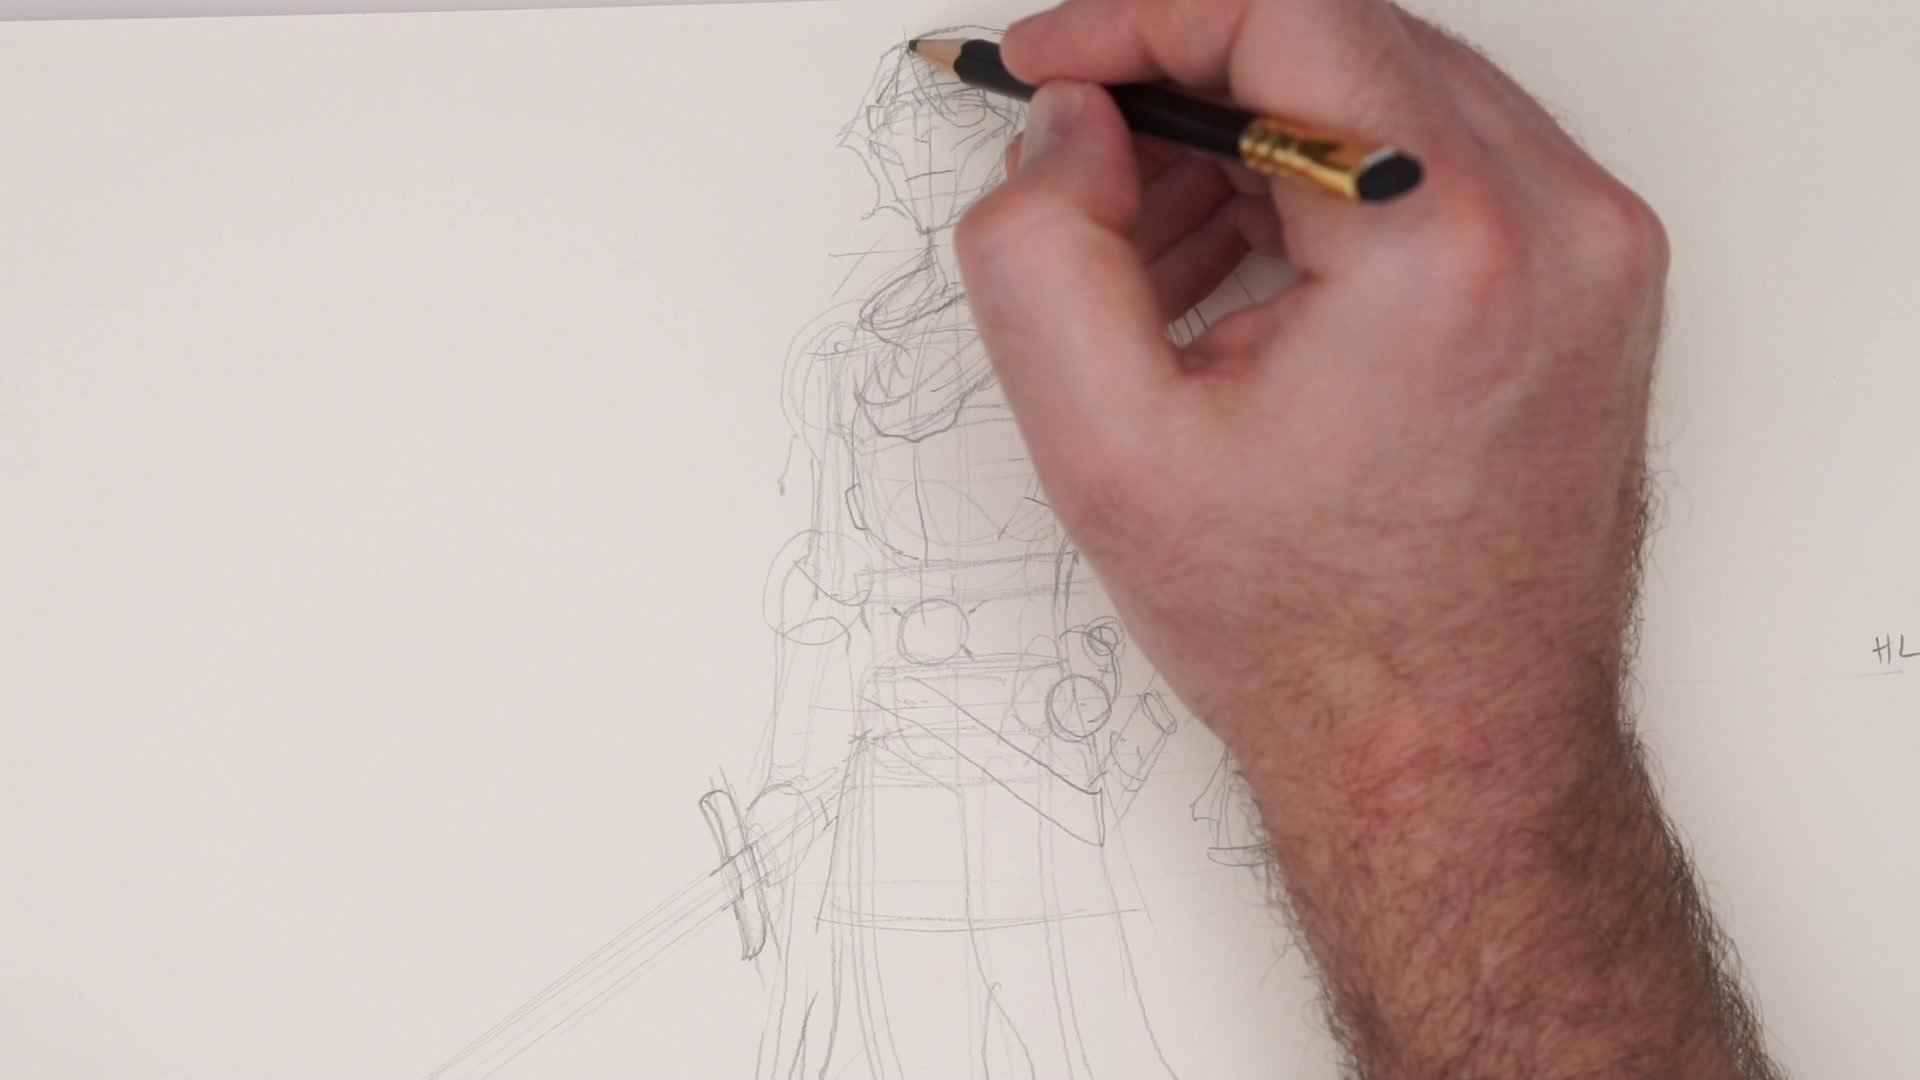
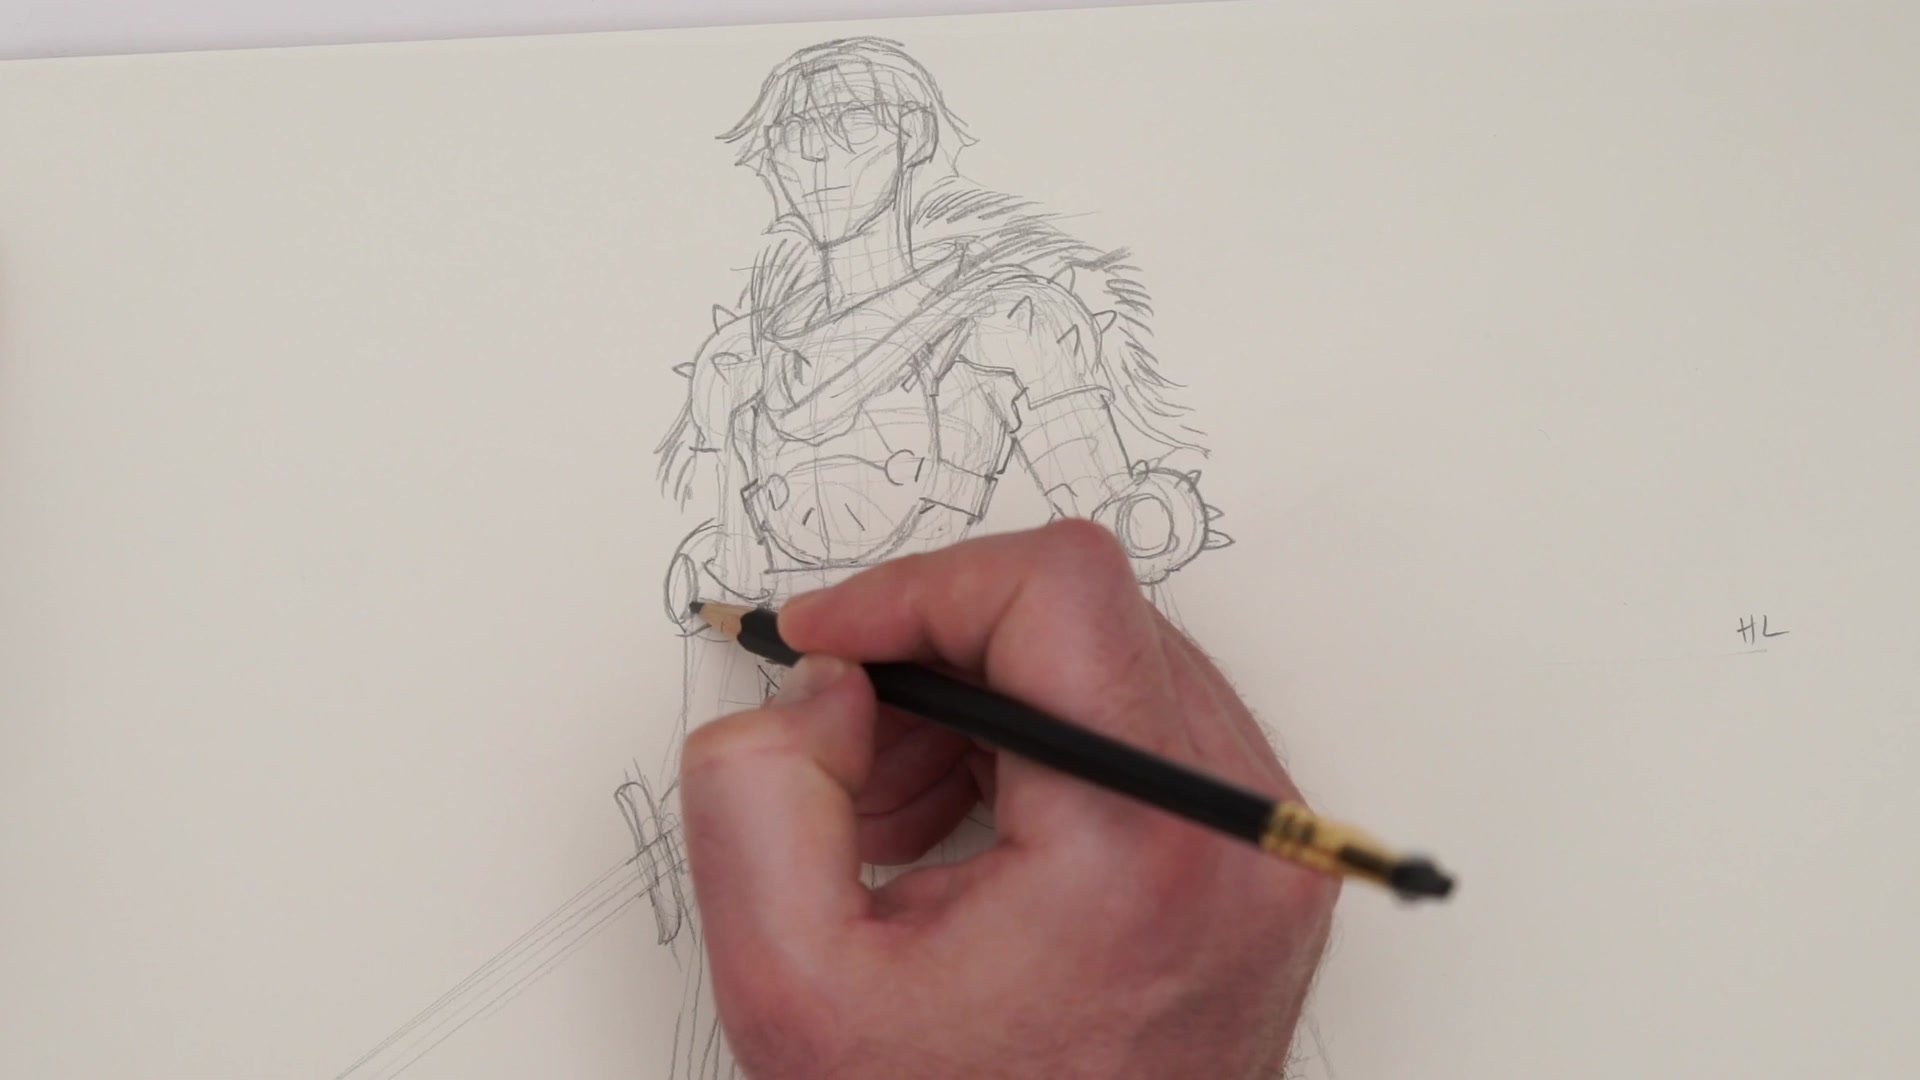
Rather than committing to final lines immediately, the process uses multiple construction passes. The first pass establishes the general silhouette and proportions. Then a light erase clears away the noisiest lines, and a second pass starts resolving the overlapping shapes, shoulder pads, armor plates, belt, and weapon placement.
This iterative approach is deliberate. Knowing that the current lines are not the final version allows for a looser, more fluid drawing style. Each pass builds confidence in the design before committing to darker, more definitive marks. The process also involves standing up from the chair periodically to check the drawing from a different viewing angle, preventing the fixed perspective of sitting from introducing distortion into the proportions.
Detail and Refinement
Silhouette Pops and Finishing Marks
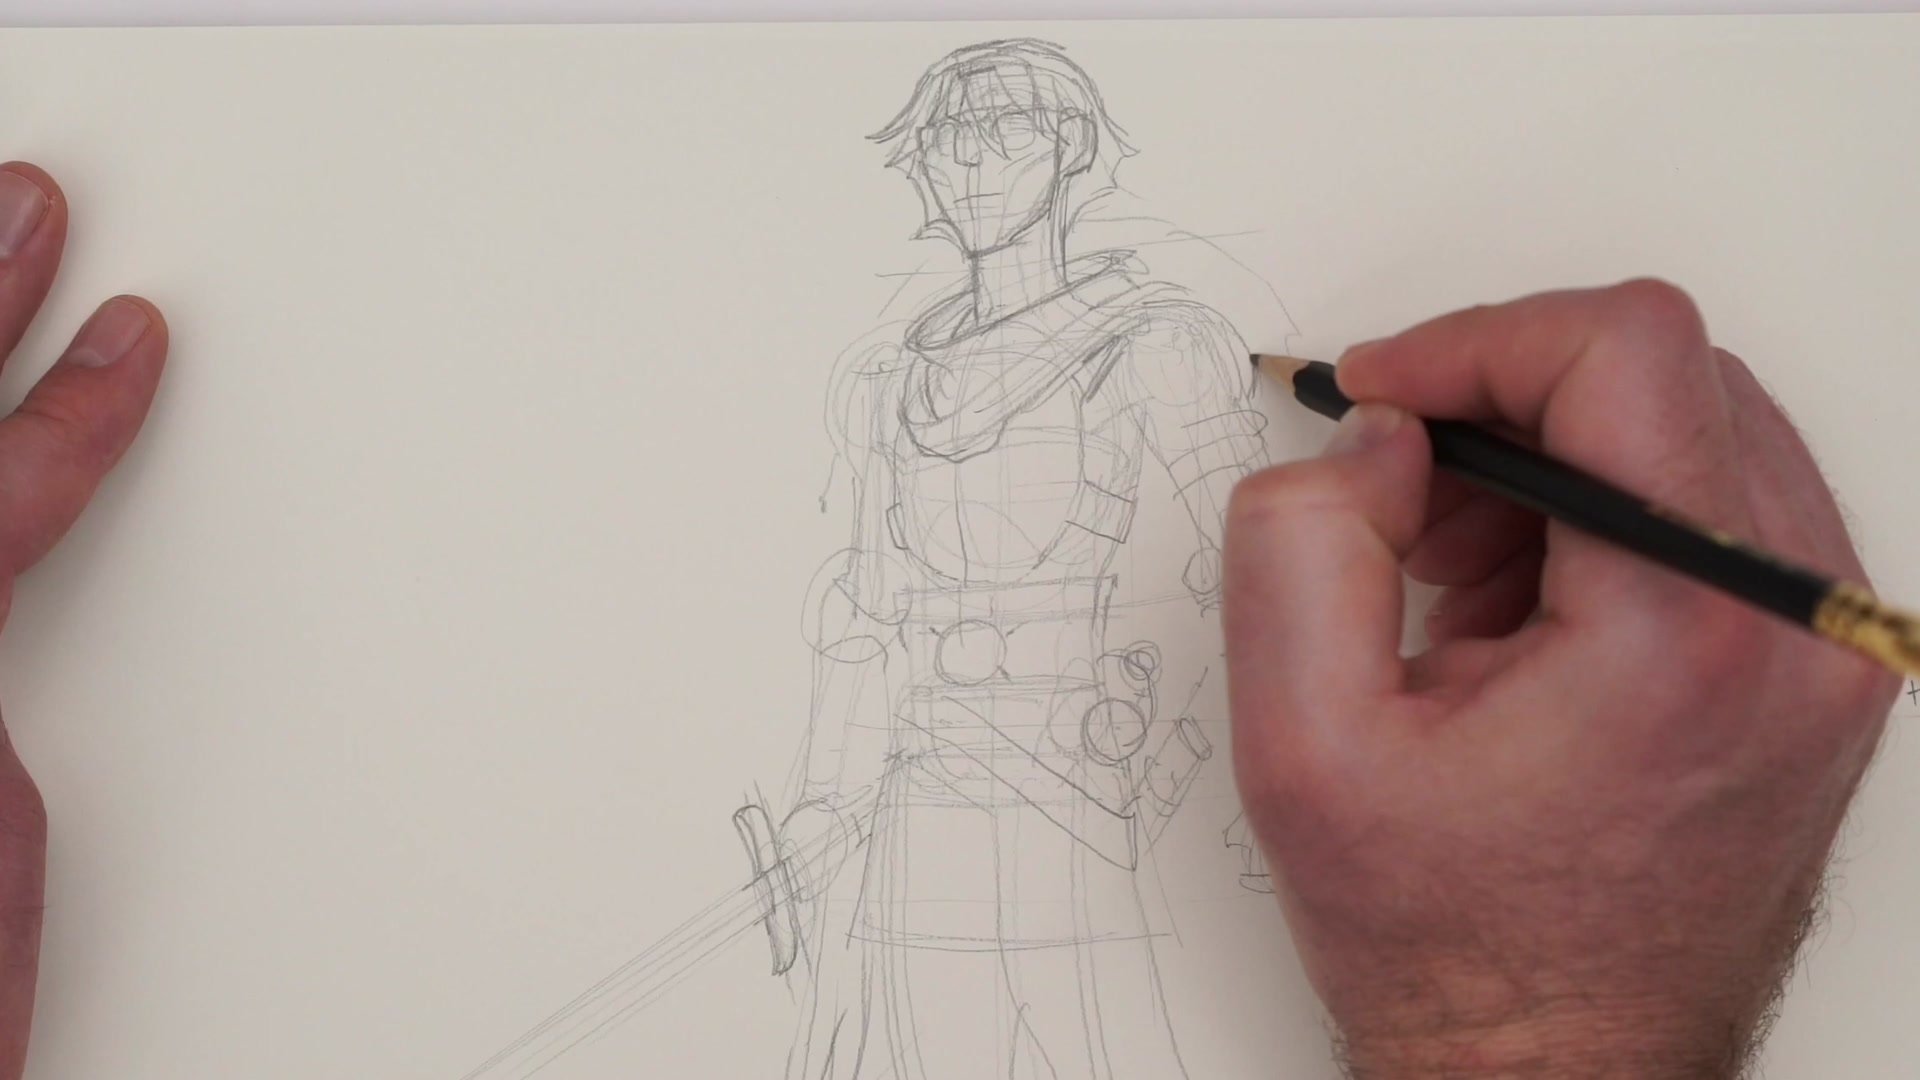
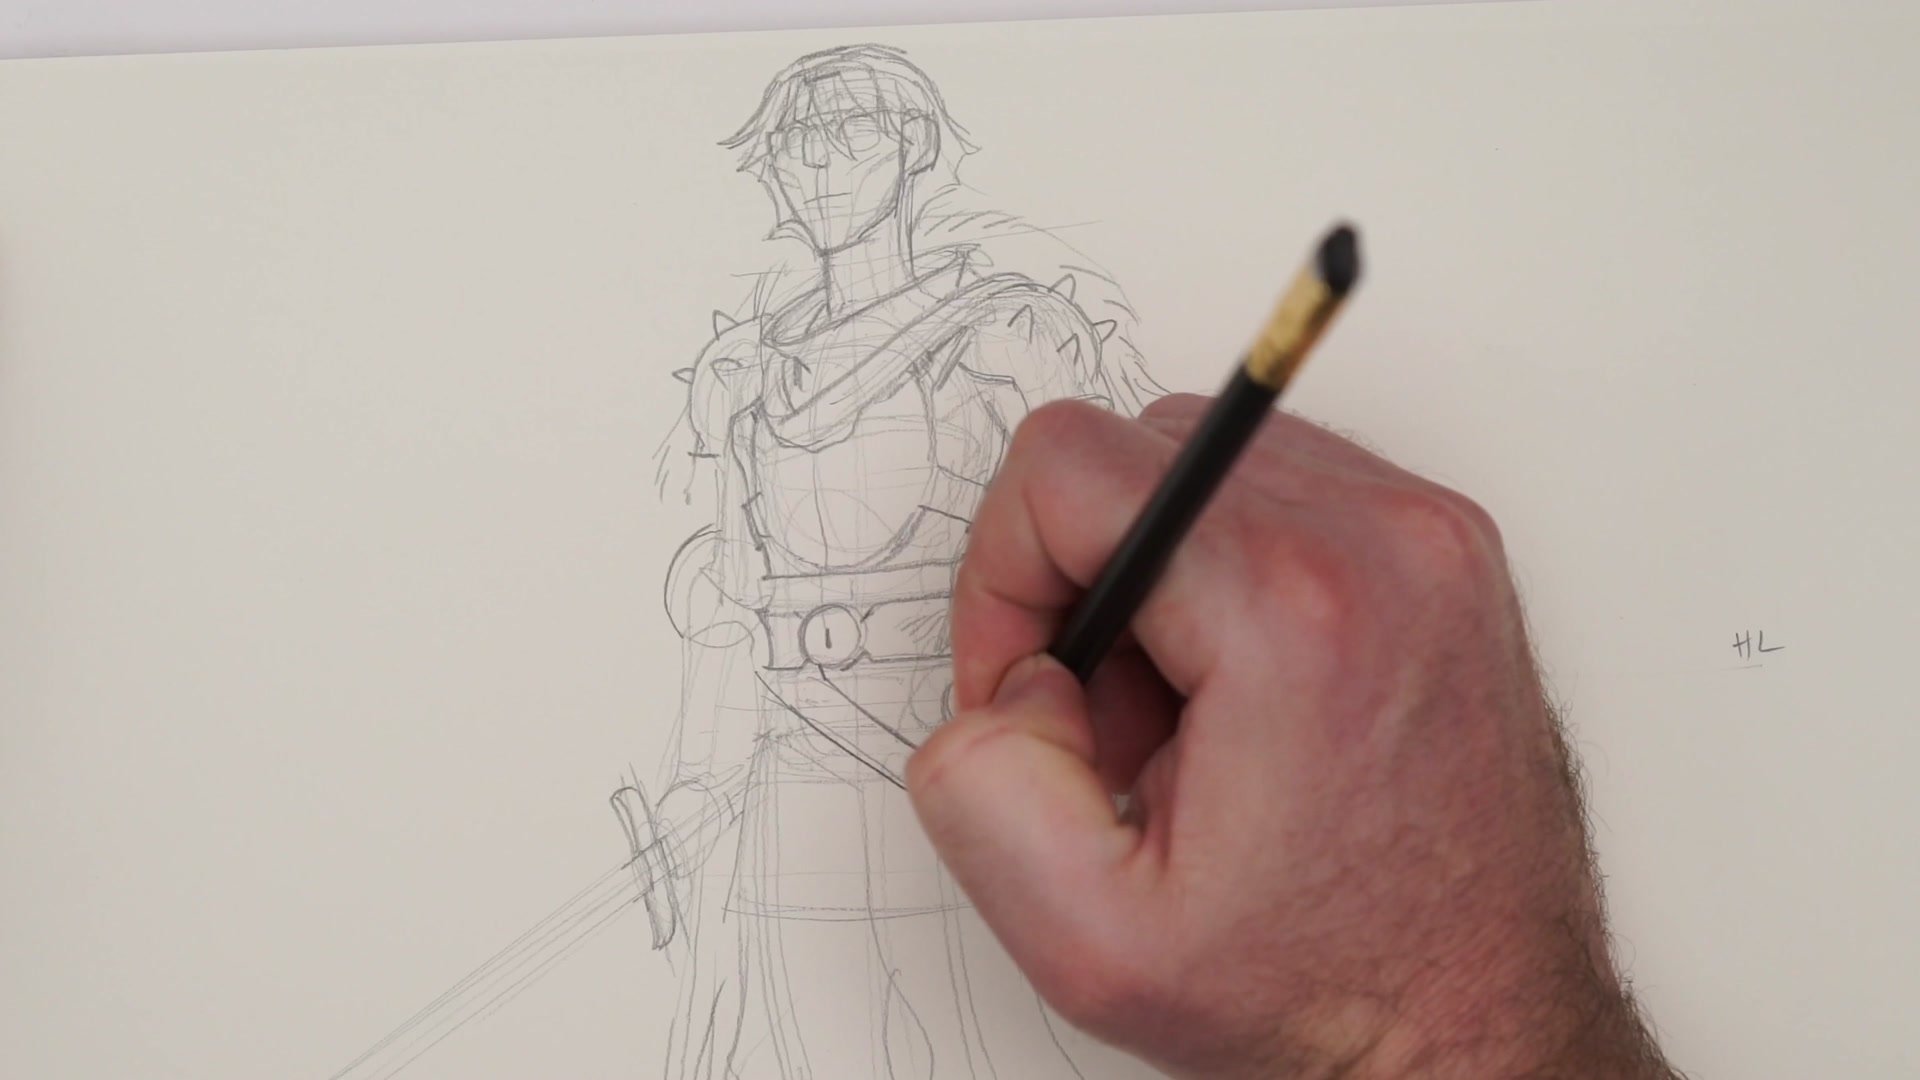
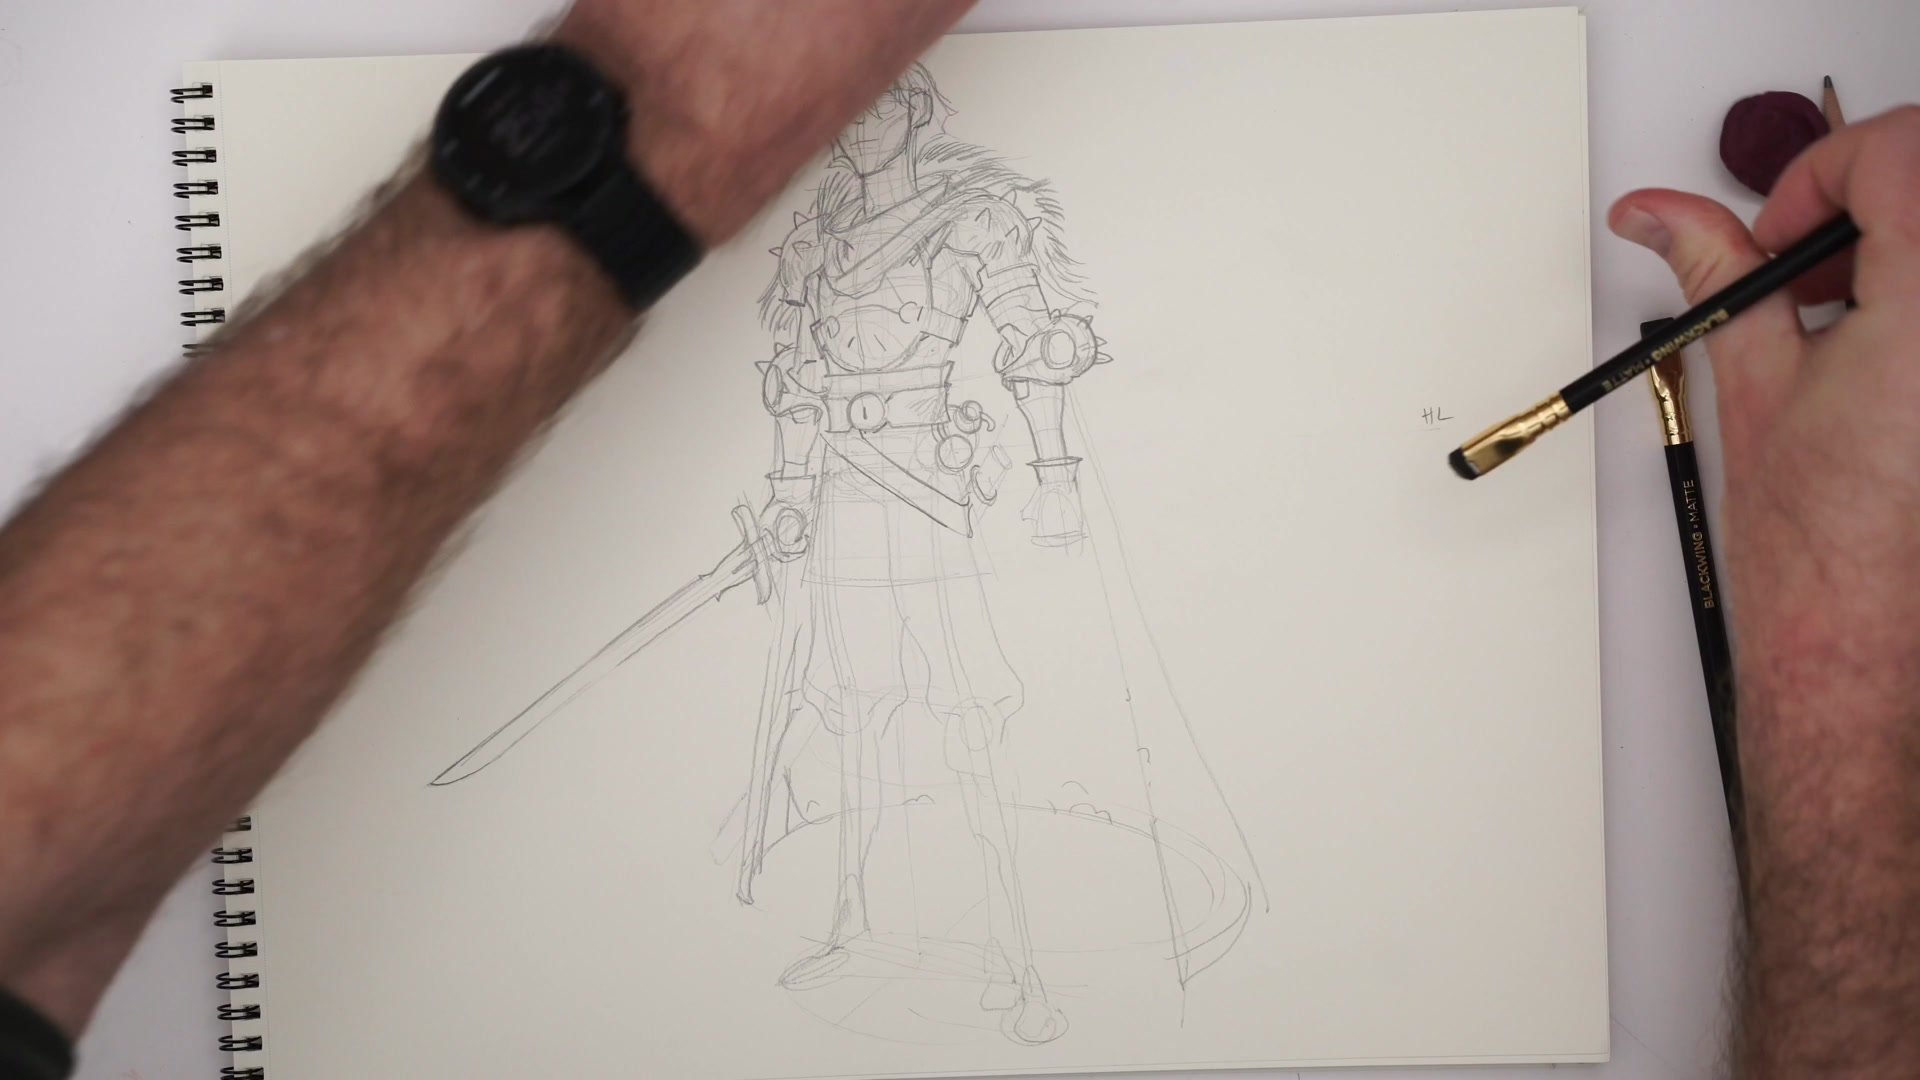
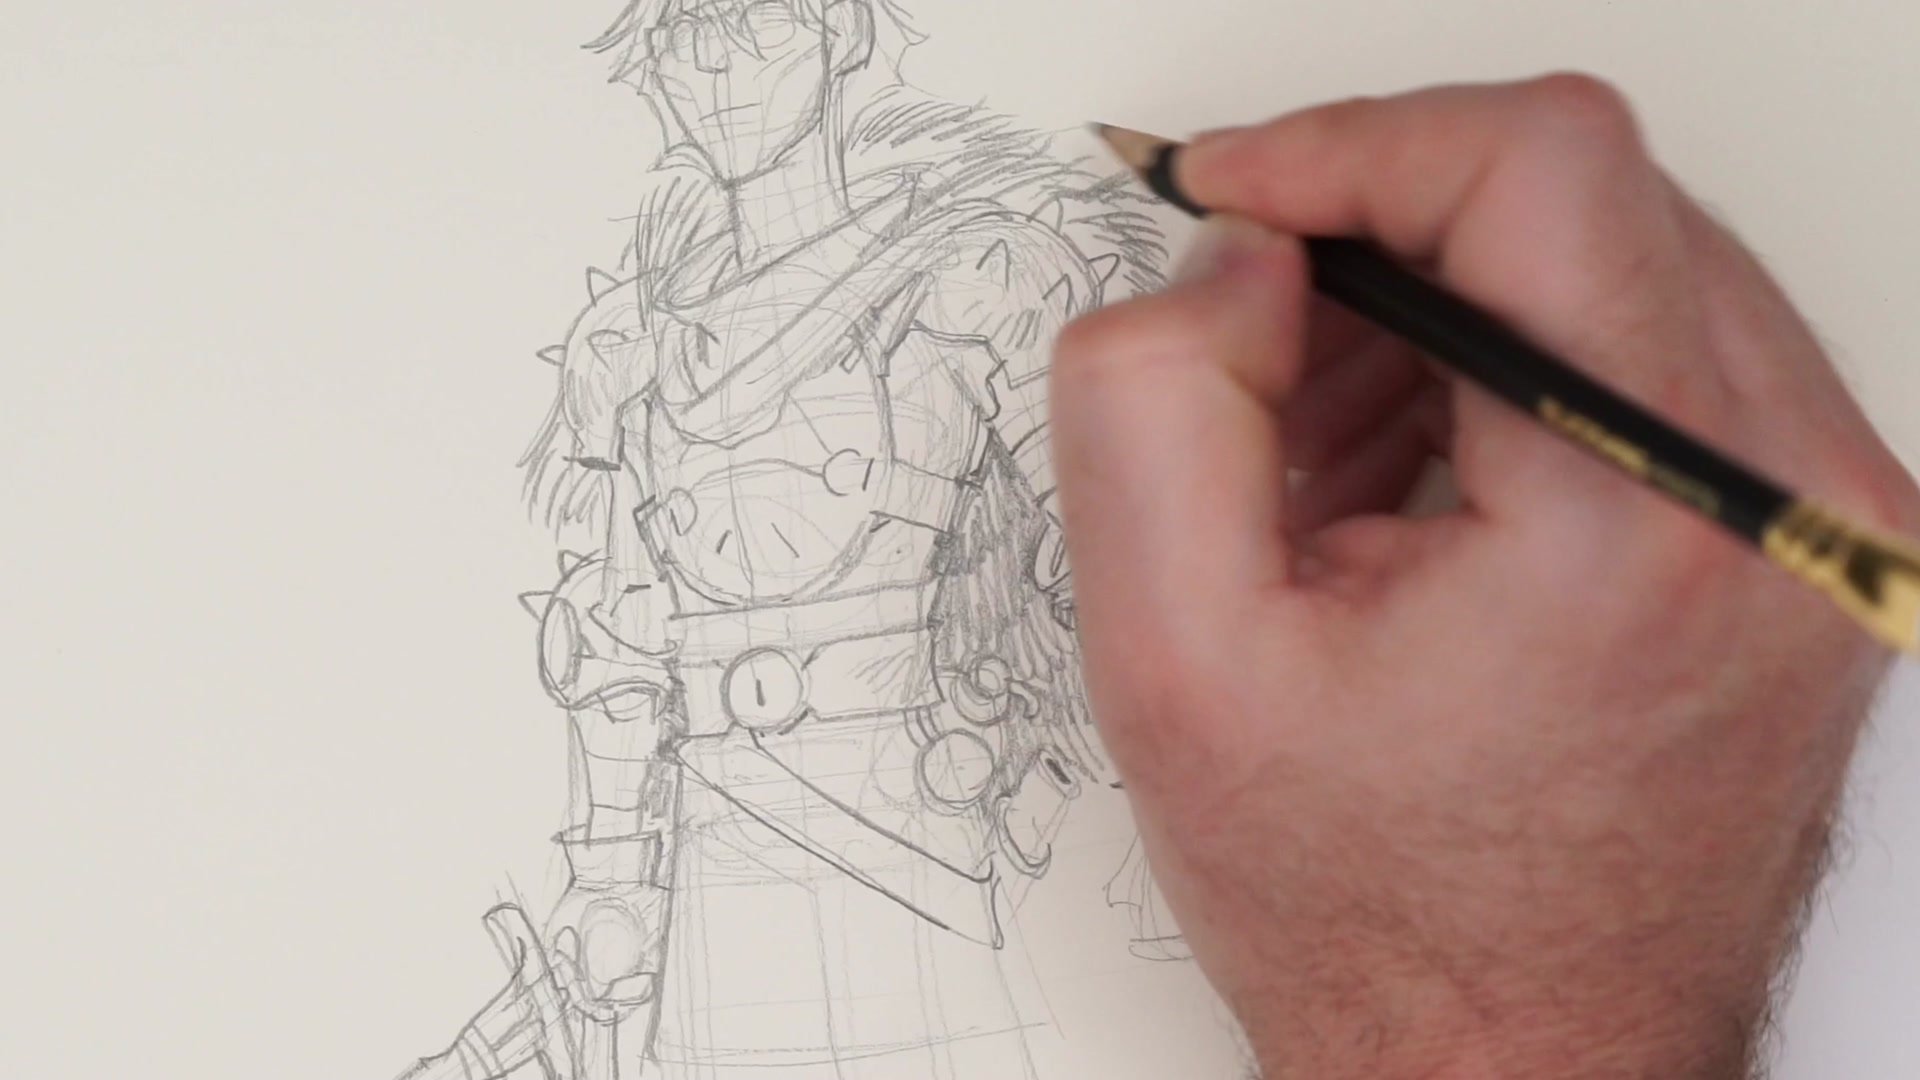
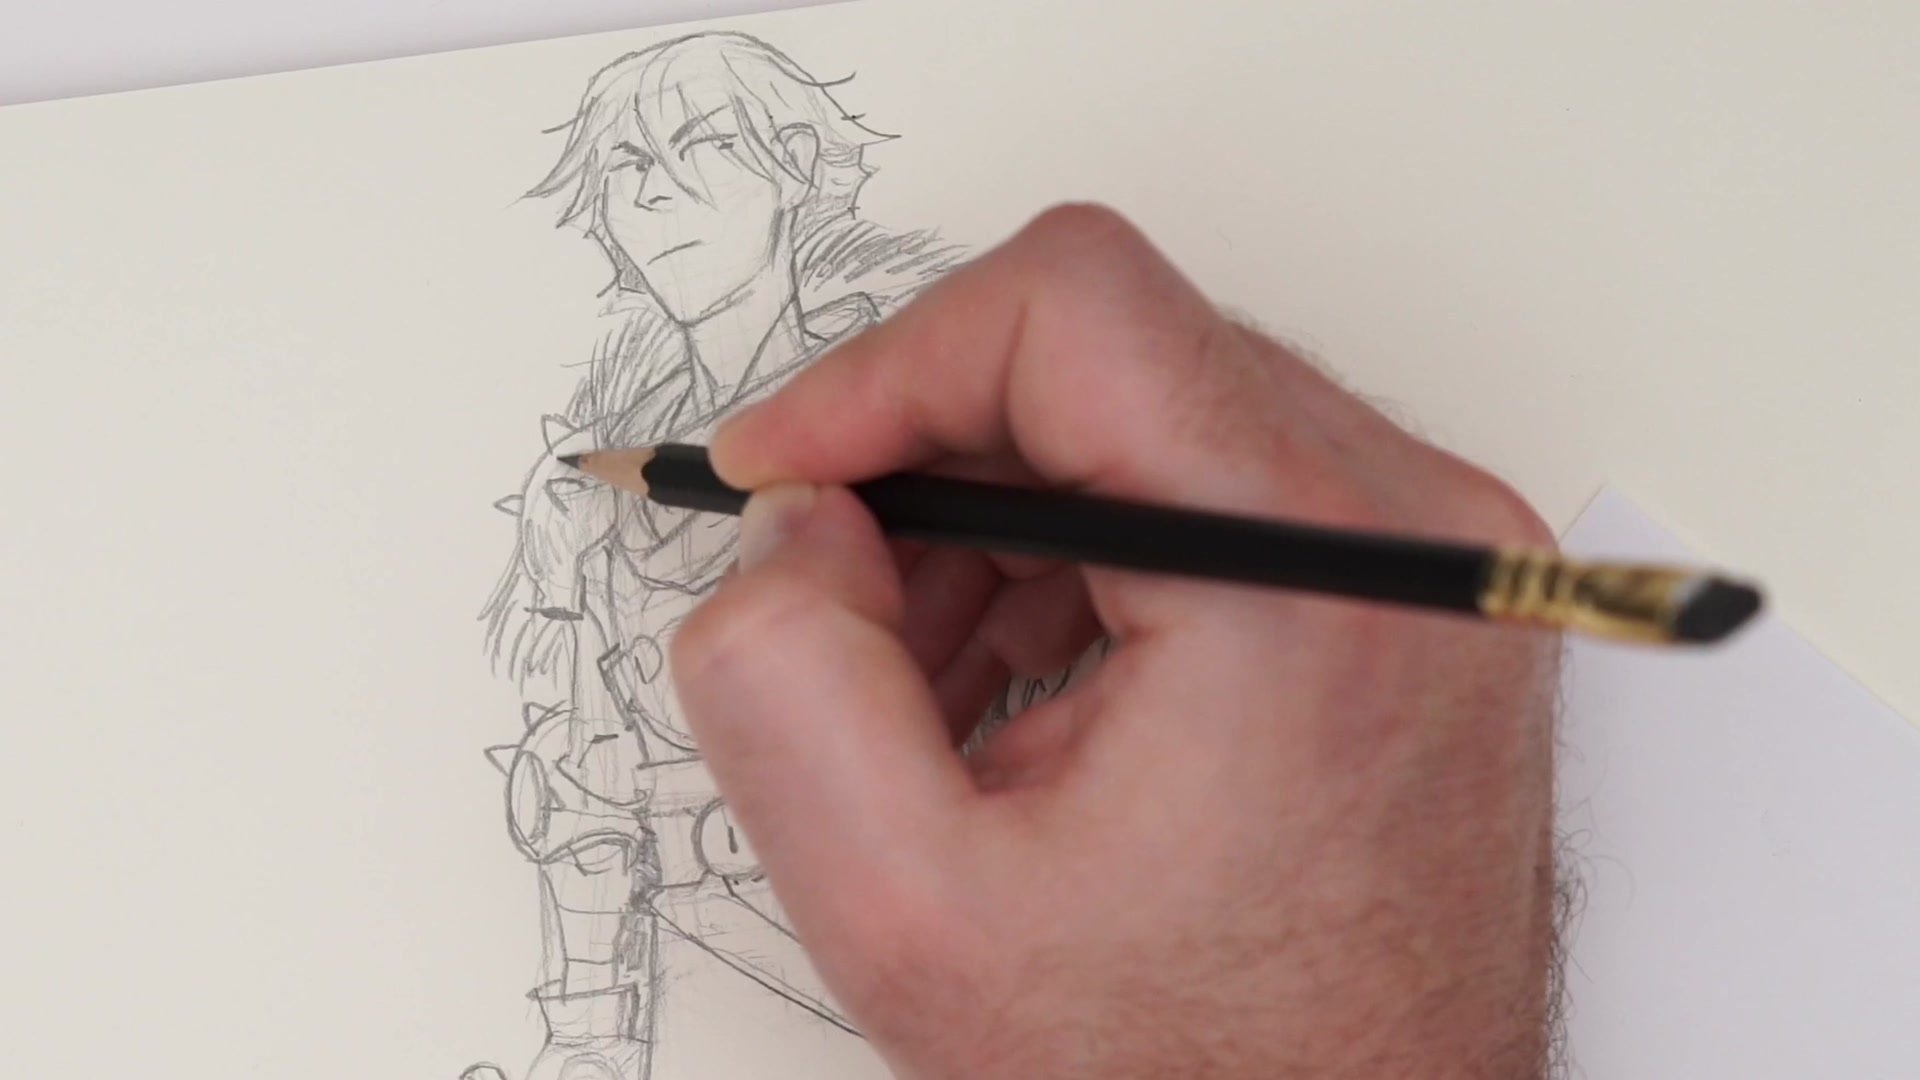
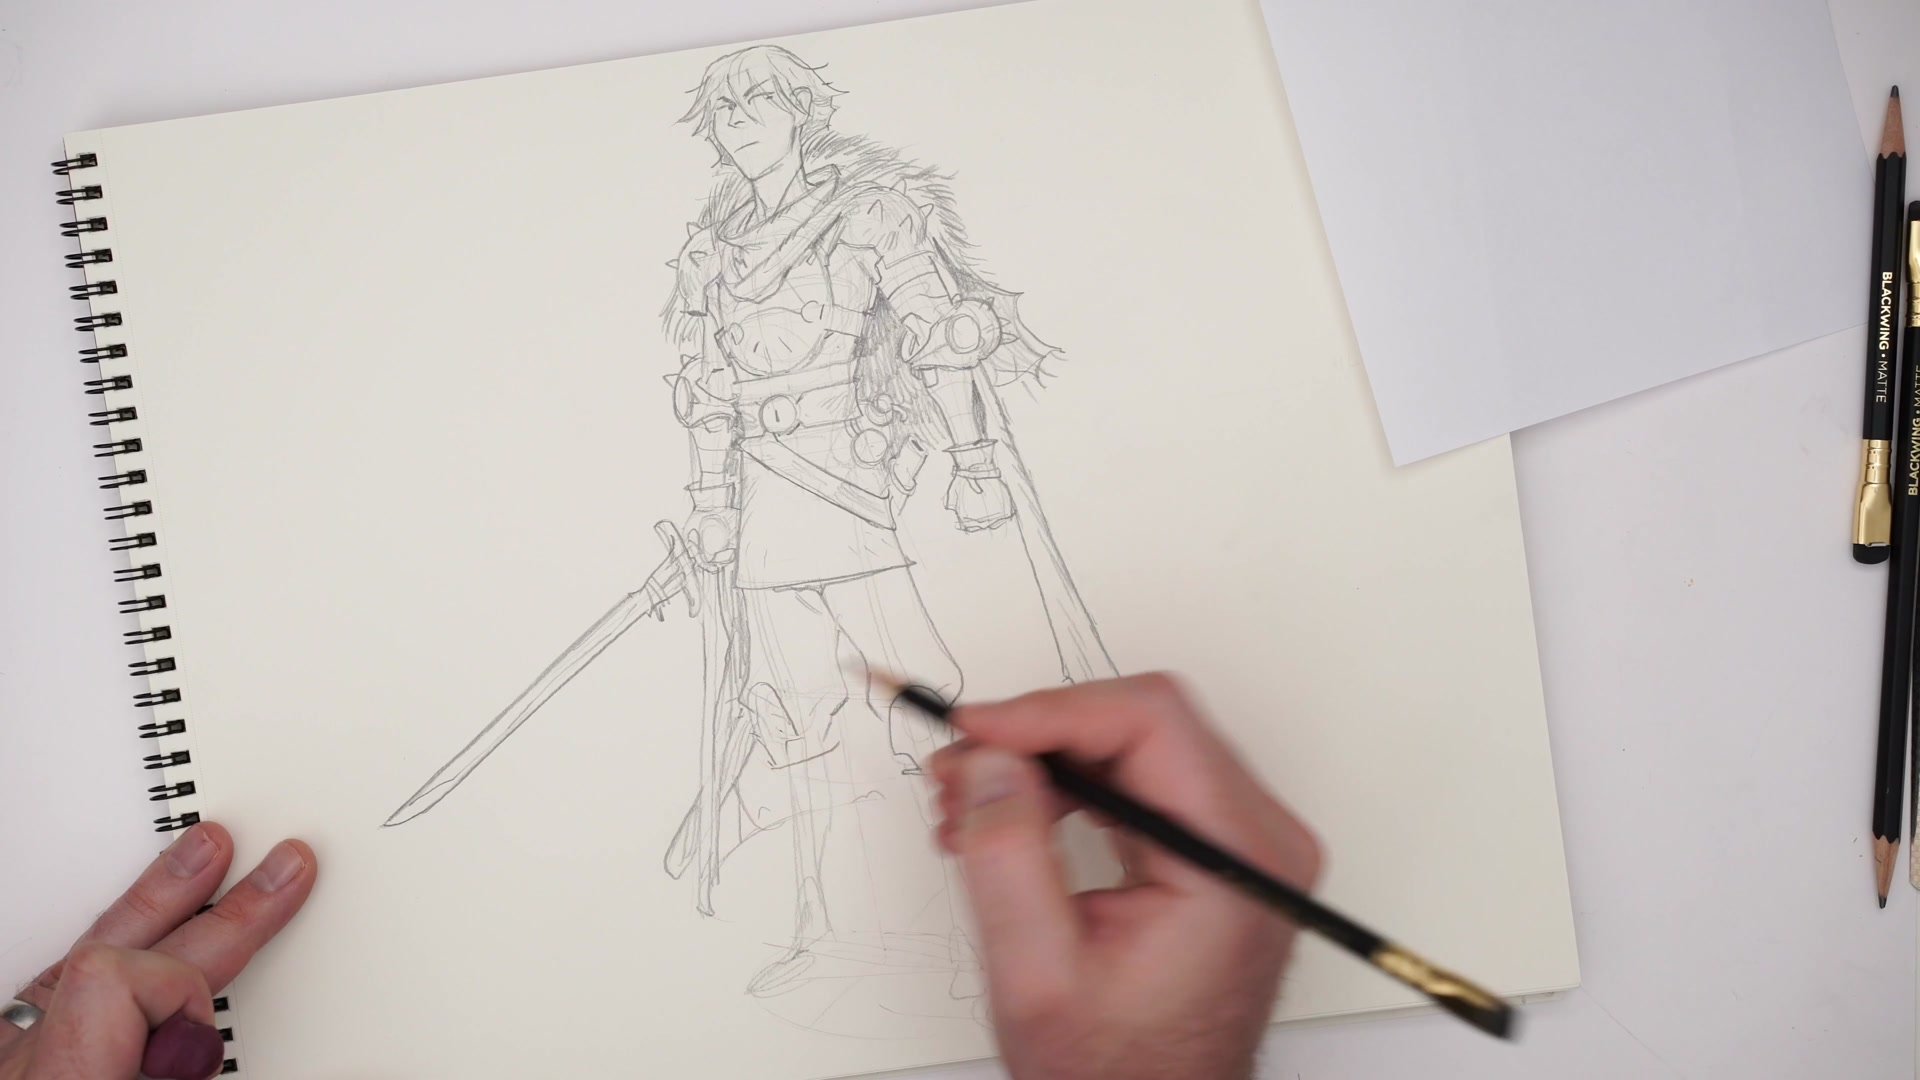
As the character solidifies, attention shifts to what gets called silhouette pops, the small overlapping shapes and design elements that make the character's outline interesting and readable. The spiked shoulder pads, the belt buckle details, the way the cape edge breaks up, the scabbard poking out from behind the figure. Each of these elements gets considered for how it contributes to the overall shape.
The cross-hatching and shading work is done with deliberate randomness. Rather than following a rigid hatching pattern, the pencil marks go in different directions, creating a patchwork effect that reads as textured and intentional. This randomness actually speeds up the process because there is no need to match up careful parallel lines. Abstract marks at the character's feet suggest grassy ground while also conveniently covering up some of the rougher early construction lines.
Finished Sketch


Key Techniques
Loomis Method Start: Beginning with the ground point and center of balance before any detail ensures the figure stands correctly and the proportions have a solid foundation to build on.
Iterative Construction: Multiple passes from rough to refined allow for looser, more confident drawing. Knowing the current lines are not final removes the pressure to get everything perfect immediately.
Silhouette Pop Design: Adding overlapping shapes and design details at the character's edges makes the outline interesting and readable, breaking up flat areas with deliberate design choices.
Deliberate Random Hatching: Using varied cross-hatch directions rather than careful parallel lines creates a textured, professional feel while working significantly faster than uniform shading.
Sketch Along
Grab Pencil and Paper: This session is designed as a draw-along. Set up with a drawing pencil and smooth paper, then follow the same progression from construction to detail.
Start With the Ground Point: Find the center of balance first, then rough in the major proportions using the Loomis method before adding any character-specific details.
Build Through Passes: Do at least two construction passes before committing to darker final lines. Erase lightly between passes to clear away noise while keeping the important structural marks.


