Draw With Me - Fantasy Adventurers
Summary
Fantasy Adventurer Sketching Process
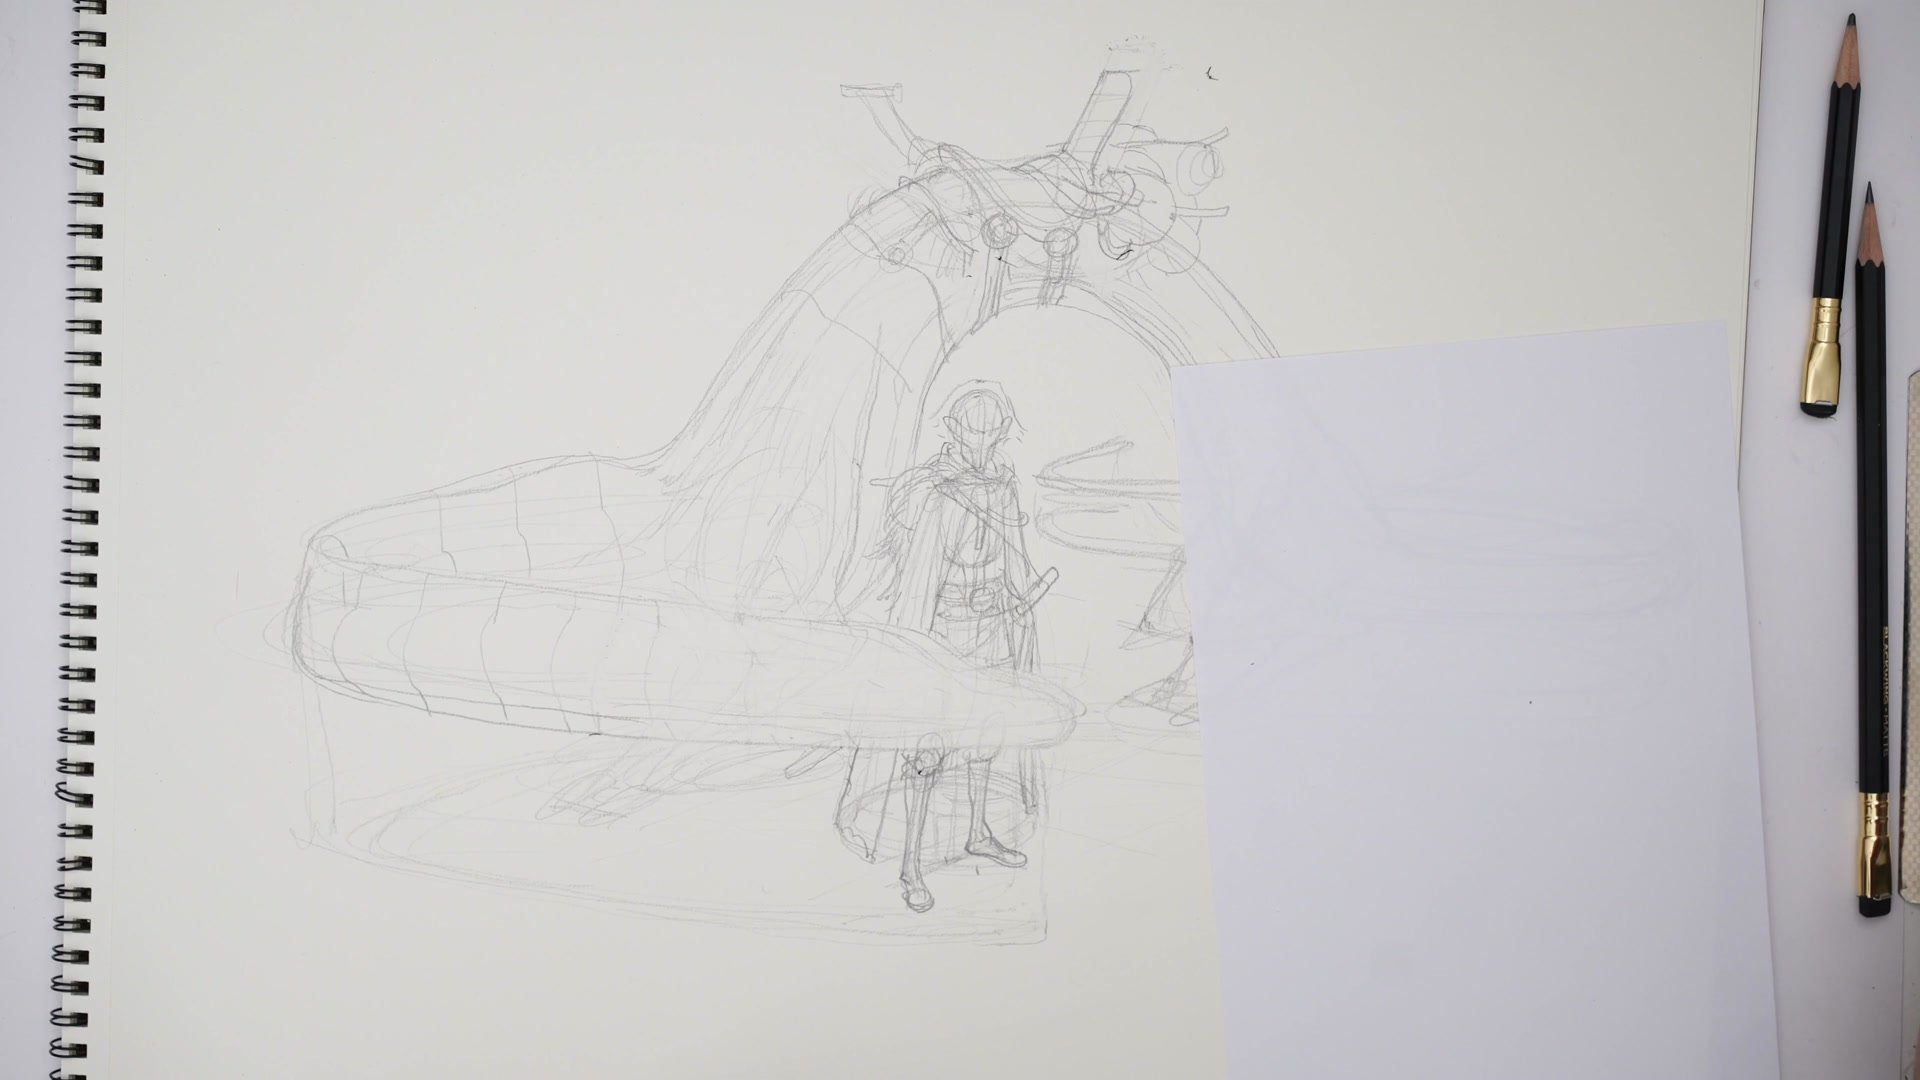
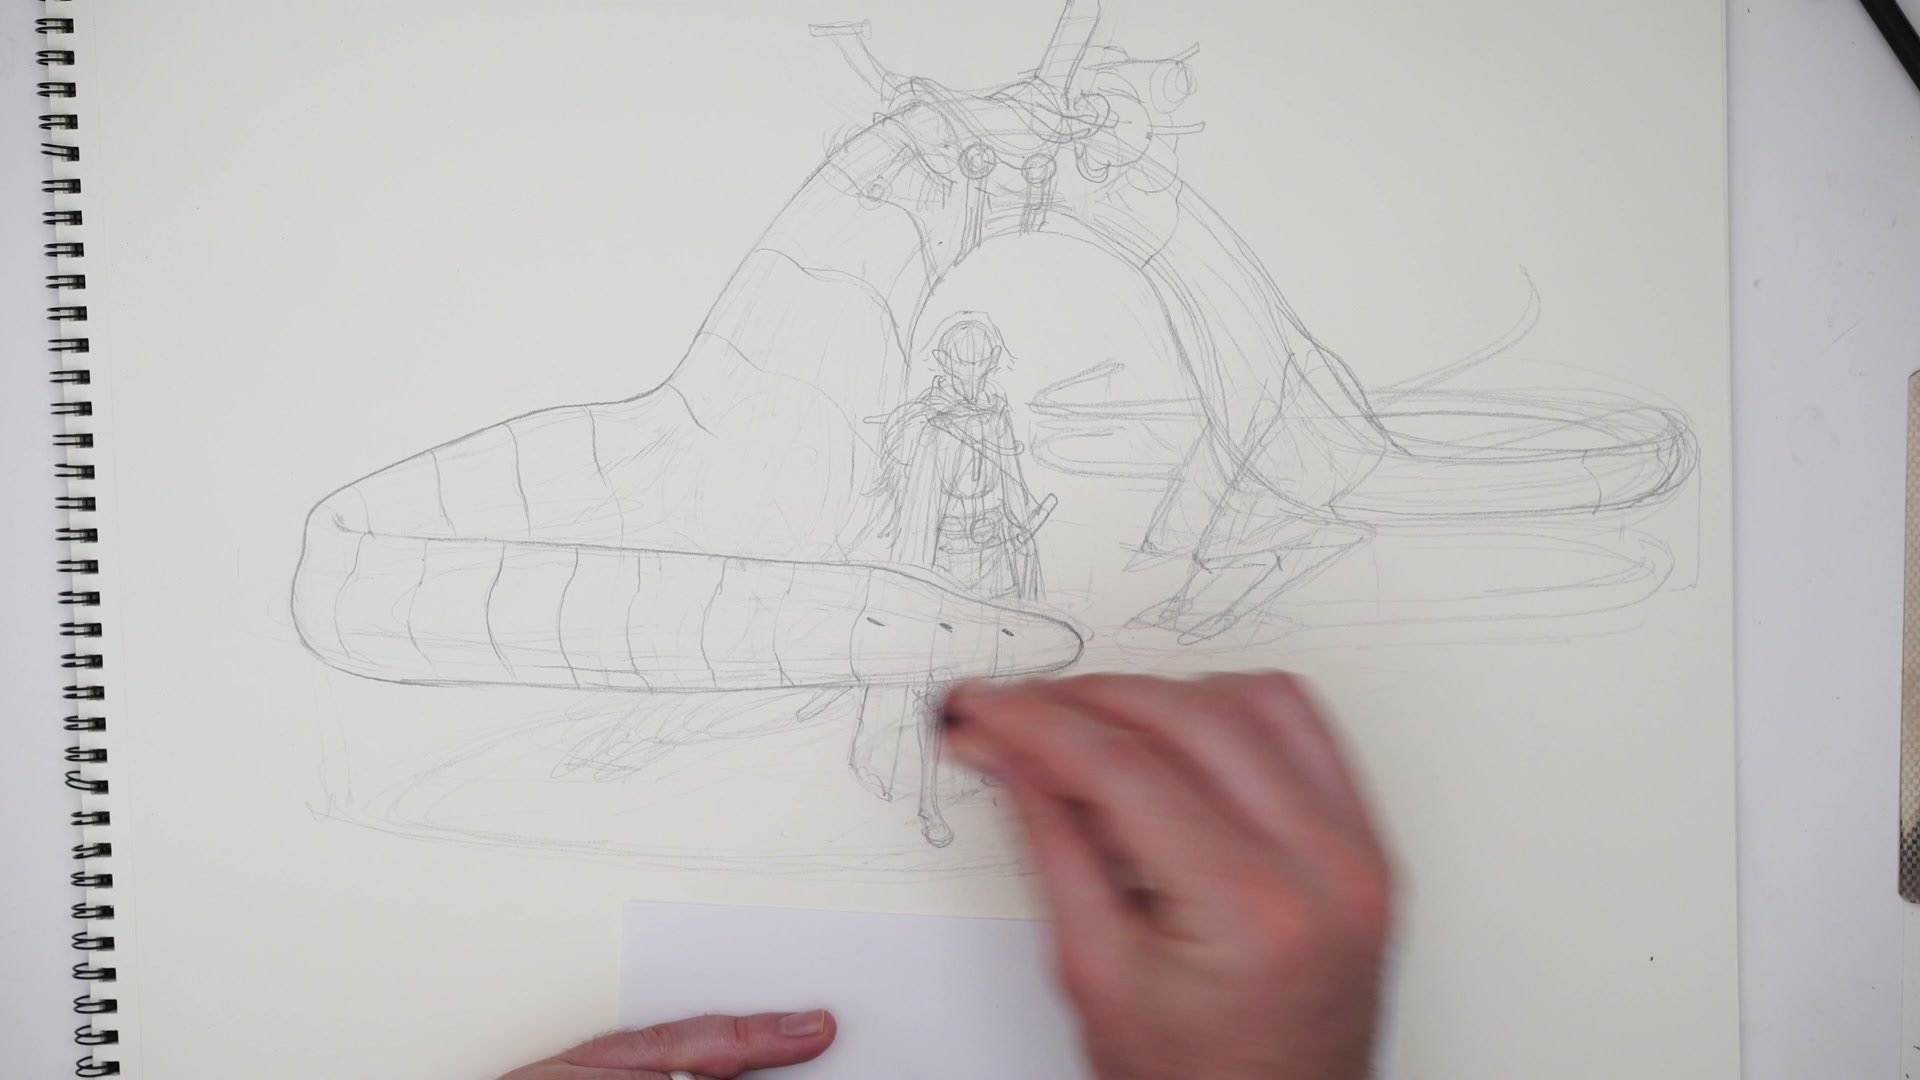
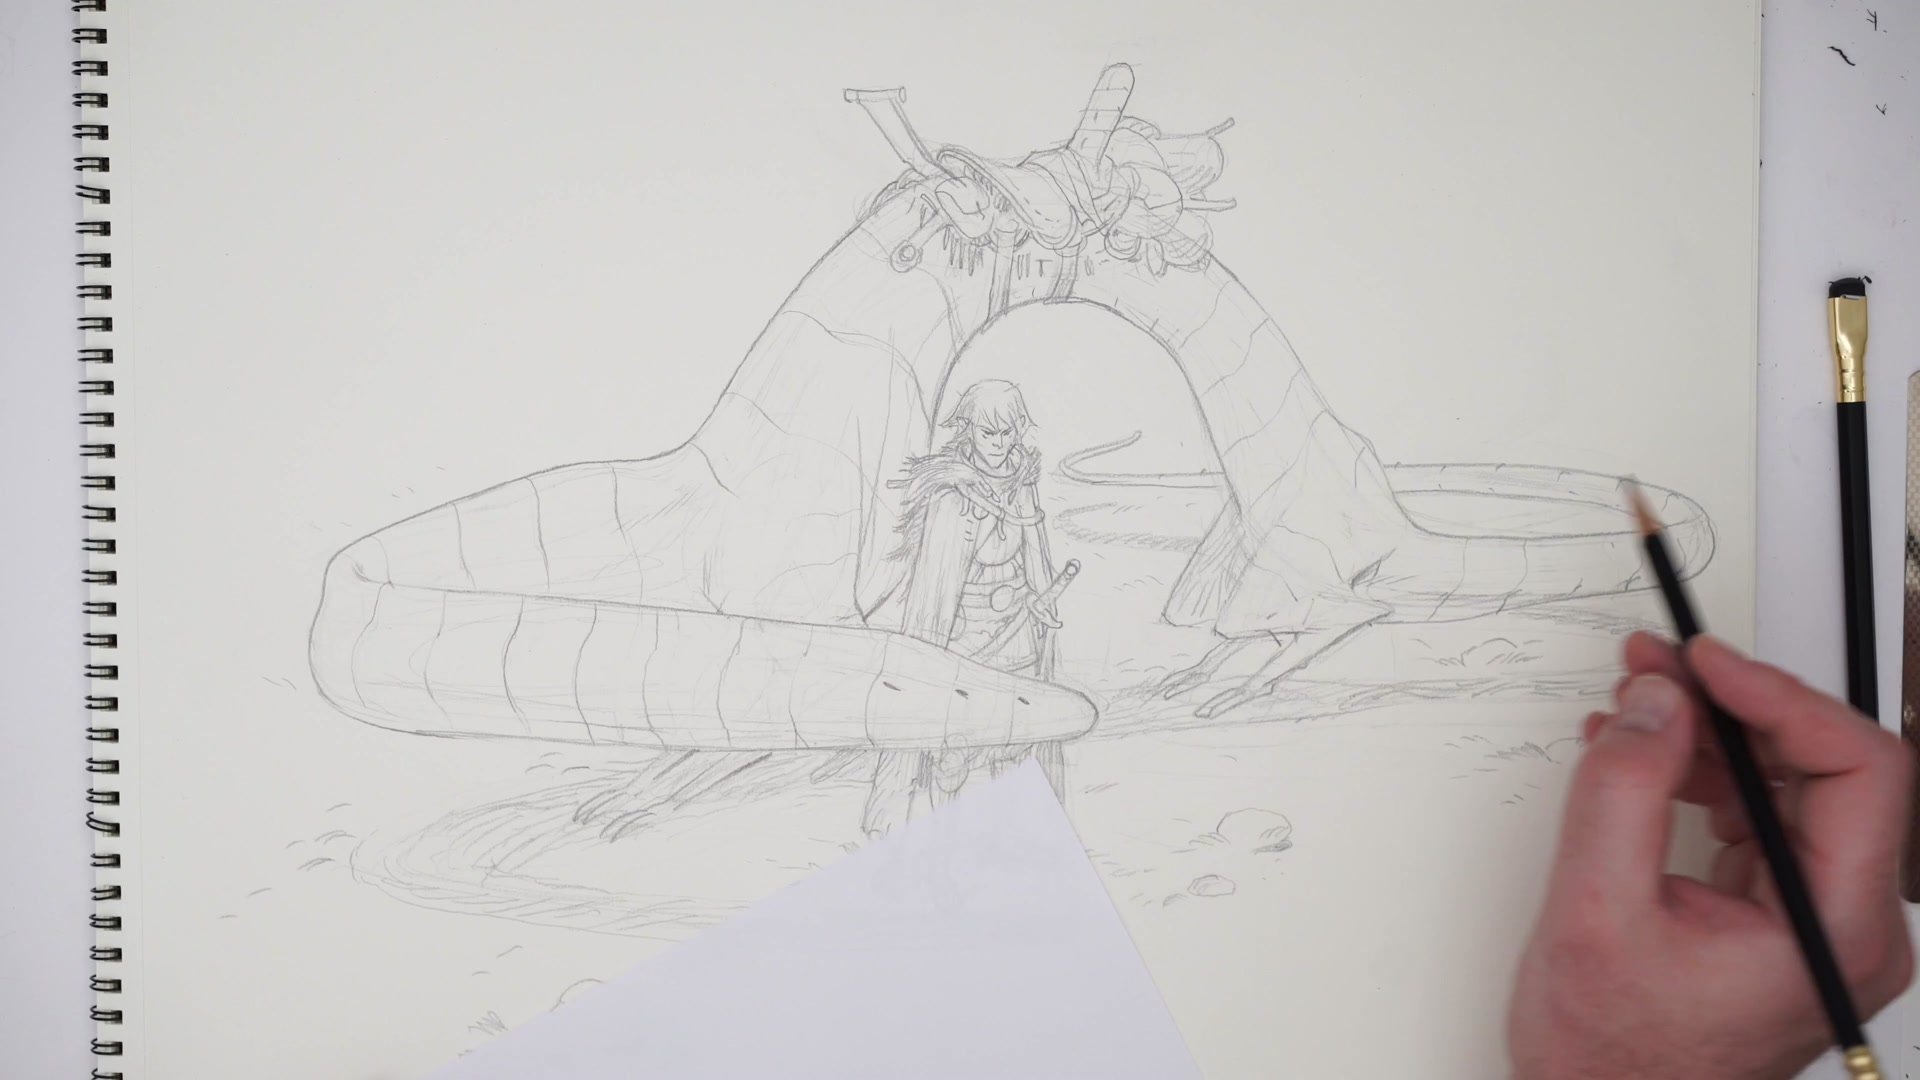
This nearly ninety-minute session covers the full construction of a fantasy scene in pencil, from tiny thumbnail reference through to a finished sketch of a cloaked adventurer standing beside a massive lizard-like creature. The focus is on solving the real drawing problems that come with scaling up a small thumbnail idea into a detailed, page-filling composition.
Using Blackwing matte pencils on Strathmore 400 paper, the session works through tangent management, ground plane establishment, Loomis-style constructive anatomy for the character, and the layered process of building secondary form on top of a structural foundation. The approach treats every subject the same way, whether creature, person, or prop, all handled through the same draw-through construction principles borrowed from industrial design thinking.
Thumbnails and Early Blocking
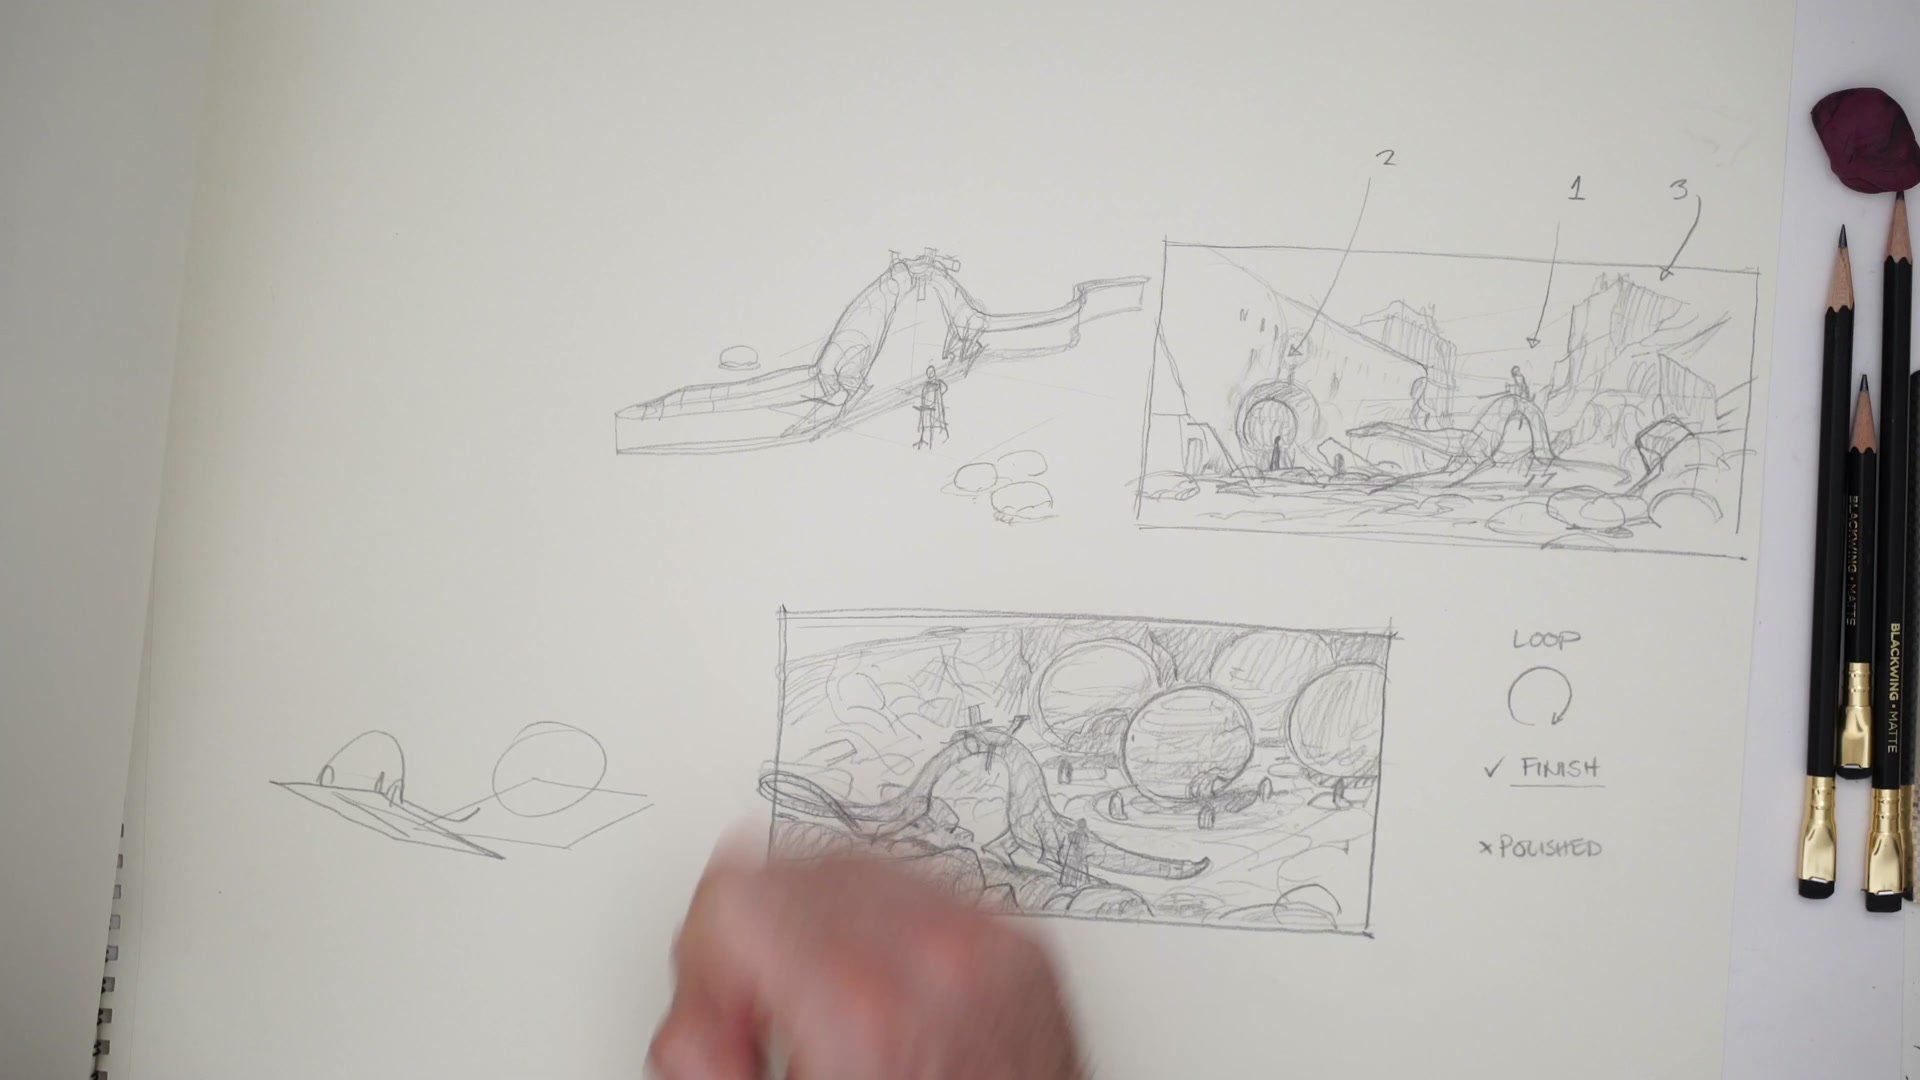
Tangent Control and Placement
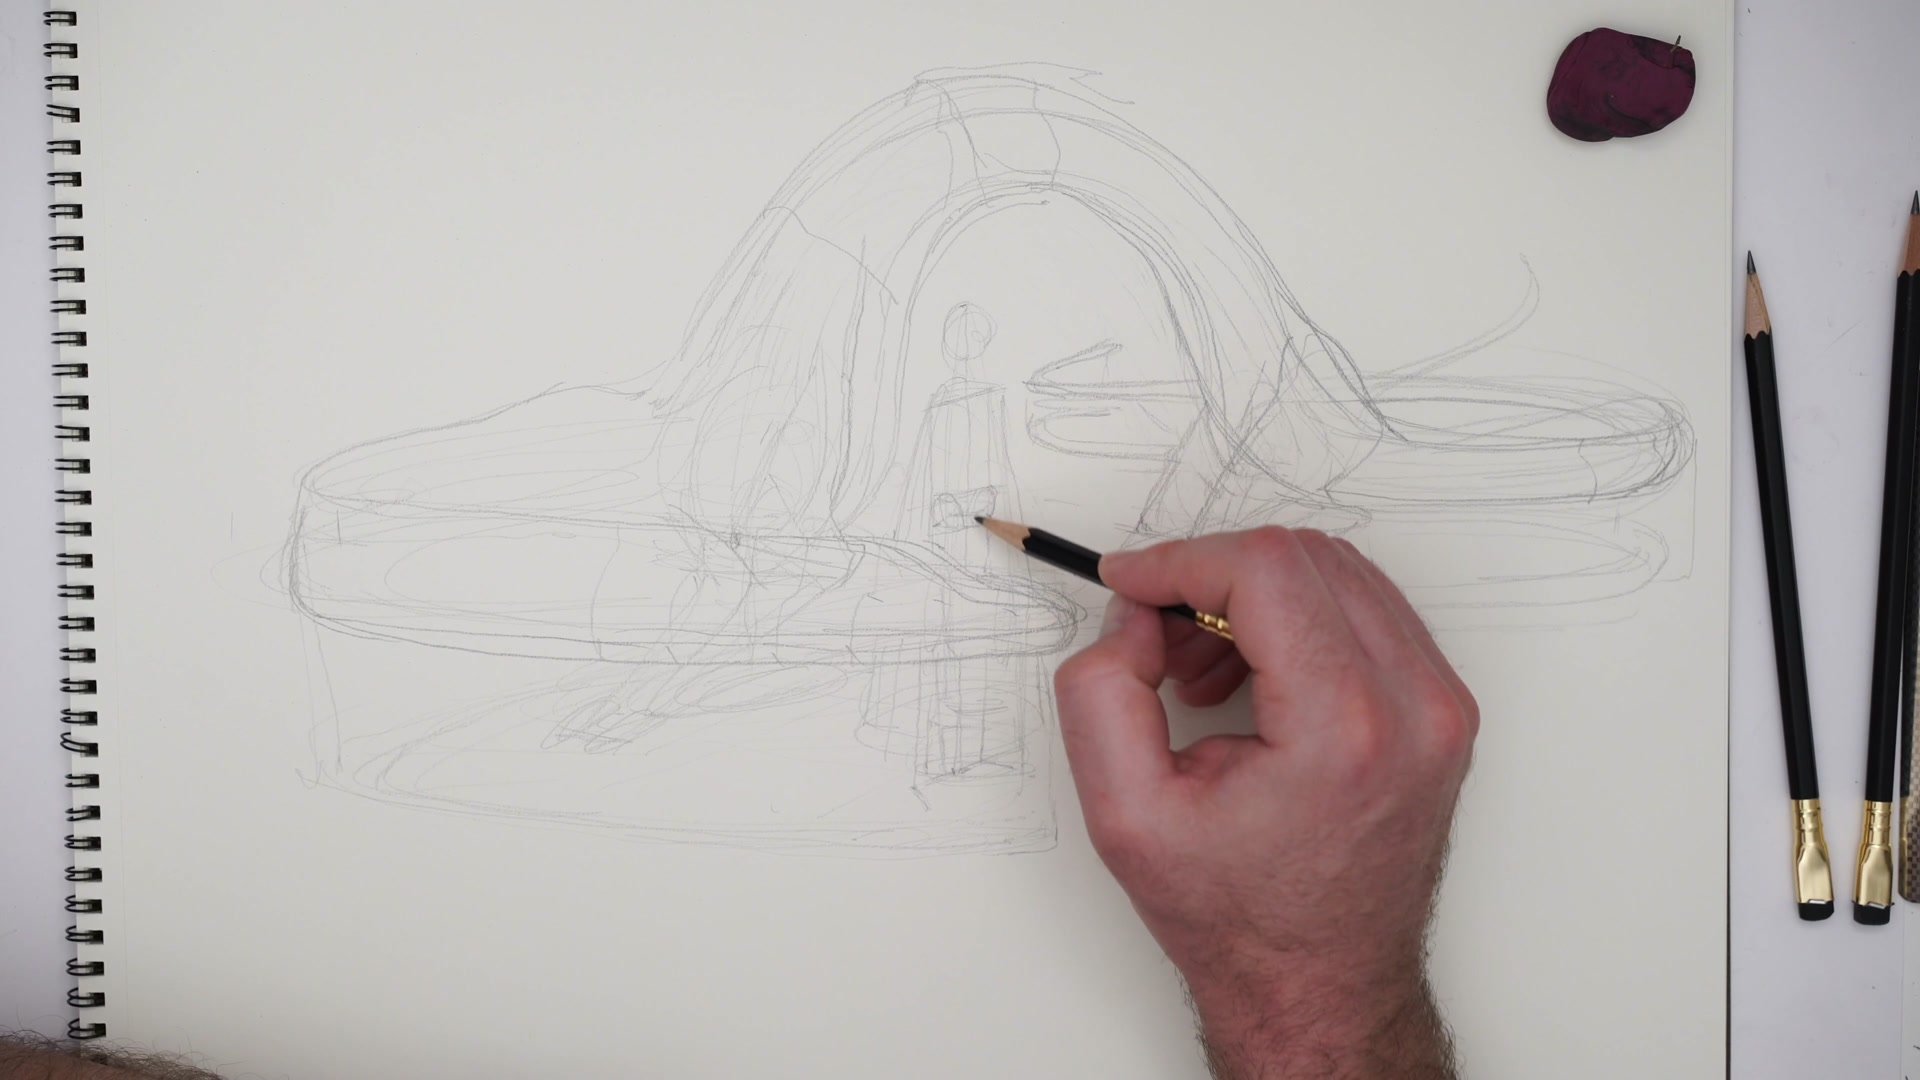
Before any detailed drawing begins, the single most important step is planning where everything sits relative to everything else. Tangent management drives every placement decision in this session. The creature has a natural arch in its back, and the character needs to sit within that arch without creating awkward intersections. The head of the creature needs to wrap convincingly in front of the character while the tail extends to show depth.
This is where the hierarchy matters most. Getting the fundamental spacing and proportions right creates an illustrative quality that carries the entire drawing, even if individual elements are rough. The ground plane gets established early through shadow shapes, giving spatial context before any detailed construction begins. This single planning phase, taking only a minute or two, prevents most of the proportion problems that would otherwise require painful correction later.
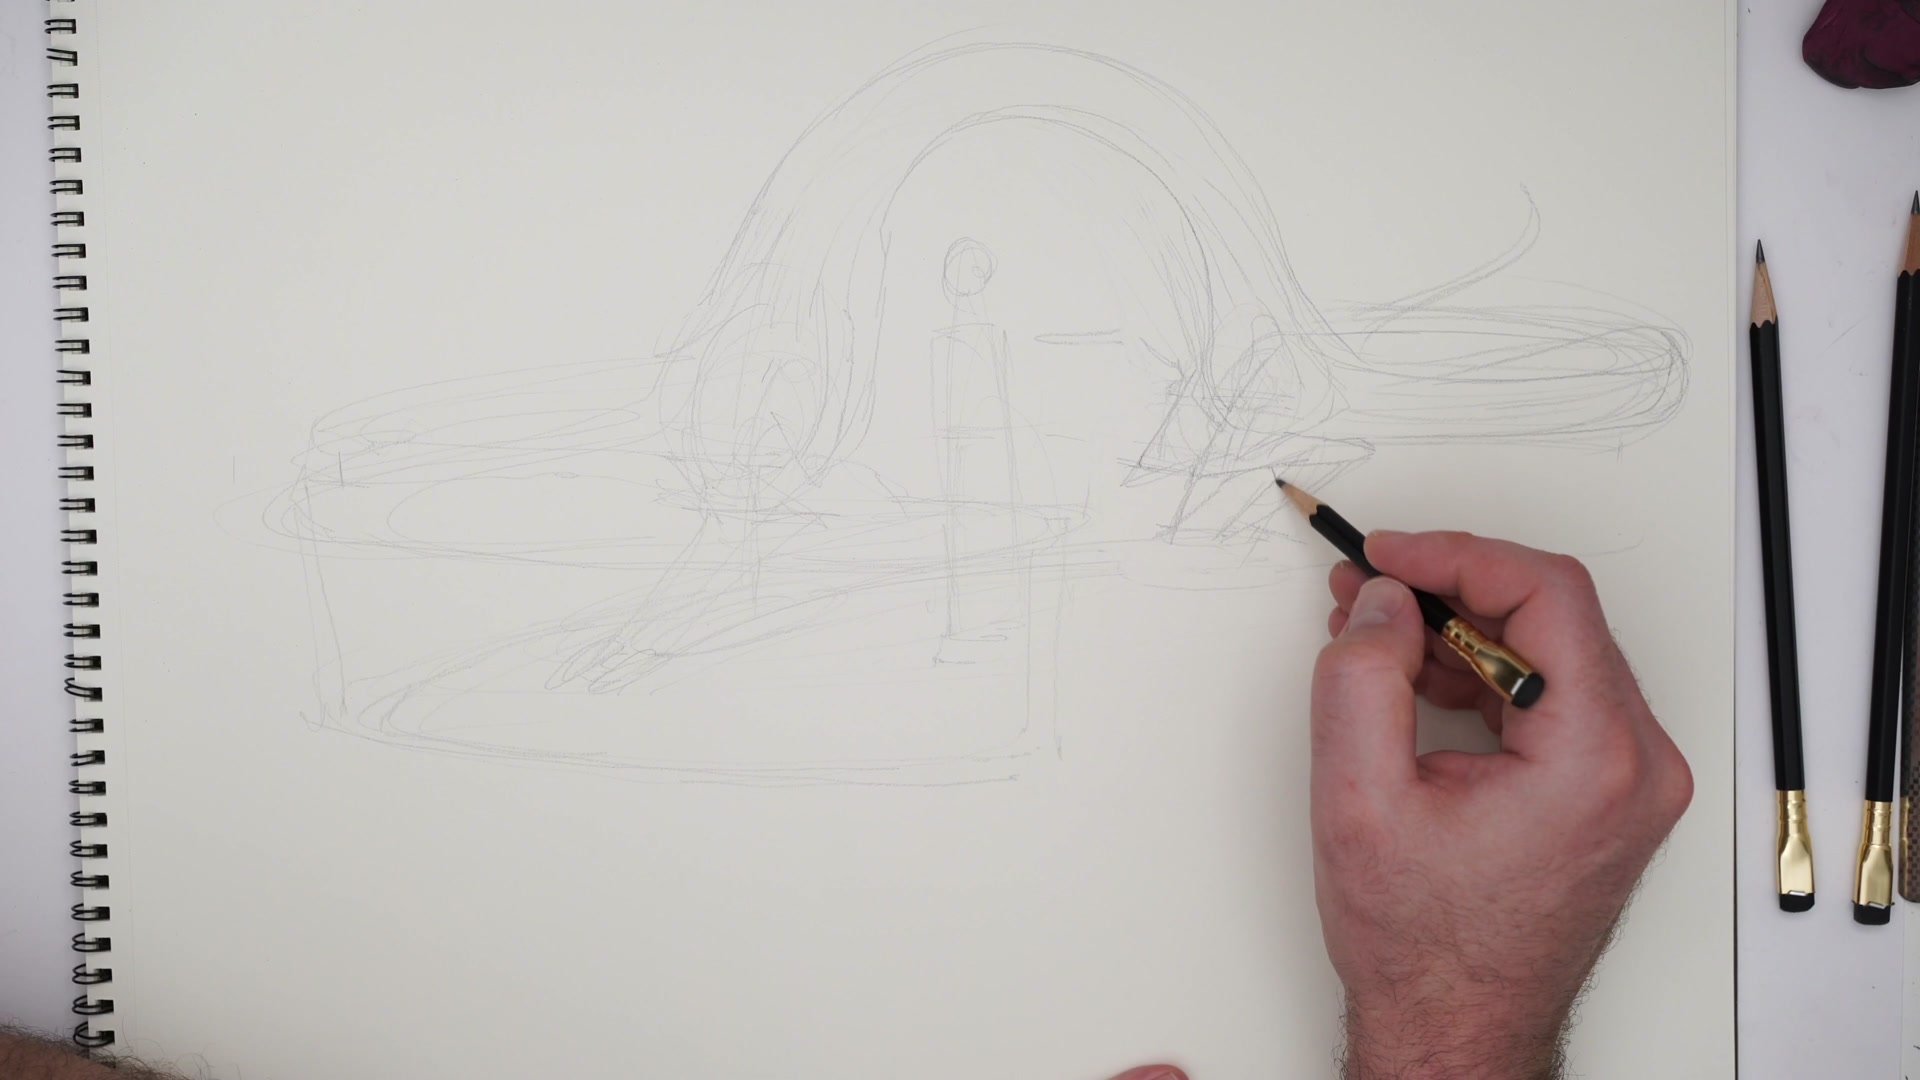
Character Construction

Draw-Through Construction
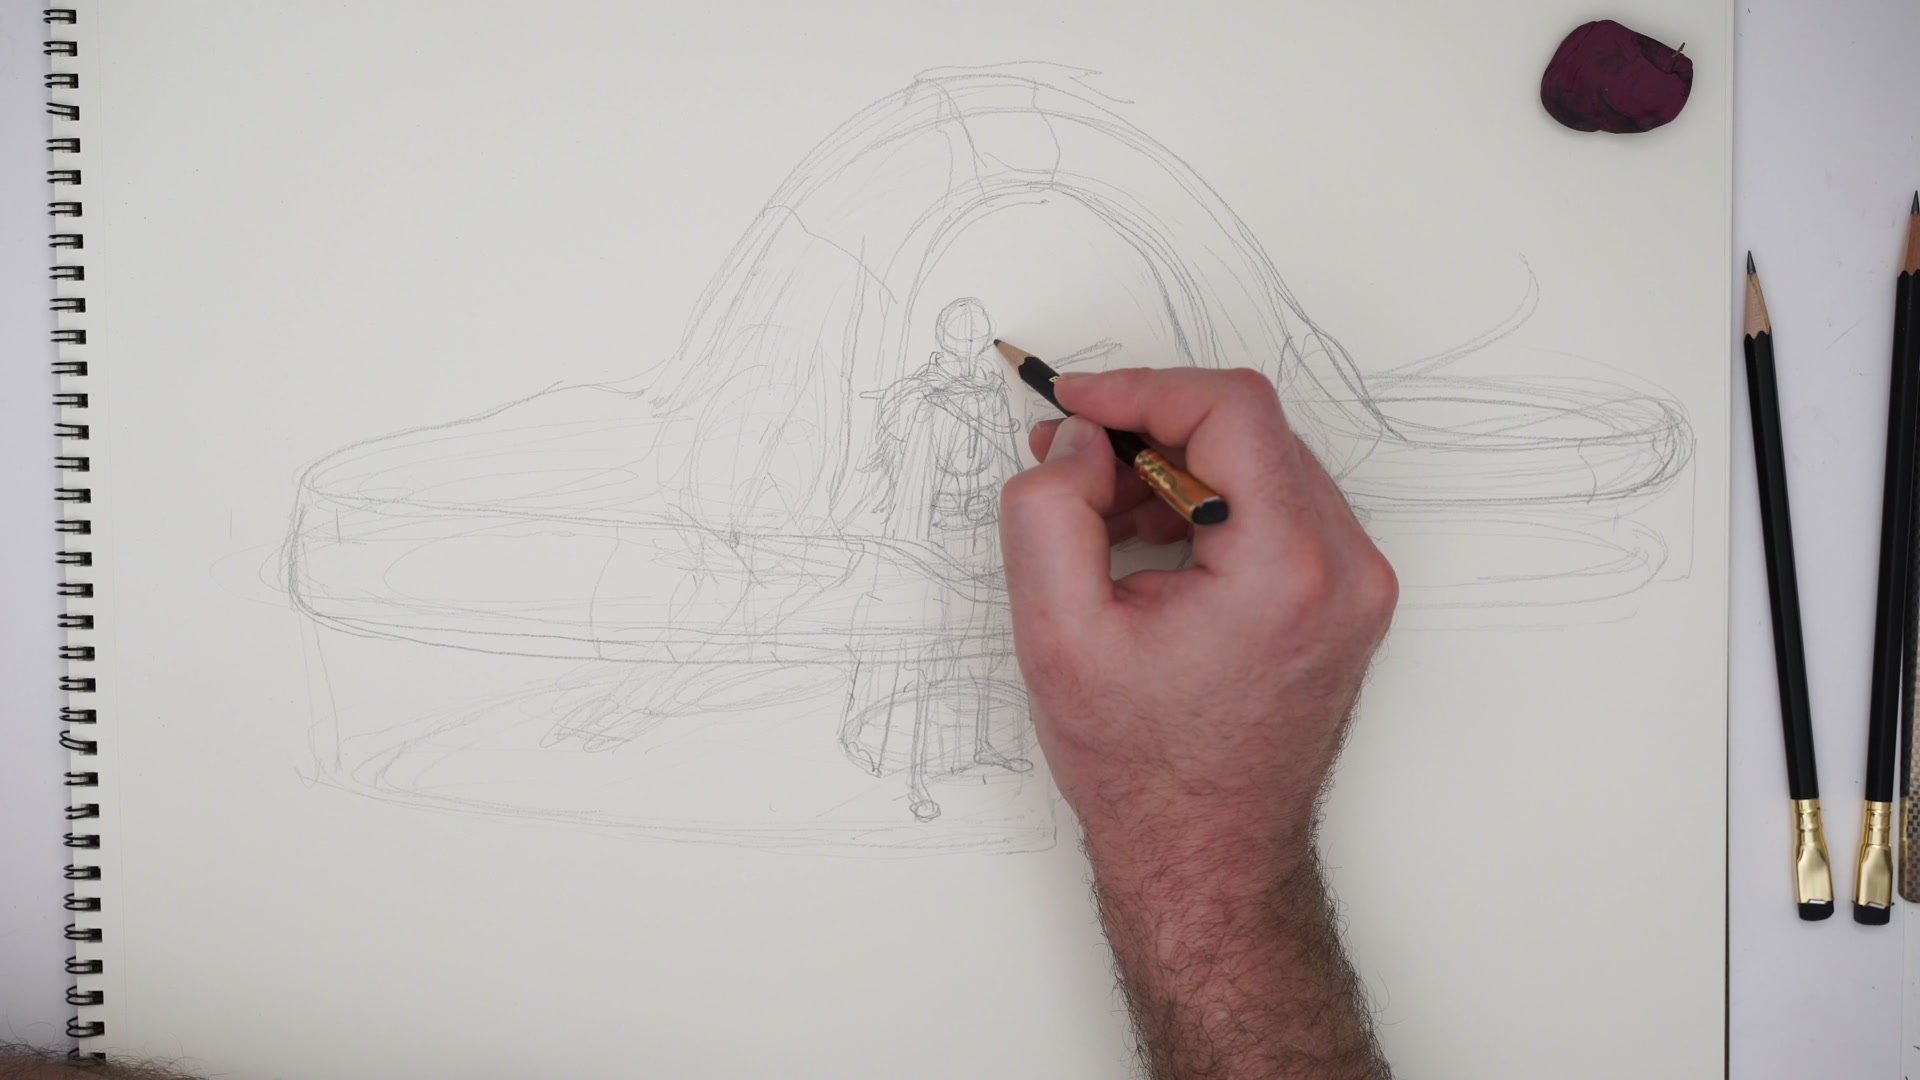
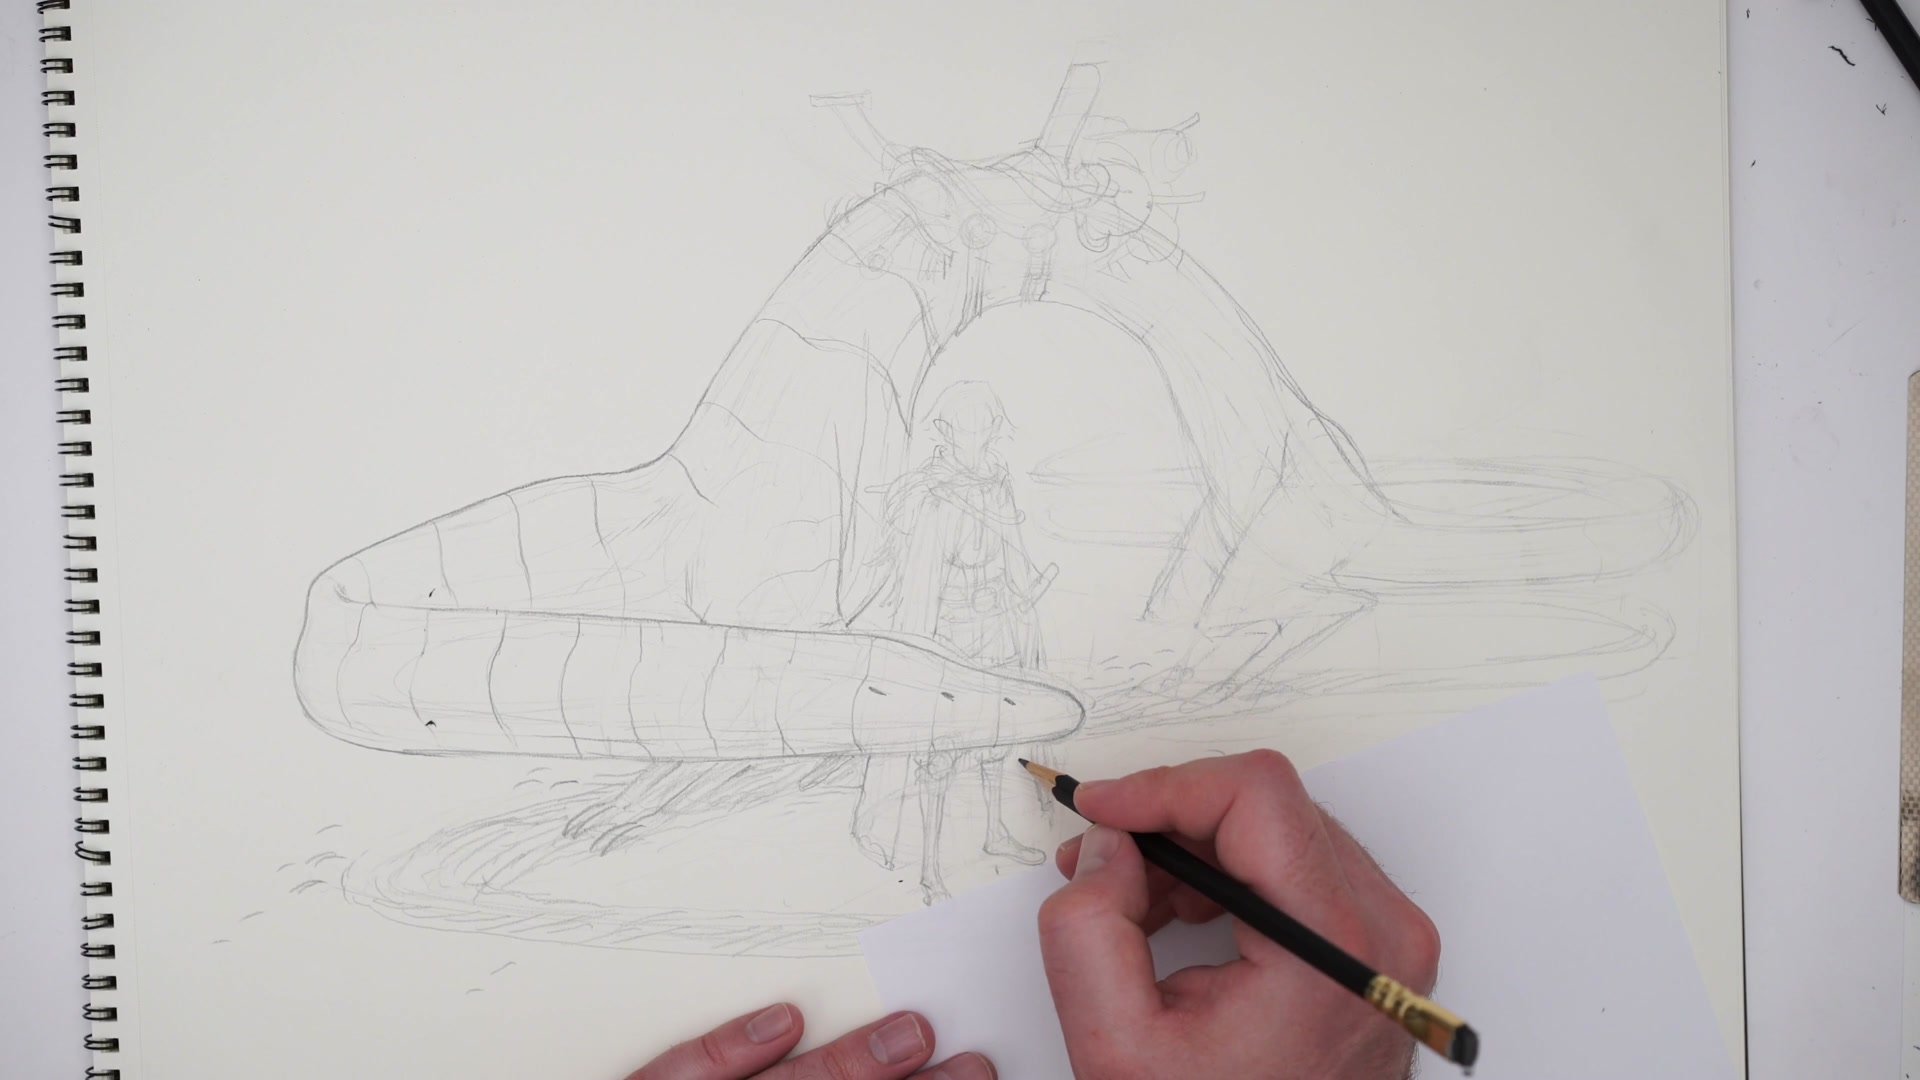
The character is placed using Loomis construction principles, finding the halfway point for proportions, dropping center lines, and establishing the torso and pelvis as separate masses. But this is not purely figure drawing. Costume elements like the cape, armor, and belt get roughed in alongside the structural anatomy because they help define the character faster than pure construction alone.
Everything gets treated as a technical drawing problem. Cross-sections, center lines, and draw-through are used on the creature just as they would be on the character or a vehicle. The key insight running through the whole session is that once this structural foundation is internalized, there is no real difference between drawing a person, a creature, a bike, or a spaceship. The same form dissection and construction approach applies universally, and that foundation is what makes complex multi-element scenes manageable rather than overwhelming.
Detail and Refinement
Cleanup and Finishing Strategy
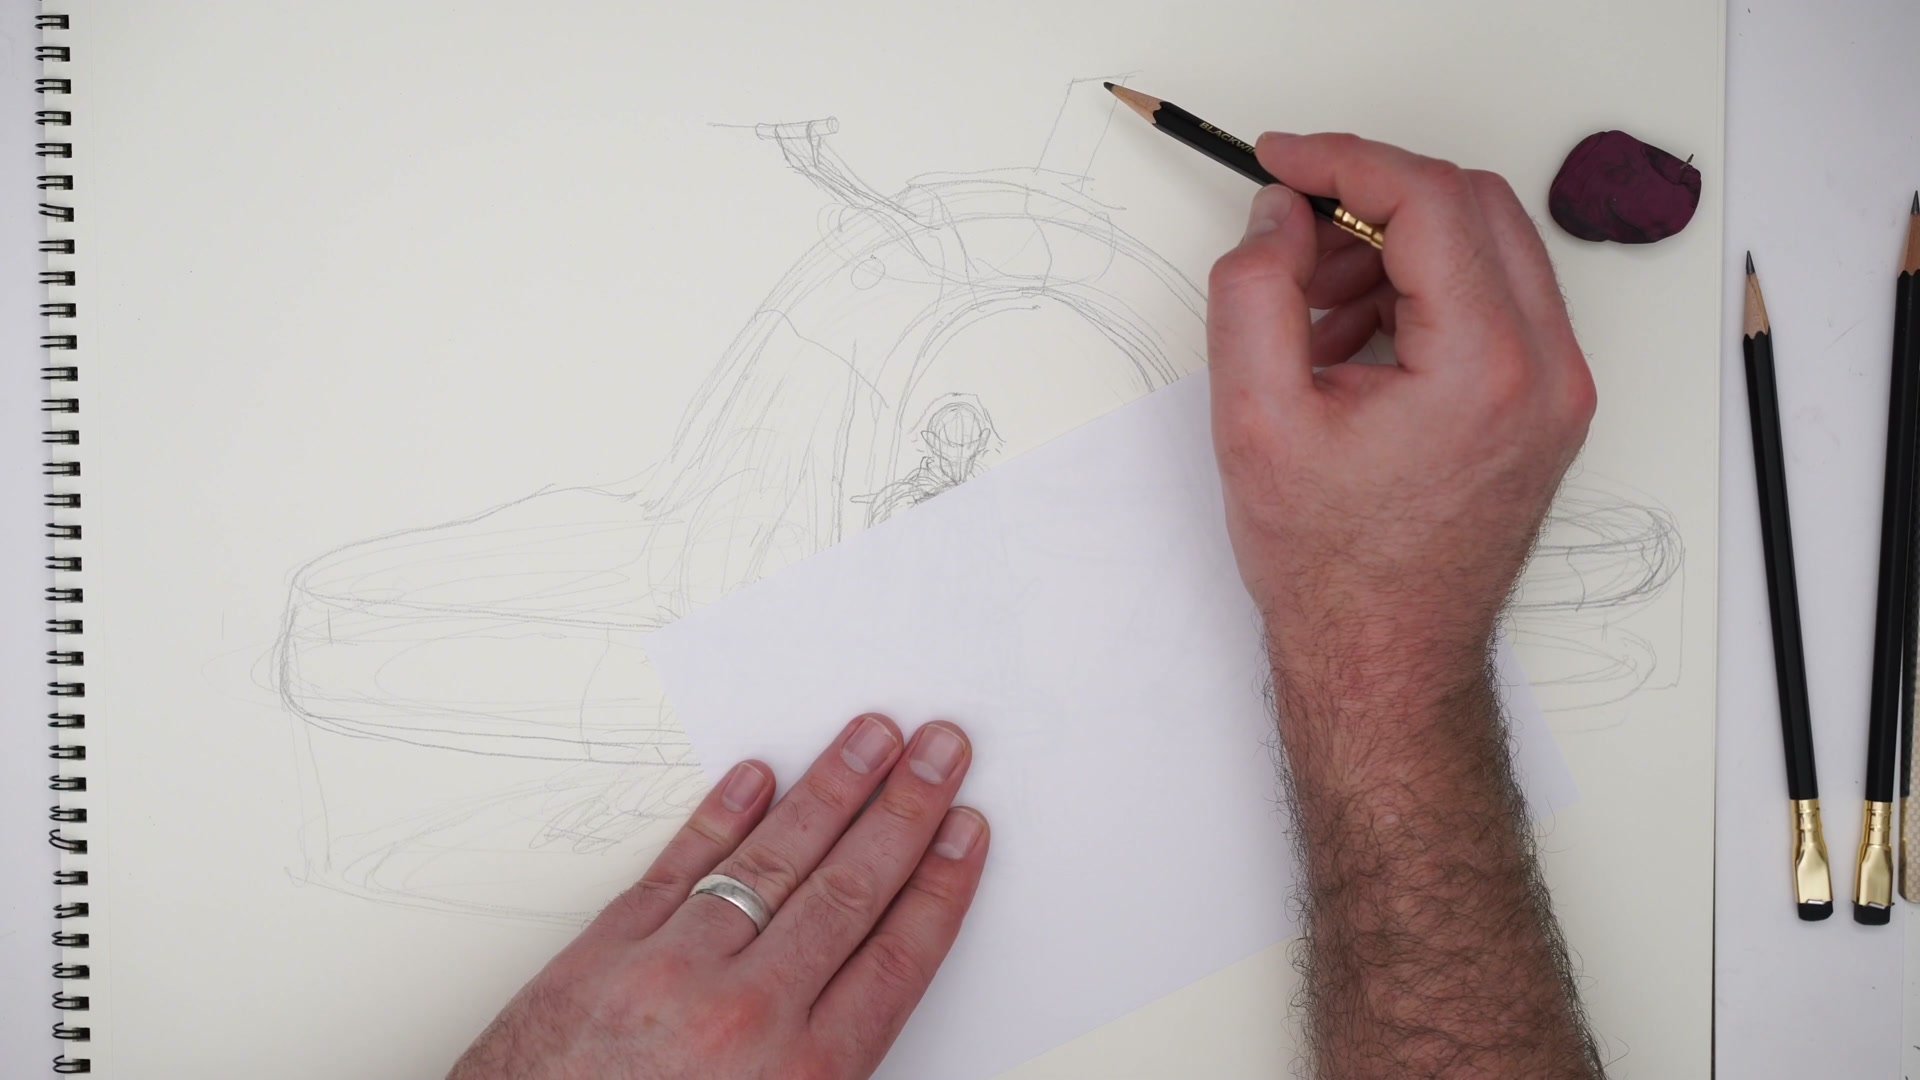
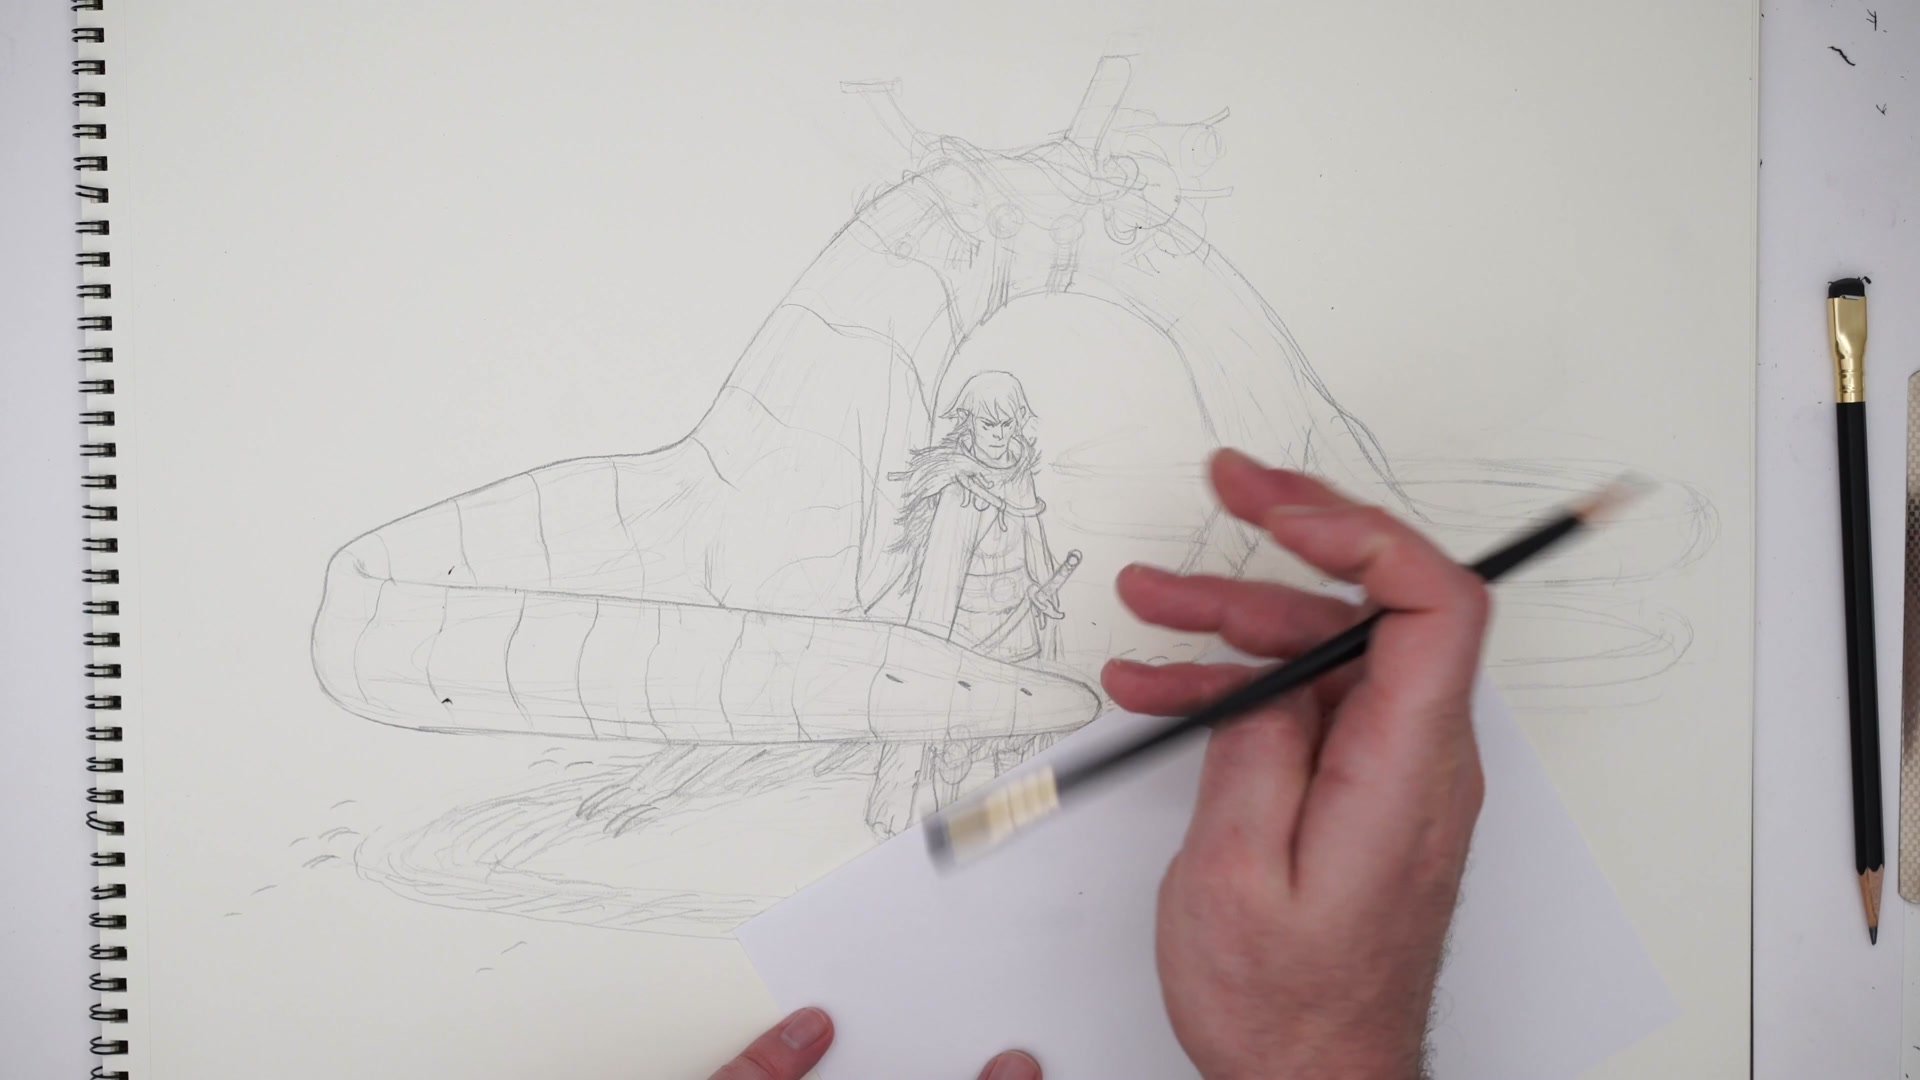
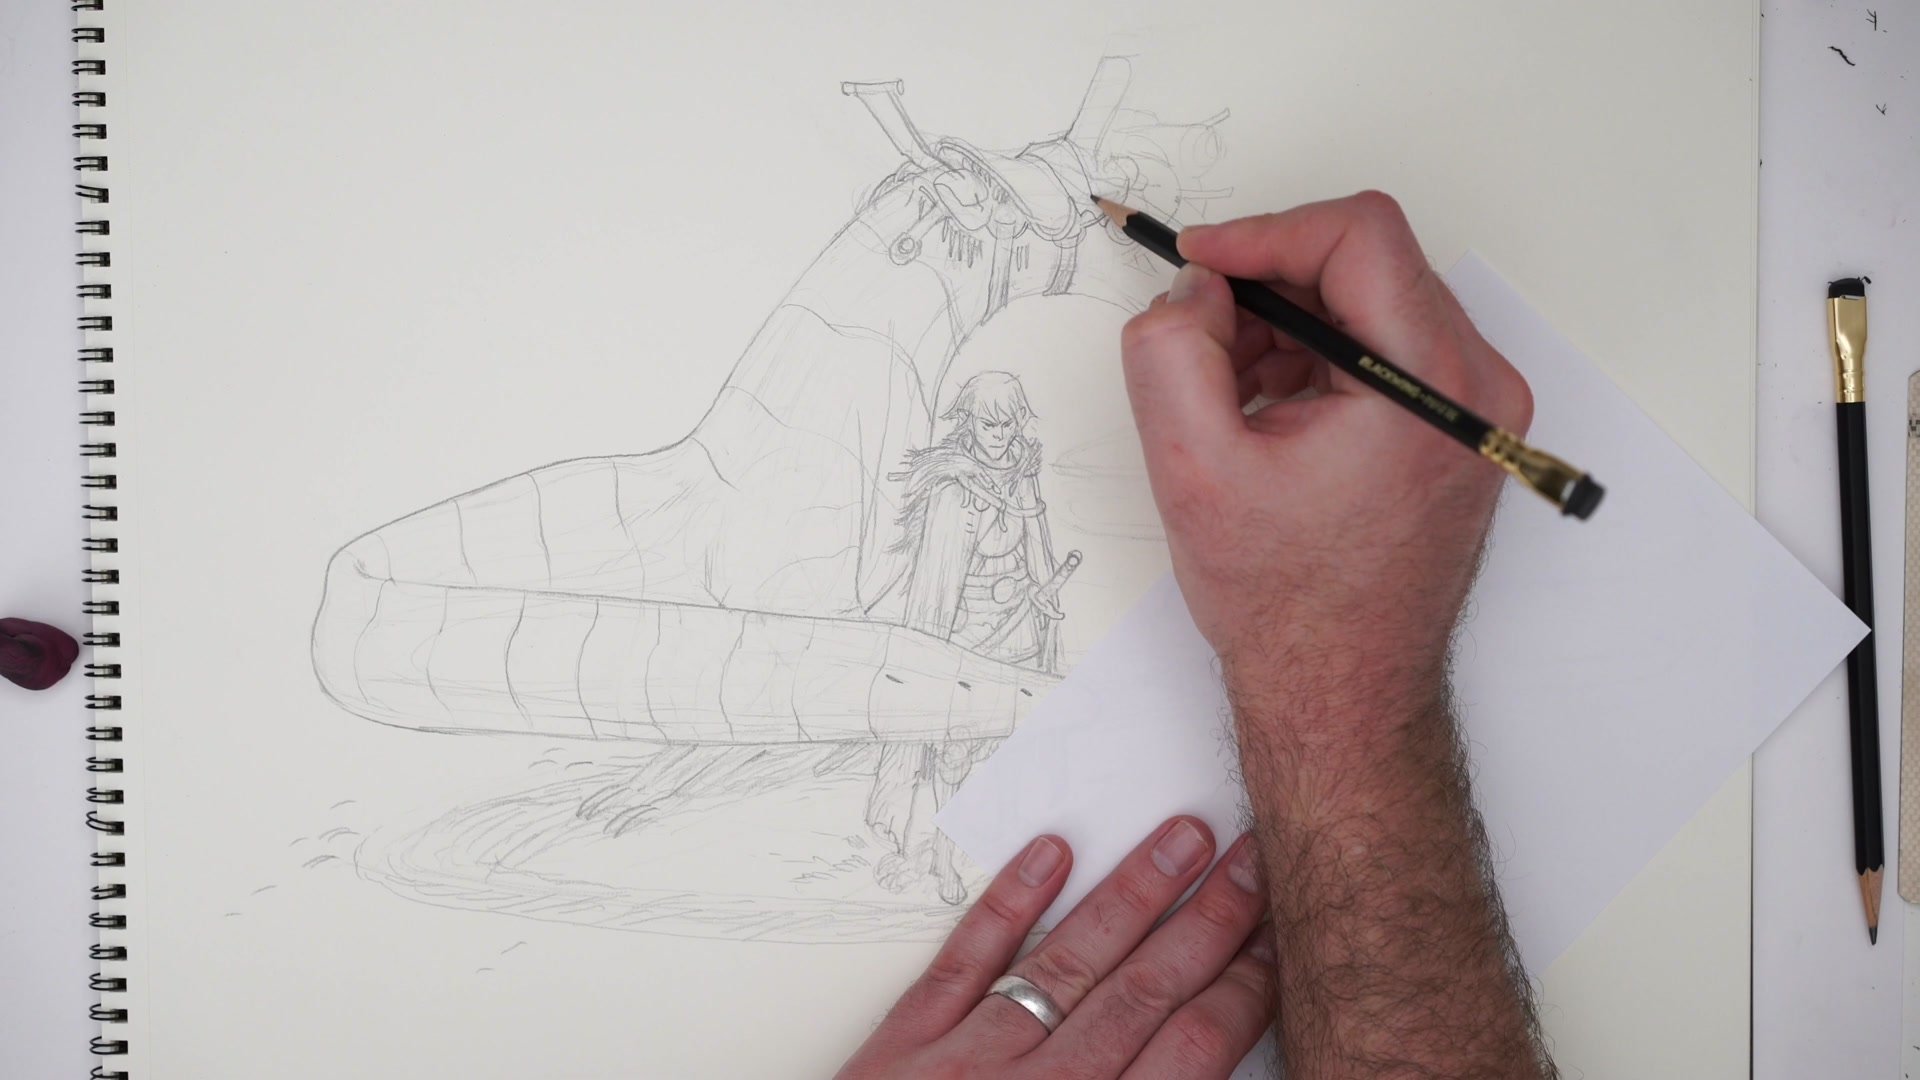
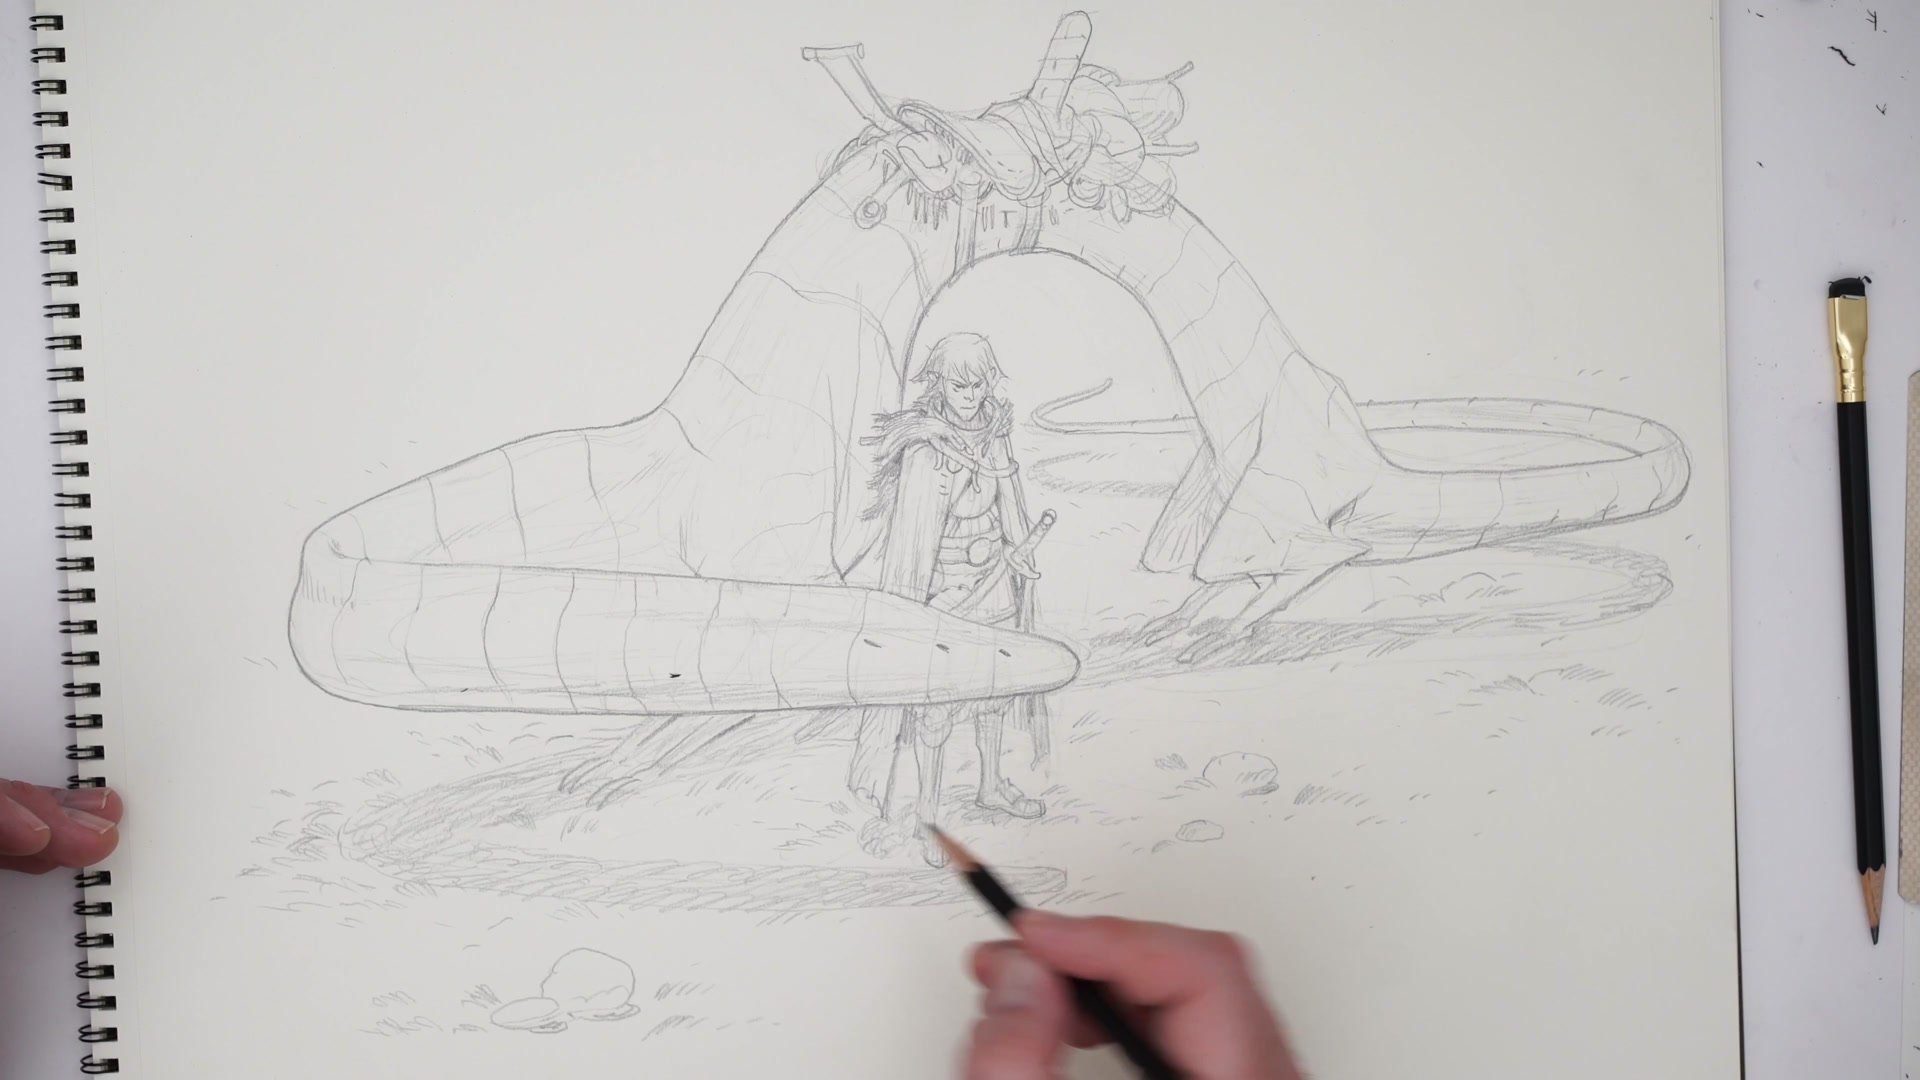
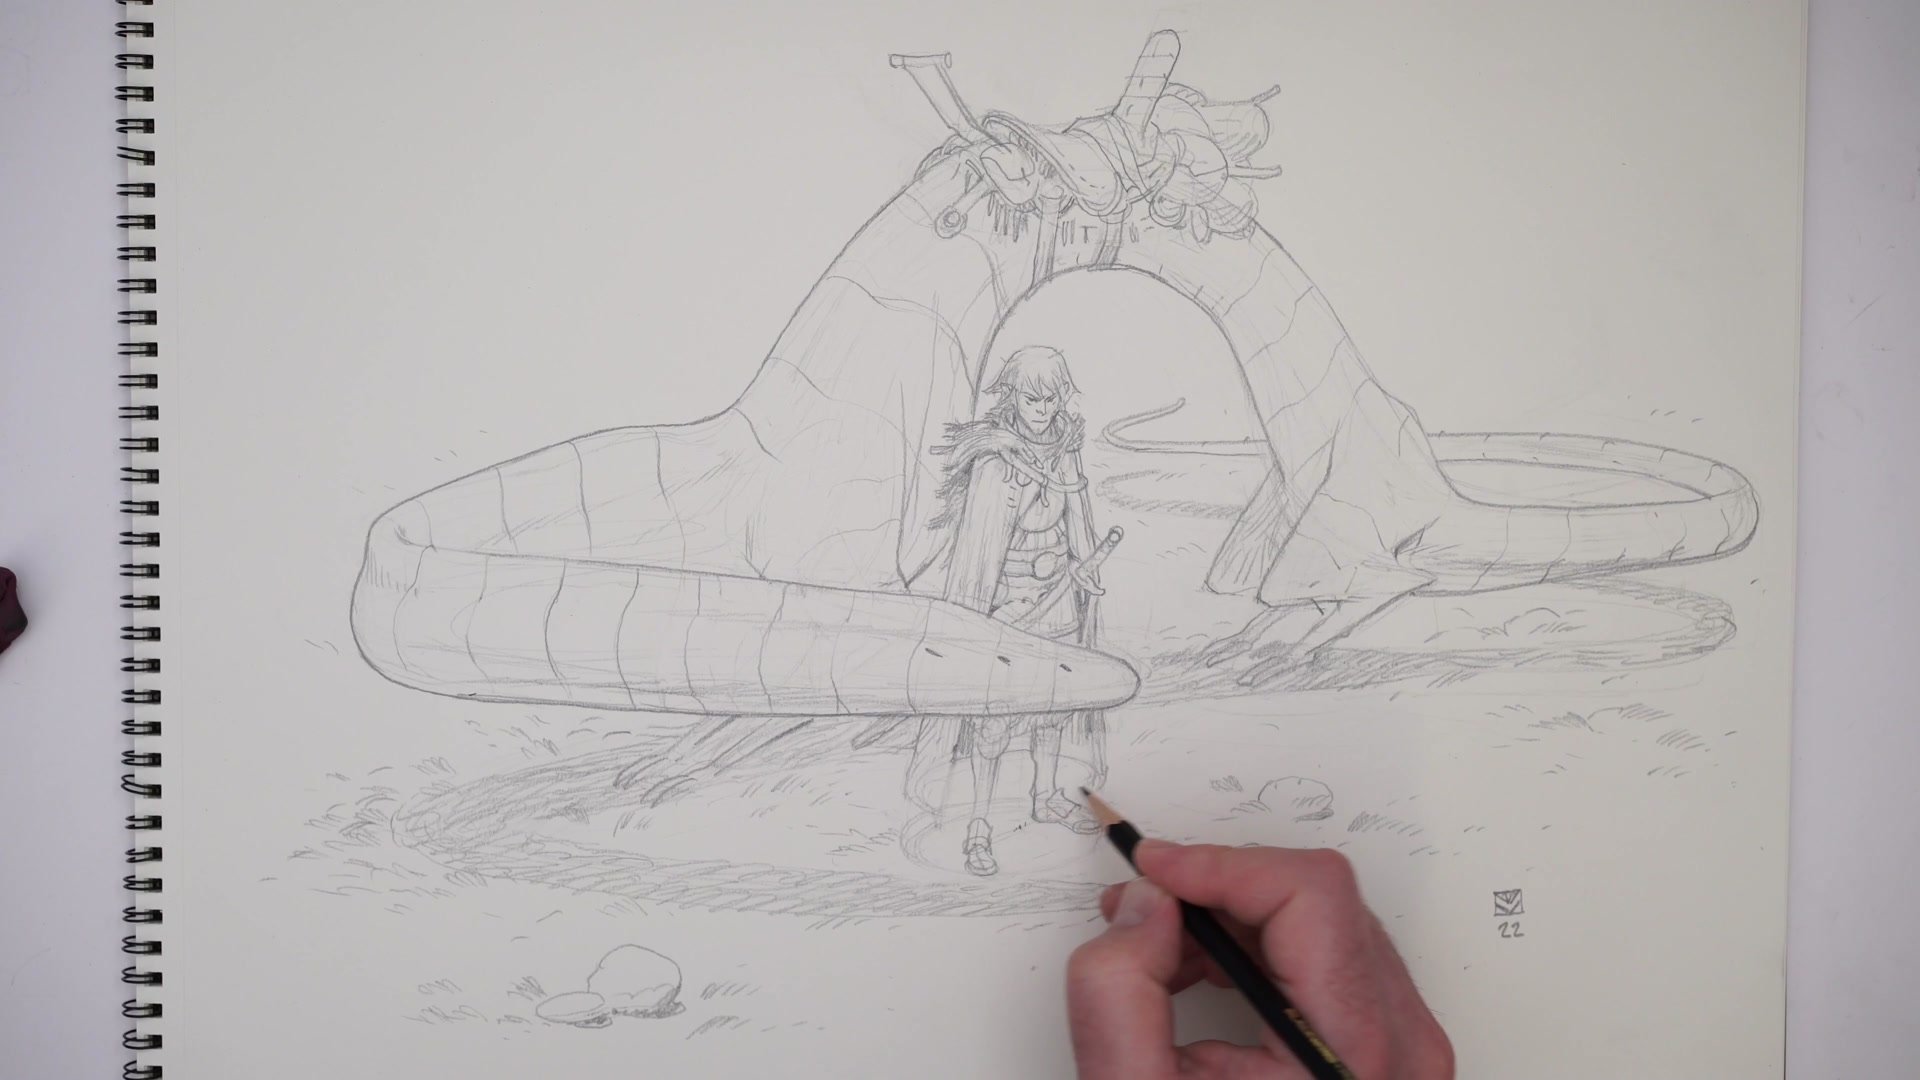
With the construction complete, the session shifts to erasing construction lines and clarifying final forms. This is not about adding detail everywhere. The approach is selective, focusing energy where it will have the most impact. The creature's contours get the most attention because getting those silhouette lines right does most of the work for describing the form, reducing the need for heavy rendering.
A practical prioritization exercise runs throughout this phase: if there were only five minutes left, what would make the biggest difference? That question keeps the focus on silhouette cleanup, shadow indication at key intersections, and ground plane texture rather than polishing areas that carry less visual weight. The feet get revisited and corrected using an ellipse to re-establish the shadow pattern. Even at the sketch stage, these corrections demonstrate why ongoing measurement and adjustment matter more than getting things perfect on the first pass.
Final Drawing
Key Techniques
Tangent Management First: Planning where elements overlap and separate before drawing any detail prevents the most common composition problems and gives the drawing an illustrative quality from the start.
Universal Draw-Through: Treating every subject with the same construction approach, center lines, cross-sections, and draw-through, makes complex multi-element fantasy scenes no more intimidating than drawing a single figure.
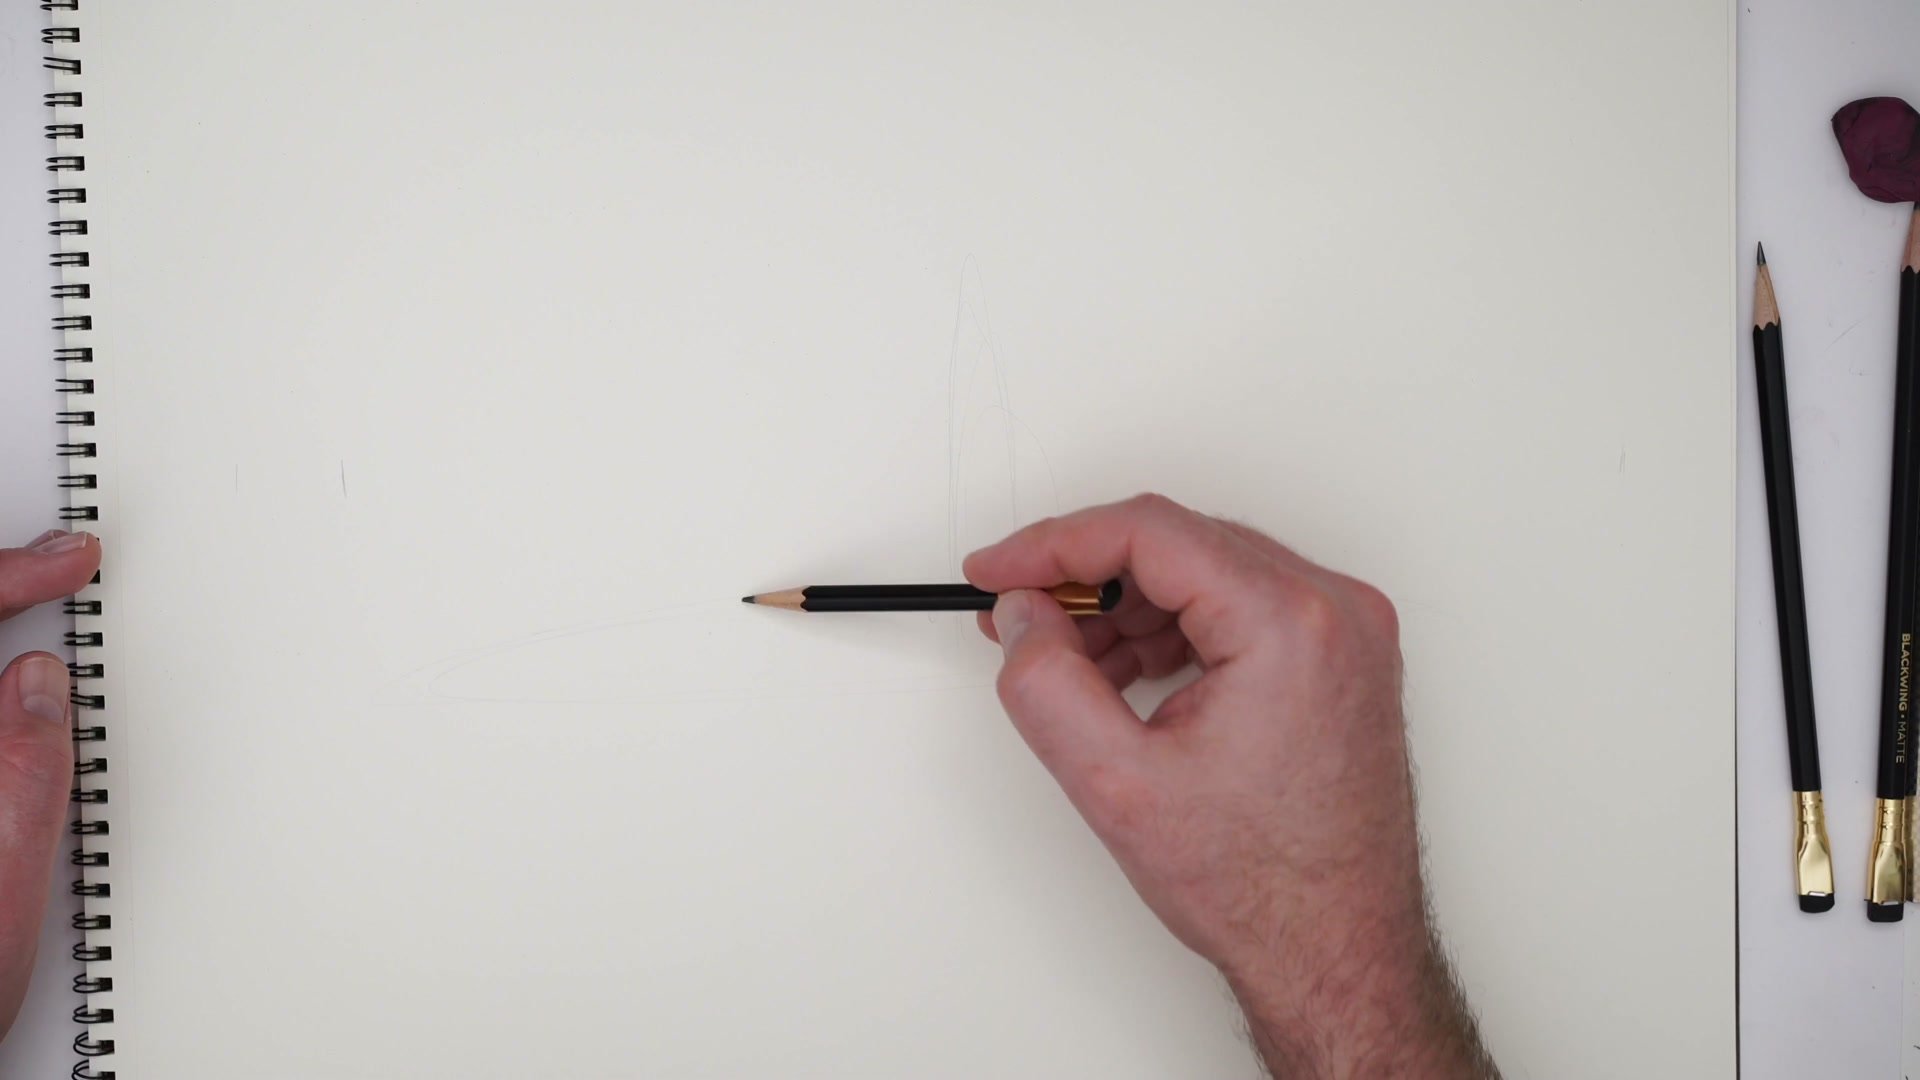
Light Touch Early: Using a blunt pencil with barely any pressure keeps the page fresh and makes it easy to erase and adjust during construction phases.
Five-Minute Test: Asking what would make the biggest difference if only five minutes remained helps prioritize silhouette cleanup and shadow placement over unnecessary rendering.
Try This Approach
Start With Tangents: Before your next complex sketch, spend one to two minutes planning only where elements overlap and where clear separation is needed. Do not draw detail, just map the spatial relationships.
Establish Ground Plane: Add a simple shadow shape under your main subject early in the drawing. This anchors the scene in space and helps place secondary elements at the correct relative positions.
Erase and Rebuild: Once the rough construction is blocked in, take everything back with a kneadable eraser and do a single clean pass focusing only on silhouette contours.


