Draw Classic Link in Action
Summary
Constructive Anatomy Through Classic Link
Constructive anatomy methods like the Loomis approach are powerful tools, but most instruction teaches them in isolation from actual drawing. Spheres and mannequins on their own rarely translate into real character work. The gap between textbook construction and drawing something with personality is where most artists get stuck.
This video bridges that gap by applying constructive anatomy directly to drawing classic Link from The Legend of Zelda in a dynamic action pose. Starting with thumbnail sketches to explore pose options, then building up the full figure using skeleton-to-mannequin construction, the process shows how foundational methods become practical drawing tools when applied to subjects artists actually want to draw.
Reference and Thumbnails
Thumbnailing Action Poses
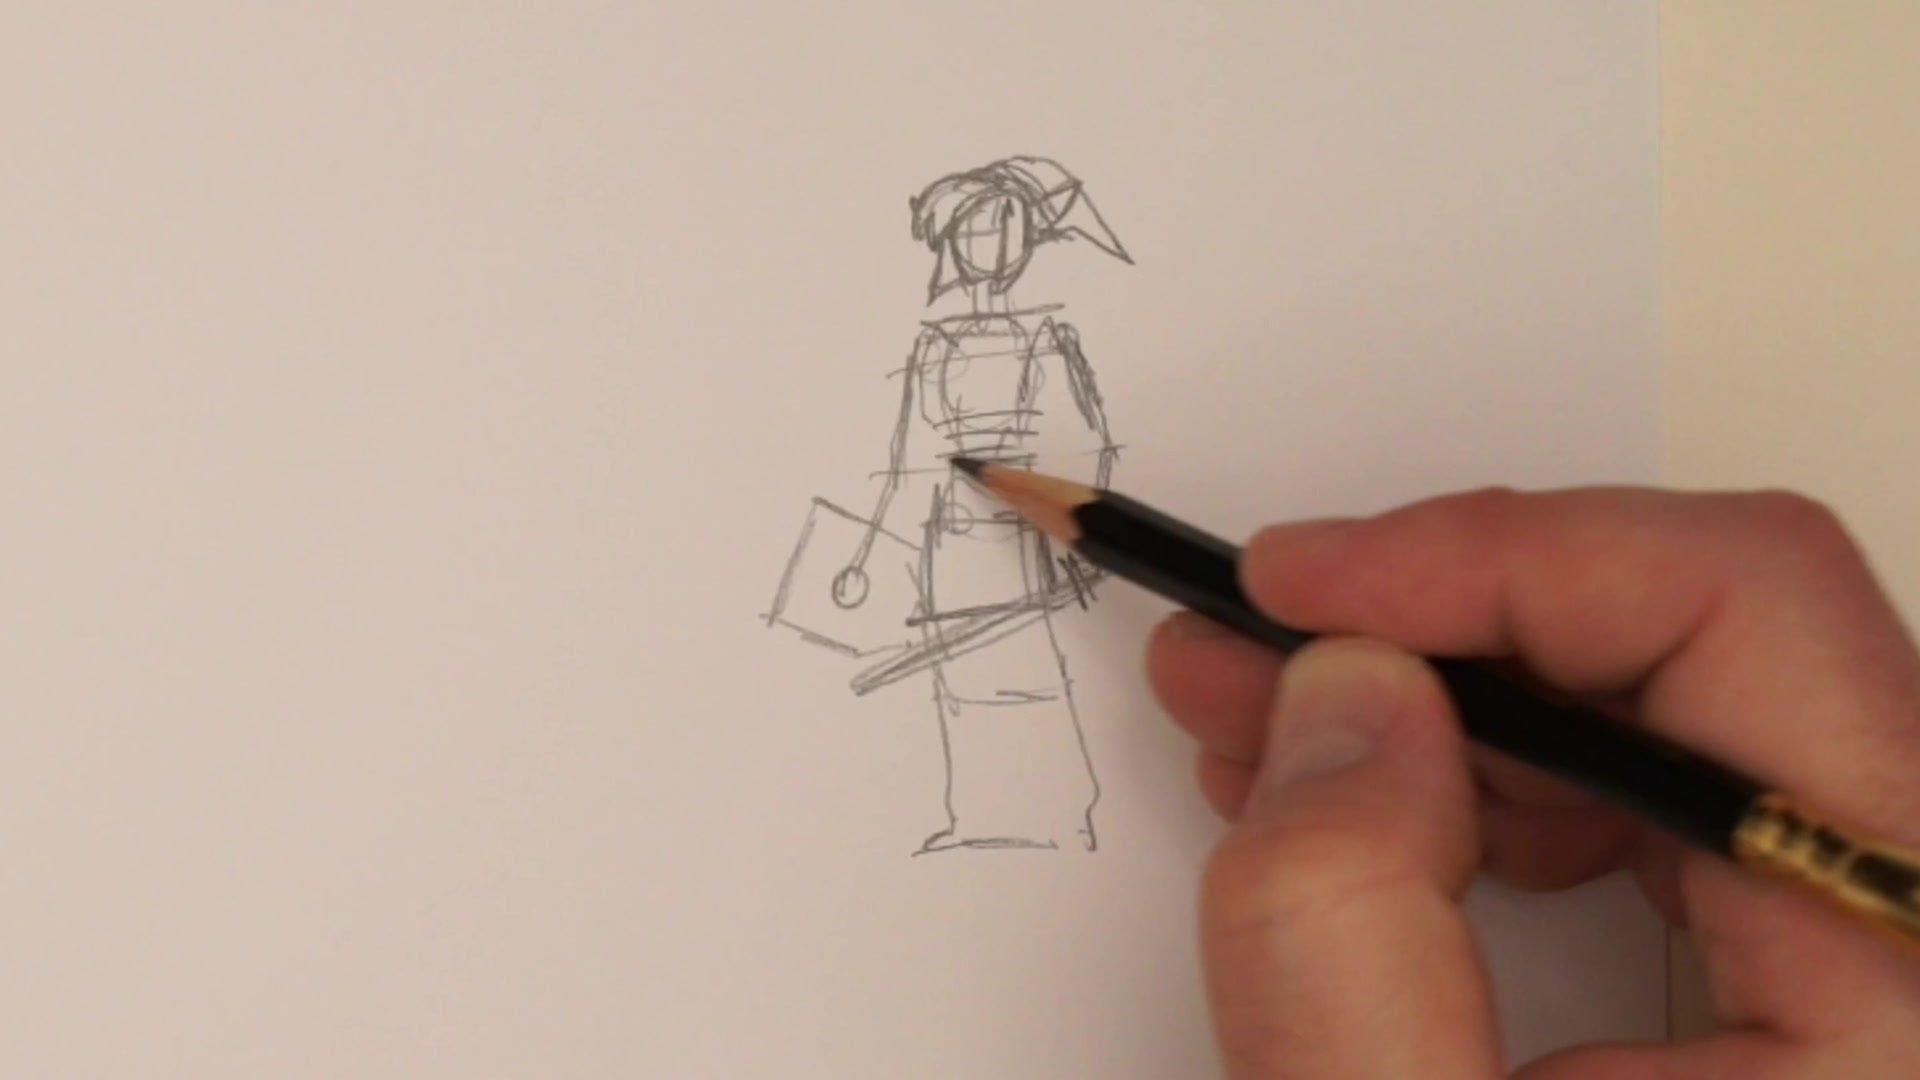
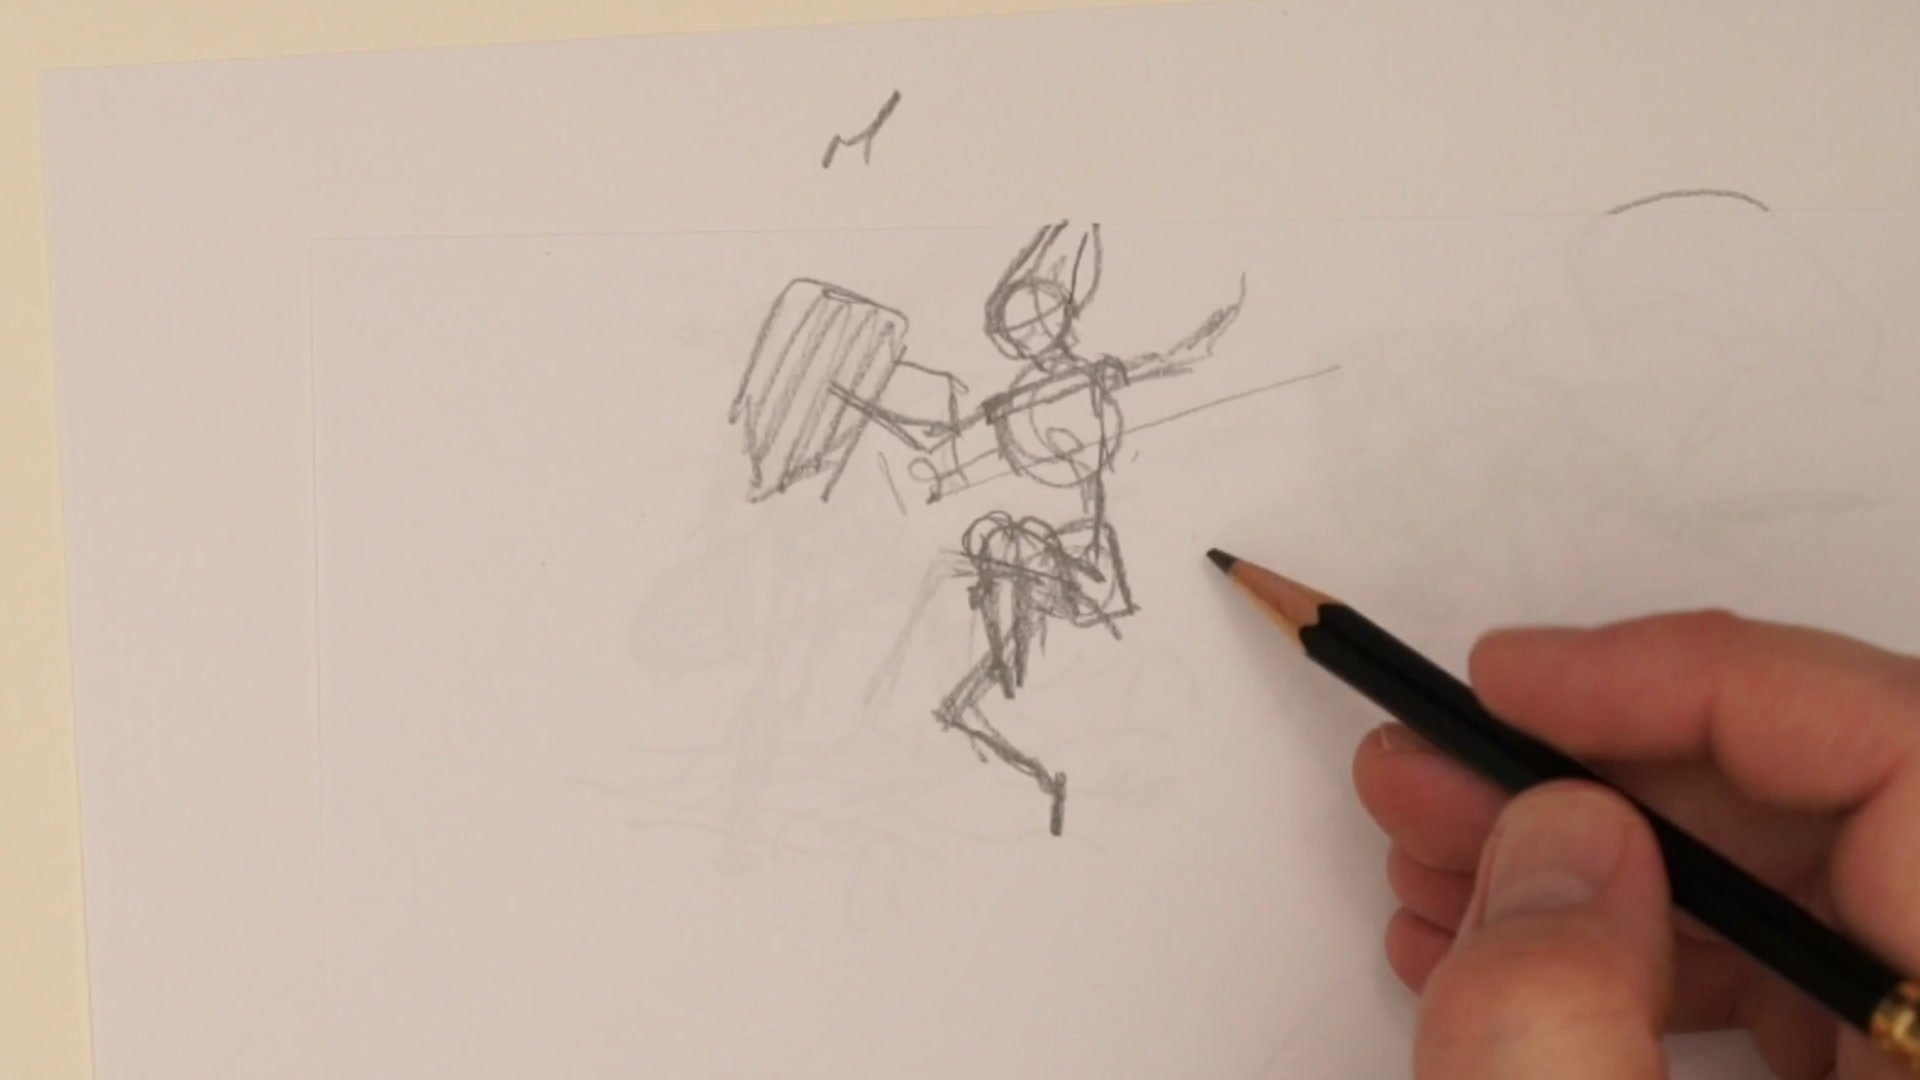
Before committing to a final drawing, the process starts with small thumbnail sketches to explore different pose ideas. The goal is finding something that feels dynamic without pushing so far into extreme foreshortening that the drawing becomes unmanageable. A key consideration is the rotational difference between the torso and pelvis, which is what creates the feeling of kinetic energy and movement in a pose.
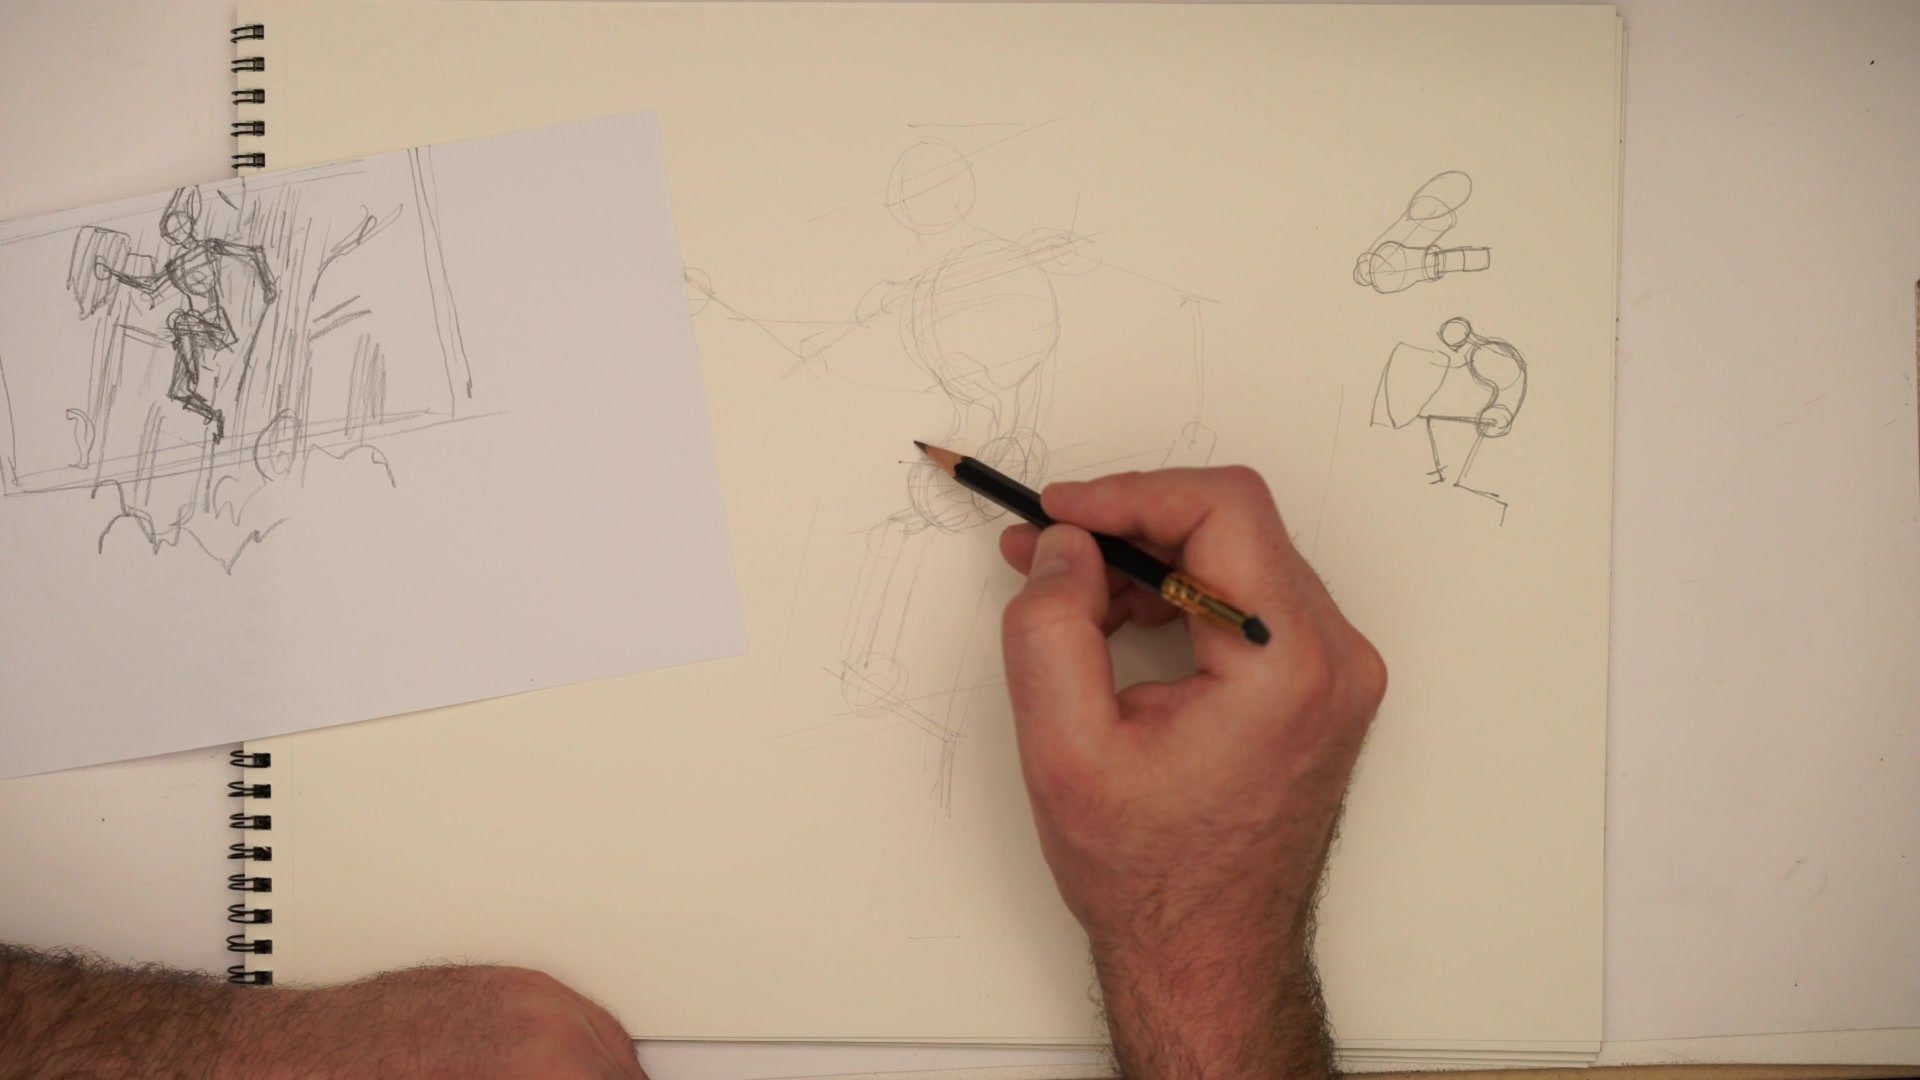
Several thumbnail options are explored, from straightforward action stances to more dynamic jumping poses. The final choice lands on Link jumping down from a height, which provides a moderately dynamic angle while keeping the foreshortening at a level where construction principles remain visible and teachable. Managing tangents, where costume elements or limbs overlap awkwardly, is a constant consideration even at this early stage.
Figure Construction
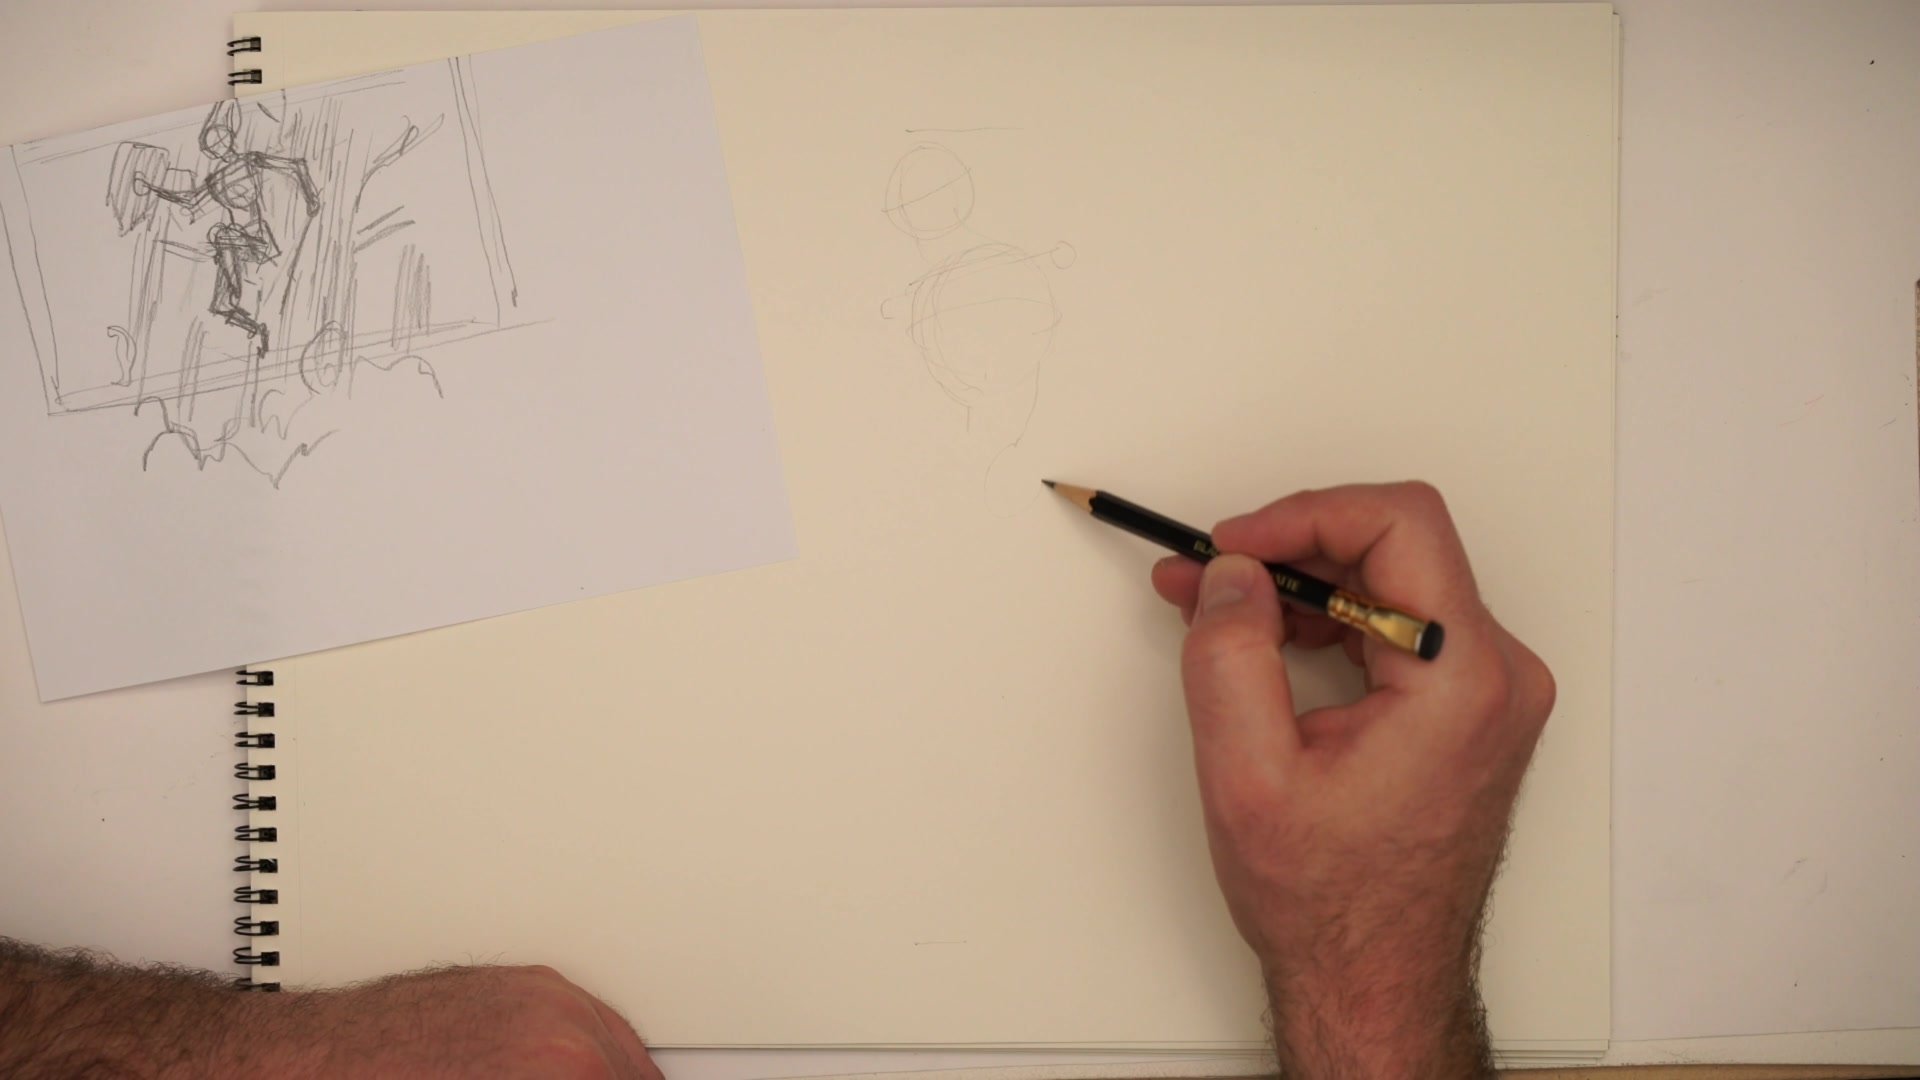
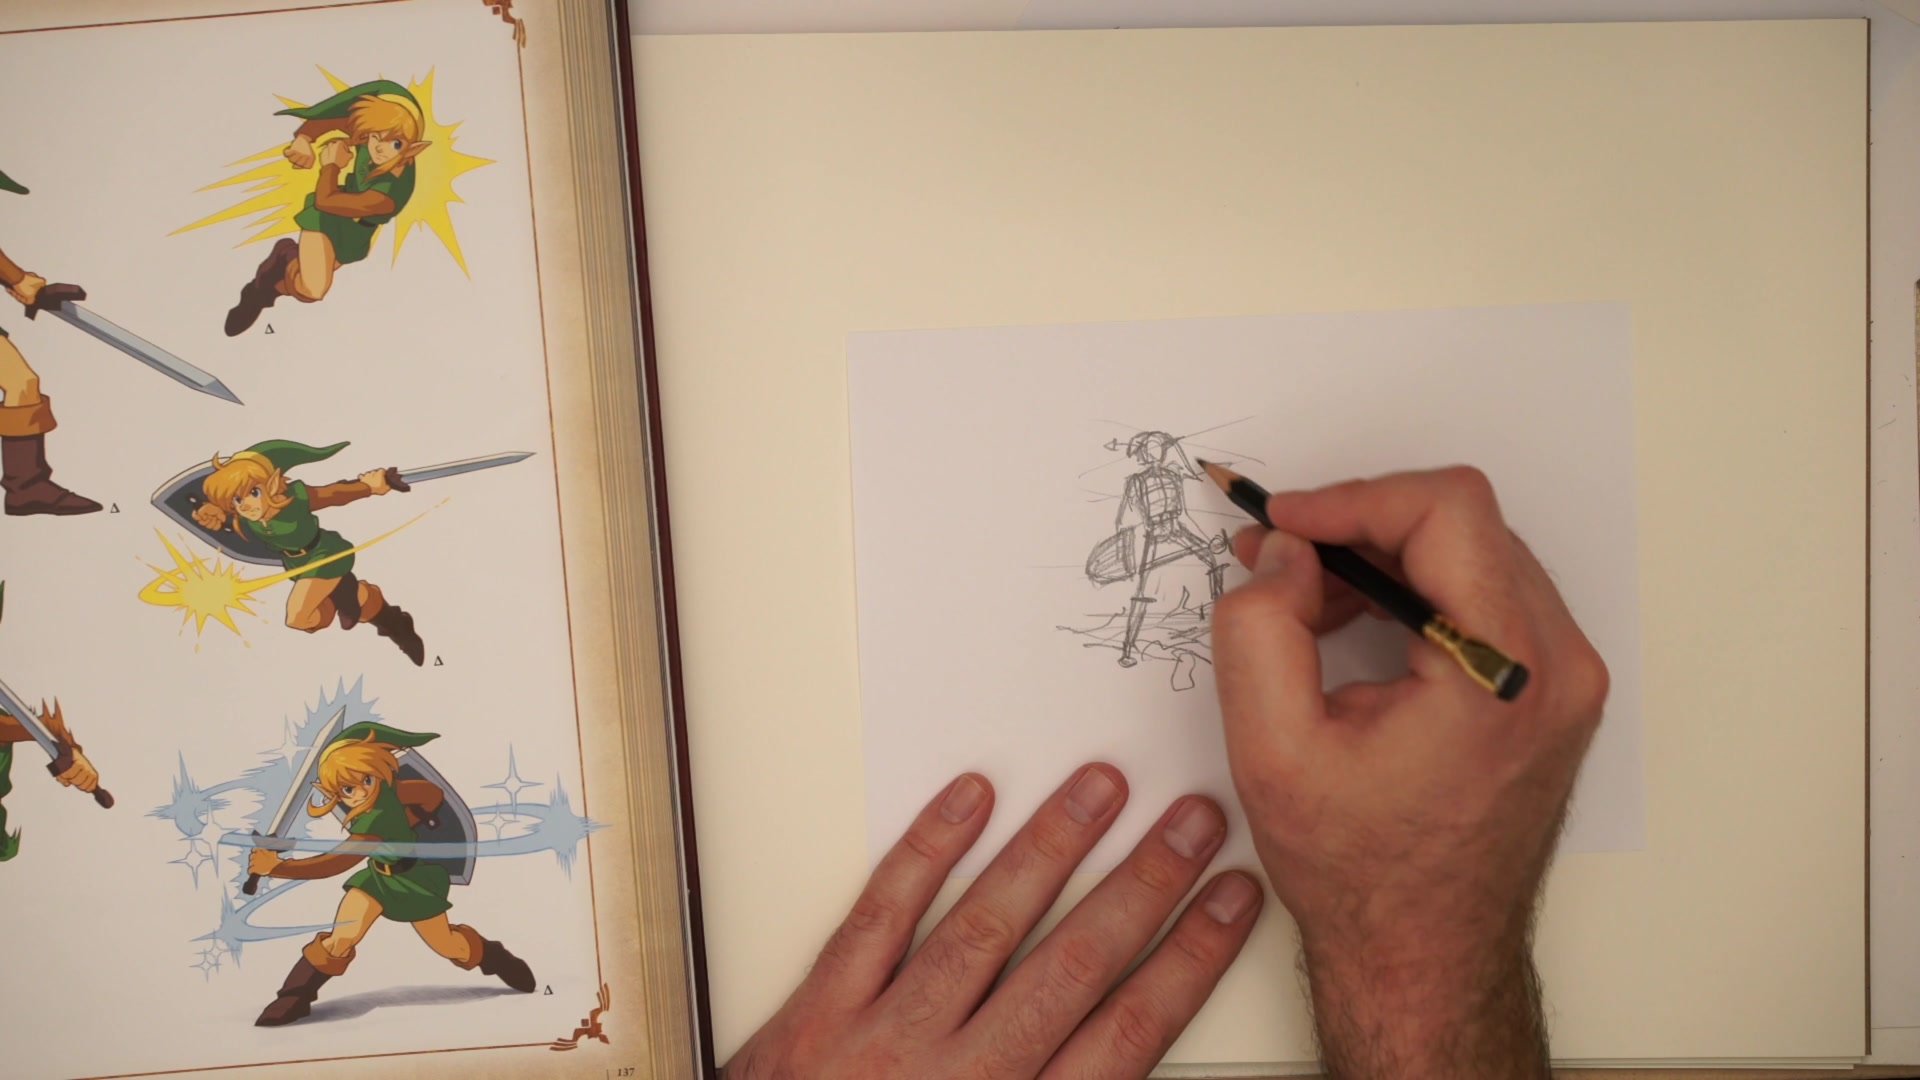
Building Structure with Cylinders
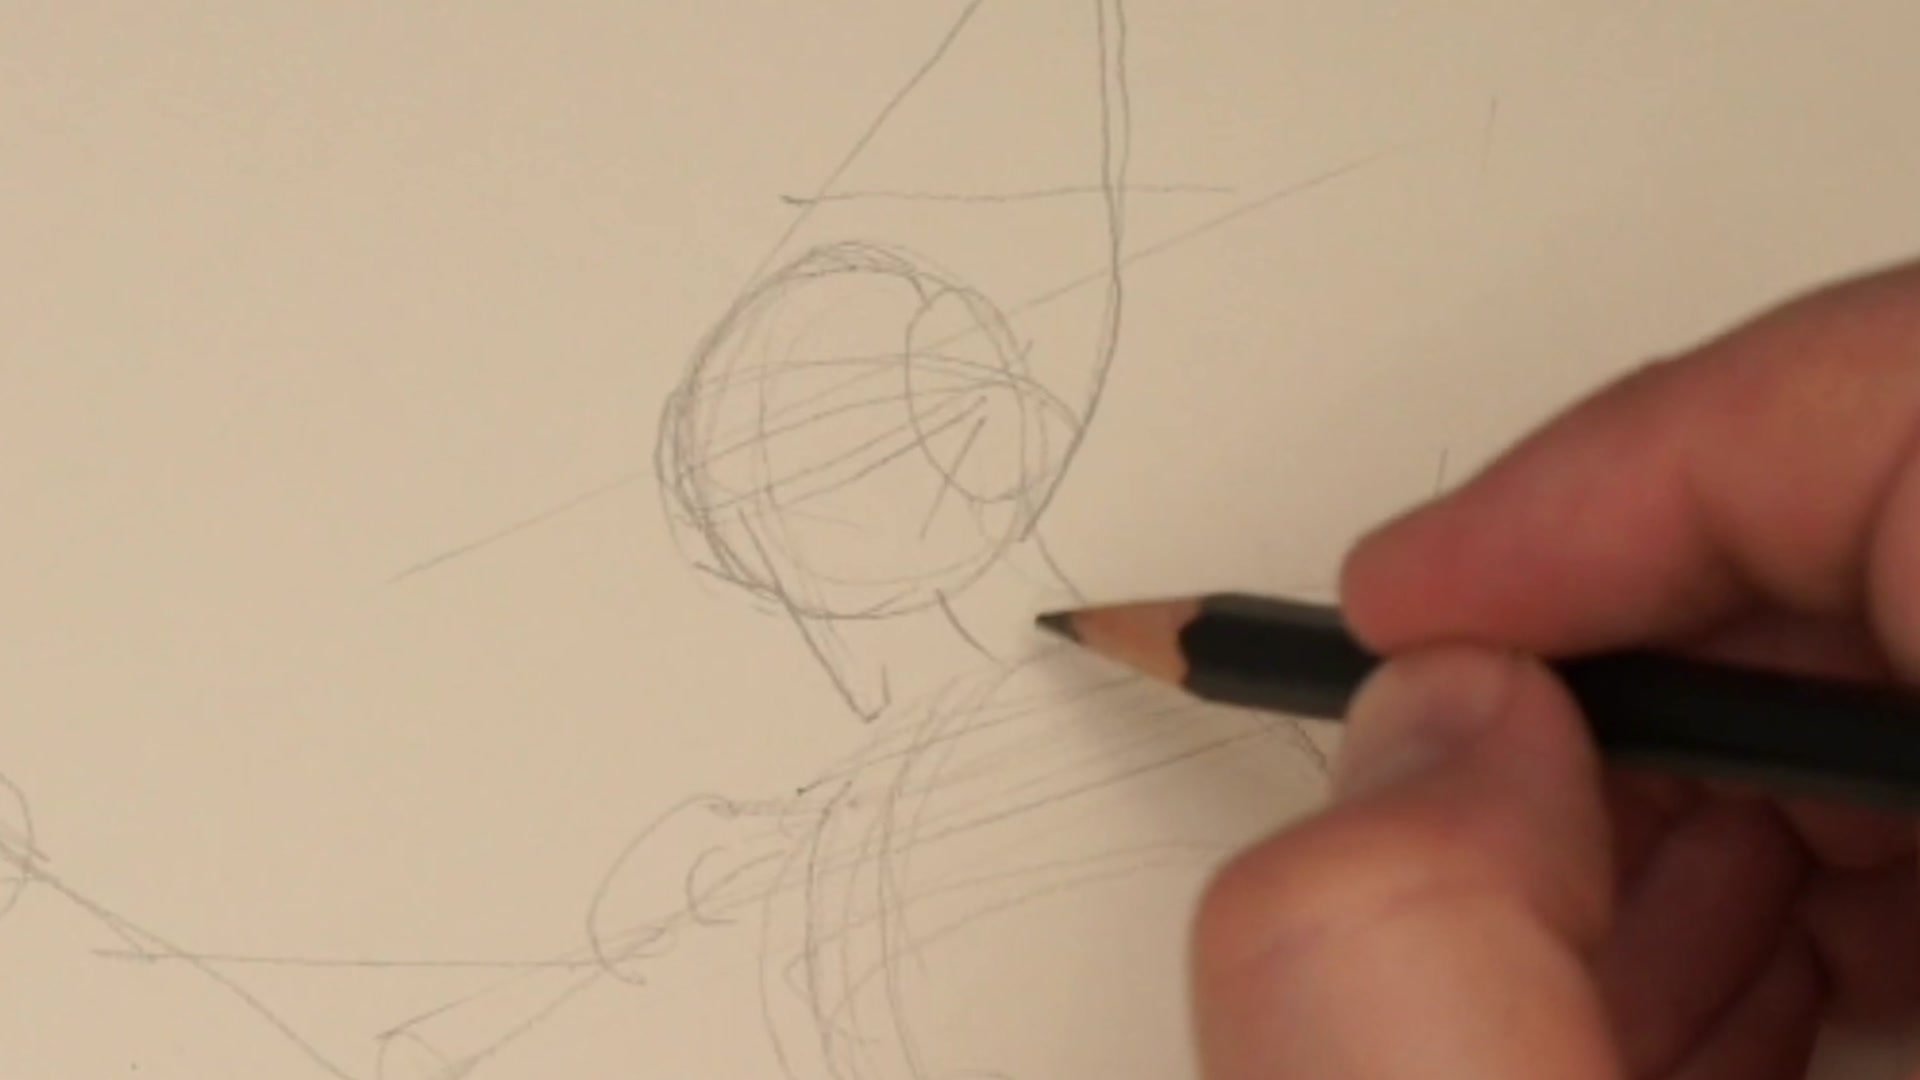
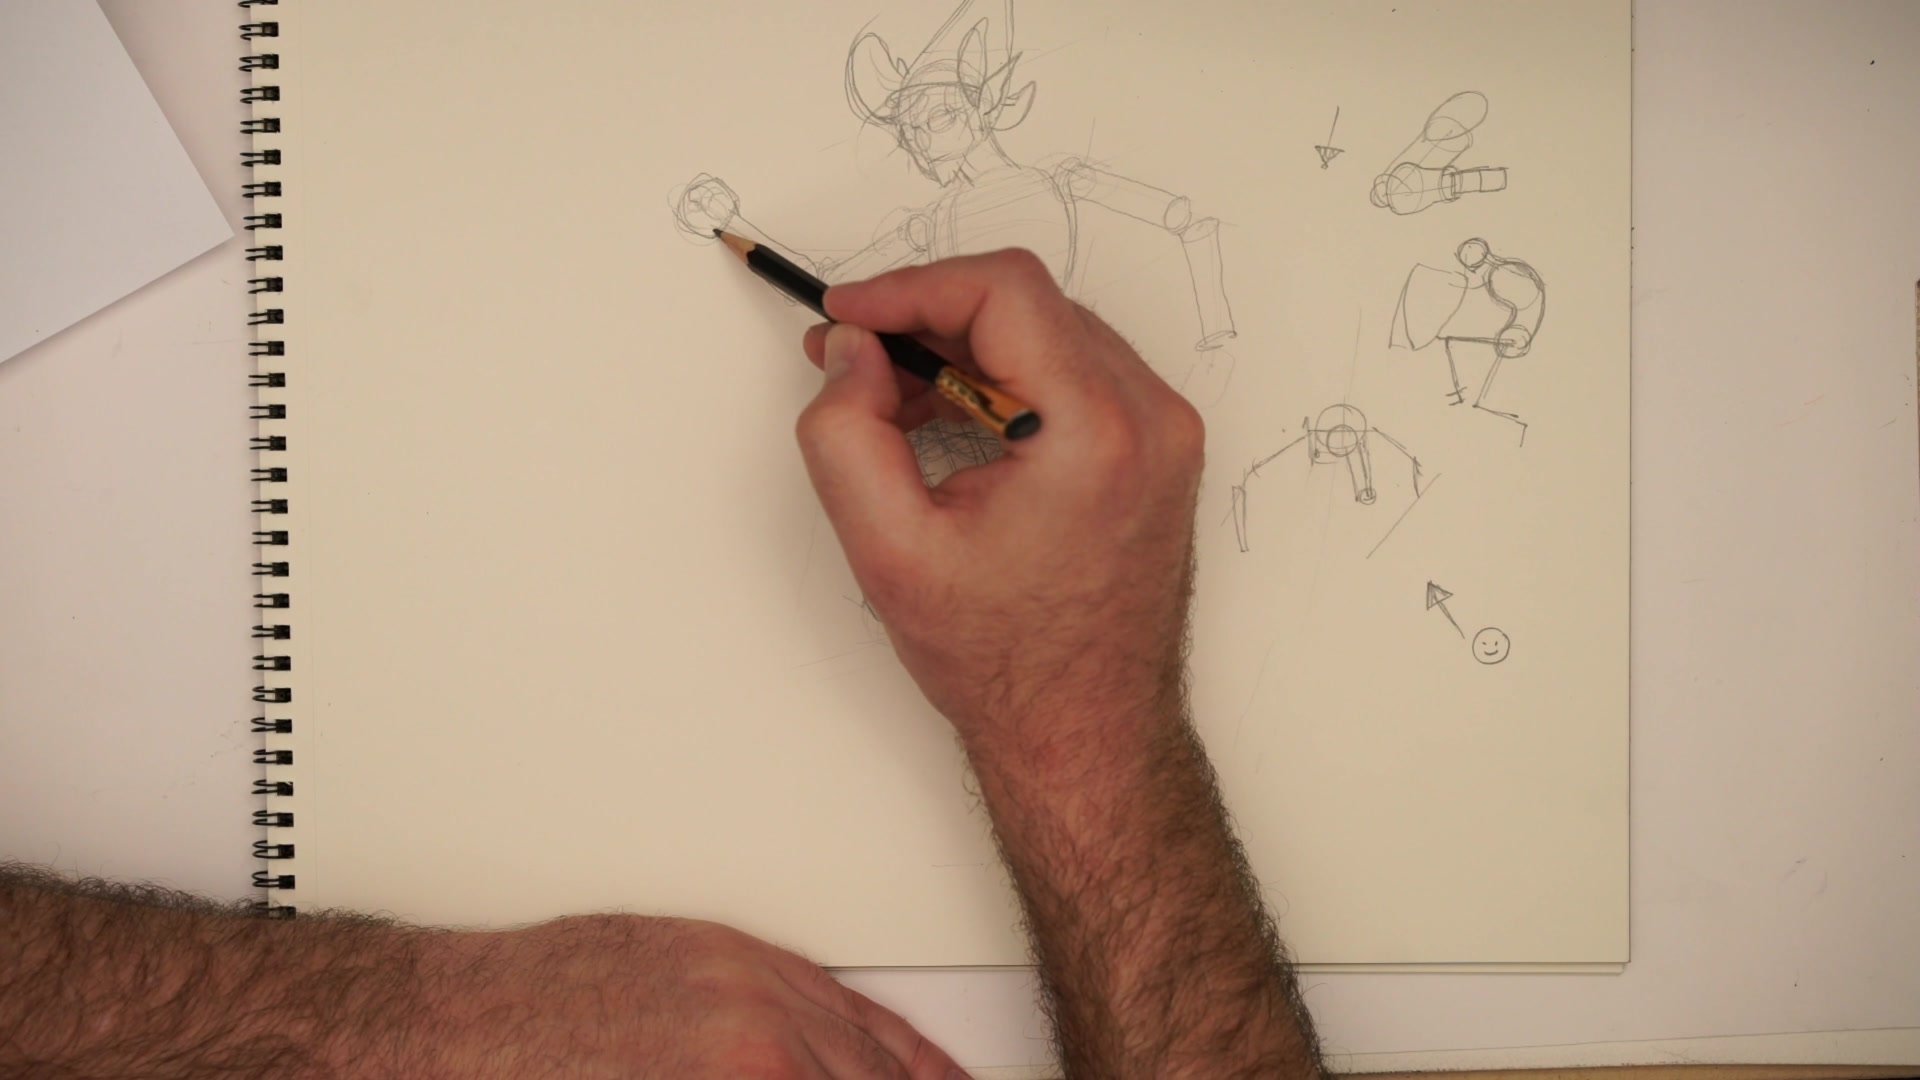
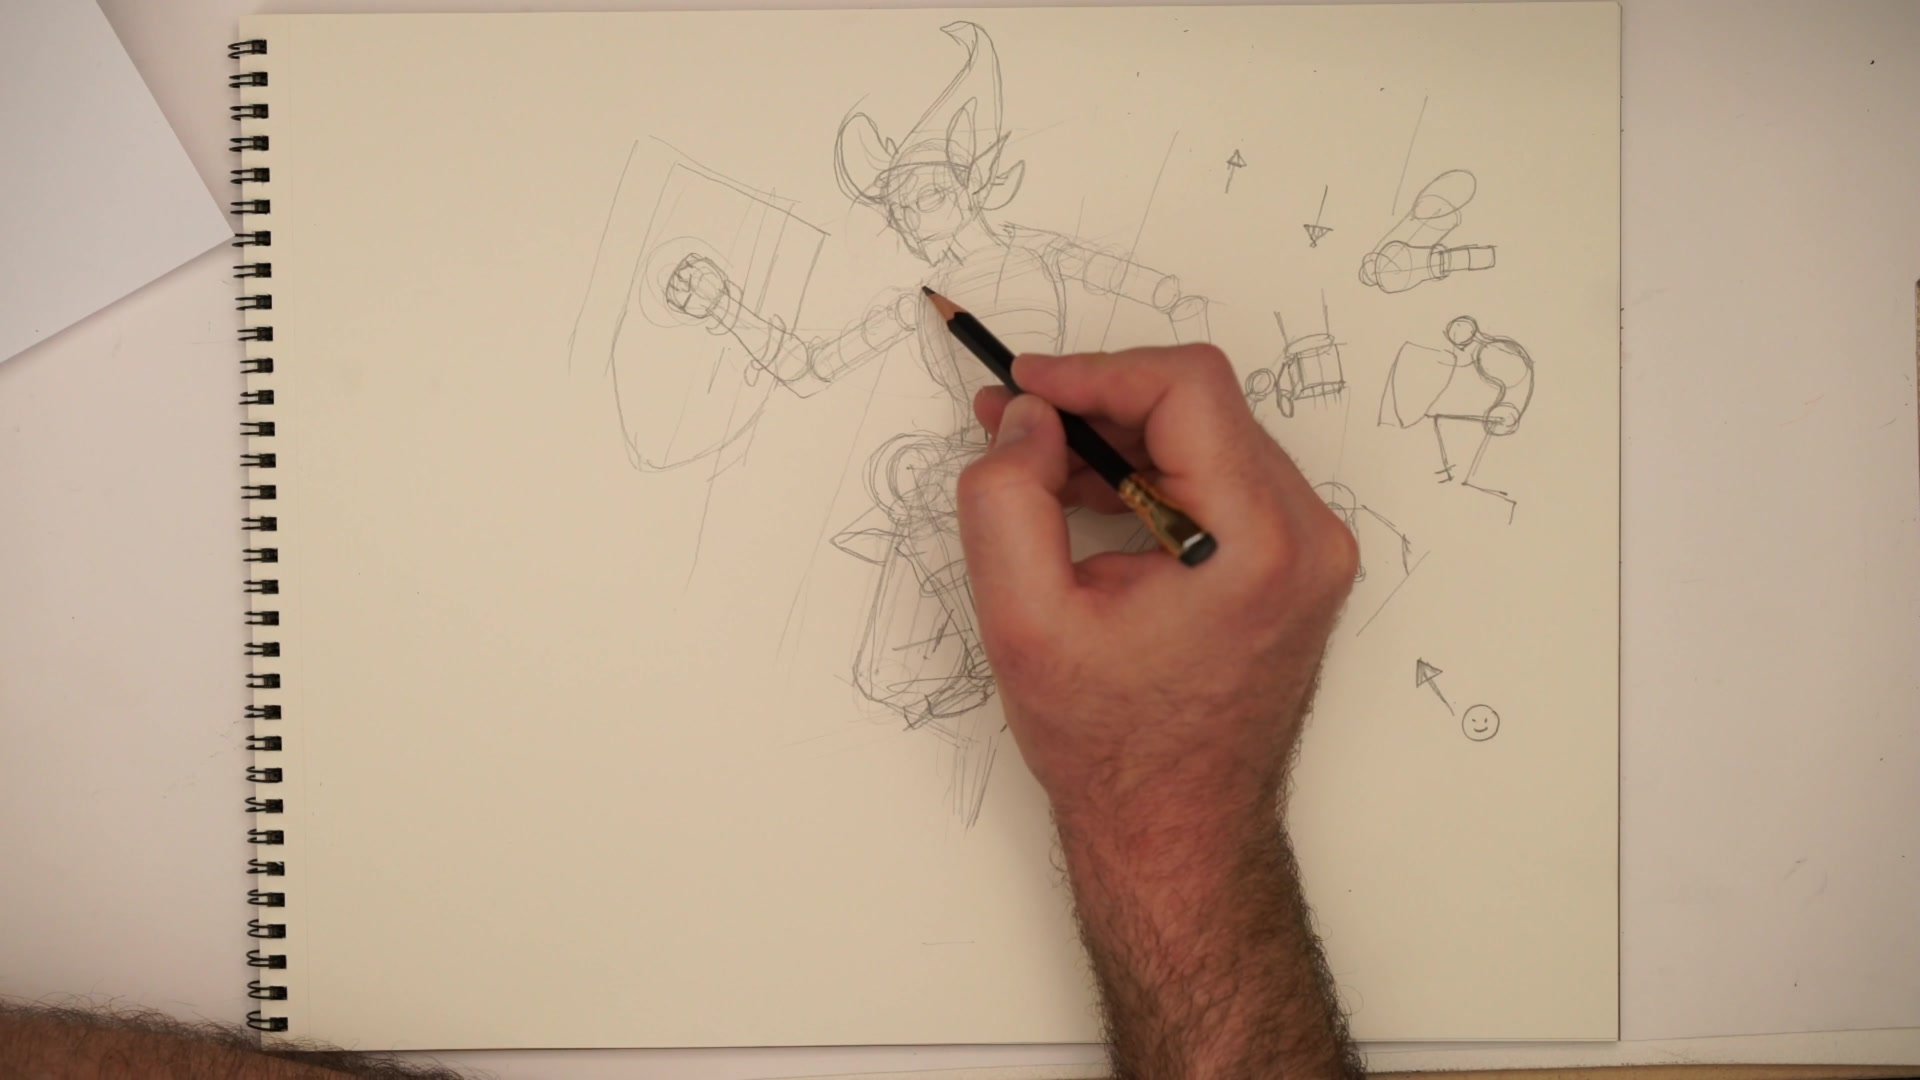
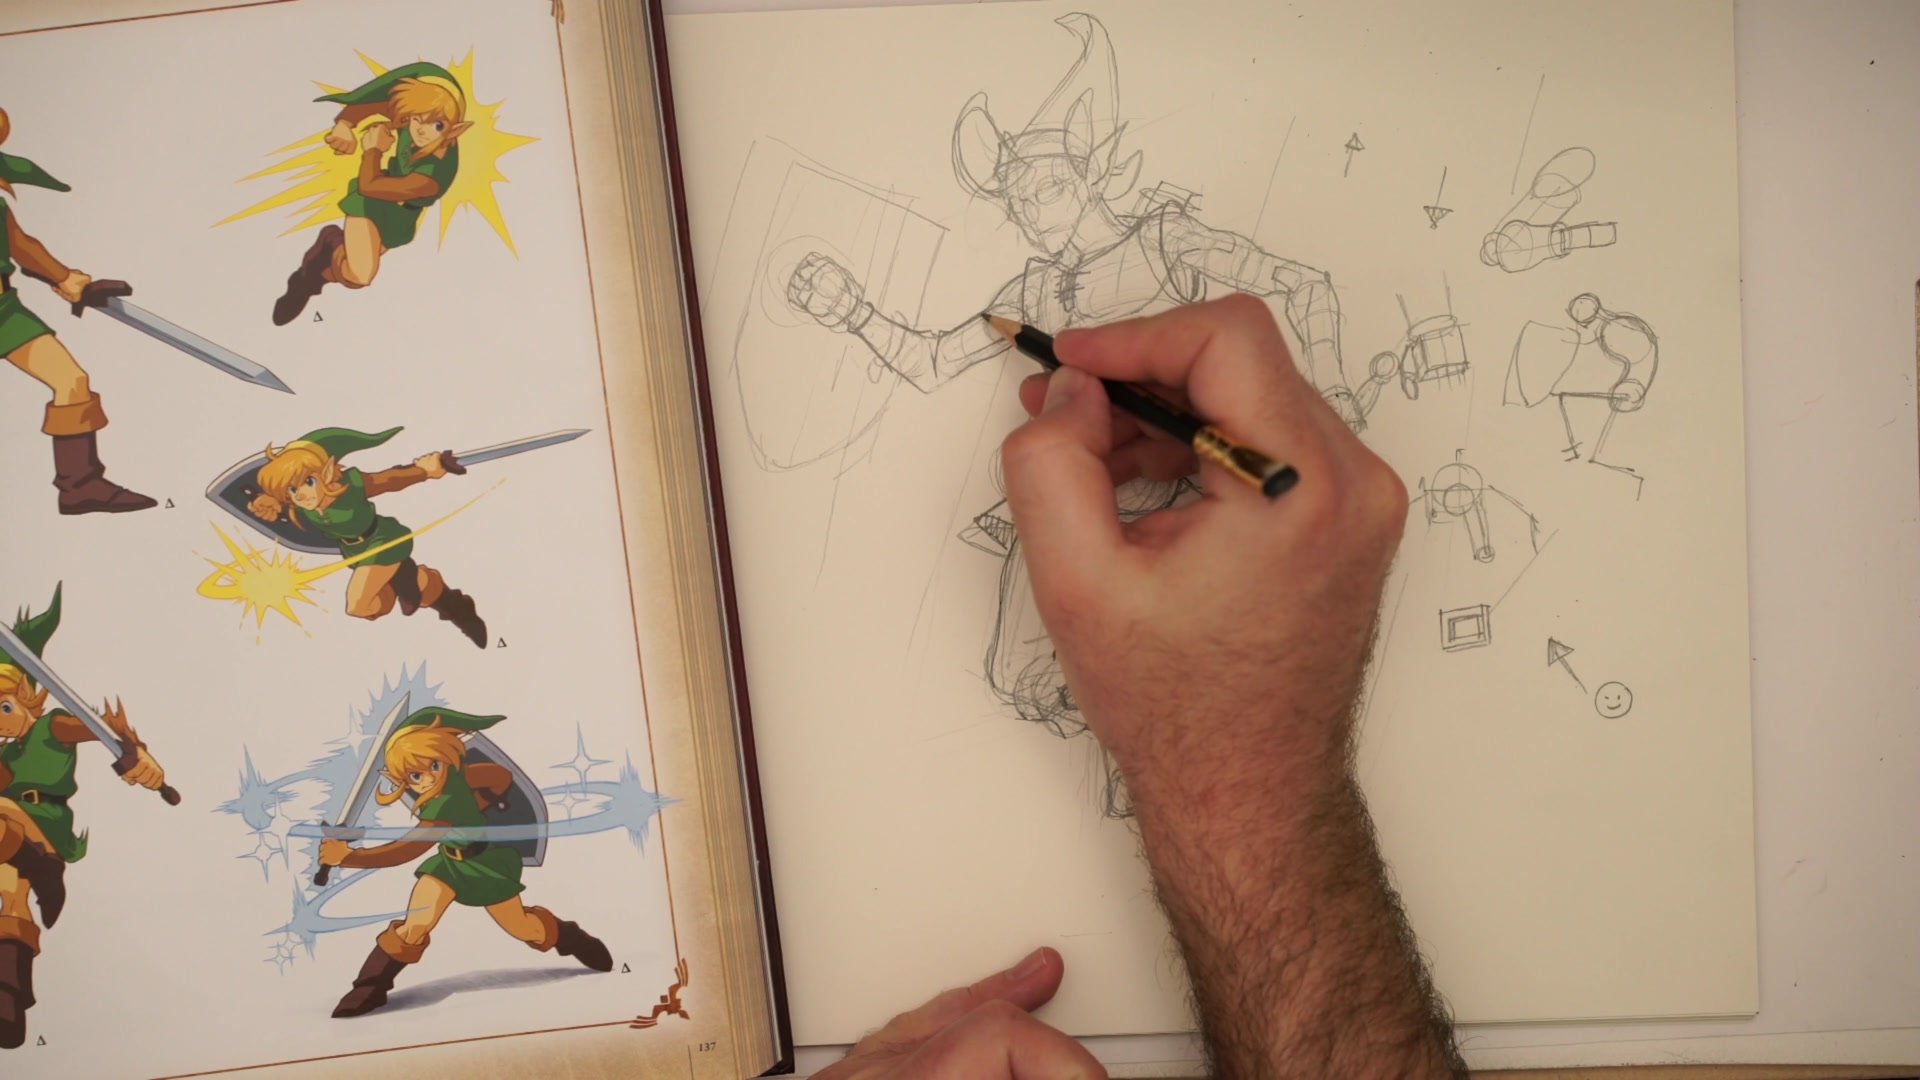
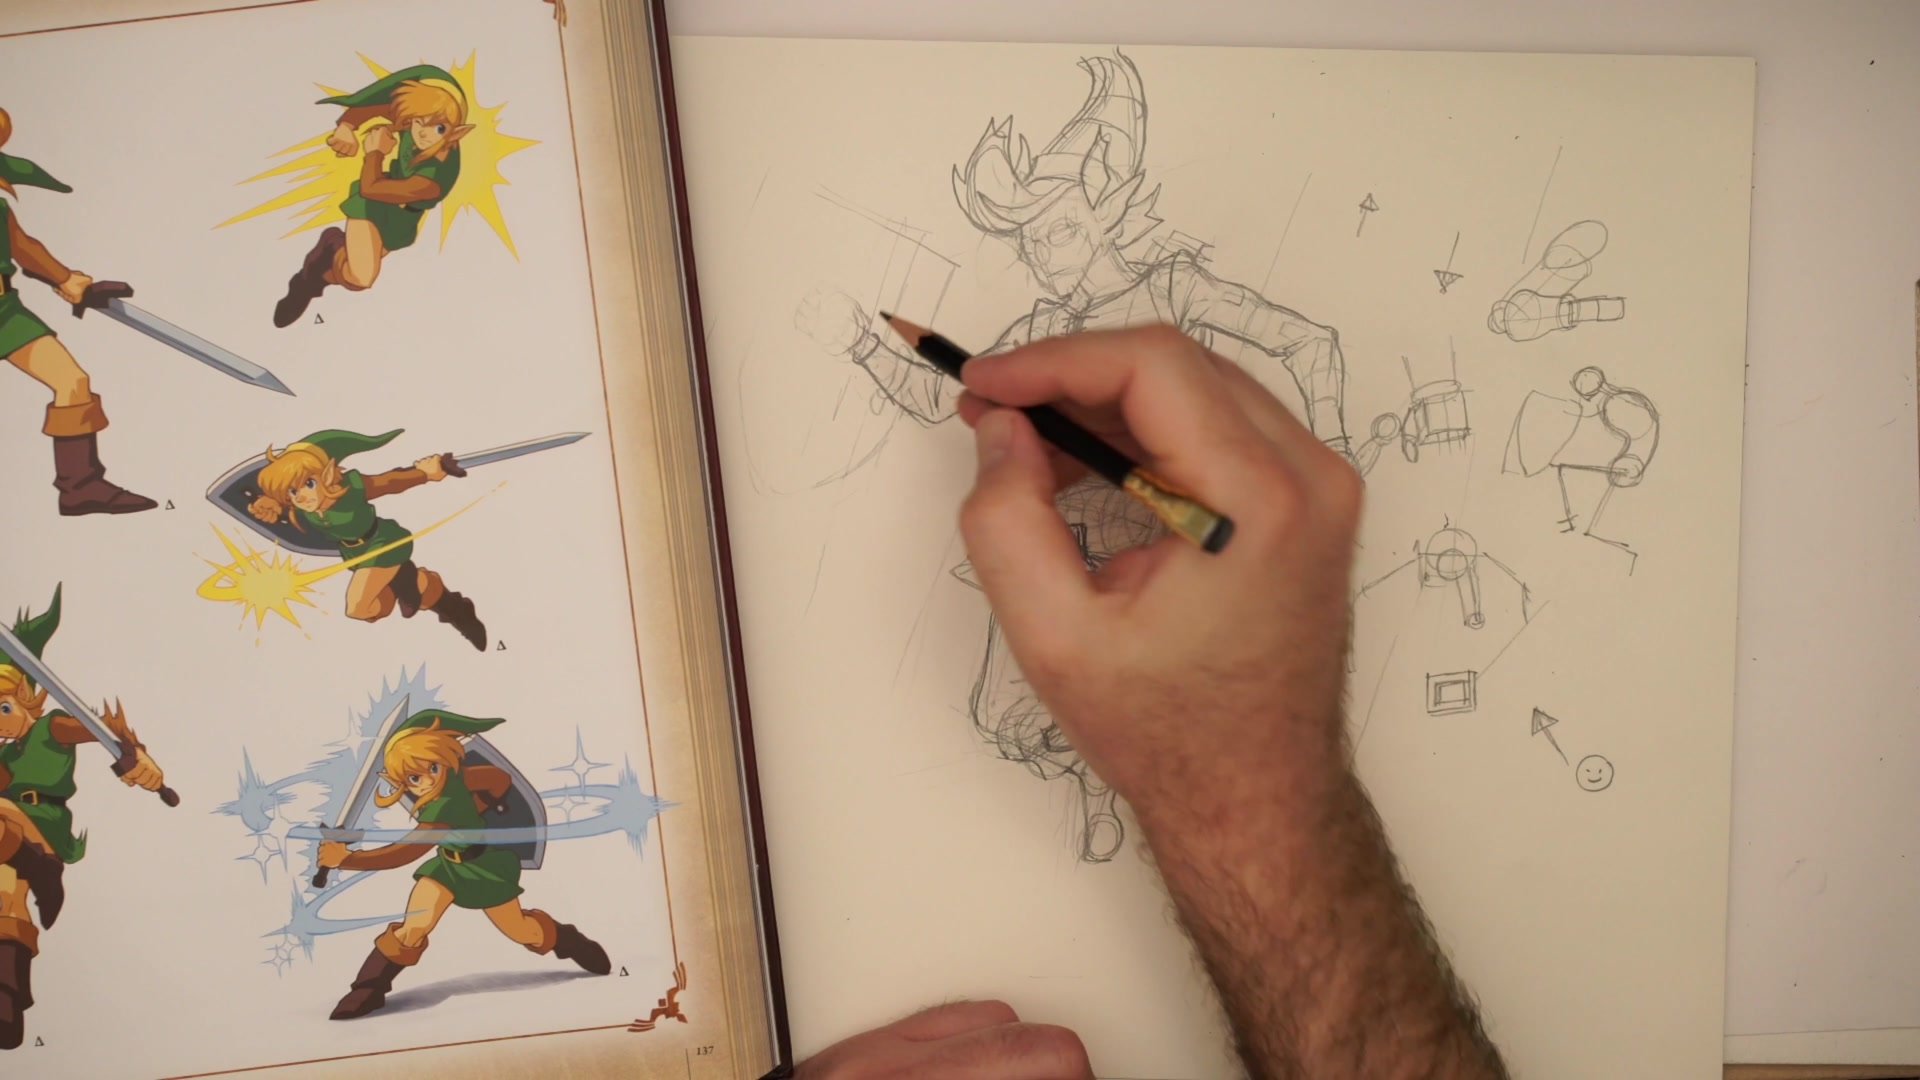
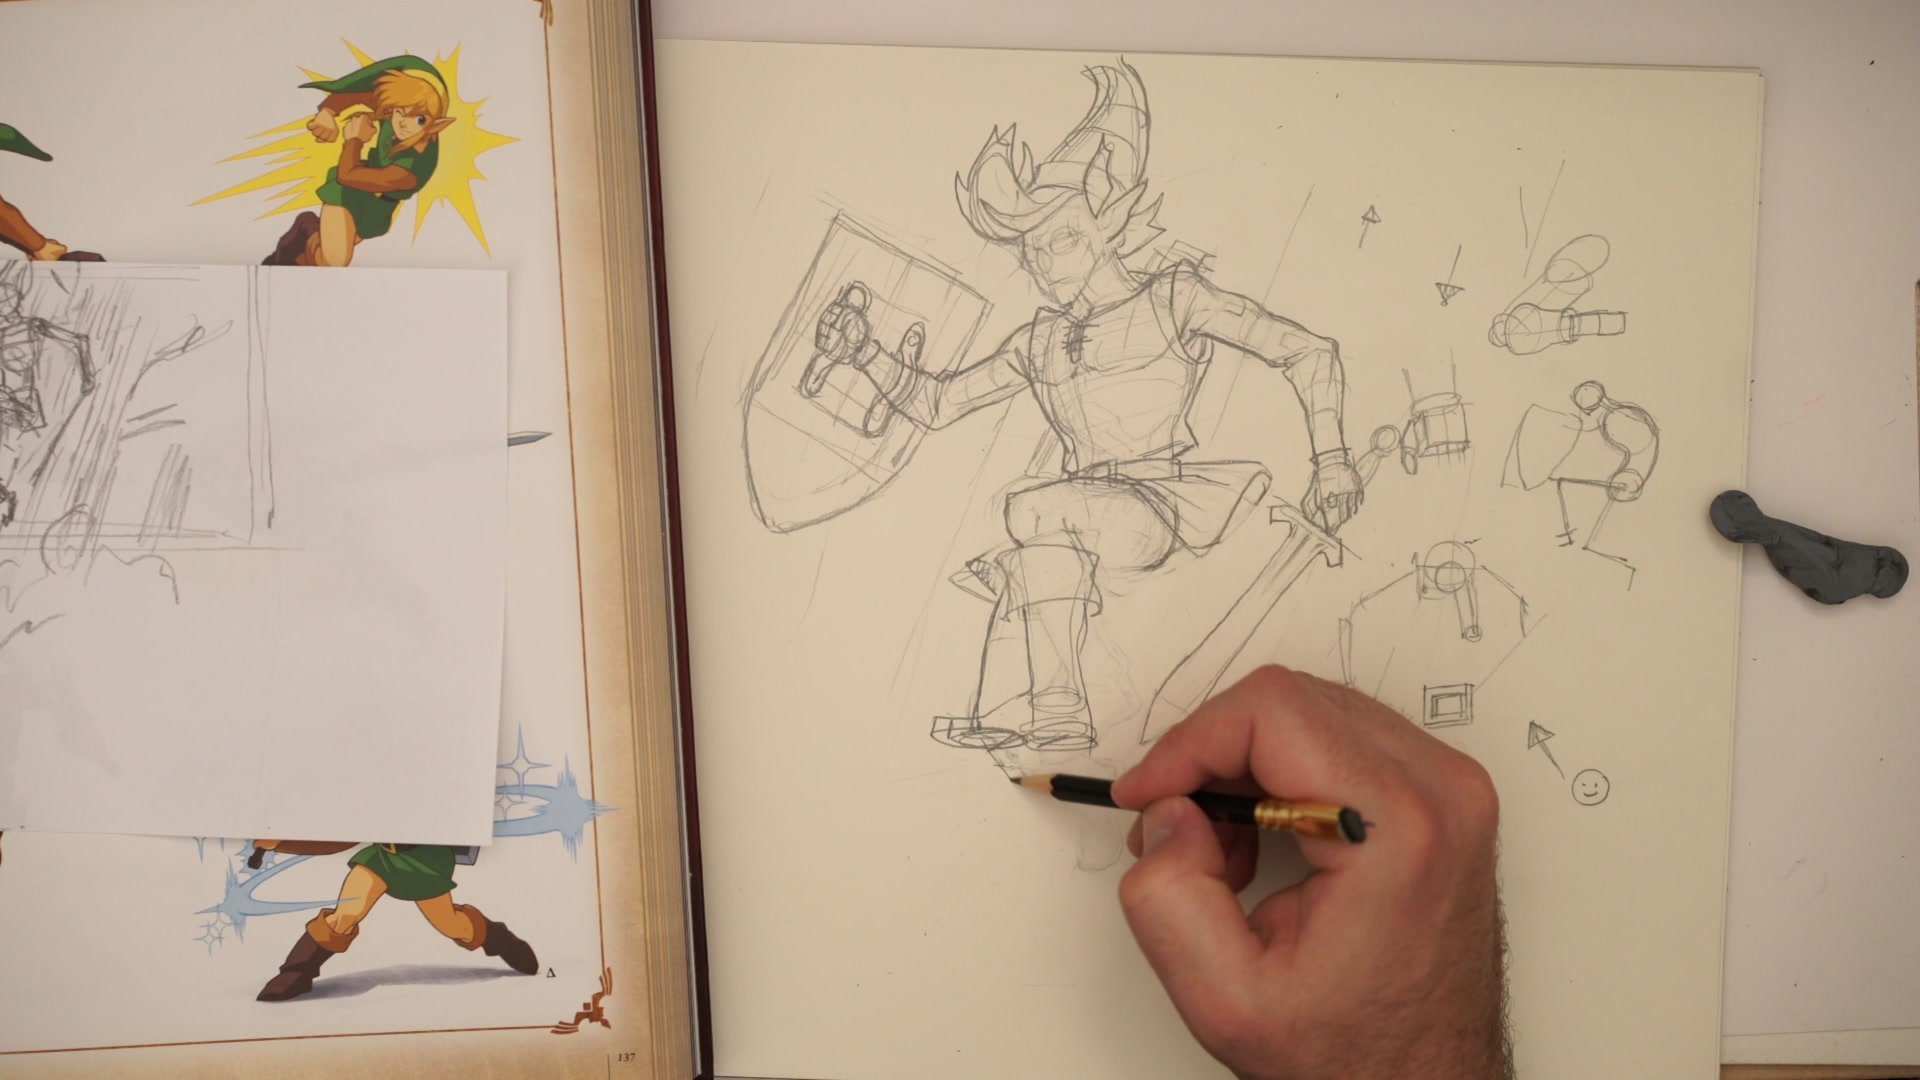
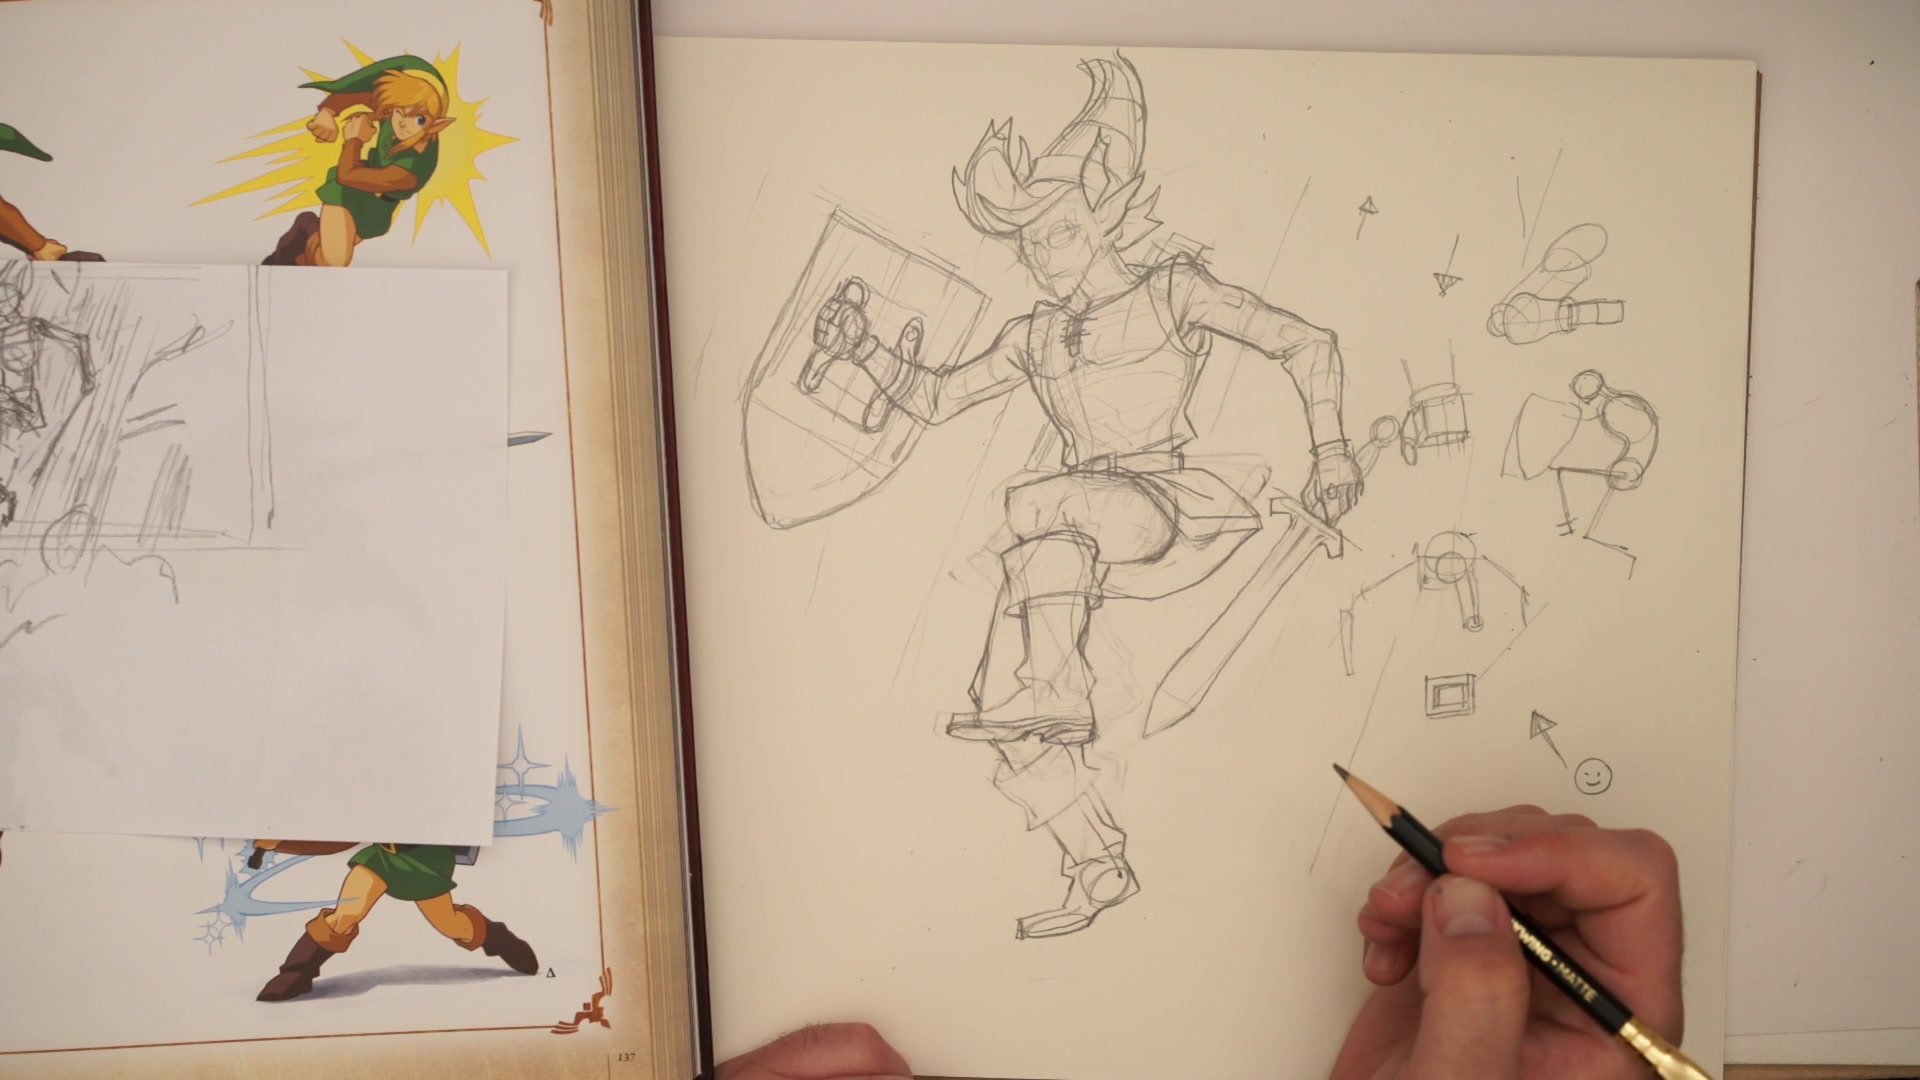
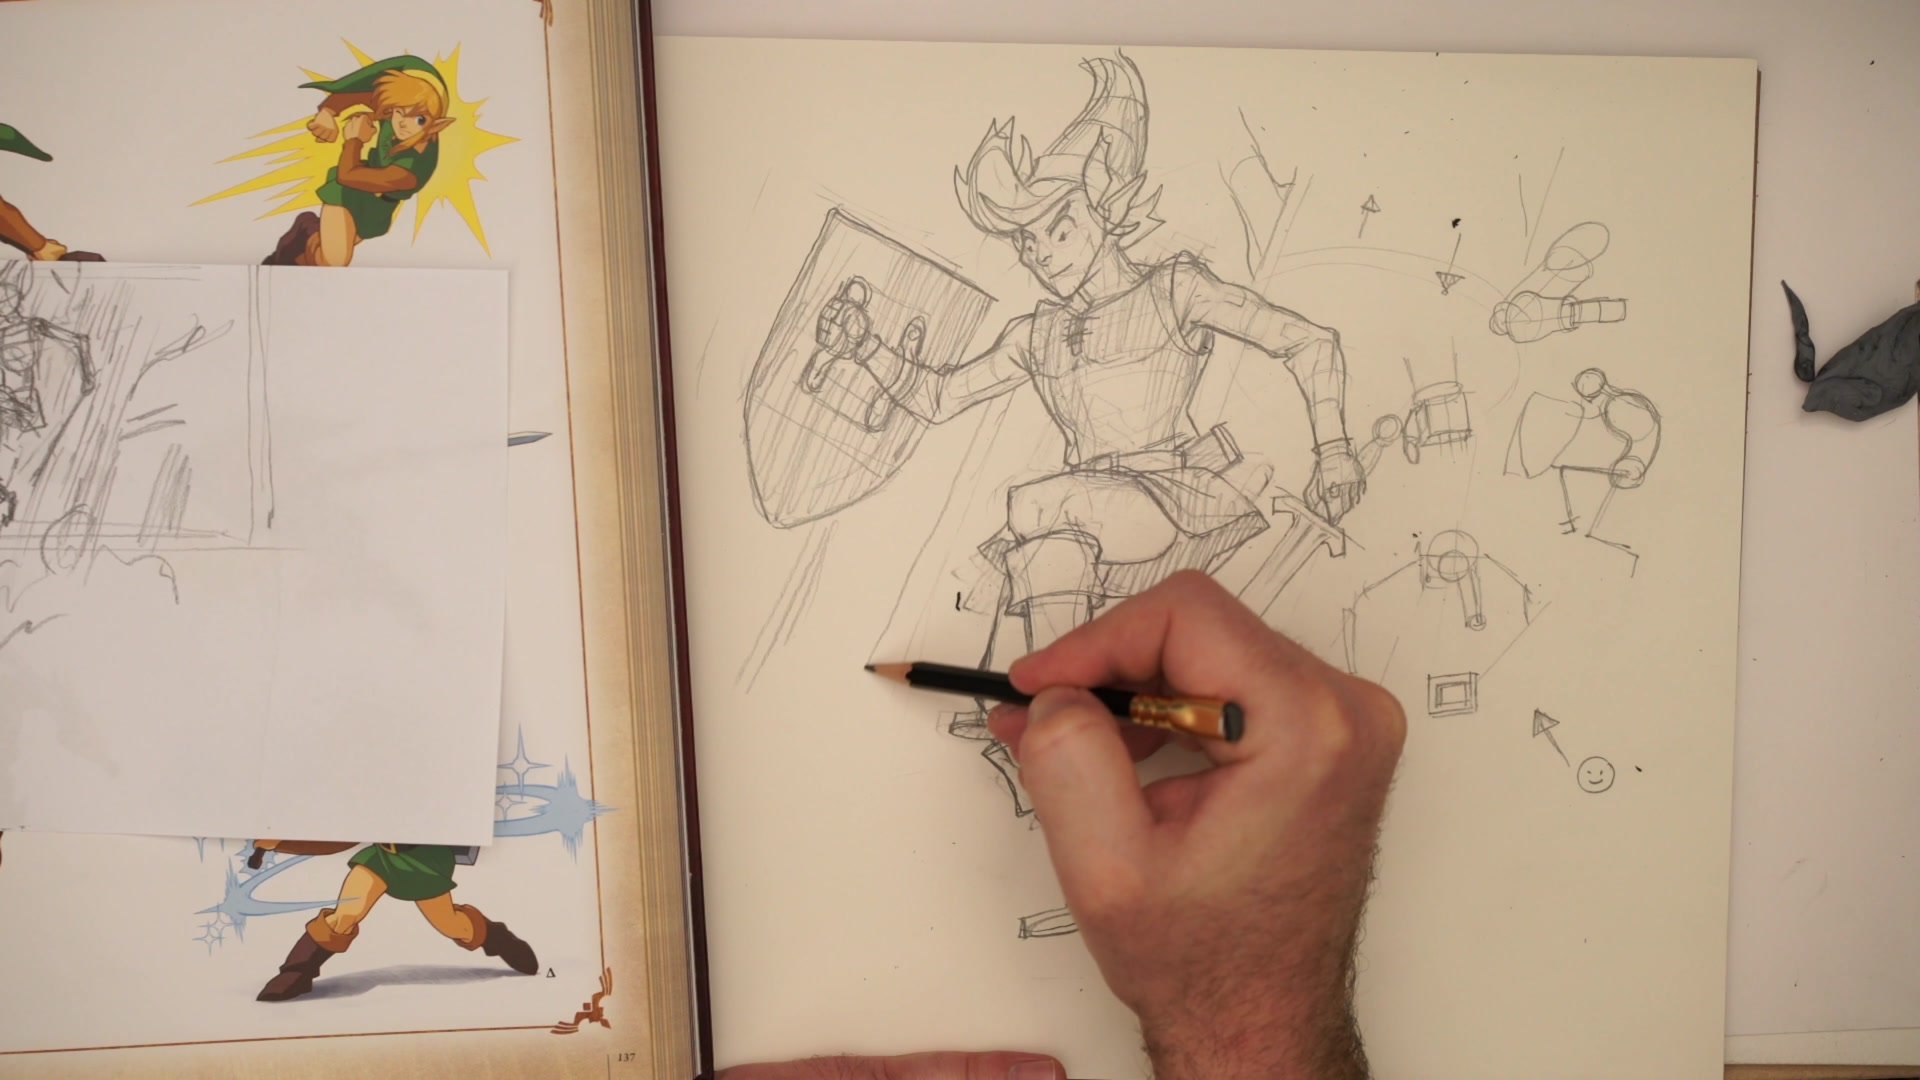
Once the thumbnail is transferred to the main drawing surface, the construction phase begins with a basic stick figure skeleton. The proportions need to account for the low camera angle, meaning the feet and lower body should appear larger than the head. This is where understanding cylinder direction becomes critical. Every limb has a directional cylinder, coming toward the viewer or going away, and understanding that direction determines how secondary forms like muscles and clothing wrap around the structure.
The key insight is that drawing the cylinder itself is less important than understanding what direction the form is heading. That mental model controls how everything else gets drawn on top of it, from deltoids and pectorals to the way Link's tunic drapes over the belt. Center lines on the torso and face establish where the viewer is looking from, which keeps all the secondary detail consistent with the angle.
Costume and Detail

Design Appreciation and Costume Detail
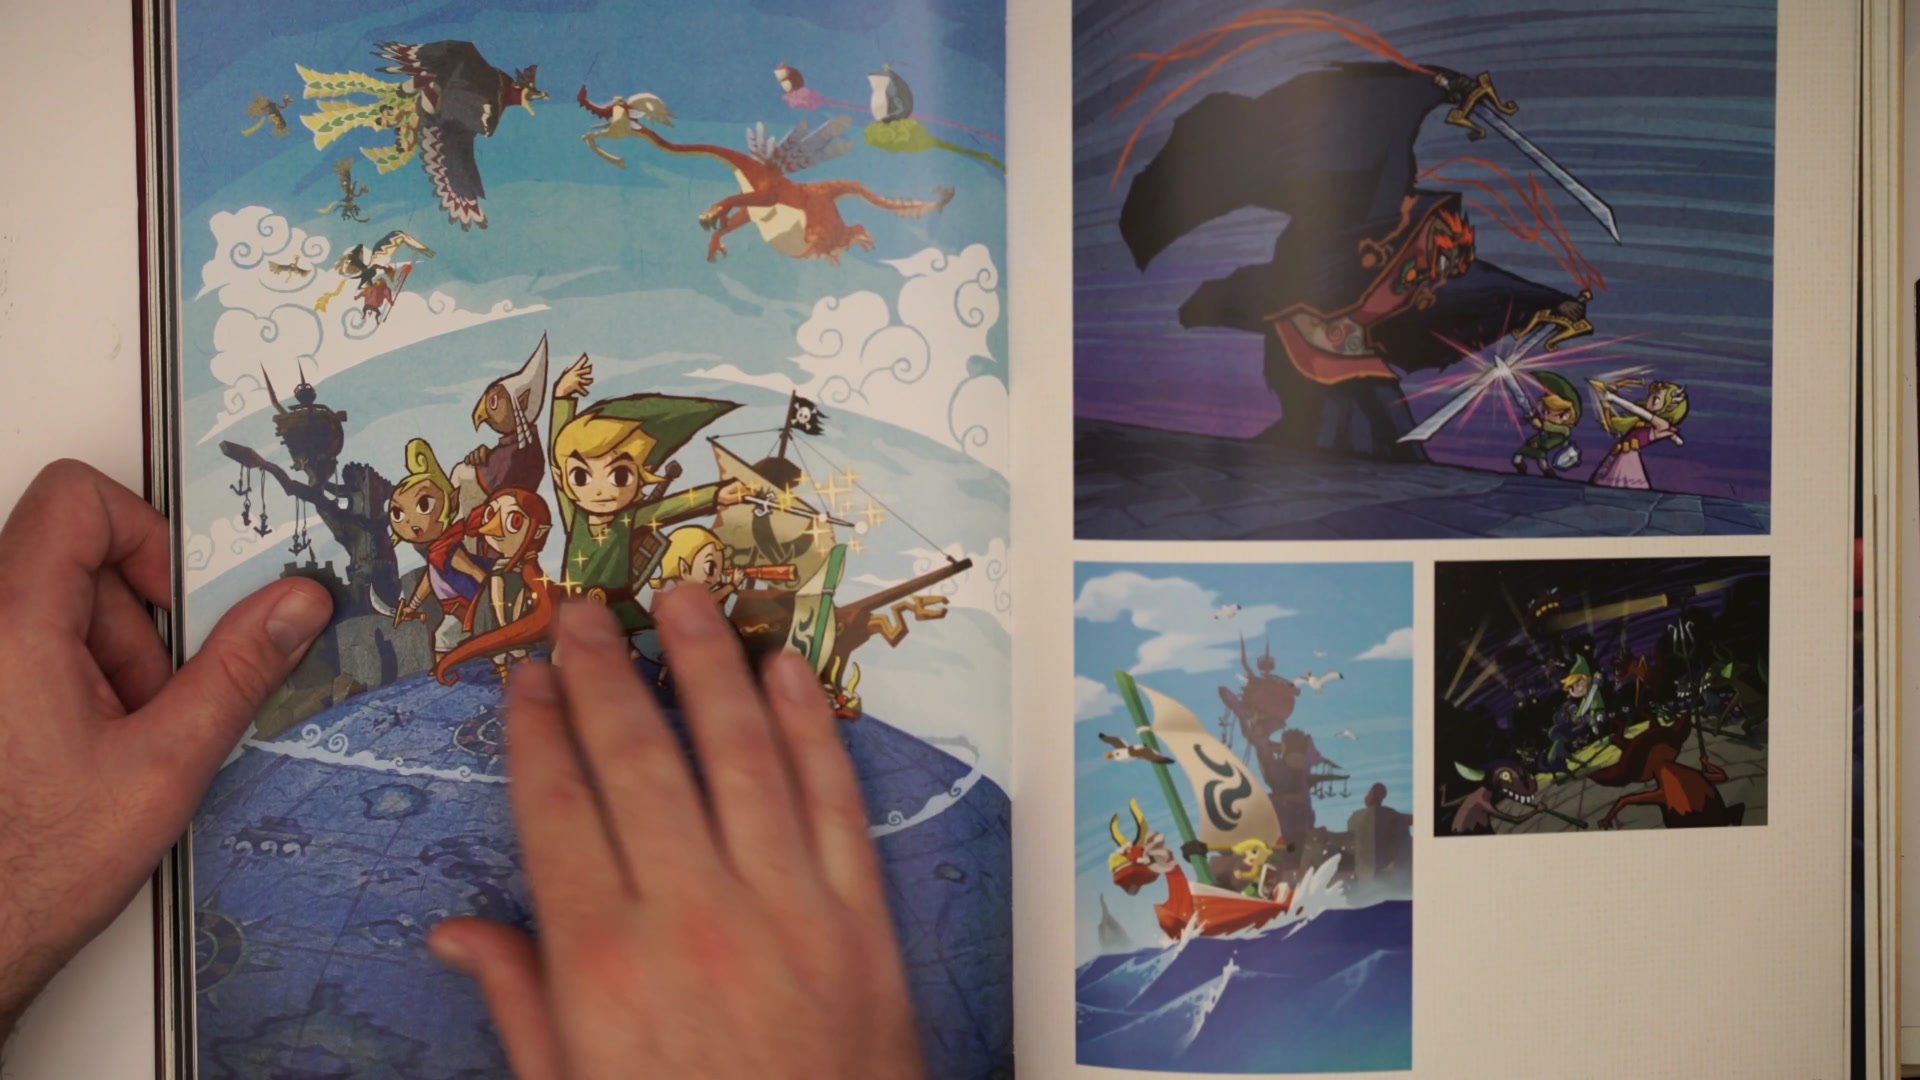
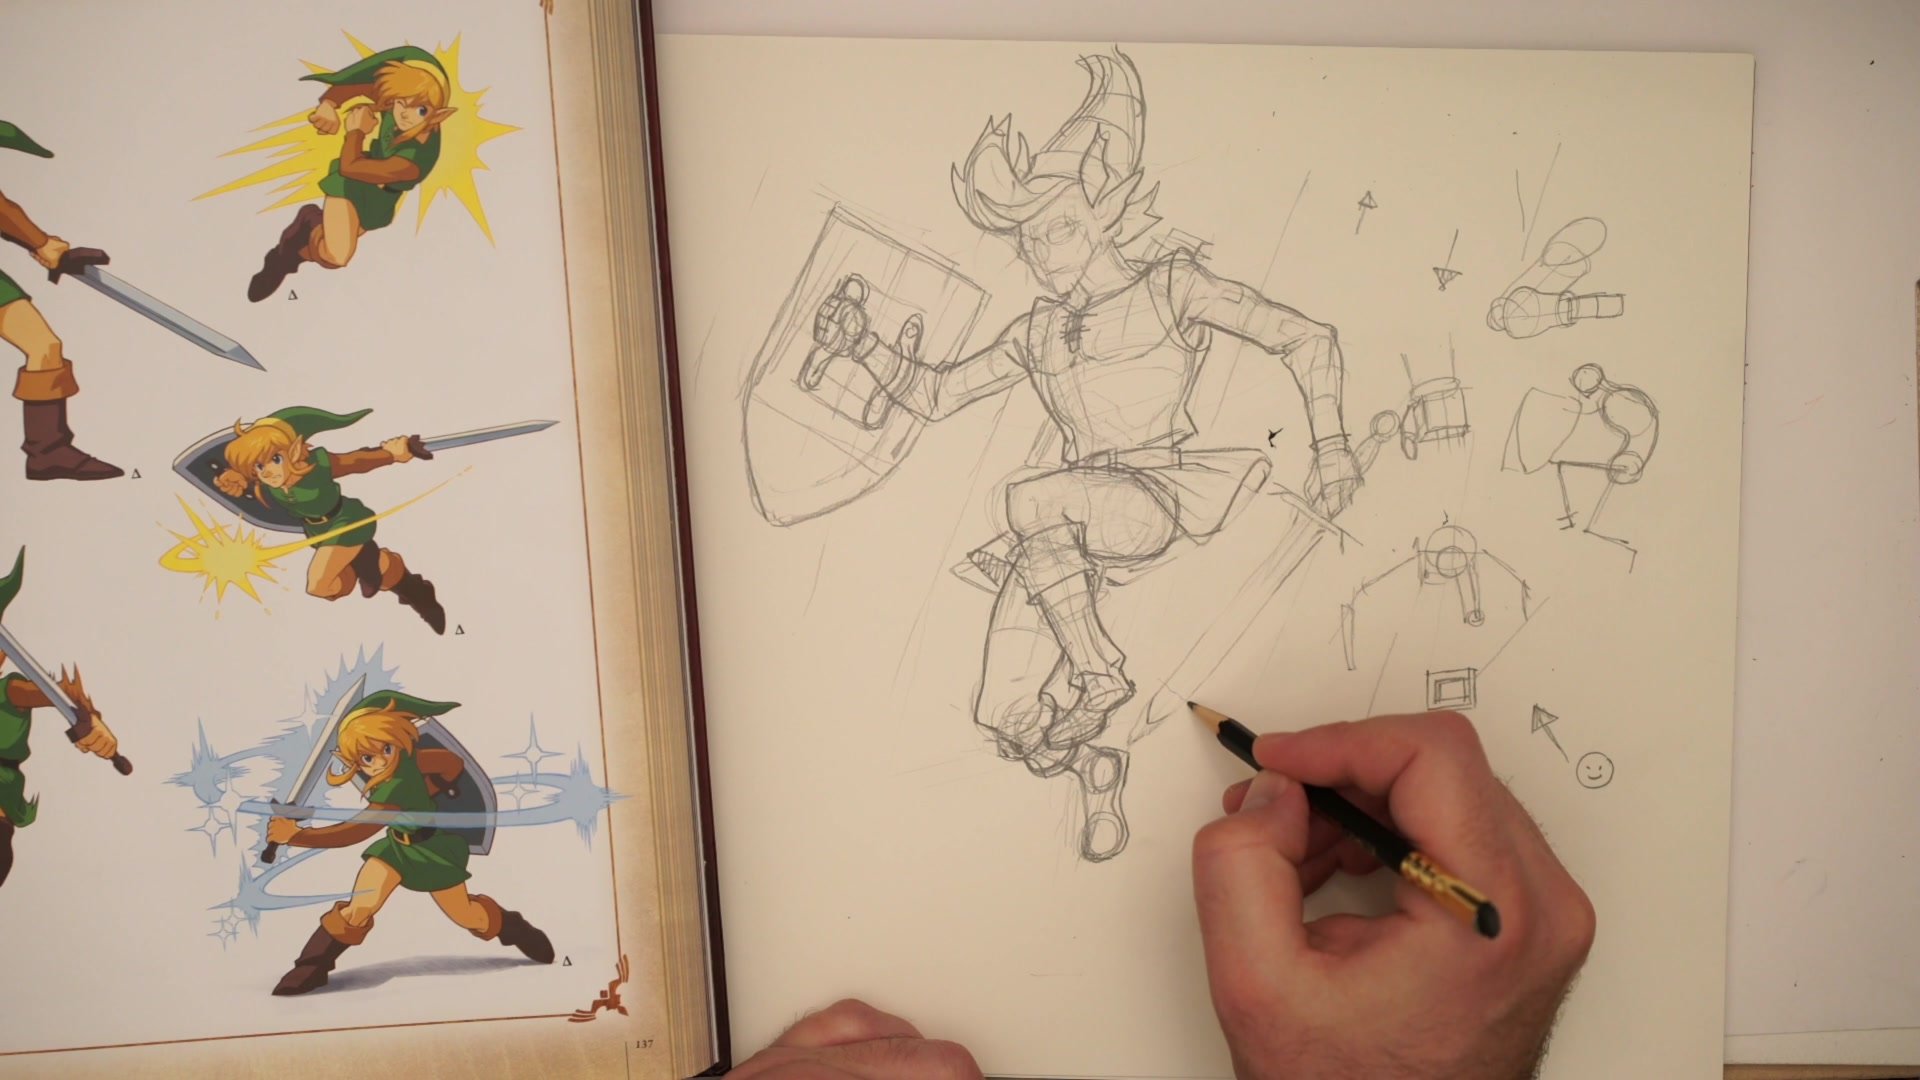
Classic Link's design is a masterclass in simple, iconic character design. The combination of colors, shape language, and silhouette has survived decades of reinterpretation because the underlying design is so strong. The chunky boots, the distinctive hat, and the shield-and-sword paraphernalia all contribute to an immediately recognizable silhouette, and understanding why these design choices work is as valuable as learning to draw them.
Adding costume details over the construction requires thinking about shape design. The boots, belt buckle, and tunic all need to feel like they belong on a three-dimensional form viewed from this specific angle. Practical decisions come up constantly, like how the tunic falls when the character is jumping, where the sword and scabbard sit on the body, and how the shield straps line up with the arm construction. Getting these alignment details right prevents the drawing from feeling disorganized even when the sketch lines are loose.
Refinement and Shading
Key Principles
Thumbnail First: Exploring multiple pose options in small sketches before committing prevents investing time in poses that do not work. Dynamics come from rotational difference between torso and pelvis.
Cylinder Direction Over Drawing: Understanding whether a limb is coming toward or going away from the viewer matters more than drawing the cylinder. That mental model controls all secondary form and clothing.
Design Drives Construction: Studying the character's design, especially shape language and silhouette, makes costume details easier to integrate over the structural construction.
Manage Tangents Early: Checking for awkward overlaps between limbs, weapons, and costume elements at every stage prevents problems that become harder to fix as the drawing progresses.
Practice This
Pick a Simple Character: Choose a character with a recognizable but simple costume design. Classic video game or animated characters with clean silhouettes work best.
Thumbnail Three Poses: Draw three small thumbnail sketches exploring different action angles. Focus on getting rotational difference between the torso and pelvis to create movement.
Build One Up: Take the strongest thumbnail and construct the full figure using skeleton, cylinders, then costume detail. Focus on understanding cylinder direction at each limb rather than drawing perfect anatomy.


