Make Digital Sketching Fun With This Easy Layer Setup
Summary
The Sepia Tone Layer Setup
Digital sketching often feels lifeless compared to working on paper. The strokes look flat, the colors get muddy when sampling from the canvas, and the whole experience lacks that gestural, dynamic quality that makes traditional sketching so satisfying. This simple sepia tone layer setup solves both problems at once, using nothing more than Overlay and Multiply blending modes with a few clipped layers.
The technique works in any digital art program that supports basic blending modes and clipping masks, including Procreate, Photoshop, Clip Studio Paint, and others. It creates a natural color separation between light sketch lines and dark final lines, similar to working with blue or red animator pencils in traditional workflows. Artists who learned this setup over a decade ago still rely on it because the results stay consistently vibrant and loose.
Layer Setup
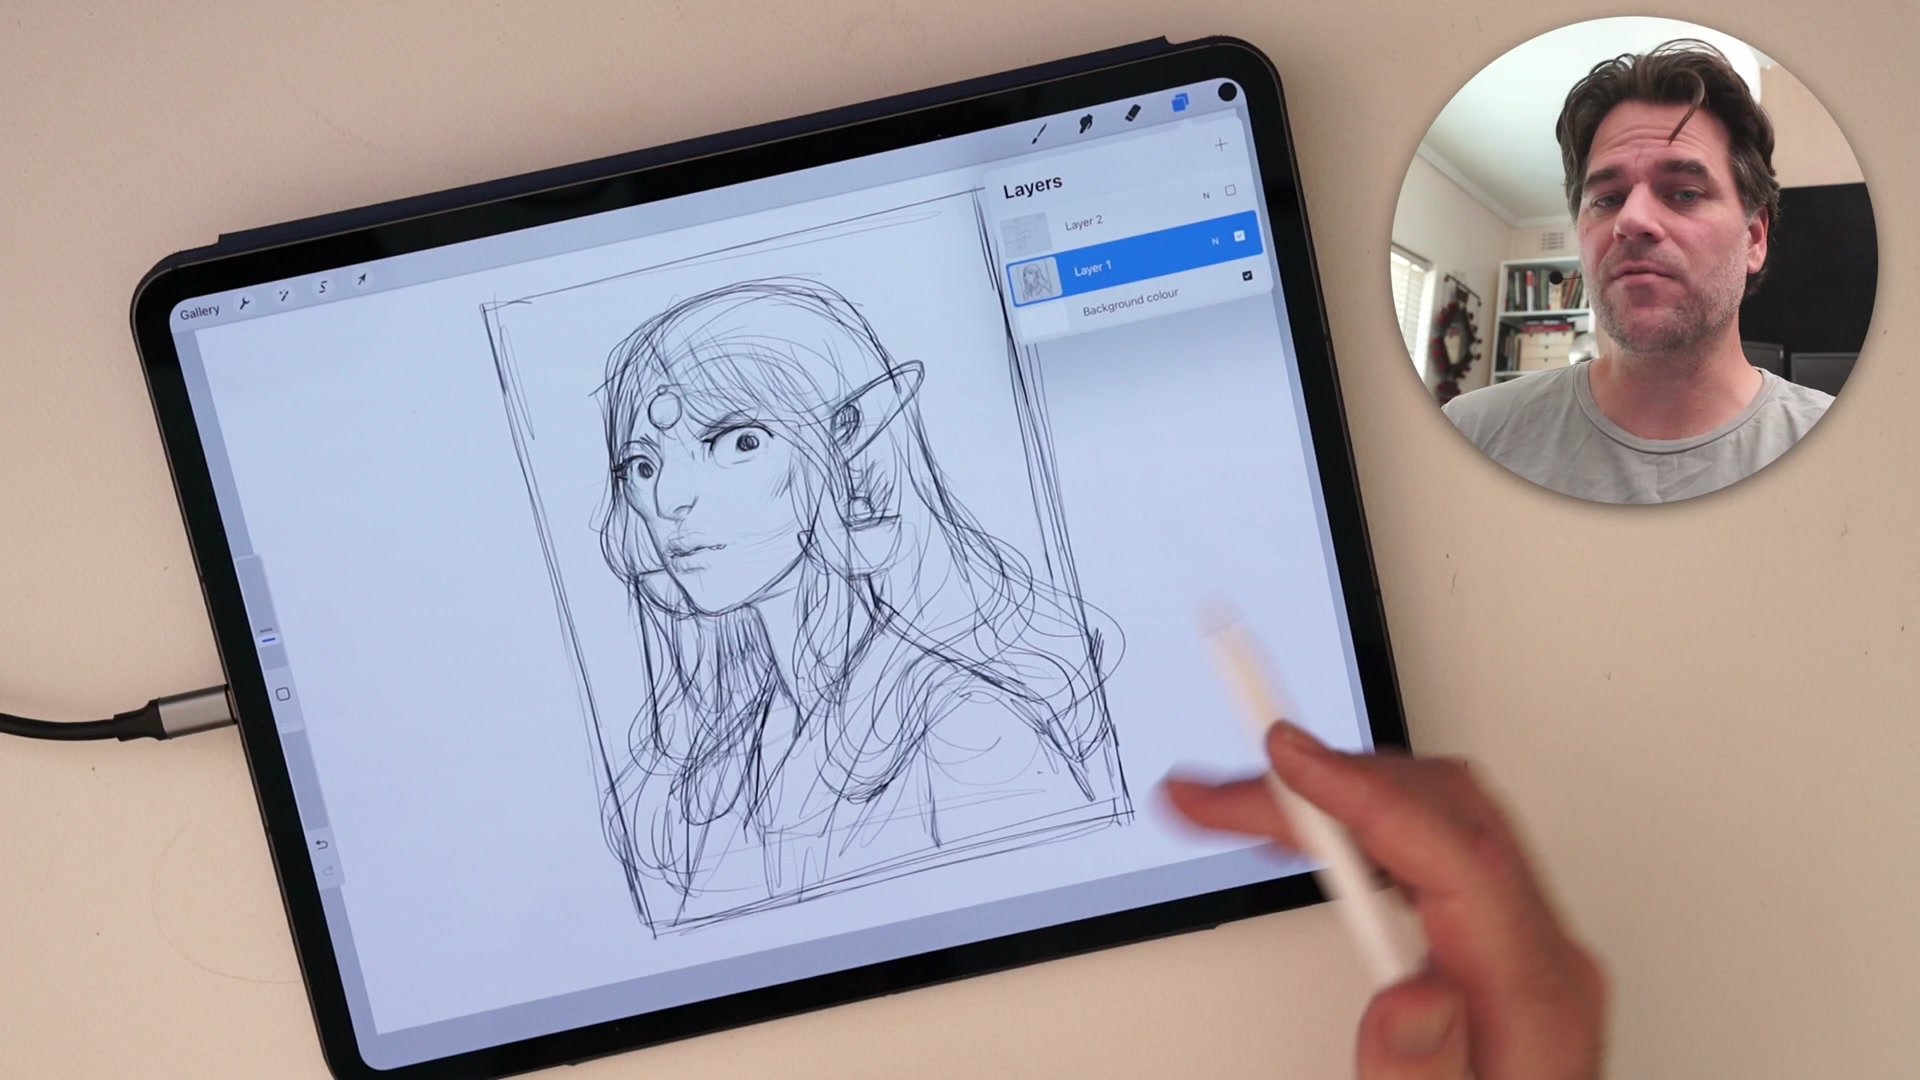
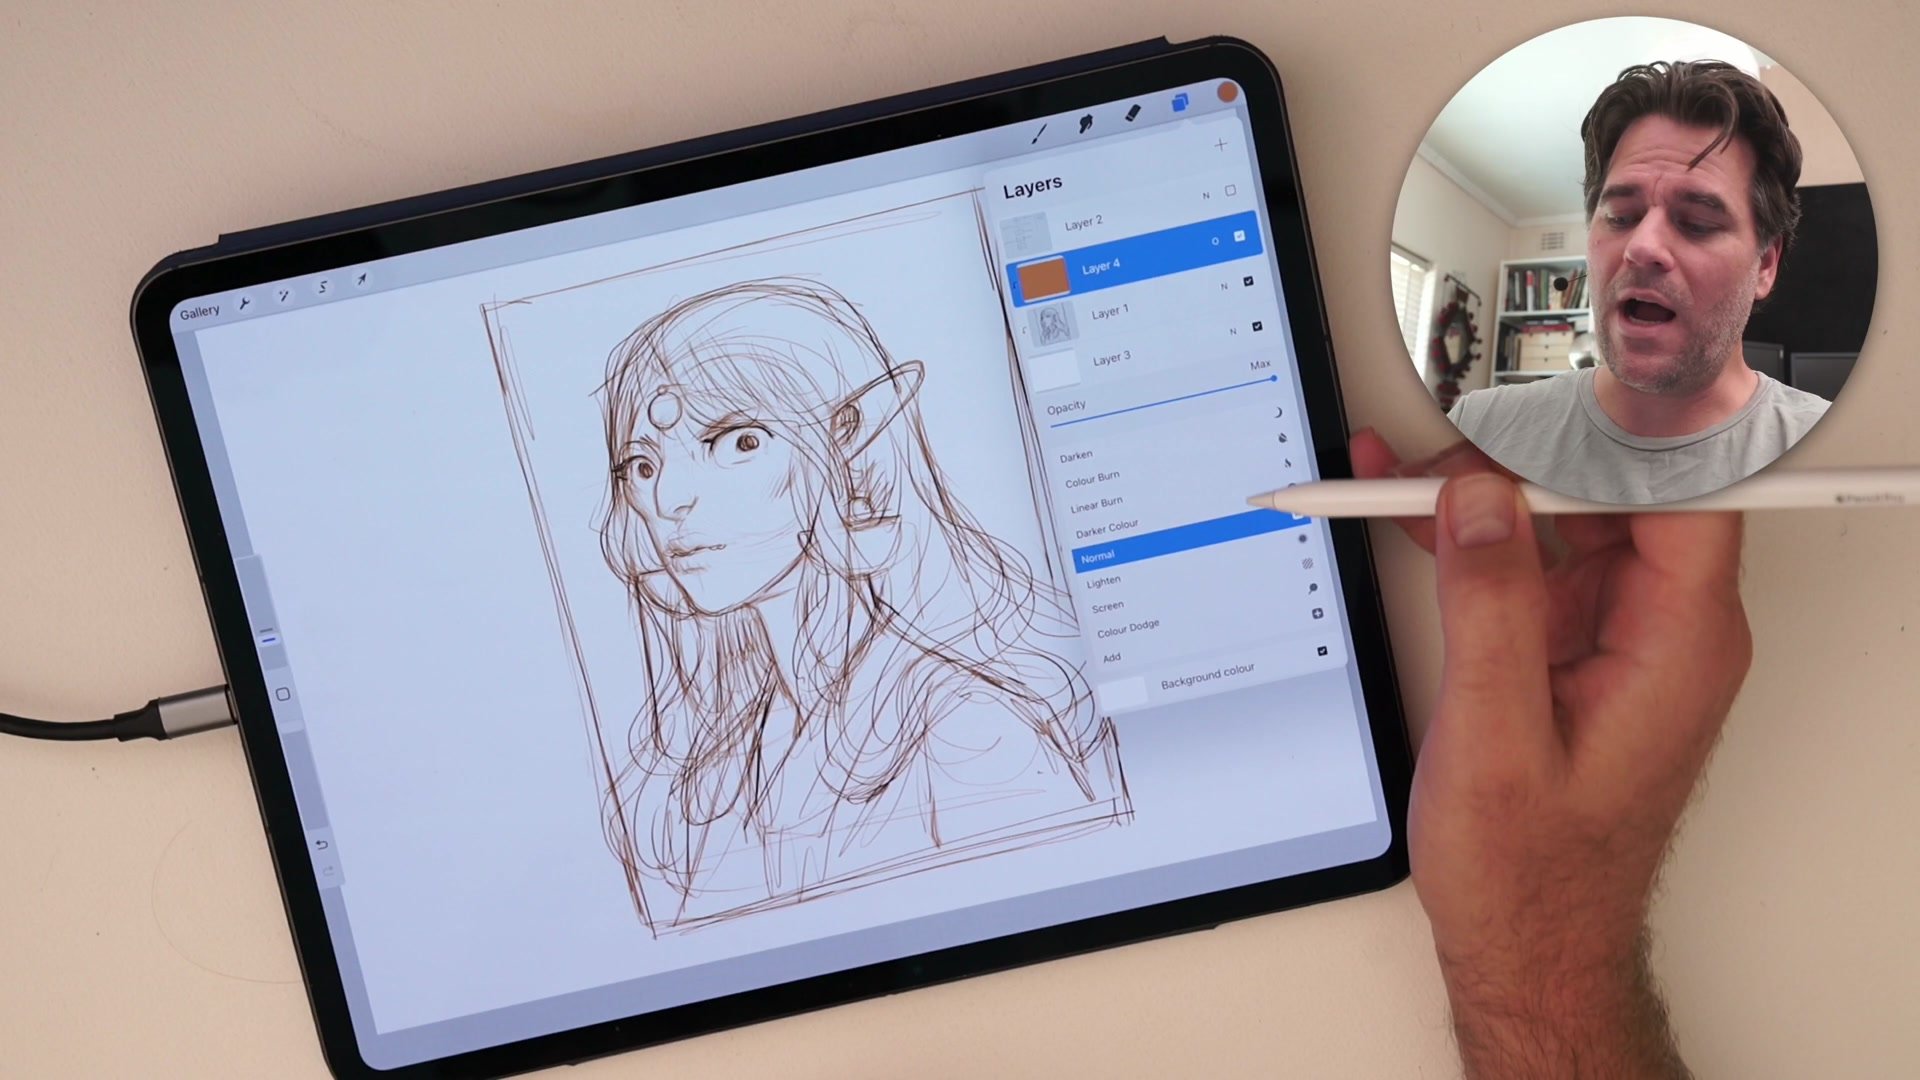
Building the Layer Stack
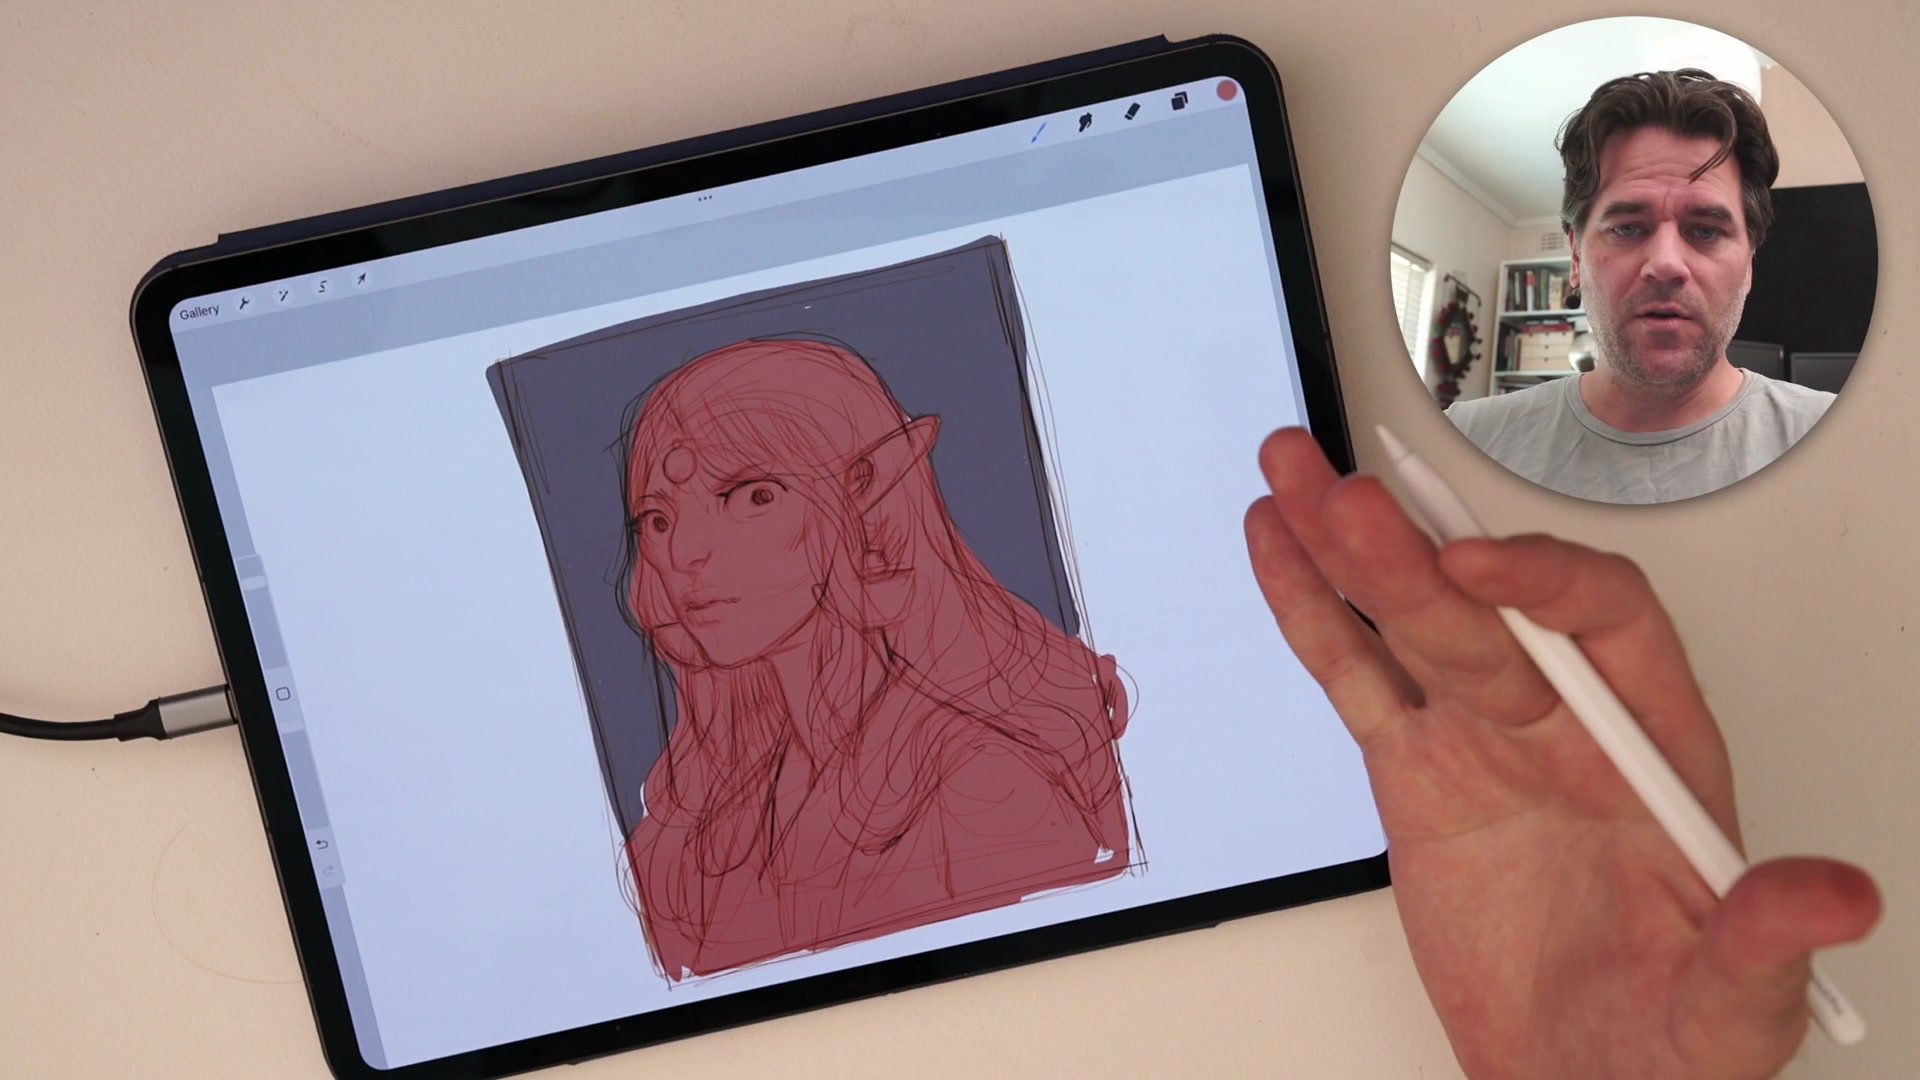
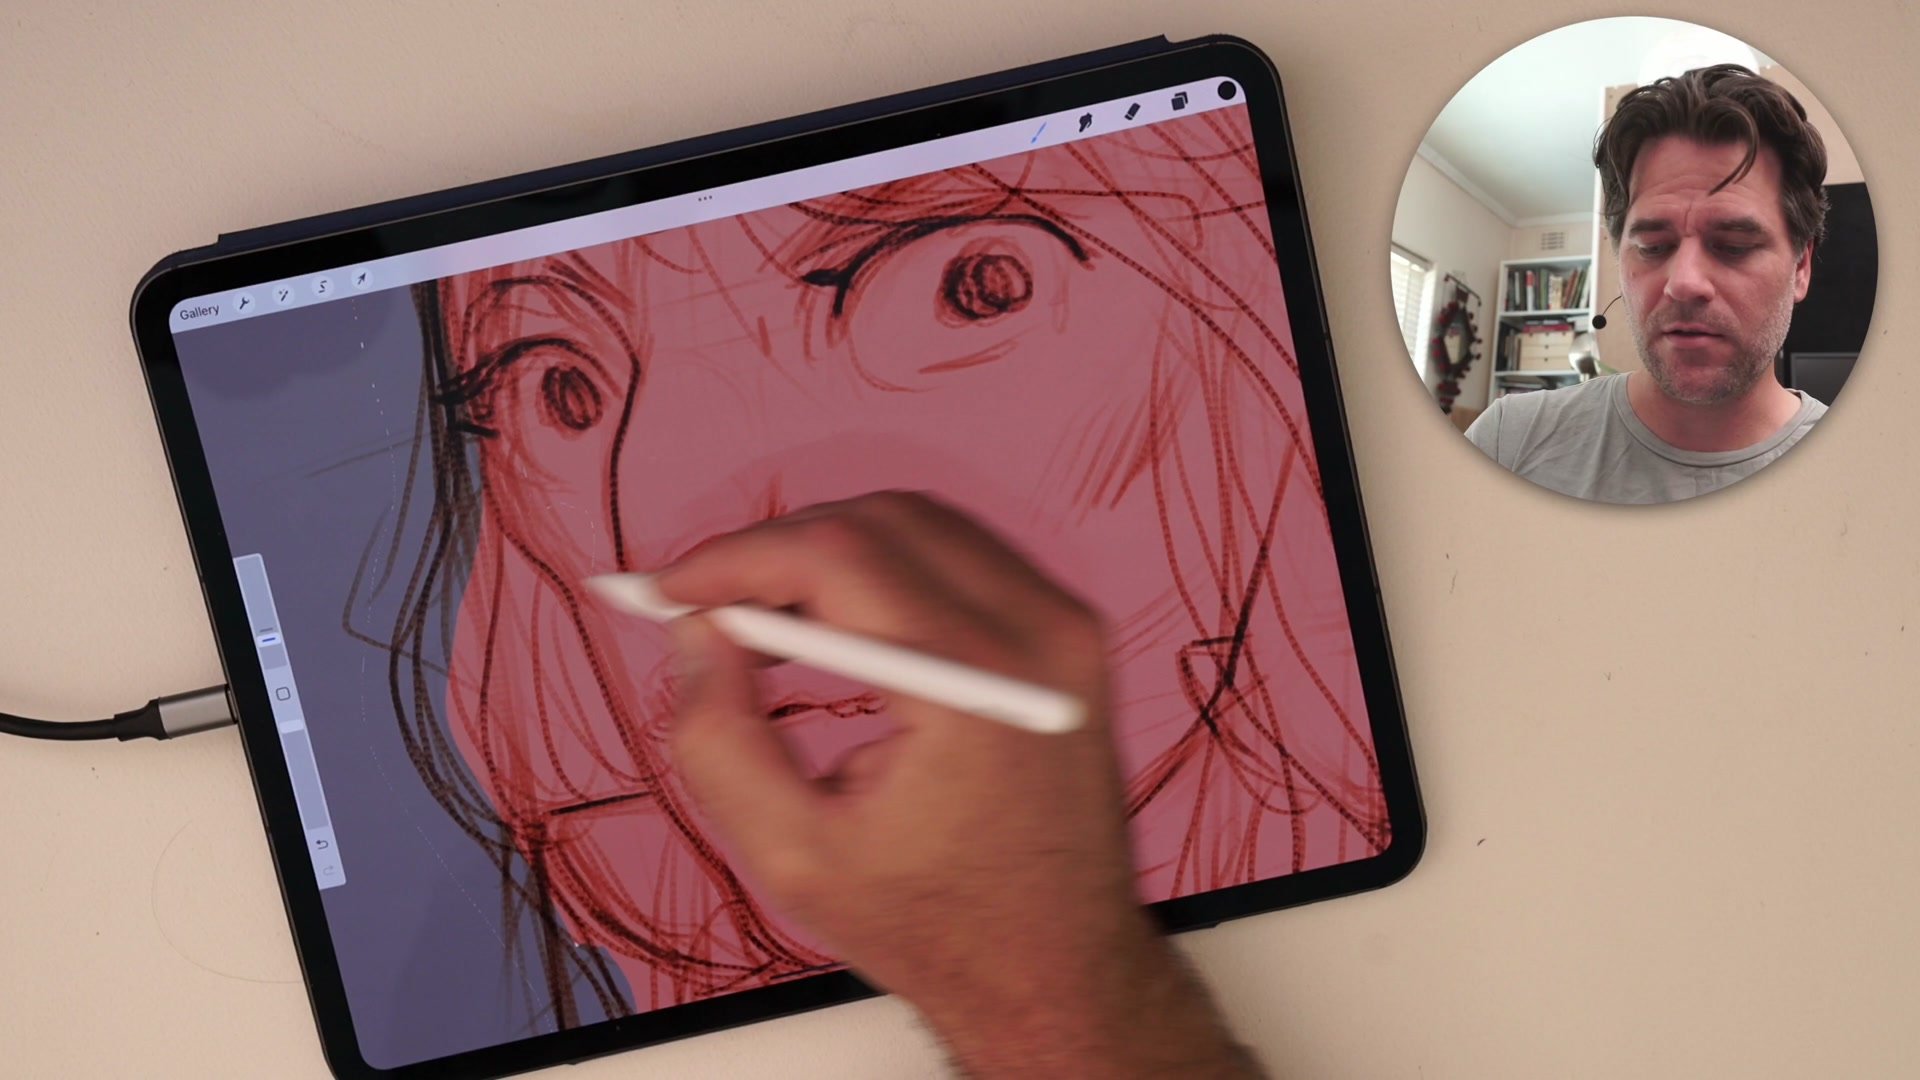
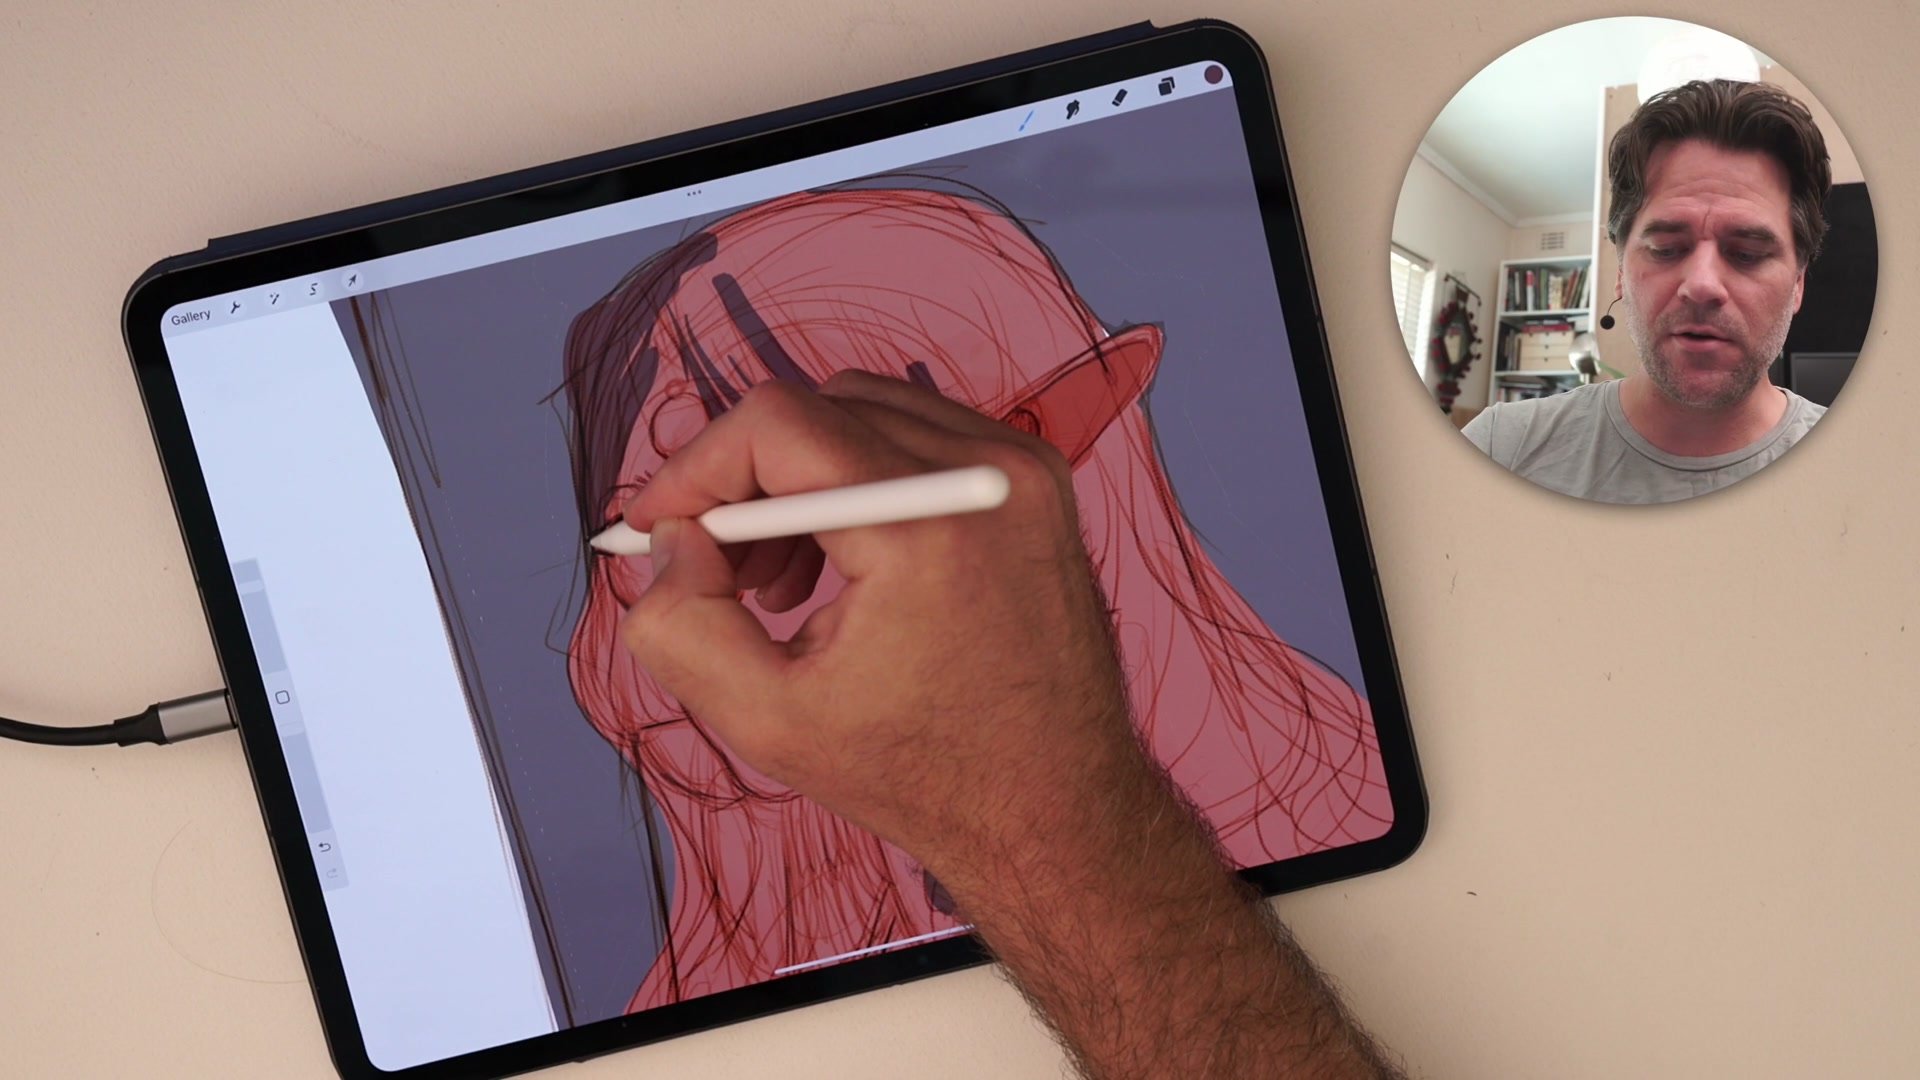
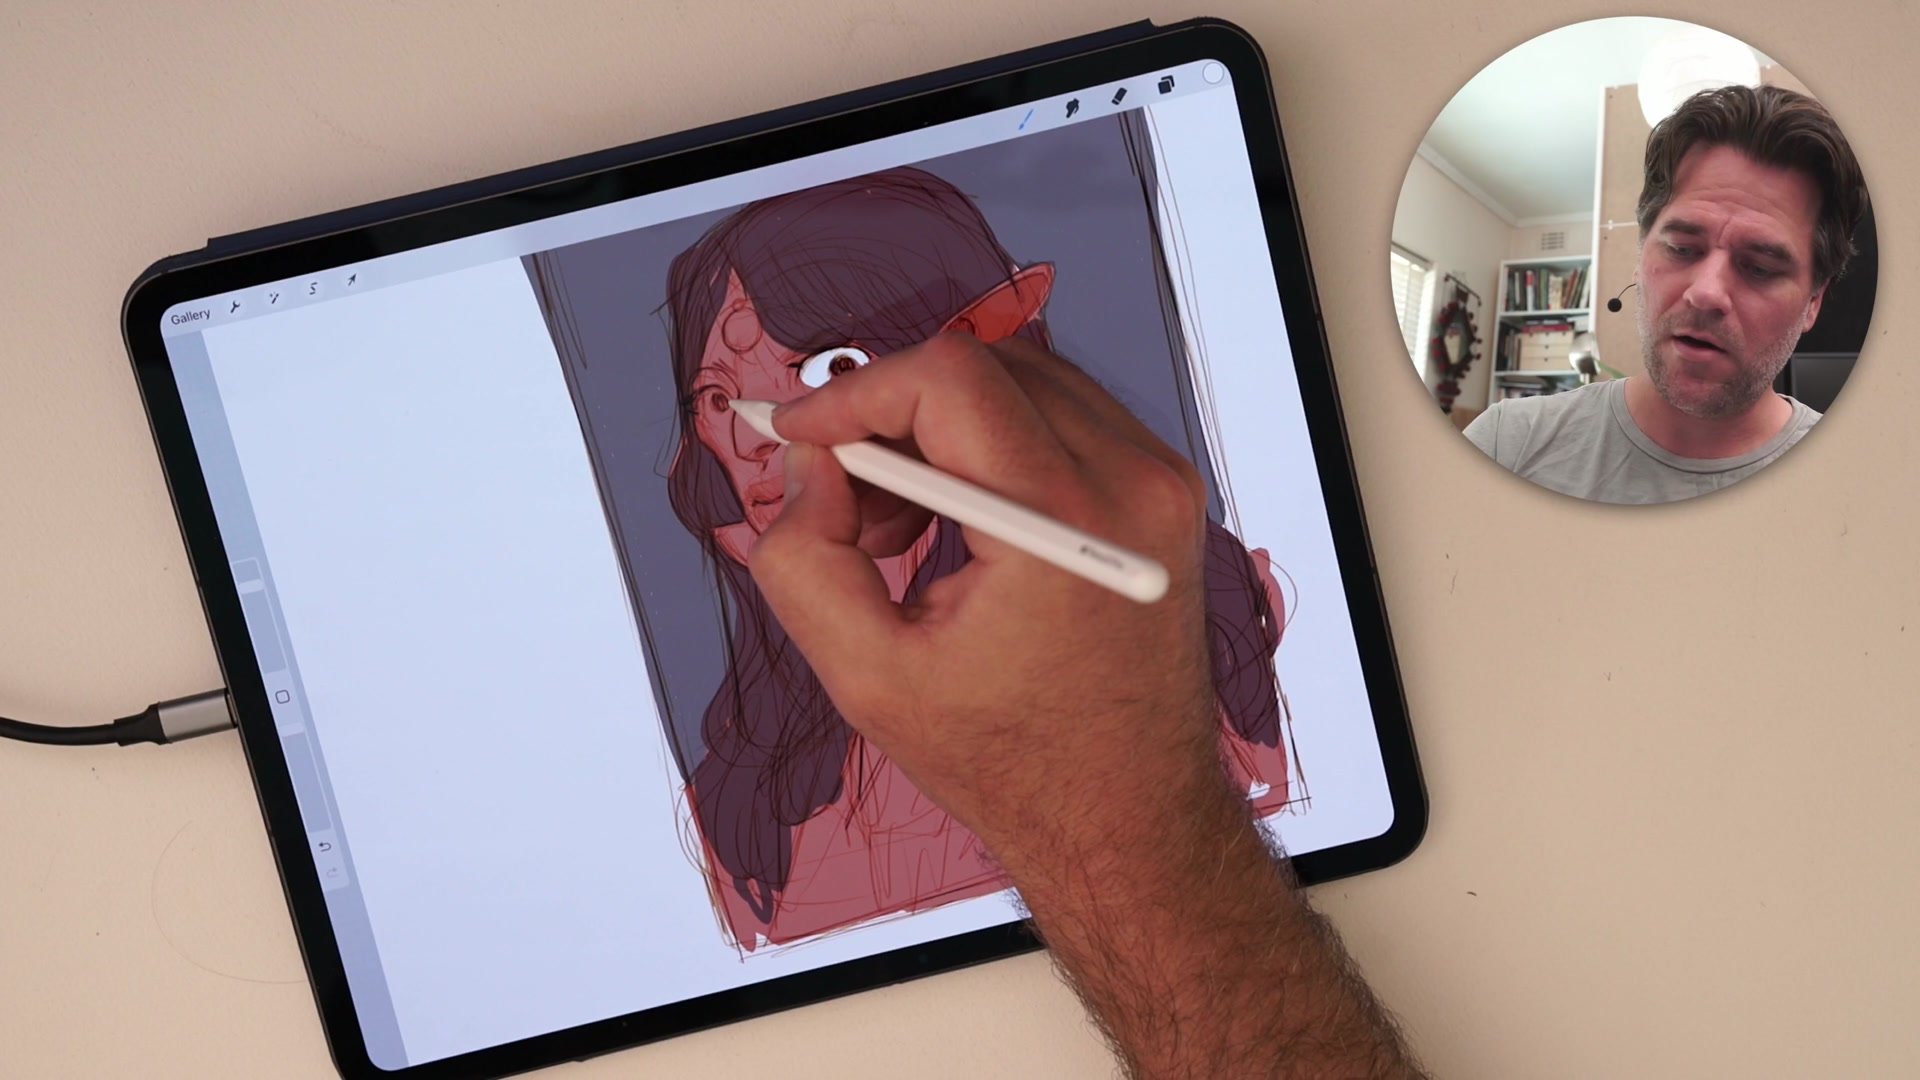
The layer structure is straightforward. A sketch layer sits in the middle, clipped to a white-filled layer set to Multiply beneath it. Above the sketch, a layer filled with a bright sepia or orange color is also clipped to that same white layer and set to Overlay. This Overlay layer colorizes the dark lines underneath, turning ordinary black sketching into warm sepia tones automatically.
The Multiply blending mode on the white layer treats the entire clipped stack as a single transparent image, letting color be painted freely on a separate layer beneath the whole group. Because everything above is set to Multiply, the line work floats over whatever color gets placed underneath without any clipping or masking required on the color layer itself. The setup takes less than a minute and transforms how sketching feels from the very first stroke.
Sketching in Sepia
Drawing Between the Layers
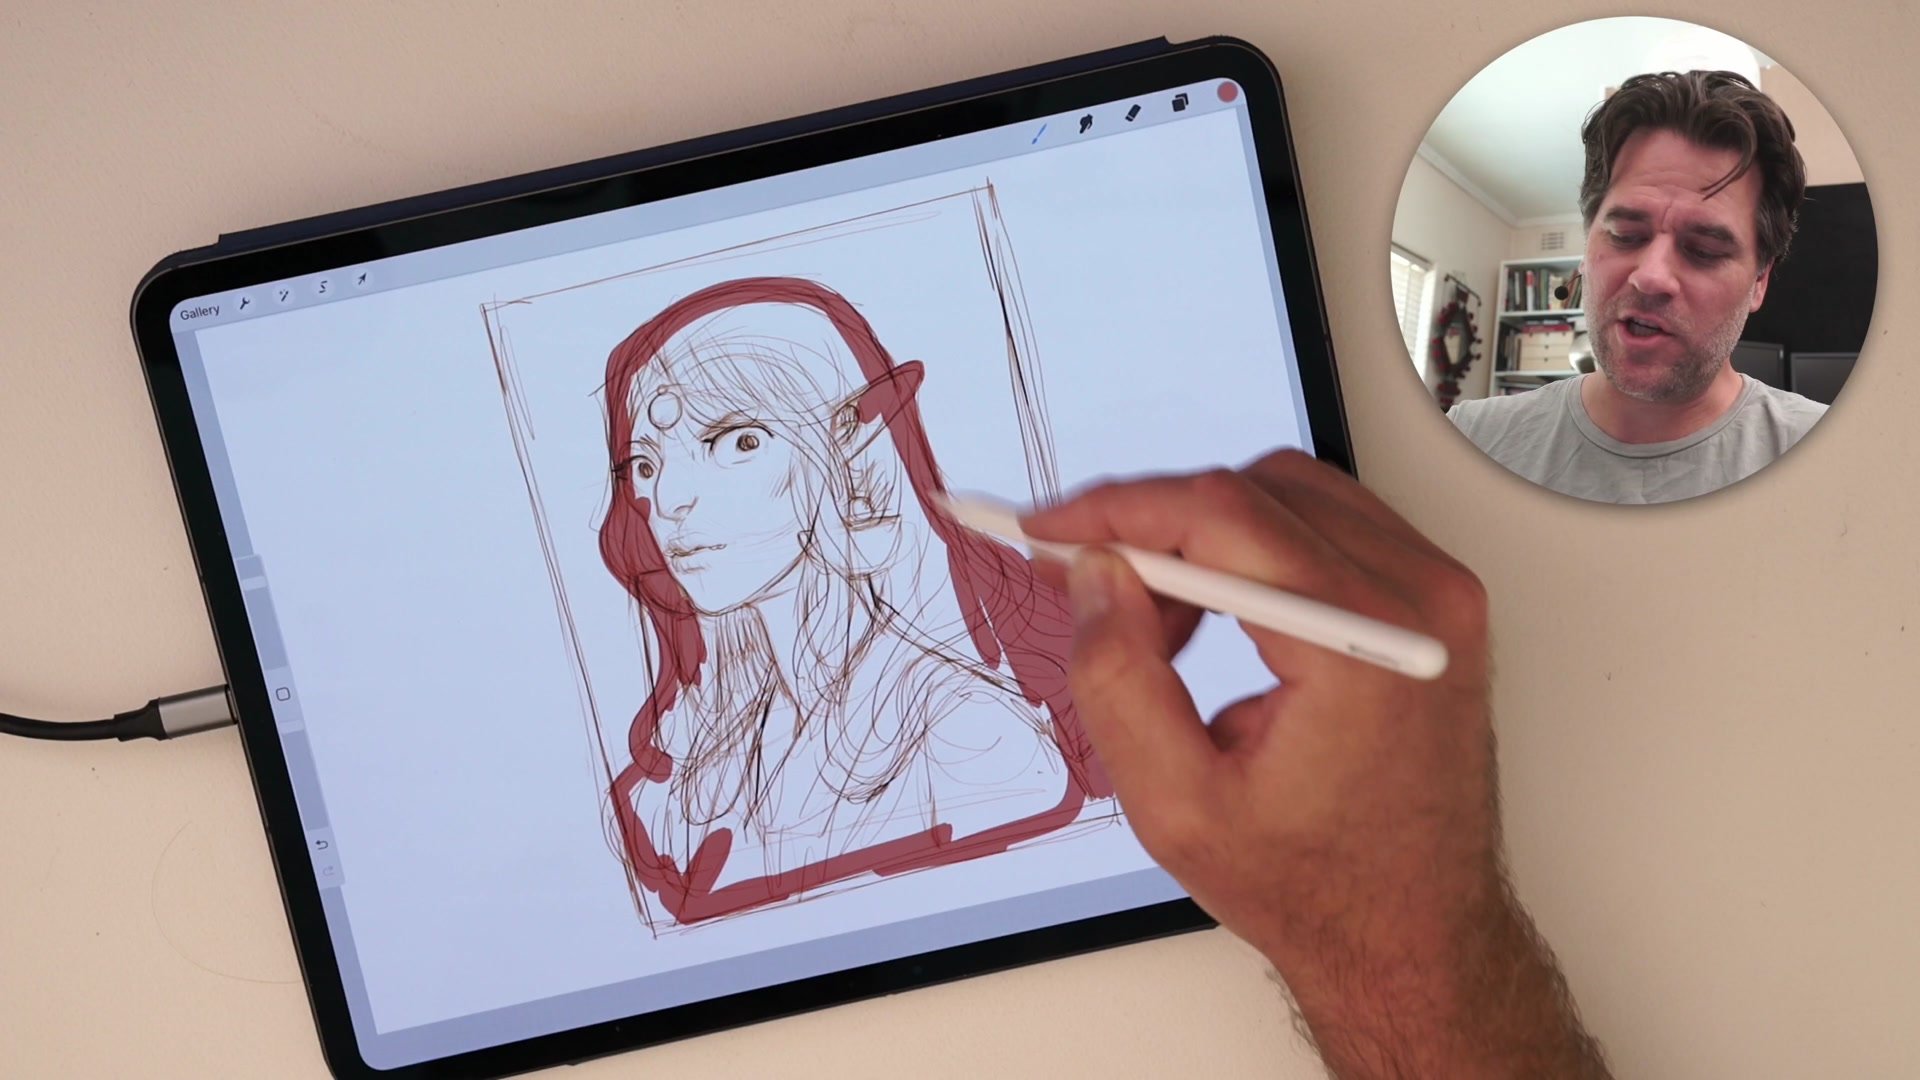
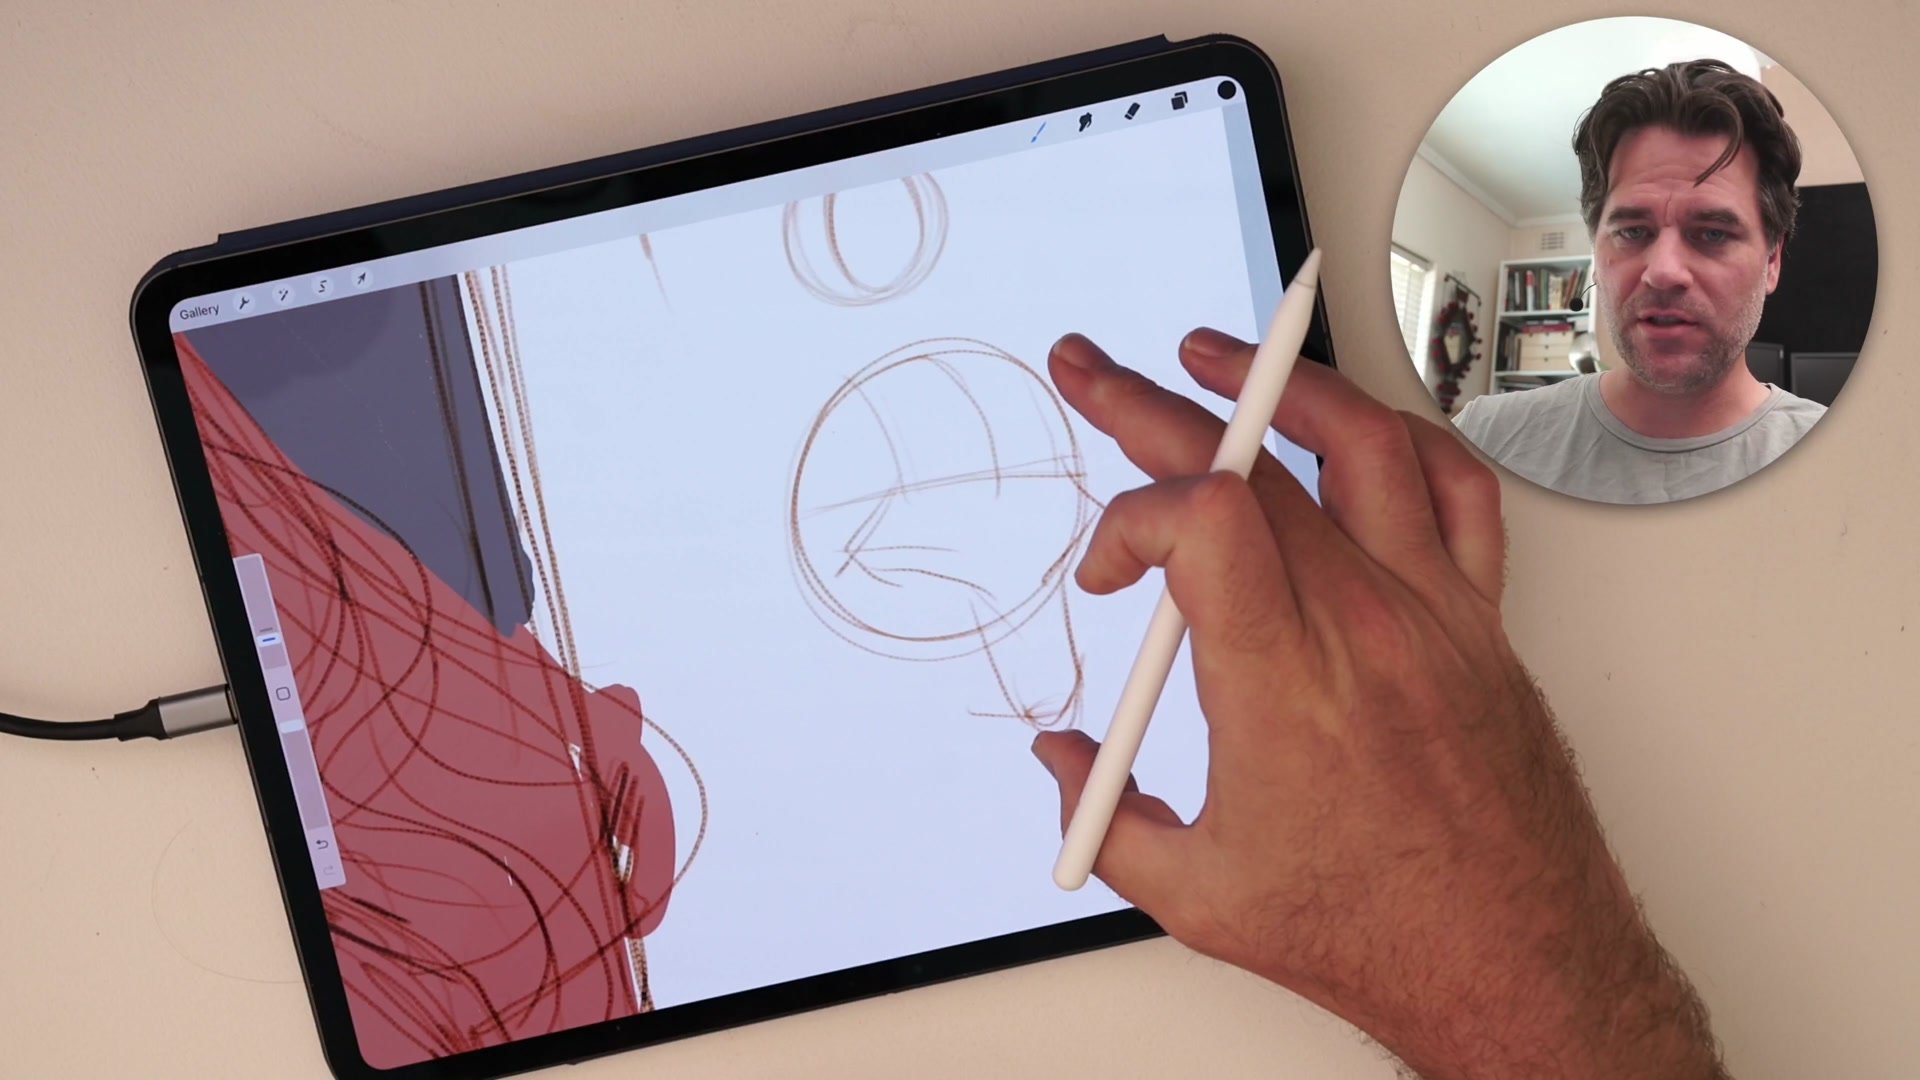
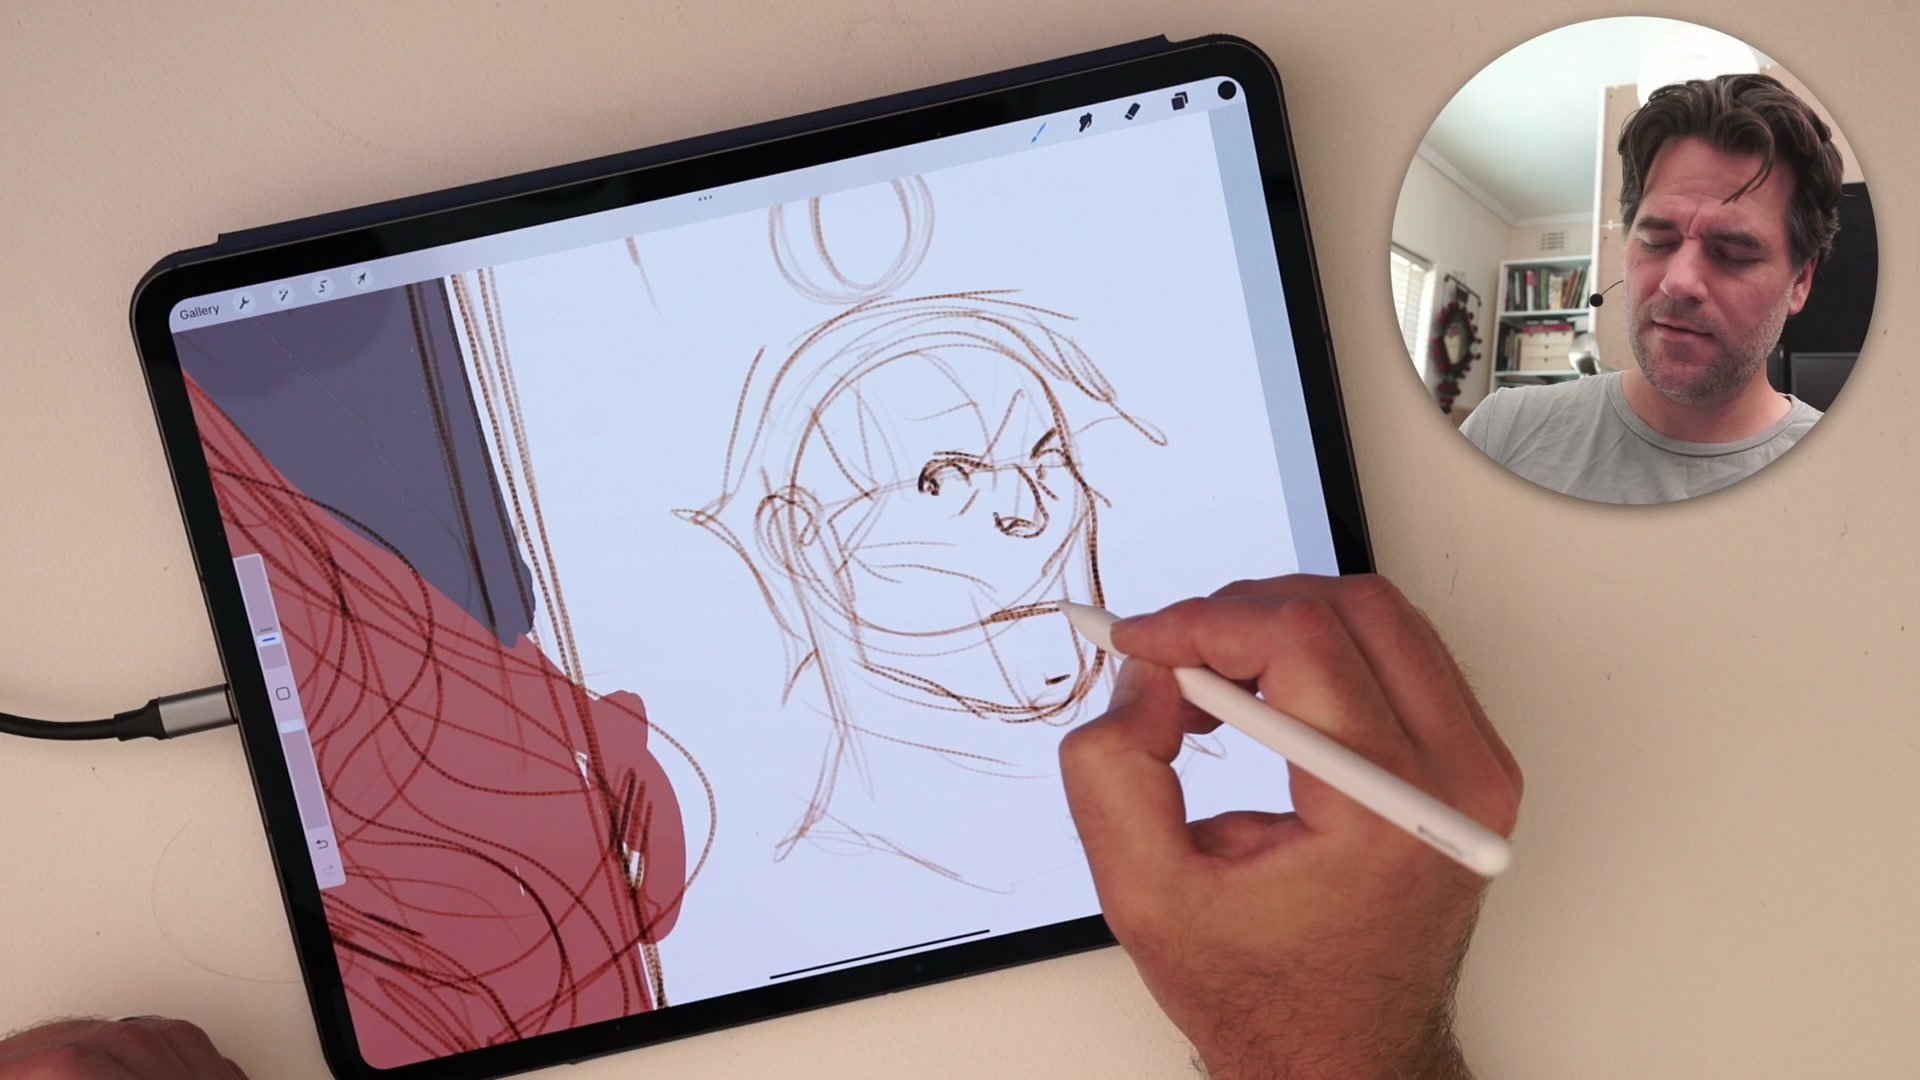
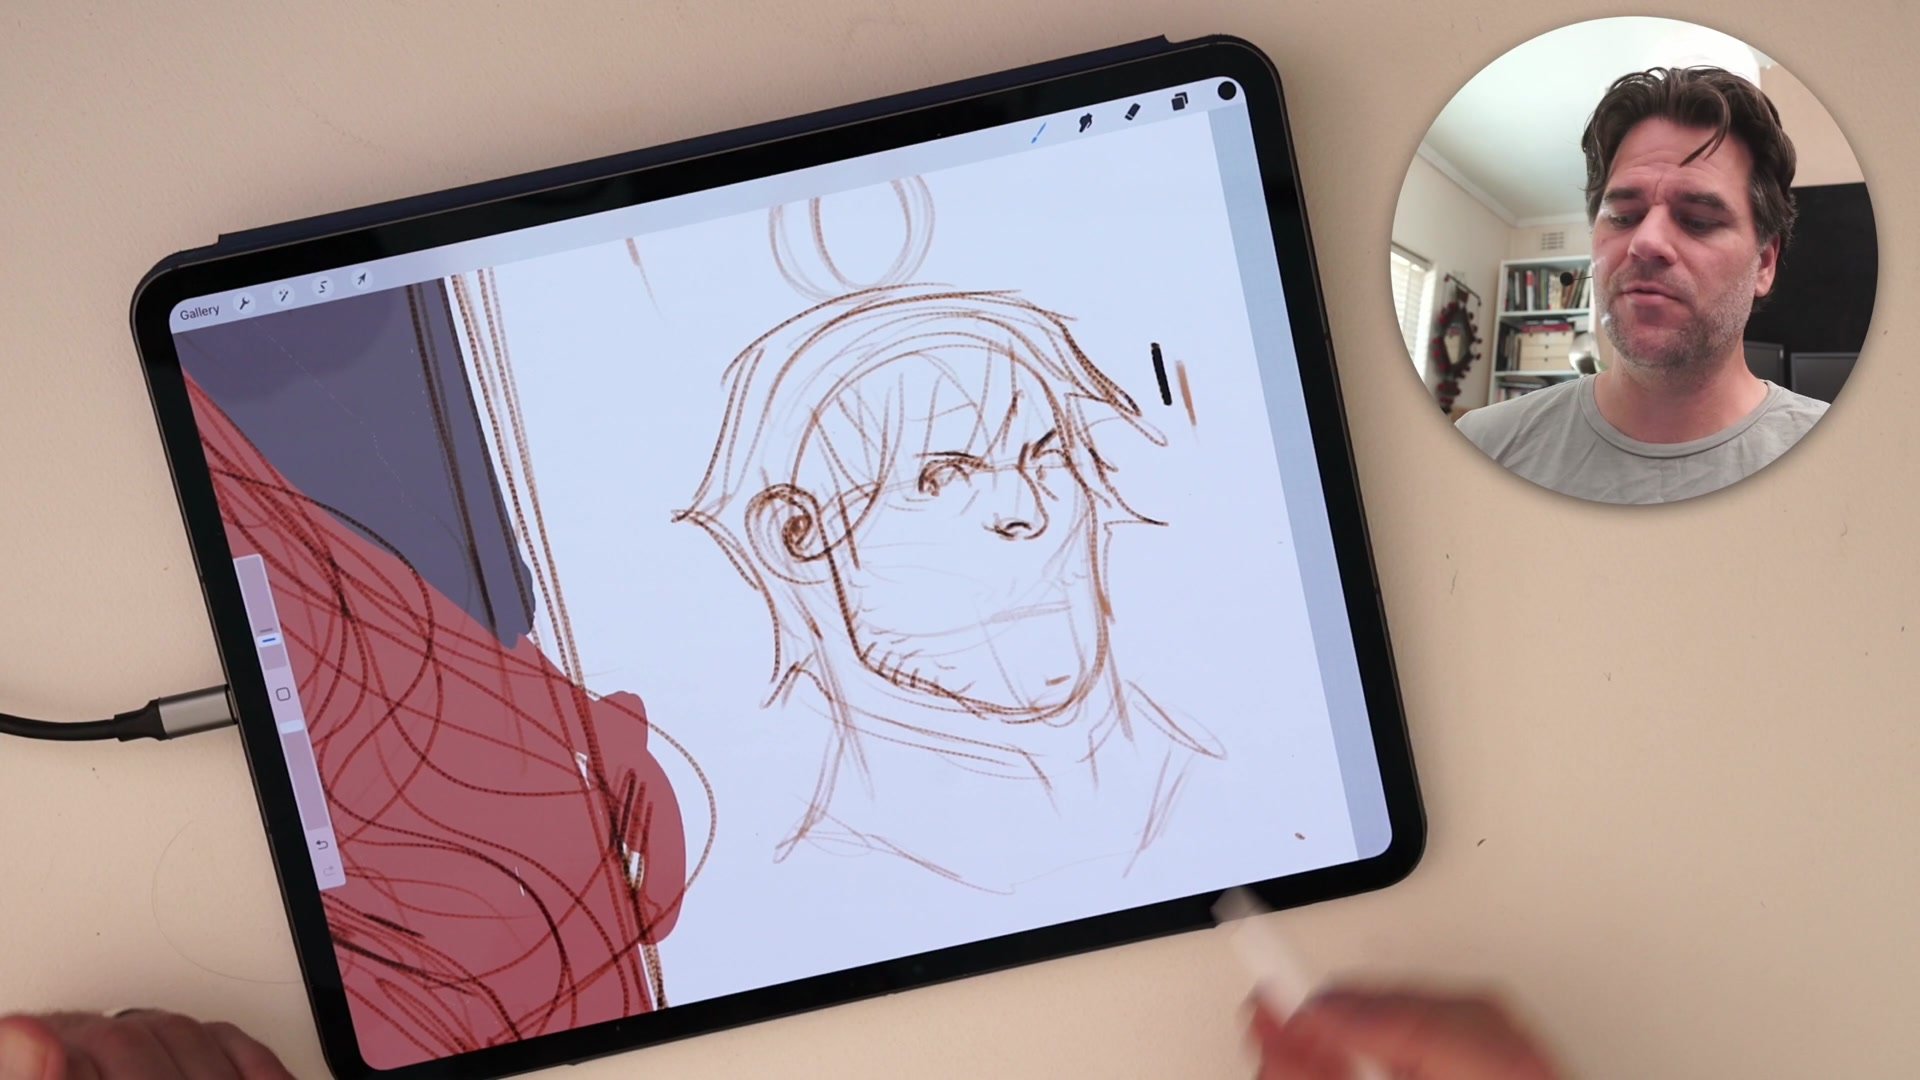
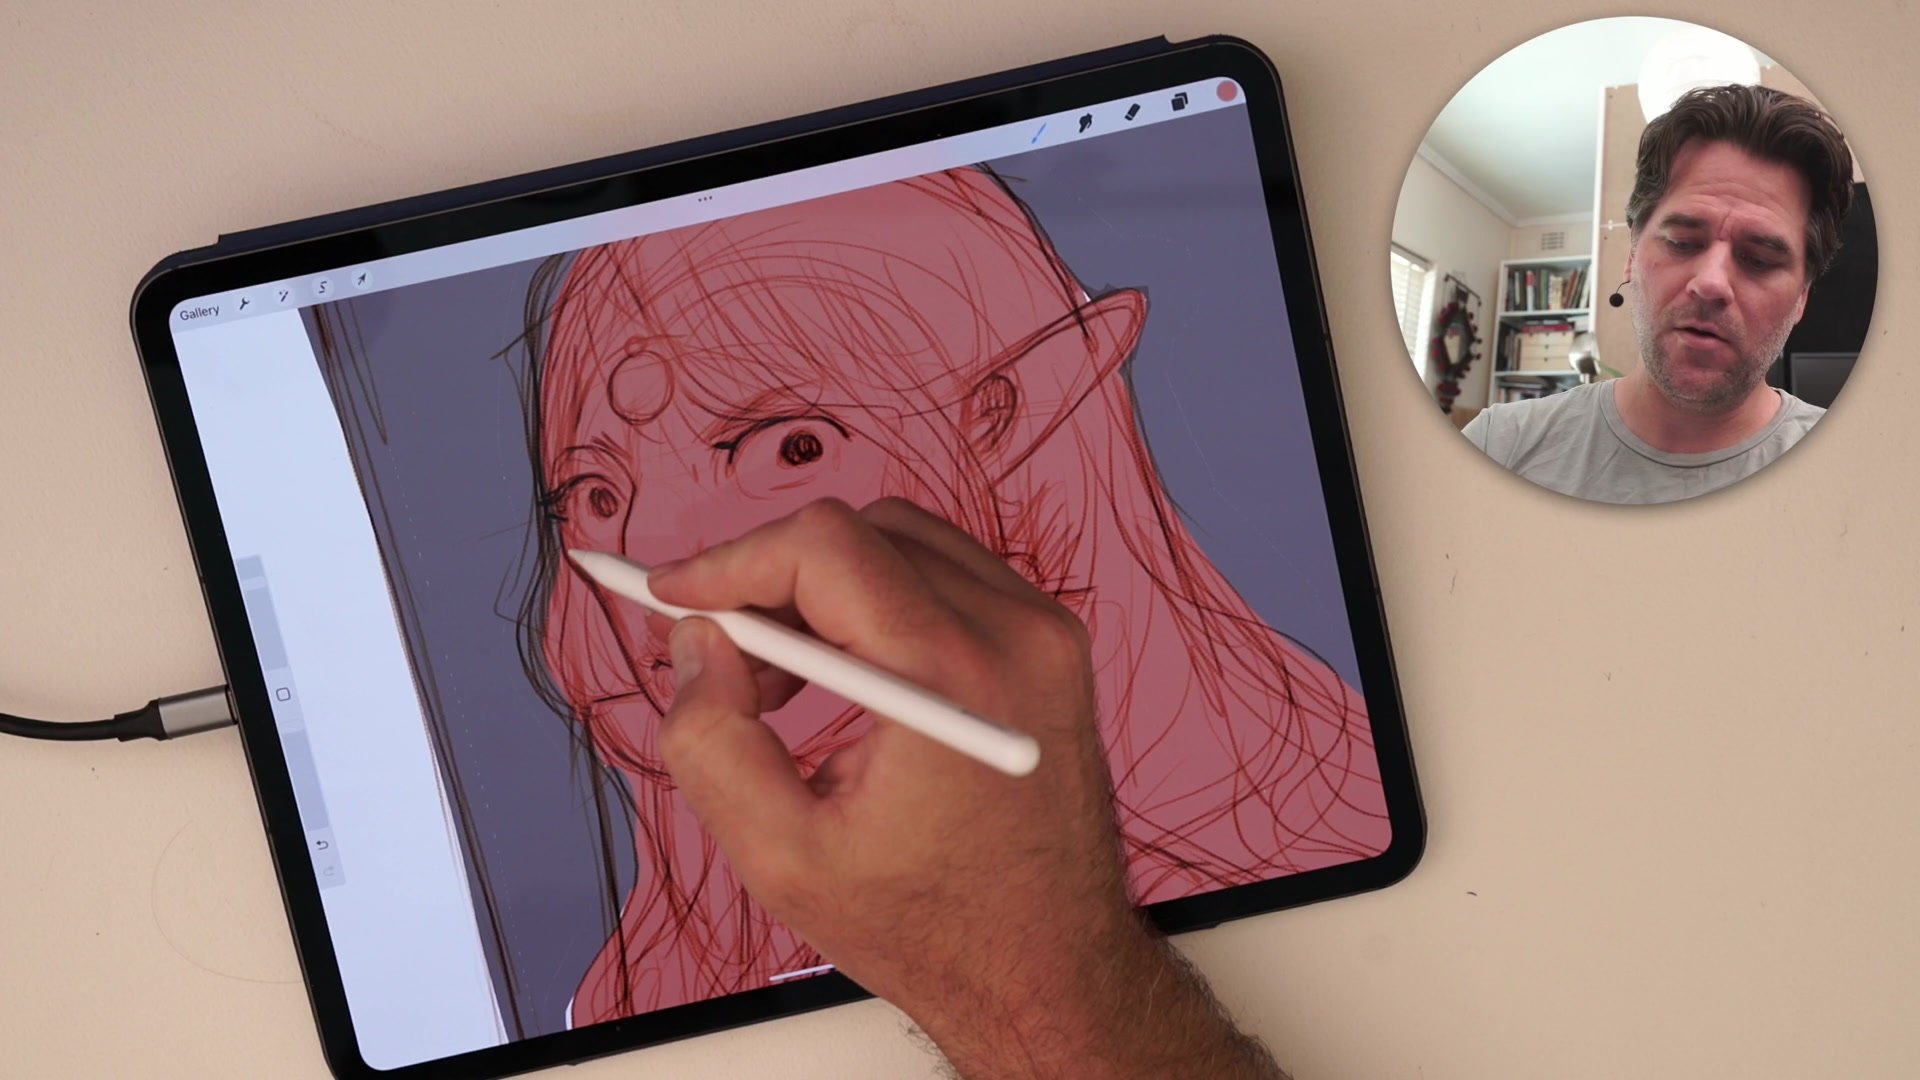
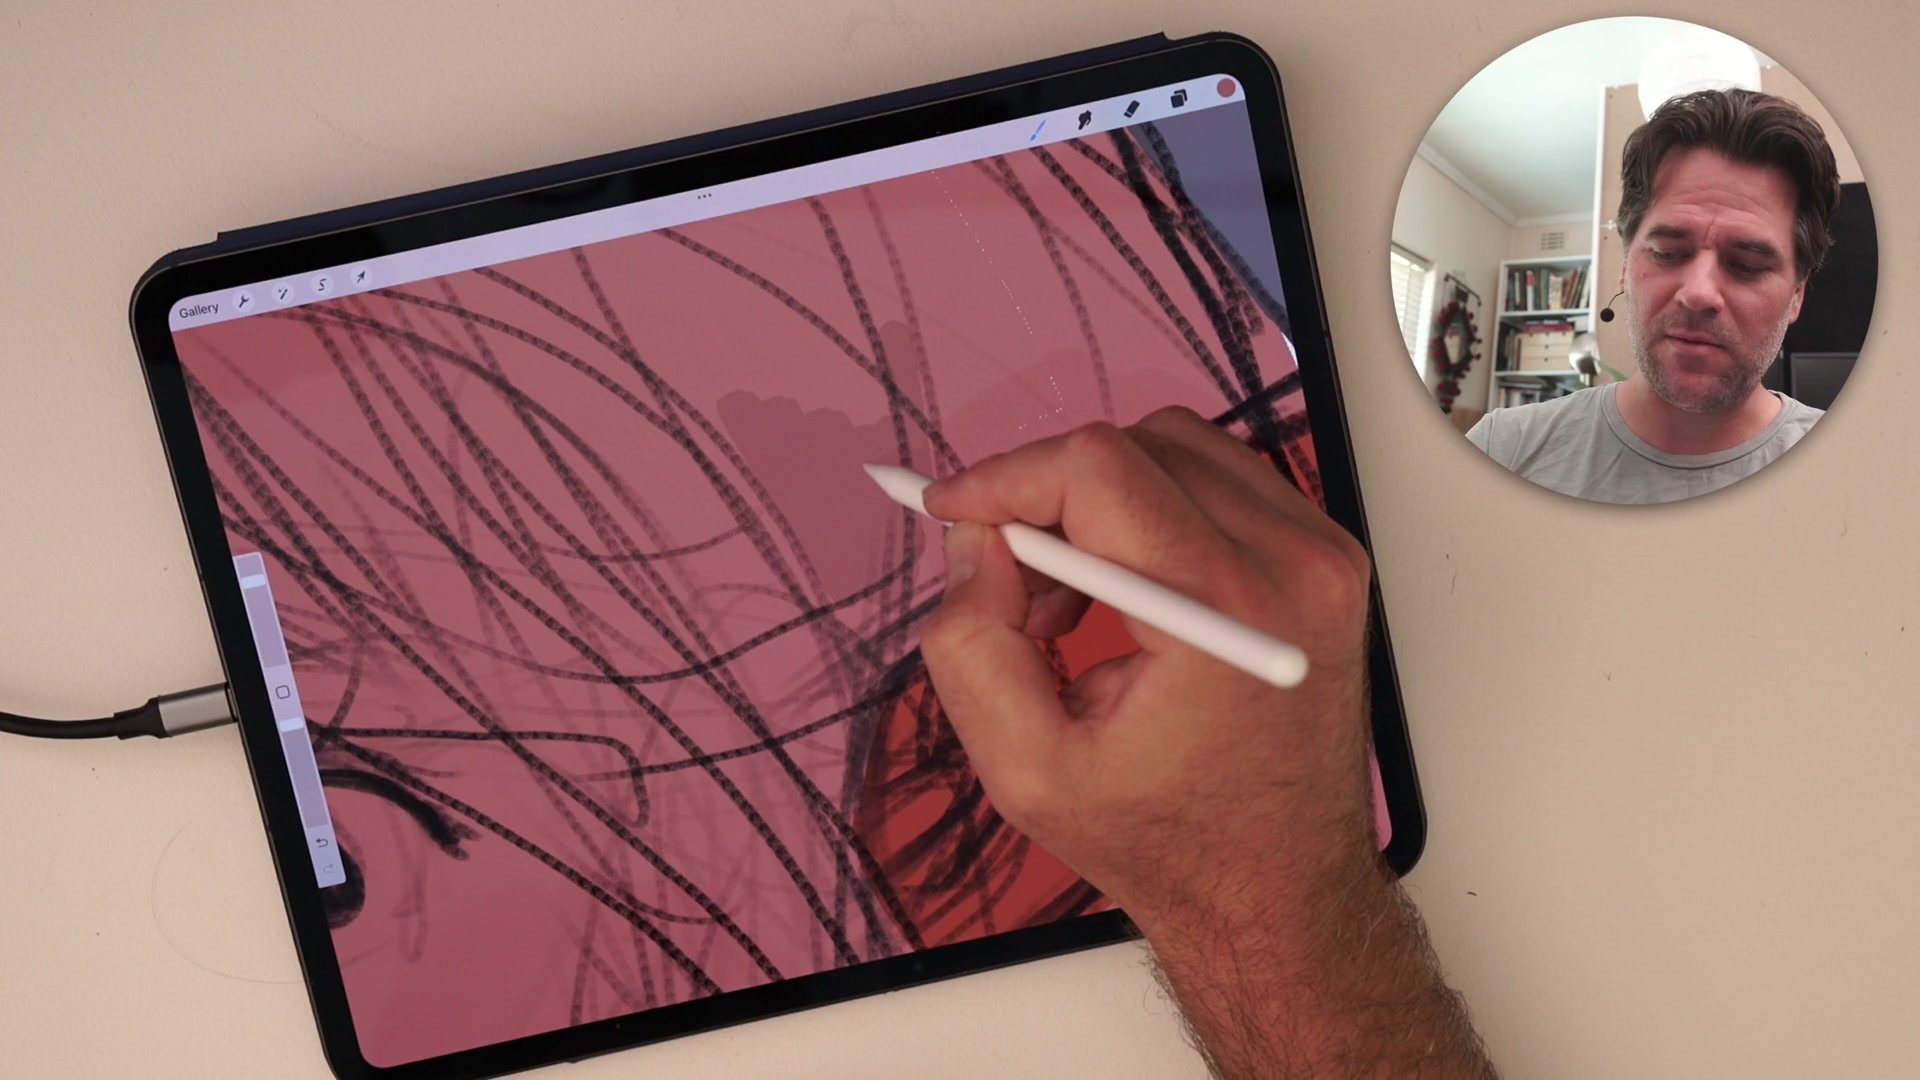
Once the stack is built, new sketch layers can be added between the color layer and the line work. Drawing lightly on these intermediate layers produces strokes in a different, softer color than the heavier final lines above, creating a natural visual hierarchy. Light exploratory marks read as preliminary sketching while darker committed strokes read as finished lines, all through pressure sensitivity and the Overlay interaction alone.
This color differentiation encourages loose, gestural mark-making. Instead of worrying about erasing every stray line, the lighter sketch marks naturally recede behind the stronger final lines both in value and in color. Erasing sketch marks becomes easy because they visually separate from the finish work. The entire process mirrors traditional multi-pencil workflows where construction lines in one color sit underneath ink or graphite finals.
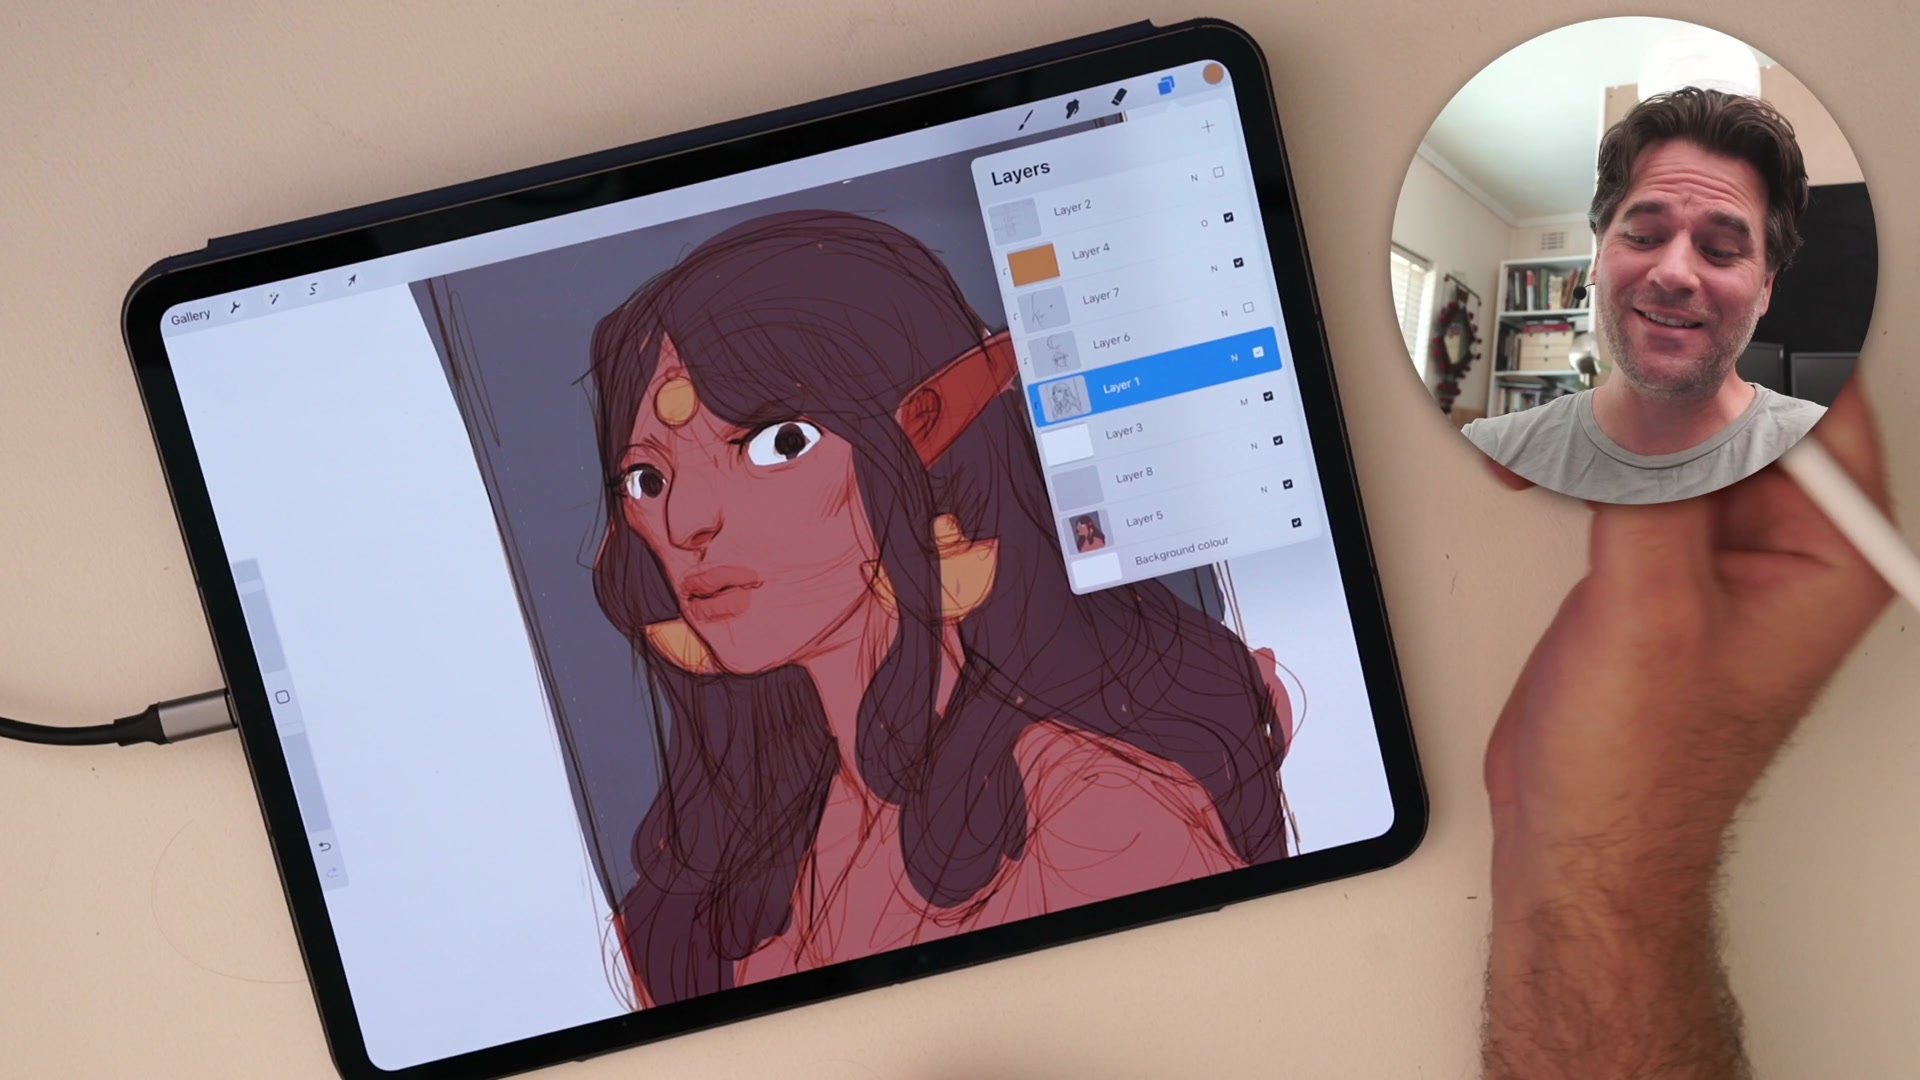
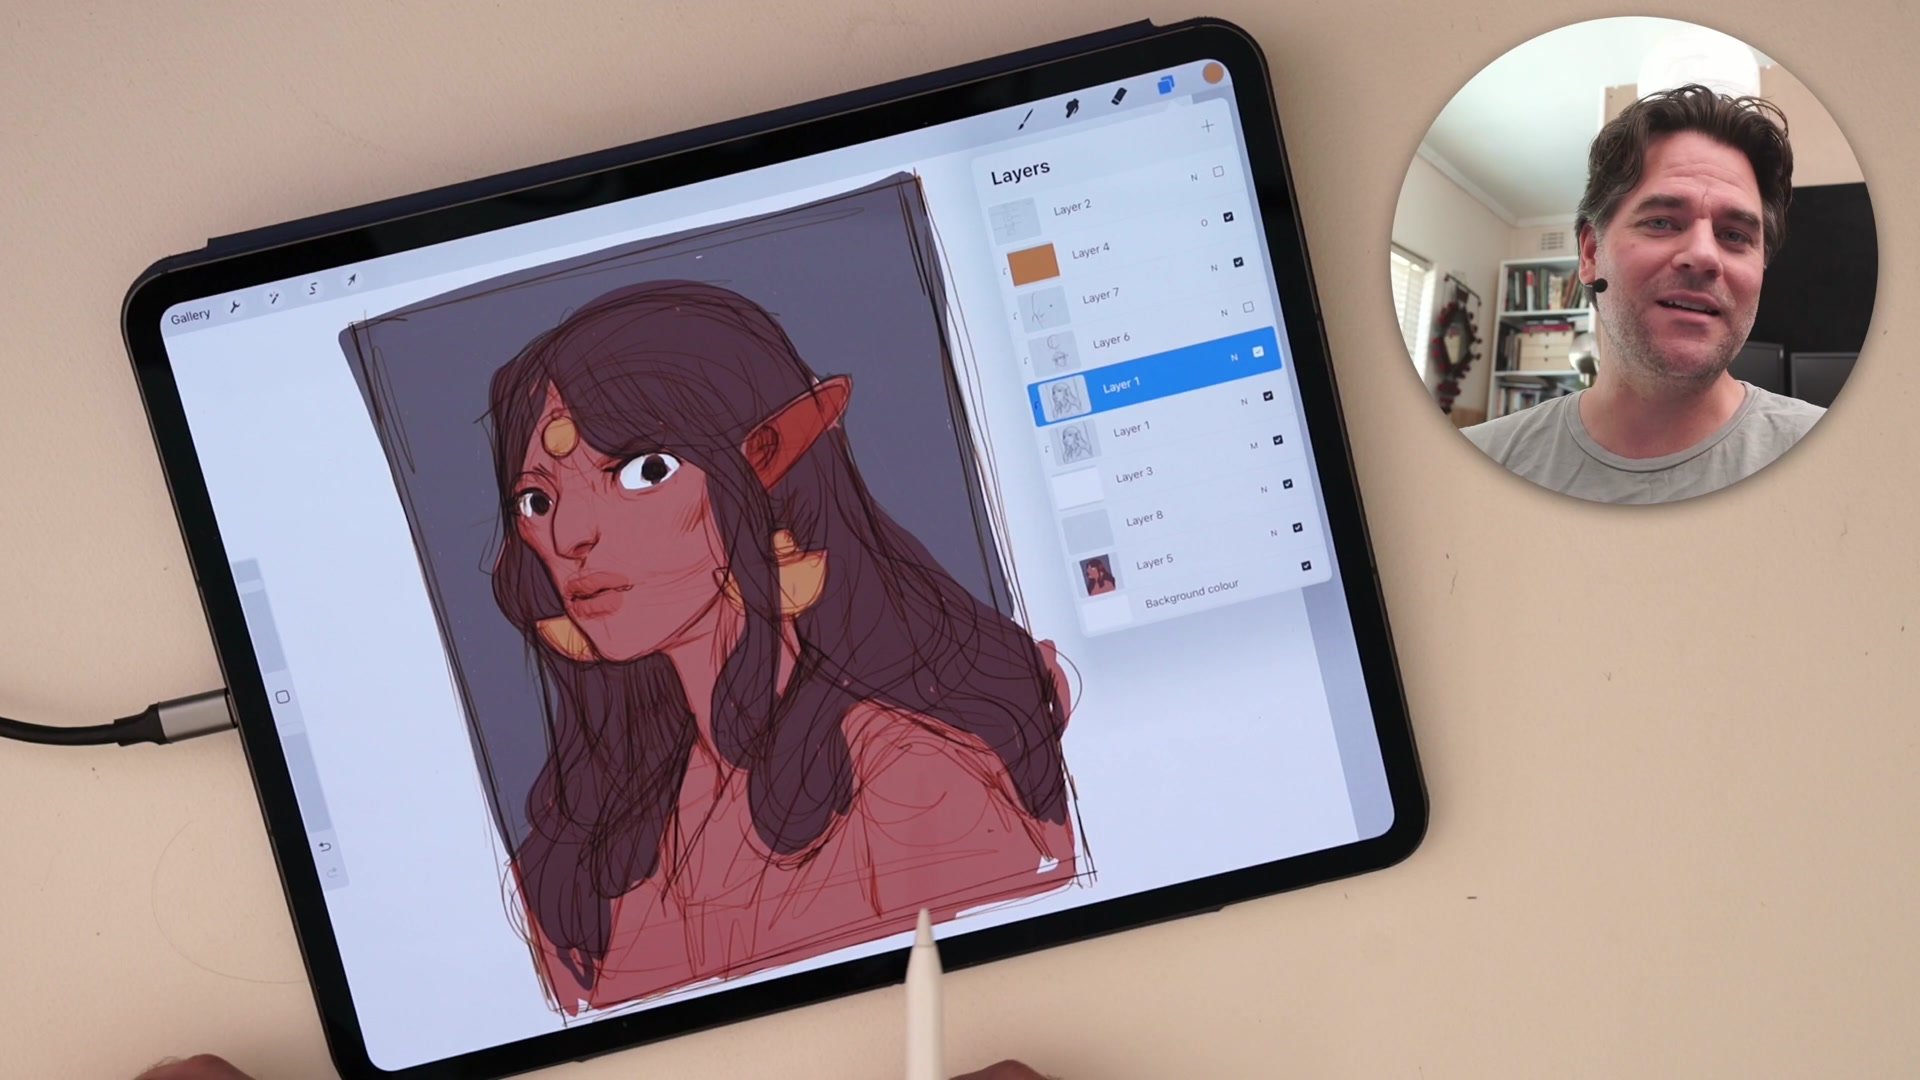
Adding Color
Color and Hue Flexibility
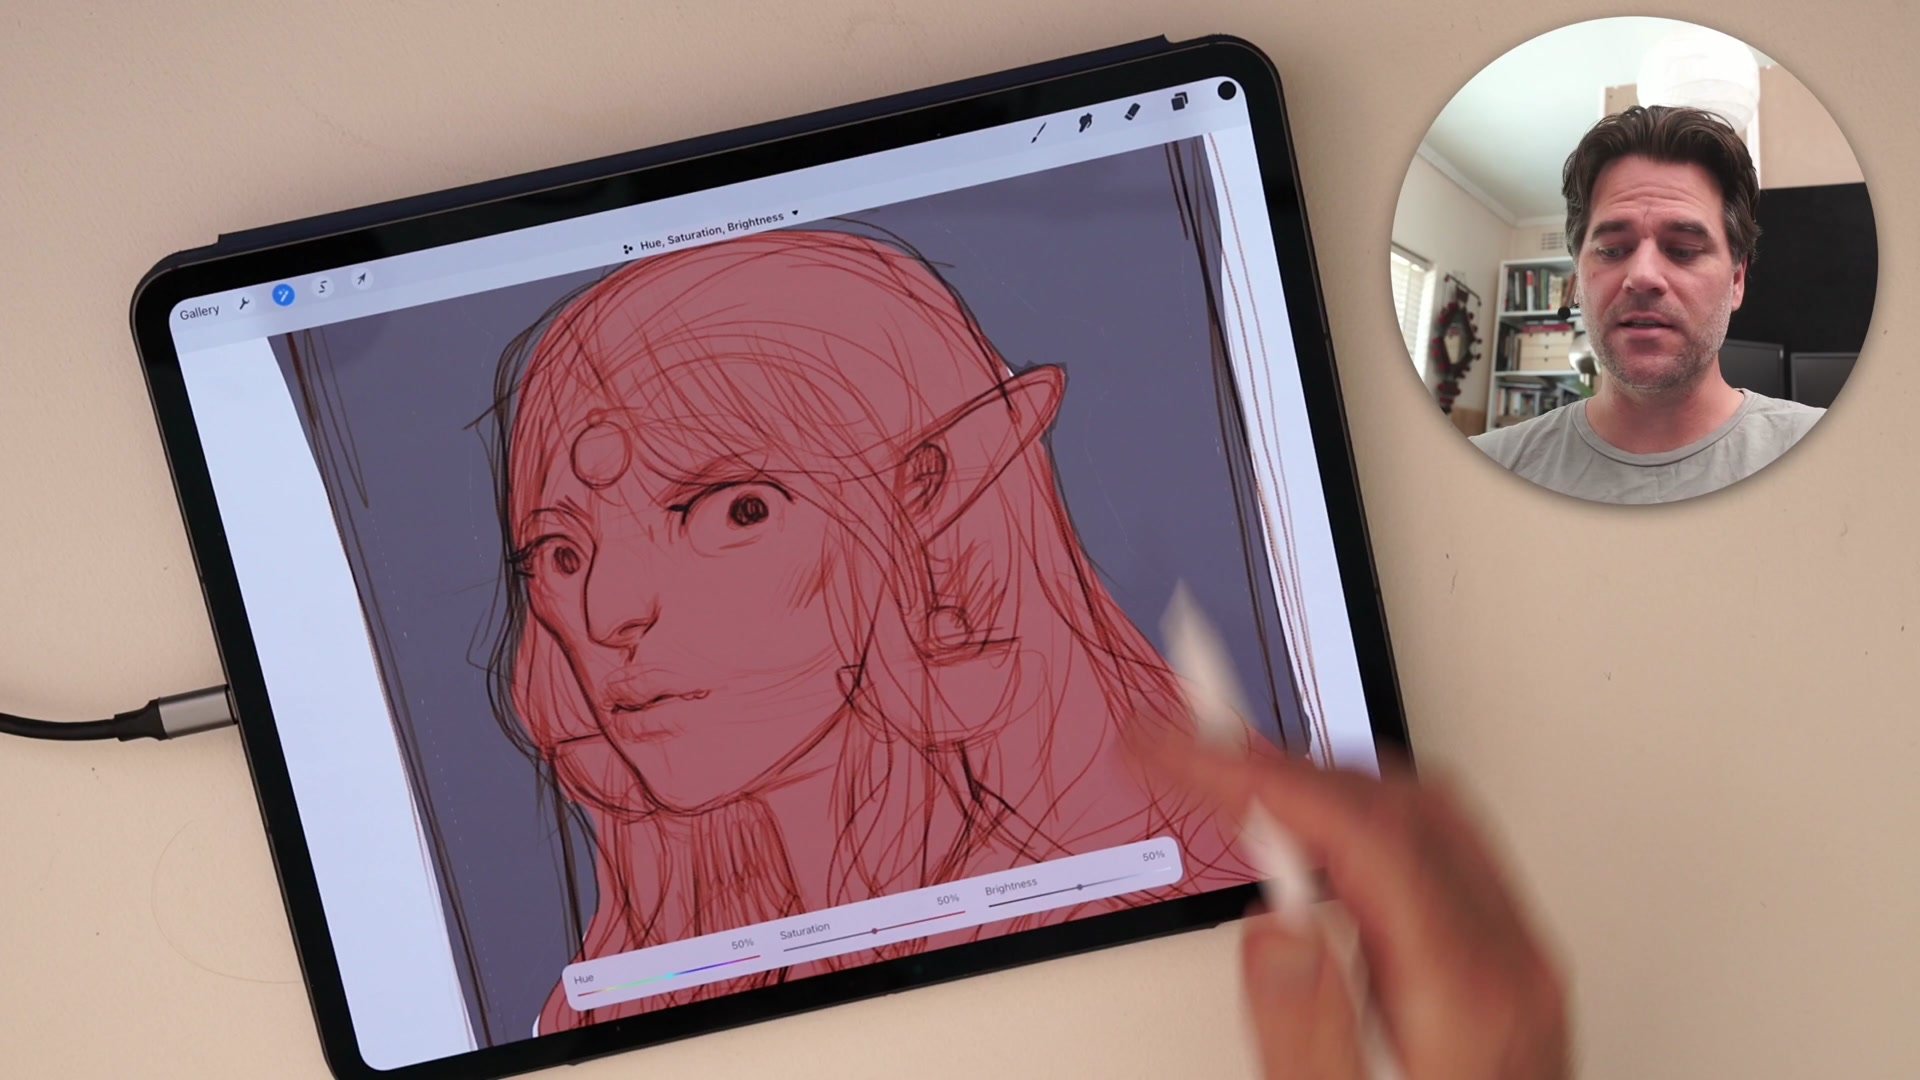
Coloring underneath the sepia line stack works like a digital coloring book. Simple flat color brushed in beneath the Multiply group creates vibrant results because the warm overlay keeps sampled colors from going gray and muddy. When picking colors from the canvas, the sepia bias naturally pushes sampled values warmer and more saturated rather than duller, which is the opposite of what happens with standard black line work on white.
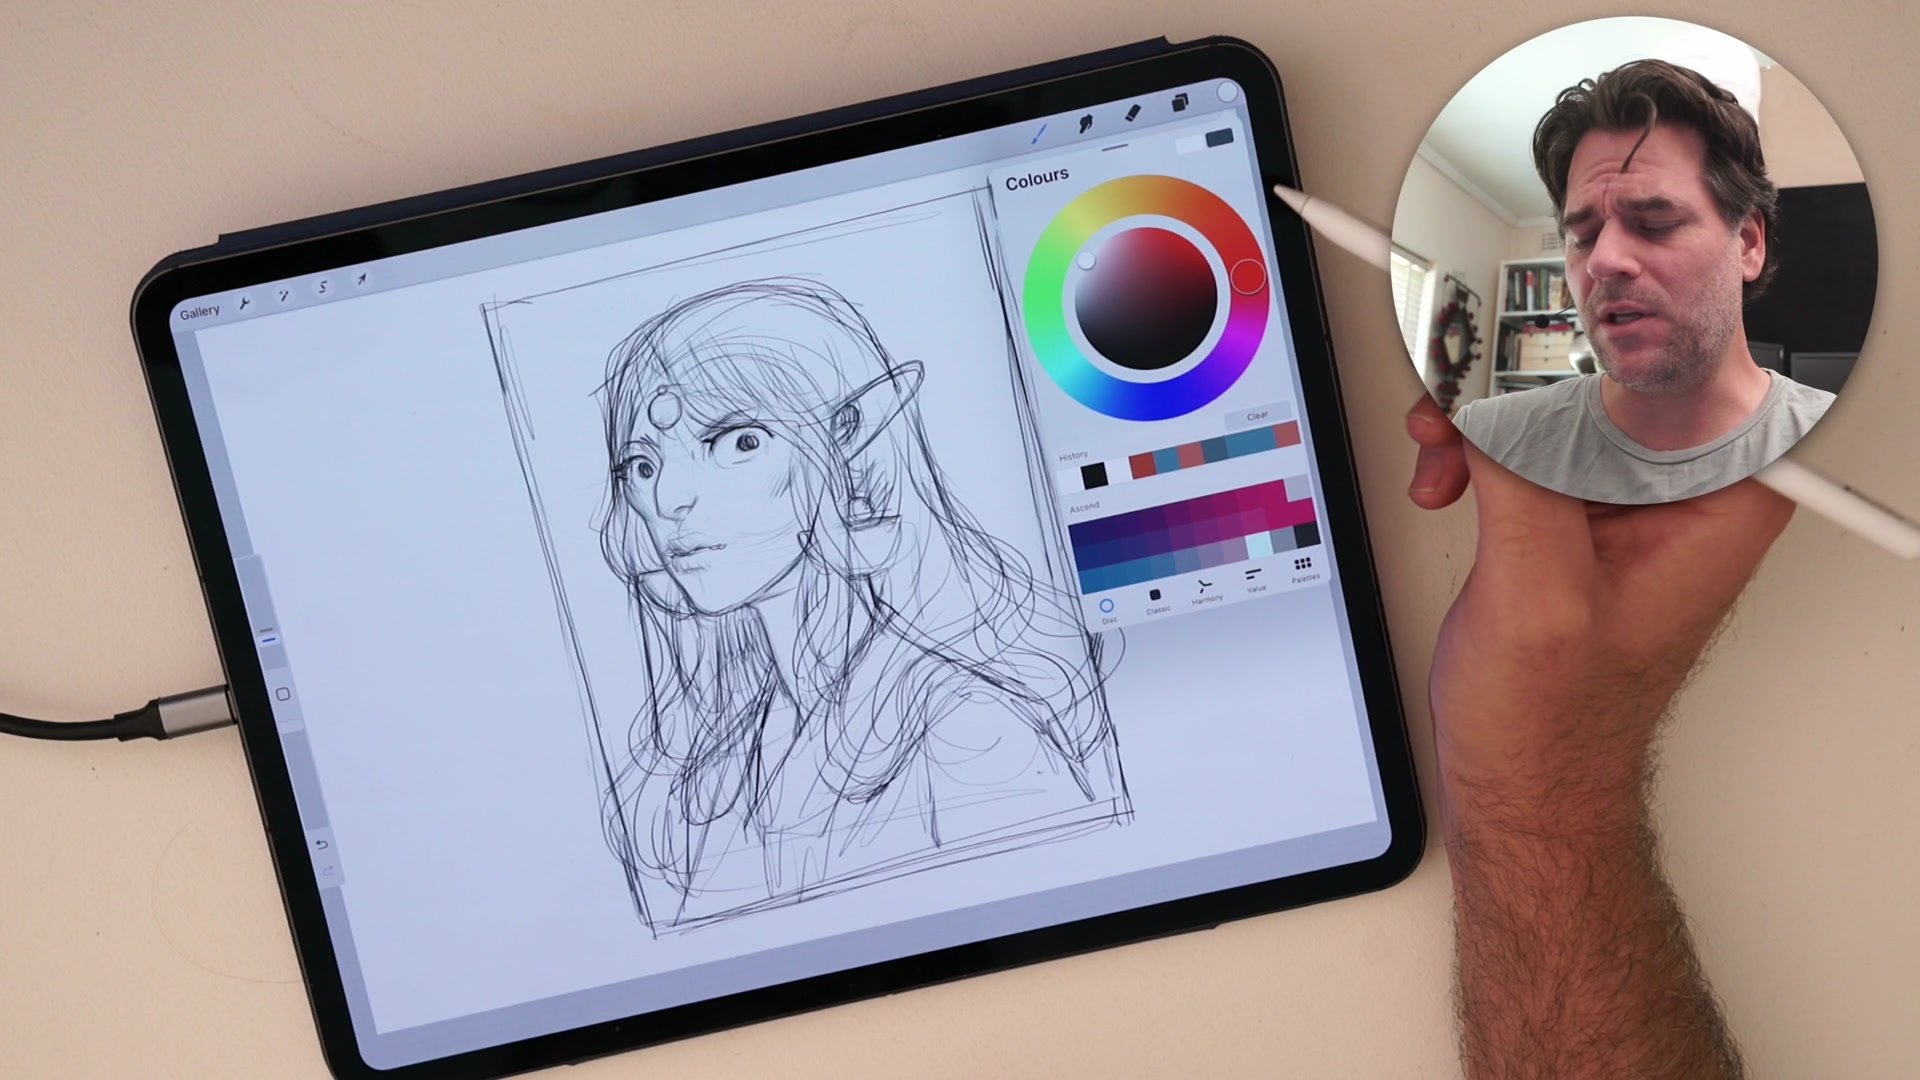
The sepia overlay color itself can be adjusted at any time using Hue, Saturation, and Brightness controls. Shifting the hue from warm orange to cool purple changes the entire character of the sketch instantly, opening up experimentation with complementary color relationships between the line work and the background fills. This non-destructive flexibility means the same drawing can be explored in completely different color moods without redrawing anything.
Final Result
Key Principles
Overlay Colorizes Lines: A bright sepia layer set to Overlay above the sketch automatically transforms black lines into warm tones, creating visual energy that flat black lines lack.
Multiply Makes It Transparent: Setting the white base layer to Multiply treats the entire clipped stack as one transparent image, letting color sit cleanly underneath without extra masking.
Pressure Creates Hierarchy: Light strokes appear in a different, softer color than heavy strokes, naturally separating sketch exploration from finished line decisions through pressure alone.
Sampled Colors Stay Vibrant: The warm overlay bias prevents the muddy, desaturated color drift that happens when sampling from standard black-and-white line work on a white canvas.
Try This Setup
Create the Stack: Make a sketch layer clipped to a white Multiply layer, then add a bright sepia-filled Overlay layer clipped above it. Add a color layer beneath the white layer.
Sketch Loosely: Draw on new layers between the color and line stack. Use light pressure for exploration and heavy pressure for committed marks, watching how the sepia effect separates them.
Add Quick Color: Brush simple flat colors underneath the line group using a basic round brush. Keep it rough like markers or colored pencils rather than trying to render.


