Properly Construct Your Drawing
Summary
Construction Phase
This nearly two-hour real-time tutorial covers the construction phase of a cover illustration, the critical stage between rough color thumbnails and finished line art. Part two of a four-part series, the focus here is on transforming blobby color roughs into a detailed construction drawing in Photoshop, working through anatomy, perspective, environment, and layer management.
The construction phase is where the rubber hits the road. It is the step most beginners skip entirely, jumping from rough sketch straight to finish, but it is where the image is won or lost. Expanding this phase creates a space to experiment, refine, learn anatomy, and solve drawing problems before committing to final lines.
Early Construction
Starting with the Finish
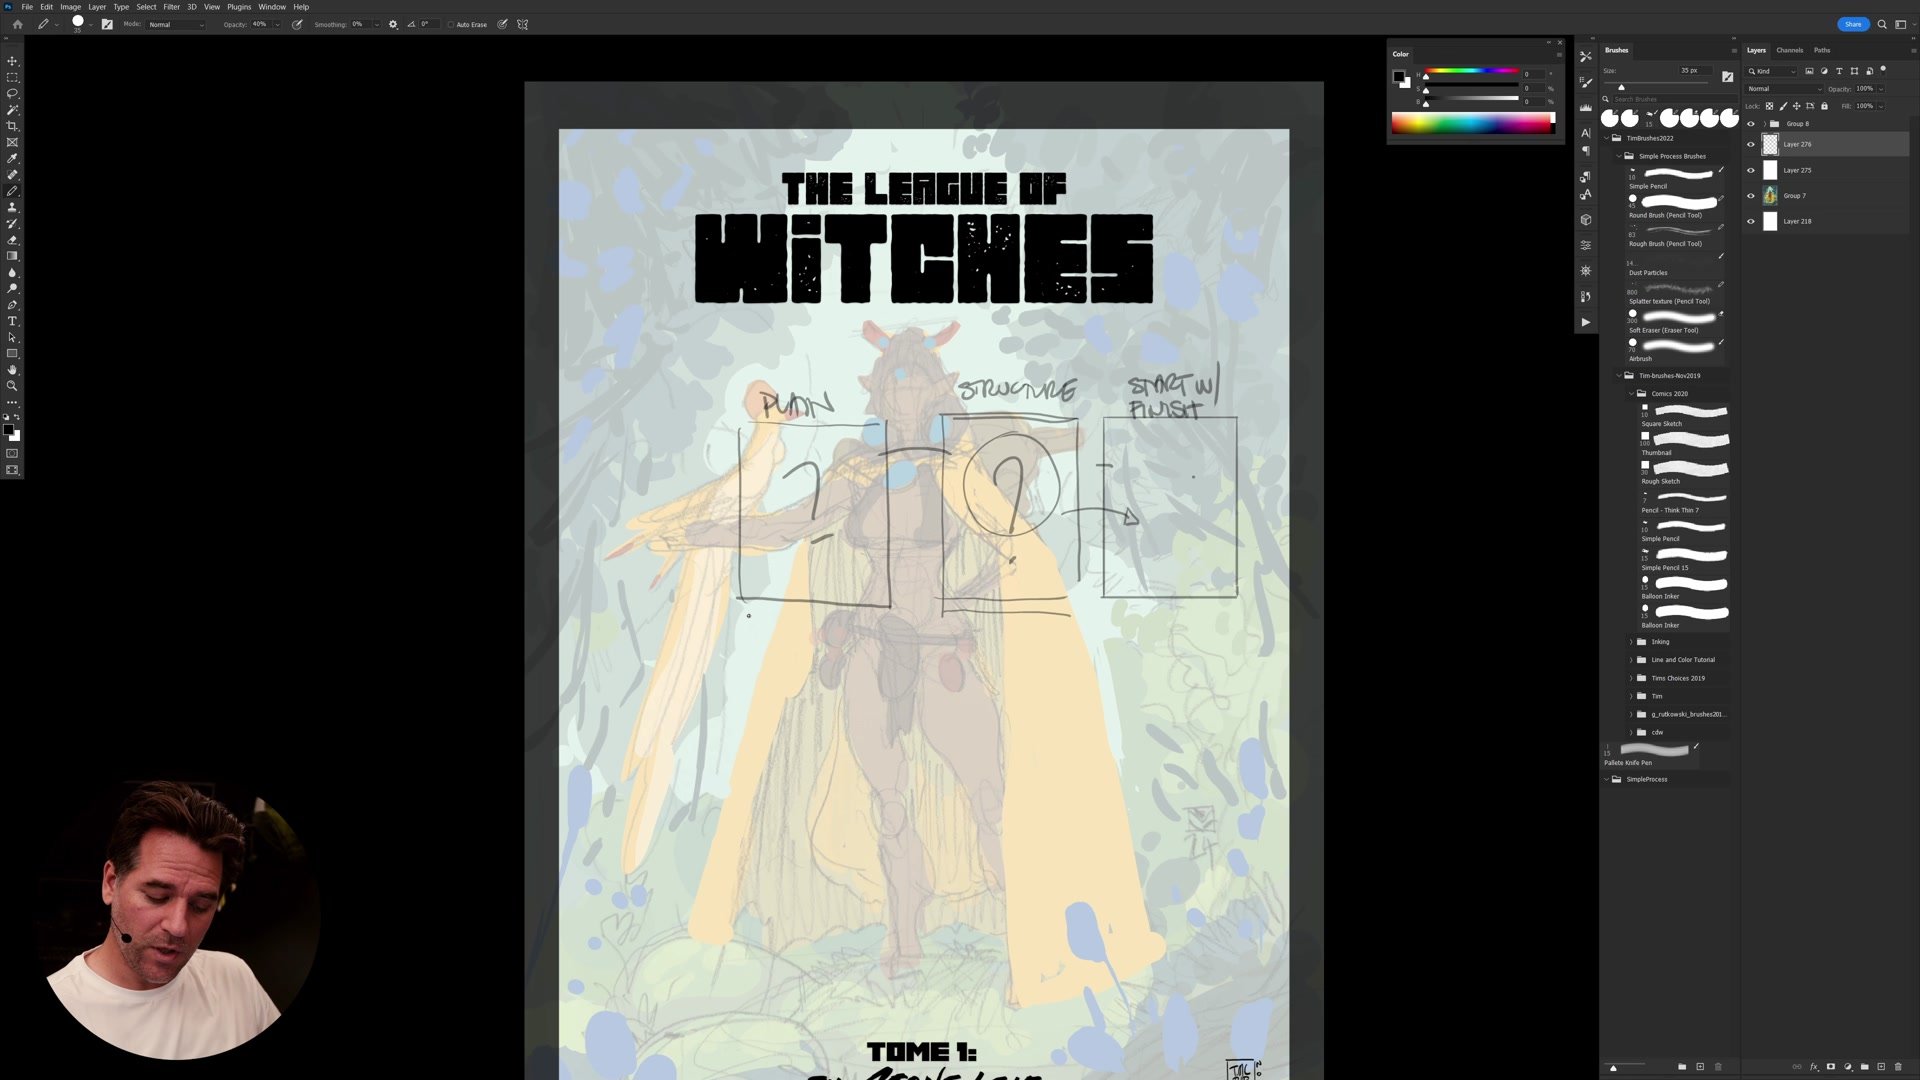
A core principle throughout this demo is starting with the finish. The level of detail and polish desired in the final illustration determines how much structure needs to be built in construction. For a cover-quality image with high fidelity, significant construction is required. For a quick personal piece, less might suffice.
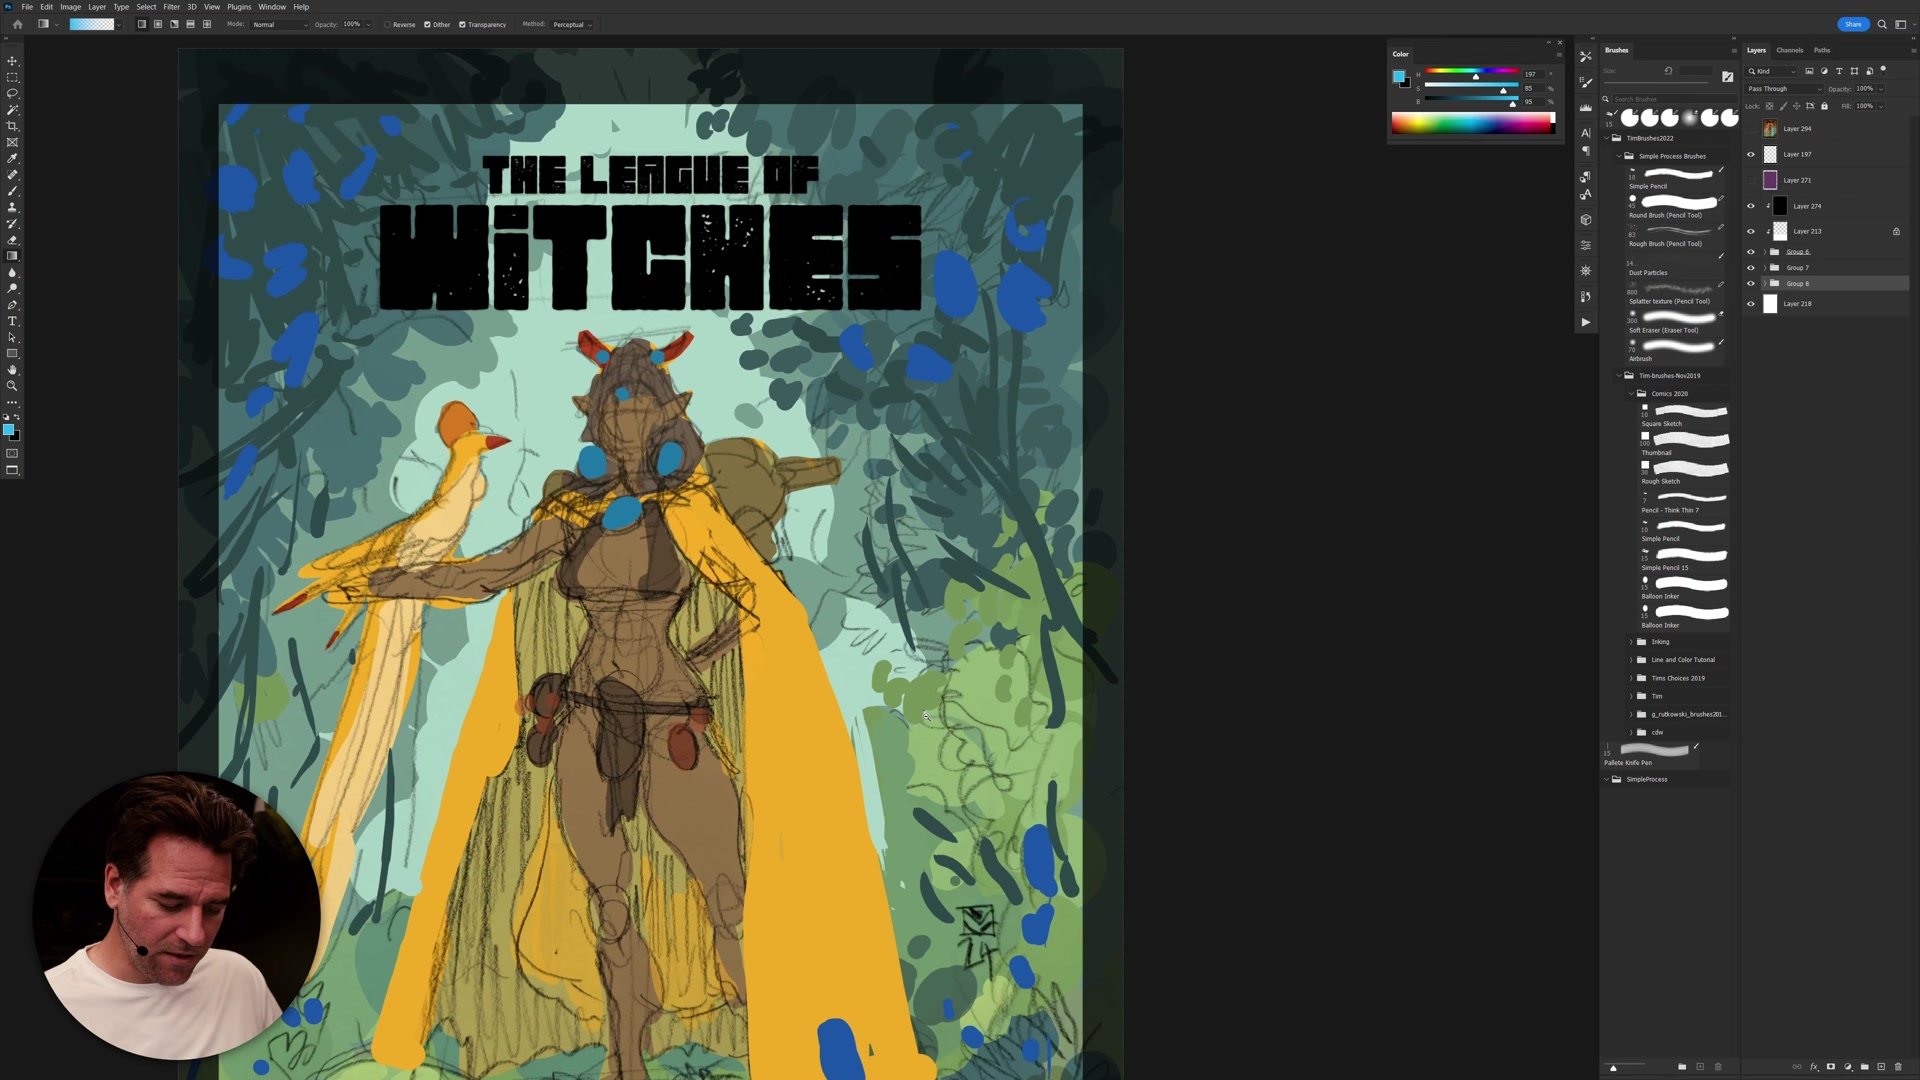
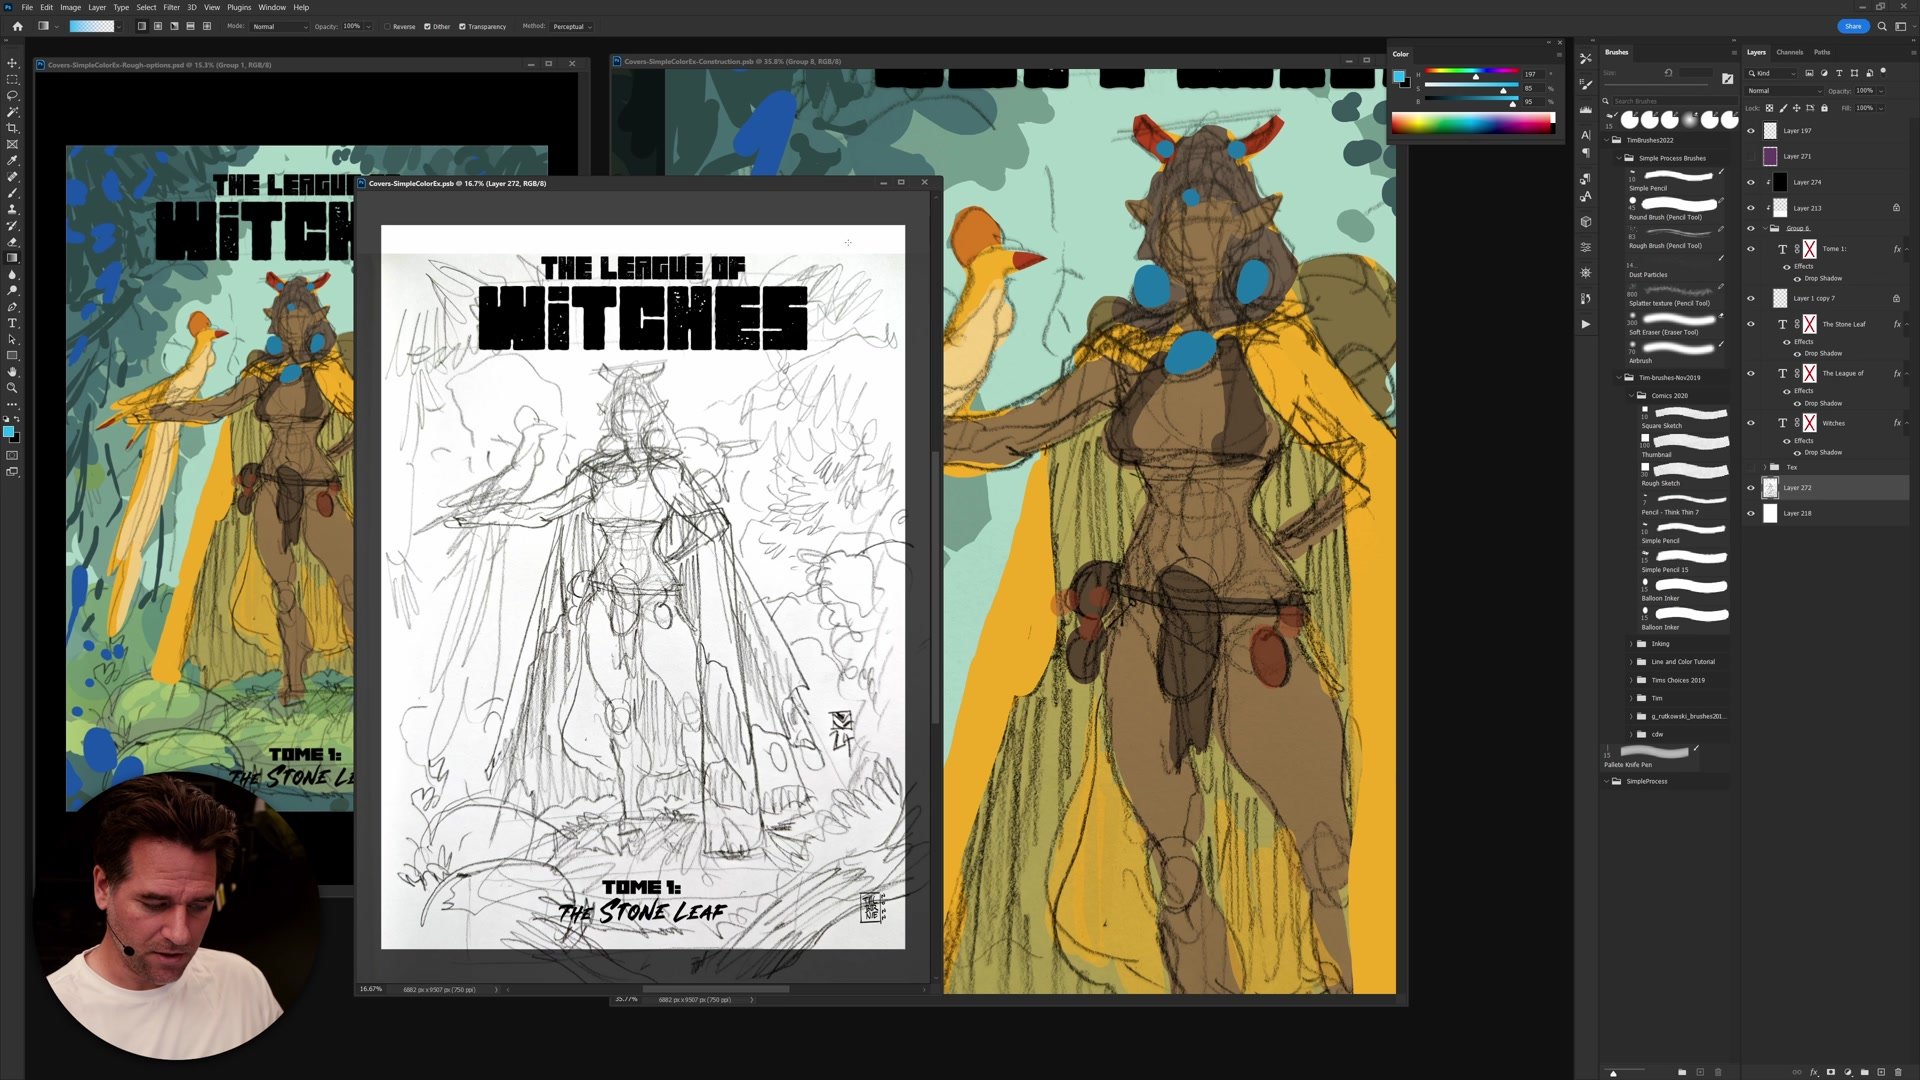
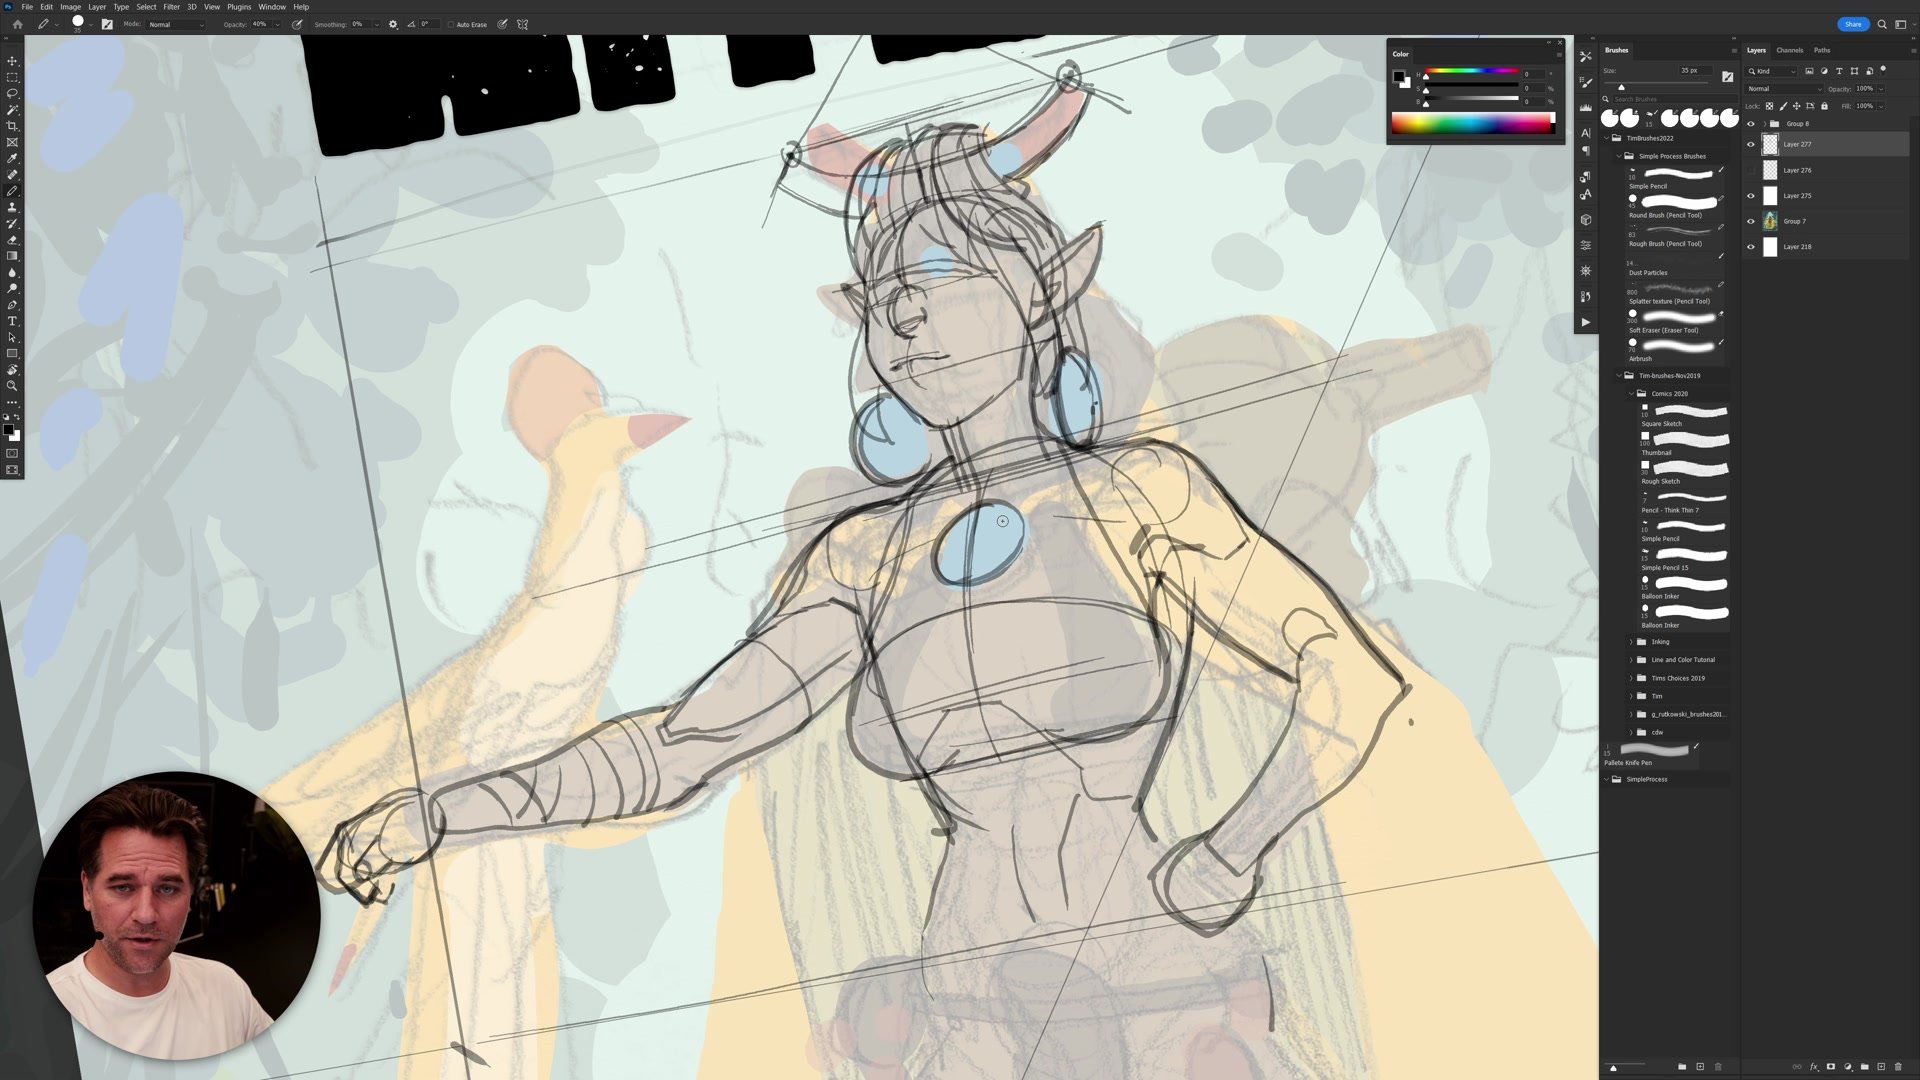
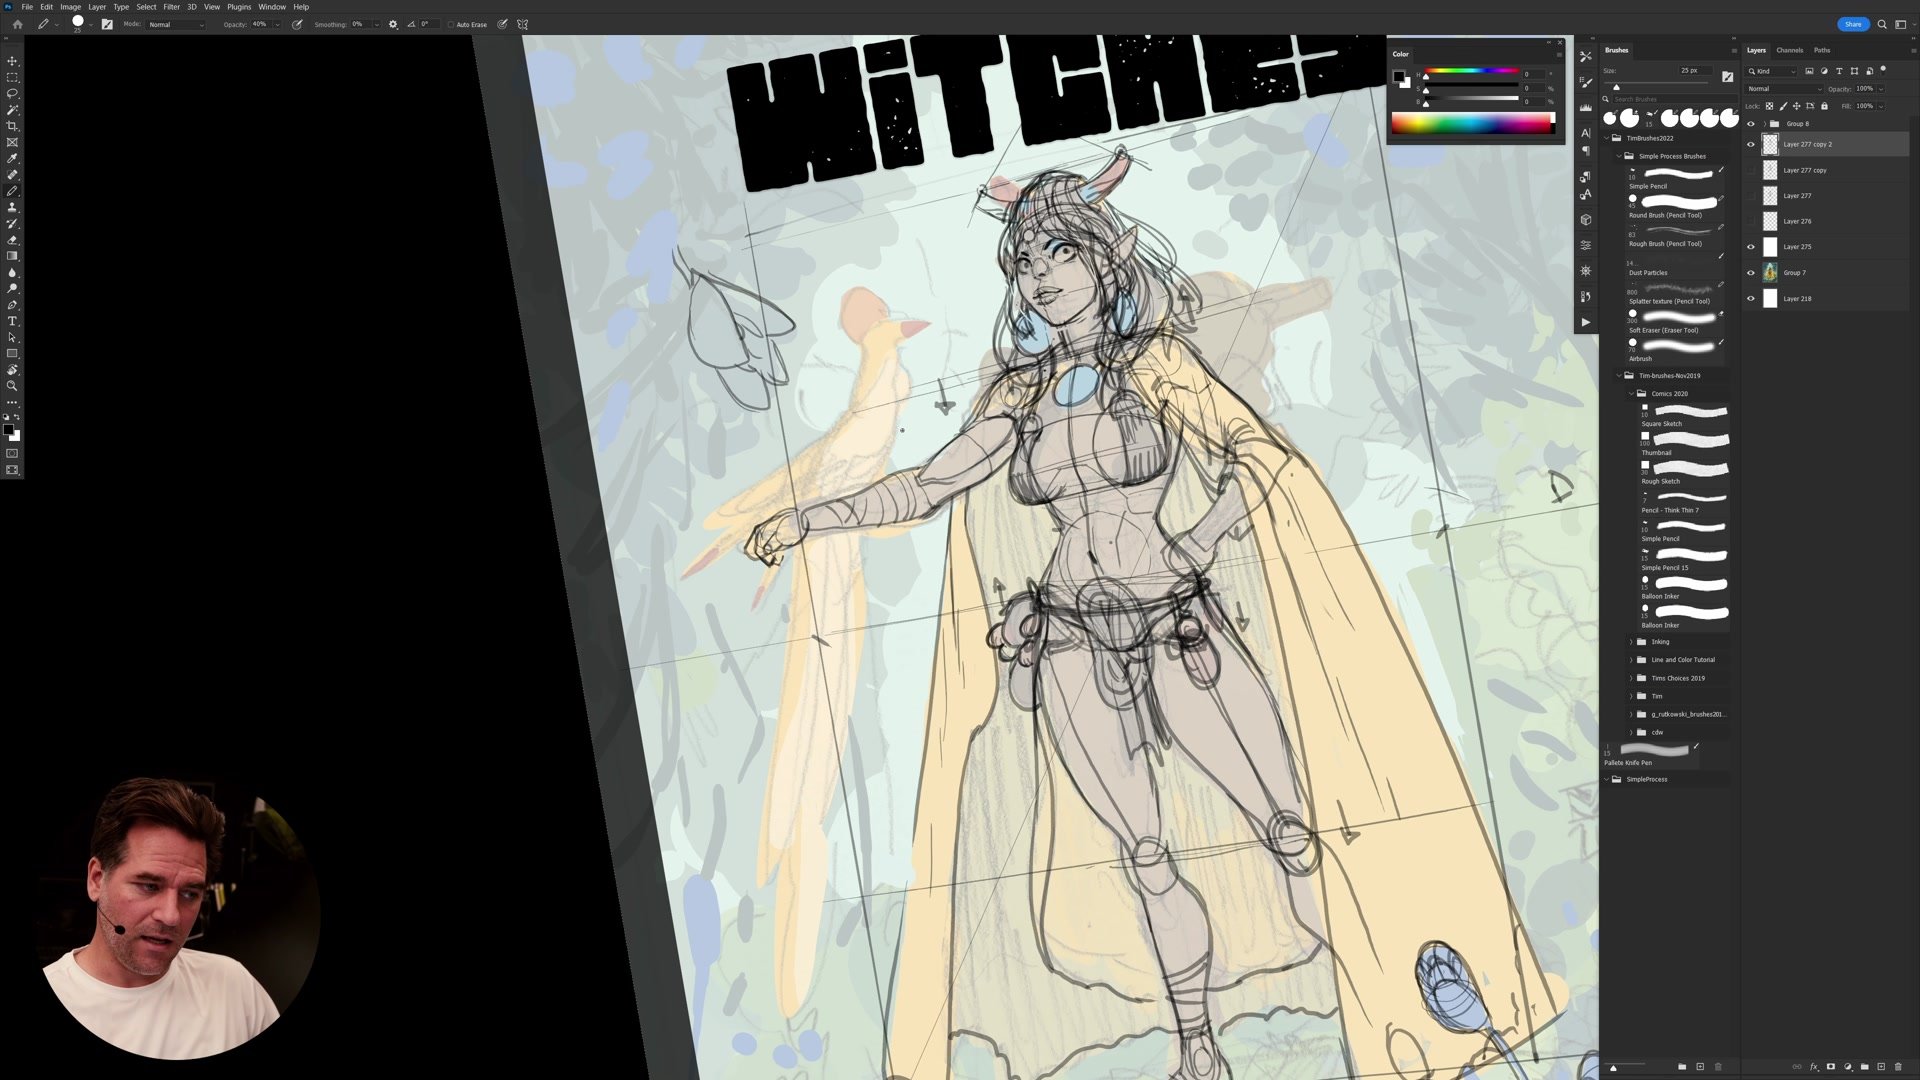
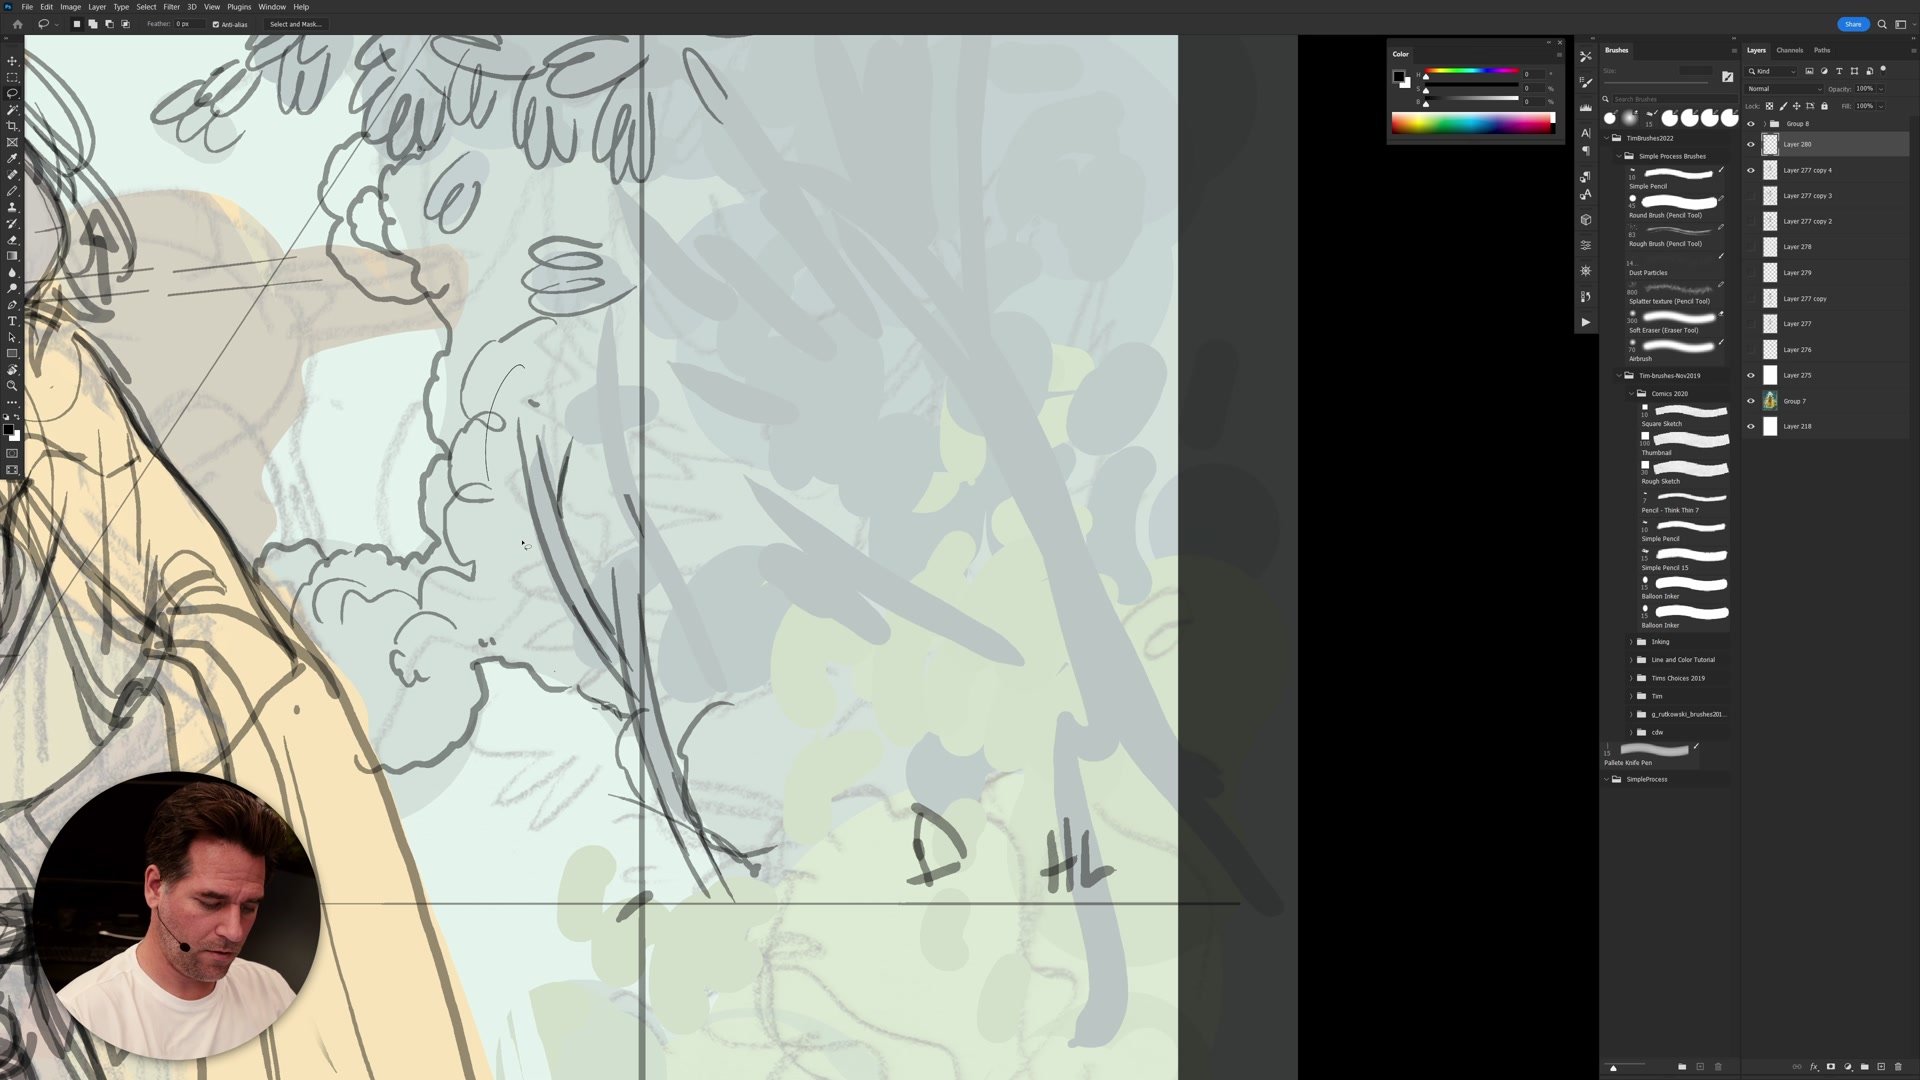
The construction drawing uses a simple technique: a white layer at reduced opacity placed over the color rough, allowing drawing on top while still seeing the plan underneath. The color thumbnails from part one provide essential guidance about what layers need to exist, what sits in front of what, and which elements should be different colors. Without that color plan, the construction phase becomes disorienting because there is no clear direction for where things belong.
Figure Anatomy

Constructive Anatomy
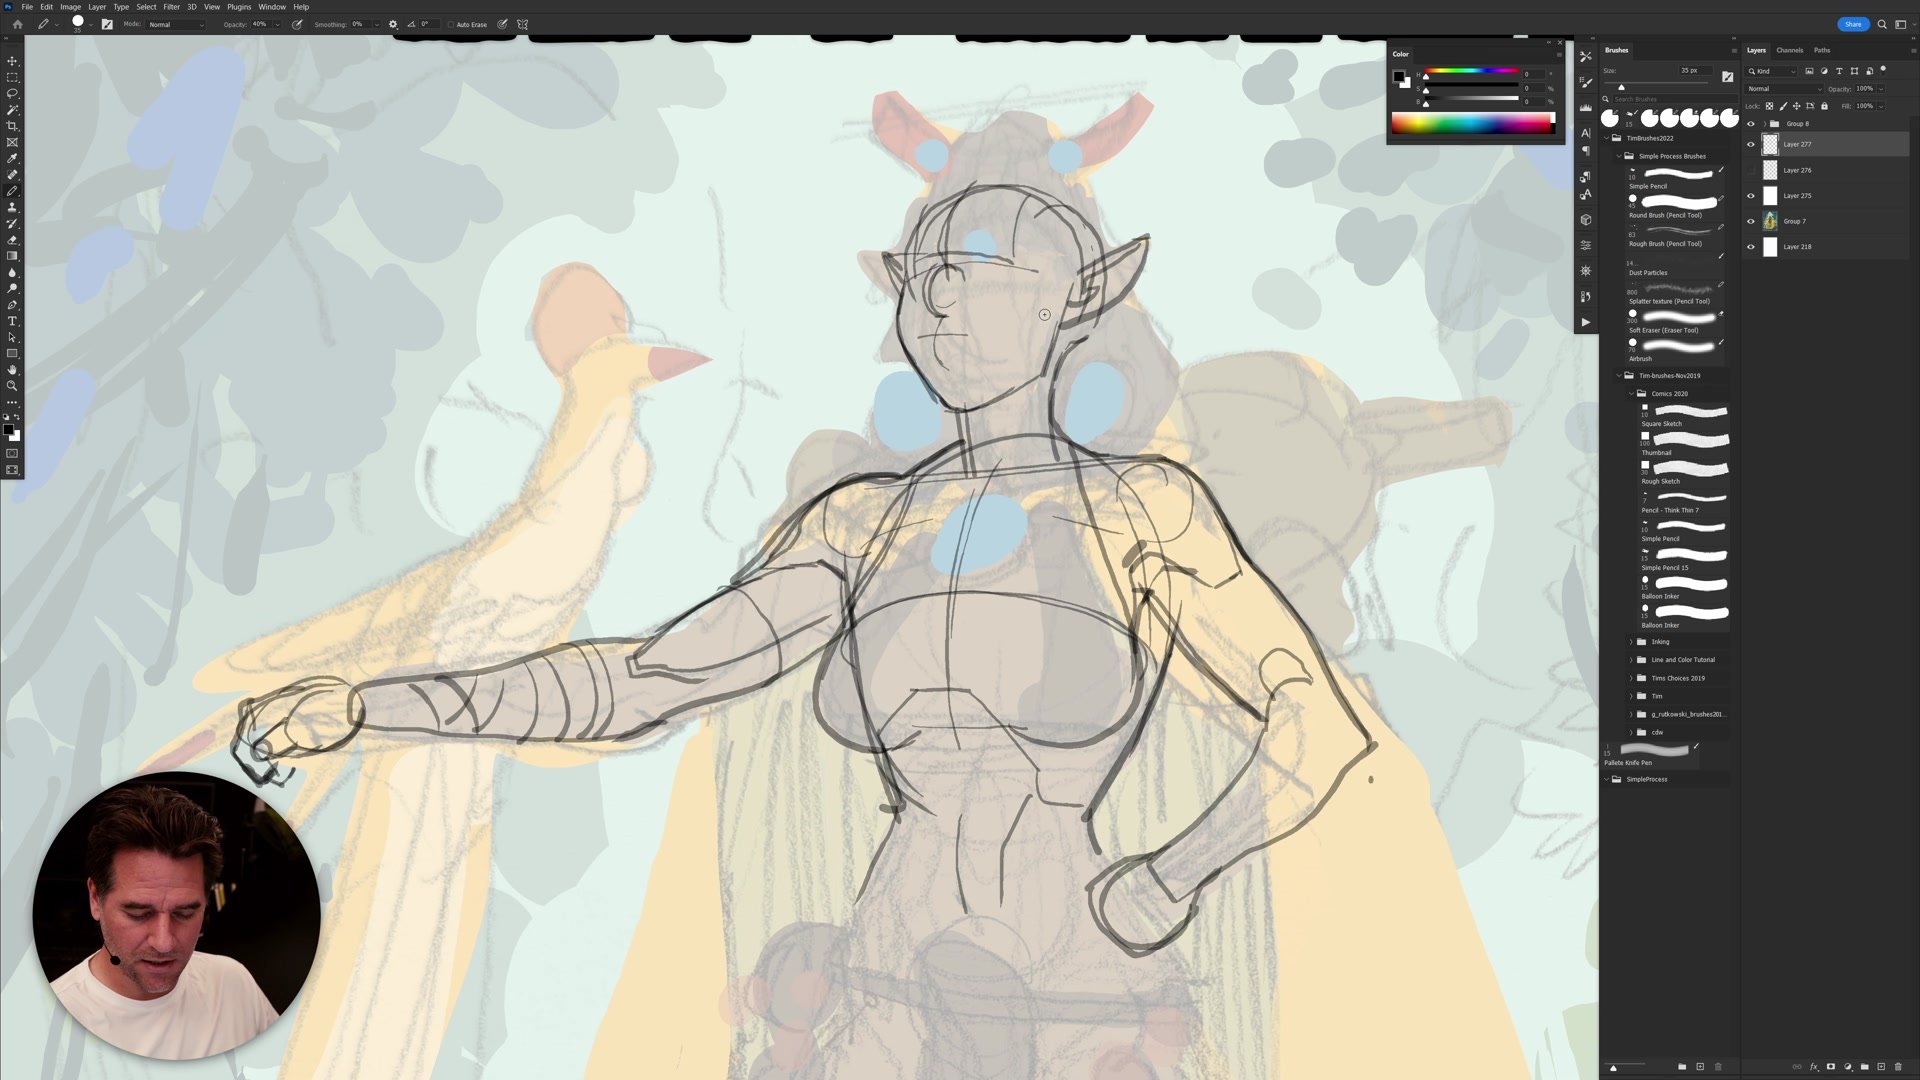
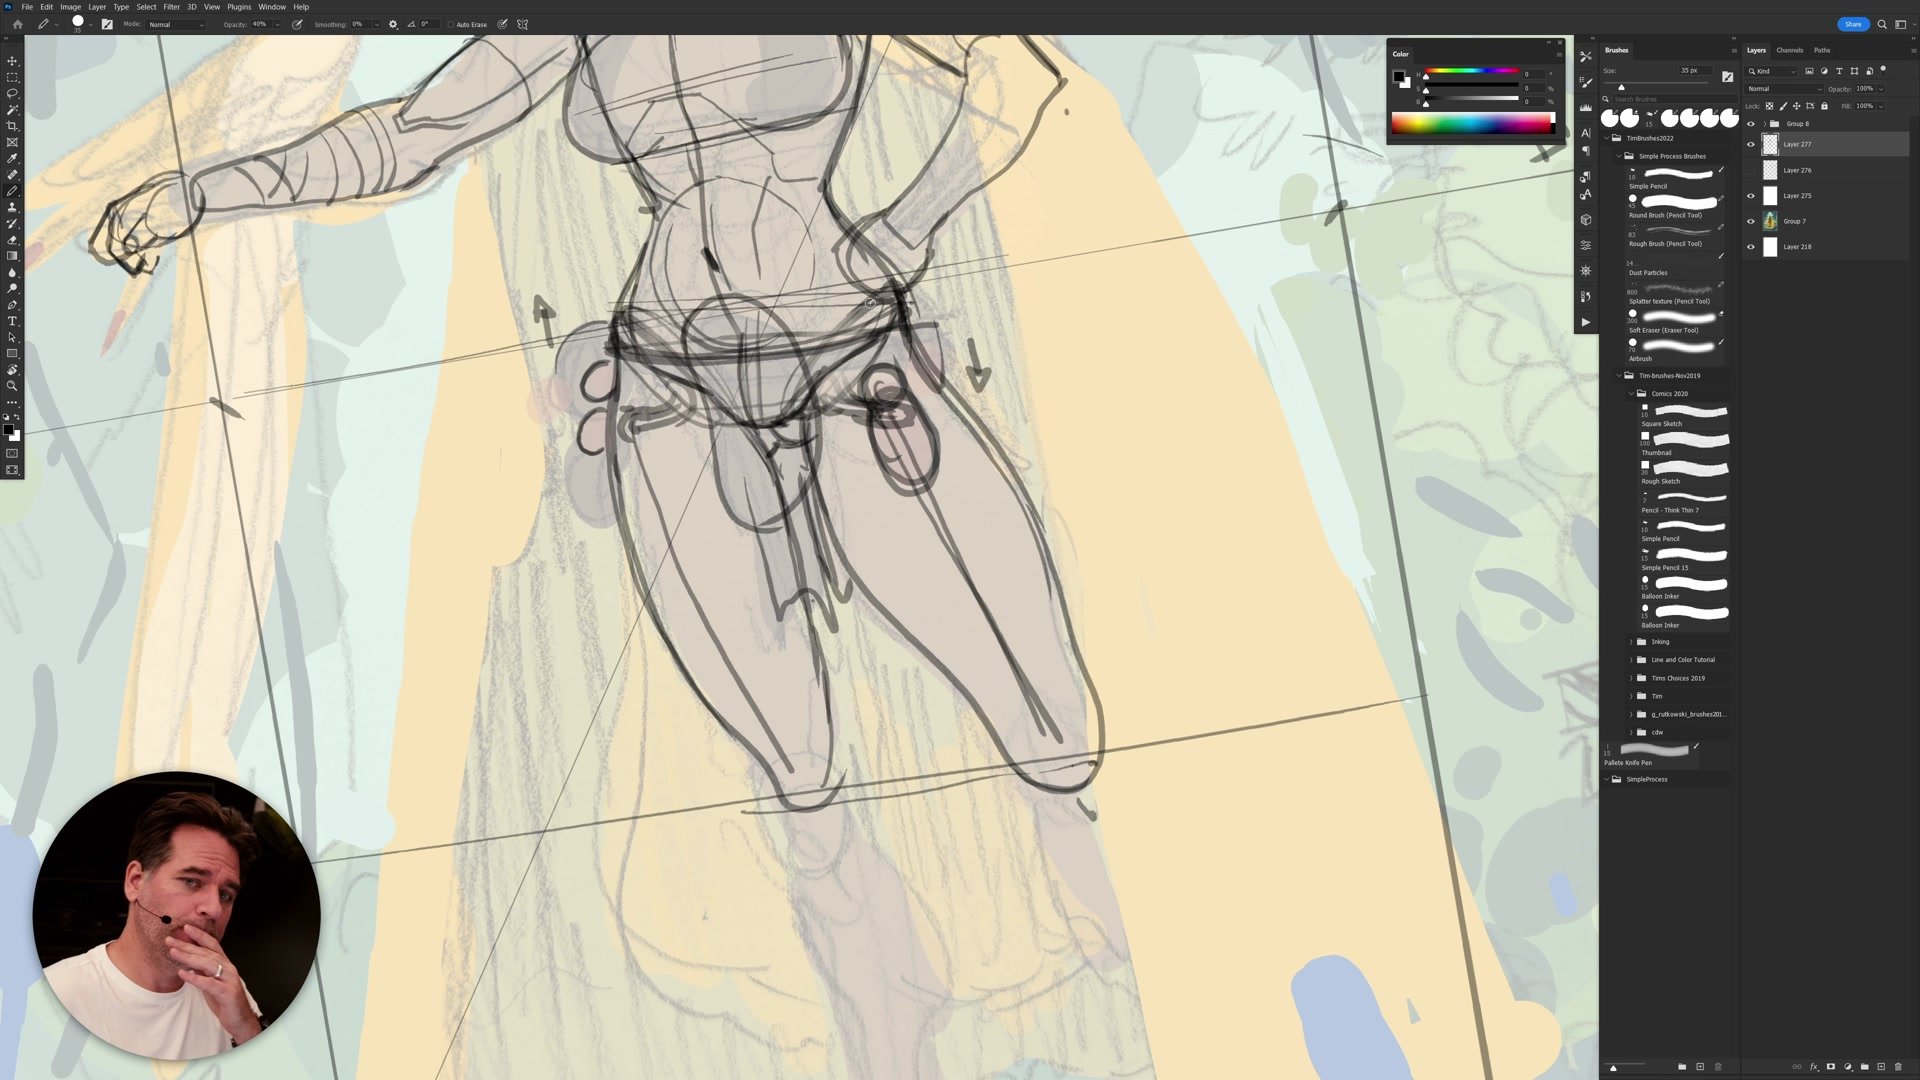
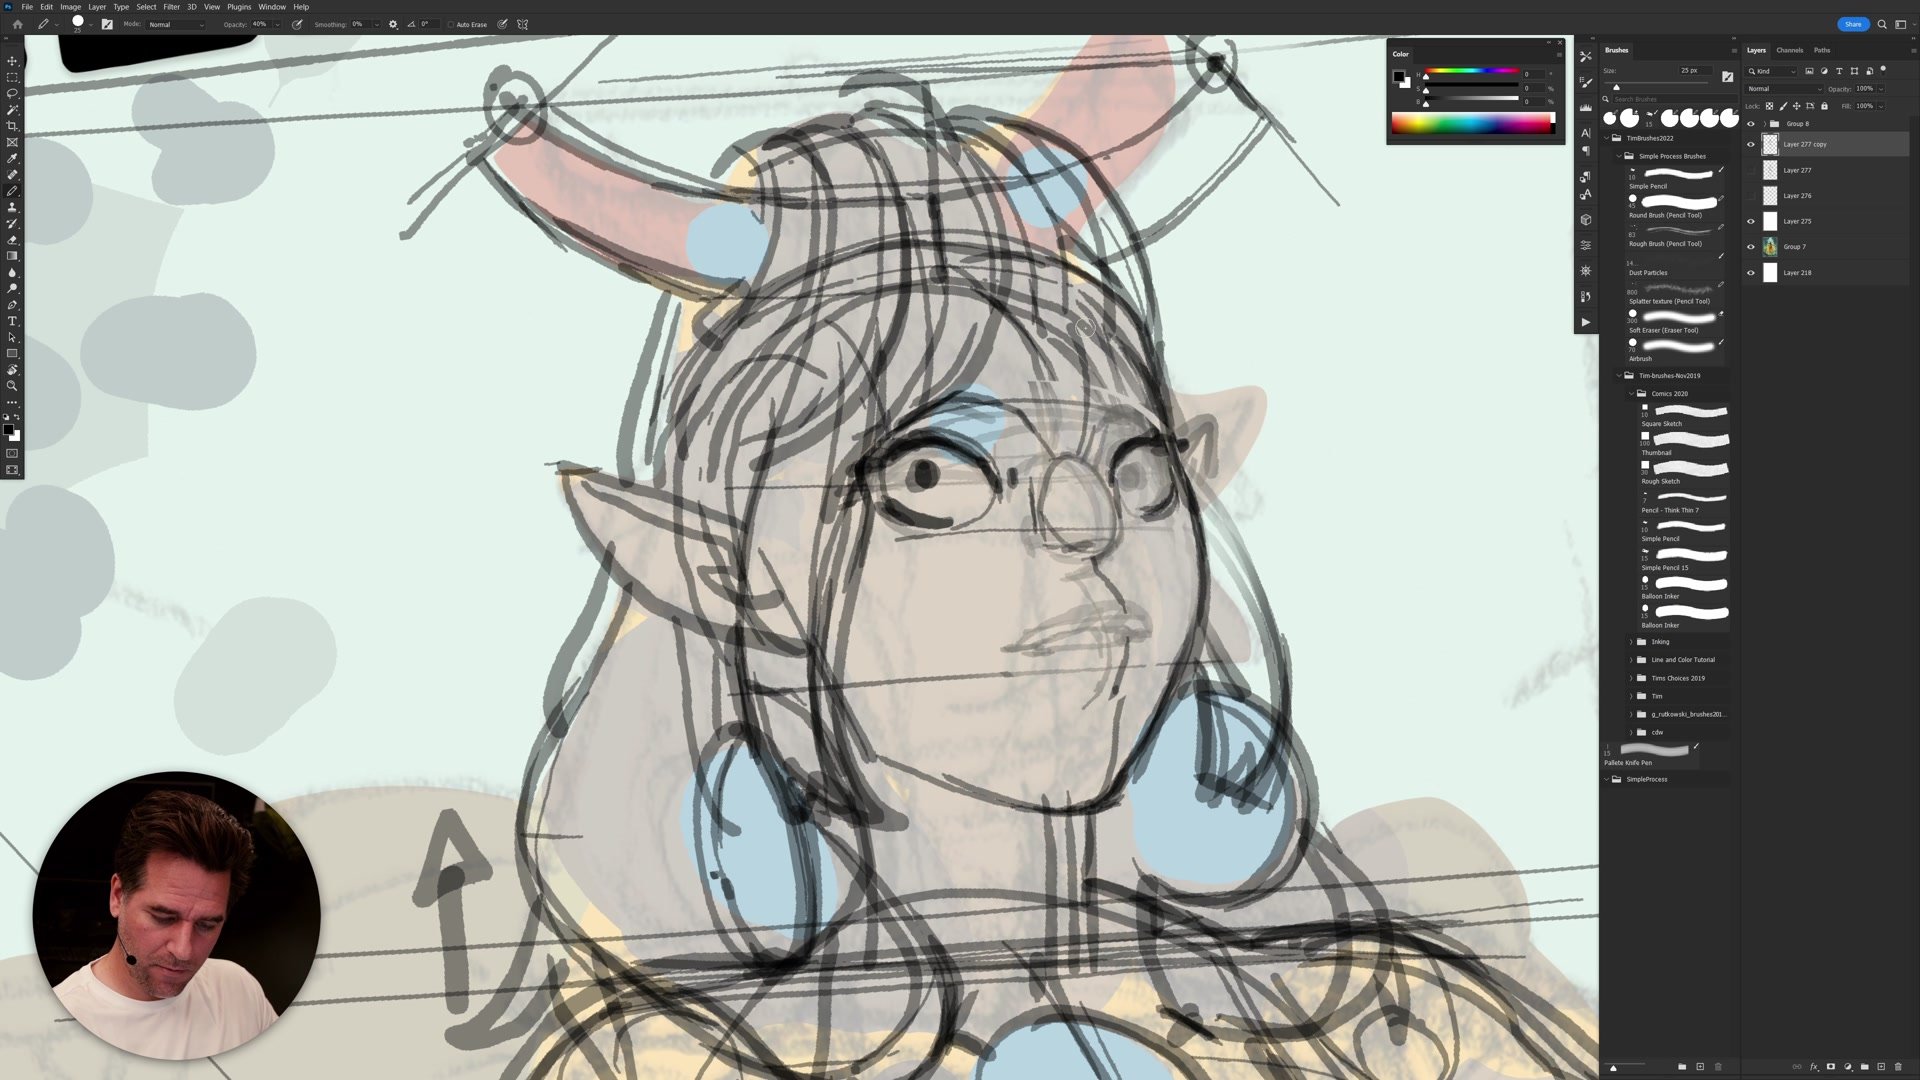
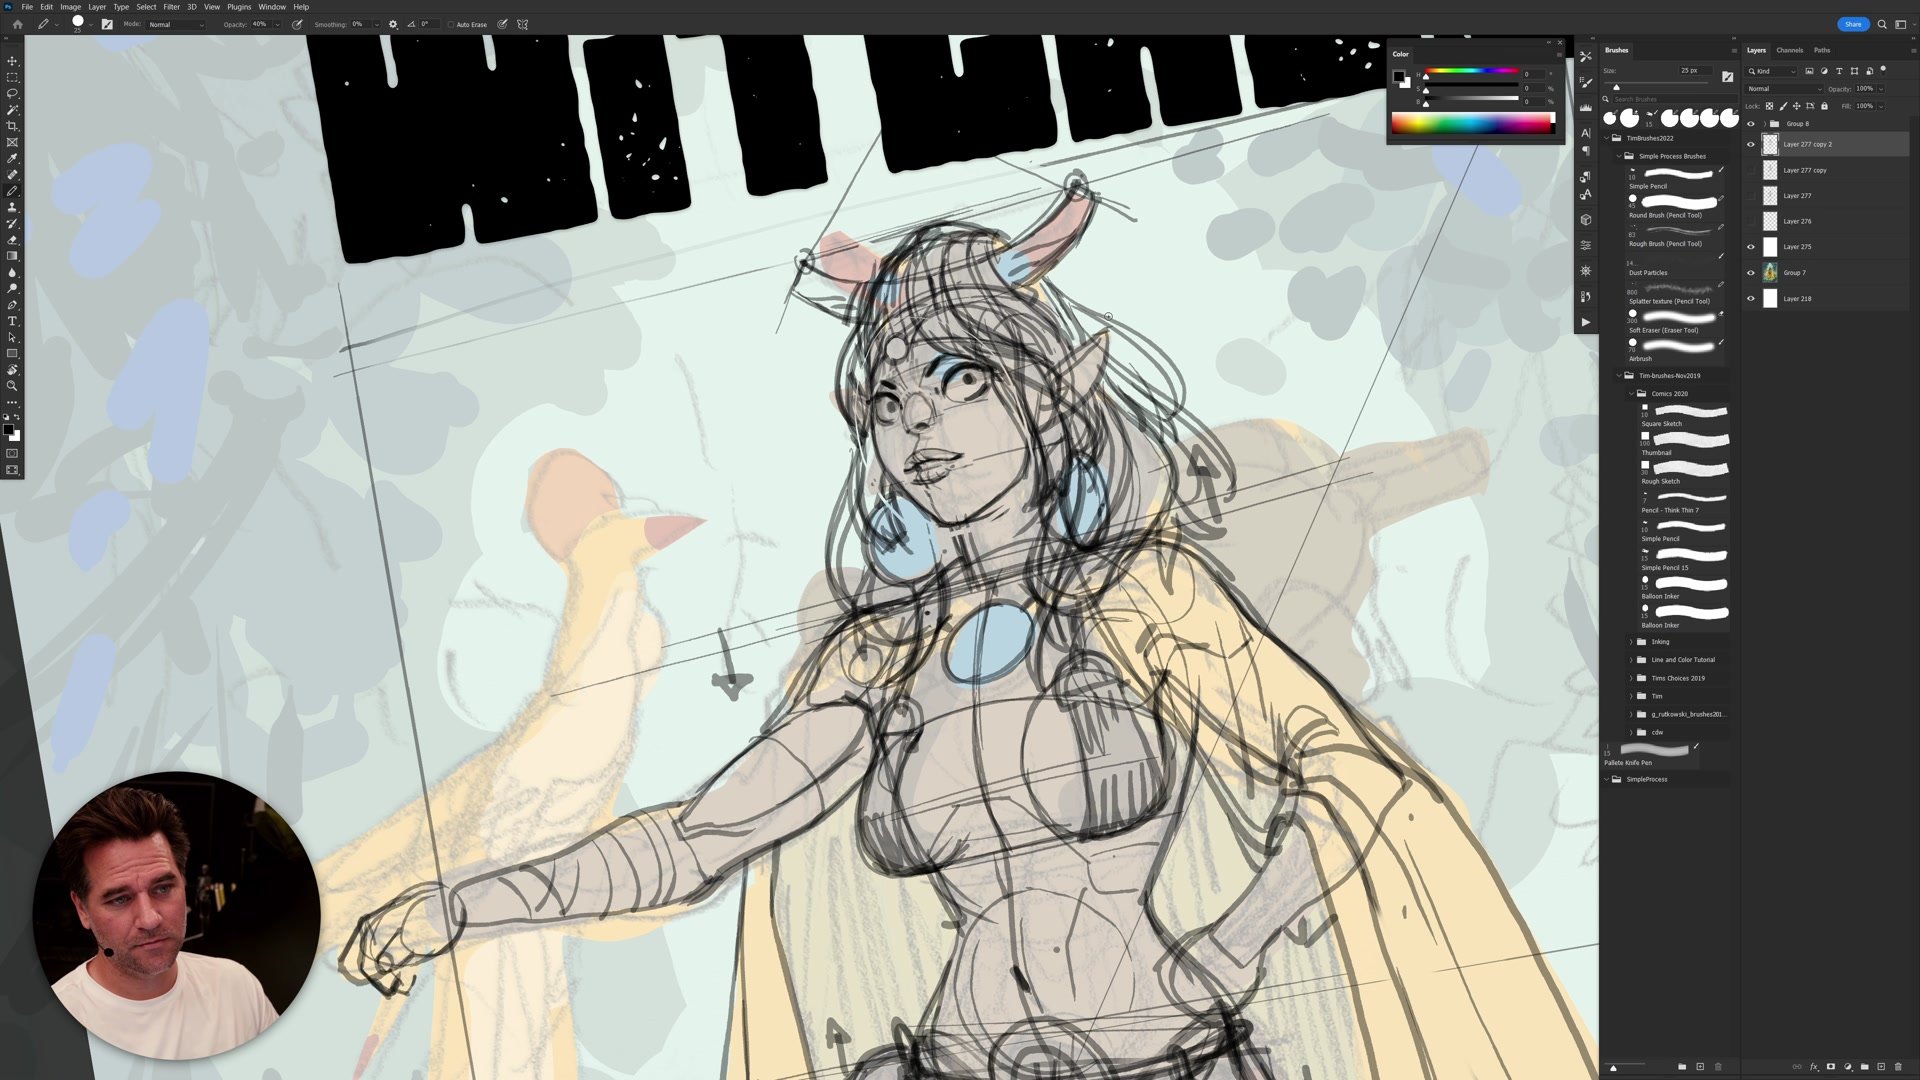
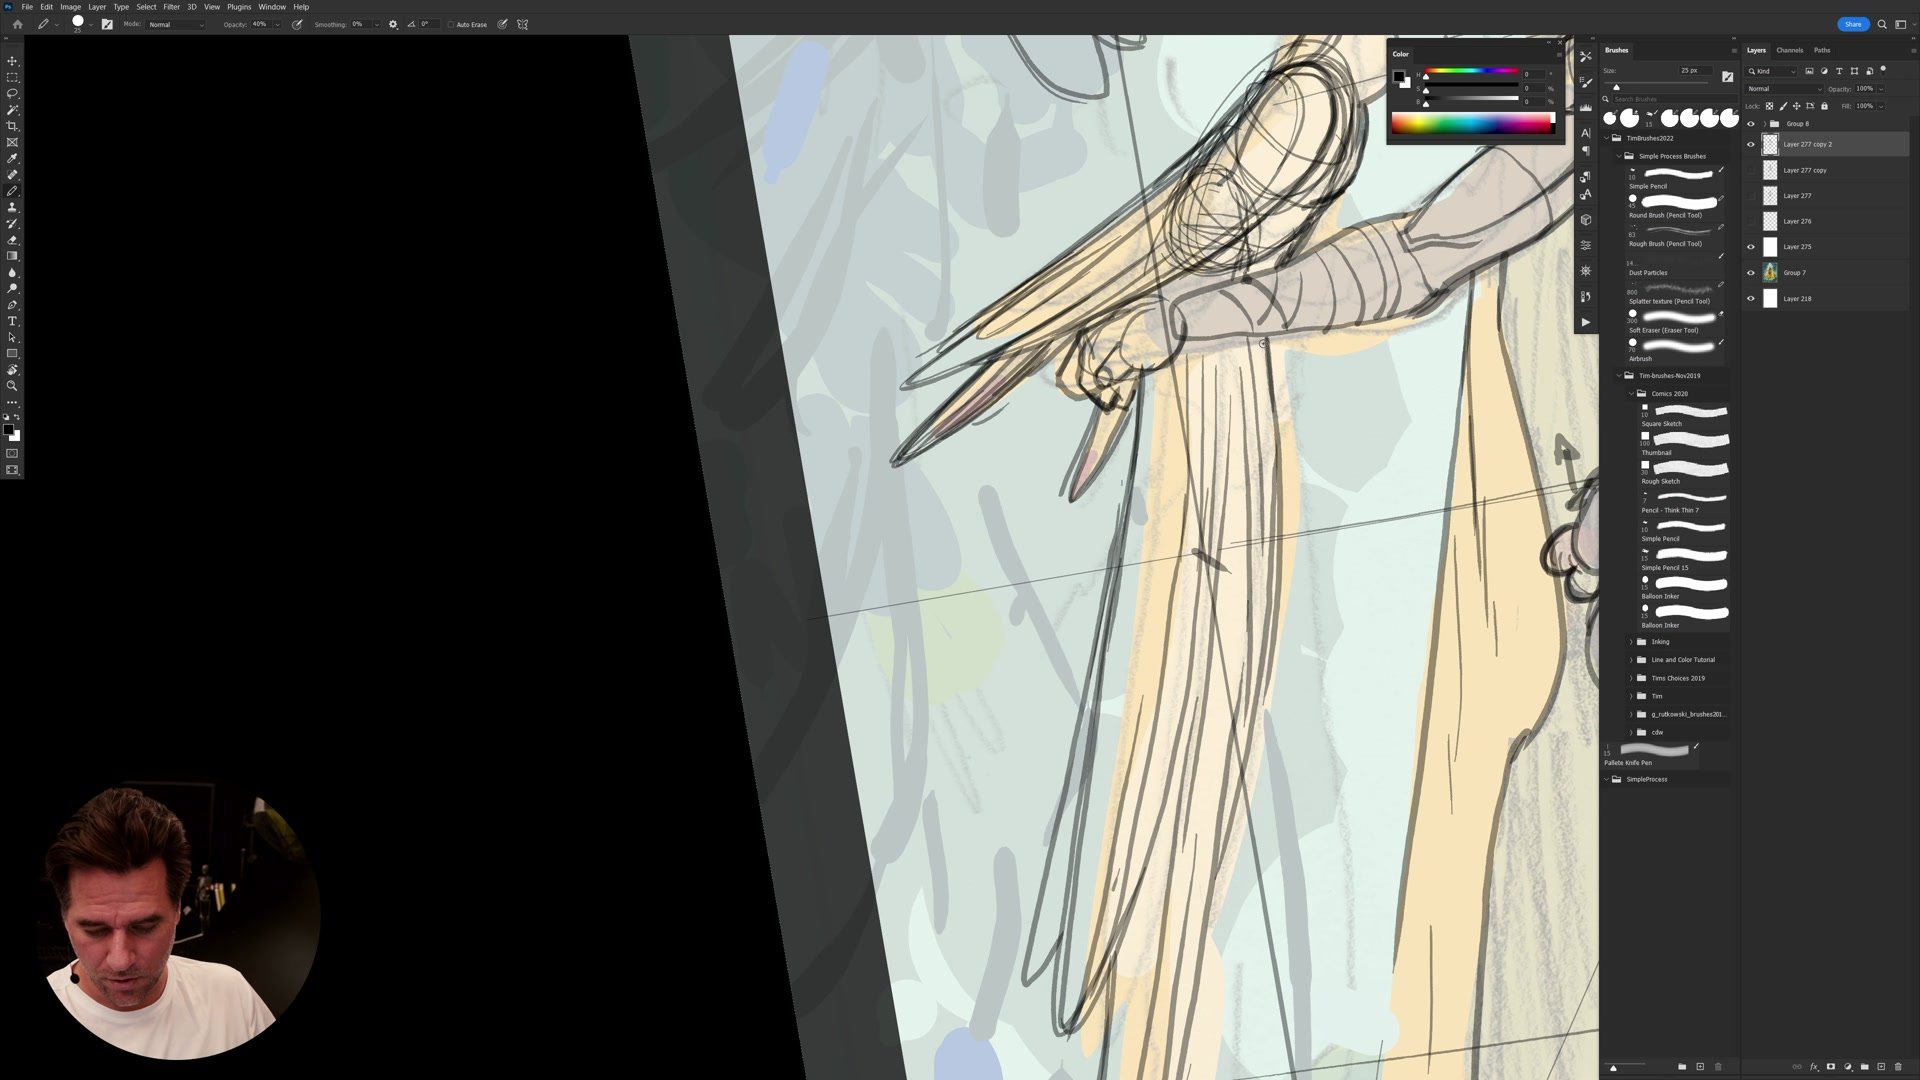
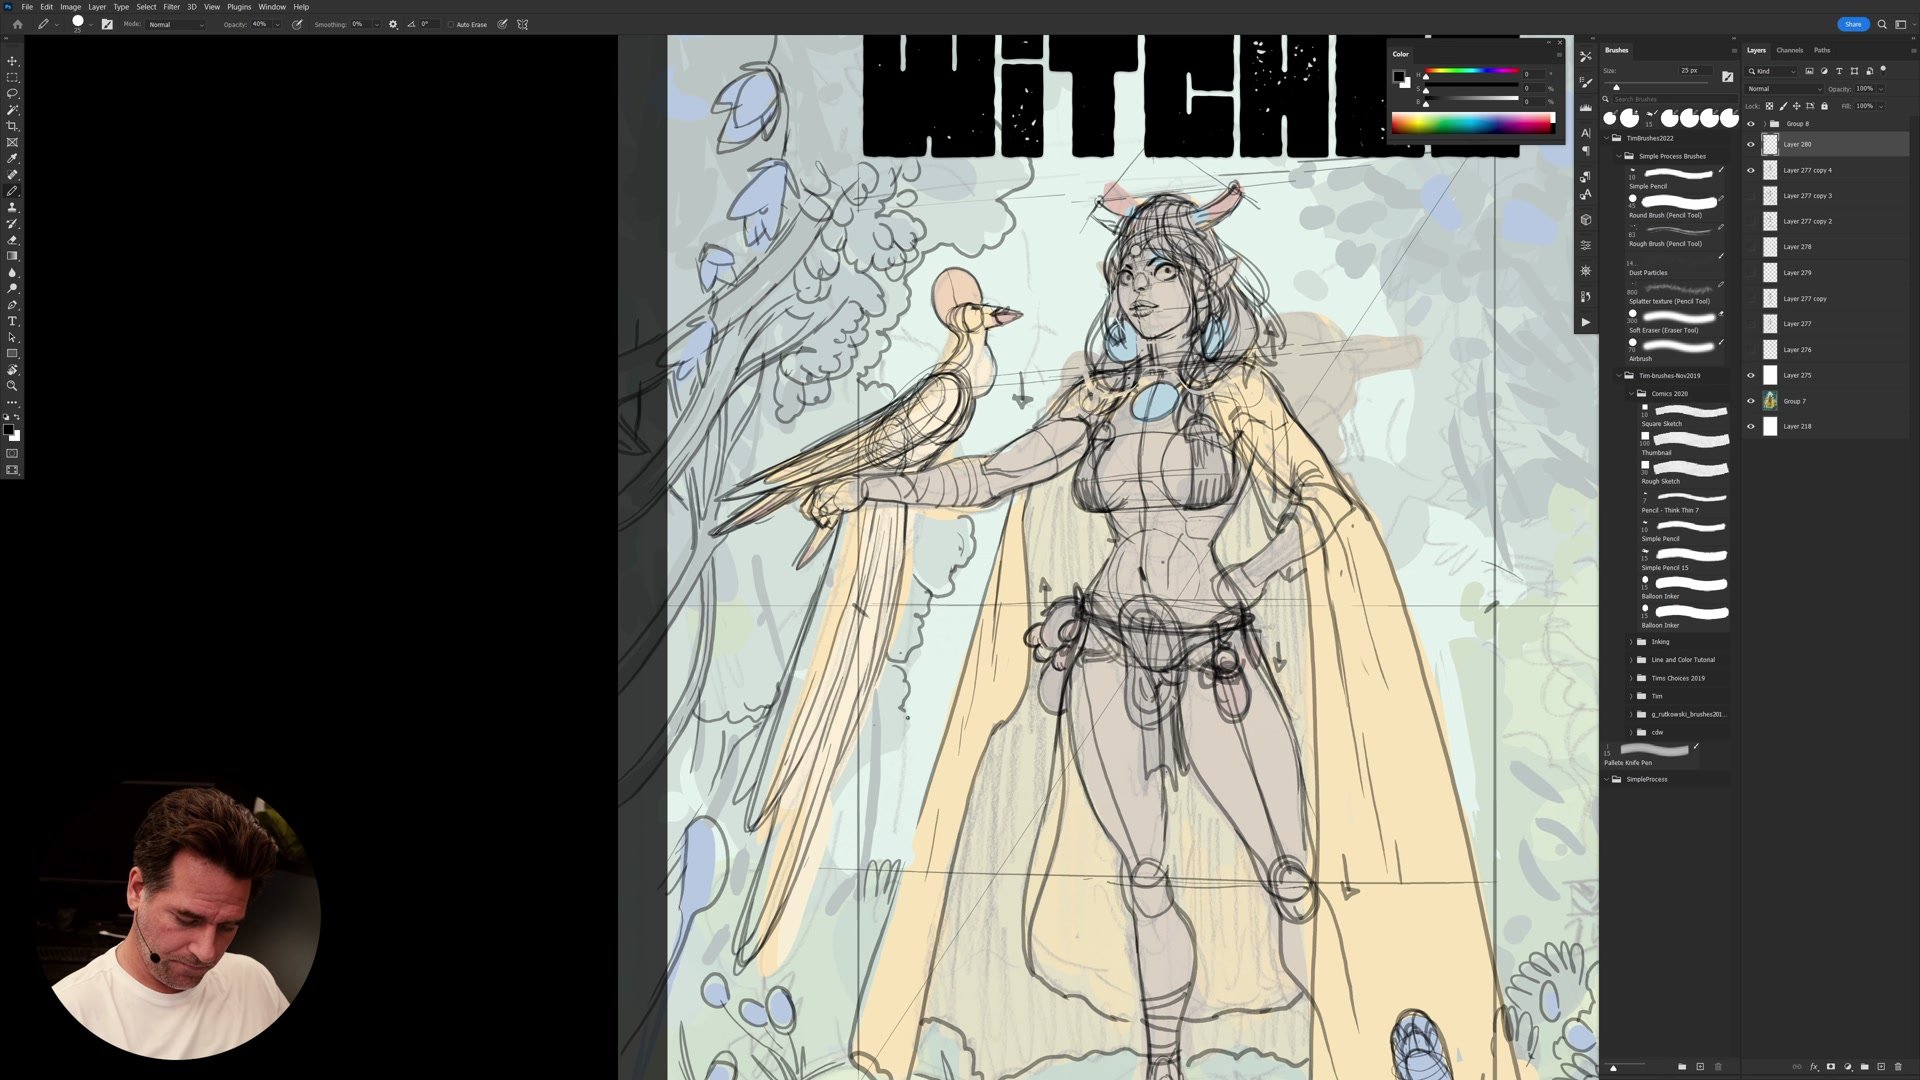
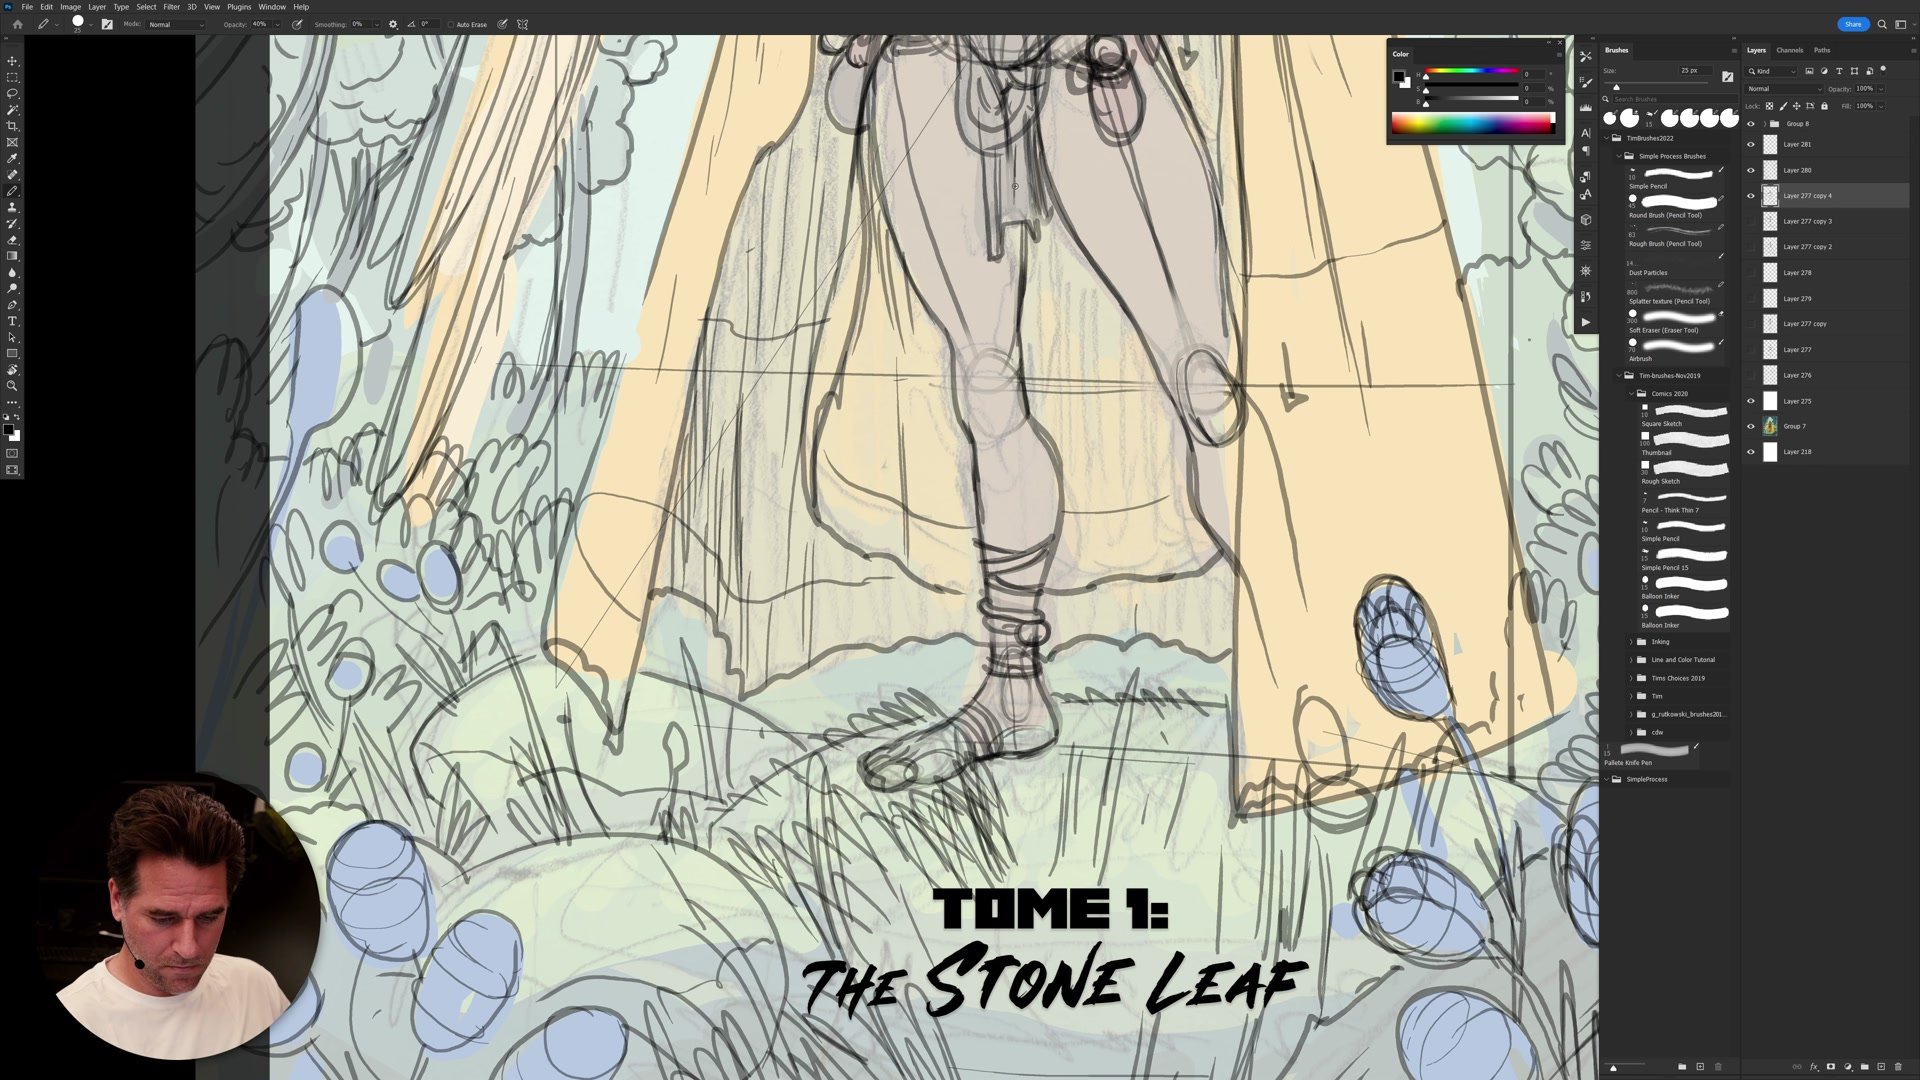
The figure construction proceeds methodically. Perspective lines and a horizon line are established first, even for a character illustration, because knowing where the viewer's eye level sits determines how every element aligns. Center lines through the torso help distribute features symmetrically, and construction arrows mark where hips, shoulders, and knees fall relative to each other.
The approach here is not about rigid anatomical study. It is about giving yourself permission to fail, to erase, and to experiment at a stage where corrections are cheap. Drawing the anatomy underneath clothing that will cover it still matters, because understanding where the body sits makes drapery, accessories, and proportions more convincing. Flipping the canvas regularly catches proportion drift that builds up during extended zoomed-in work.
Environment and Detail
Drawing from Imagination
A significant portion of this demo addresses drawing without reference. The bird on the character's arm is constructed entirely from imagination using primary, secondary, and tertiary forms. A bird at its most basic is a water balloon body, a cylinder neck, a sphere head, and a cone beak. From those primitives, stylized shapes emerge that suit the fantasy context of the illustration.
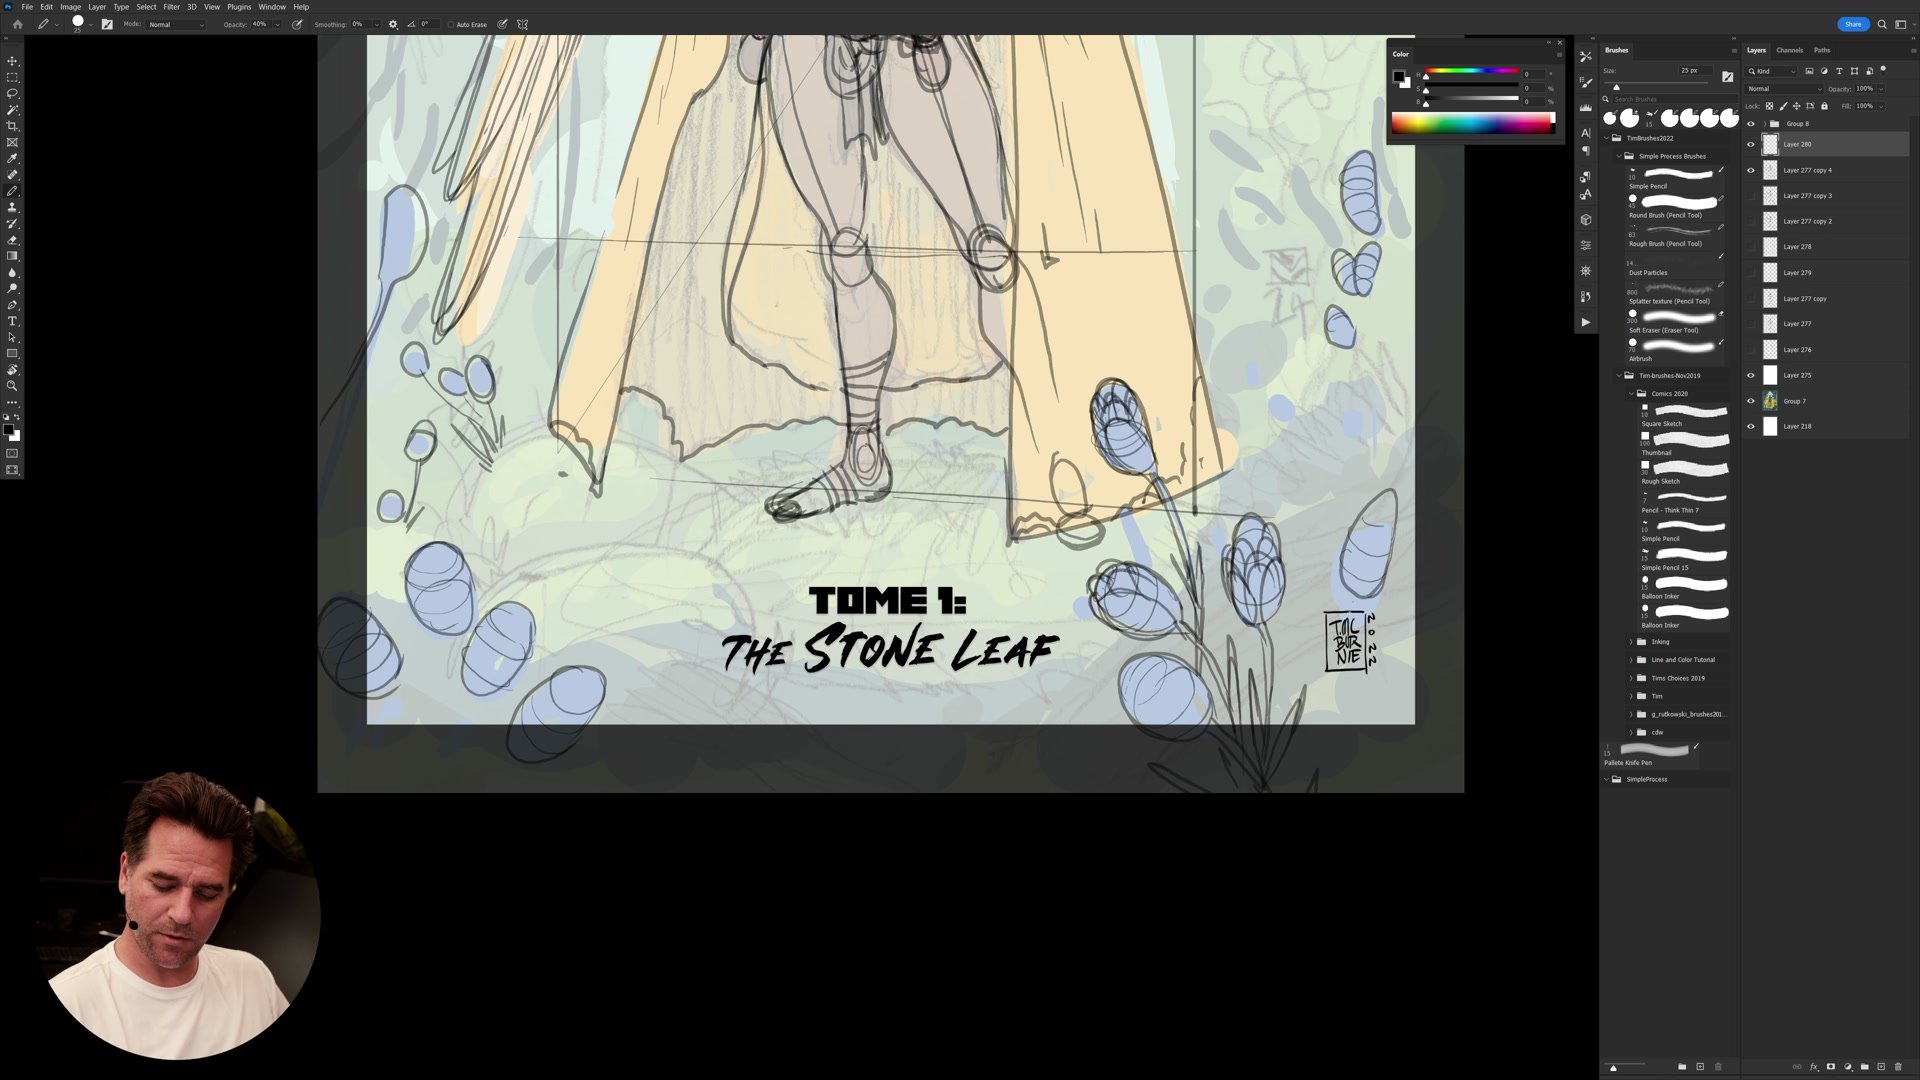
The environment construction, including tree branches, hanging flowers, and ground foliage, follows the same principle: plan what goes on what layer, establish overlap relationships, and draw enough structure that the flat coloring stage later becomes straightforward. Every element drawn on a separate layer allows independent color fills, atmospheric separation between planes, and easy corrections without destroying surrounding work.
Final Construction

Key Techniques
Start with the Finish: The level of polish desired in the final illustration determines how much construction is needed. A cover demands extensive construction. A quick sketch may not.
Expand the Construction Phase: This is where learning happens. Building anatomy, solving perspective problems, and experimenting with forms during construction builds skill while creating finished work.
Primary Form Construction: Drawing from imagination relies on building from simple geometric forms (water balloon, cylinder, cone) rather than copying specific reference. This enables creative freedom in stylized work.
Layer Planning for Color: Every major element on its own layer simplifies the flat coloring process. Knowing what overlaps what prevents confusion and allows atmospheric separation between planes.
Flip and Check: Regularly flipping the canvas catches proportion errors that accumulate during extended zoomed-in work sessions.
Try This
Step 1: Take a rough thumbnail or color sketch and place a white layer at reduced opacity over it. Draw construction lines on top, focusing on establishing perspective lines and a horizon line first.
Step 2: Work through the figure anatomy with center lines, marking where key landmarks align. Draw through the form even where clothing will cover it.
Step 3: Construct environment elements on separate layers, planning what sits in front of what. Keep each major element isolated so that flat coloring becomes a matter of filling shapes rather than painting individual details.


