Balance Your Character Drawings
Summary
Creating Balance in the Figure
Drawing people is mostly about understanding how they move and hold themselves. Learning anatomy is one thing, but translating the sense of posture and balance that makes a figure feel grounded and emotionally present is a different challenge entirely. Most instruction jumps straight to dynamic poses without establishing how the body naturally compensates when weight shifts from one foot to another.
This video tackles that gap by focusing on small, deliberate adjustments to foot position and how the pelvis and torso respond to maintain balance. Rather than chasing dramatic action poses, the approach here builds understanding of subtle posture shifts that create emotion and character through the Loomis-based stick figure mannequin.
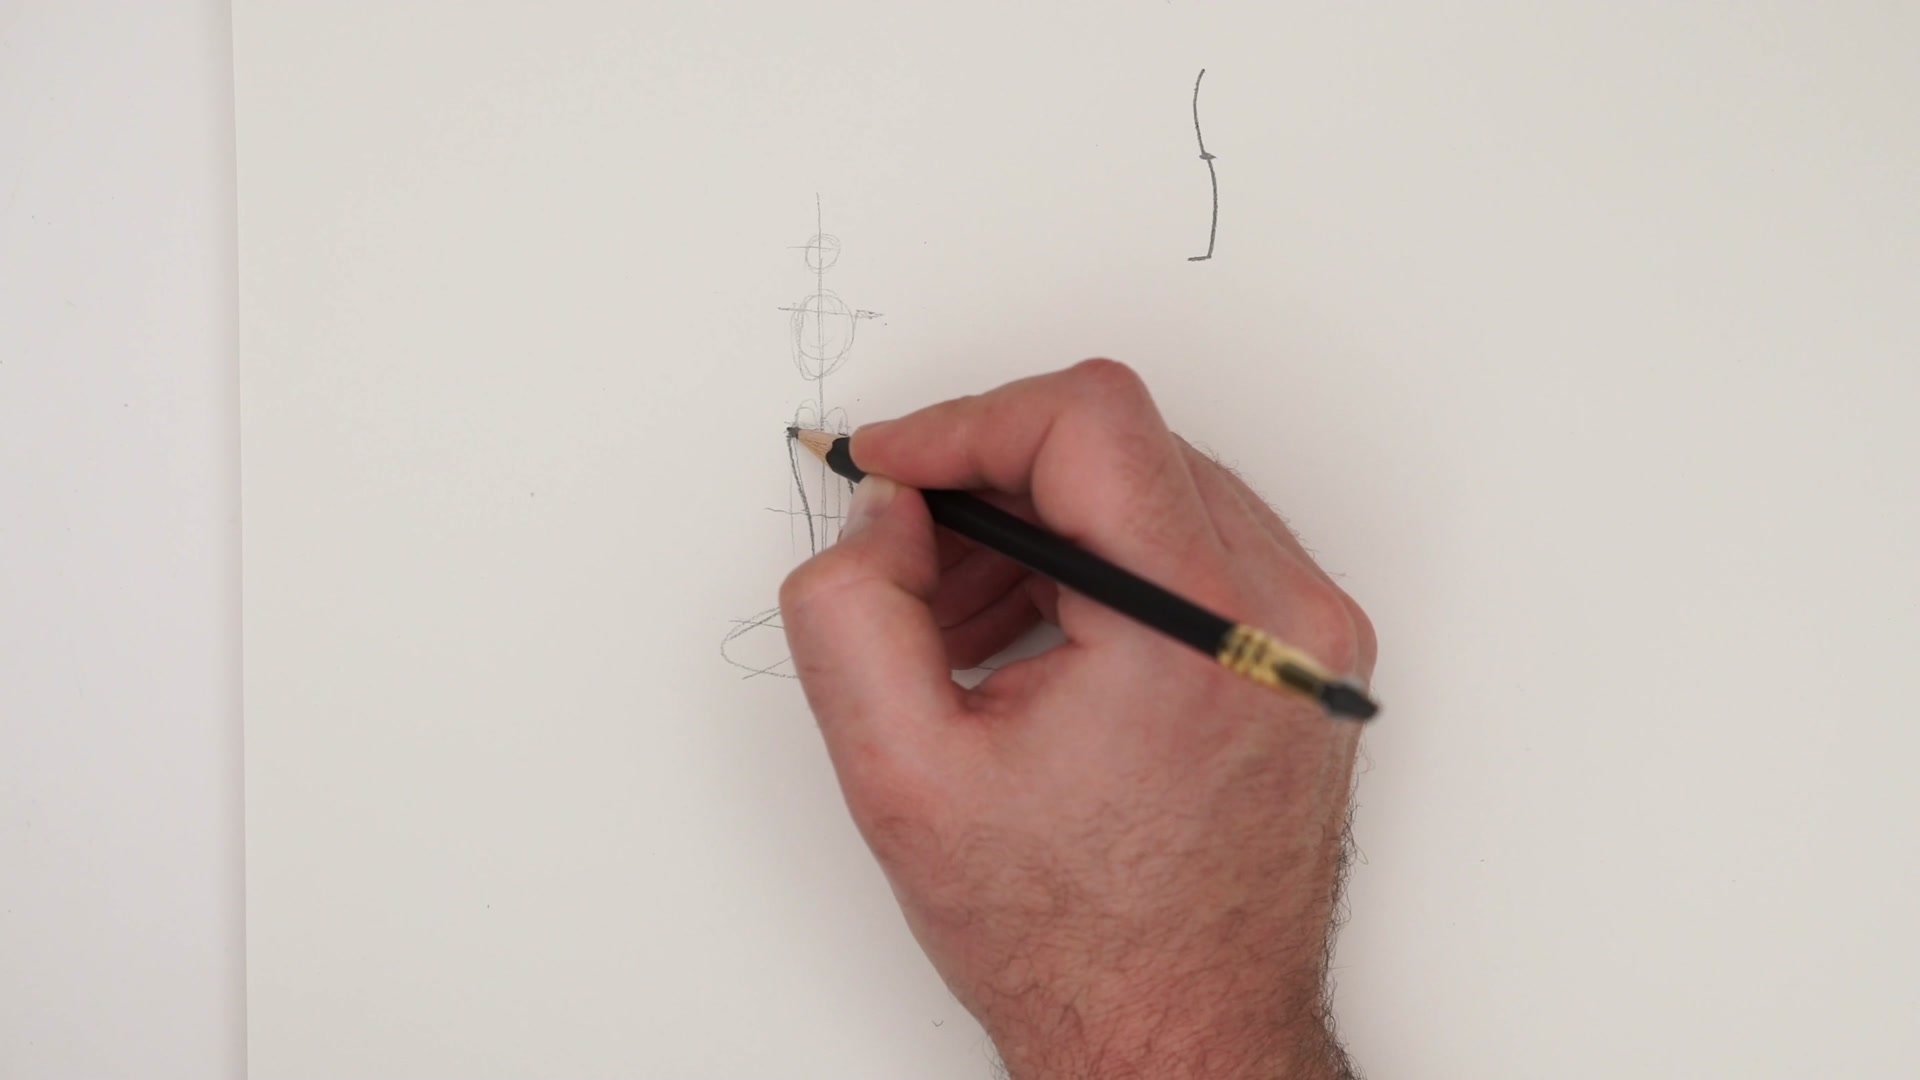
Setting Up the Figure
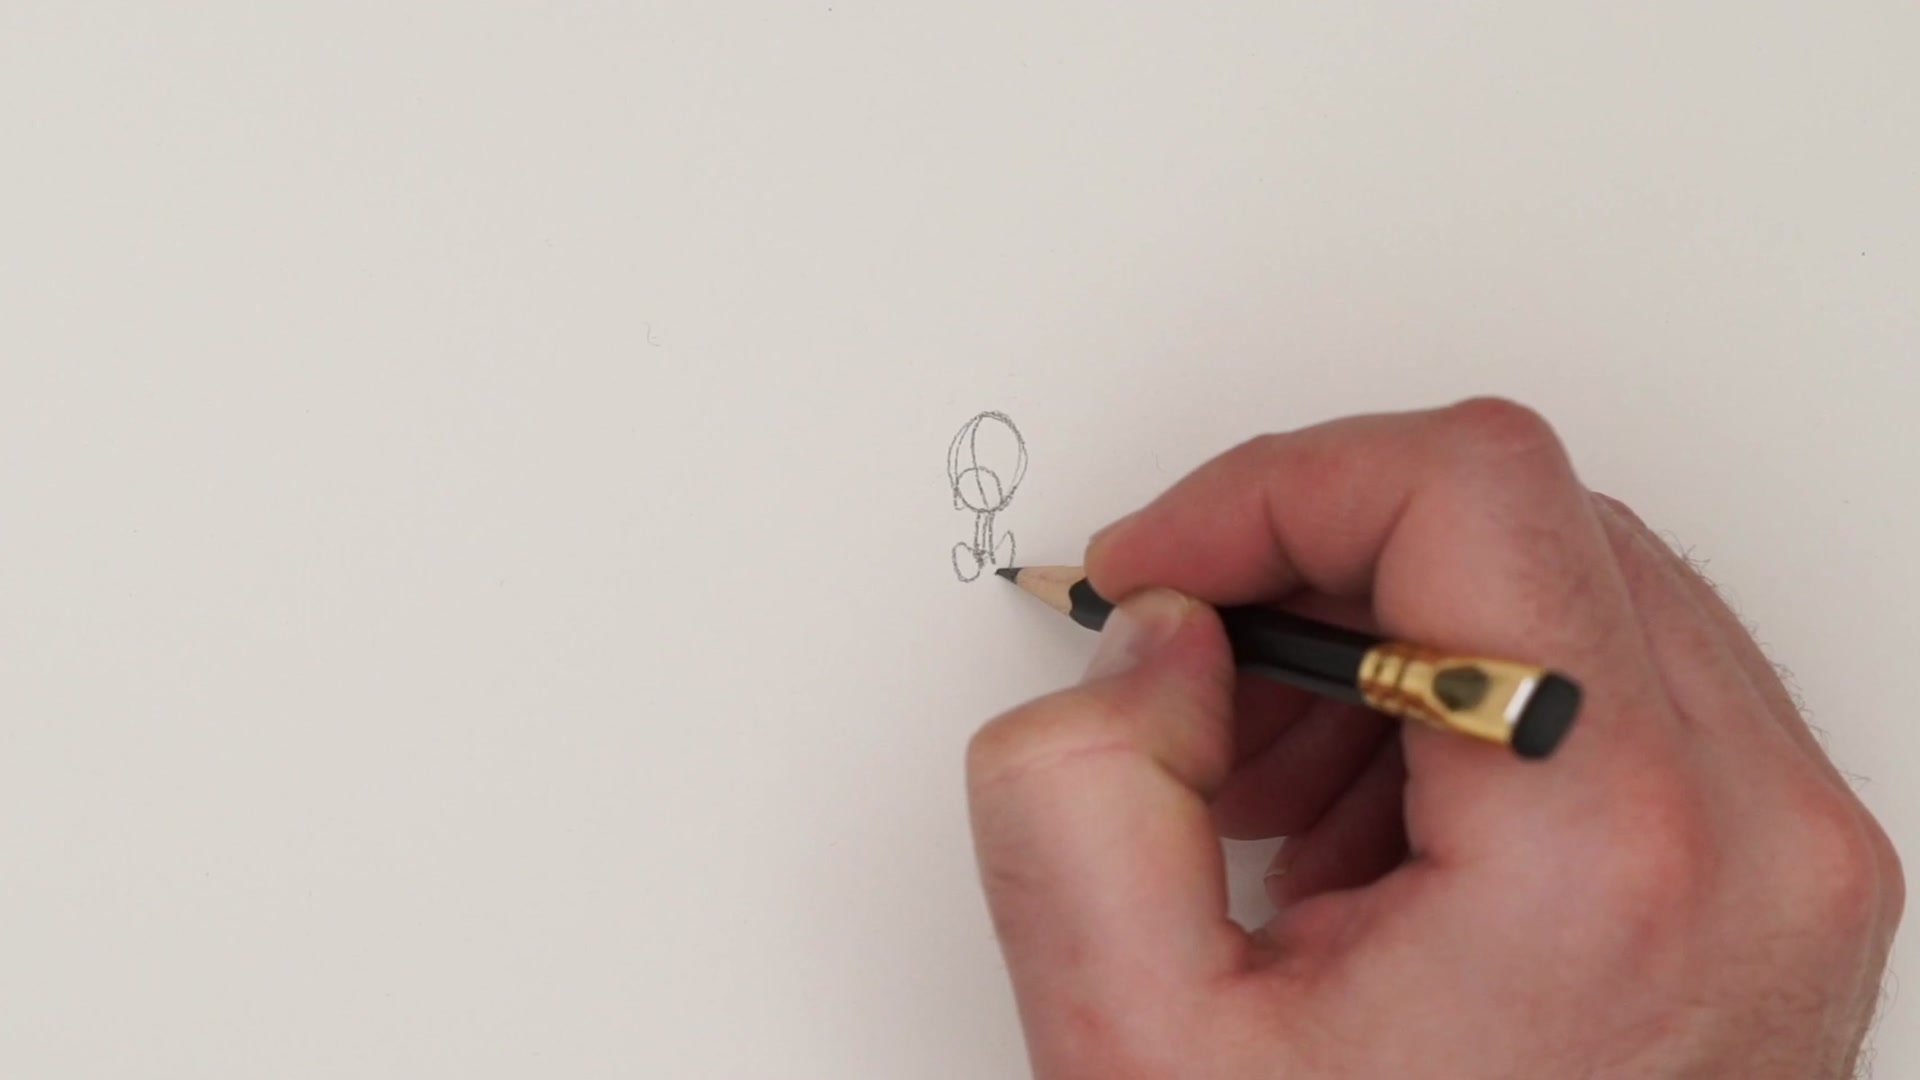
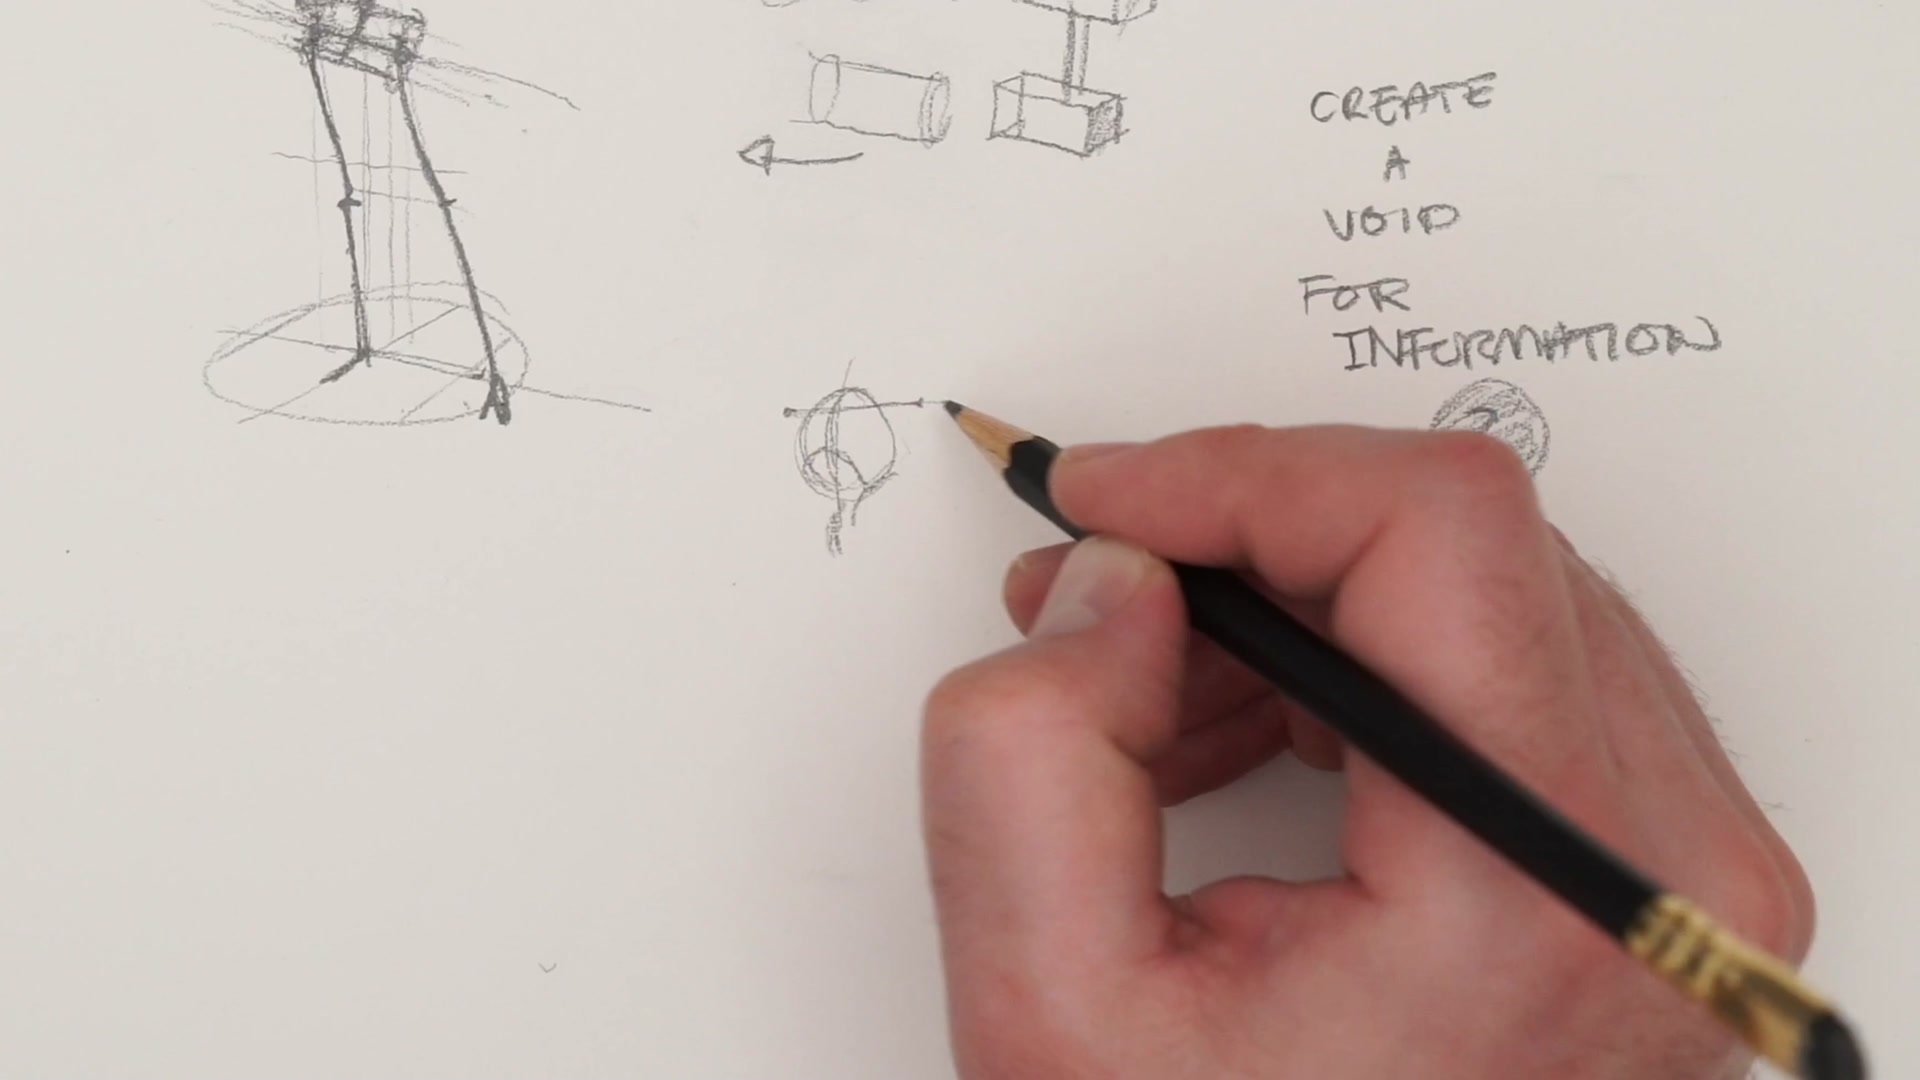
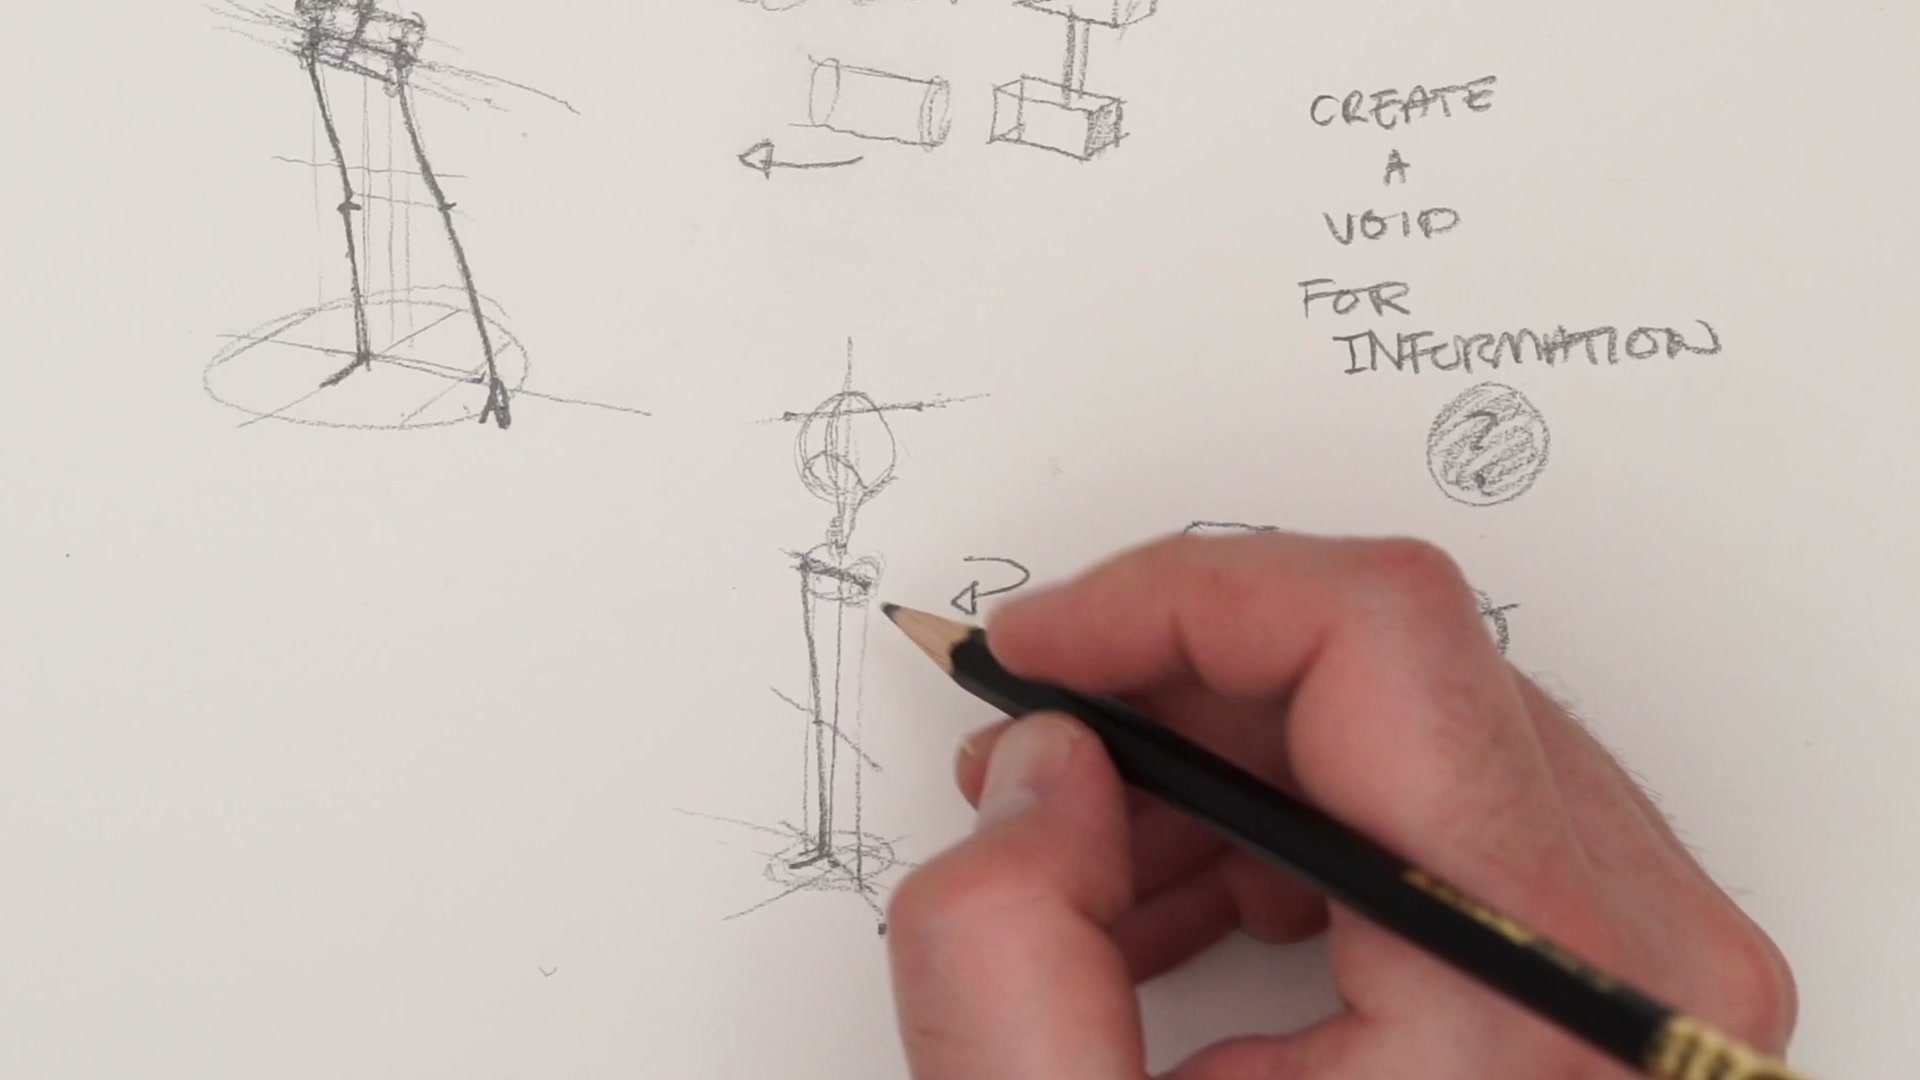
Static Bones Create Motion
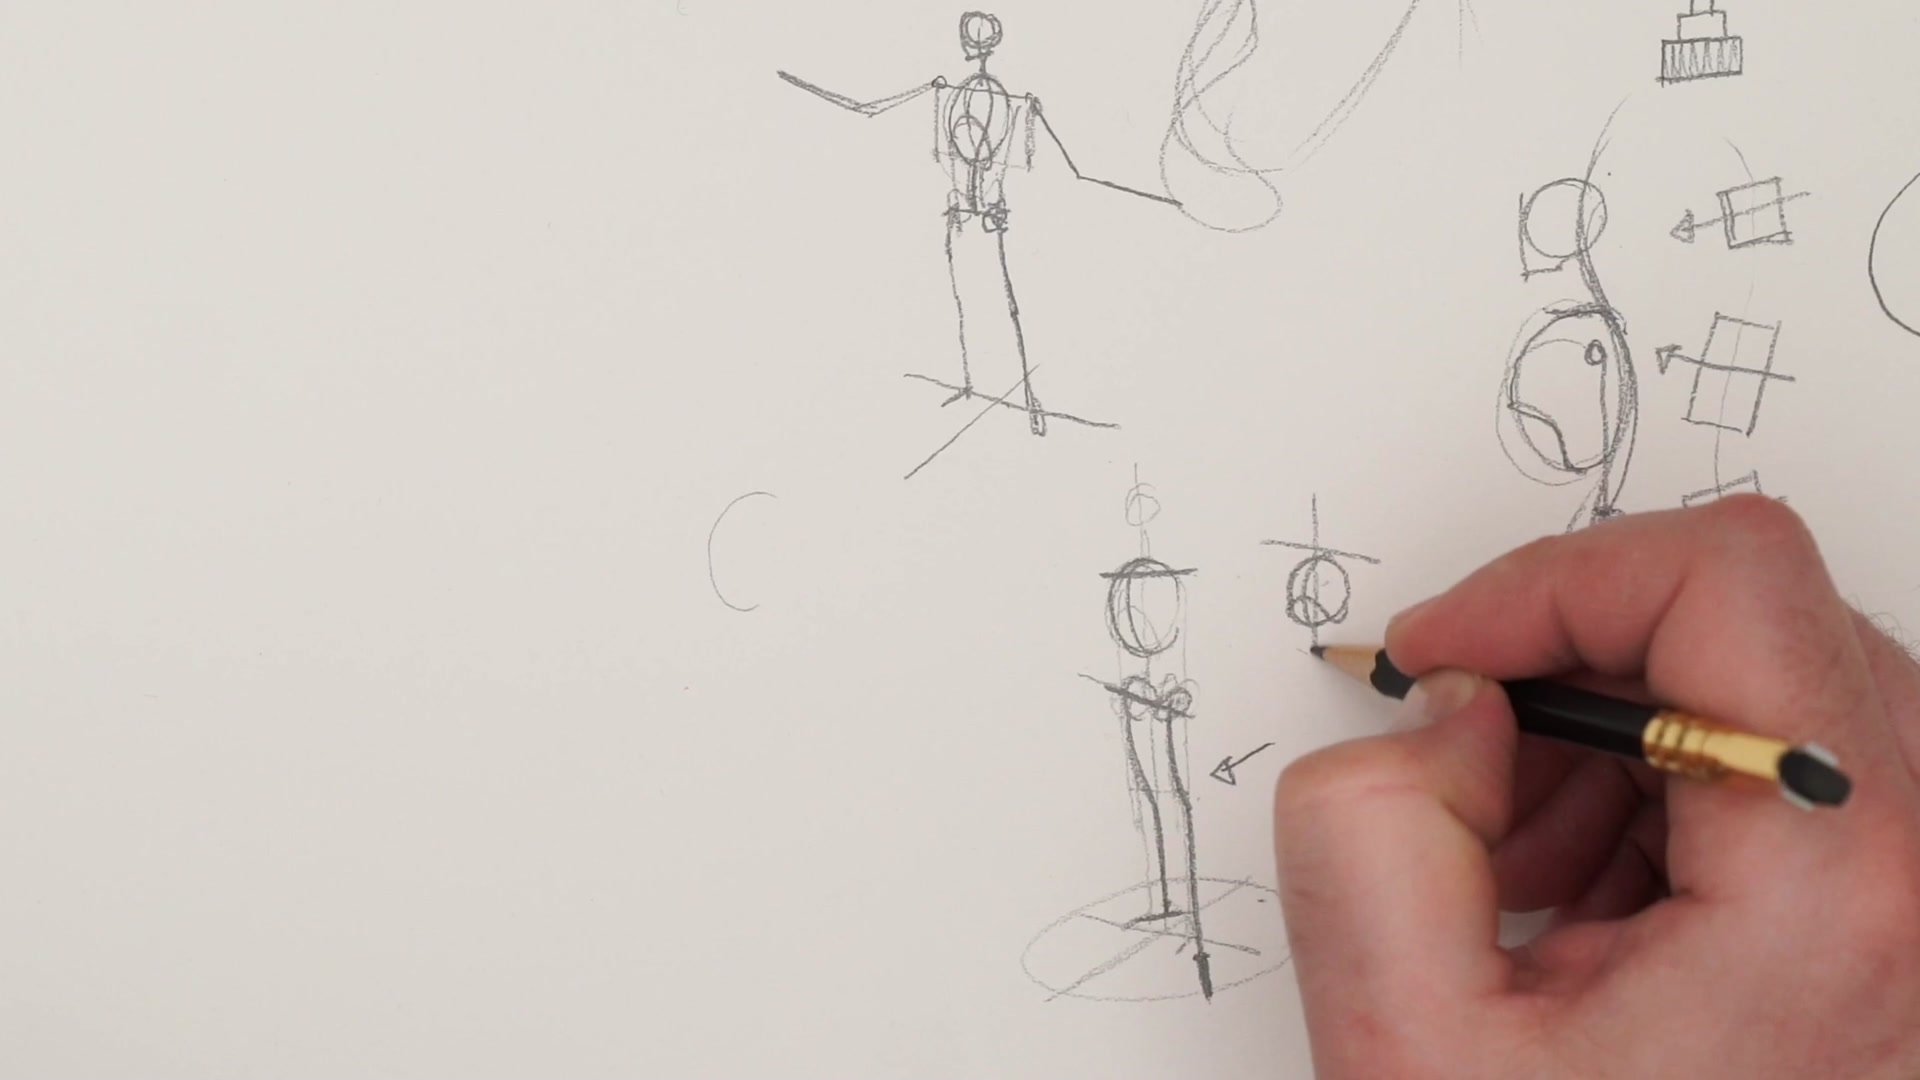
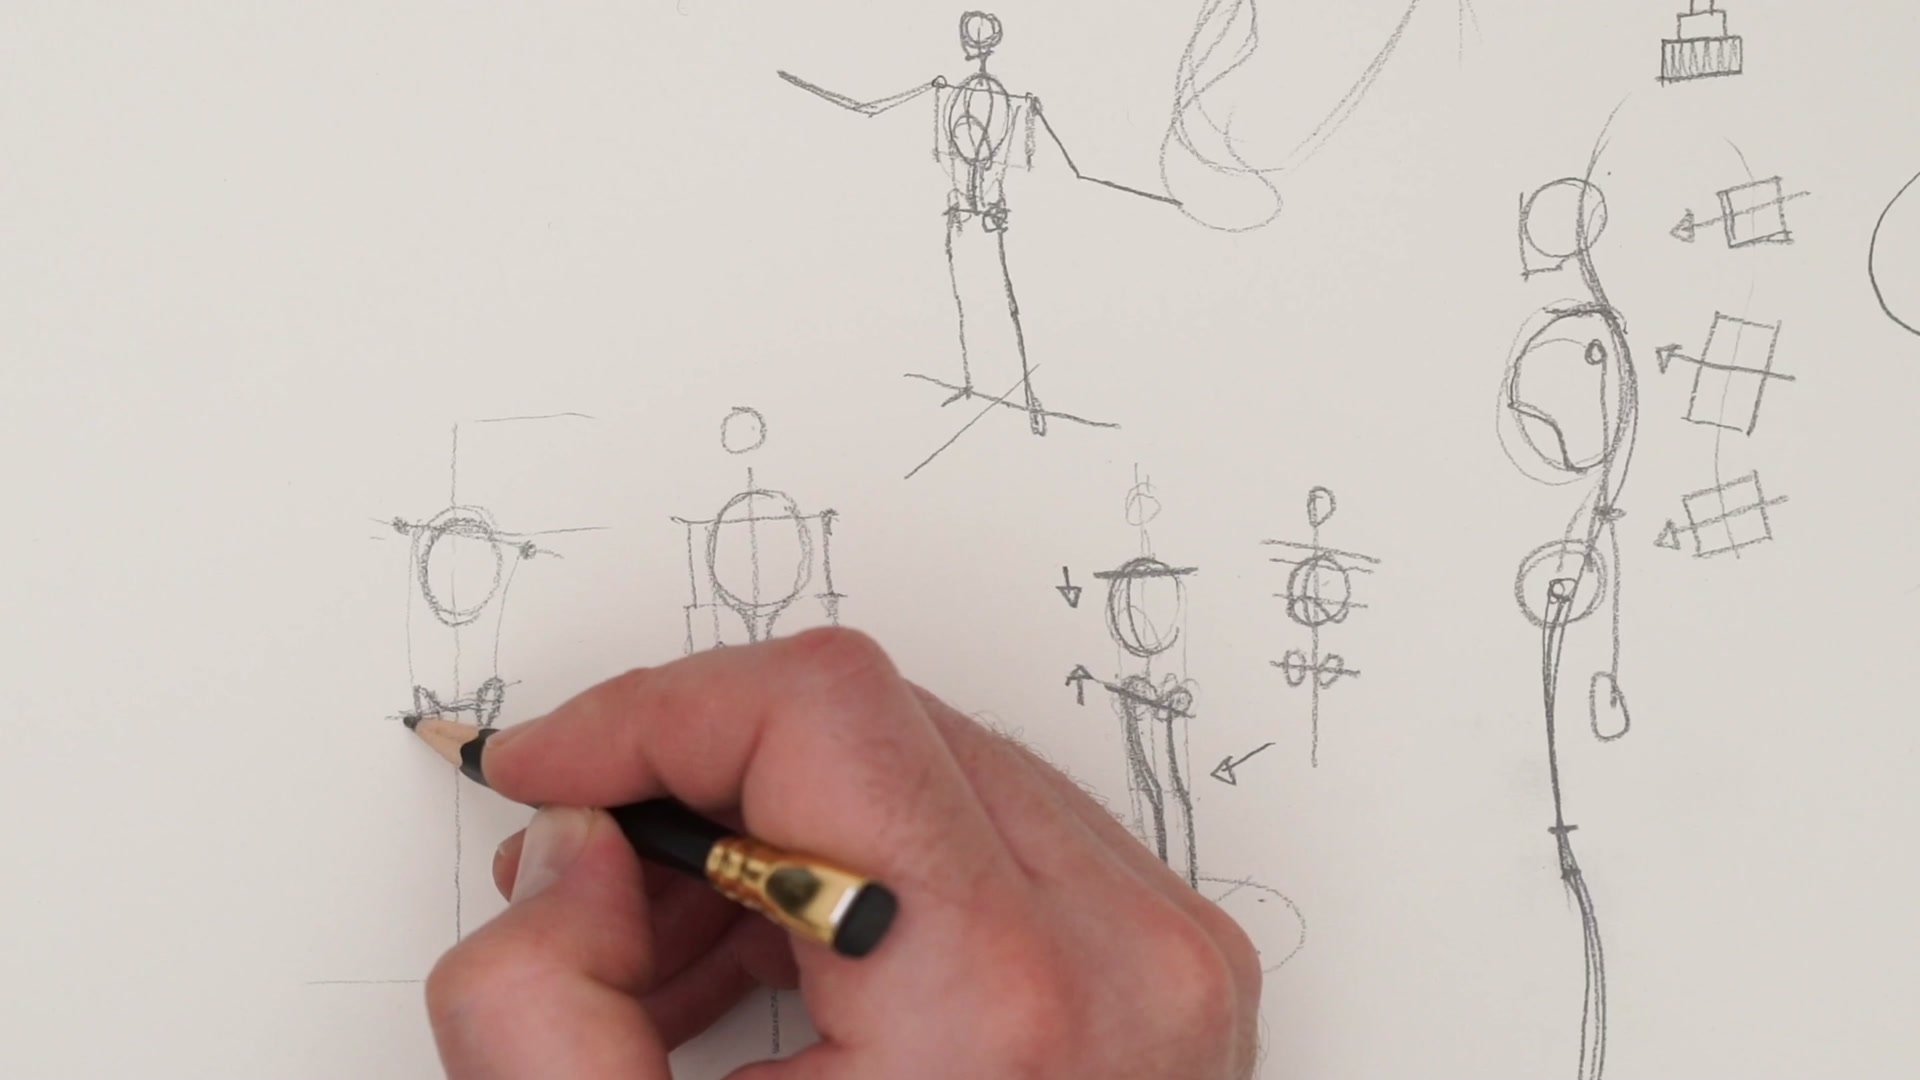
One of the central points in this lesson is that bodies which look like they are in motion are actually built from hard bones that barely bend. The goal is not to draw squiggly gesture lines or exaggerate squash and stretch. Instead, positioning static skeletal objects in the right relationships to each other is what creates a convincing sense of movement and weight.
The natural S-curve of the spine provides a starting point for balance, but it should not be exaggerated too far. Real people with good posture stand fairly upright. Understanding the concept of rhythmic balance between head, torso, and pelvis matters, but dialing it down to realistic subtlety is where the real skill lies. Even a completely static, stiff figure still practices these balance concepts when the primary forms are positioned with care.
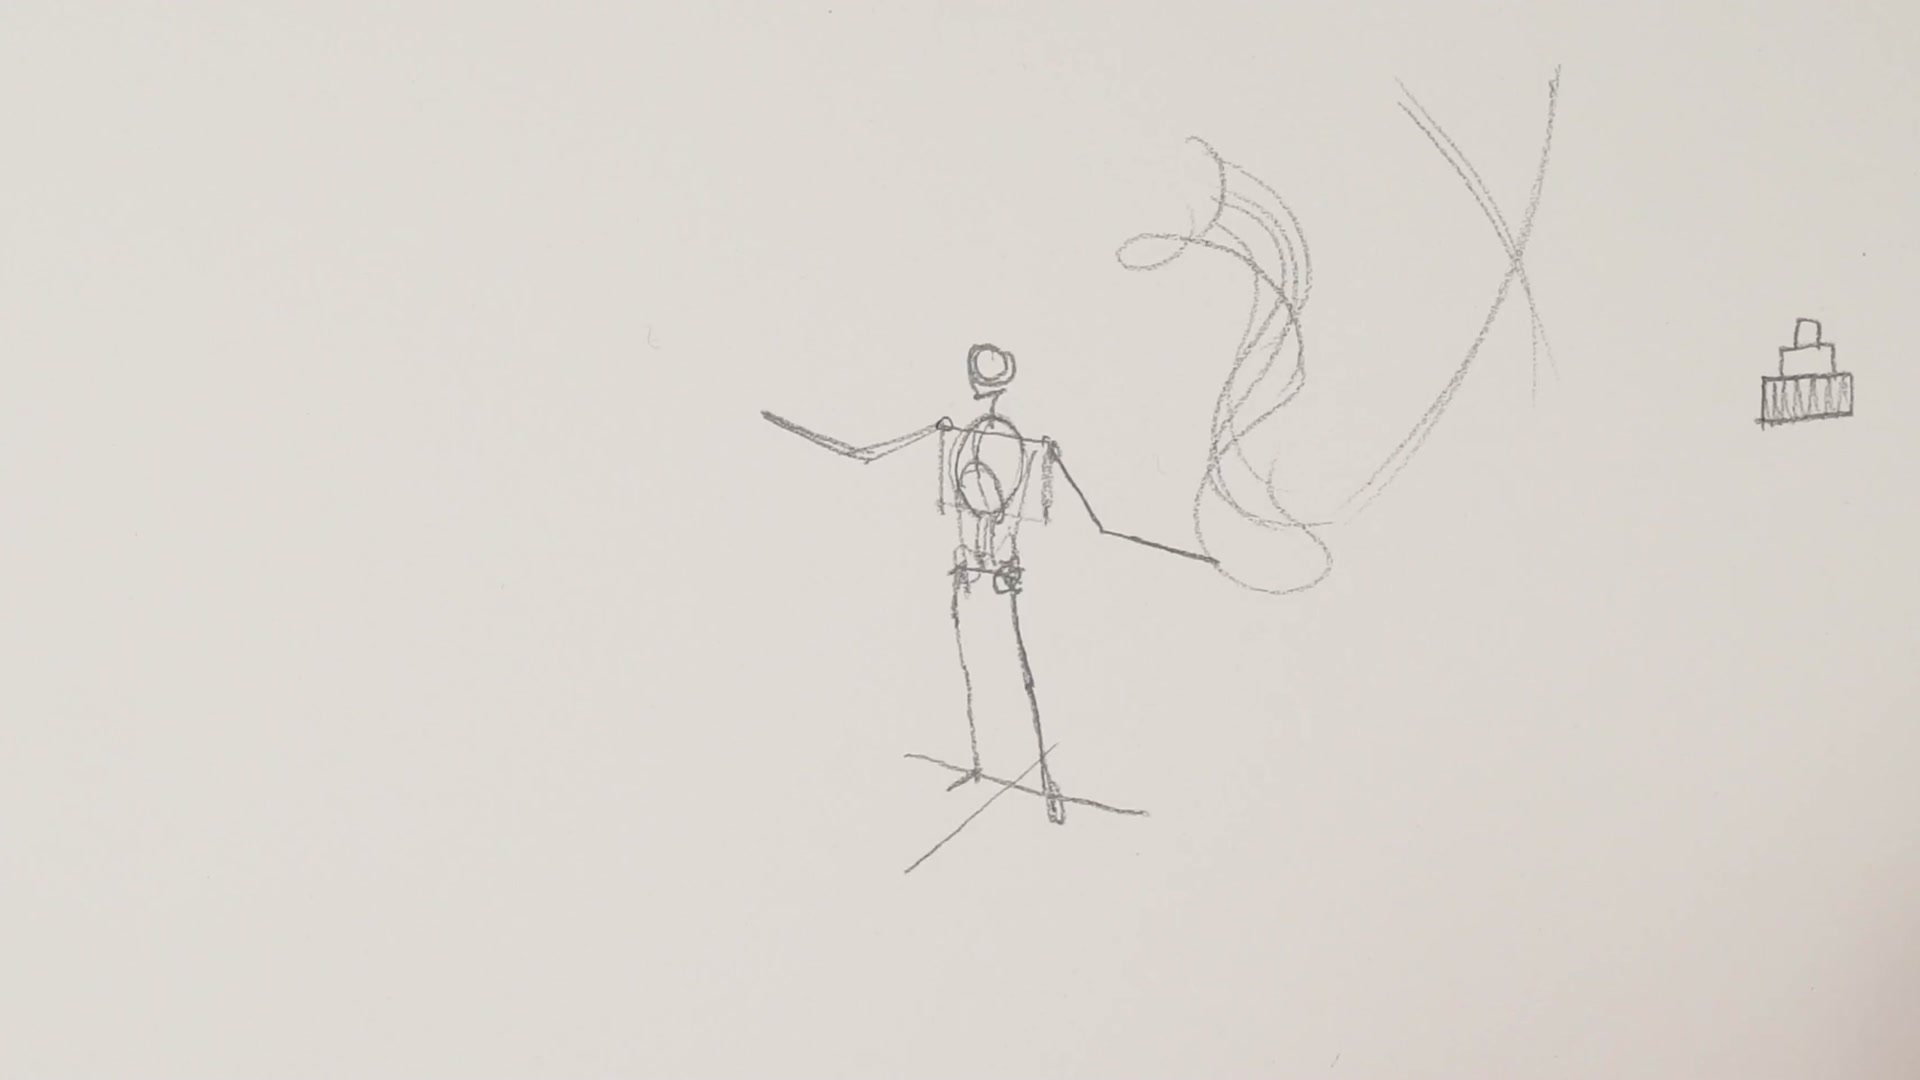
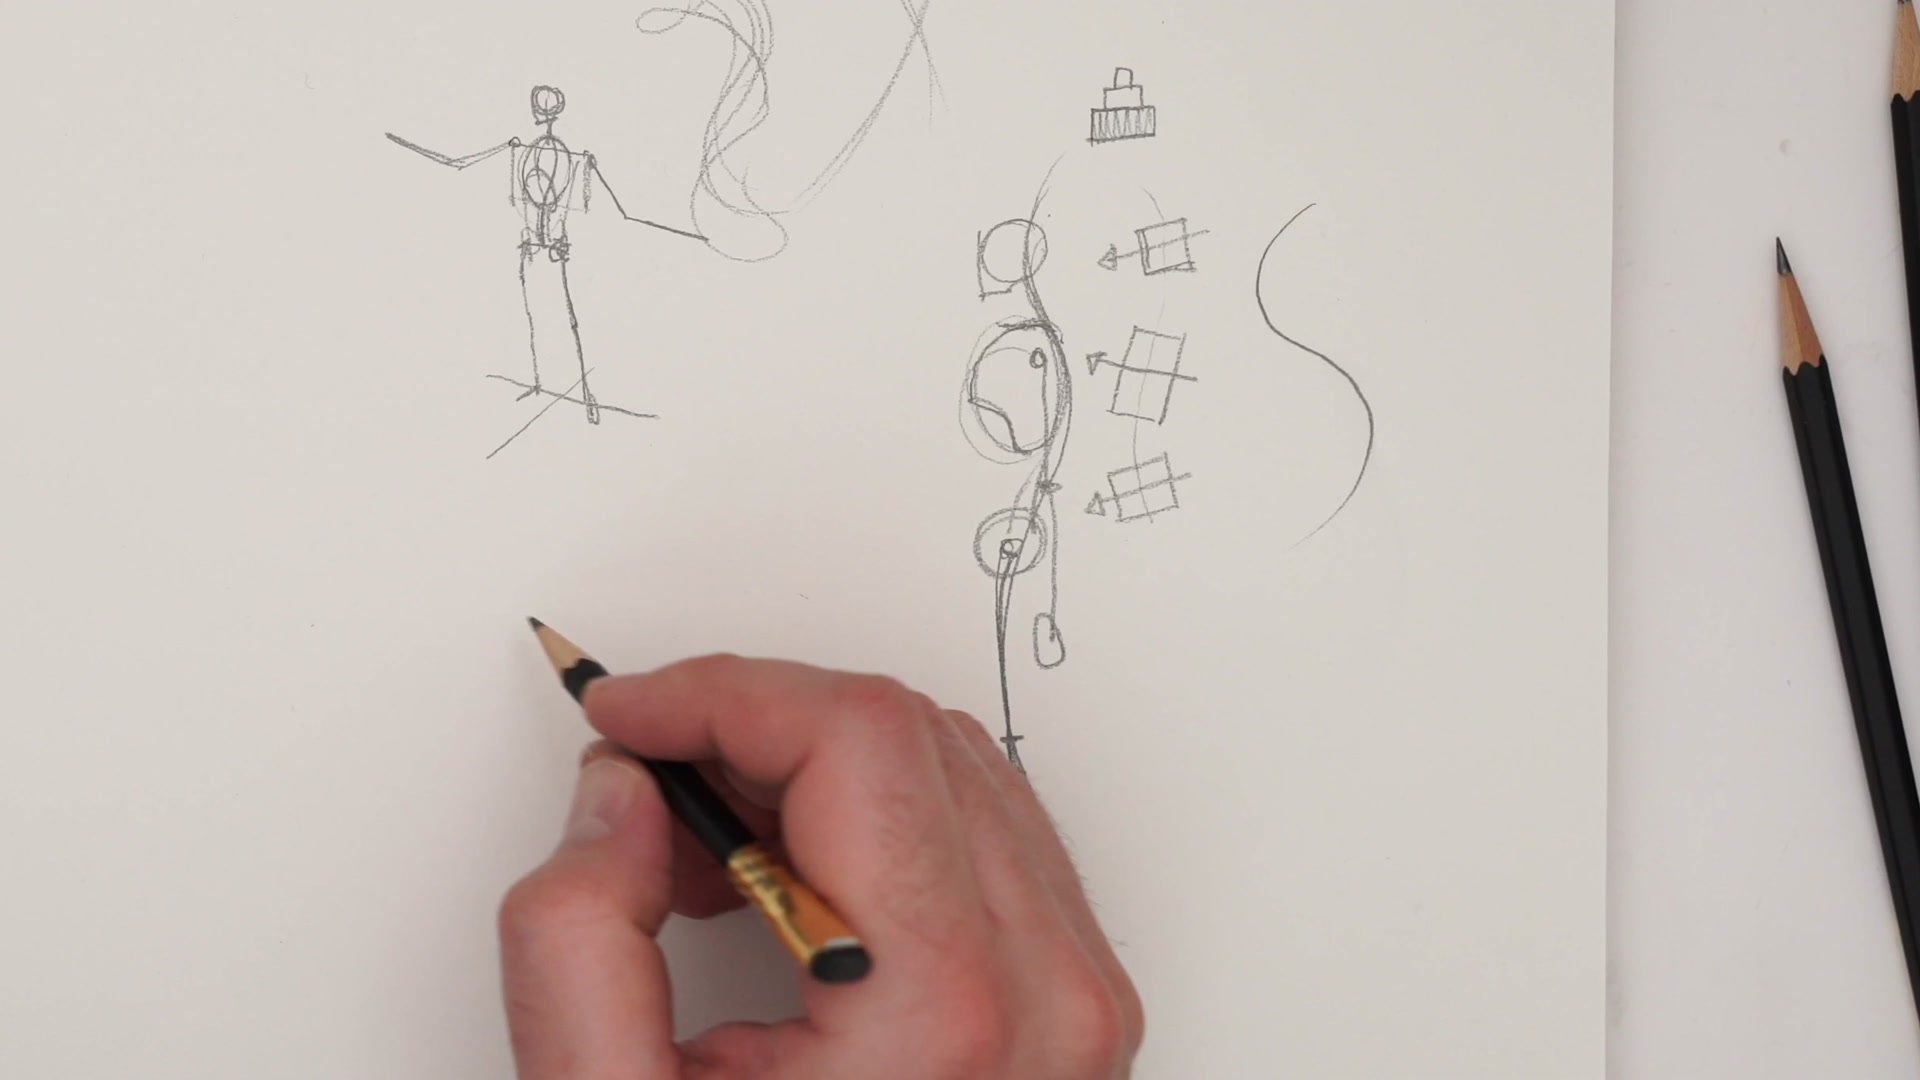
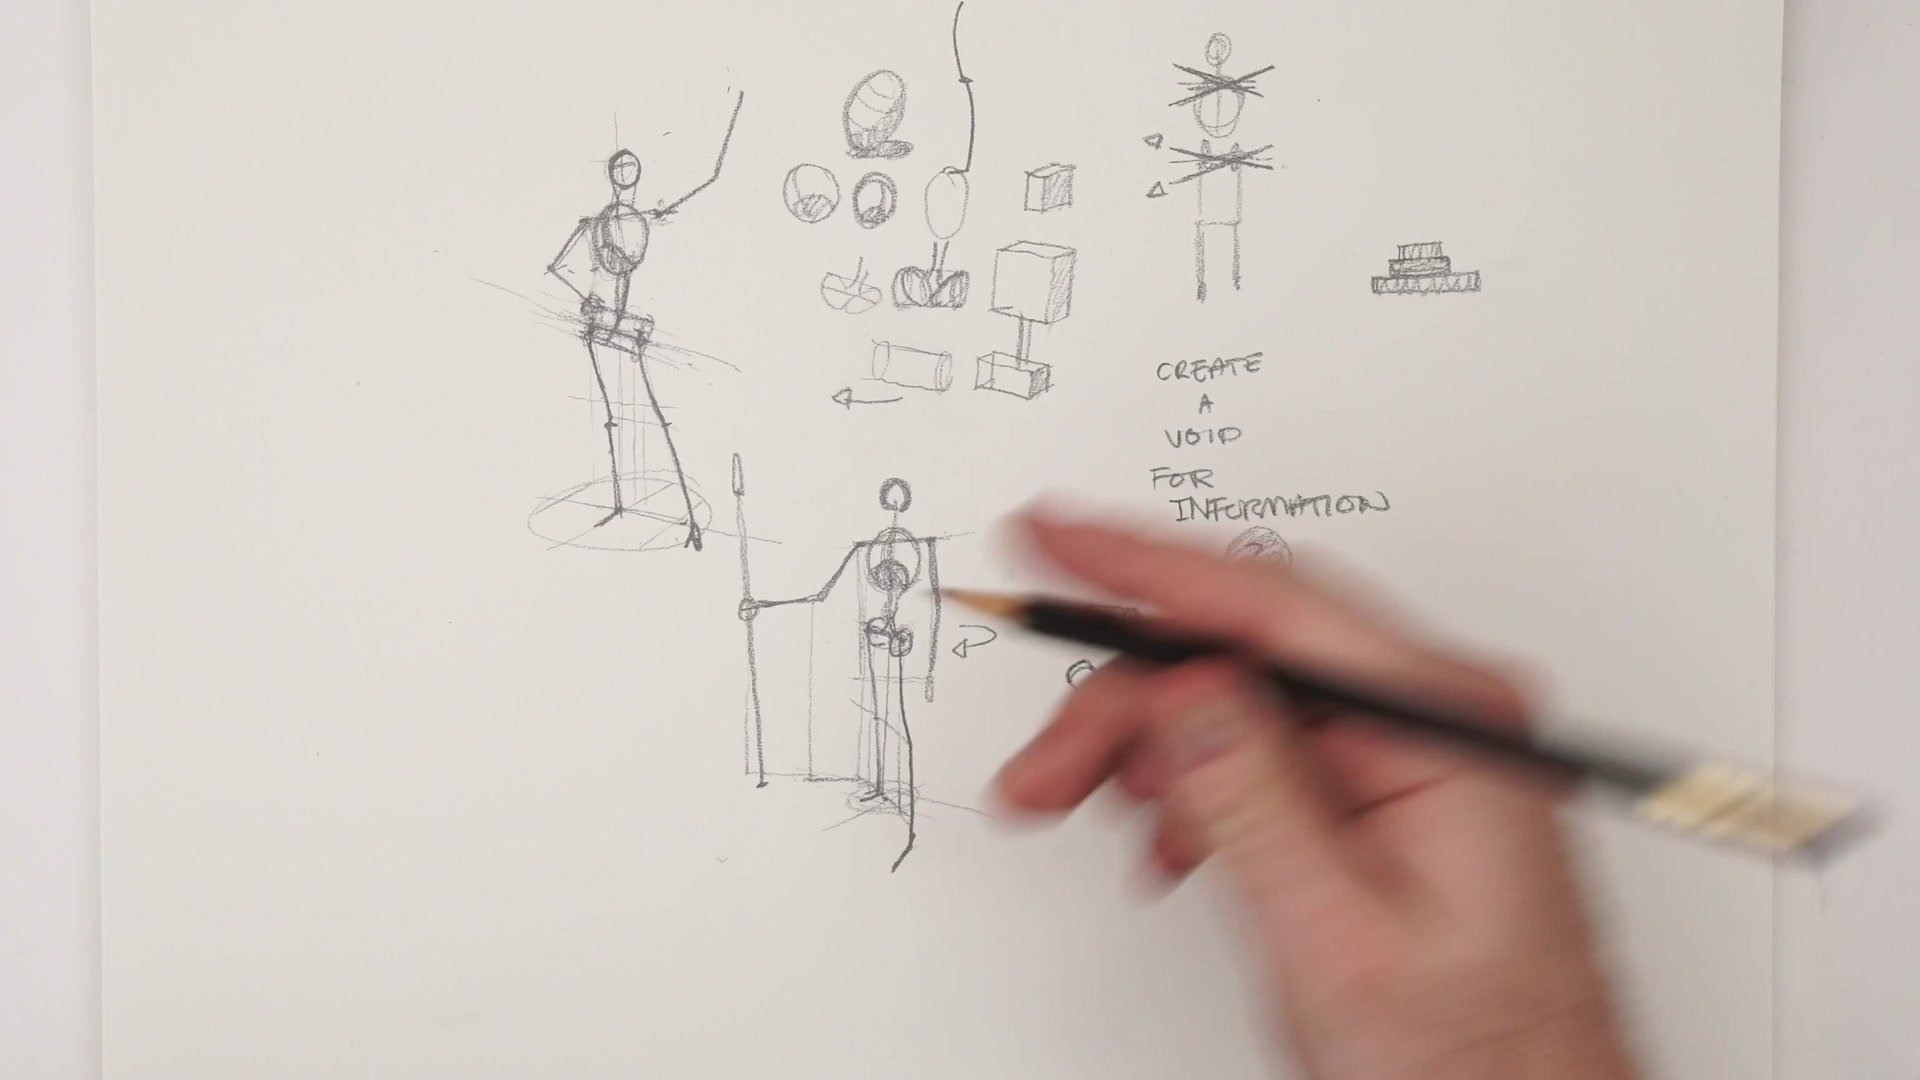
Hip and Shoulder Tilt

How Foot Position Drives Everything
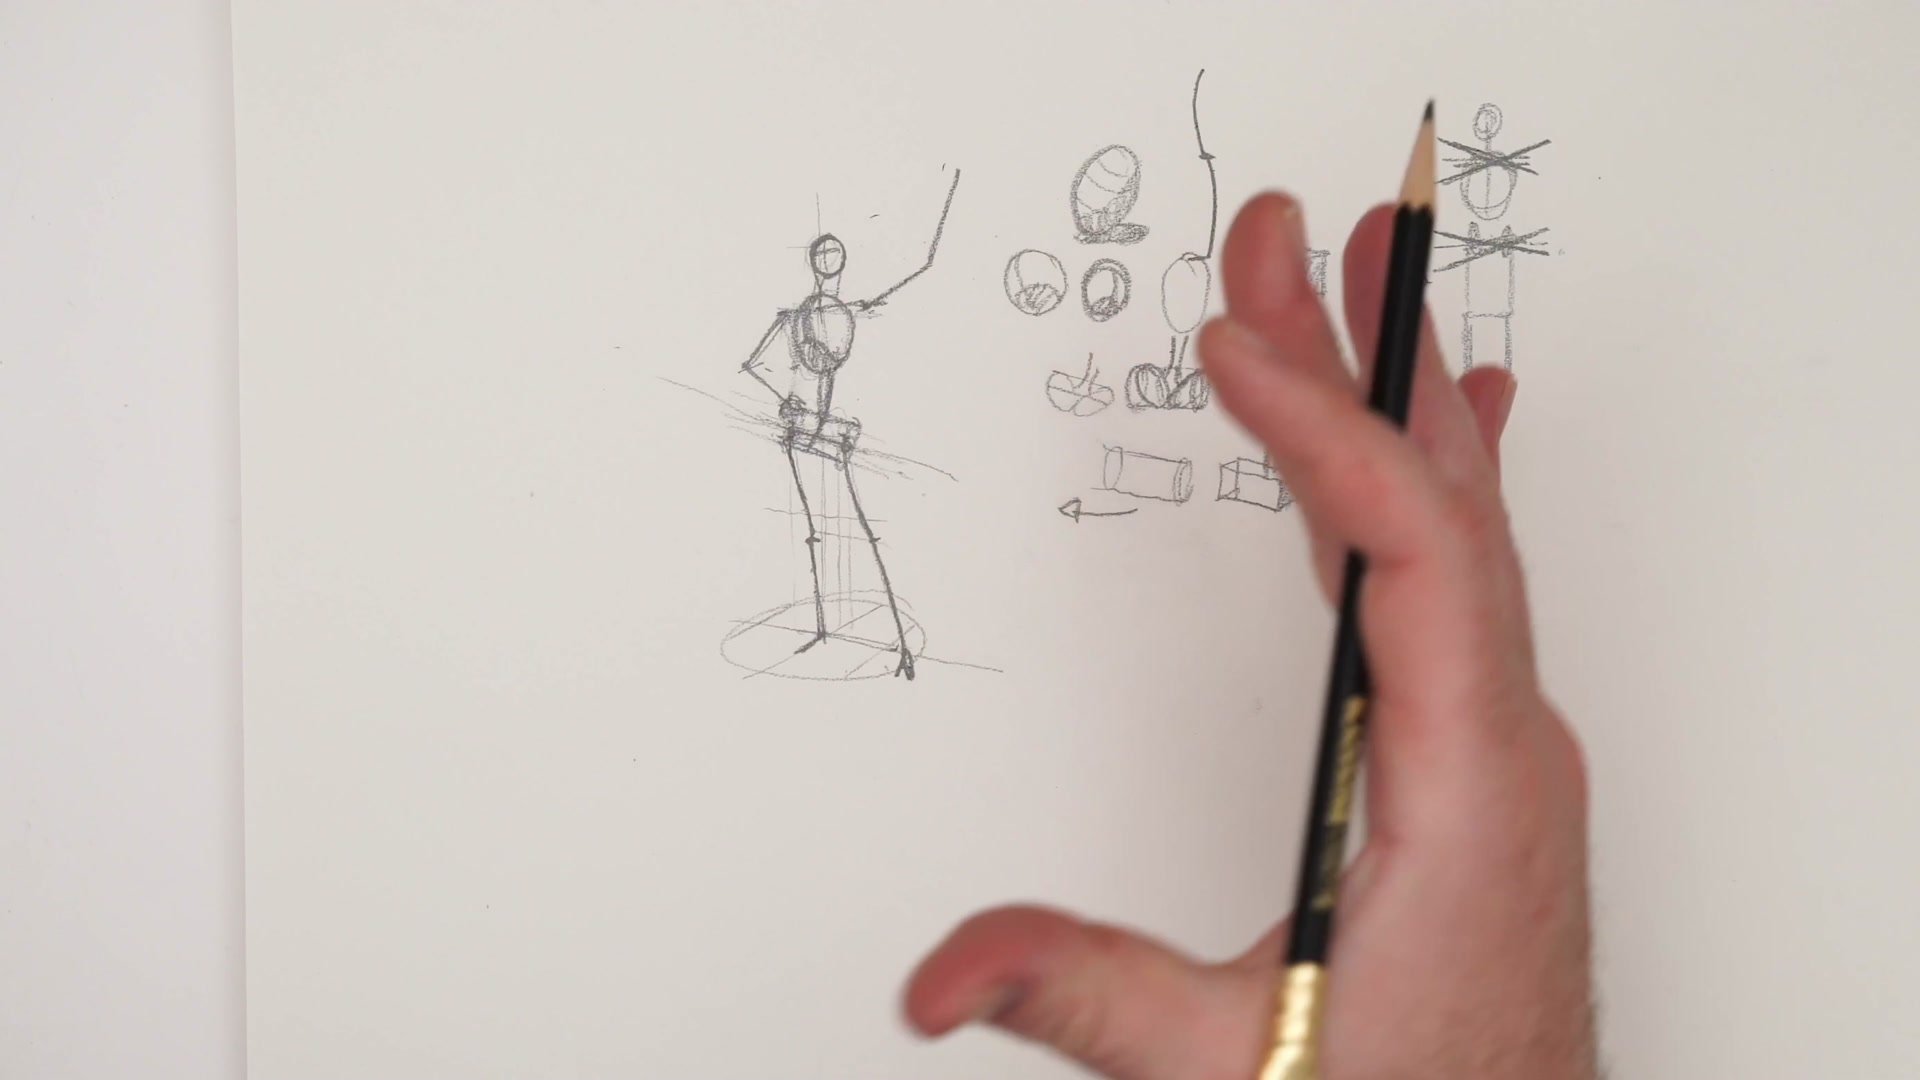
When one foot moves closer to the center line of balance, the pelvis tilts to compensate. The hip drops on the weight-bearing side. The shoulders counter-rotate in the opposite direction. These are the fundamental mechanics that make contrapposto work, and they apply whether the character is standing casually or shifting into a more loaded stance.
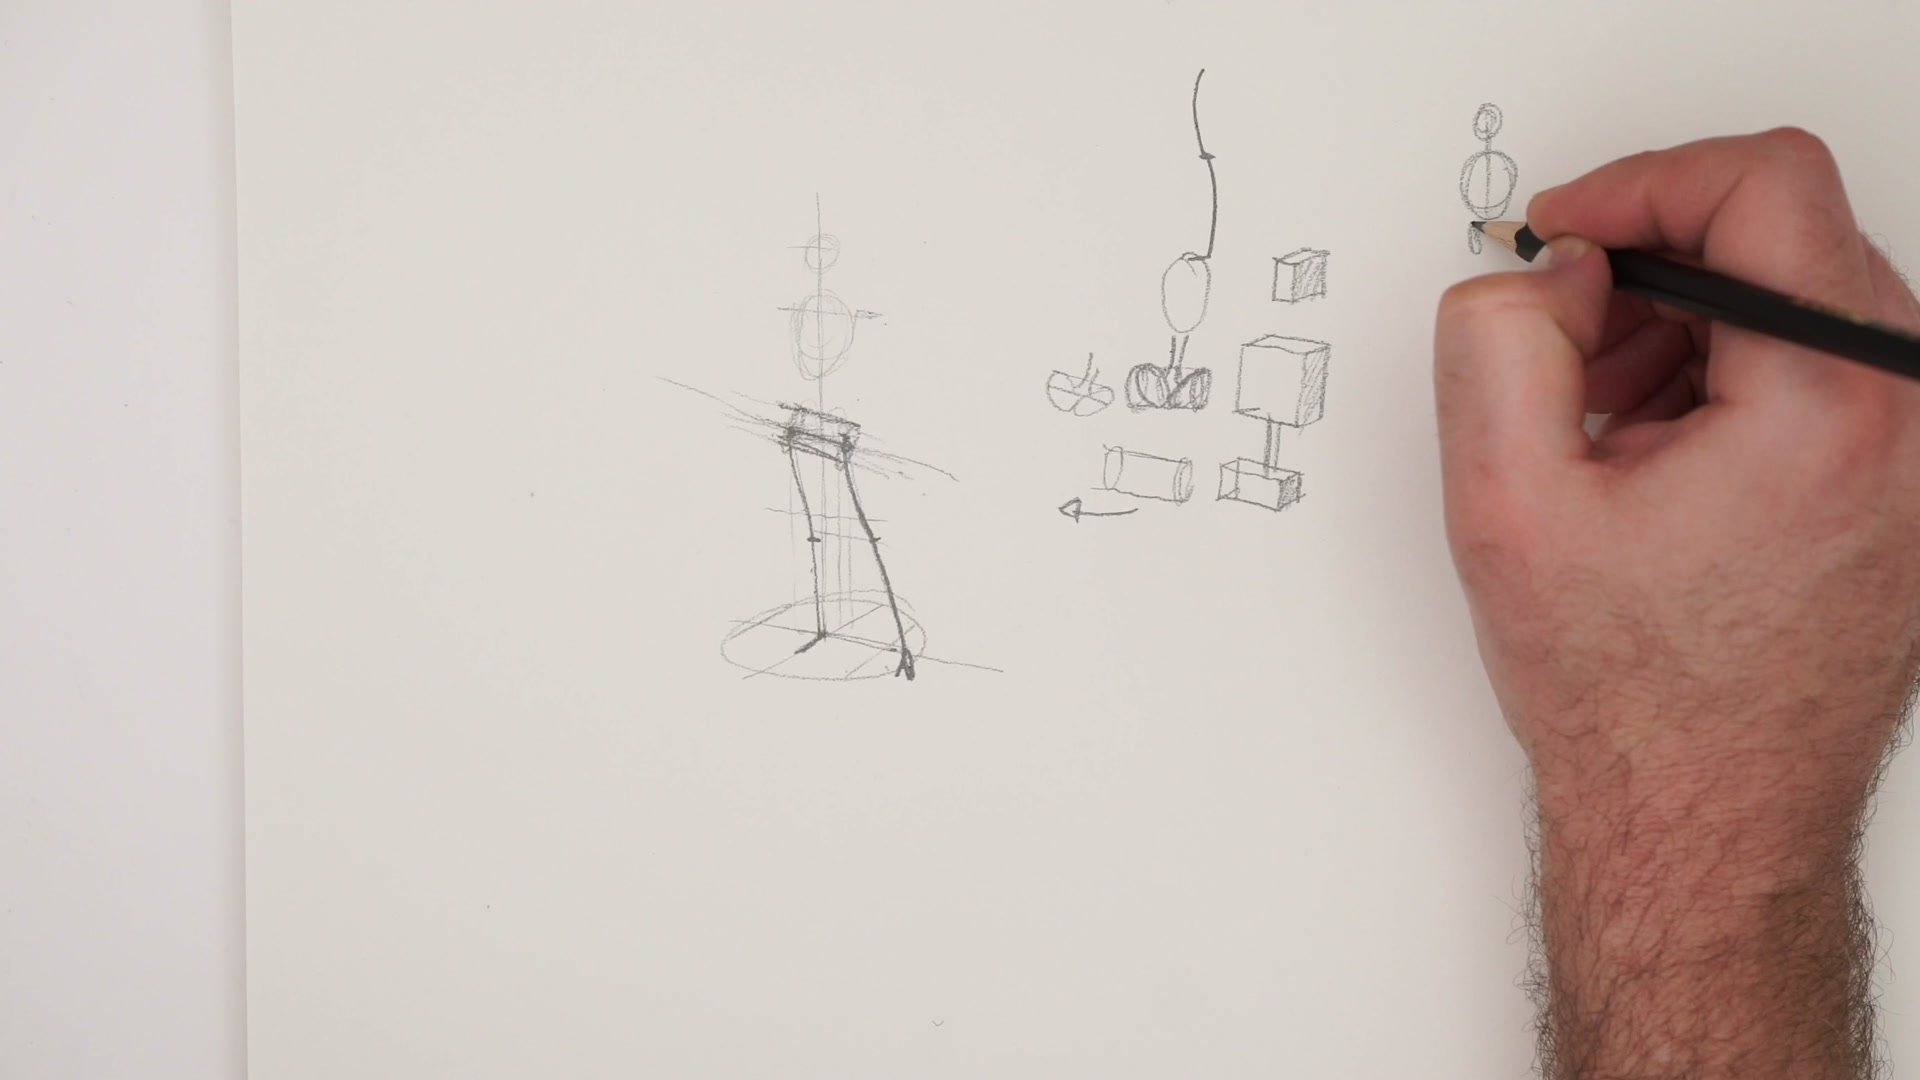
The key insight is that these tilts happen over the leg bearing the most weight. Visualizing the pelvis as a simple cylinder or box form, then tracking how its angle changes relative to the shoulder line, gives a systematic way to build posture rather than guessing. Starting each leg as a straight line from hip to foot, then adding gesture curves after the proportions are locked, produces more reliable results than trying to capture flow from the beginning.
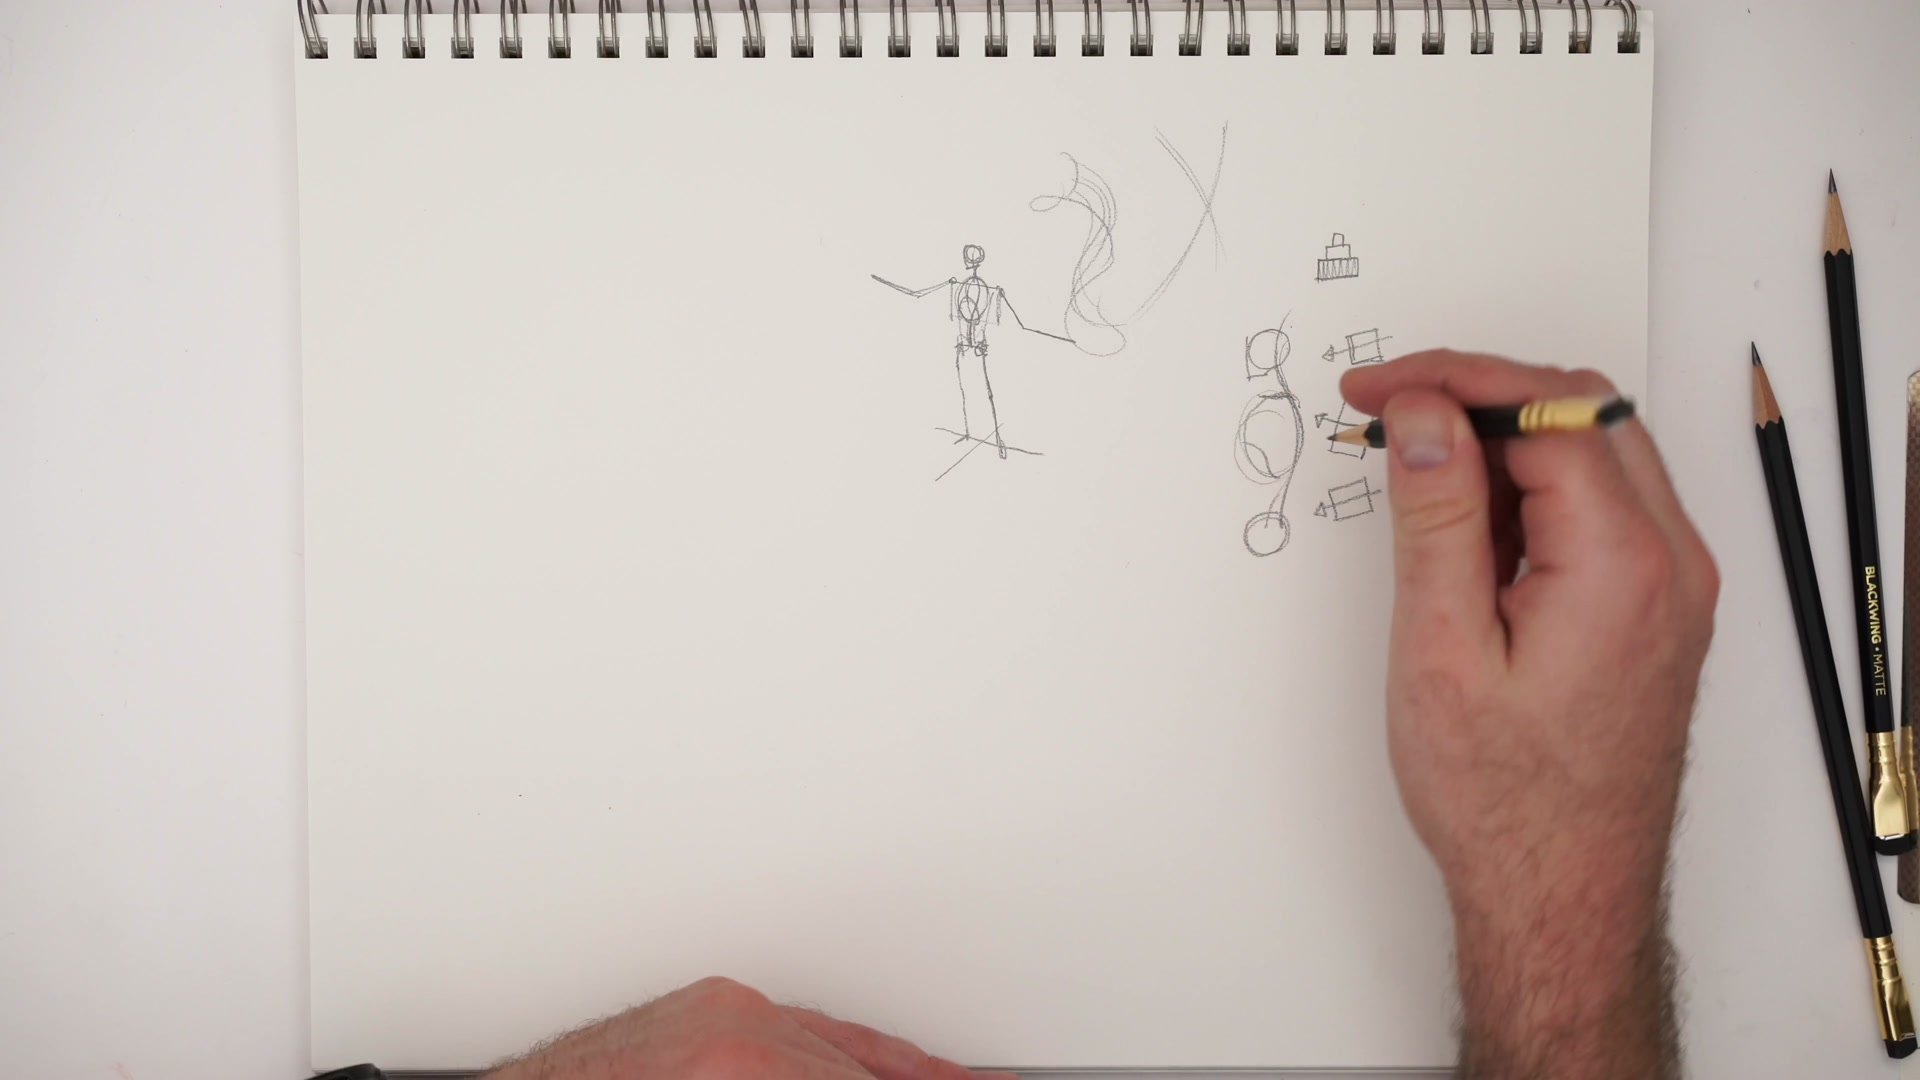
Building Complexity
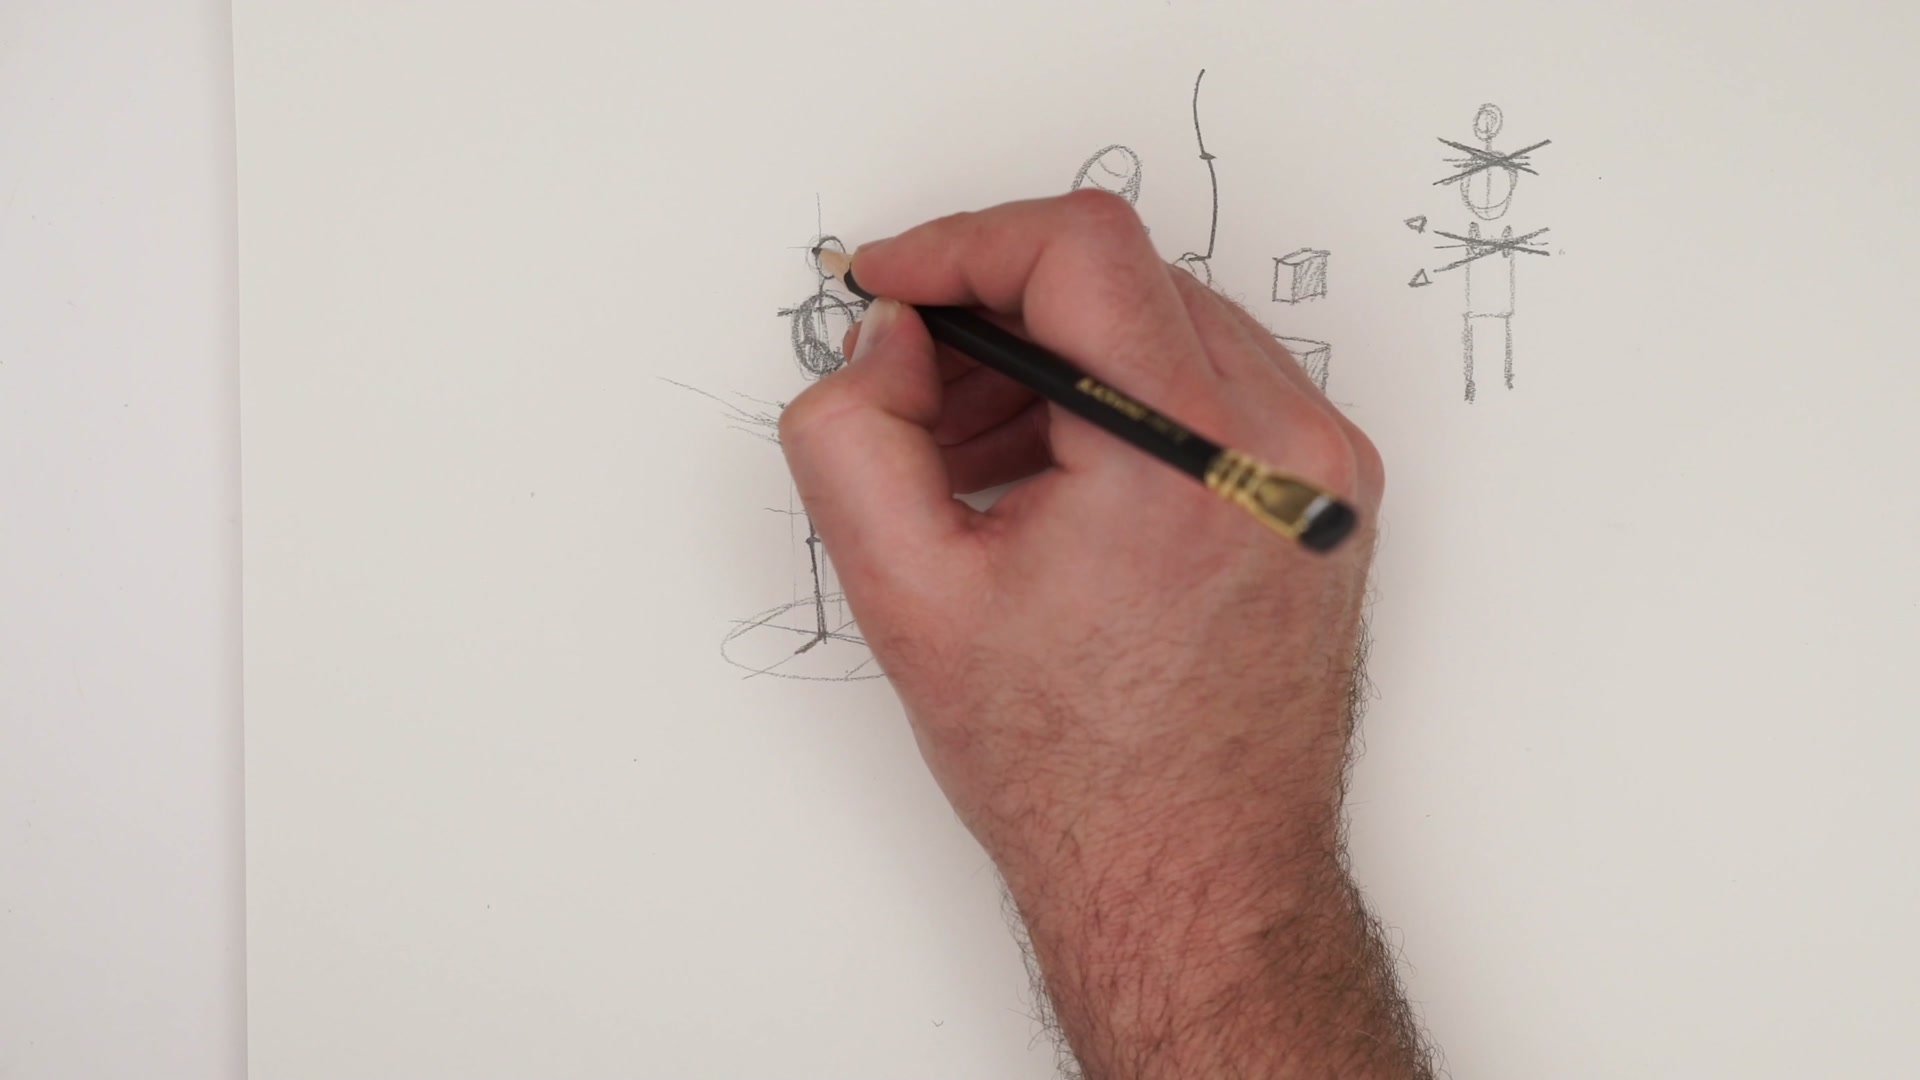
Creating a Void for Information
The approach to using reference presented here flips the conventional advice. Rather than studying reference first and then drawing, the recommendation is to attempt the pose first, fail, and then look at real people. Trying to position feet, track hip angles, and balance a torso from imagination creates specific questions that the brain then actively seeks answers to when observing the real world.
This creates what the lesson calls a void for information. No drawing book teaches how people actually move. Building that understanding requires personal observation, and observation works best when the artist already has questions from their own failed attempts. Mirror neurons help here too. Drawing these mannequin figures starts to create a physical sense of whether a pose feels right or wrong, and that intuition becomes increasingly reliable with practice.
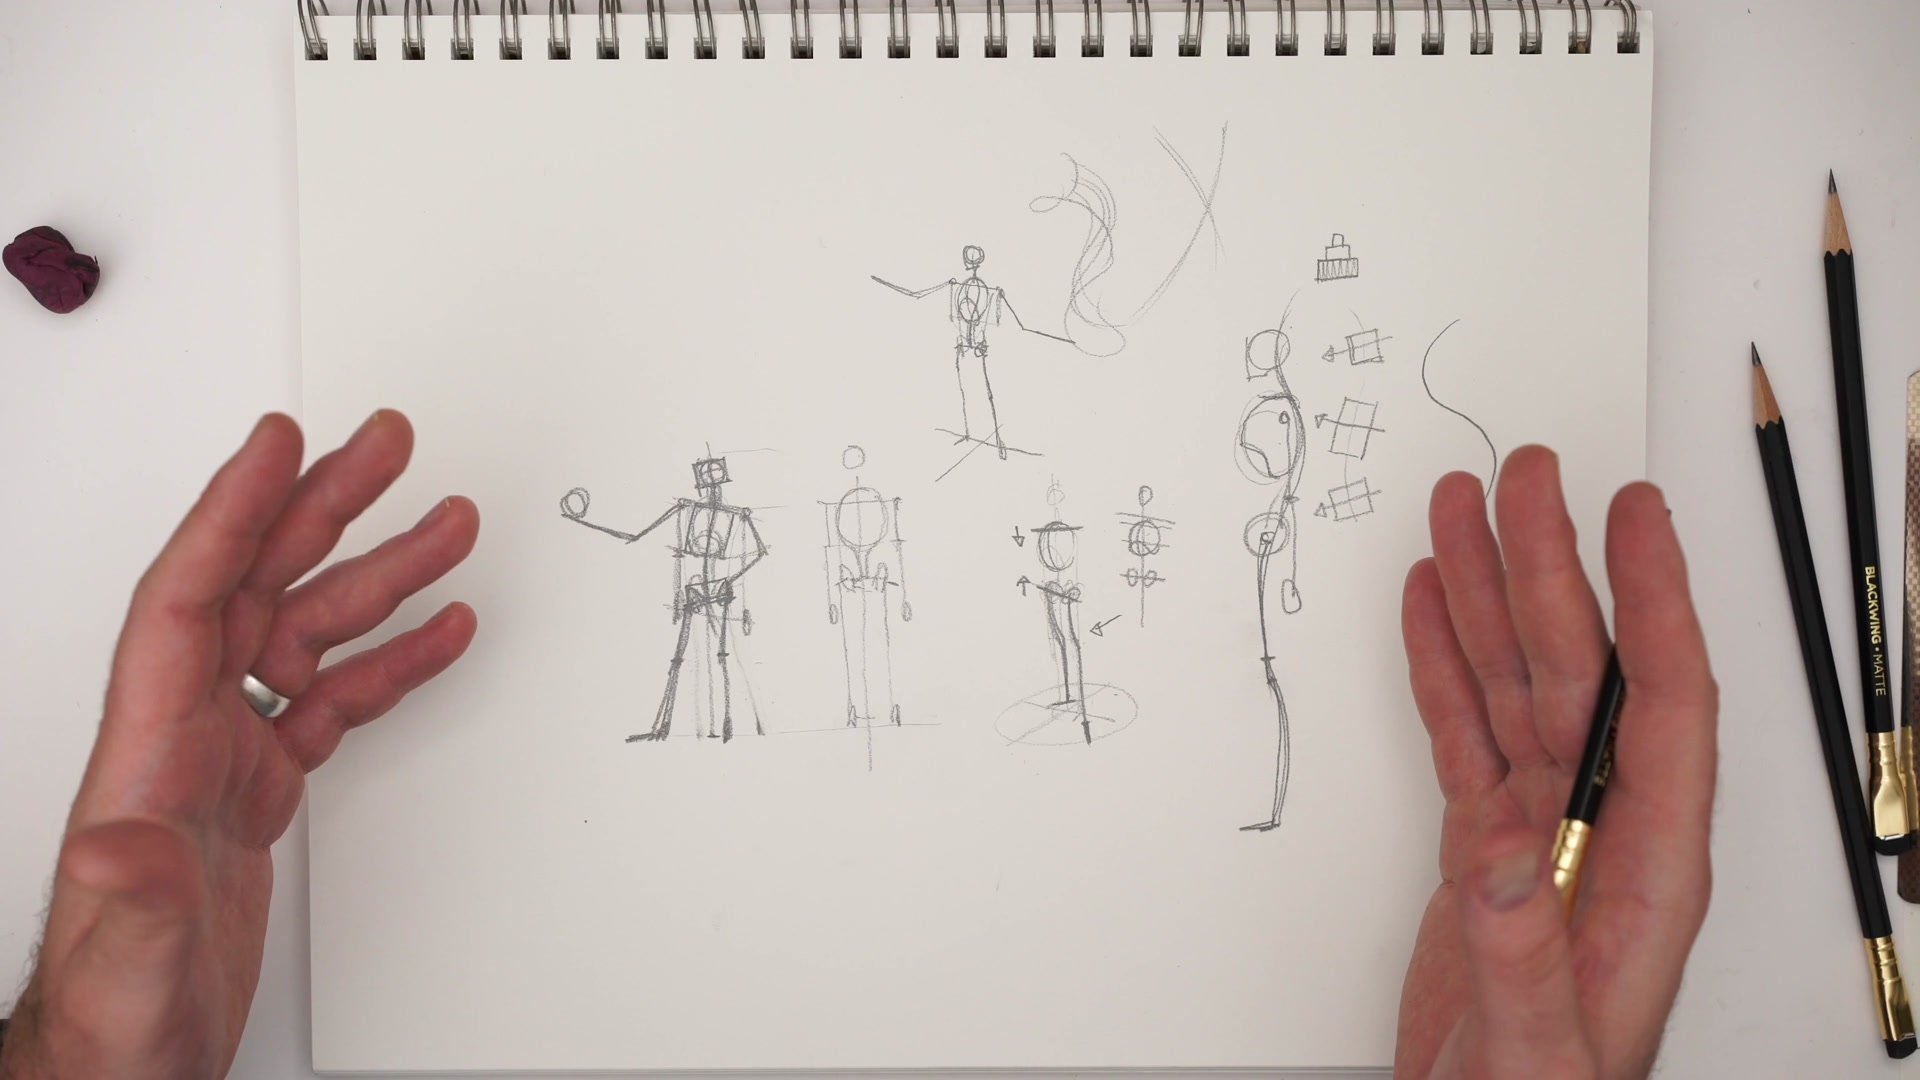
Completed Figures
Key Principles
Hard Bones Create Motion: Convincing figures in motion are built from static skeletal objects positioned correctly, not from bending lines or exaggerating gesture.
Pelvis-Shoulder Counter-Rotation: When foot position shifts weight, the pelvis tilts and the shoulders counter-rotate. Track these lines to build natural posture.
Straight Lines First: Start legs and arms as straight lines between joints, then add gesture curves. This locks proportions before introducing flow.
Create a Void for Information: Attempt poses from imagination first, then use reference to fill the gaps. This trains the brain to absorb observation more effectively.
Layer Complexity Gradually: Master static upright figures before adding weight shifts. Each new concept builds on the previous one without overwhelming the process.
Practice This
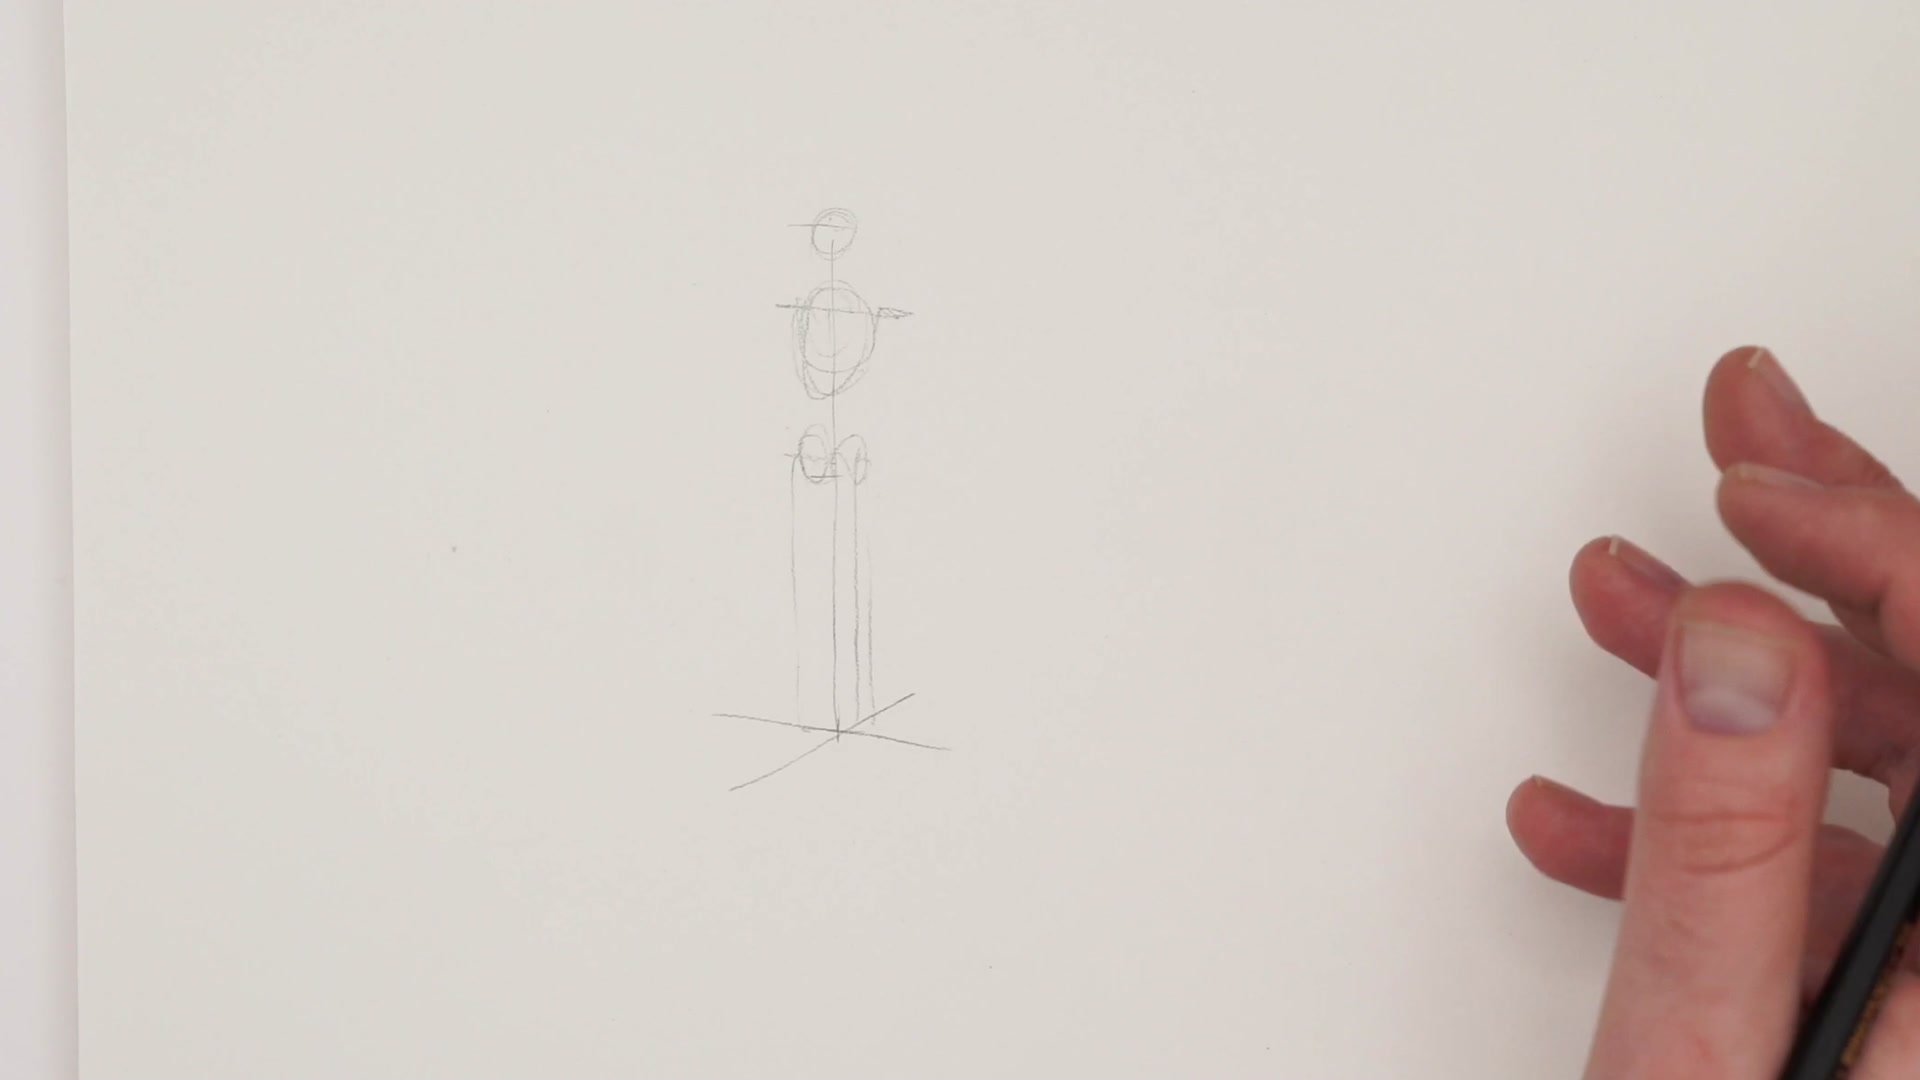
Start Static: Draw a basic Loomis stick figure standing straight with even weight on both feet. Get the proportions locked before anything else.
Shift One Foot: Move one foot closer to the center of balance and adjust the pelvis tilt and shoulder counter-rotation. Keep the changes subtle and check if the figure still feels grounded.
Add Three Dimensions: Twist the pelvis cylinder slightly in three-dimensional space, then adjust the torso to counter-rotate. Drop vertical lines from the hips to confirm where feet need to land.


