Add Clothing and Costume to Your Character Mannequins
Summary
Building the Costume Mannequin
Learning anatomy and the Loomis mannequin gets artists posing figures with confidence, but characters are more than their anatomy. What they wear, what they carry, and how those elements interact with the body is what makes a character feel like that character. The problem most artists face is trying to add costume details after finishing a pose, only to find the design falls apart or loses its energy.
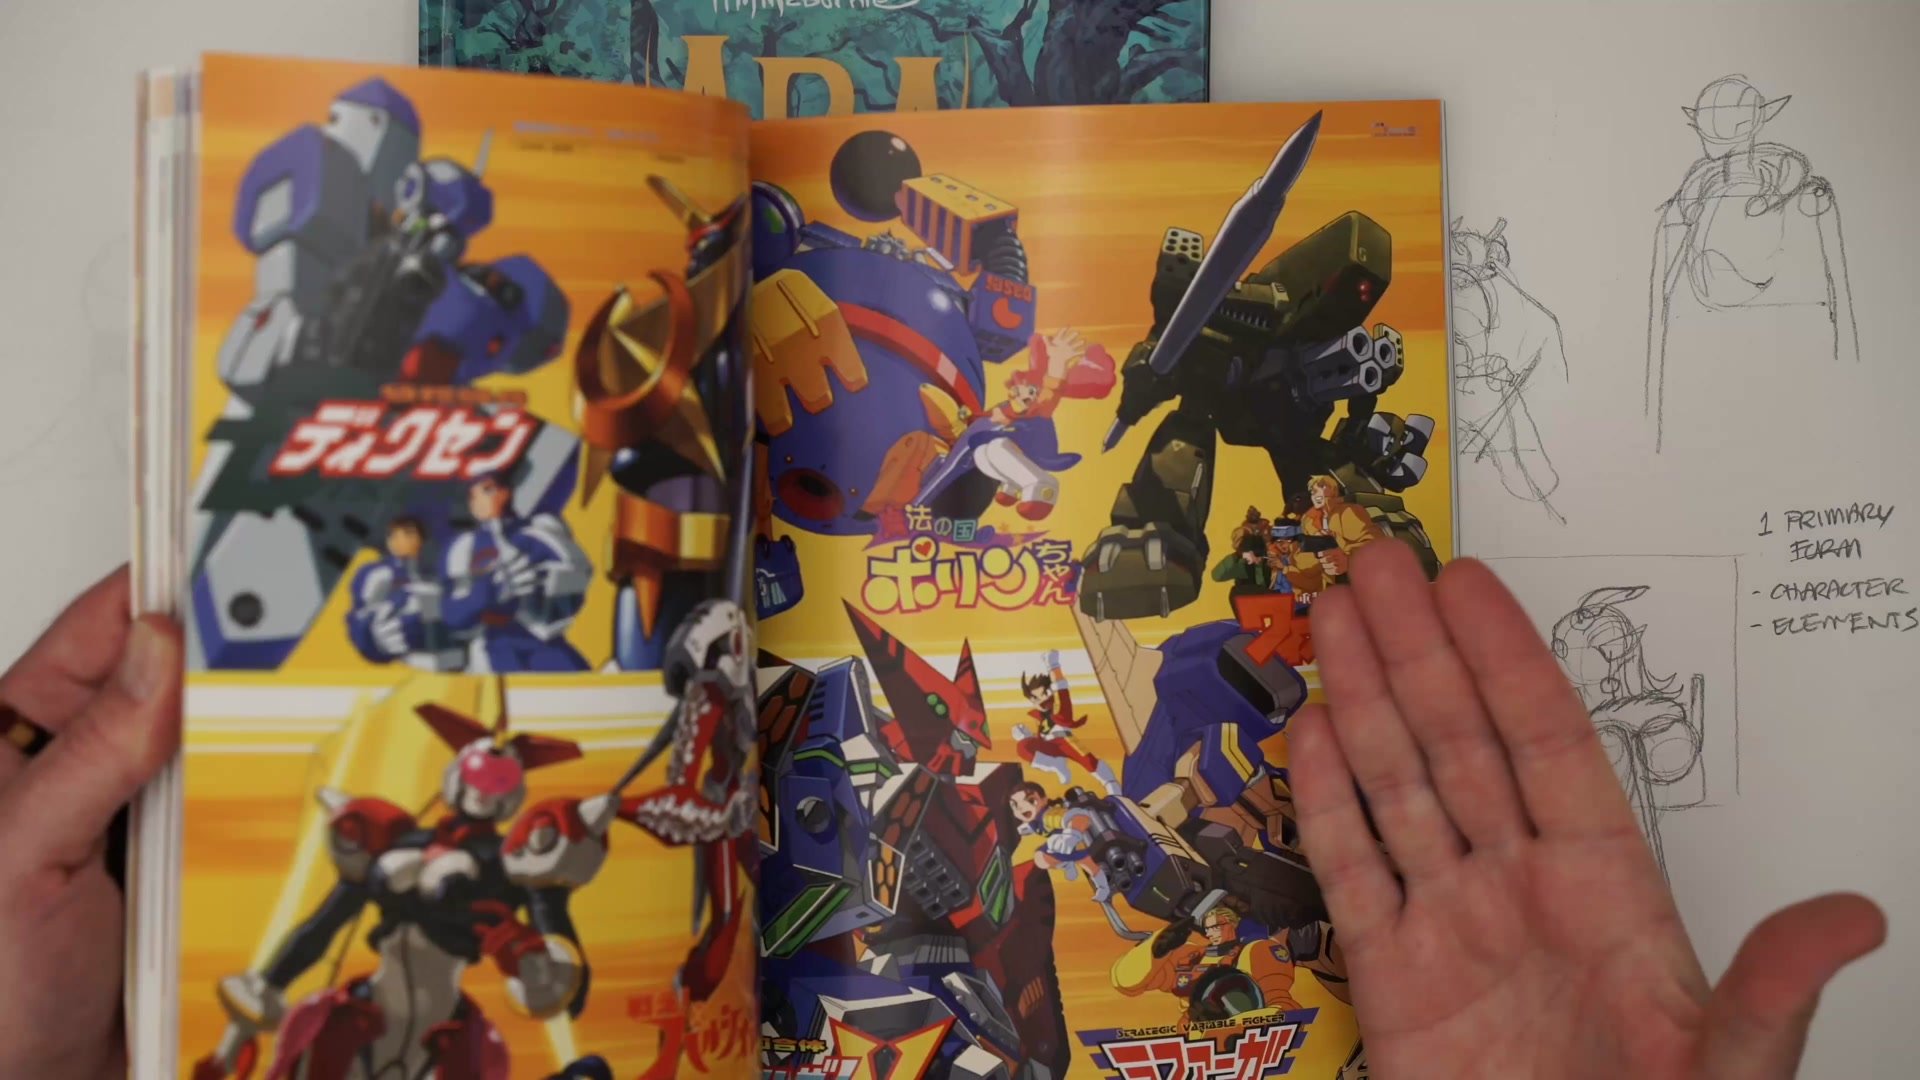
This video teaches how to integrate key costume and accessory elements directly into the mannequin stage. Using original comic characters from Seven Pirates and Ara as working examples, the approach shows how identifying and simplifying a handful of critical design elements transforms a generic stick figure into a recognizable character that can be posed quickly and consistently.
Character Reference
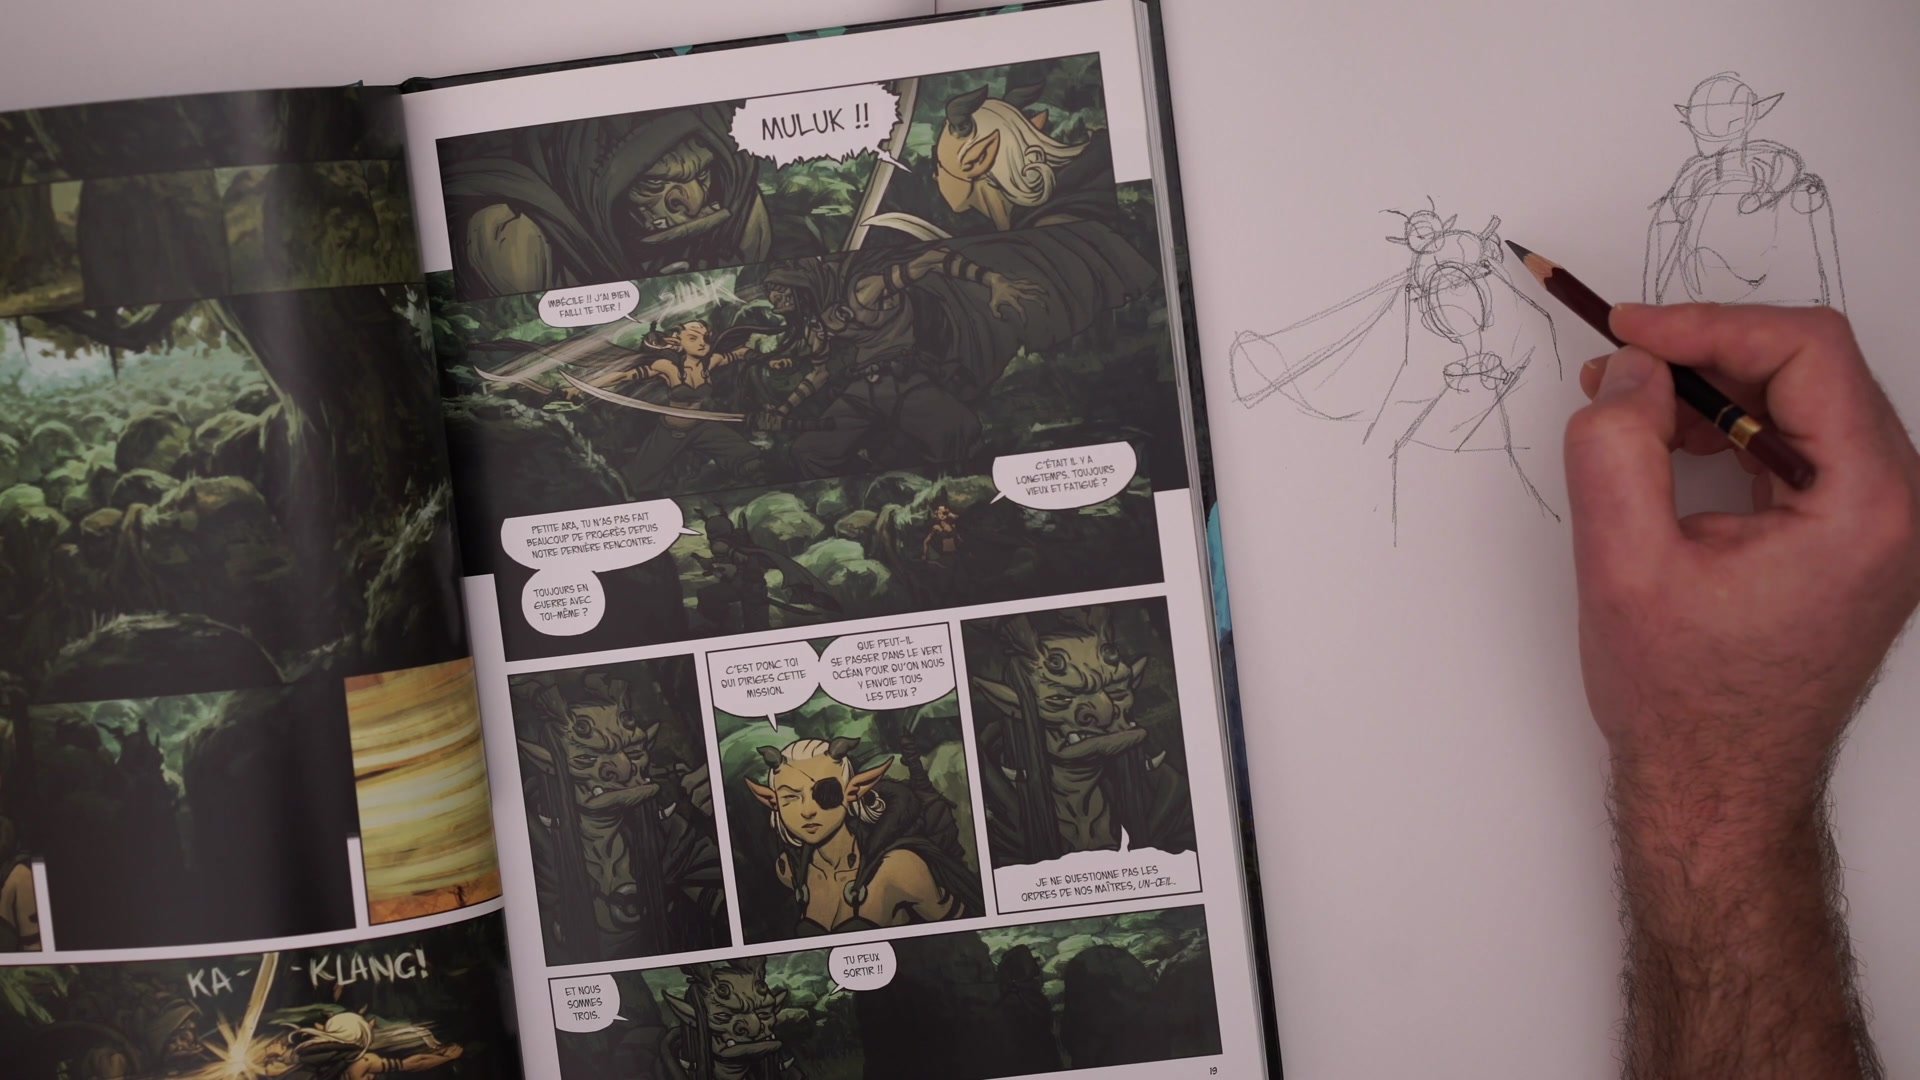
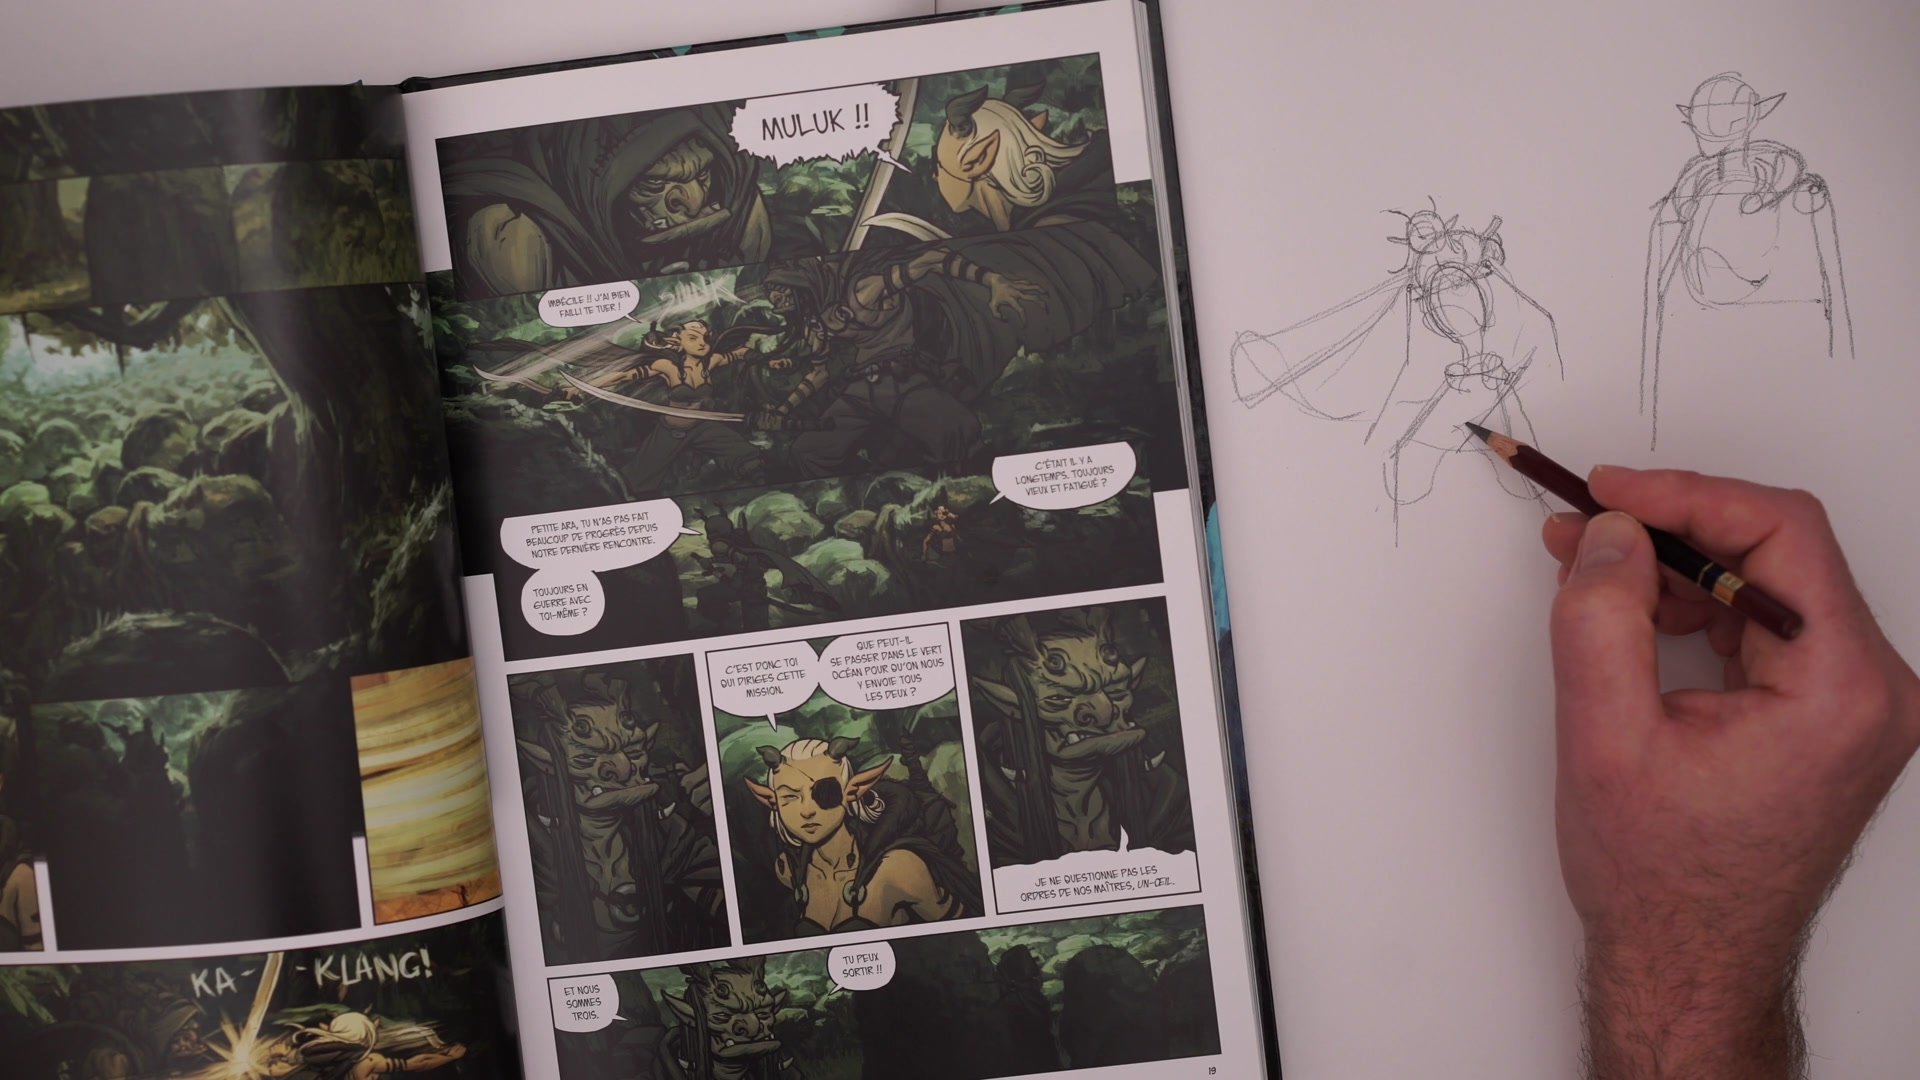
Primary Character Elements
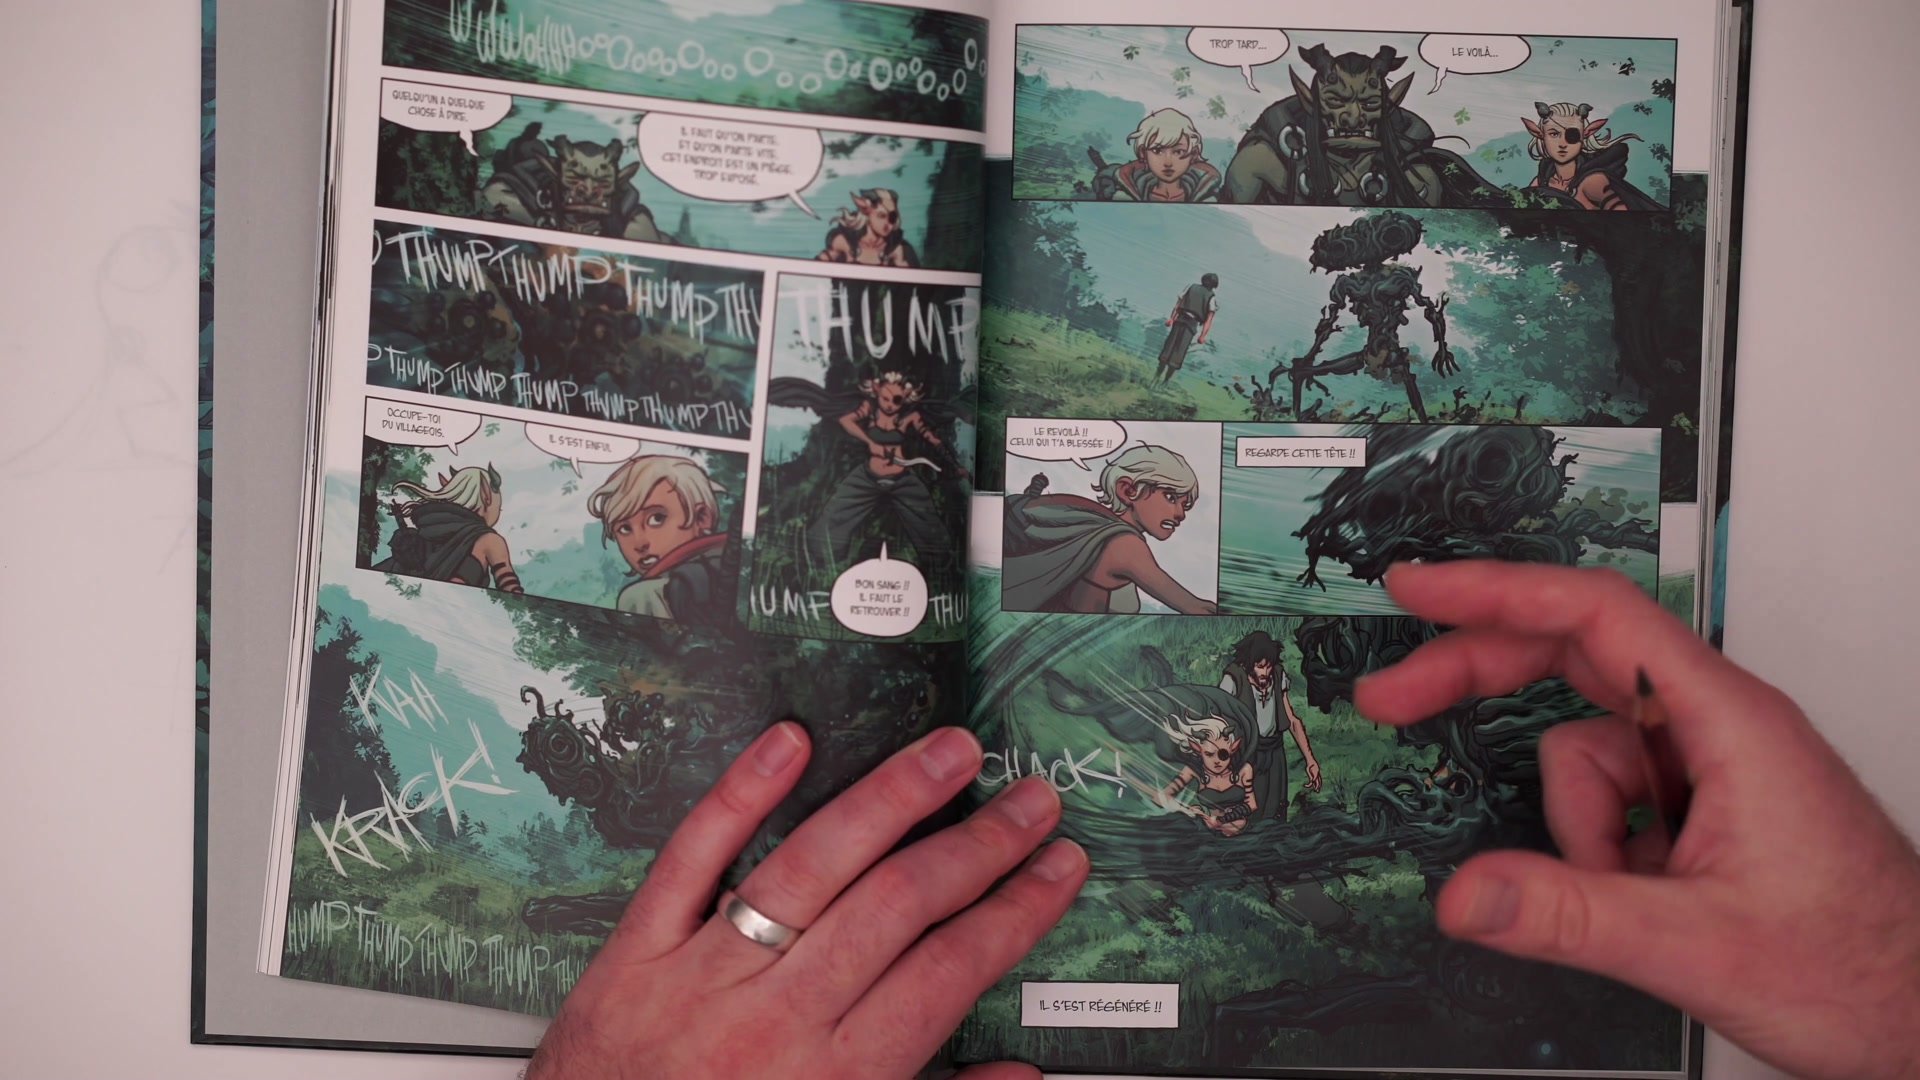
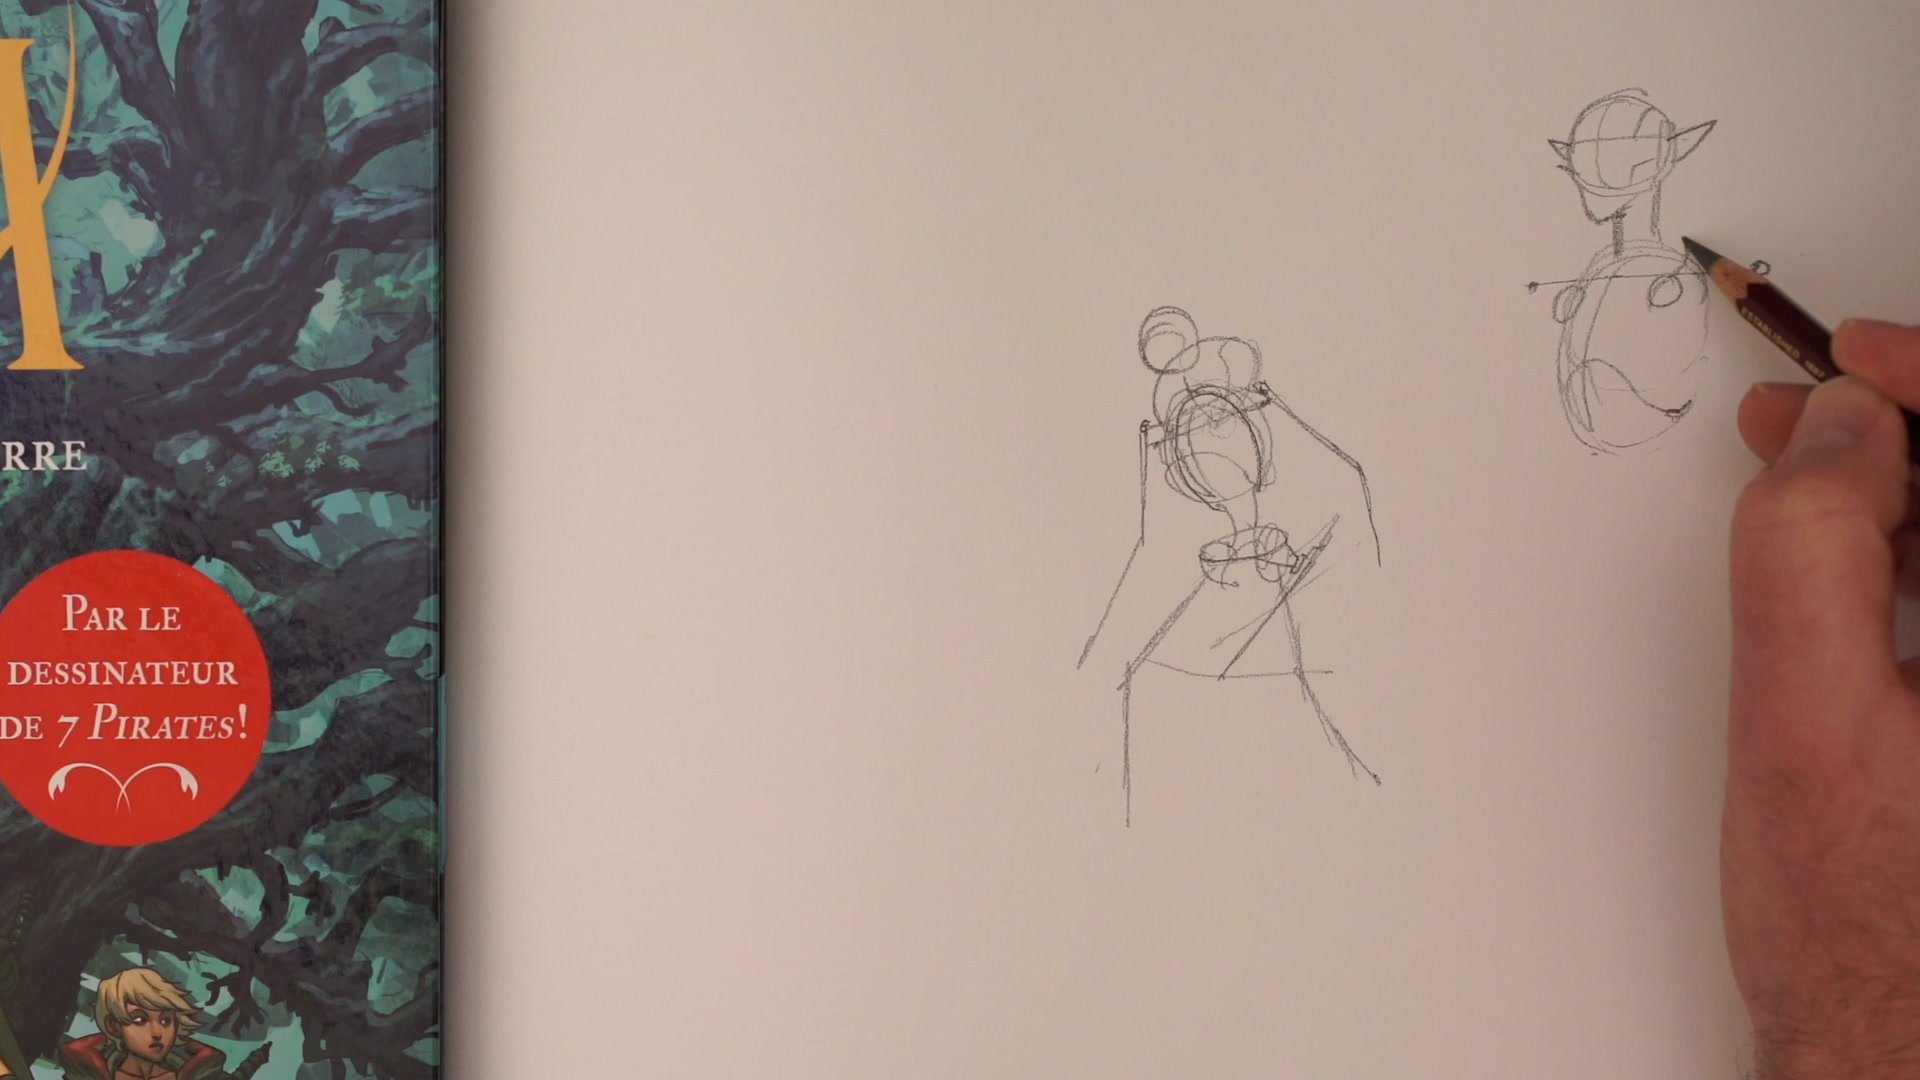
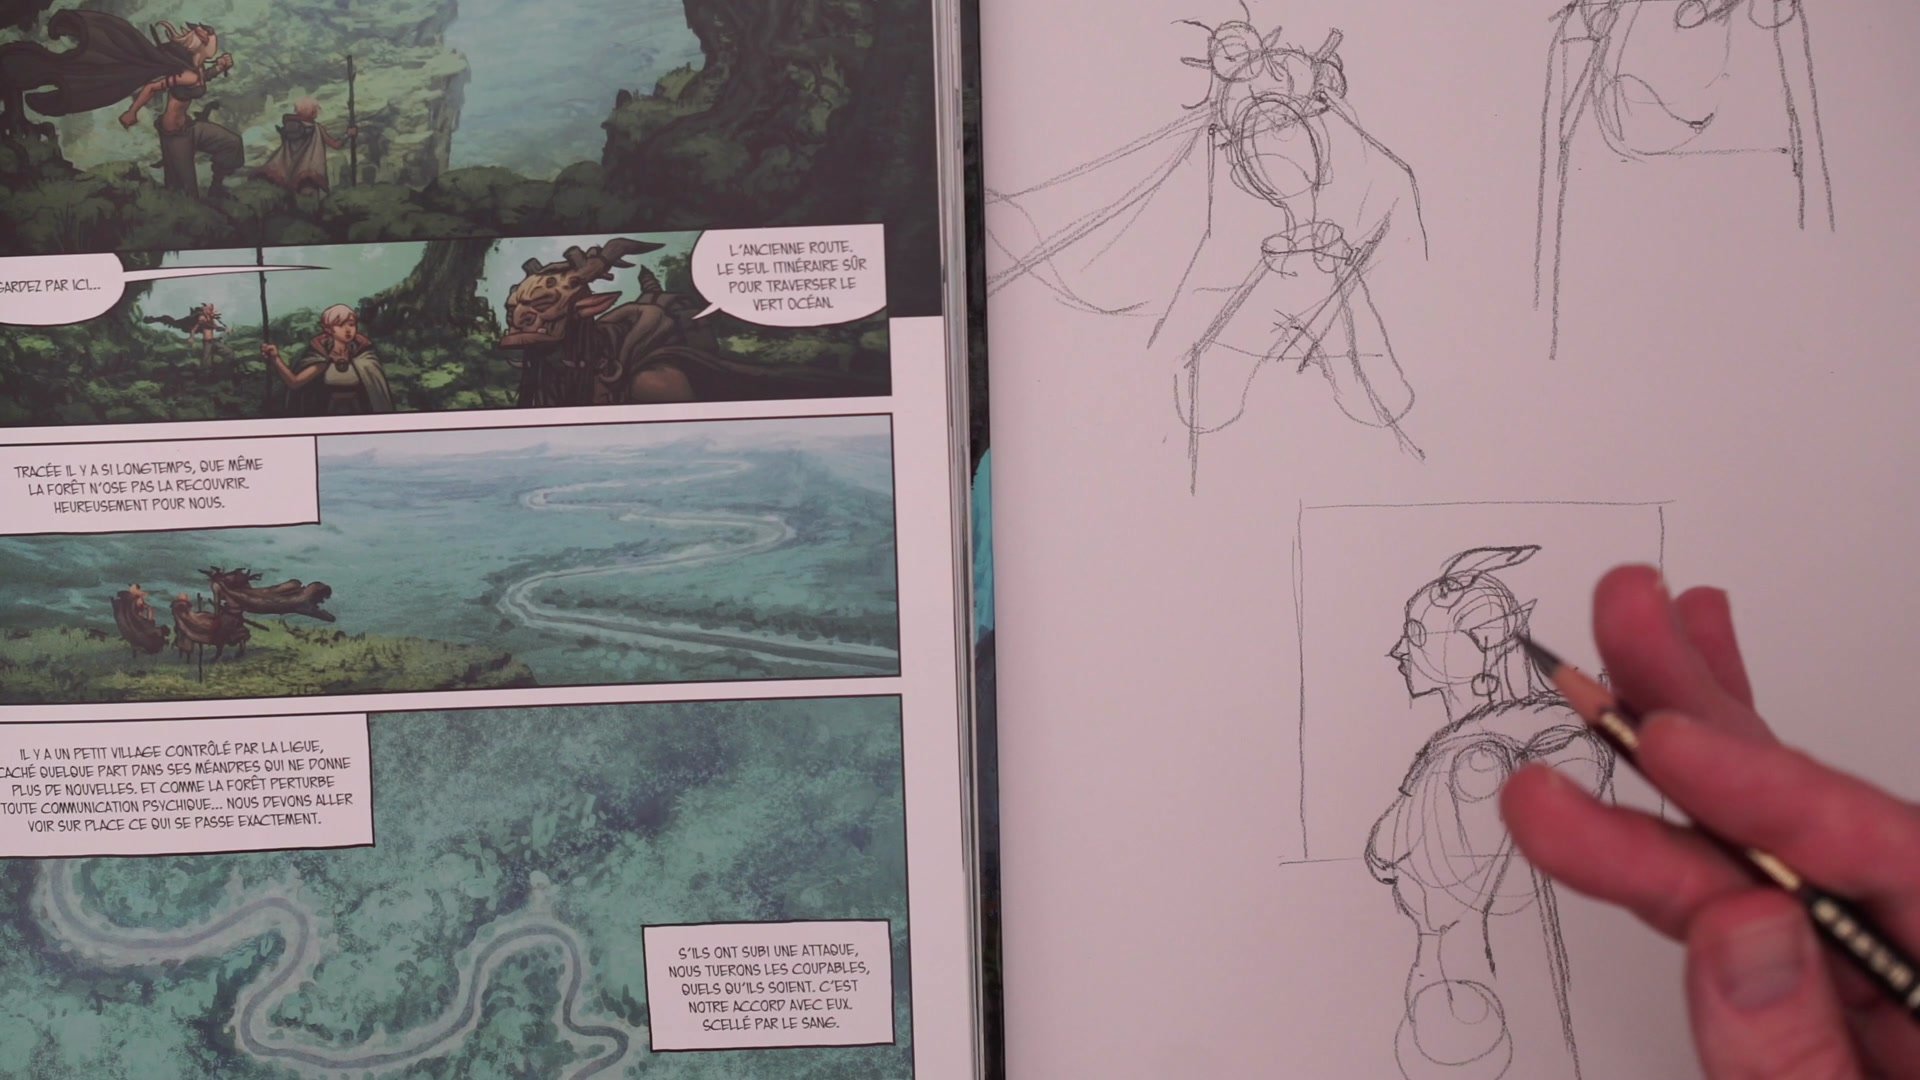
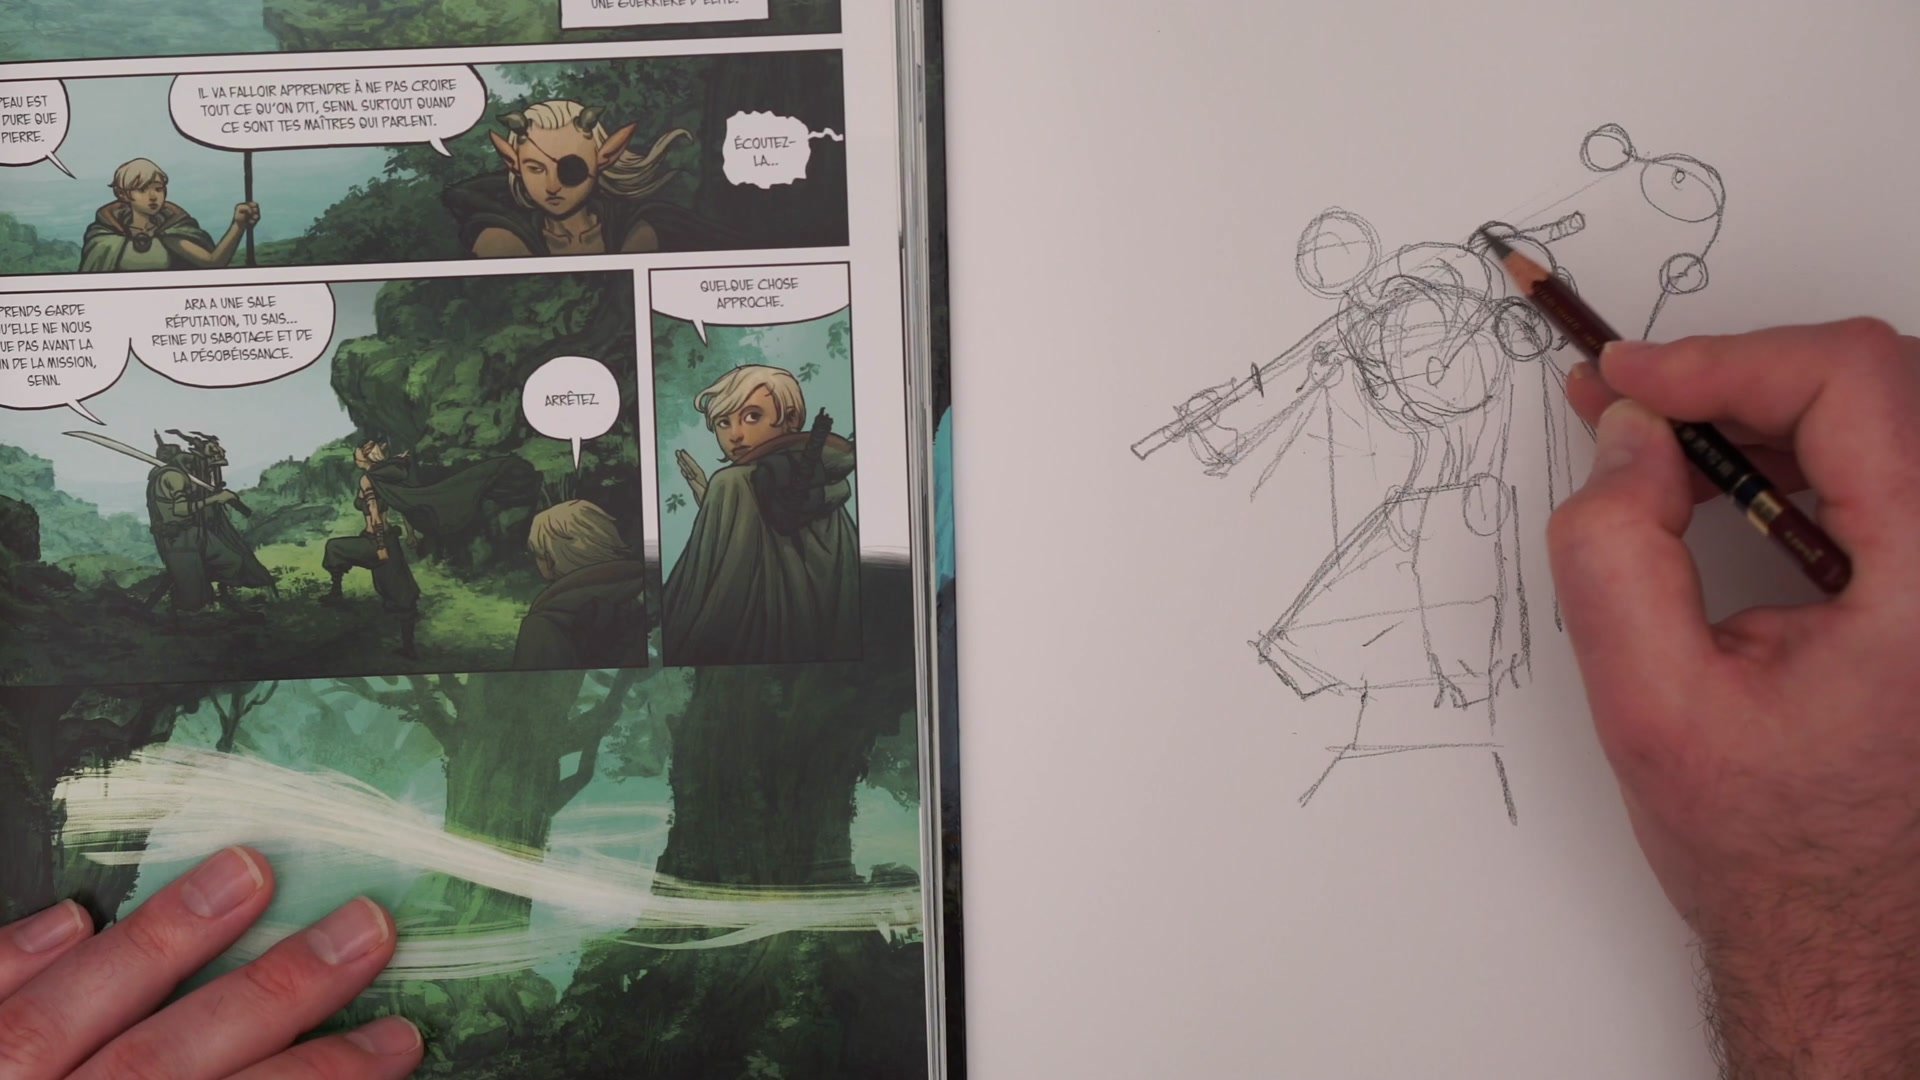
The concept at the heart of this approach is what can be called primary character elements. Just as primary form drawing starts with the biggest shapes, primary character focuses on the few elements that make a character immediately recognizable. For the Ara character, those elements are the fur-lined hood, the sword at the hip, the travel pack on the back, and the pointed elf ears. Everything else can be resolved later.
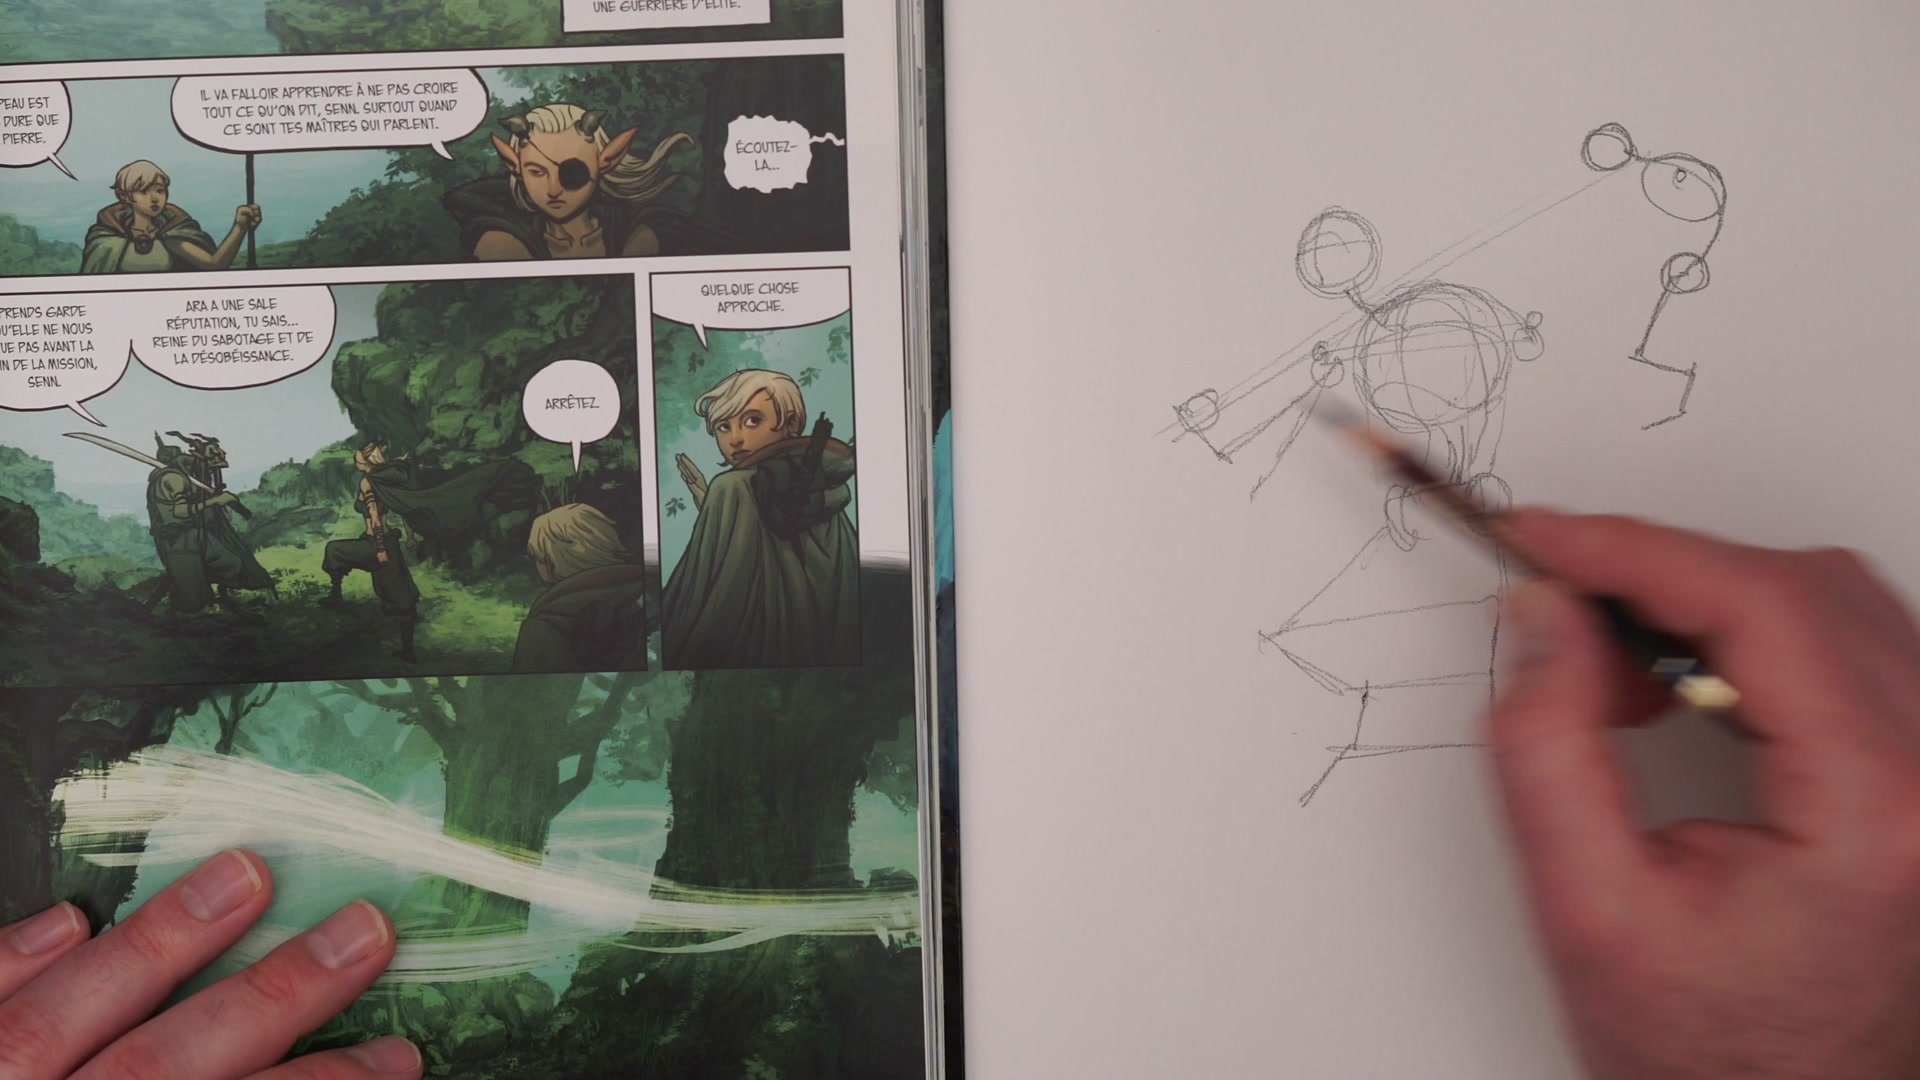
Adding these elements at the mannequin stage is not about drawing them in detail. A sword is just a line. A hood is a simple curved shape wrapping the shoulders. What matters is that their placement is established early, because every pose creates different intersections and overlaps between these elements. Getting those relationships right at the stick figure stage prevents problems that are painful to fix in a finished drawing.
Mannequin Construction


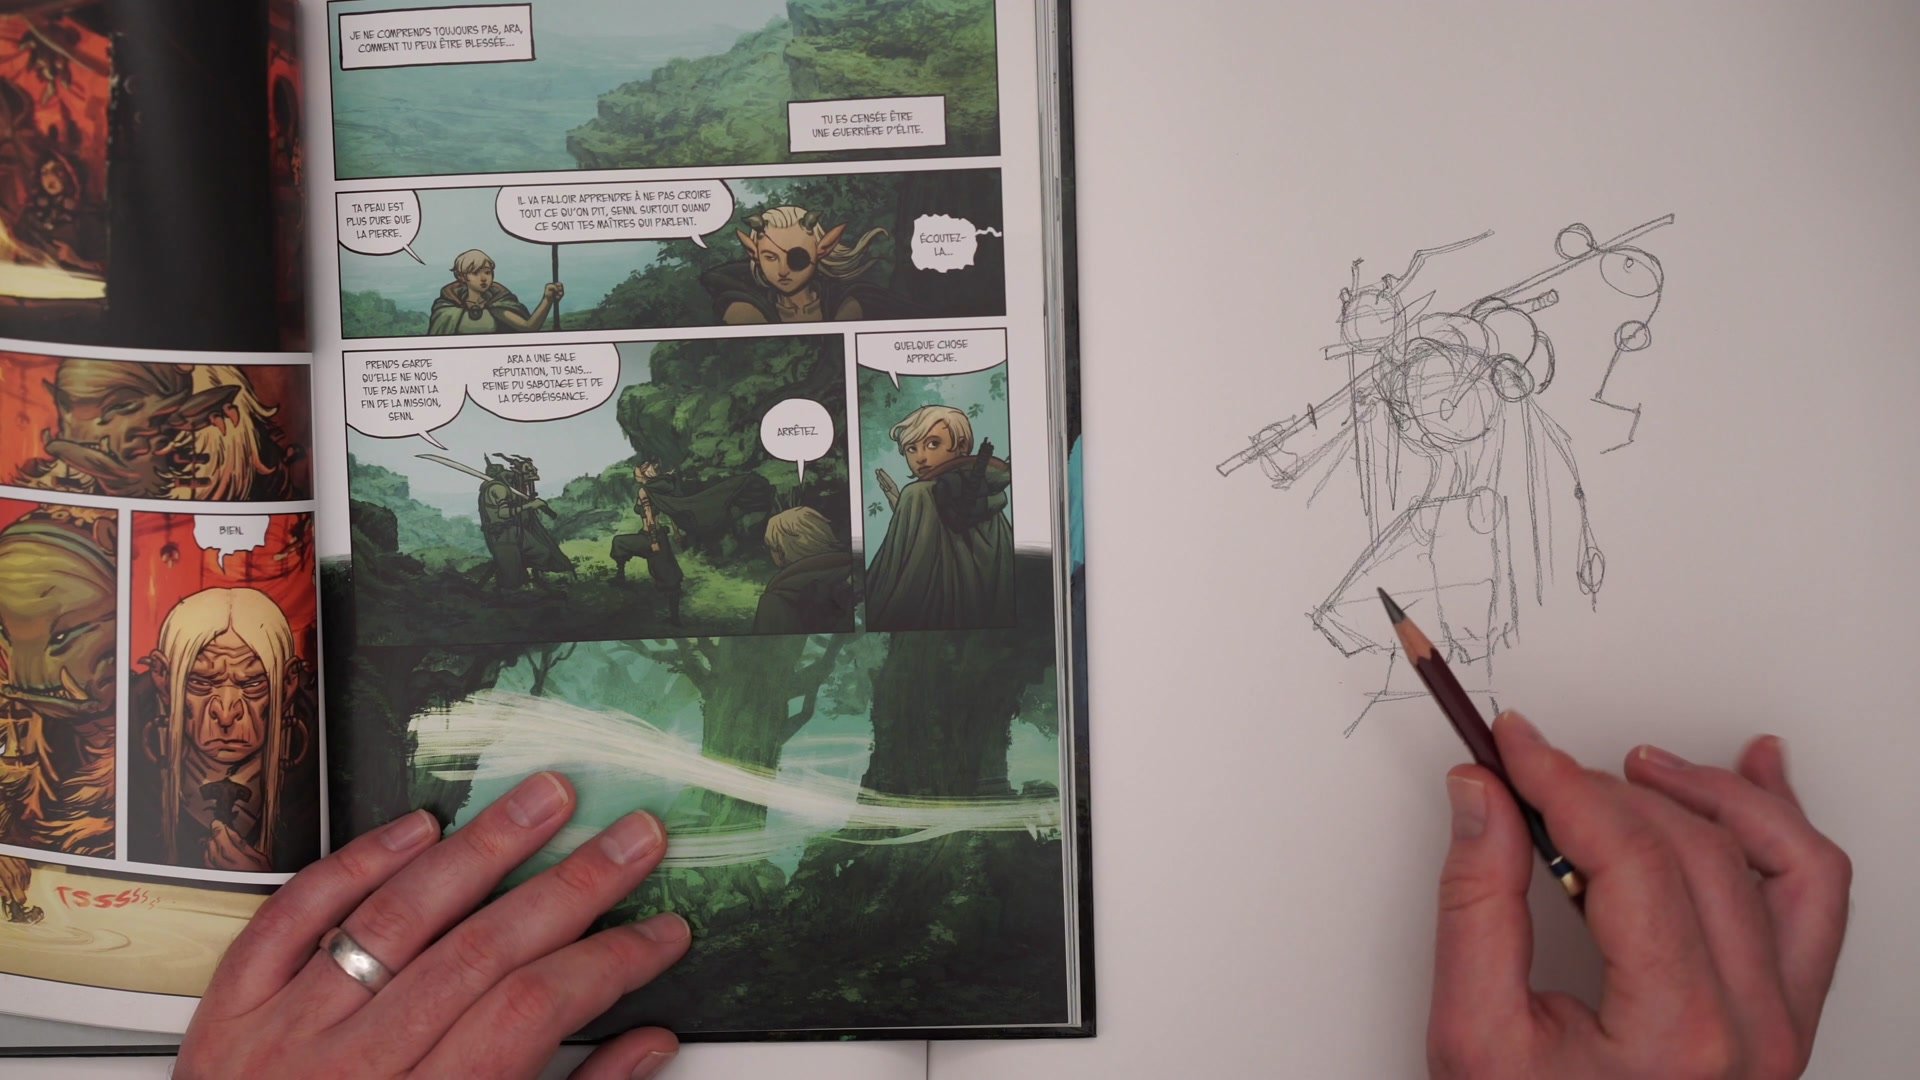
Overlaps Create Depth
One of the most practical reasons to plan costume elements early is the layering of overlaps they create. When the Ara character is drawn, there are often five or six elements overlapping each other: skin, then hair framing the face, then the fur-lined hood wrapping around, then the travel pack behind everything. Each overlap adds a layer of visual depth and dimensionality to the drawing.
This is also why capes and flowing elements appear so often in character design. They are not just aesthetic choices. They give artists an easy way to show motion in a static image and to indicate gravity and wind direction. Even small details like straps, hair, or loose fabric serve this purpose. Understanding this at the mannequin stage means those overlaps can be designed intentionally rather than discovered by accident during the final drawing.
Application and Overlaps
Adapting for Non-Human Characters
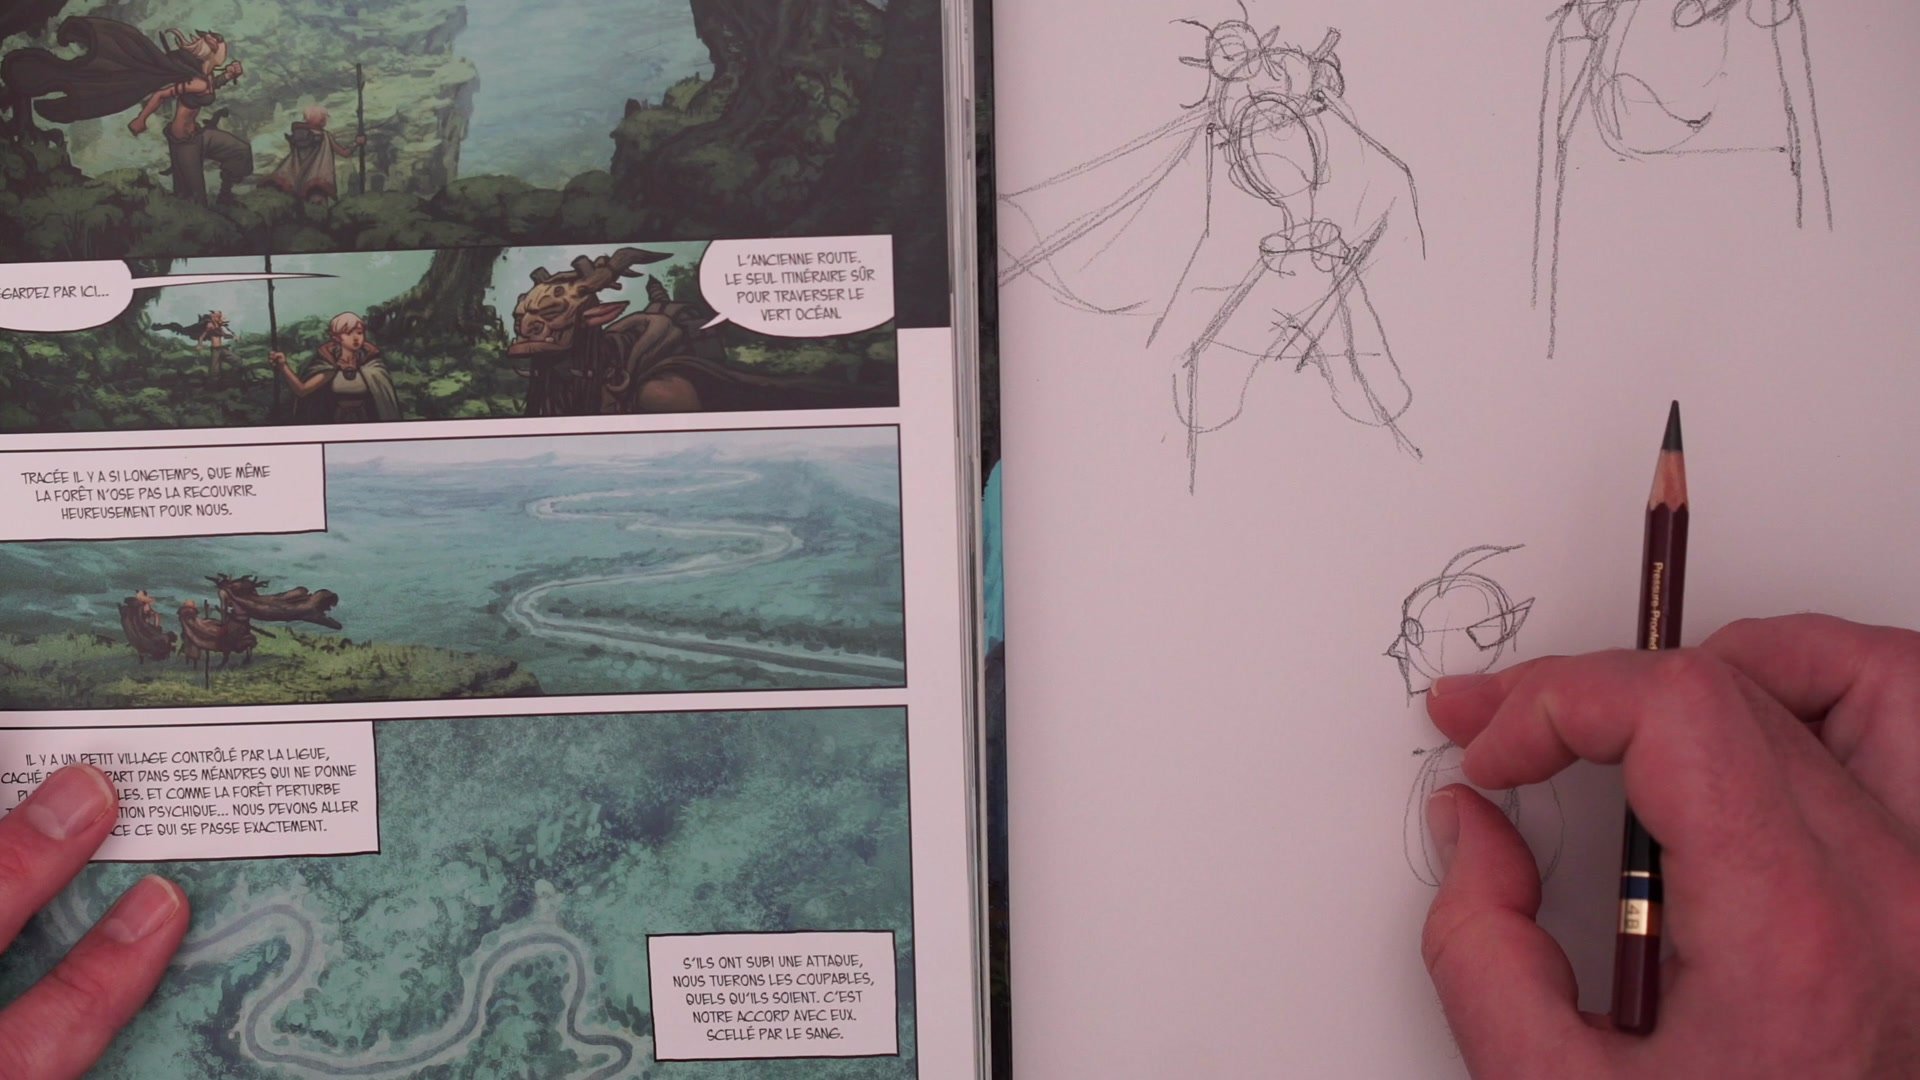
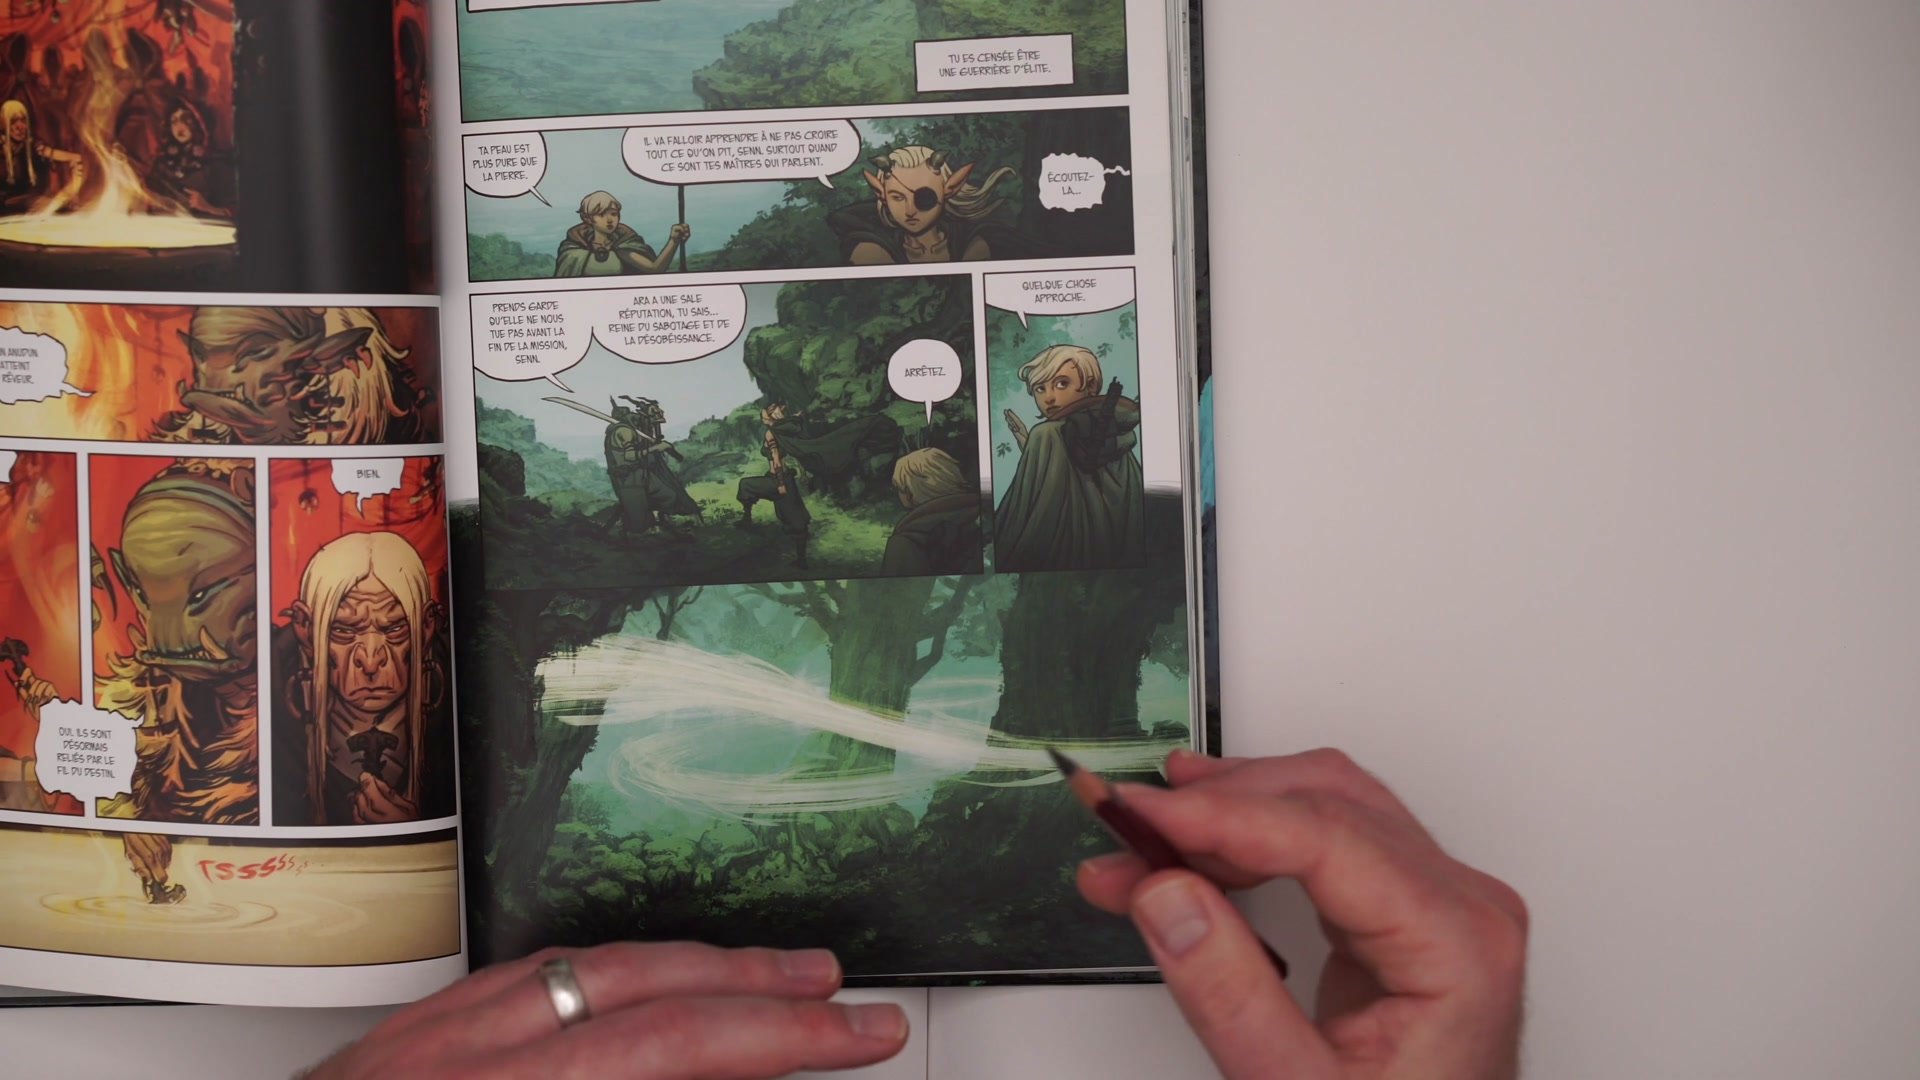
The costume mannequin approach becomes even more important with characters that deviate from standard human proportions. The Maluk character from the Ara book has animal-shaped legs, a pronounced hunchback, long horns, and a jutting jaw. These are not costume elements in the traditional sense, but they function the same way. They are the primary features that make this character recognizable and they need to be present at the mannequin stage.
Working at different drawing sizes also affects how much detail the mannequin needs. A small thumbnail pose can get away with very simple indicators, but a larger drawing requires planning more of the dimensional relationships between elements. The key insight remains the same: figure out what the essential components are that make the character feel right, simplify them, and build from there. The rest falls into place once those core elements are established.
Fantasy Character Mannequins
Key Principles
Mannequin Plus Character: The basic stick figure mannequin needs key costume and accessory elements added at the earliest stage, not saved for later refinement.
Identify Primary Elements: Every character has a handful of defining features. Find those elements and simplify them enough to include in every quick pose.
Overlaps Build Depth: Planning where costume elements layer over each other creates visual depth and dimensionality that makes drawings feel three-dimensional.
Scale Affects Detail: Smaller poses need fewer mannequin details while larger drawings require more planning of how elements interact spatially.
Act Through Character: When the mannequin captures the character's essence quickly, it frees the artist to focus on emotion and acting rather than getting lost in details.
Try This
Pick a Character: Choose a character you love drawing or want to learn. Study their design and identify the three to five elements that make them immediately recognizable.
Build the Mannequin: Draw a simple stick figure pose, then add just those key elements as simplified shapes and lines. A sword is a line, a cape is a curve, horns are quick marks.
Pose Repeatedly: Draw the same character in five different poses using only the mannequin plus key elements. Notice how the intersections and overlaps change with each pose.


