Master Shoulder Construction
Summary
Mastering Shoulder Construction
The shoulder is one of the most challenging areas of the human body to draw. The complexity comes from its enormous mobility - a floating shoulder blade, a moving collarbone, and an arm socket that shifts constantly. As the arm moves, the shoulder blade slides on the back, the collarbone tilts, and the relationship between these bones changes everything on the surface.
This breakdown approaches shoulder anatomy from a practical drawing perspective rather than exhaustive anatomical detail. The focus is on what needs to be drawn - primary forms first, then the anatomy that influences those forms. For most drawing situations, detailed anatomical knowledge is not necessary. What matters is proportion and placement. When drawing shirtless characters or muscular figures, understanding the major muscle groups becomes important, but even then the forms come first.
Primary Forms
The Foundation: Primary Forms
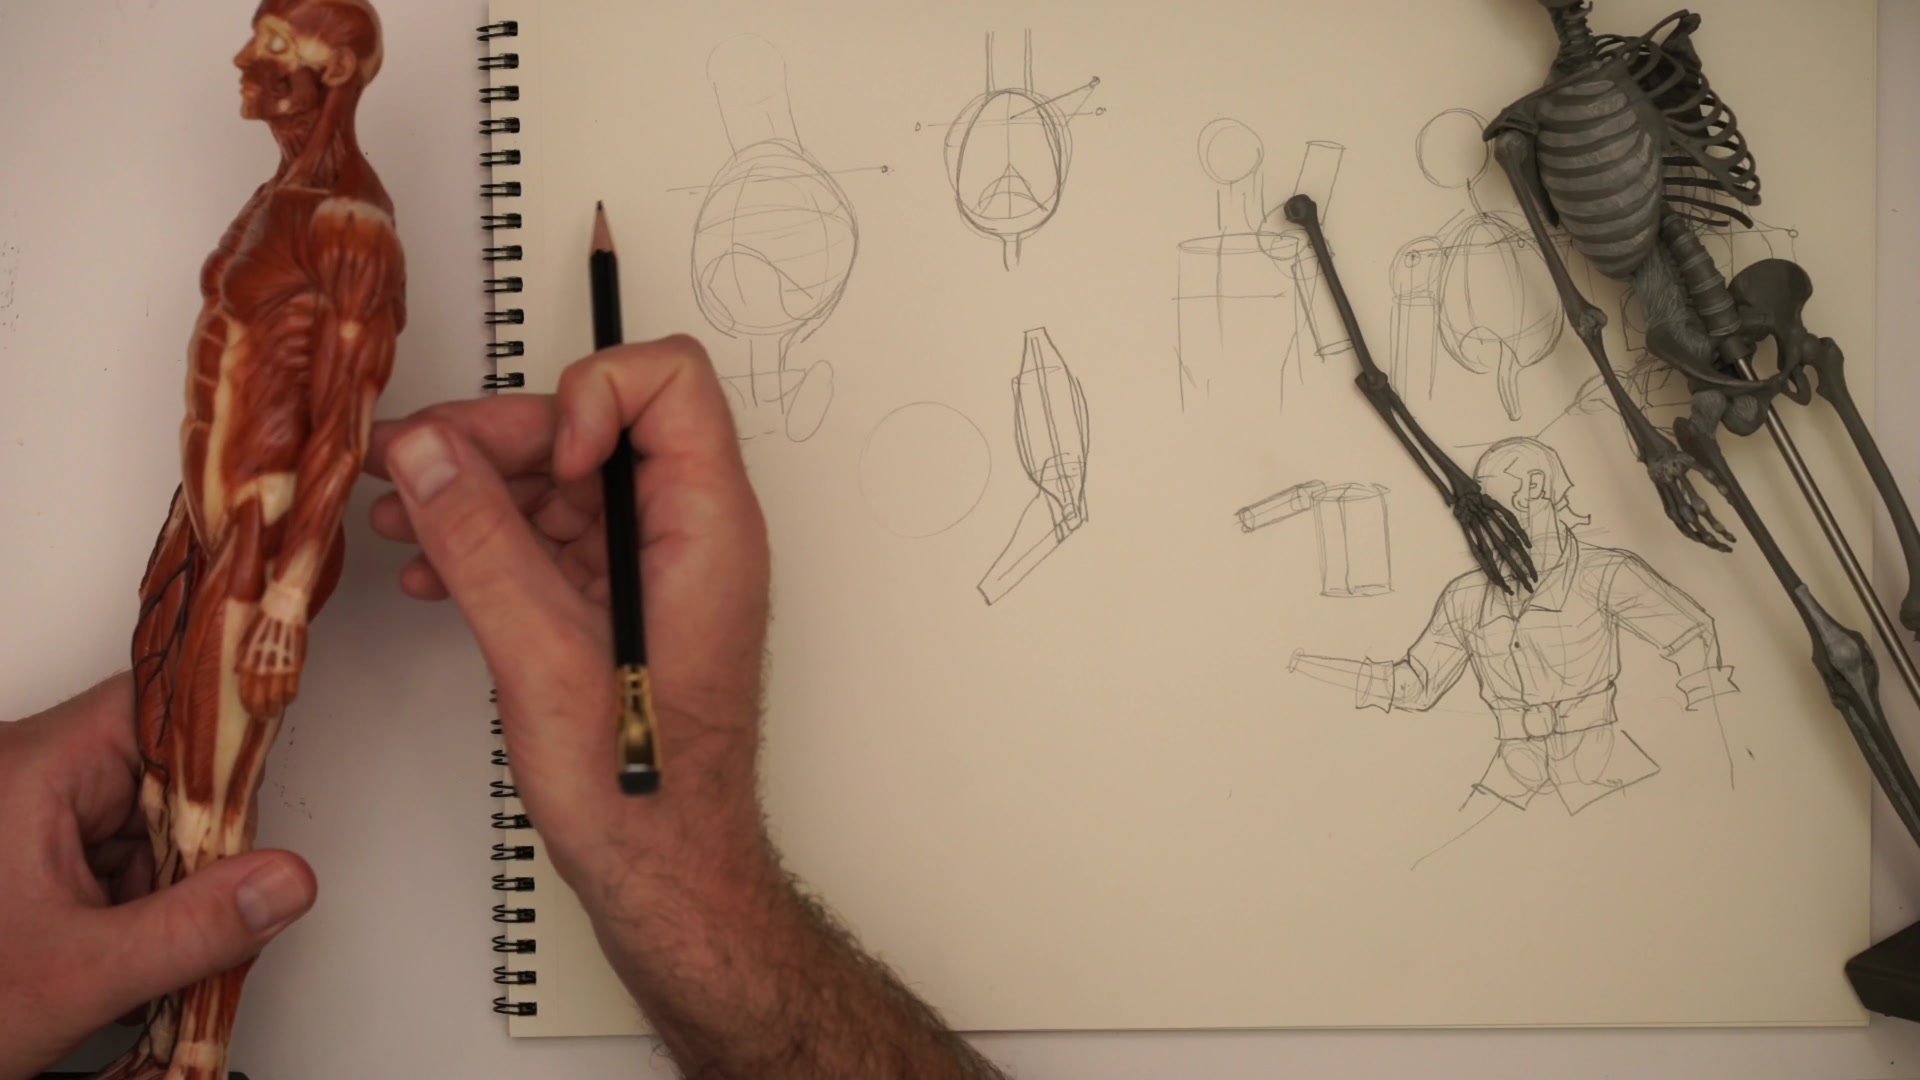
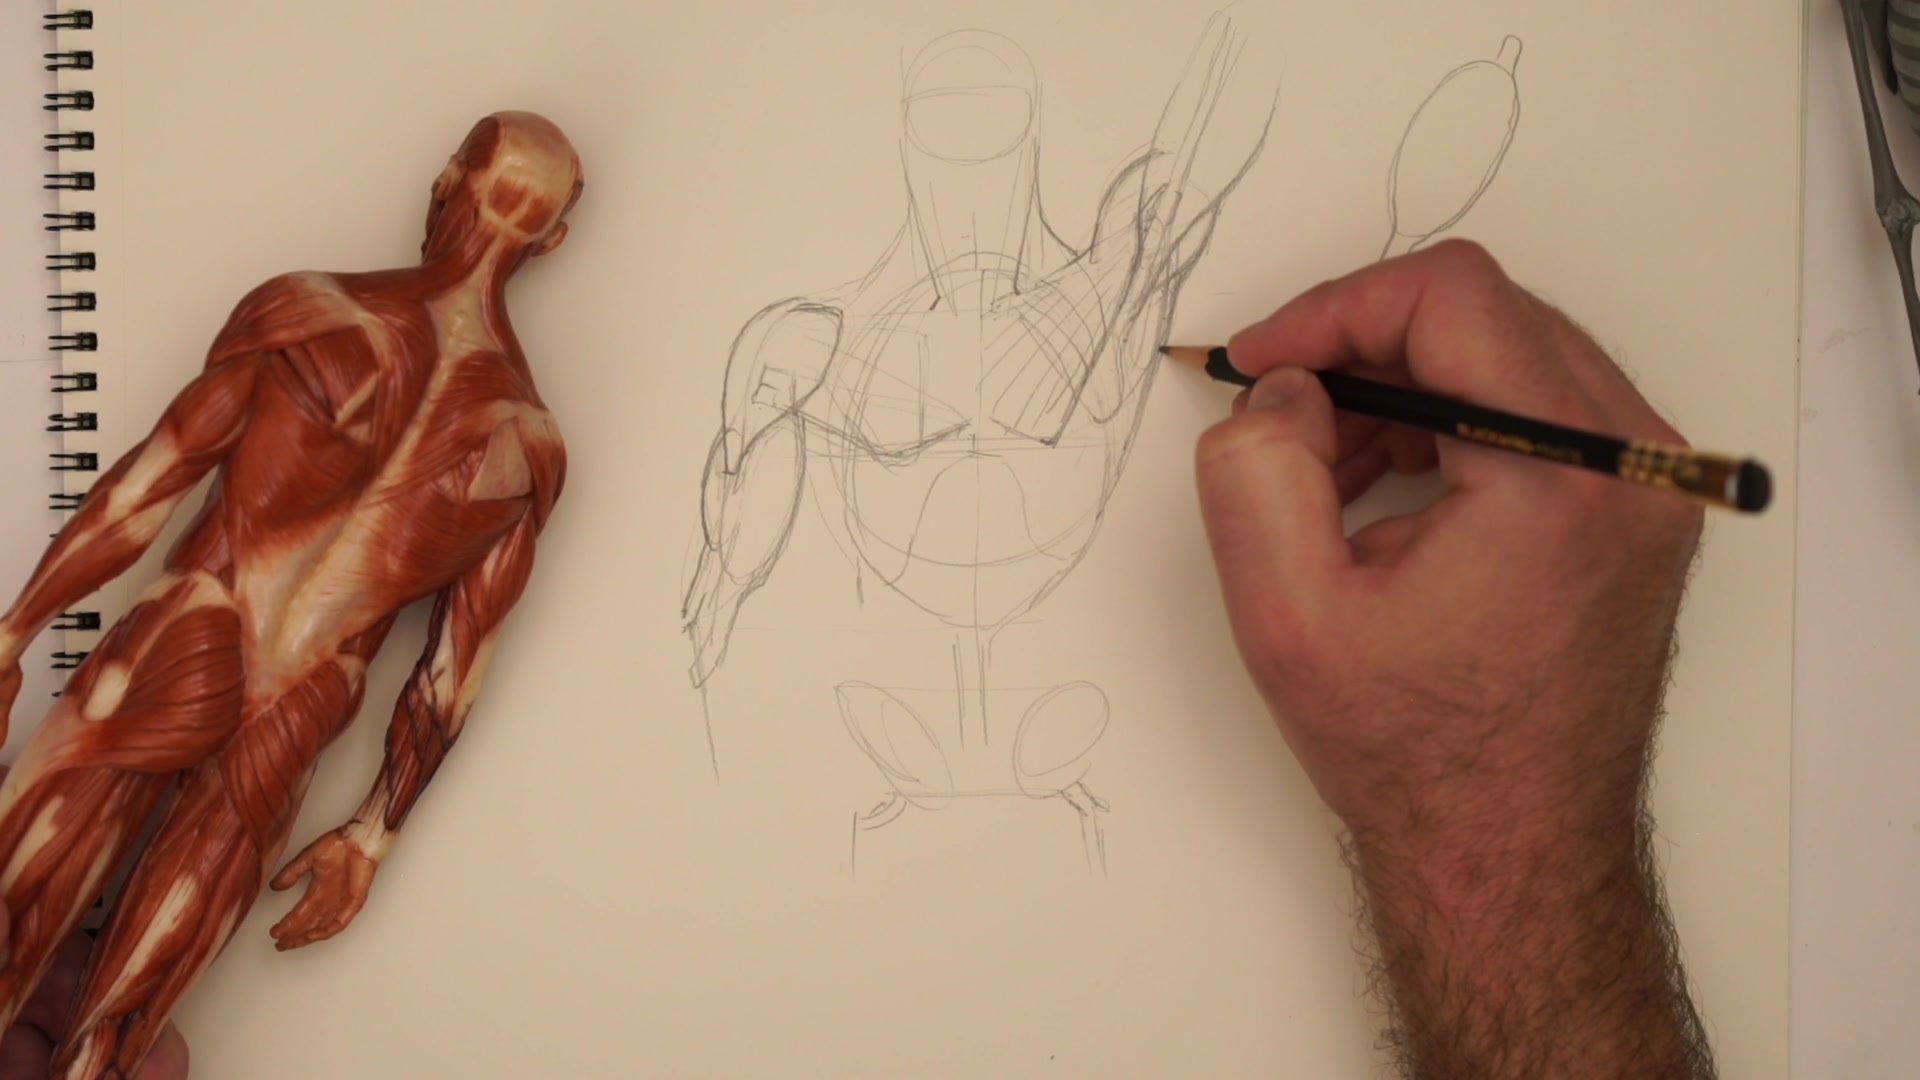
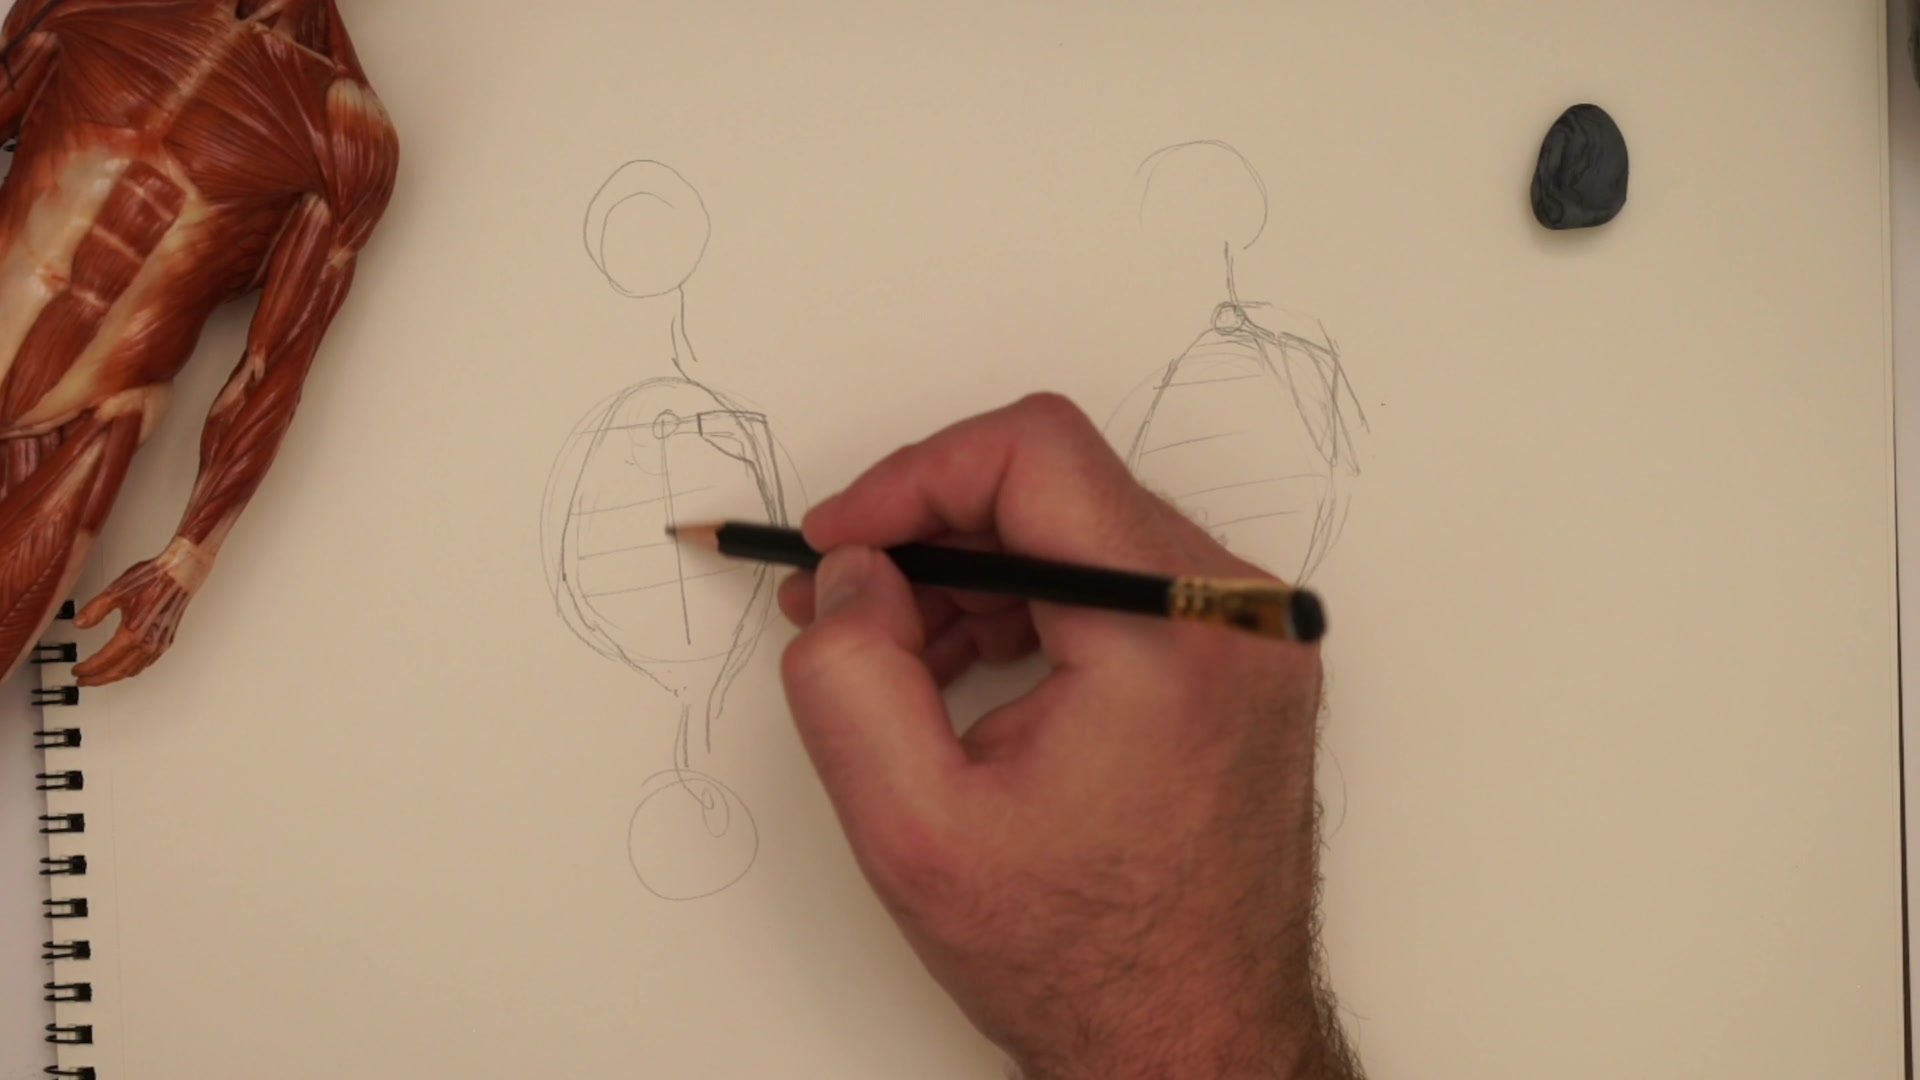
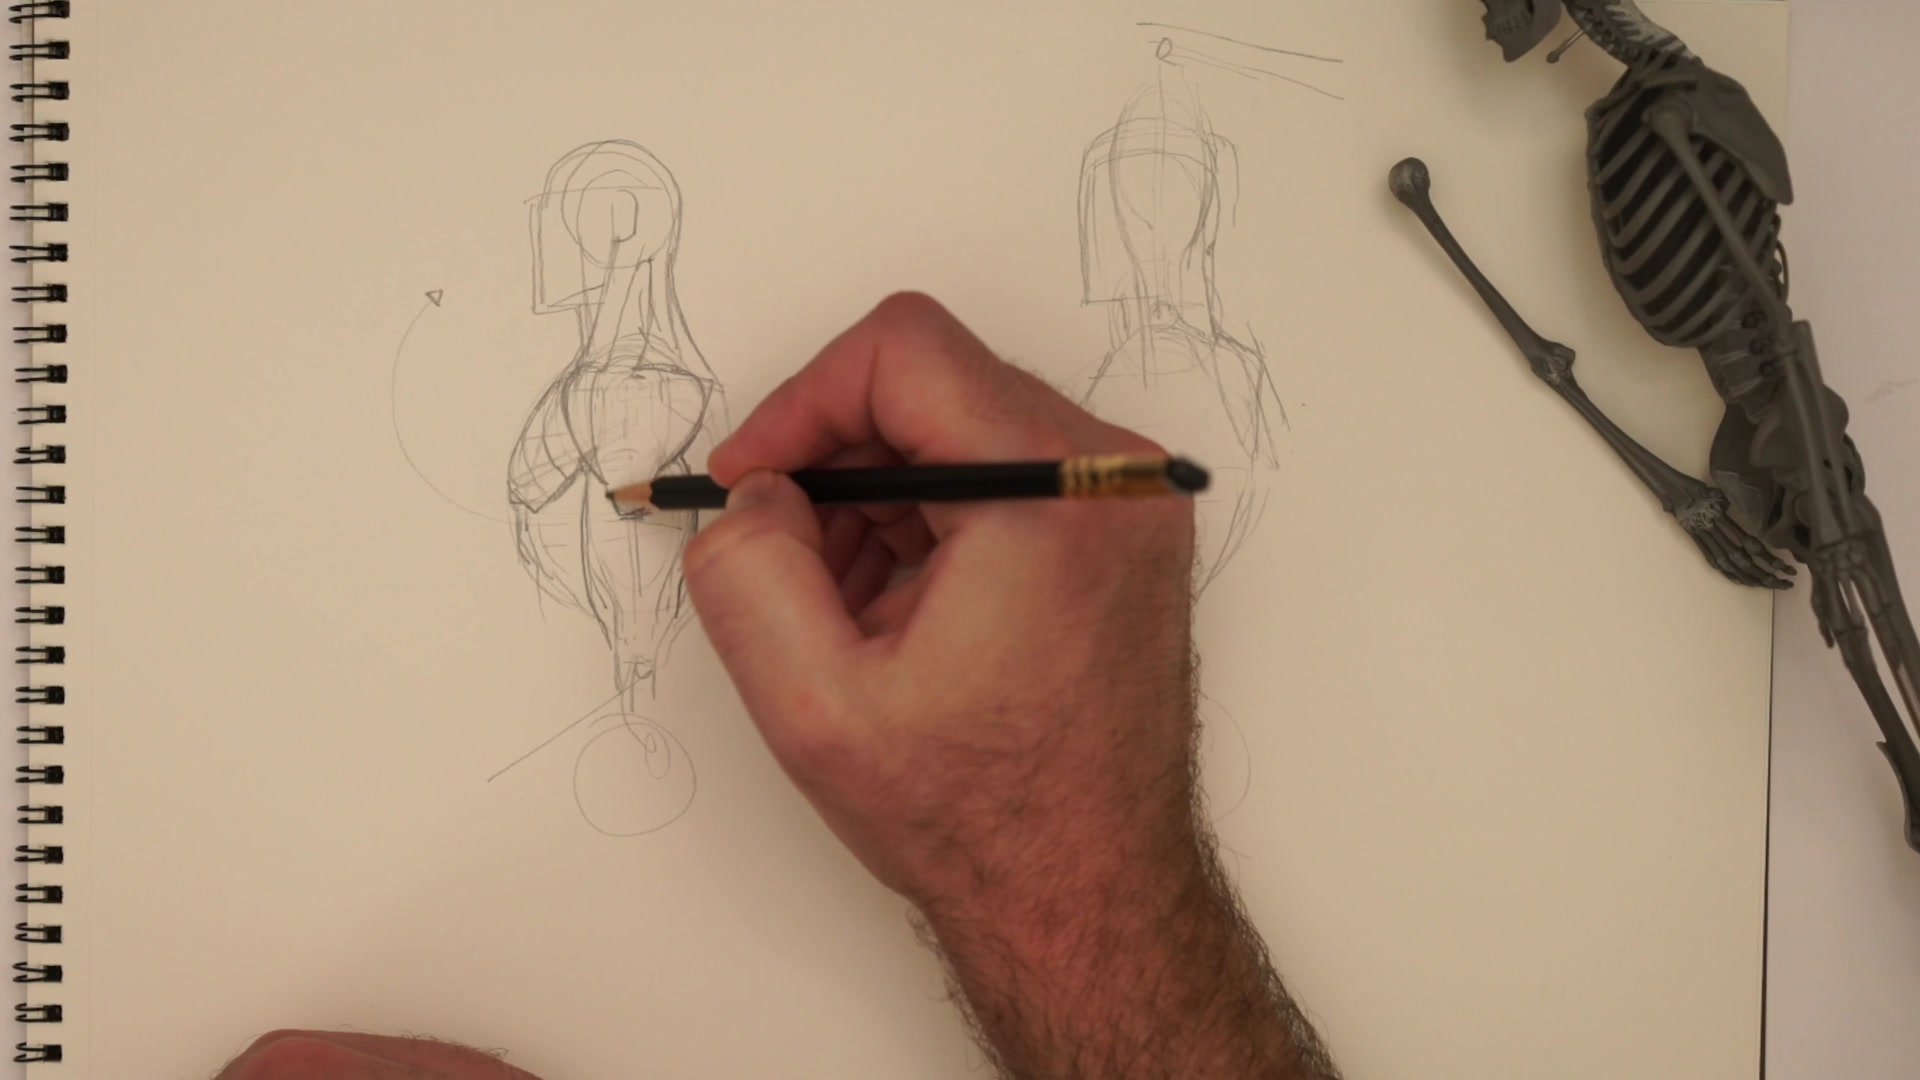
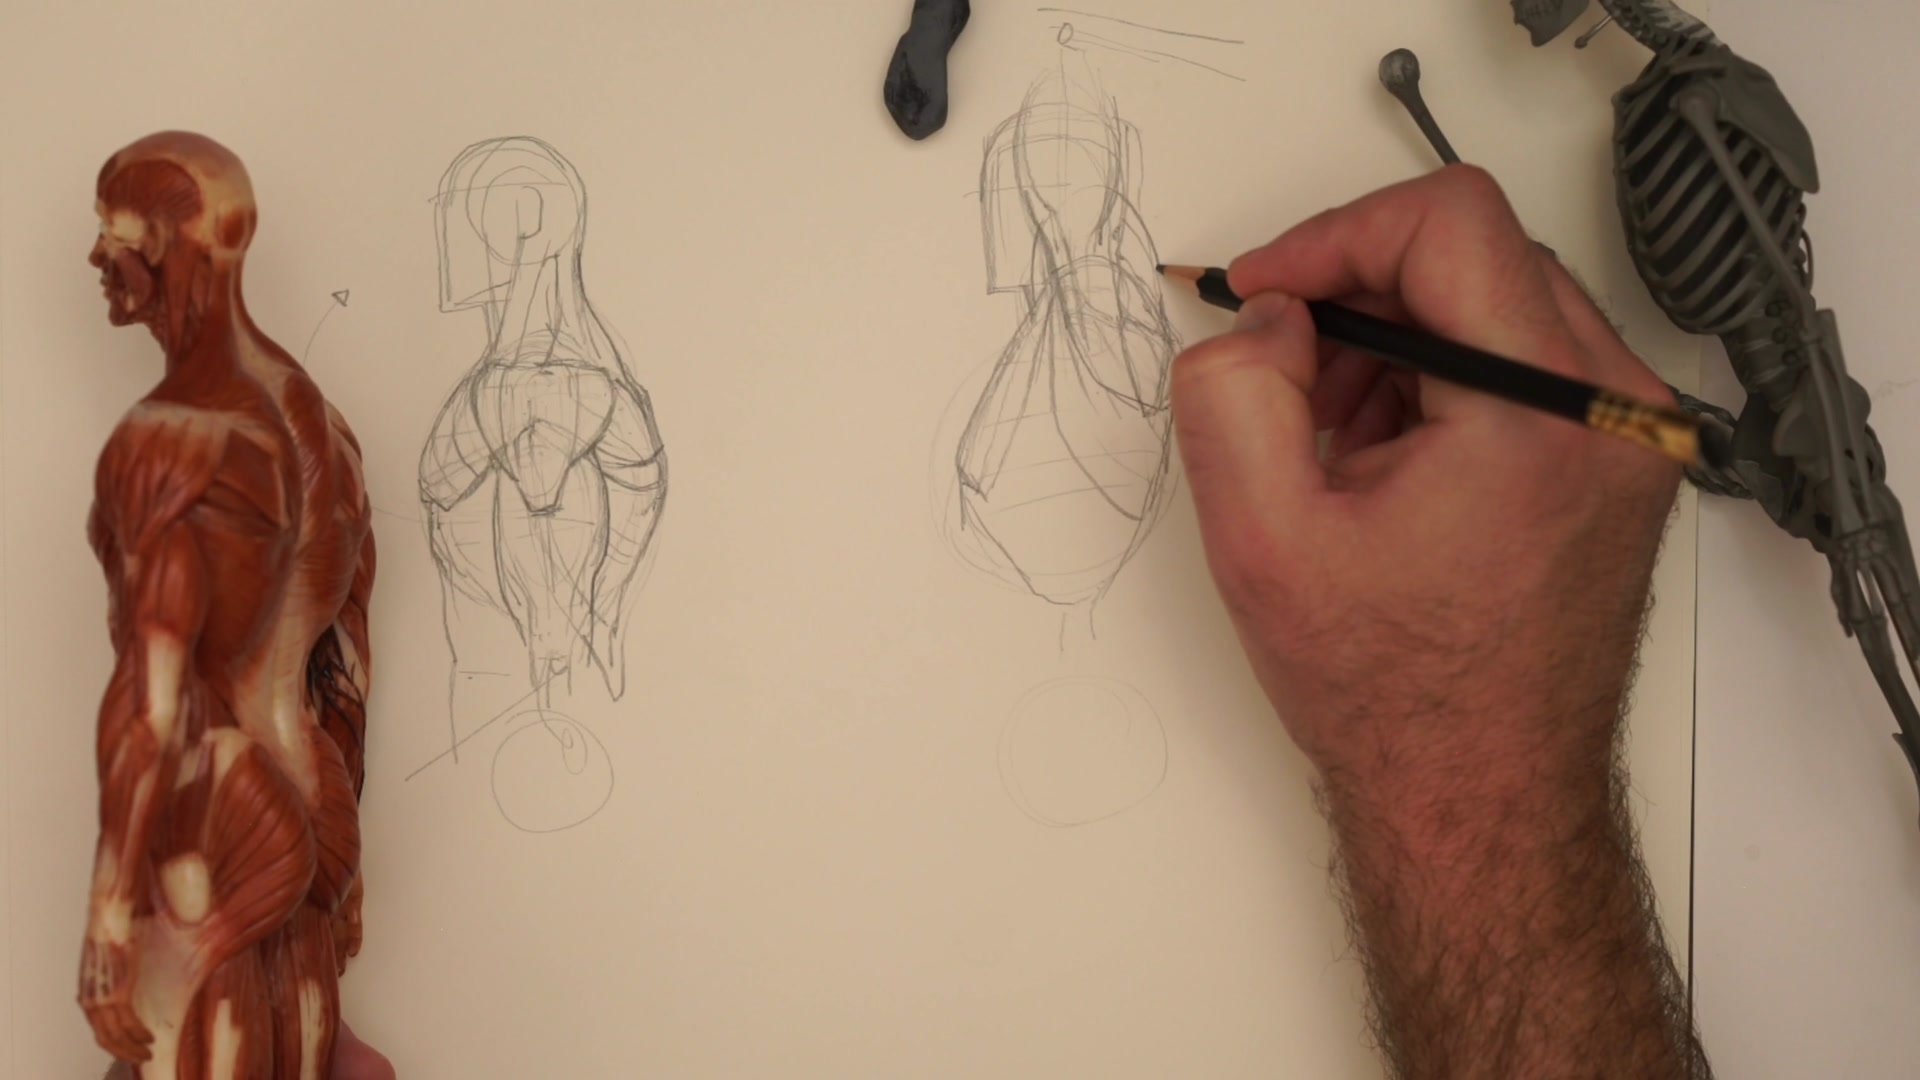
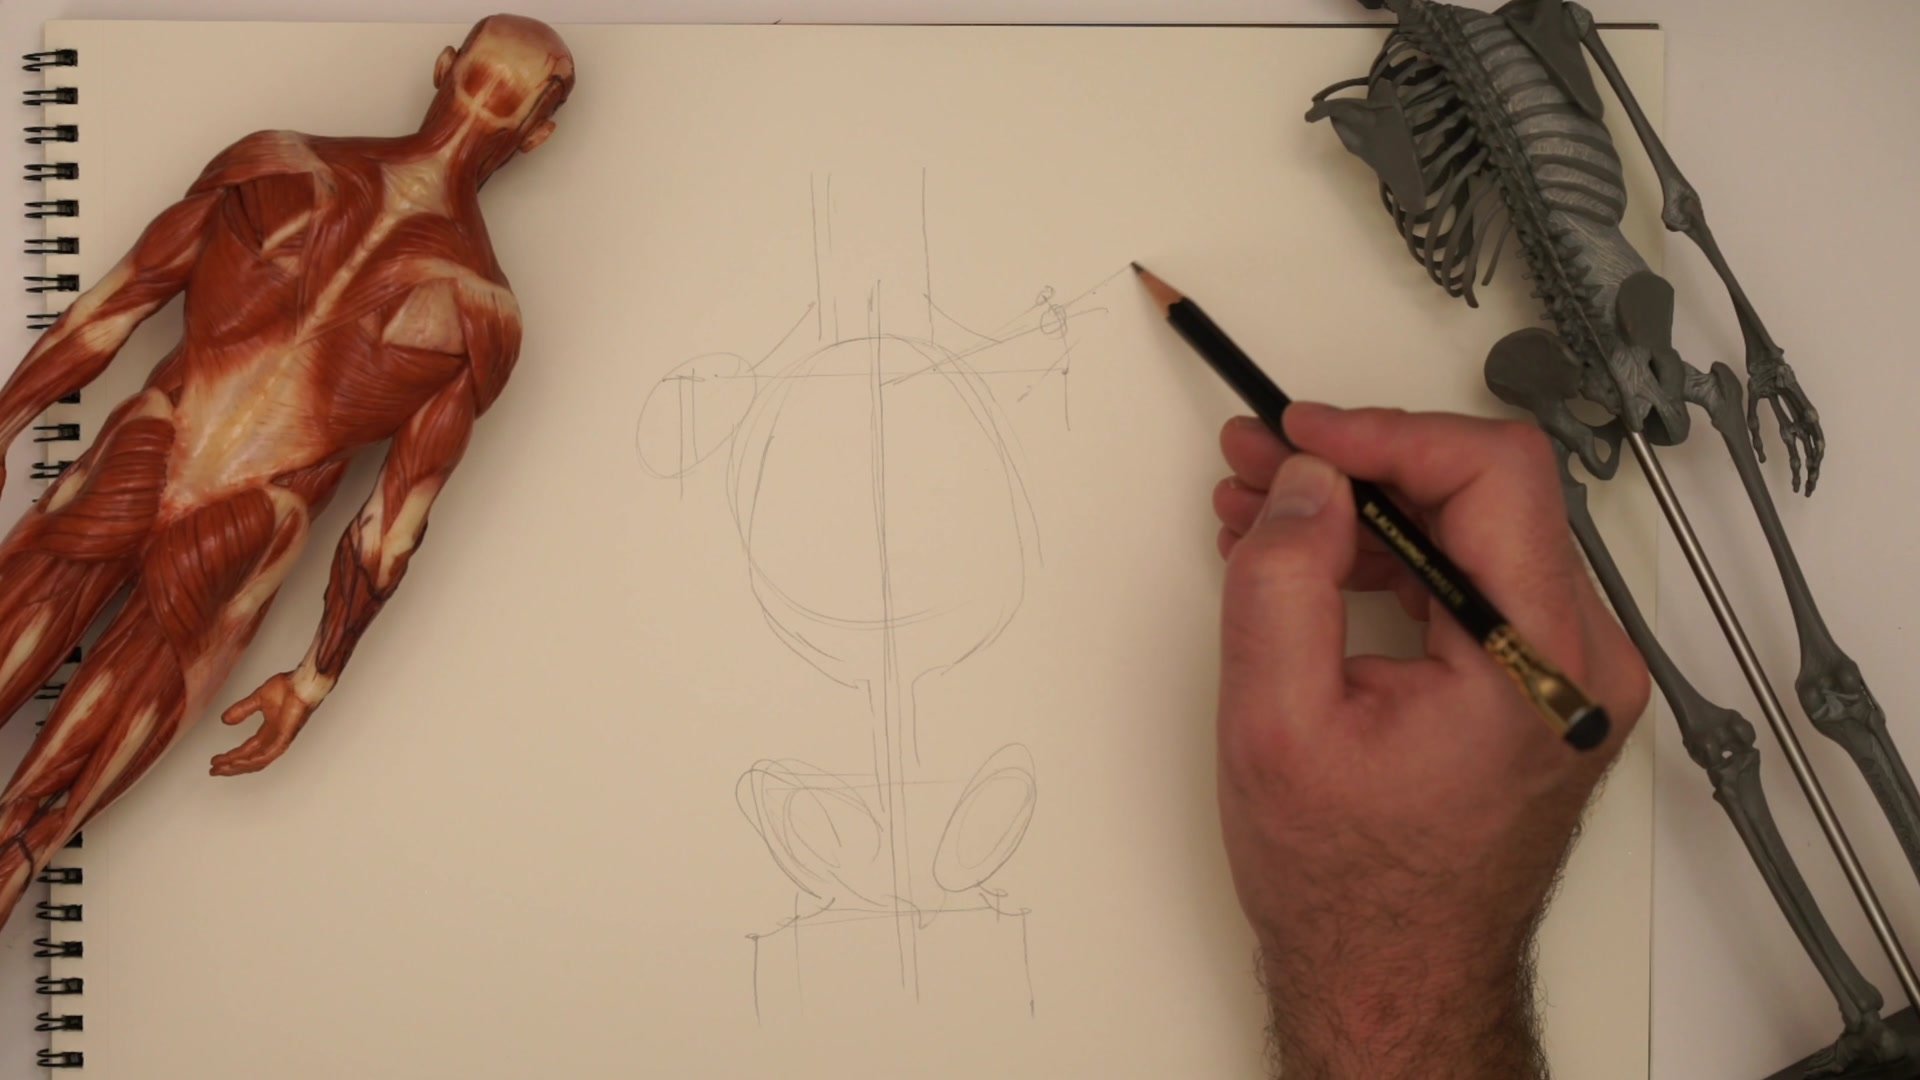
At its core, shoulder construction is simple: torso, ball joint for the shoulder, cylinder for the arm. That is the essential structure. Everything else refines these basic forms. The complexity emerges when these forms move - when the arm raises, lowers, reaches forward, or pulls back.
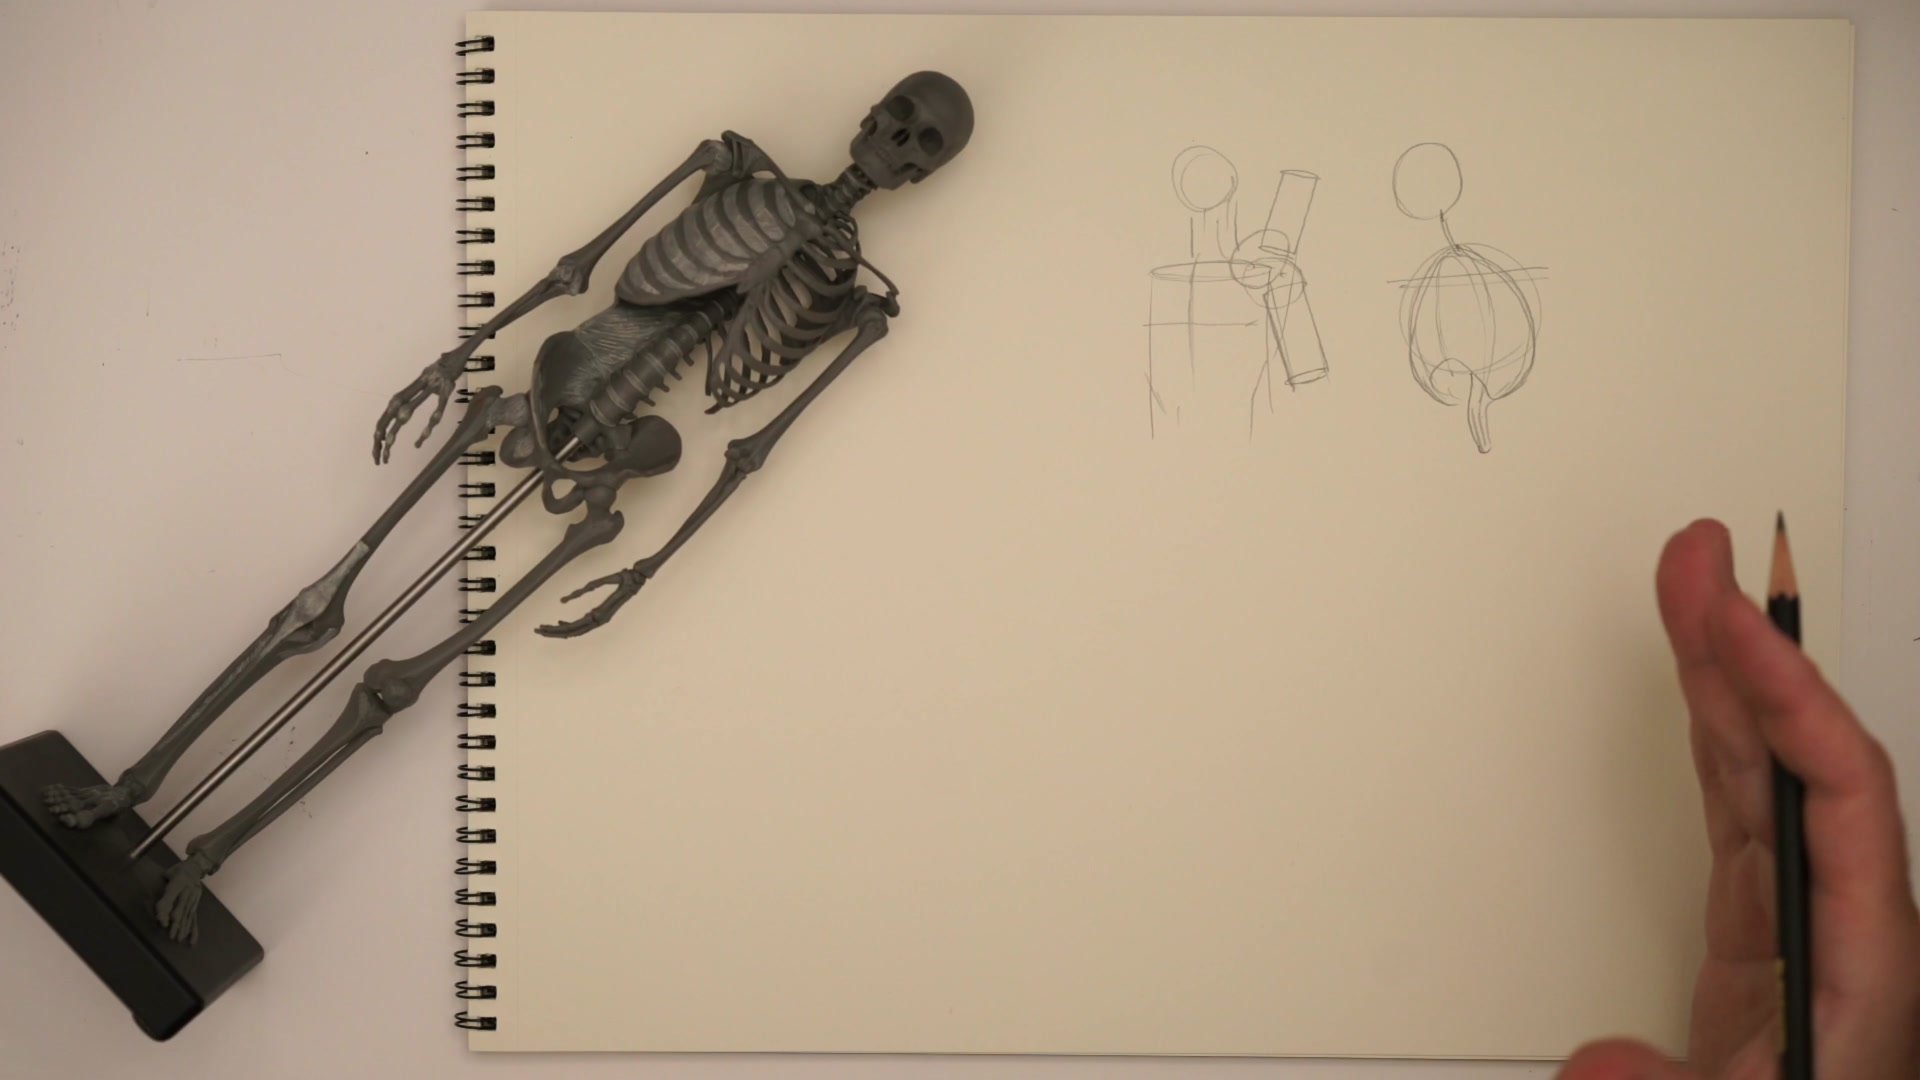
The key insight is knowing where the shoulder joint sits. That point where the arm connects to the torso determines everything else. Once that point is located, the deltoid muscle placement, the arm connection, and the major masses all follow from it. The Loomis mannequin approach handles this by placing the skeletal structure first - ribcage shape, spine position, and the horizontal line where shoulders hang. Then the shoulder joint point gets placed, often just a dot or small mark, but it is the most important thing drawn for the shoulder.
When drawing from imagination, placing these dots first solves most shoulder drawing problems before they start.
Muscle Groups
The Drumstick and the Cape
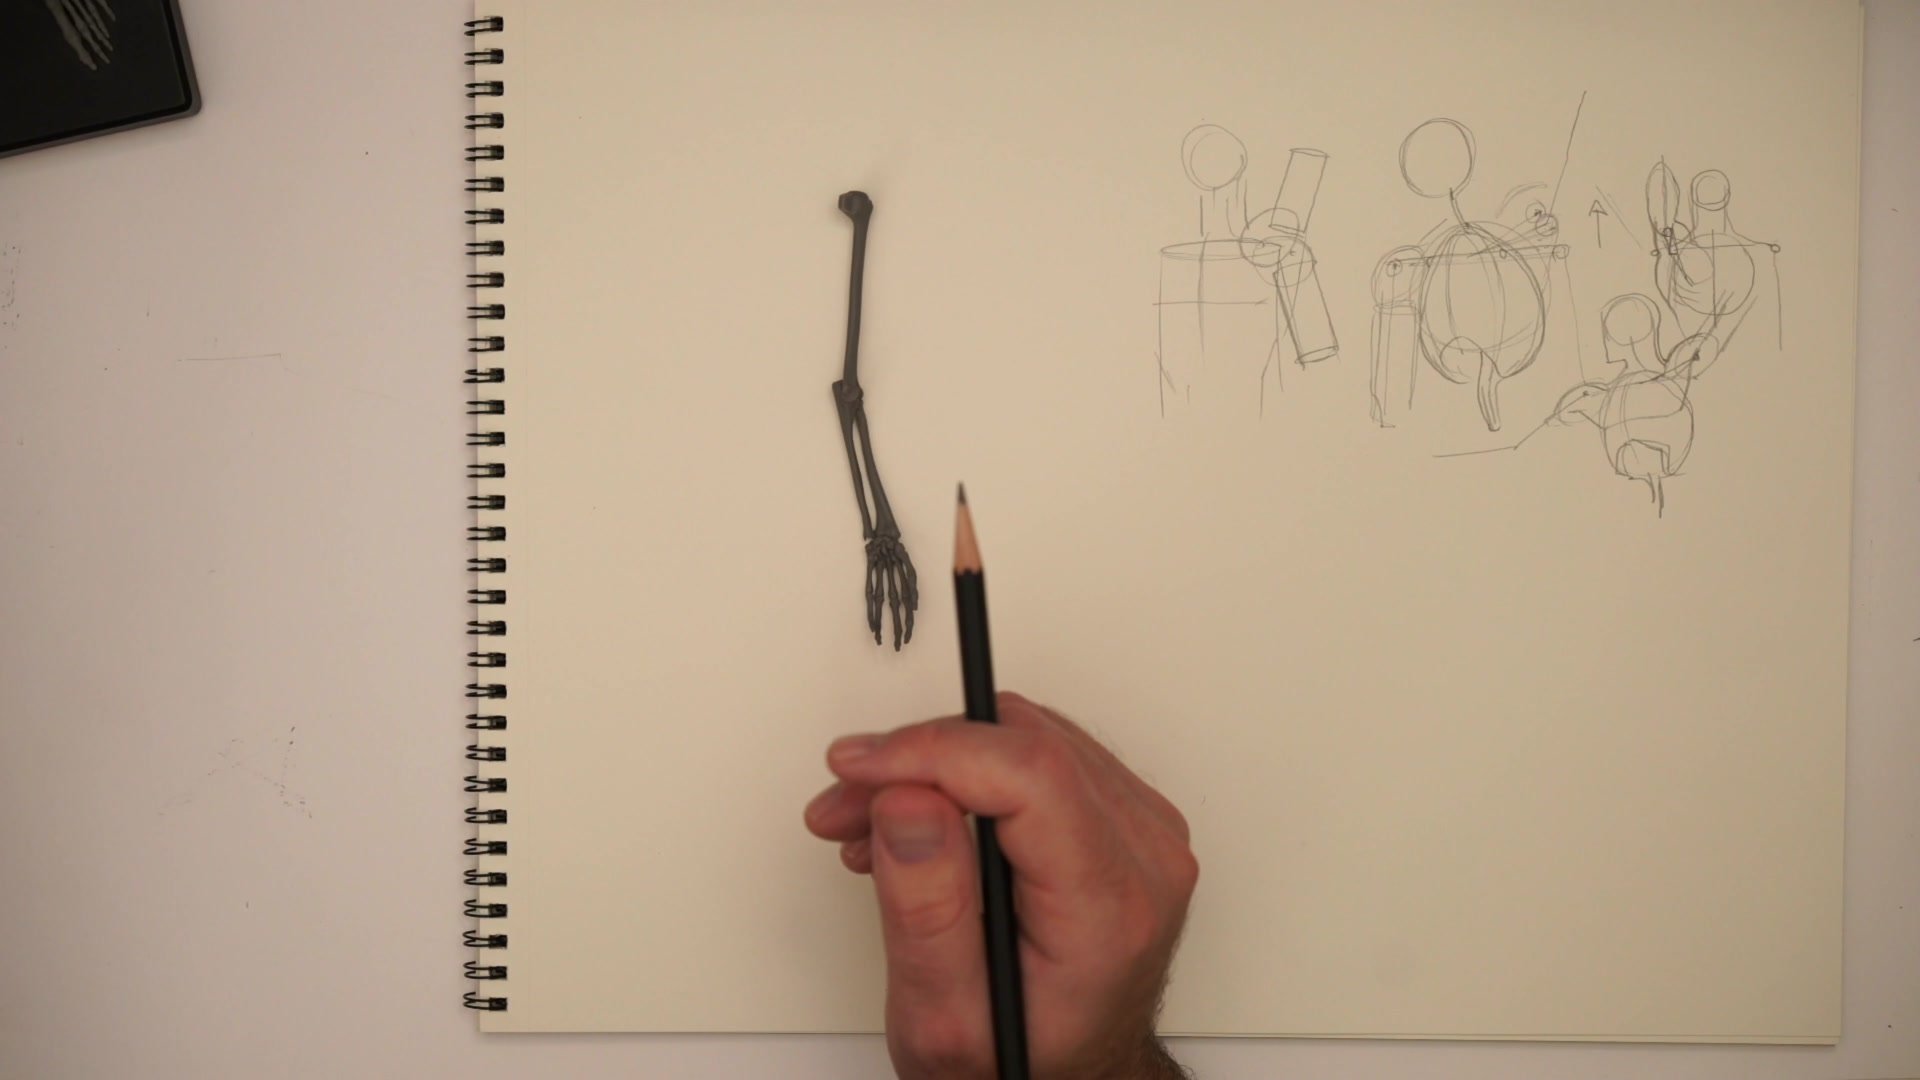
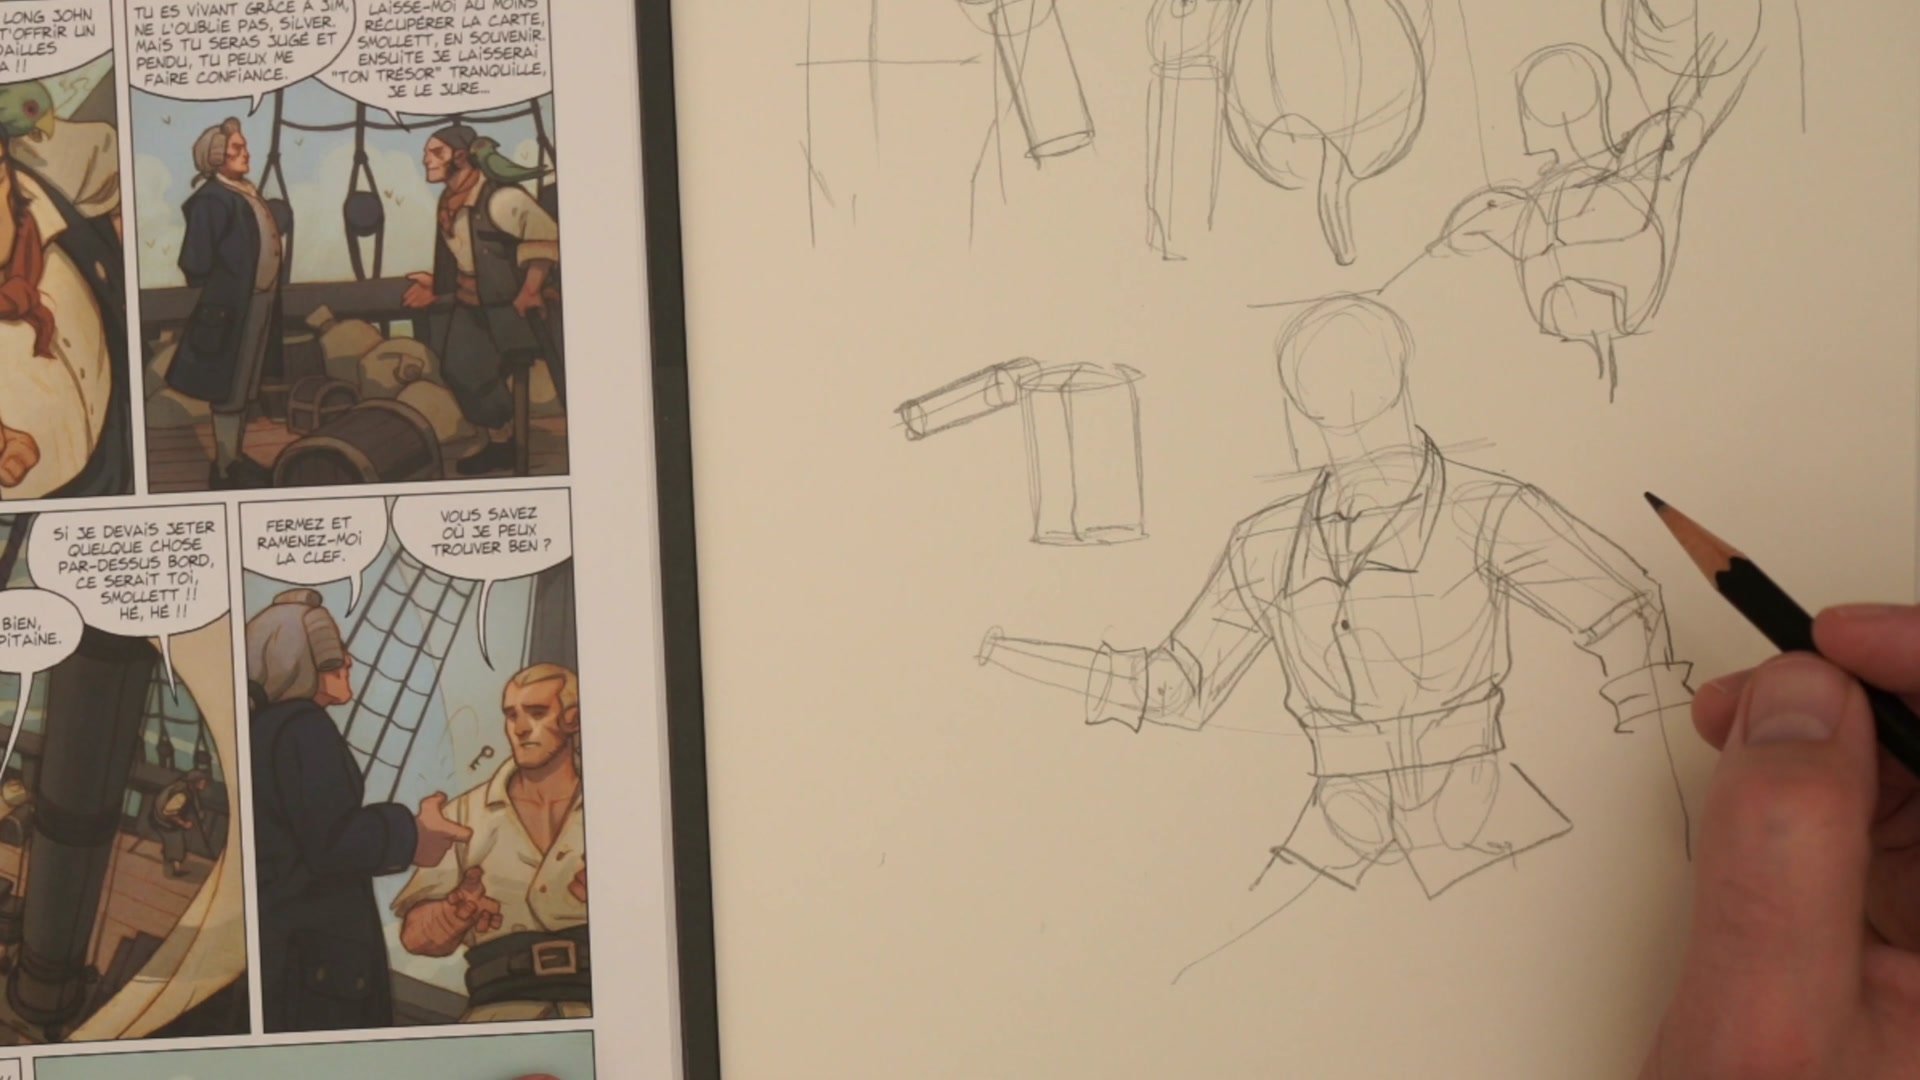
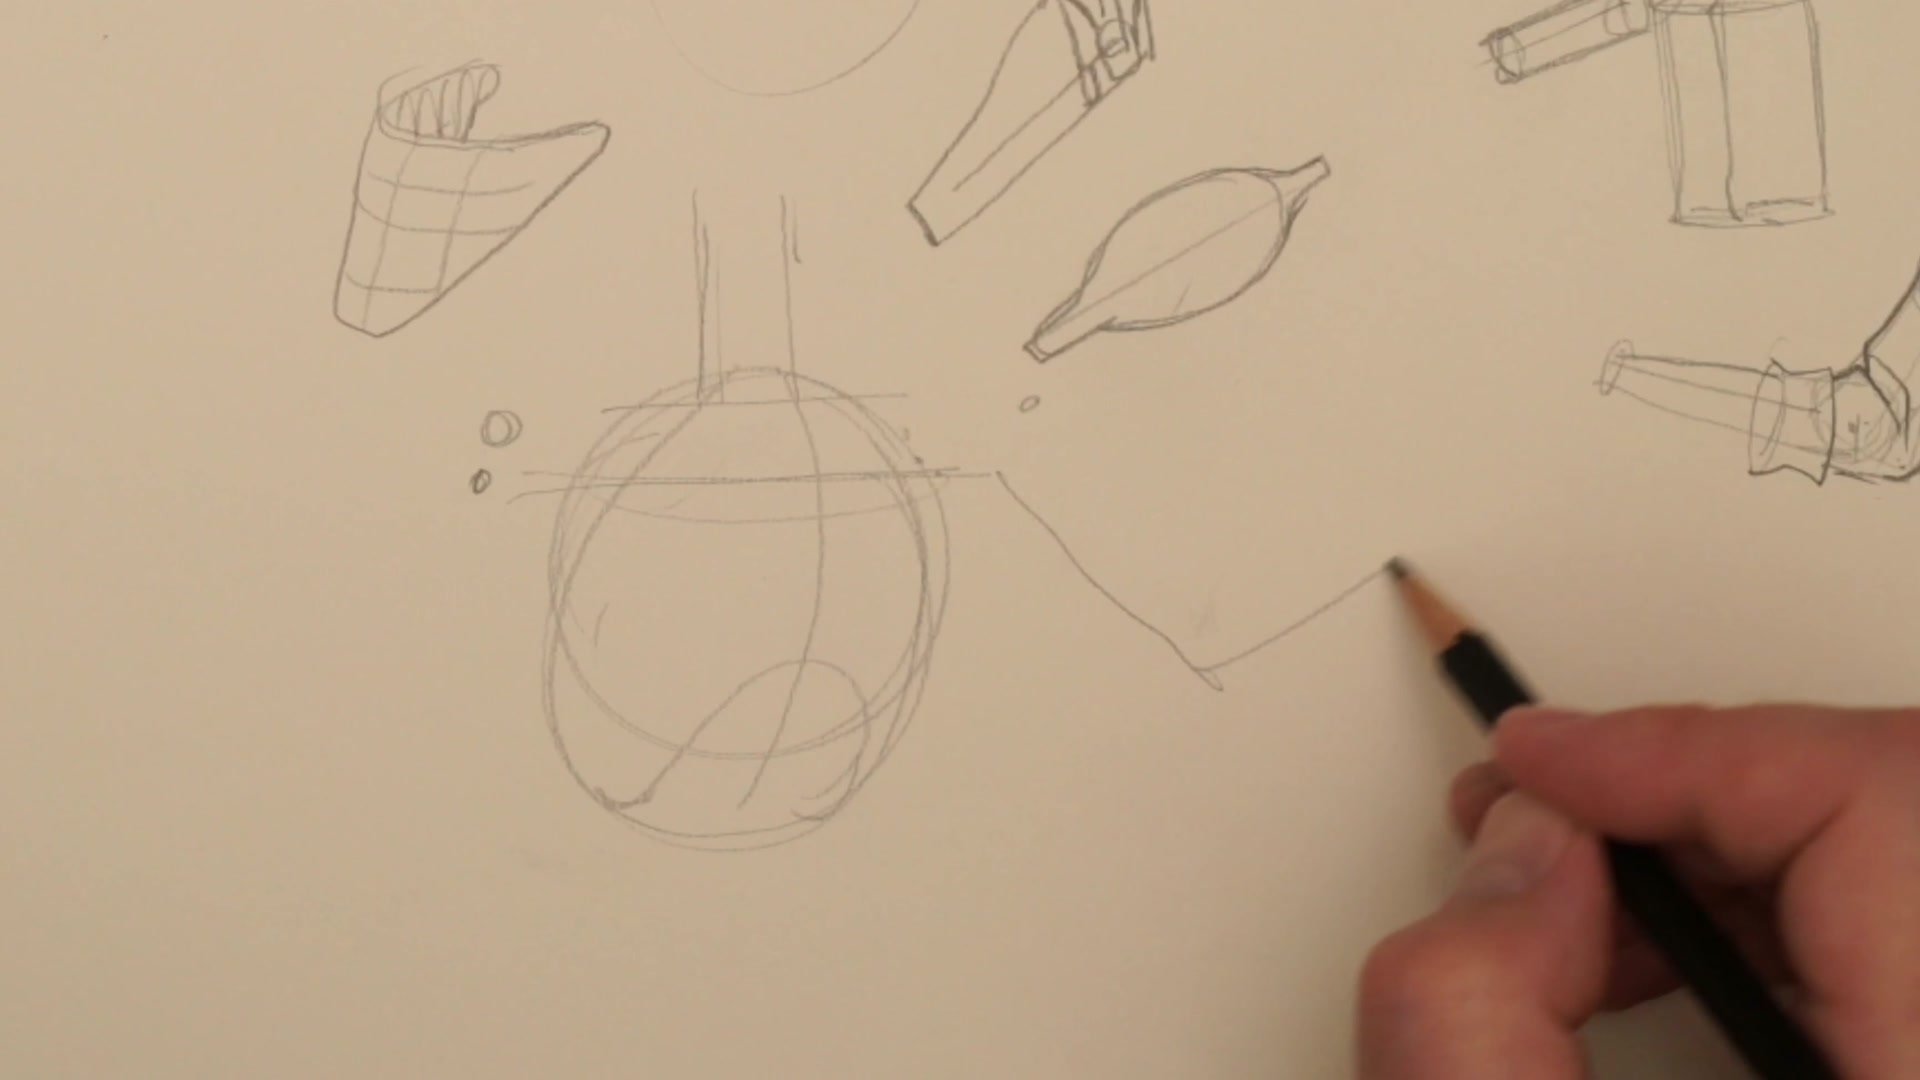
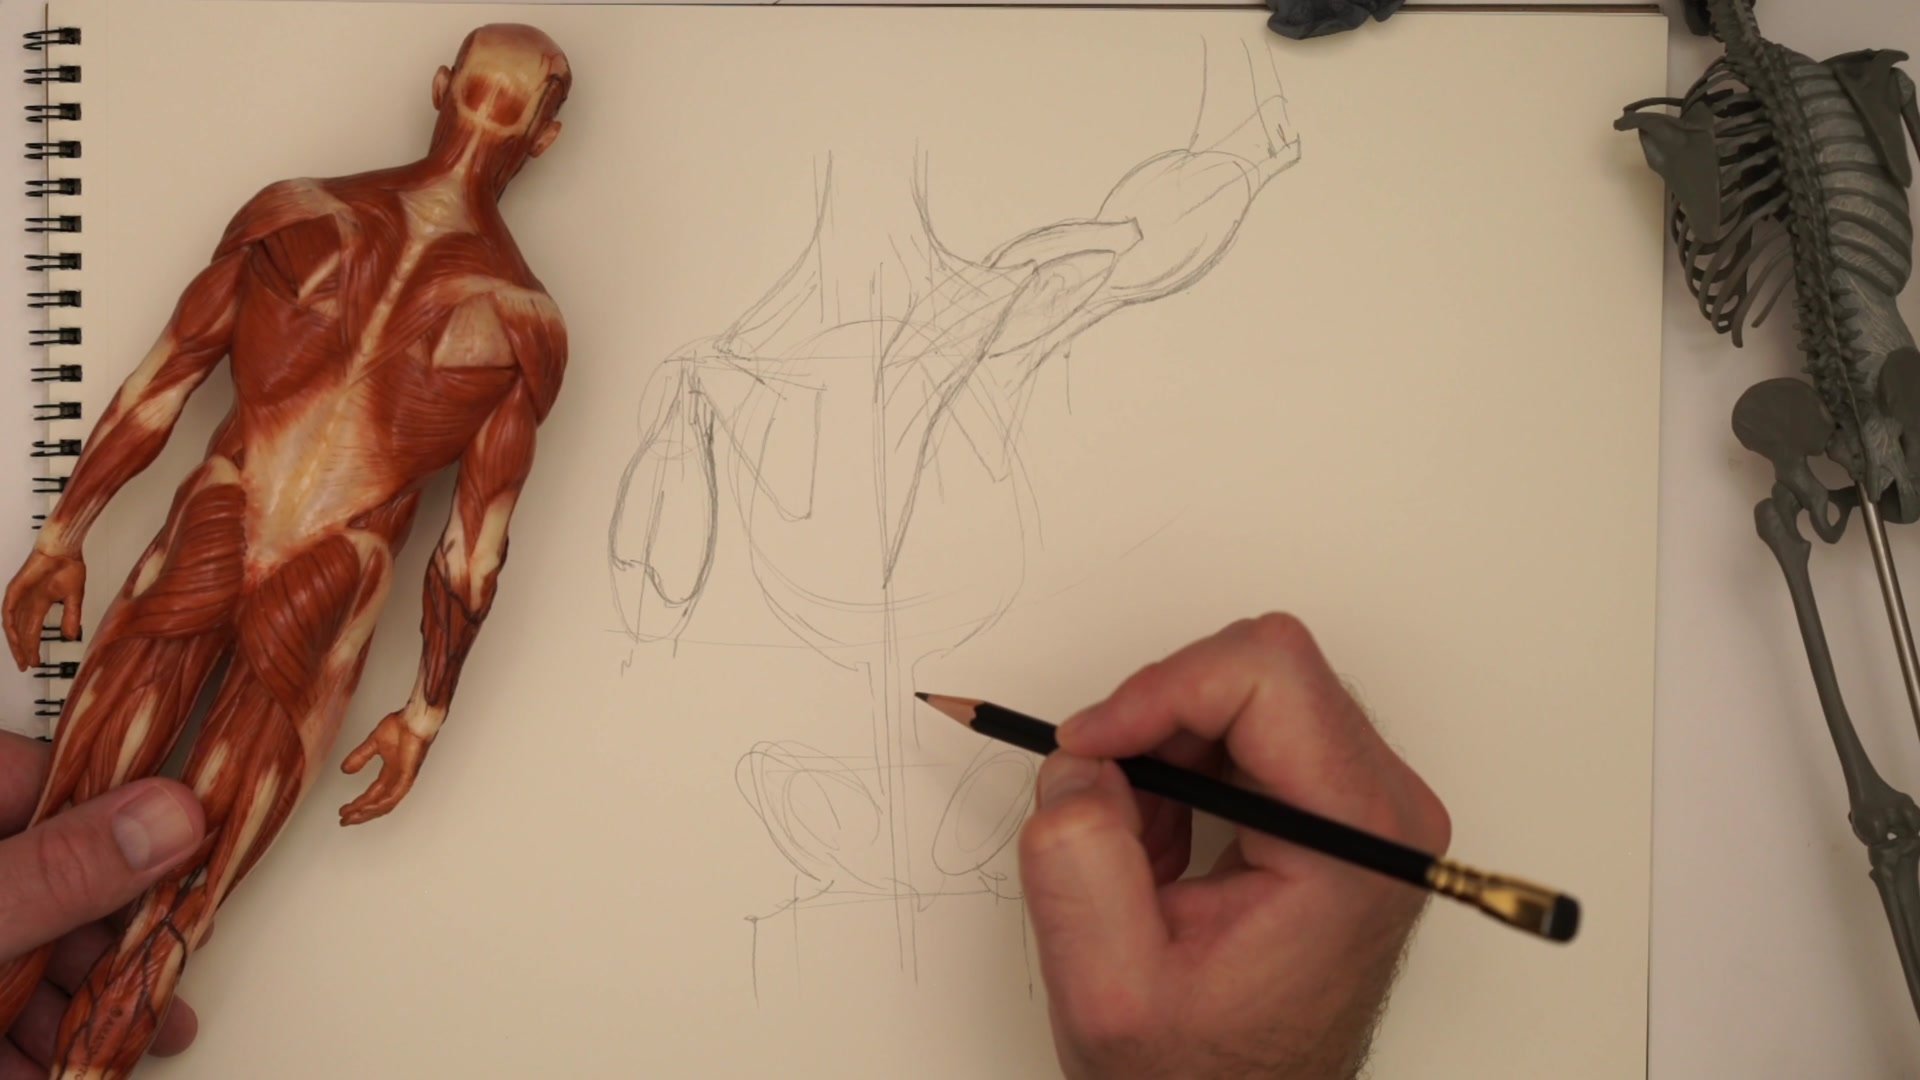
When anatomical understanding becomes necessary, the challenge is figuring out which muscles matter and how to think about them as drawable forms. The bicep and tricep together create a drumstick shape - thicker at the top near the shoulder, tapering down to the elbow. This mass connects under the armpit, tucking in against the torso.
The deltoid acts like a cap or cape over this arm mass. It wraps over the shoulder joint from above, not as part of the arm exactly, but draping over the top of the arm cylinder. As the arm moves, the deltoid maintains its attachment points on the collarbone and shoulder blade while following the arm position, creating different surface shapes. The deltoid breaks into three parts - front, middle, and back sections - with the middle section usually being most prominent.
The pectoral muscles come from the chest and reach across to the upper arm, tucking underneath the deltoid. The latissimus dorsi wraps from the back, filling in the armpit area. These major groups account for most of what appears on the surface.
Movement Changes
Movement Changes Everything
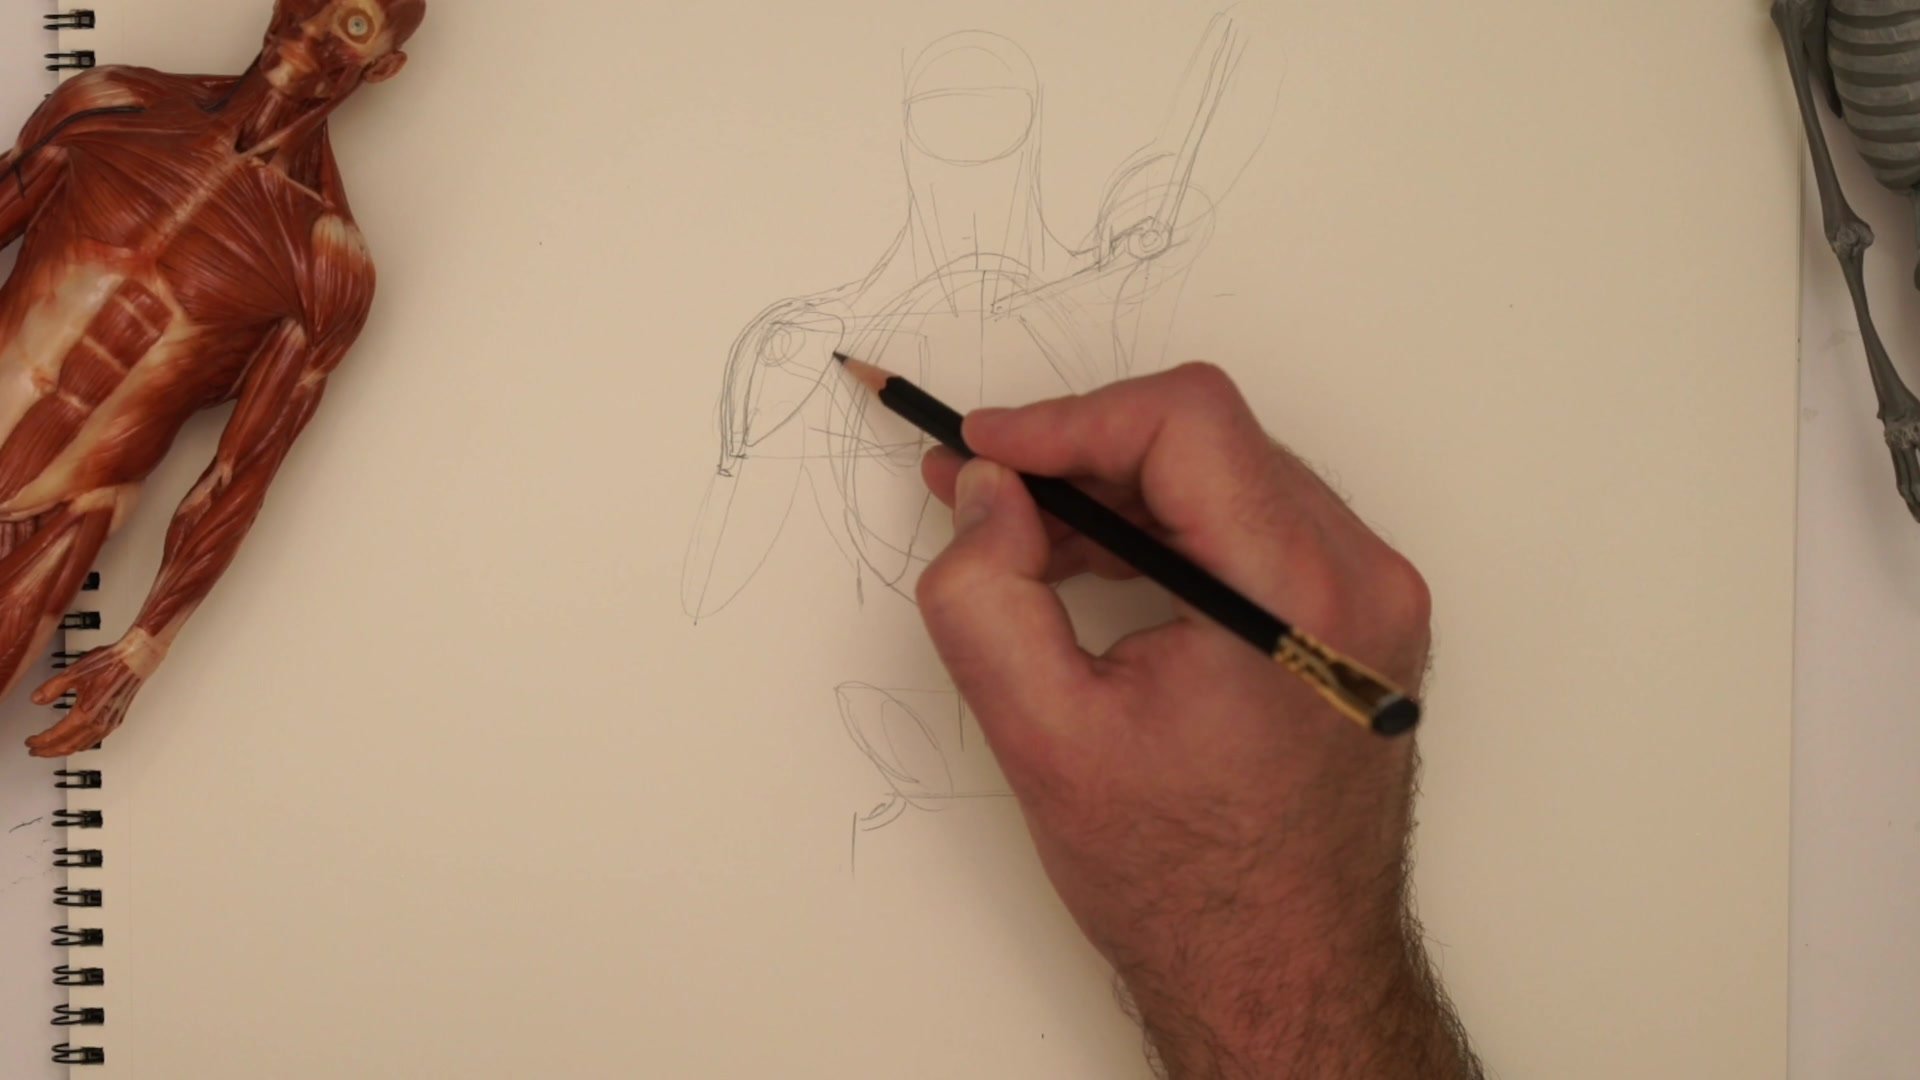
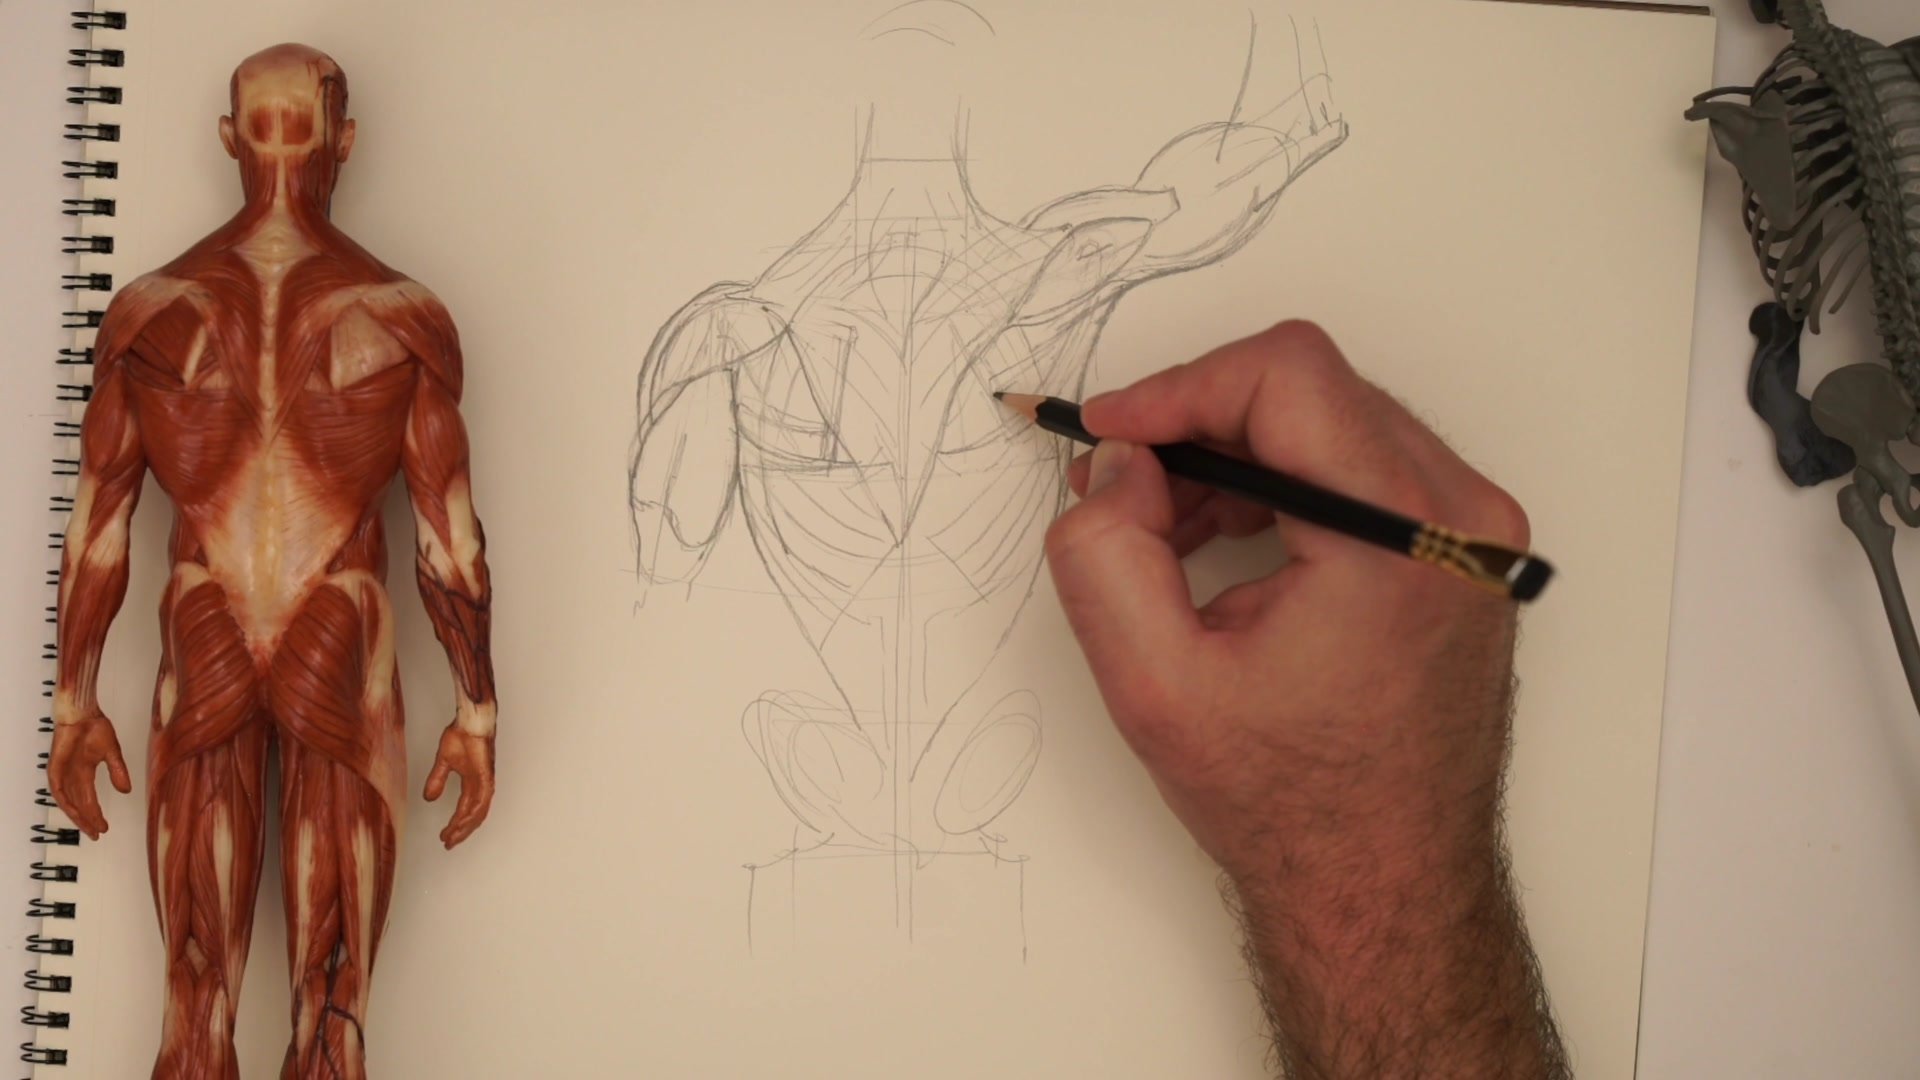
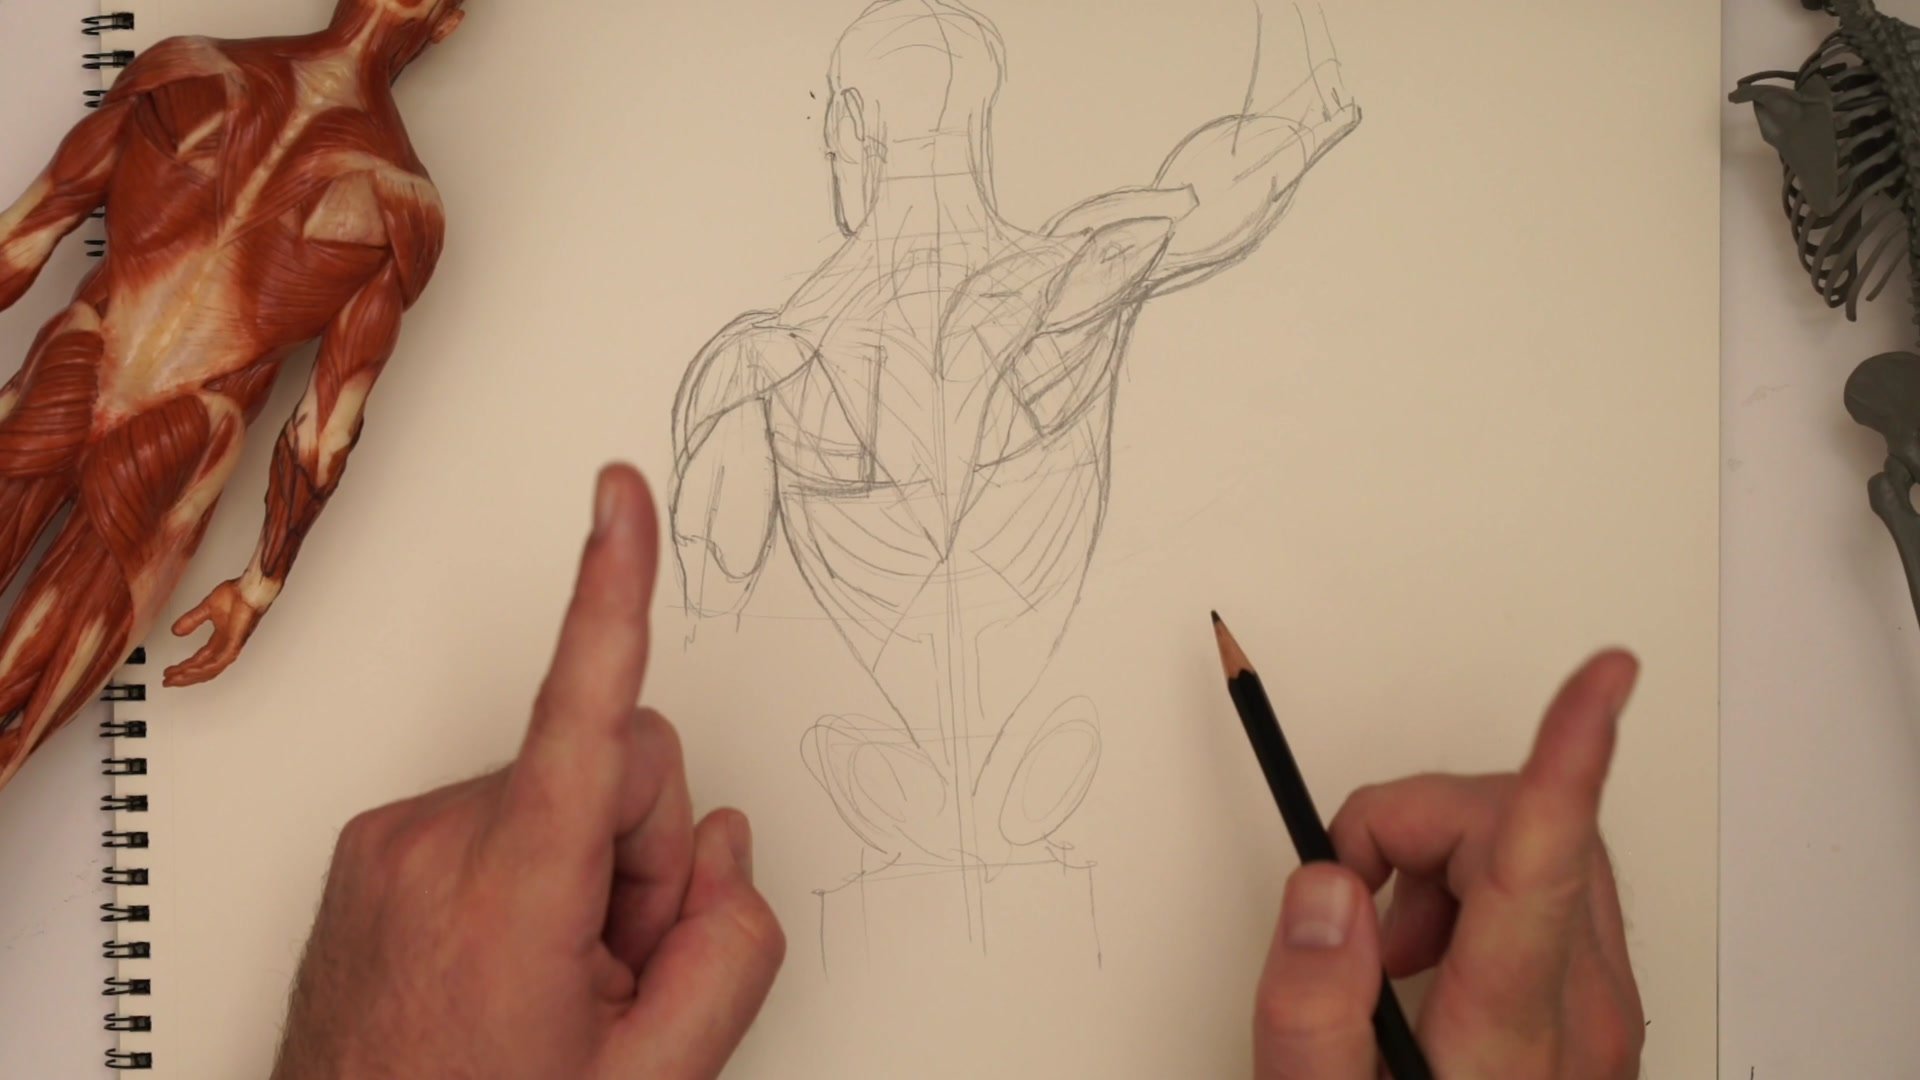
The shoulder in a relaxed, arms-down position is one thing. The shoulder with the arm raised is something else entirely. When the arm raises up, the shoulder blade rotates and slides up the back. The collarbone tilts up. The point where the shoulder joint sits moves higher and more inward, closer to the head. This is not a small shift but a major repositioning of the entire mechanism.
From the front, the arm mass gets much closer to the head than expected. When someone raises their arm straight up, the deltoid and bicep nearly touch the side of the head. Artists often place the raised arm too far out to the side, making the shoulder look disconnected. The pectoral muscle stretches and thins when the arm raises, creating longer surface forms. The lats get pulled up and stretched, deepening the armpit.
For practical drawing: establish the pose first. Where is the arm? This tells you where the shoulder joint point needs to be.
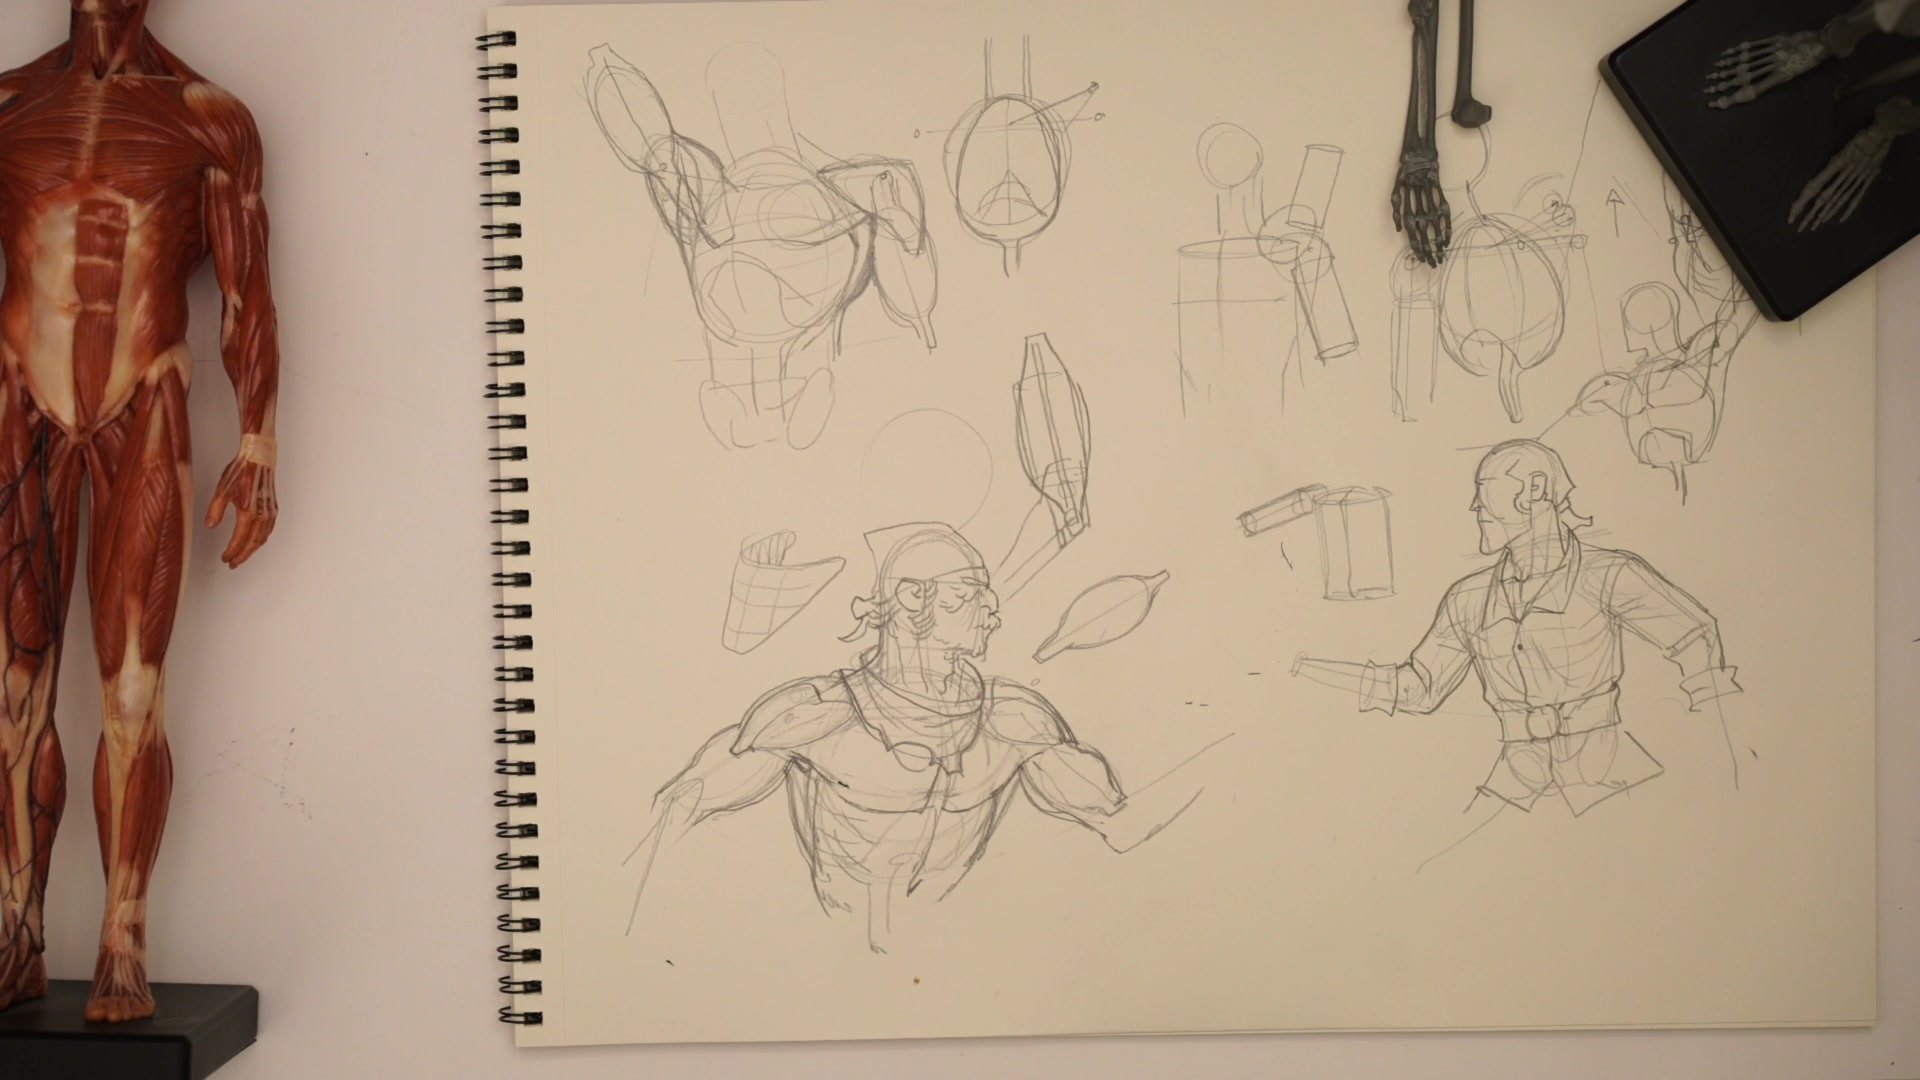
Completed Studies
Key Principles
Primary Form First: For most figure drawing, proportion and placement matter more than anatomical detail. Locate the shoulder joint point for each pose, and everything else follows from that position.
The Drumstick and Cape: Think of the bicep-tricep mass as a drumstick shape, and the deltoid as a cap that wraps over it. These simplified forms capture what you actually see.
Joint Point Movement: As the arm raises, the shoulder joint moves up and inward toward the head. This shift is much larger than most artists expect, and missing it creates disconnected-looking shoulders.
Muscle Groups Over Details: The deltoid, pectoral, lats, bicep, and tricep account for most surface anatomy. Get these major masses placed correctly, and additional detail becomes refinement rather than correction.
Try This Exercise
Step 1: Draw a simple torso as an egg shape with a spine line down the back. Mark where the shoulder joint would sit for three different arm positions - one arm hanging relaxed, one arm at shoulder height, one arm raised above the head.
Step 2: Notice how the raised arm joint point moves up and inward, getting closer to where the head would be. Rough in the deltoid as a simple cap shape over each joint point.
Step 3: Add the bicep-tricep arm mass as a cylinder or drumstick shape. Draw the same three poses from front, side, and back views to build your visual library.


