Best Setup For Drawing and Sketching
Summary
Getting Your Setup Right
Figuring out the right drawing and sketching setup is one of those things that can quietly hold artists back for years. The common assumption is that spending more money on pencils and materials will automatically make the work better, but the reality from over two decades of professional drawing is far more nuanced. The pencil itself is a matter of personal taste, and even very inexpensive options can work perfectly well. What actually makes the difference is how the pencil interacts with the paper, the feel of the drawing surface underneath, and most critically, the ergonomic relationship between the artist's body and the drawing surface.
There are two fundamentally different scenarios to consider. Drawing on the go requires portable solutions that still give a good drawing experience. Drawing at a fixed desk opens up more options for optimization. In both cases, the same core principles apply: the surface needs to be rigid enough, the paper needs the right amount of cushion, and the line of sight needs to be perpendicular to the drawing surface. Getting these basics right matters far more than the price tag on any individual tool.
Pencils and Portable Setups
Pencils and Portable Drawing
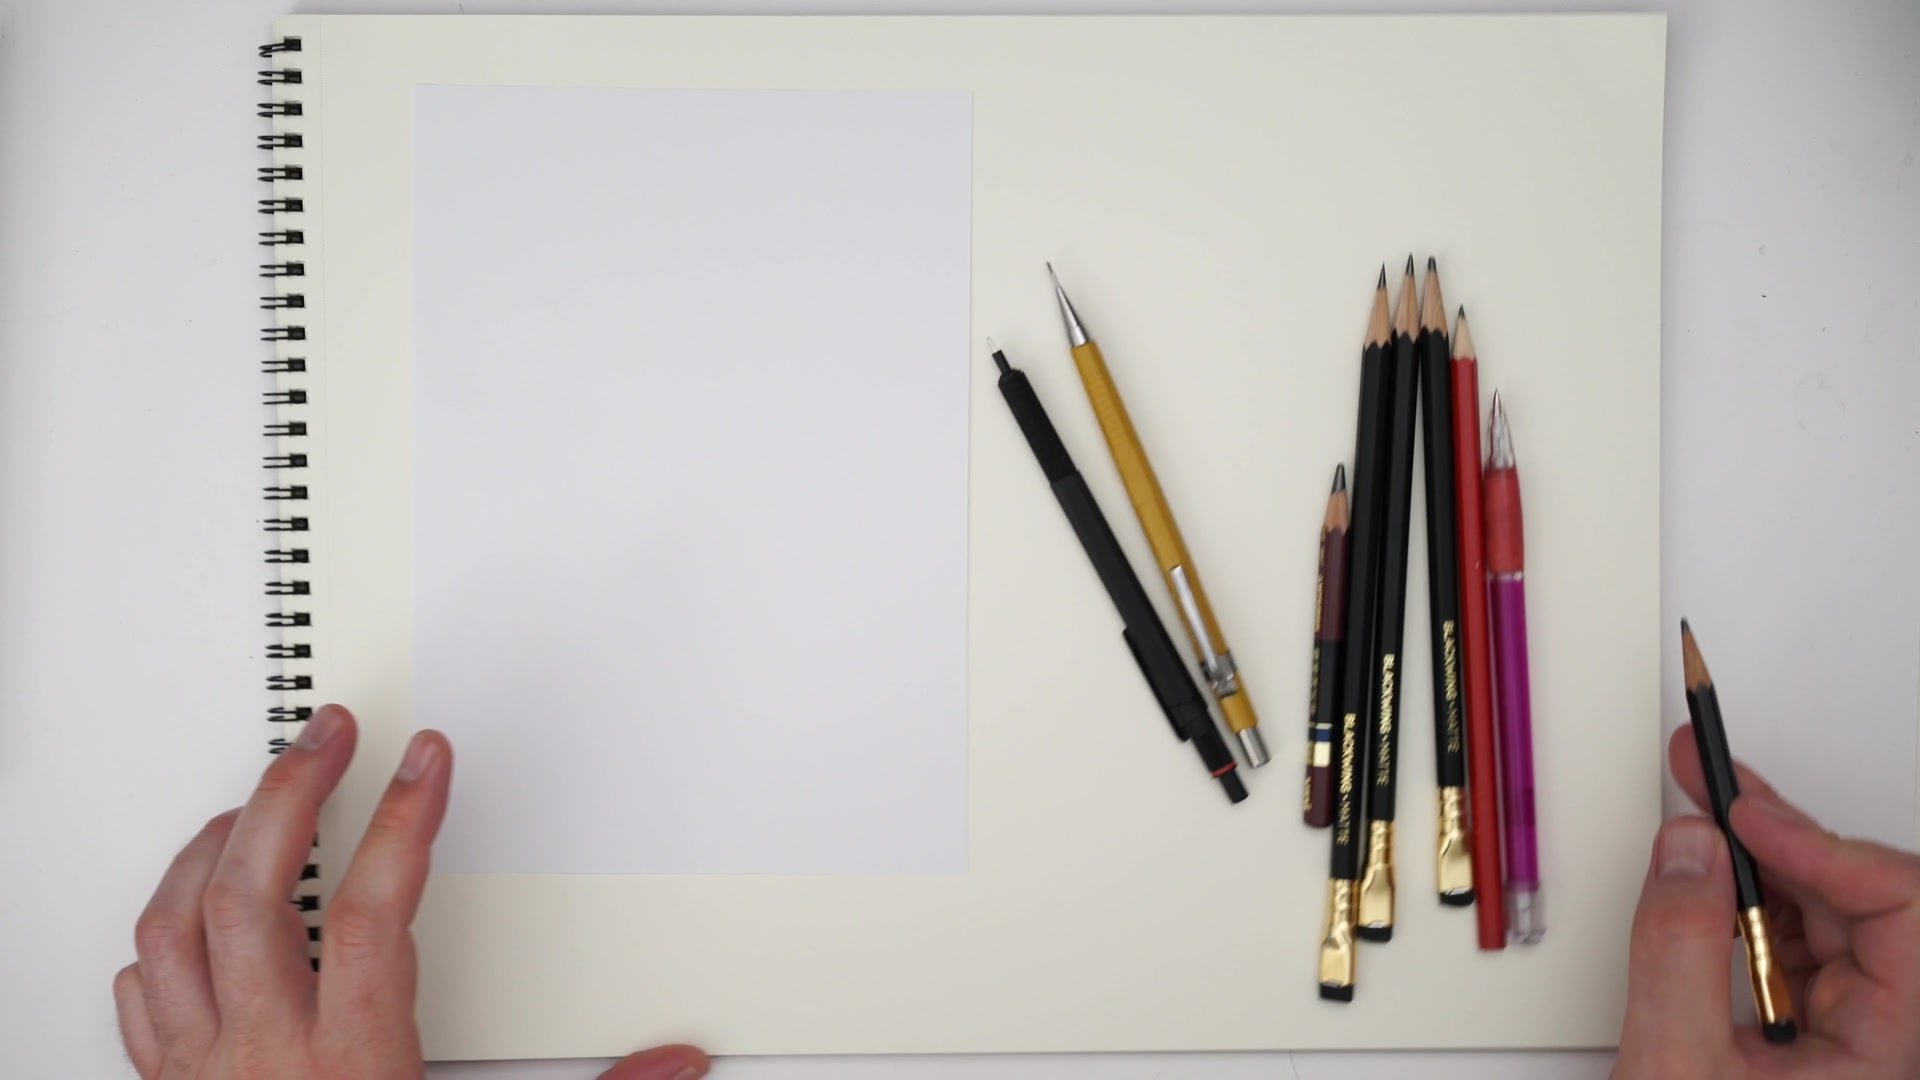
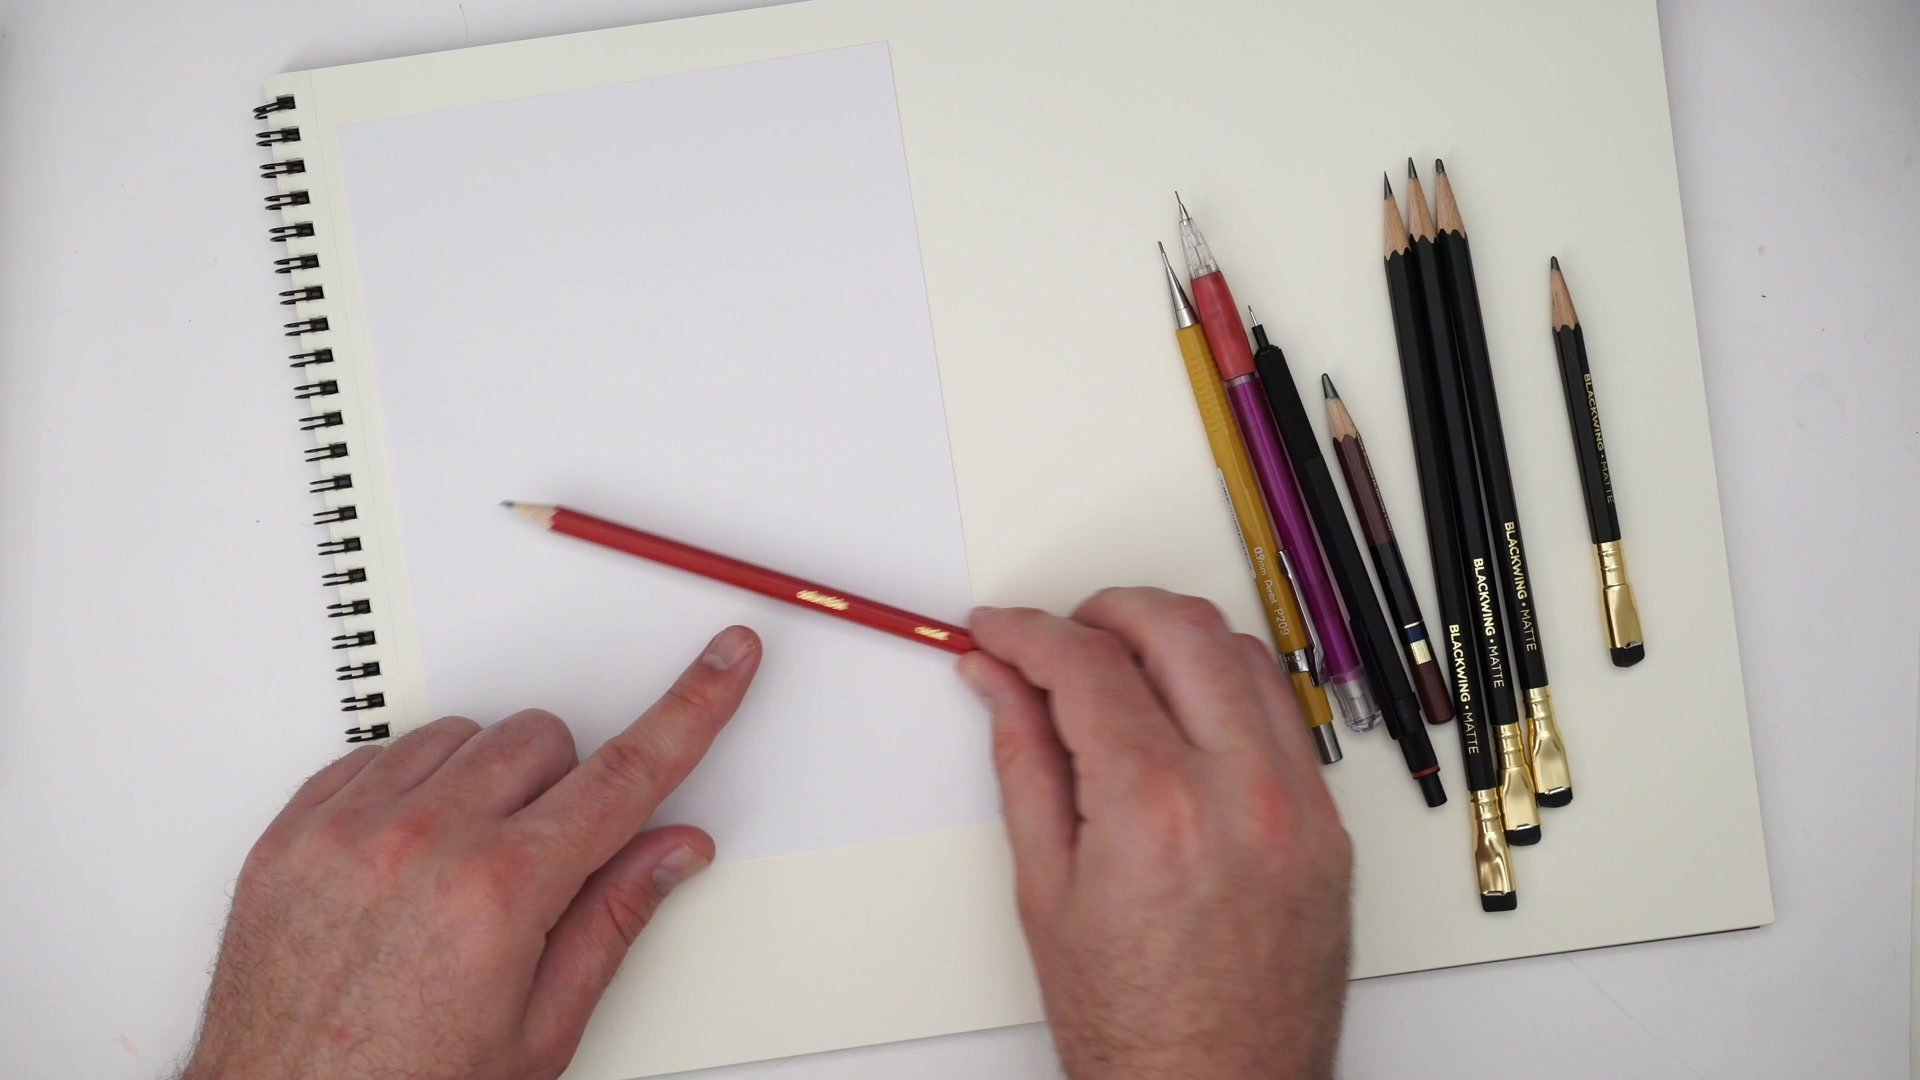
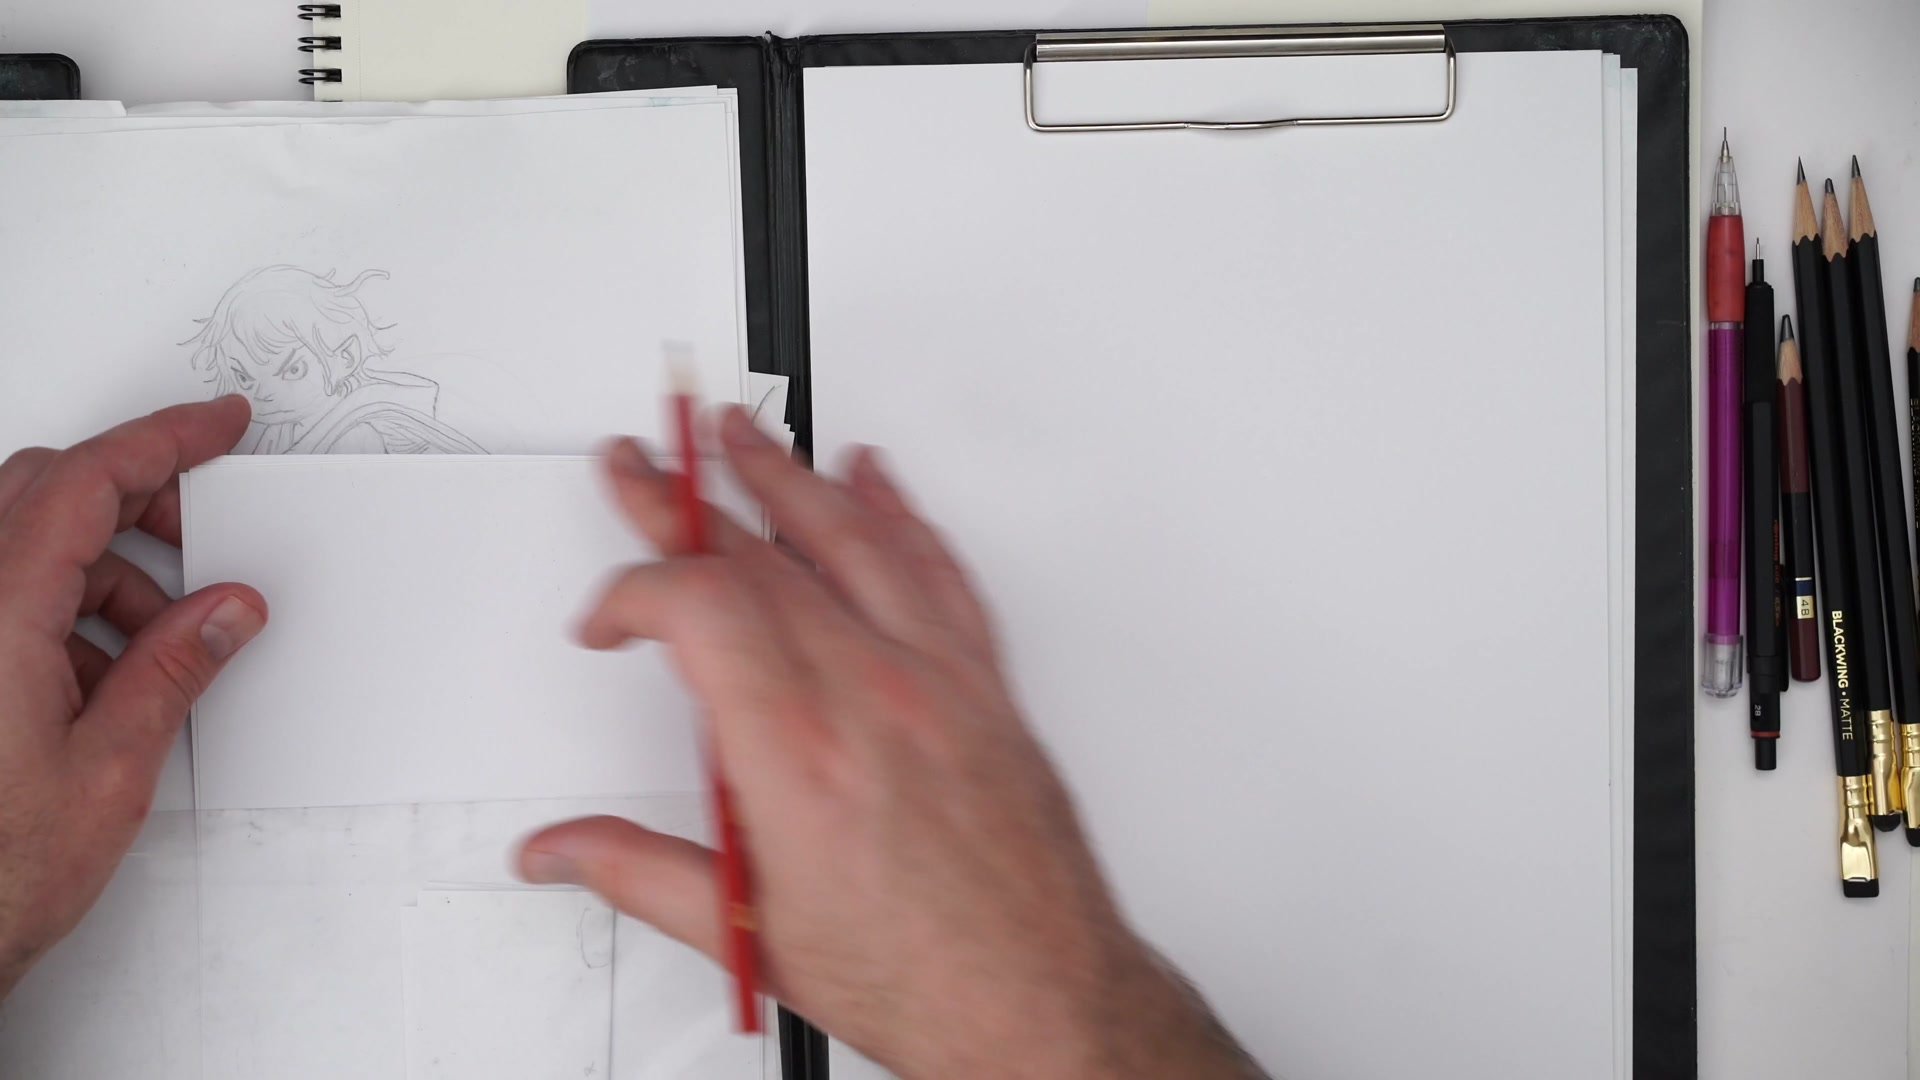
When it comes to pencils, the range runs from ten-cent office pencils all the way to premium options like Blackwing Matte, Tombow Mono 100, or Mitsubishi Hi-Uni. Mechanical pencils follow the same spectrum, from a basic dollar-store option to something like a Rotring 600. The important insight is that mid-range options tend to hit a sweet spot. A Pentel P205 mechanical pencil is reliable, available worldwide, and does the job exceptionally well. The real question is not how expensive the pencil is, but how it feels when it meets the paper.
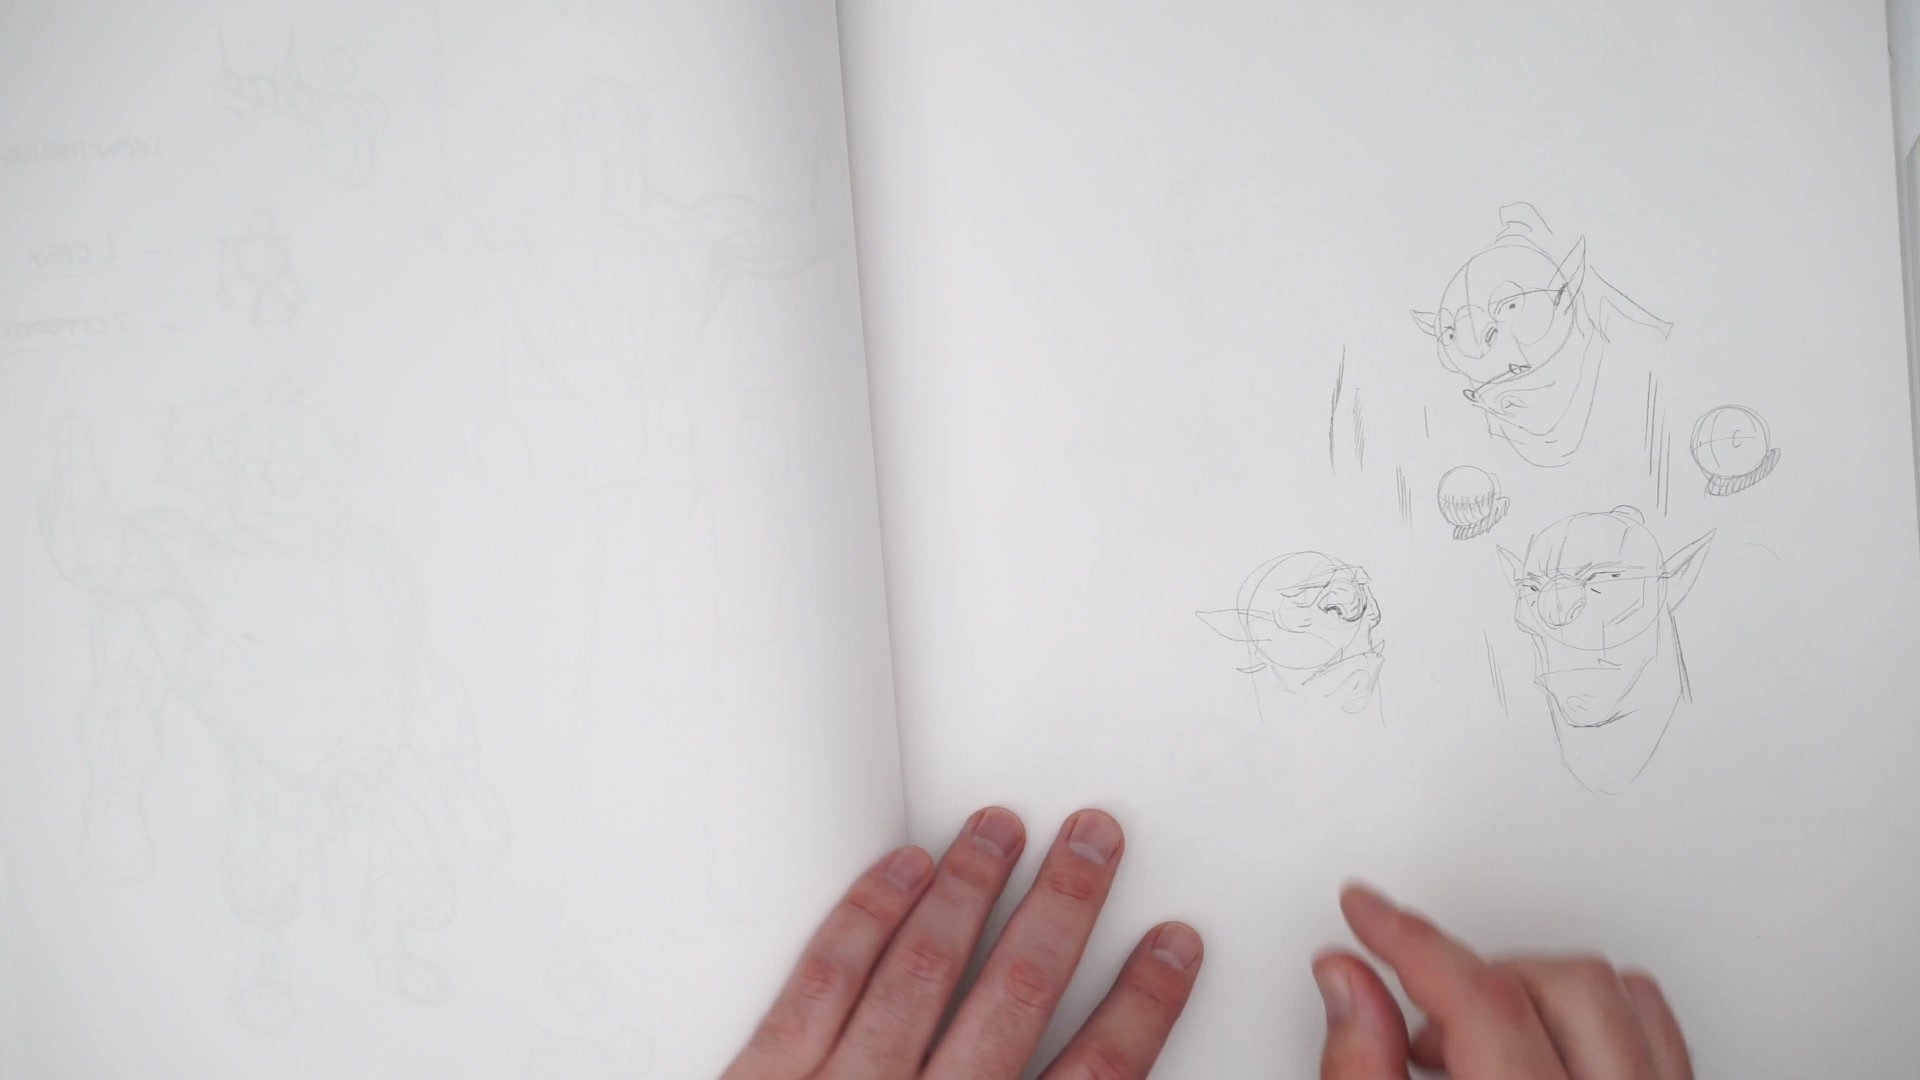
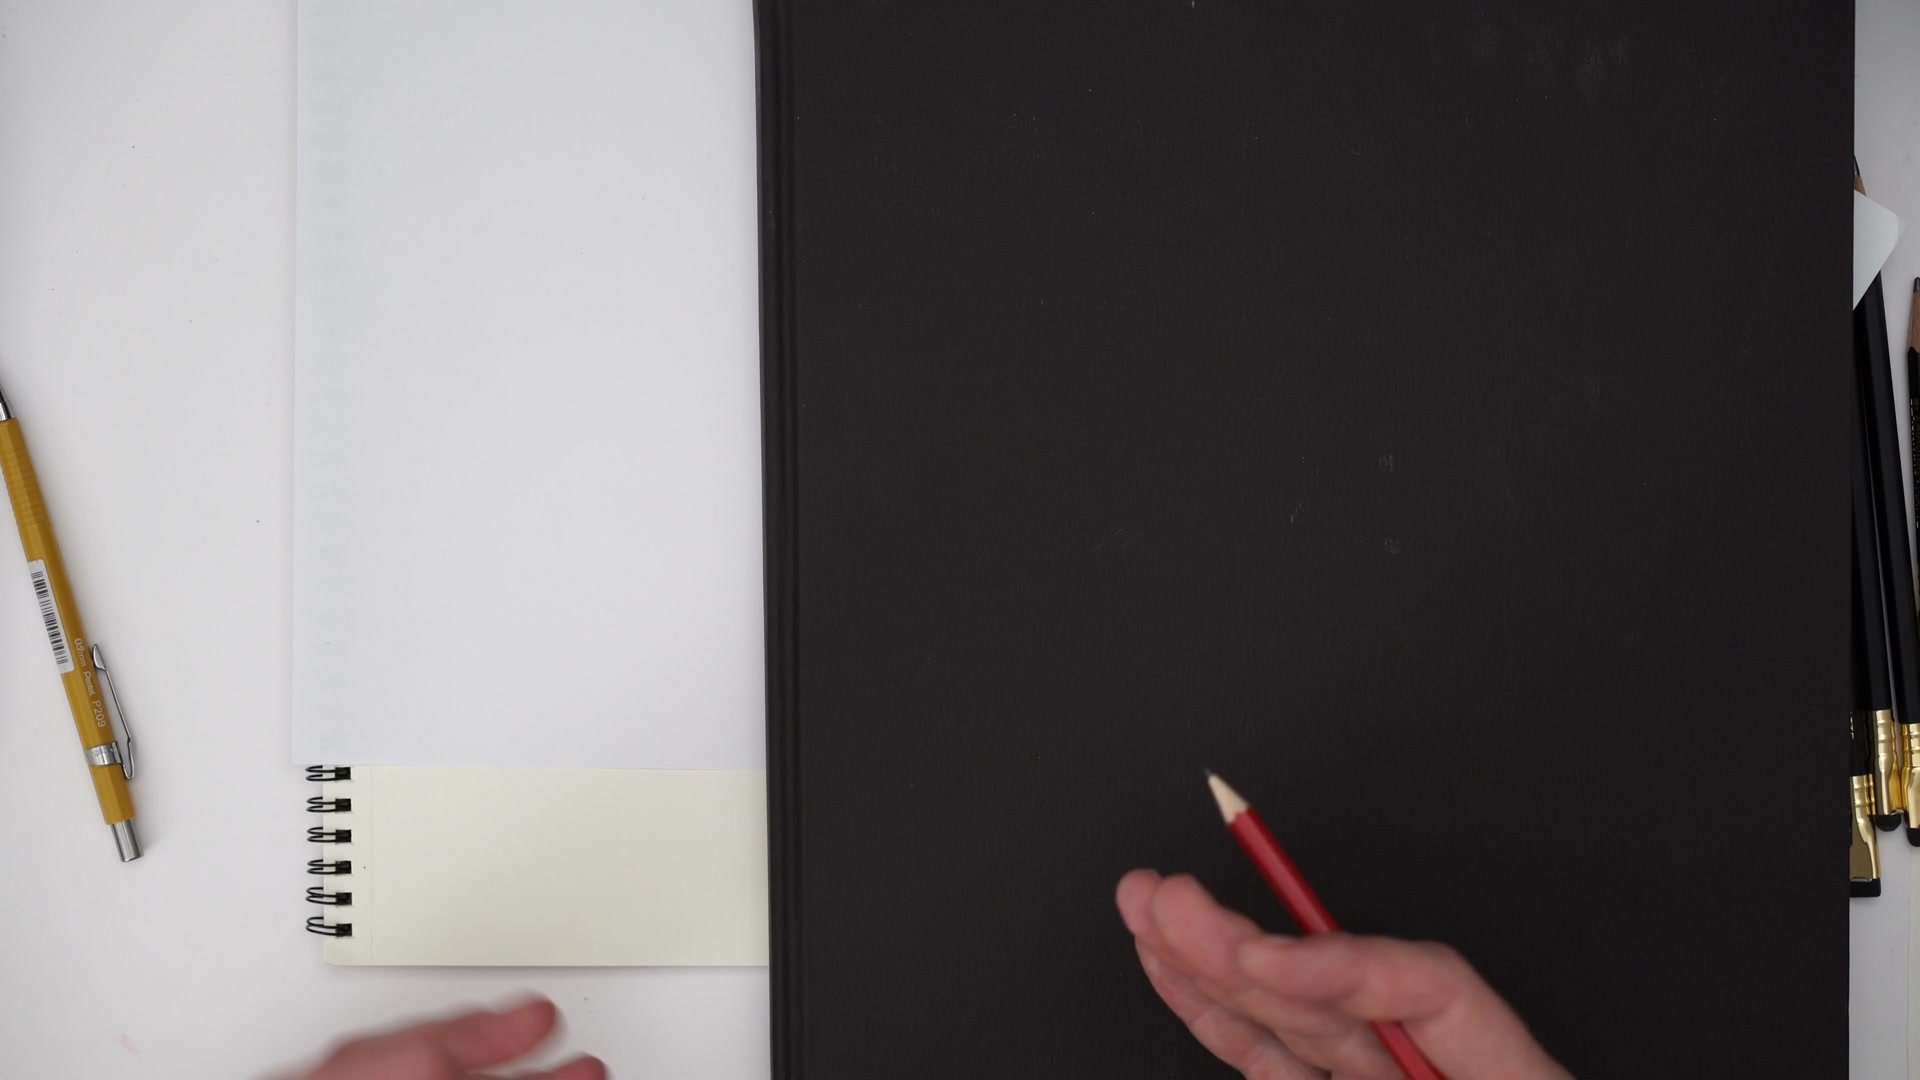
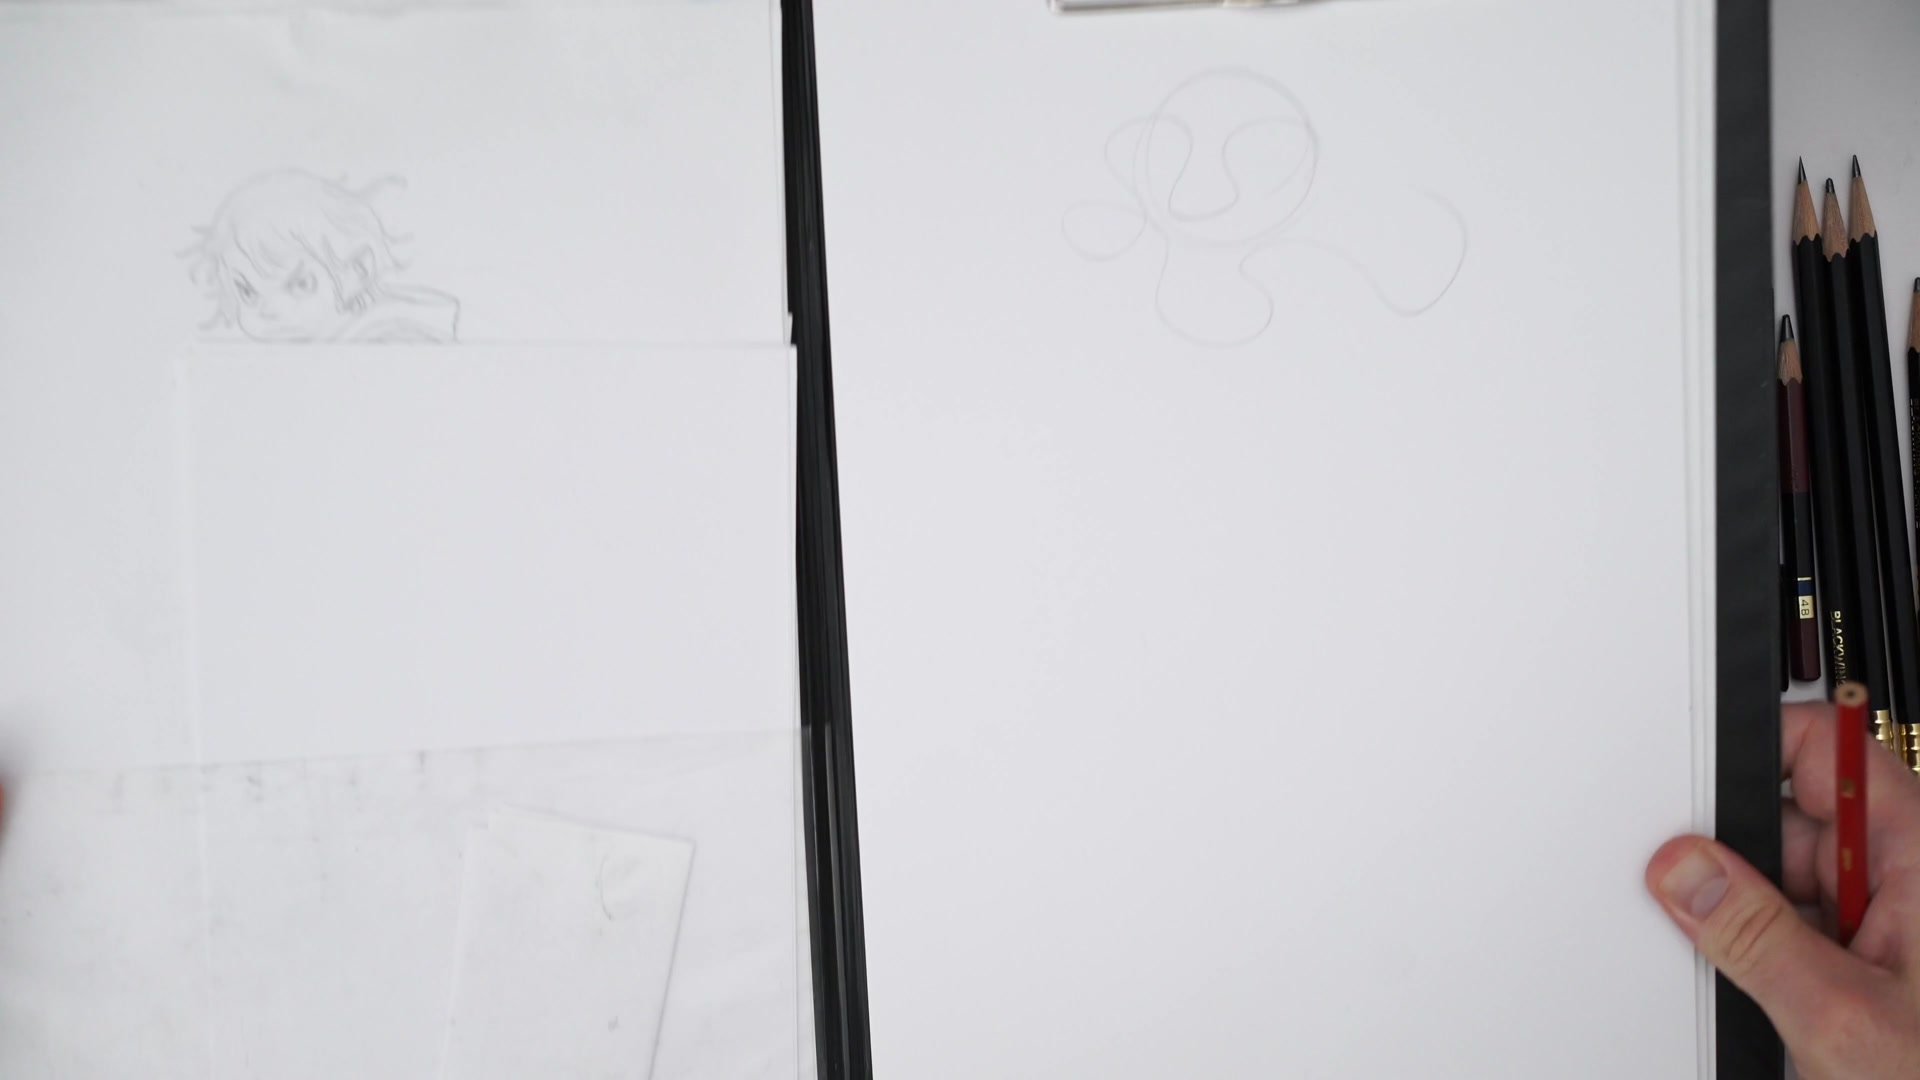
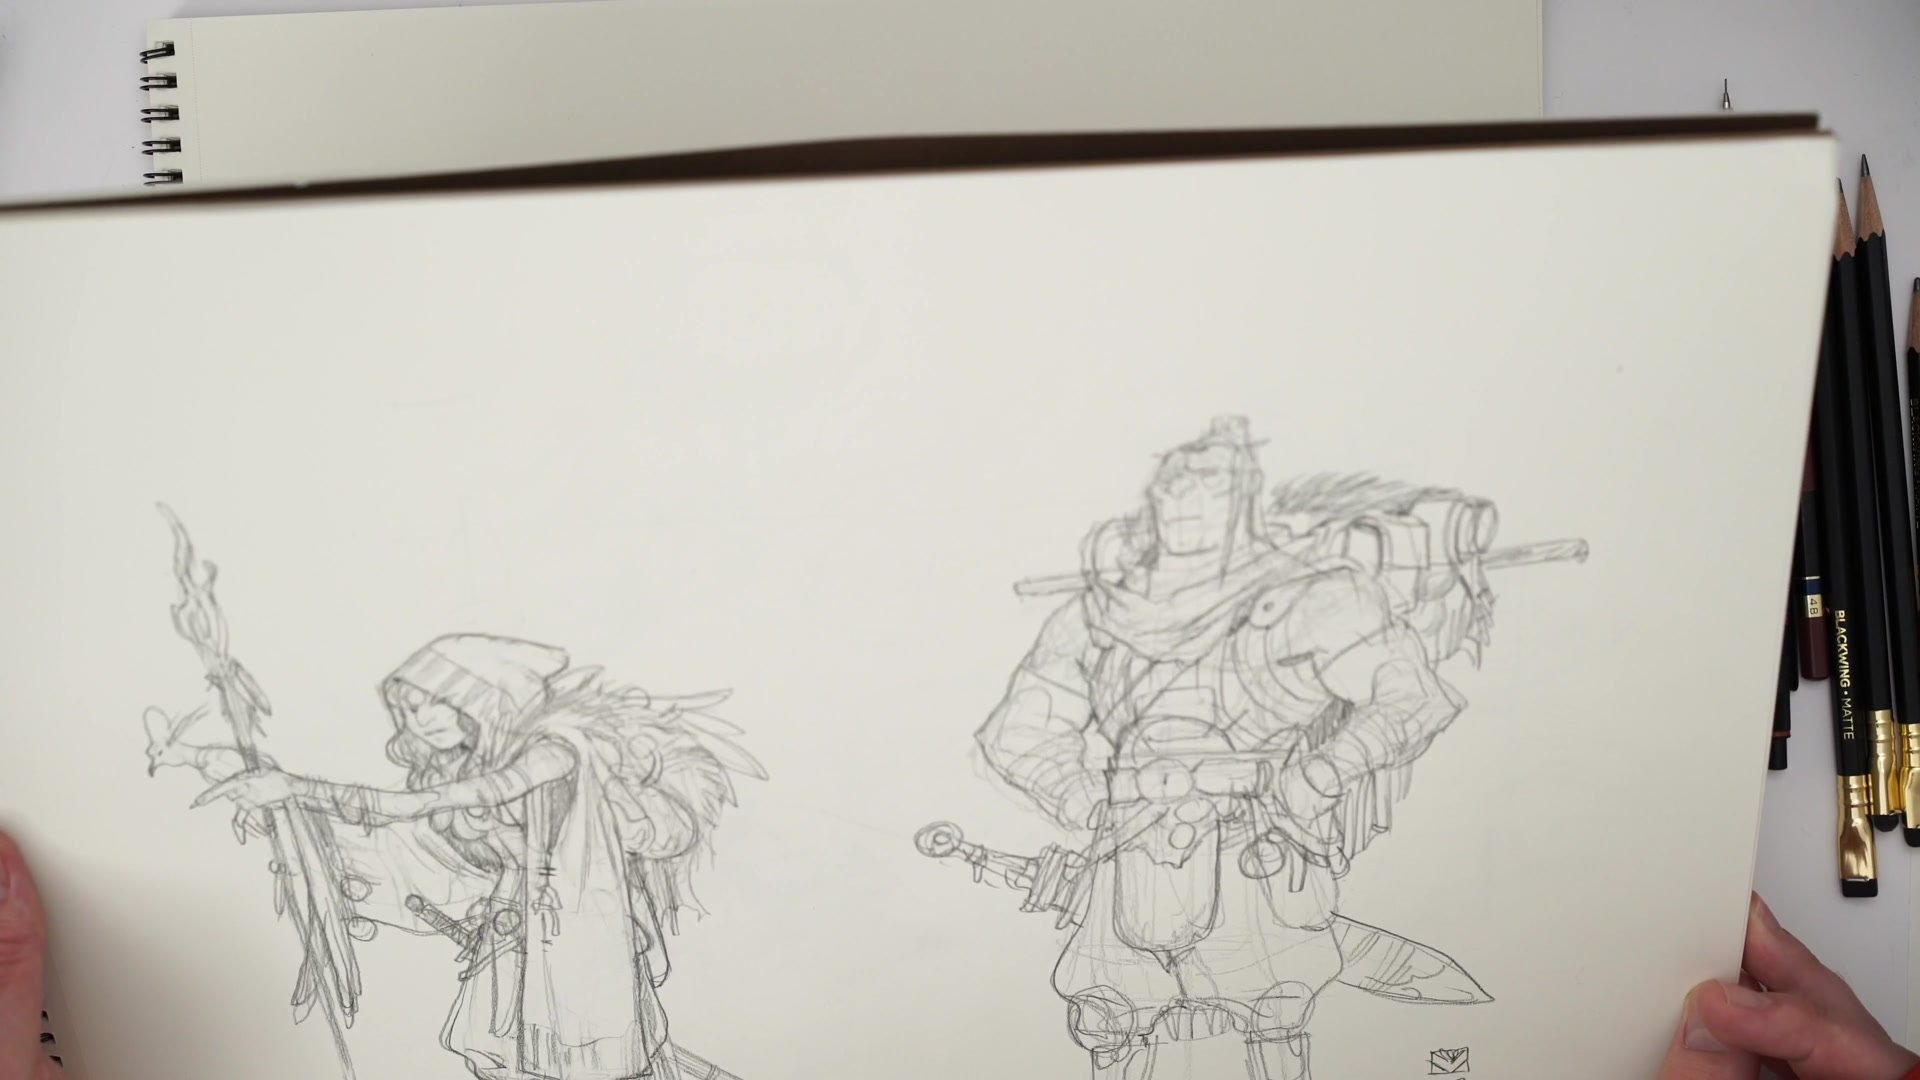
For portable sketching, a hardbound sketchbook offers several advantages at once: a natural paper stack that provides soft cushion when drawing, a rigid surface that can be tilted for proper viewing angle, and built-in page protection. But an even cheaper solution works just as well in practice. A simple clipboard from an office supply store loaded with a stack of copy paper replicates almost everything a hardbound sketchbook offers. Uncoated or recycled paper tends to take pencil lead better than glossy stock. The clipboard approach is budget-friendly, highly functional, and has been used for professional concept design and preparatory sketching work.
Drawing Boards and Desk Setups
The Drawing Board Advantage
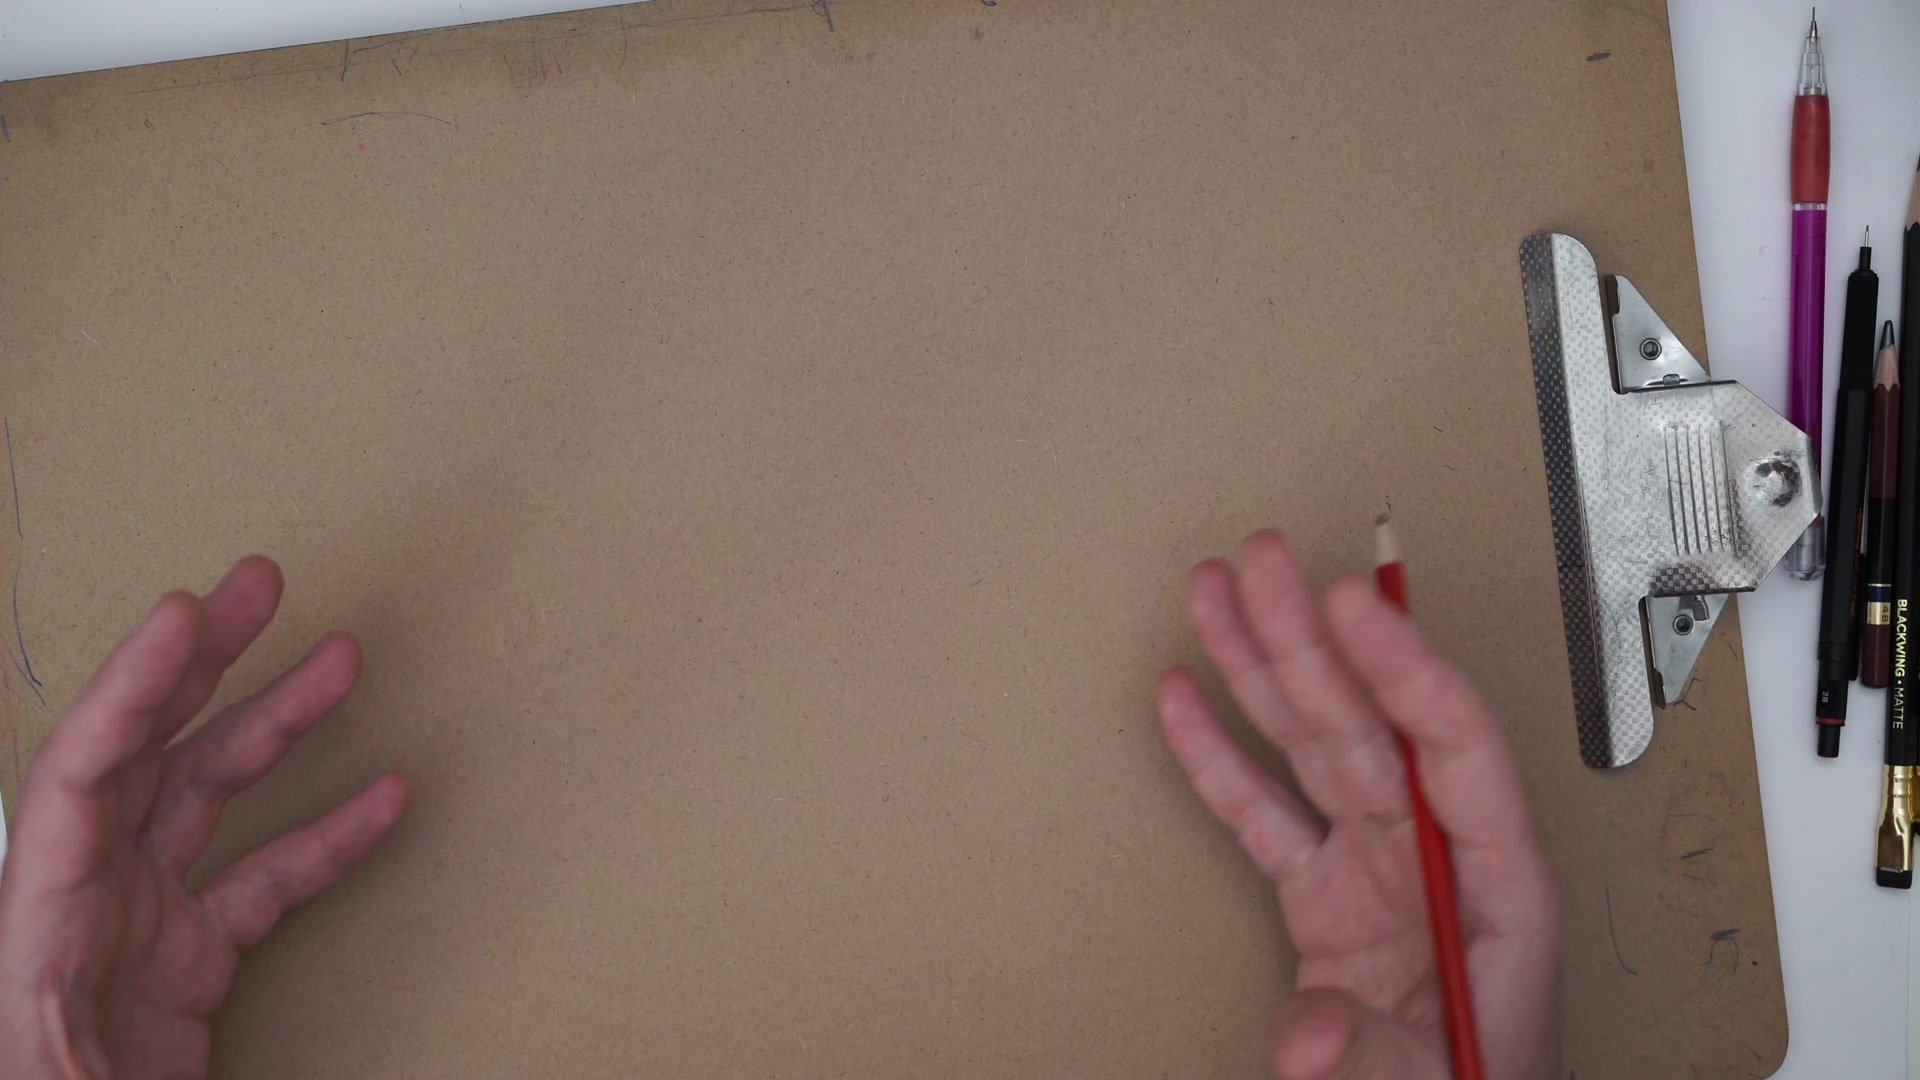
For a fixed drawing setup, the real upgrade is not an expensive drawing table but rather a drawing board. A rigid board of the right size can be rested on any desk surface, tilted to the correct angle, rotated freely, and moved as needed. This flexibility is actually better ergonomically than a fixed inclined table, because it allows the body to shift, lean back, and change position while still maintaining a perpendicular line of sight to the drawing surface.
The most practical and cost-effective approach is to get a piece of thick plywood cut to custom dimensions at a hardware store. This produces a surface that is extremely rigid, lightweight, and sized precisely for the available workspace. Stack paper on top, secure it with bulldog clips, and the result is a consistent, professional-grade drawing surface. The paper stack underneath provides the padding and feel, while the board provides stability and maneuverability. The whole setup can be customized exactly to individual needs without spending much money at all. What matters is not the materials, but that the surface can be tilted, rotated, and positioned so the line of sight stays perpendicular to the work.
Setup Essentials
Pencil-Paper Interaction: The feel of the pencil on the paper matters more than the price of either. Mid-range pencils hit a reliable sweet spot, and the paper stack underneath determines softness and cushion. Experiment with combinations rather than just buying expensive materials.
Perpendicular Line of Sight: The single most important ergonomic principle is keeping the line of sight at right angles to the drawing surface. Distortion happens when viewing the paper at an angle, and every setup decision should prioritize the ability to maintain this perpendicular view.
Drawing Board Over Drawing Table: A rigid board that can be tilted, rotated, and moved freely offers better ergonomics and flexibility than a fixed inclined drawing table. Custom-cut plywood from a hardware store is one of the cheapest and most effective professional solutions available.
Build Your Drawing Setup
Pick Your Pencil: Try a few options in the mid-range, such as a Pentel P205 mechanical or a Tombow Mono 100 traditional pencil. Find the one that feels right for the kind of line you want to put down.
Build a Paper Stack: Load a clipboard or drawing board with a stack of paper to create the right amount of cushion. Experiment with different paper types underneath to dial in the softness and feel that suits your drawing pressure.
Get a Rigid Board: Visit a hardware store and have them cut a piece of thick plywood to fit your desk space. Add bulldog clips, stack your drawing paper on top, and practice tilting the board so your eye line stays perpendicular to the surface.